Looking forward to these and more races Steven!
2 July 28, 2026 4:08 pm
Re: Springwater Track Move (1 replies, posted in Springwater Raceway)
Do to unforseen circumstances, the Springwater Track move originally scheduled for this Saturday (August 1st) has been postponed. We are sorry for any inconvenience this may cause. We will be rescheduling as soon as we are able. Thank you all!
3 July 24, 2026 8:35 pm
Re: Team Bluegroove Body Orders (21 replies, posted in Cars)
Jim,
1 Ferrari 612 Lola & 1 Lola T-162 Can Am - Bagged & Tagged!
4 July 19, 2026 8:15 pm
Re: Team Bluegroove Body Orders (21 replies, posted in Cars)
The new TBG bodies arrived today! Most all are Can Am bodies!
Here's what we got:
0 - Porsche 908 /.........Bryan T. = 1
2 - McLaren M6A
0 - Ferrari 612 Lola/.........Mike G. = 1..........Jim Mitchell = 1
0 - Porsche 917 30KL /......Gearloose =1.........Bazowie = 1
1 - Lola T-162 Can Am / ........Jim Mitchel = 1
1 - TI-22 Can Am
0 - Porsche 917 30 /.........Gearloose = 1............Bryan T. = 1
1 - McLaren M6 /...............Bryan T. = 1
1 - Matra Can Am
0 - Shelby Cobra Coupe /........Jim Mitchell = 1..........Gearloose = 1
These bodies are still only $12
Quantities Updated 7/20/26 11:00AM
5 July 16, 2026 7:00 am
Topic: Jimmy "Slim Jim" Folkens (1 replies, posted in Tom's World)
I am sad to report that another of our slot car racing friends has passed. Jimmy Folkens passed away peacefully on July 3rd 2026. Although I did not know Jimmy well many of the racers at Tom's World in Bend did. He was very well liked, and it was always good to see him at the races. His enthusiasm for the slot car hobby was infectious! He will be missed!
6 July 11, 2026 4:42 pm
Topic: Springwater Track Move (1 replies, posted in Springwater Raceway)
Ken (Gearloose Jr.) has rescheduled the move of the Springwater track. The plan is to disassemble the track on Saturday Aug.1st. We could use some help! The plan is to meet at the church (where the track is located) at 9:00 am to start the disassembly. If you can make it and have any power tools (ratchet, impact or? electric or air) please bring it along (but not necessary for participating). Thank you all!
7 July 8, 2026 7:16 am
Re: Summer Sizzler Series Race #3 / July 6th, 2026 (1 replies, posted in Gorge Raceway)
Great racing, thanks Bob!
8 July 8, 2026 7:15 am
Re: Summer Sizzler Series: Race #3 / July 6th, 2026 (1 replies, posted in Columbia River Slot Car Racers)
Close fun racing for sure! Thanks Bob!
9 July 7, 2026 2:47 pm
Re: Team Bluegroove Body Orders (21 replies, posted in Cars)
UPDATE: July 7, 2026
The latest Team Bluegroove body order was submitted today!
15 of the best Can Am bodies coming! We need to allow 2 to 4 weeks for delivery.
There will be limited quantities (1 or 2) of each body ordered.
10 June 28, 2026 9:13 am
Re: Summer Sizzler Series: Race #2. June 27th, 2026 (1 replies, posted in Columbia River Slot Car Racers)
Thanks Bob for yet another great race! The Short Track Stockers are a blast to race! Nothing like close contact!
11 June 26, 2026 6:45 pm
Re: Open Track Days (1 replies, posted in Dust Devil's Slot Cars)
Jim, the links don't work. Can't see the photos.
Never mind Jim. Evidently it is only MY computer!
12 June 26, 2026 9:13 am
Topic: Used Womps Inventory Restocked! (0 replies, posted in Cars)
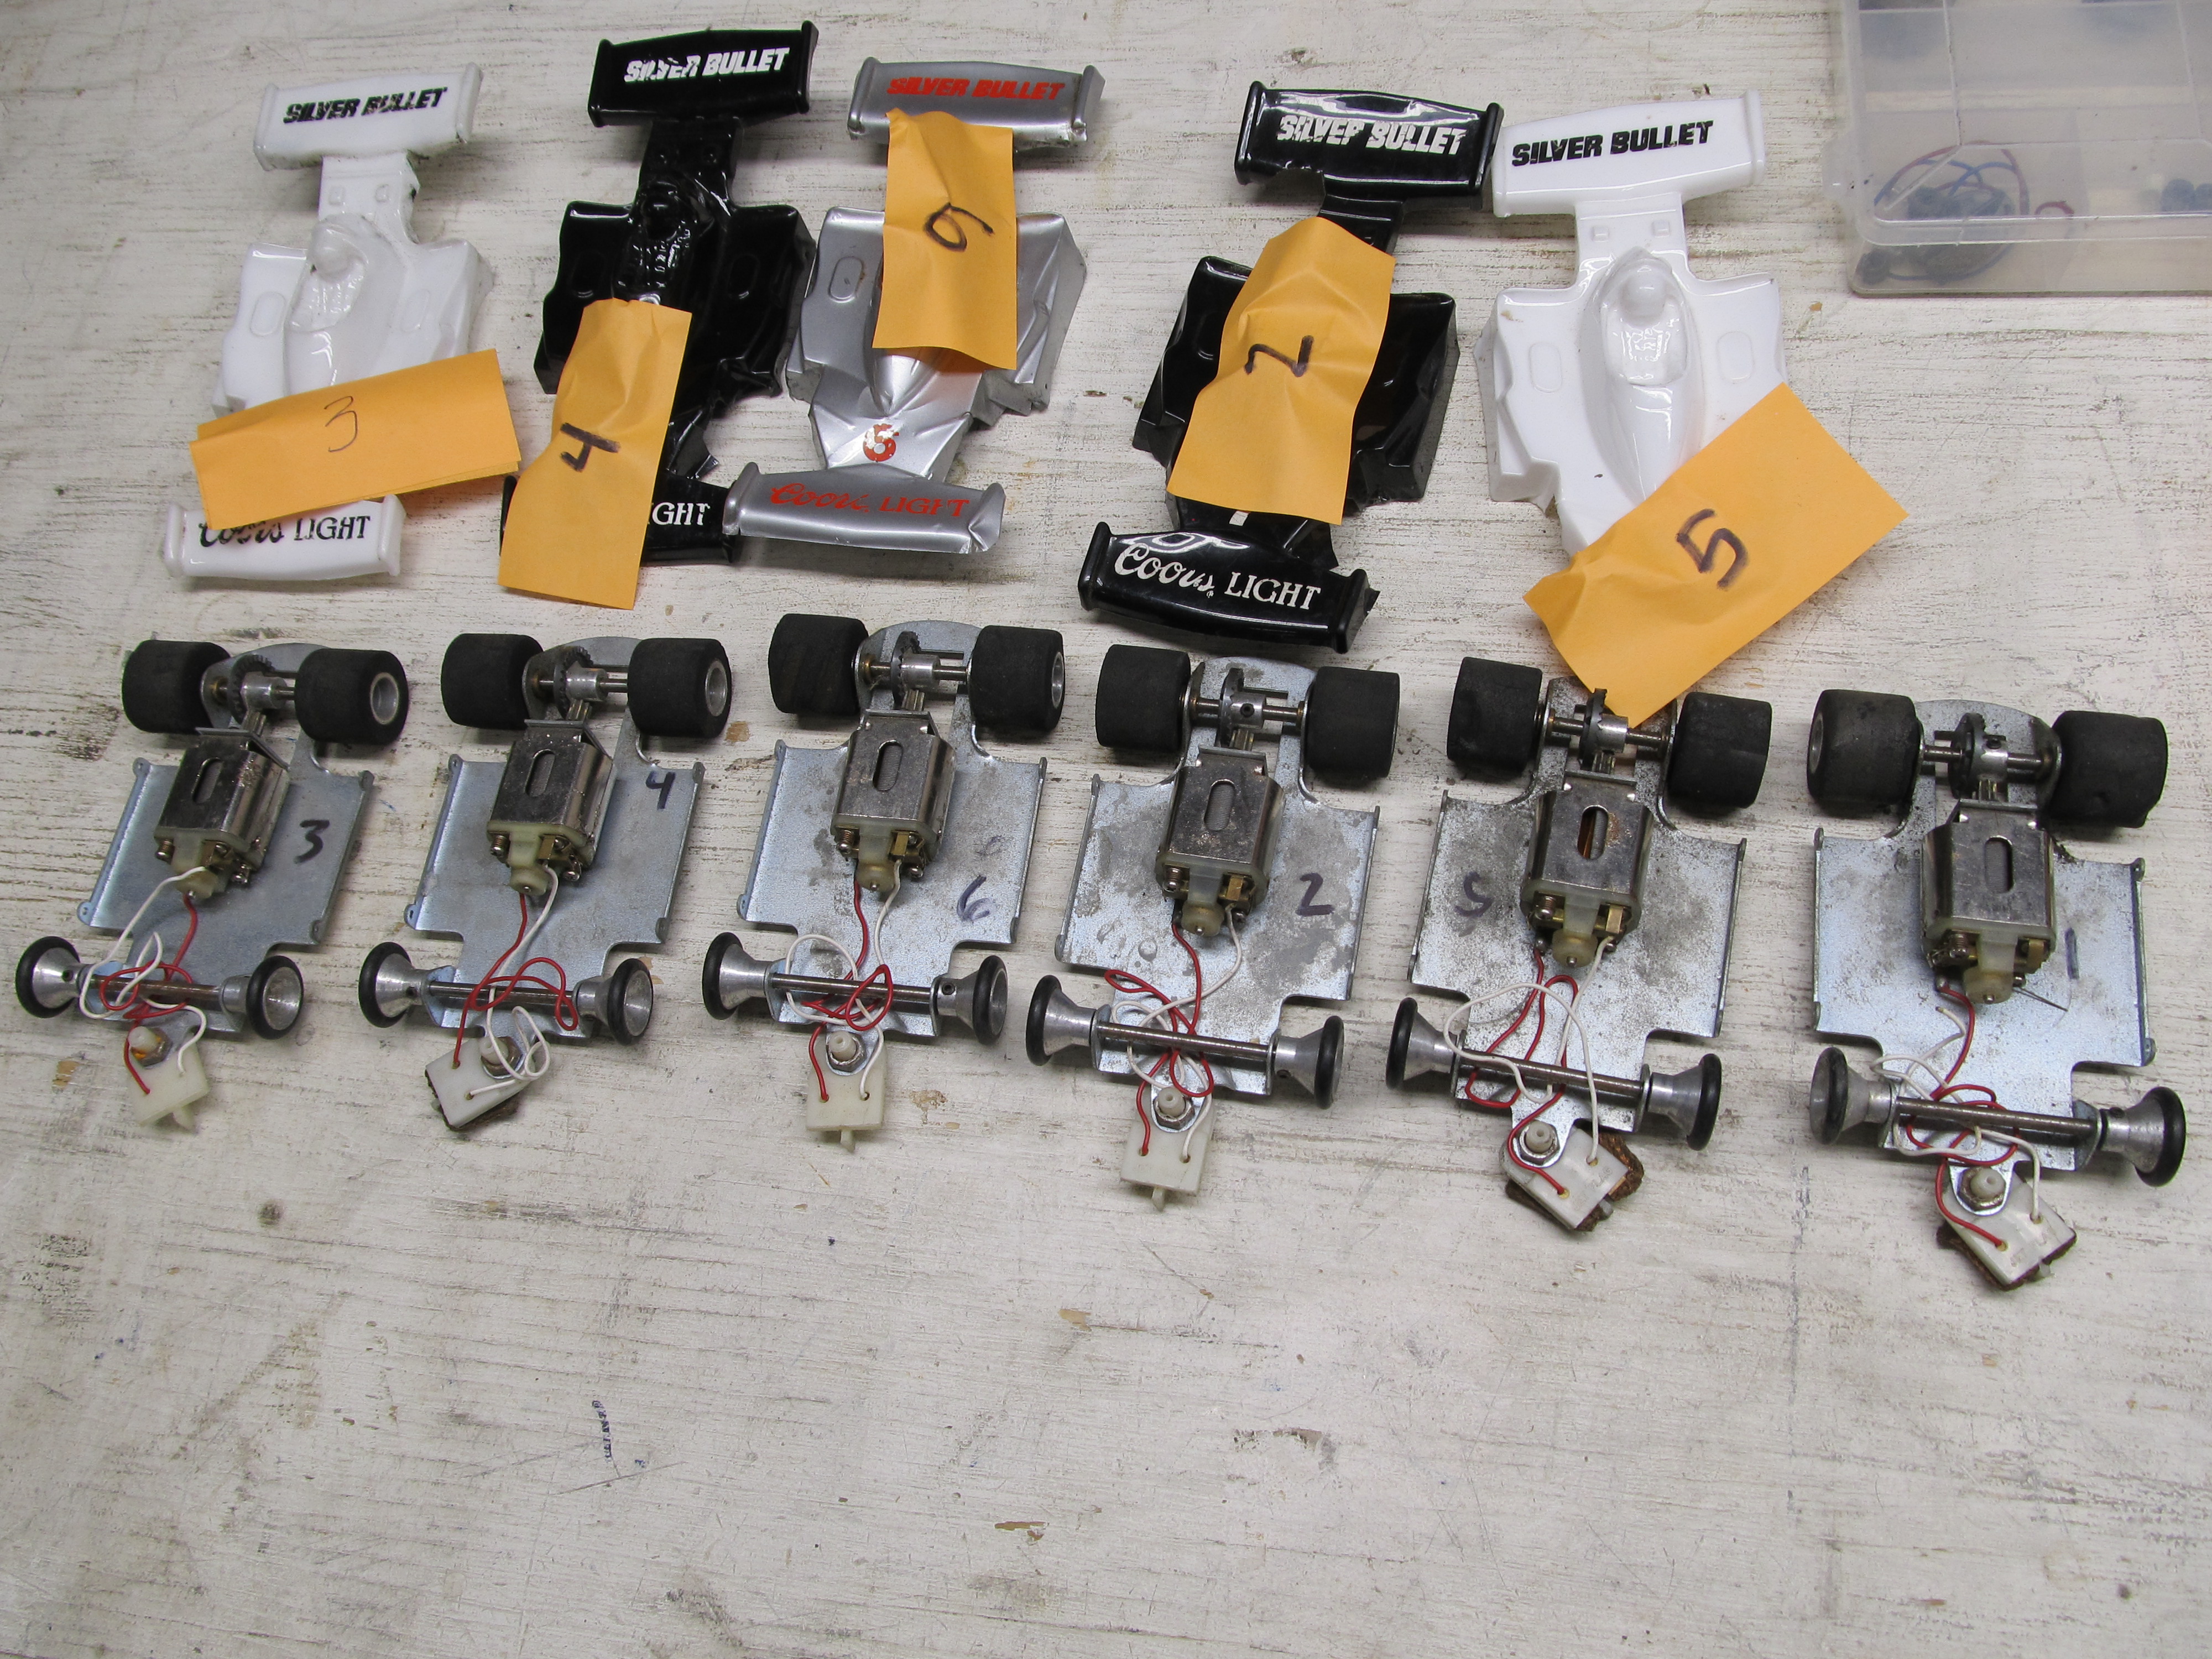
I have restocked my inventory of used Womps.
Anybody looking for Womps for the upcoming Monday night racing season at Rob's Redline Raceway?
The cars in this batch are complete, but will need the proper Professor 25K motors for racing in Rob's Womp class. Bob Nak has the motors for under $15. These cars are $30 each.
13 June 24, 2026 12:45 pm
Re: Short Track Stockers 1/17/2026 (2 replies, posted in Columbia River Slot Car Racers)
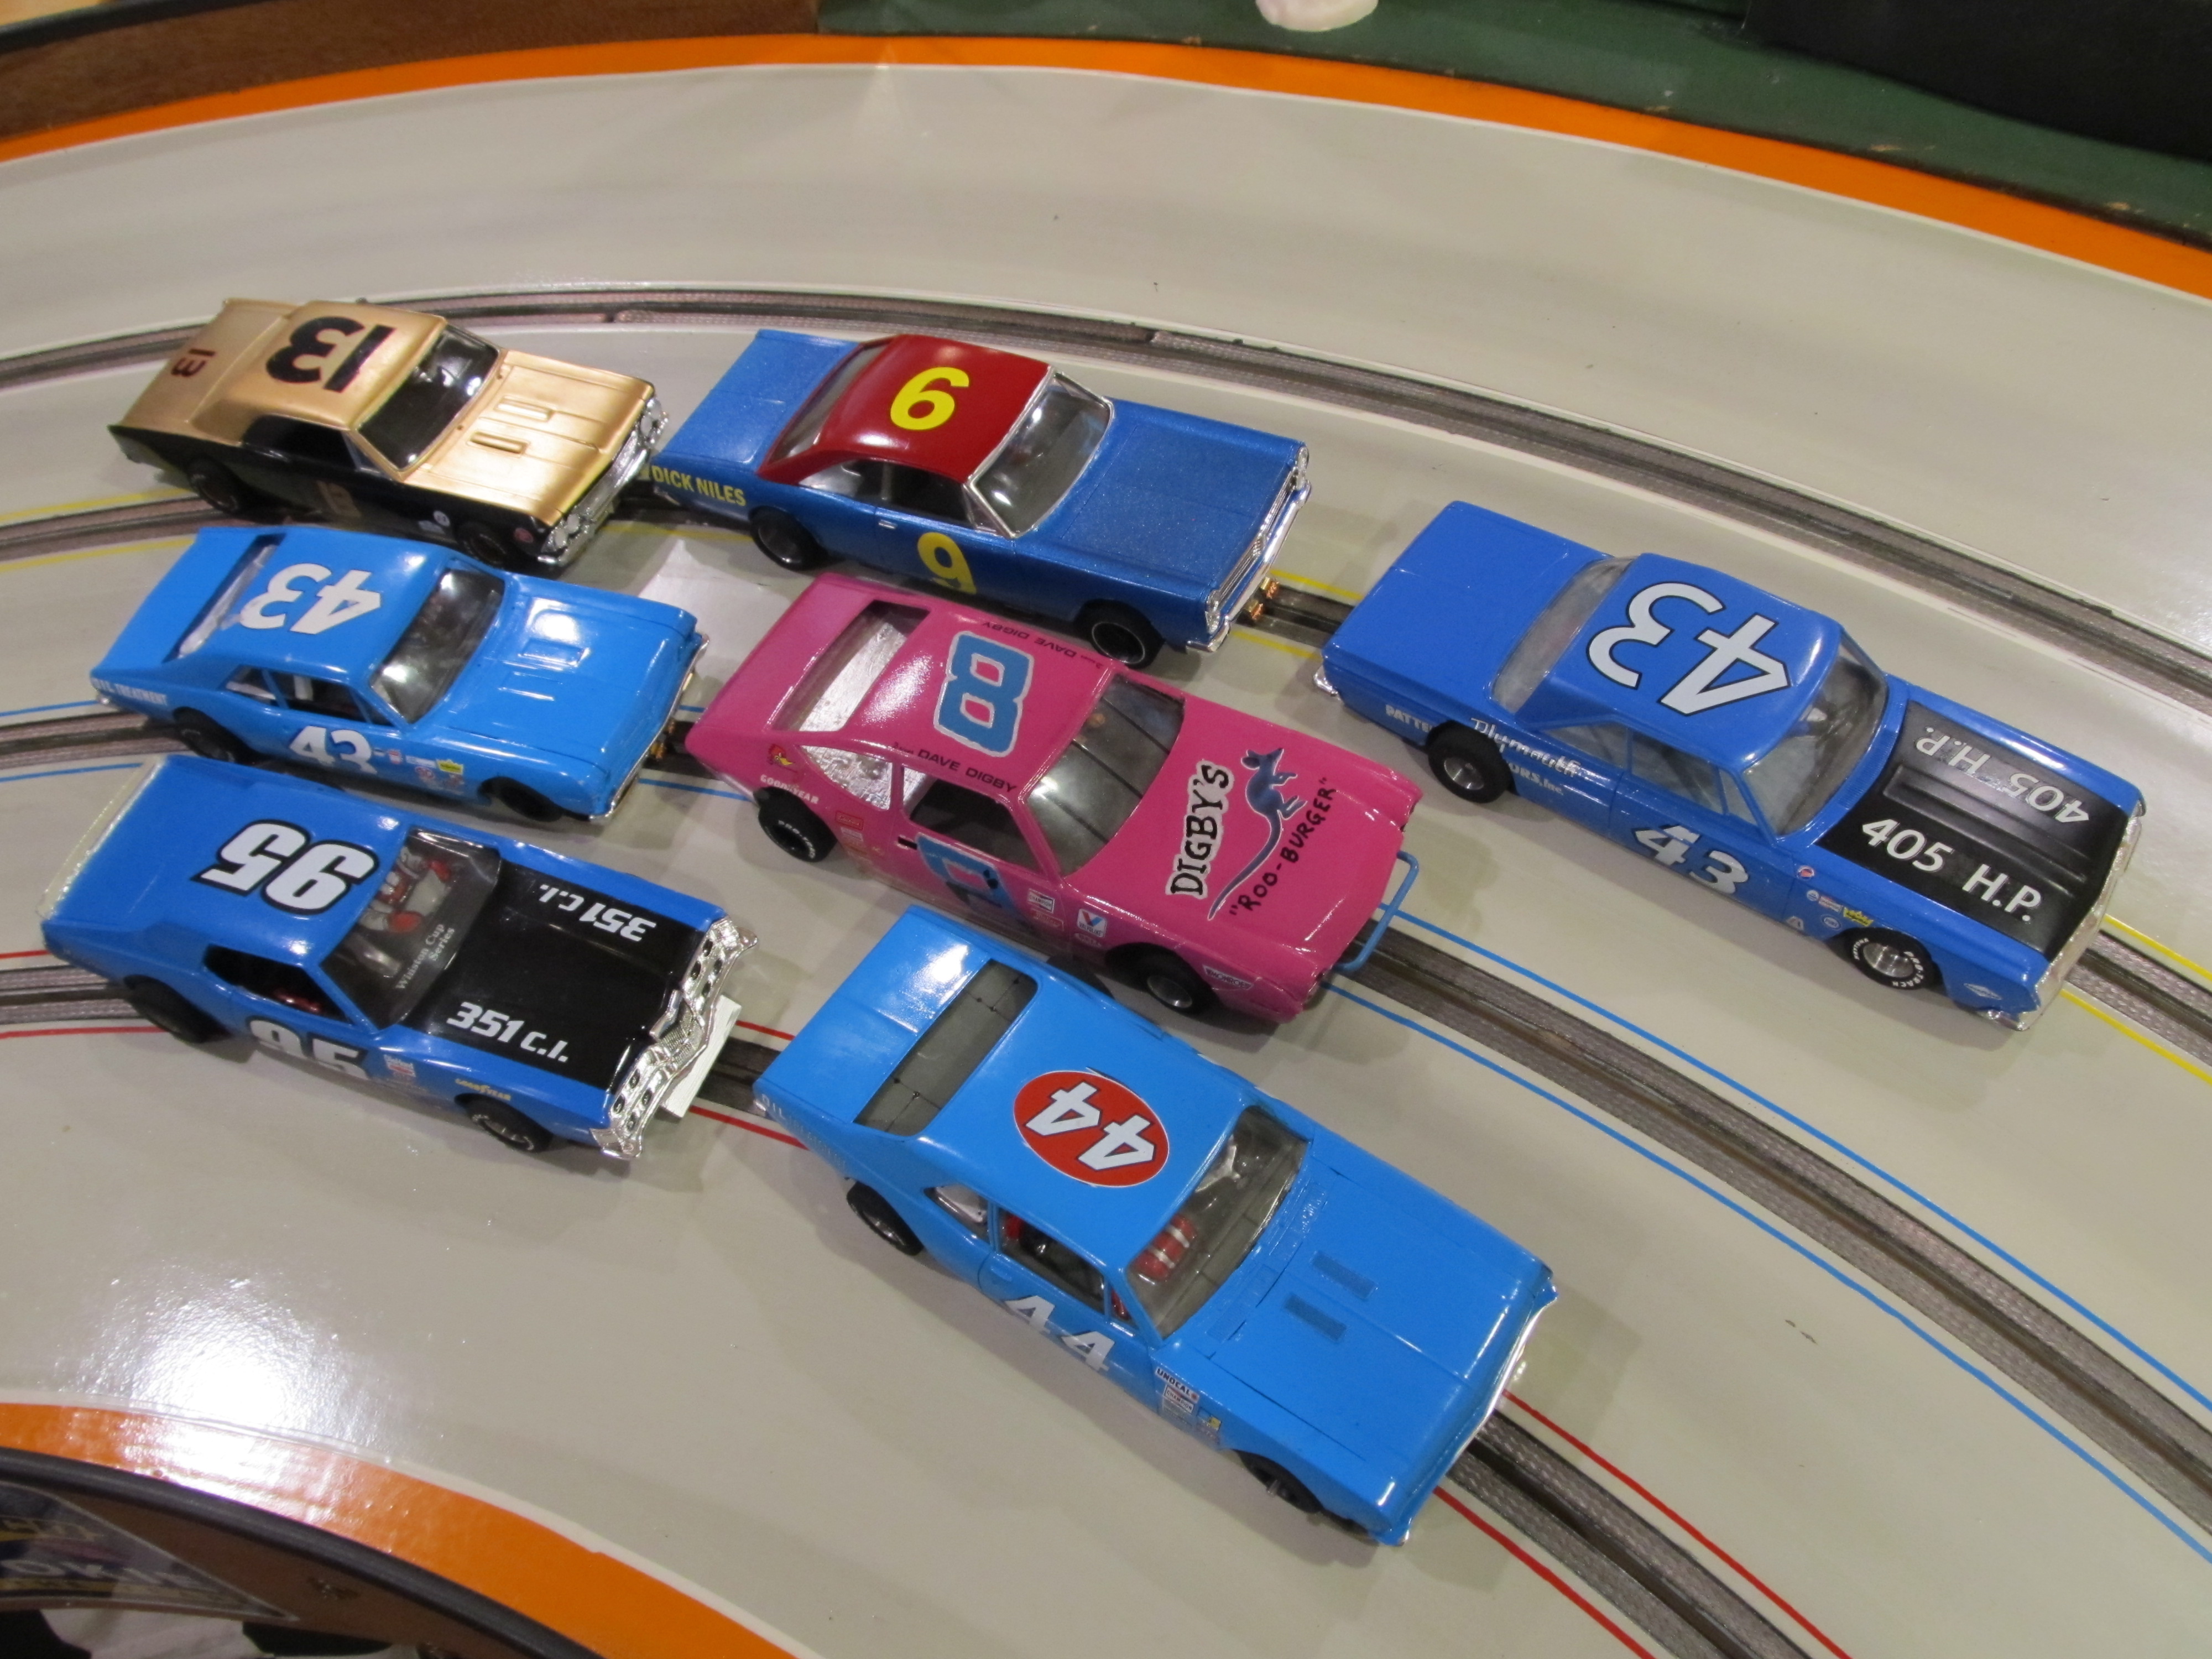
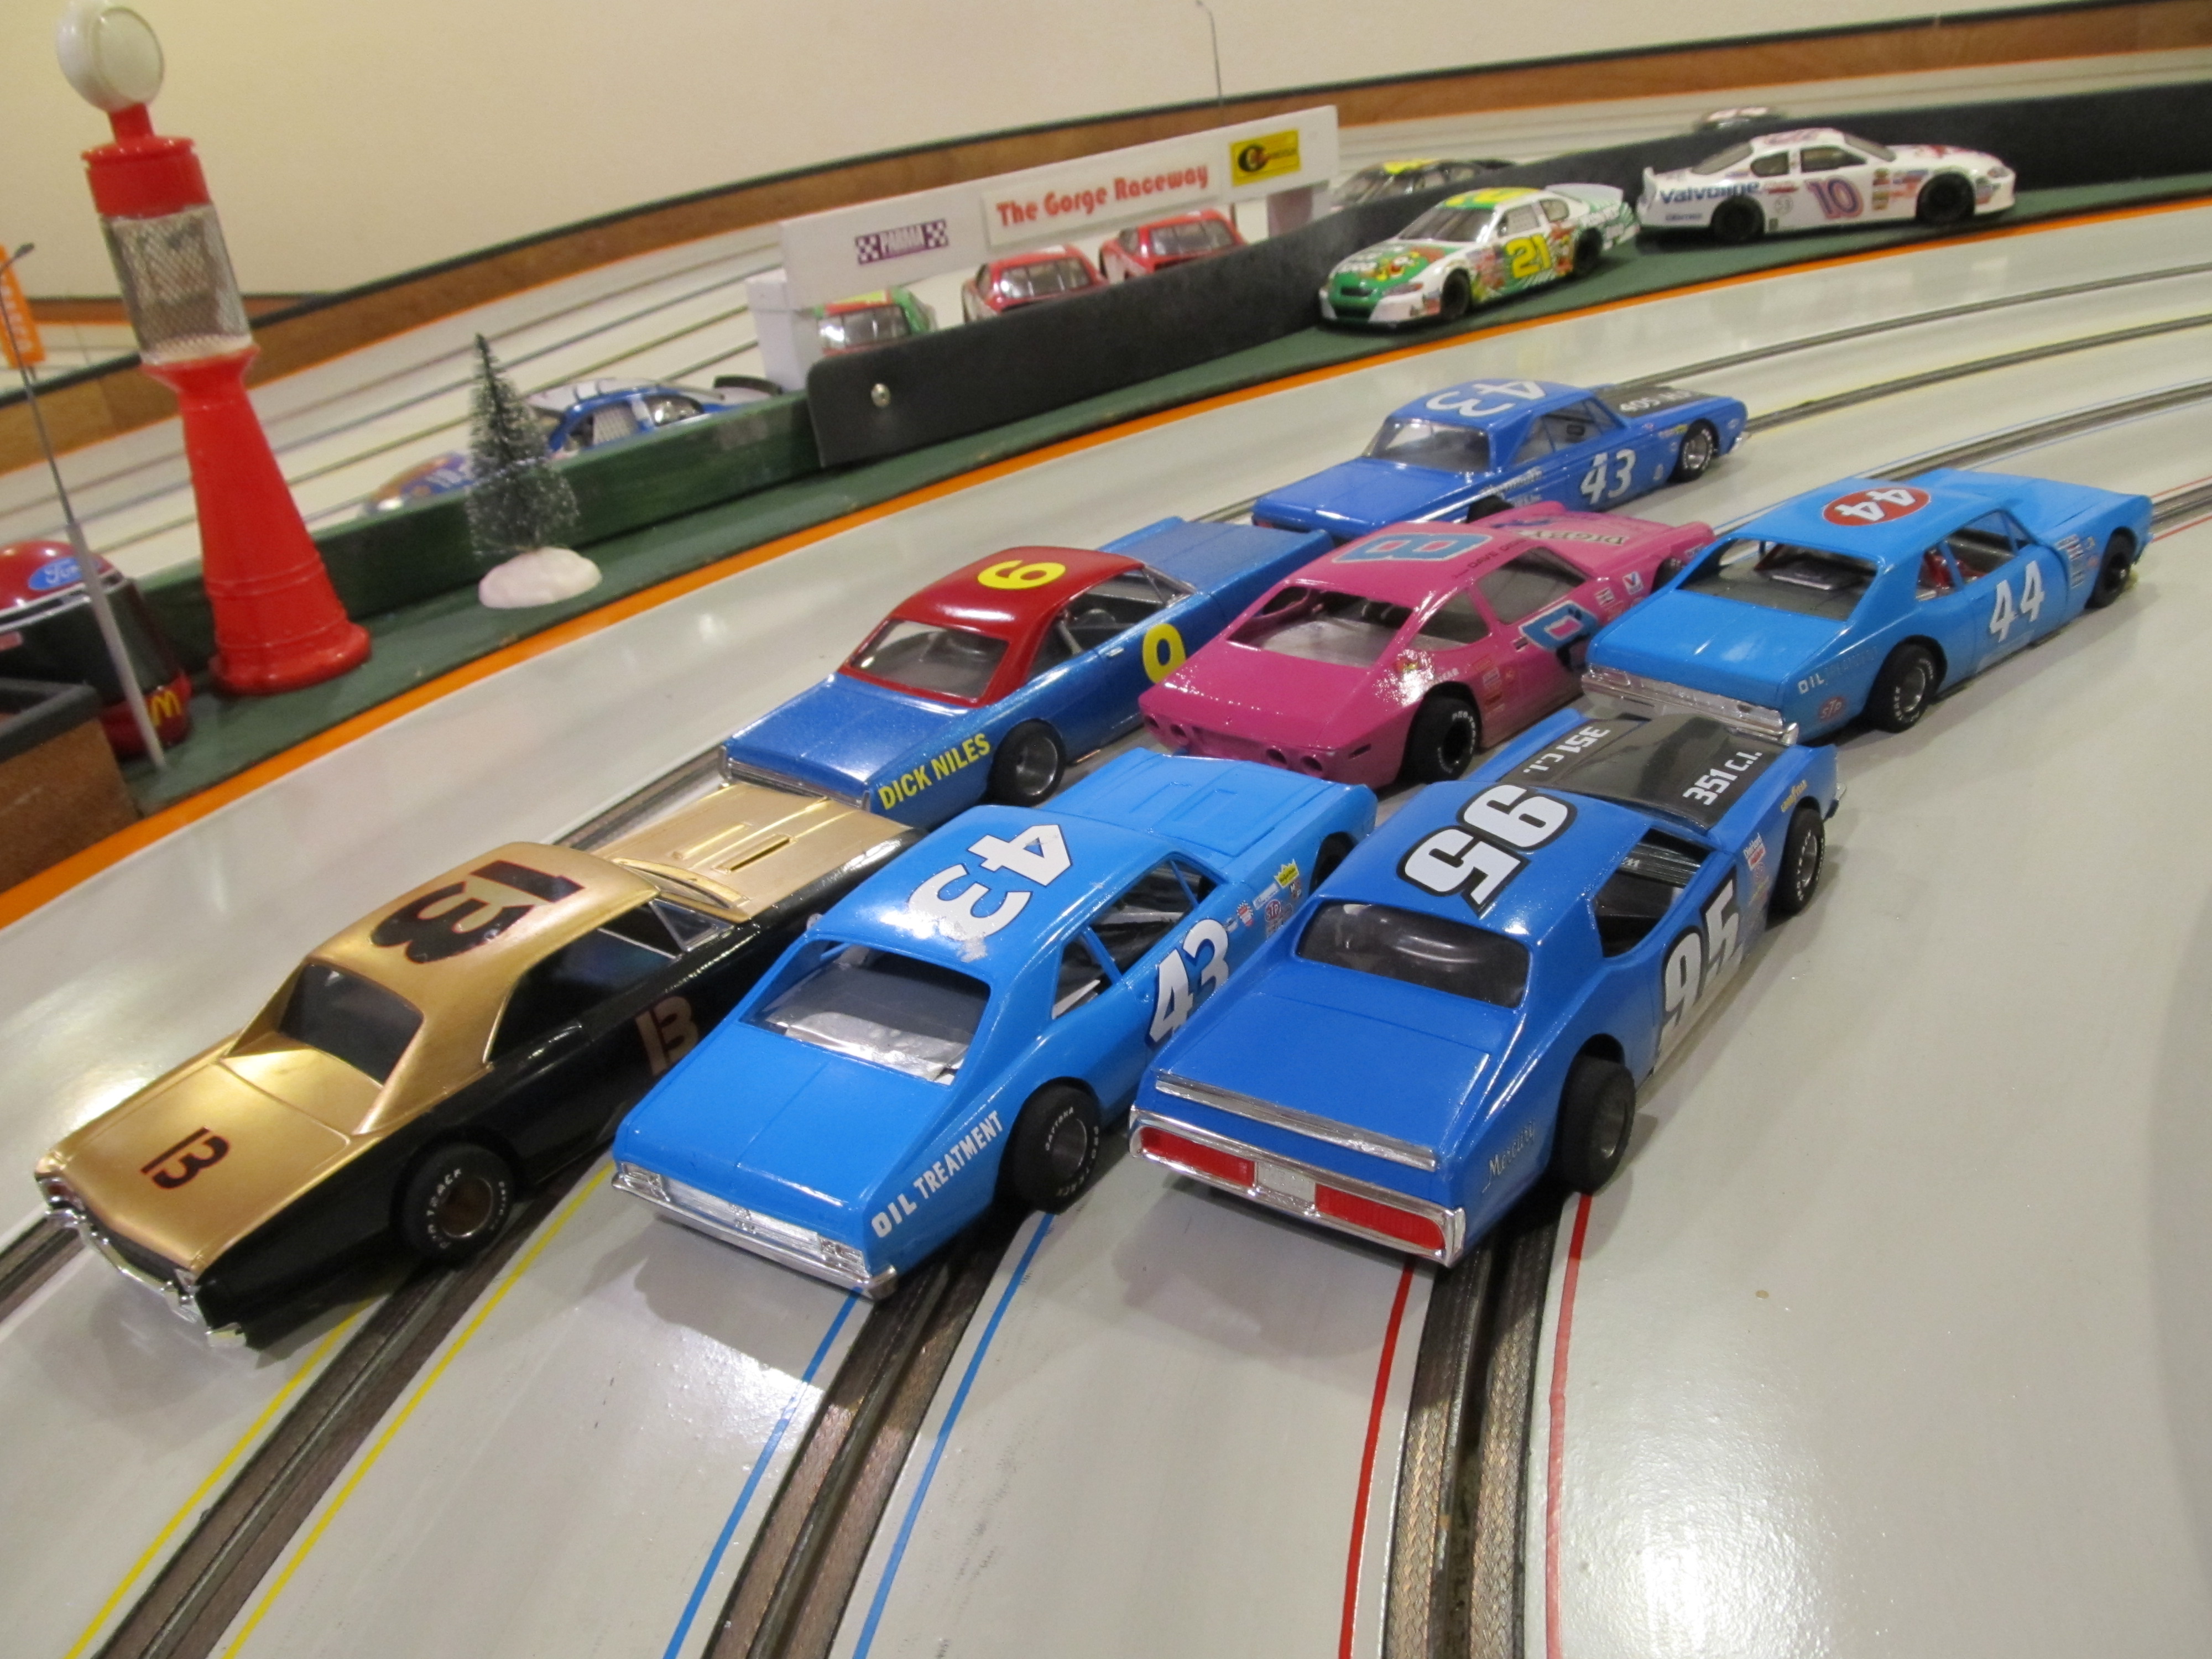
Basic Body guidelines for Short Track Stockers. - Bob N.
This is not a complete comprehensive list. It is designed to point you in the right direction. Note: Minimum wheelbase for any car is 4.30".
Basic Body Guidelines: Short Track Stockers
Scale: 1/25 only
Years: 1962-1982
Buick: 1964-1979 – Skylark
1973-1982 – Regal
Oldsmobile: 1964-1985 Cutlass
Pontiac: 1964-1982 Lemans / GTO
Grand Prix – 1969-1982
Chevrolet: 1966-1972 Chevelle
1973-1975 Laguna
1971-1982 Monte Carlo
1962-1979 Nova
Ford / Mercury: 1960-1976 Fairlane / Torino / Falcon
1962-1966 T-Bird
1977-1982 T-Bird
1973 Cougar
Mercury: 1962 – up Cyclone / Montego / Comet
Dodge: 1962-1982 Dart, Demon, Coronet, Charger.
Plymouth: 1962-1982 Scamp, Roadrunner, etc.
14 June 22, 2026 6:22 pm
Re: IROC Slot Car Race at Electron Raceway in Roseburg! (10 replies, posted in Electron Raceway)
You did a great job on those cars Rich! They seemed pretty equal in performance. To me the biggest differences were in the lanes themselves, and in each car's rear tire condition in any particular heat. Congrats, very nice work!
15 June 20, 2026 9:25 pm
Re: Nostlagia.......Rookie Northwest Style. (2 replies, posted in Cars)
Once the strip was cut for the side pans, I jigged the chassis up on my soldering block and soldered them in place.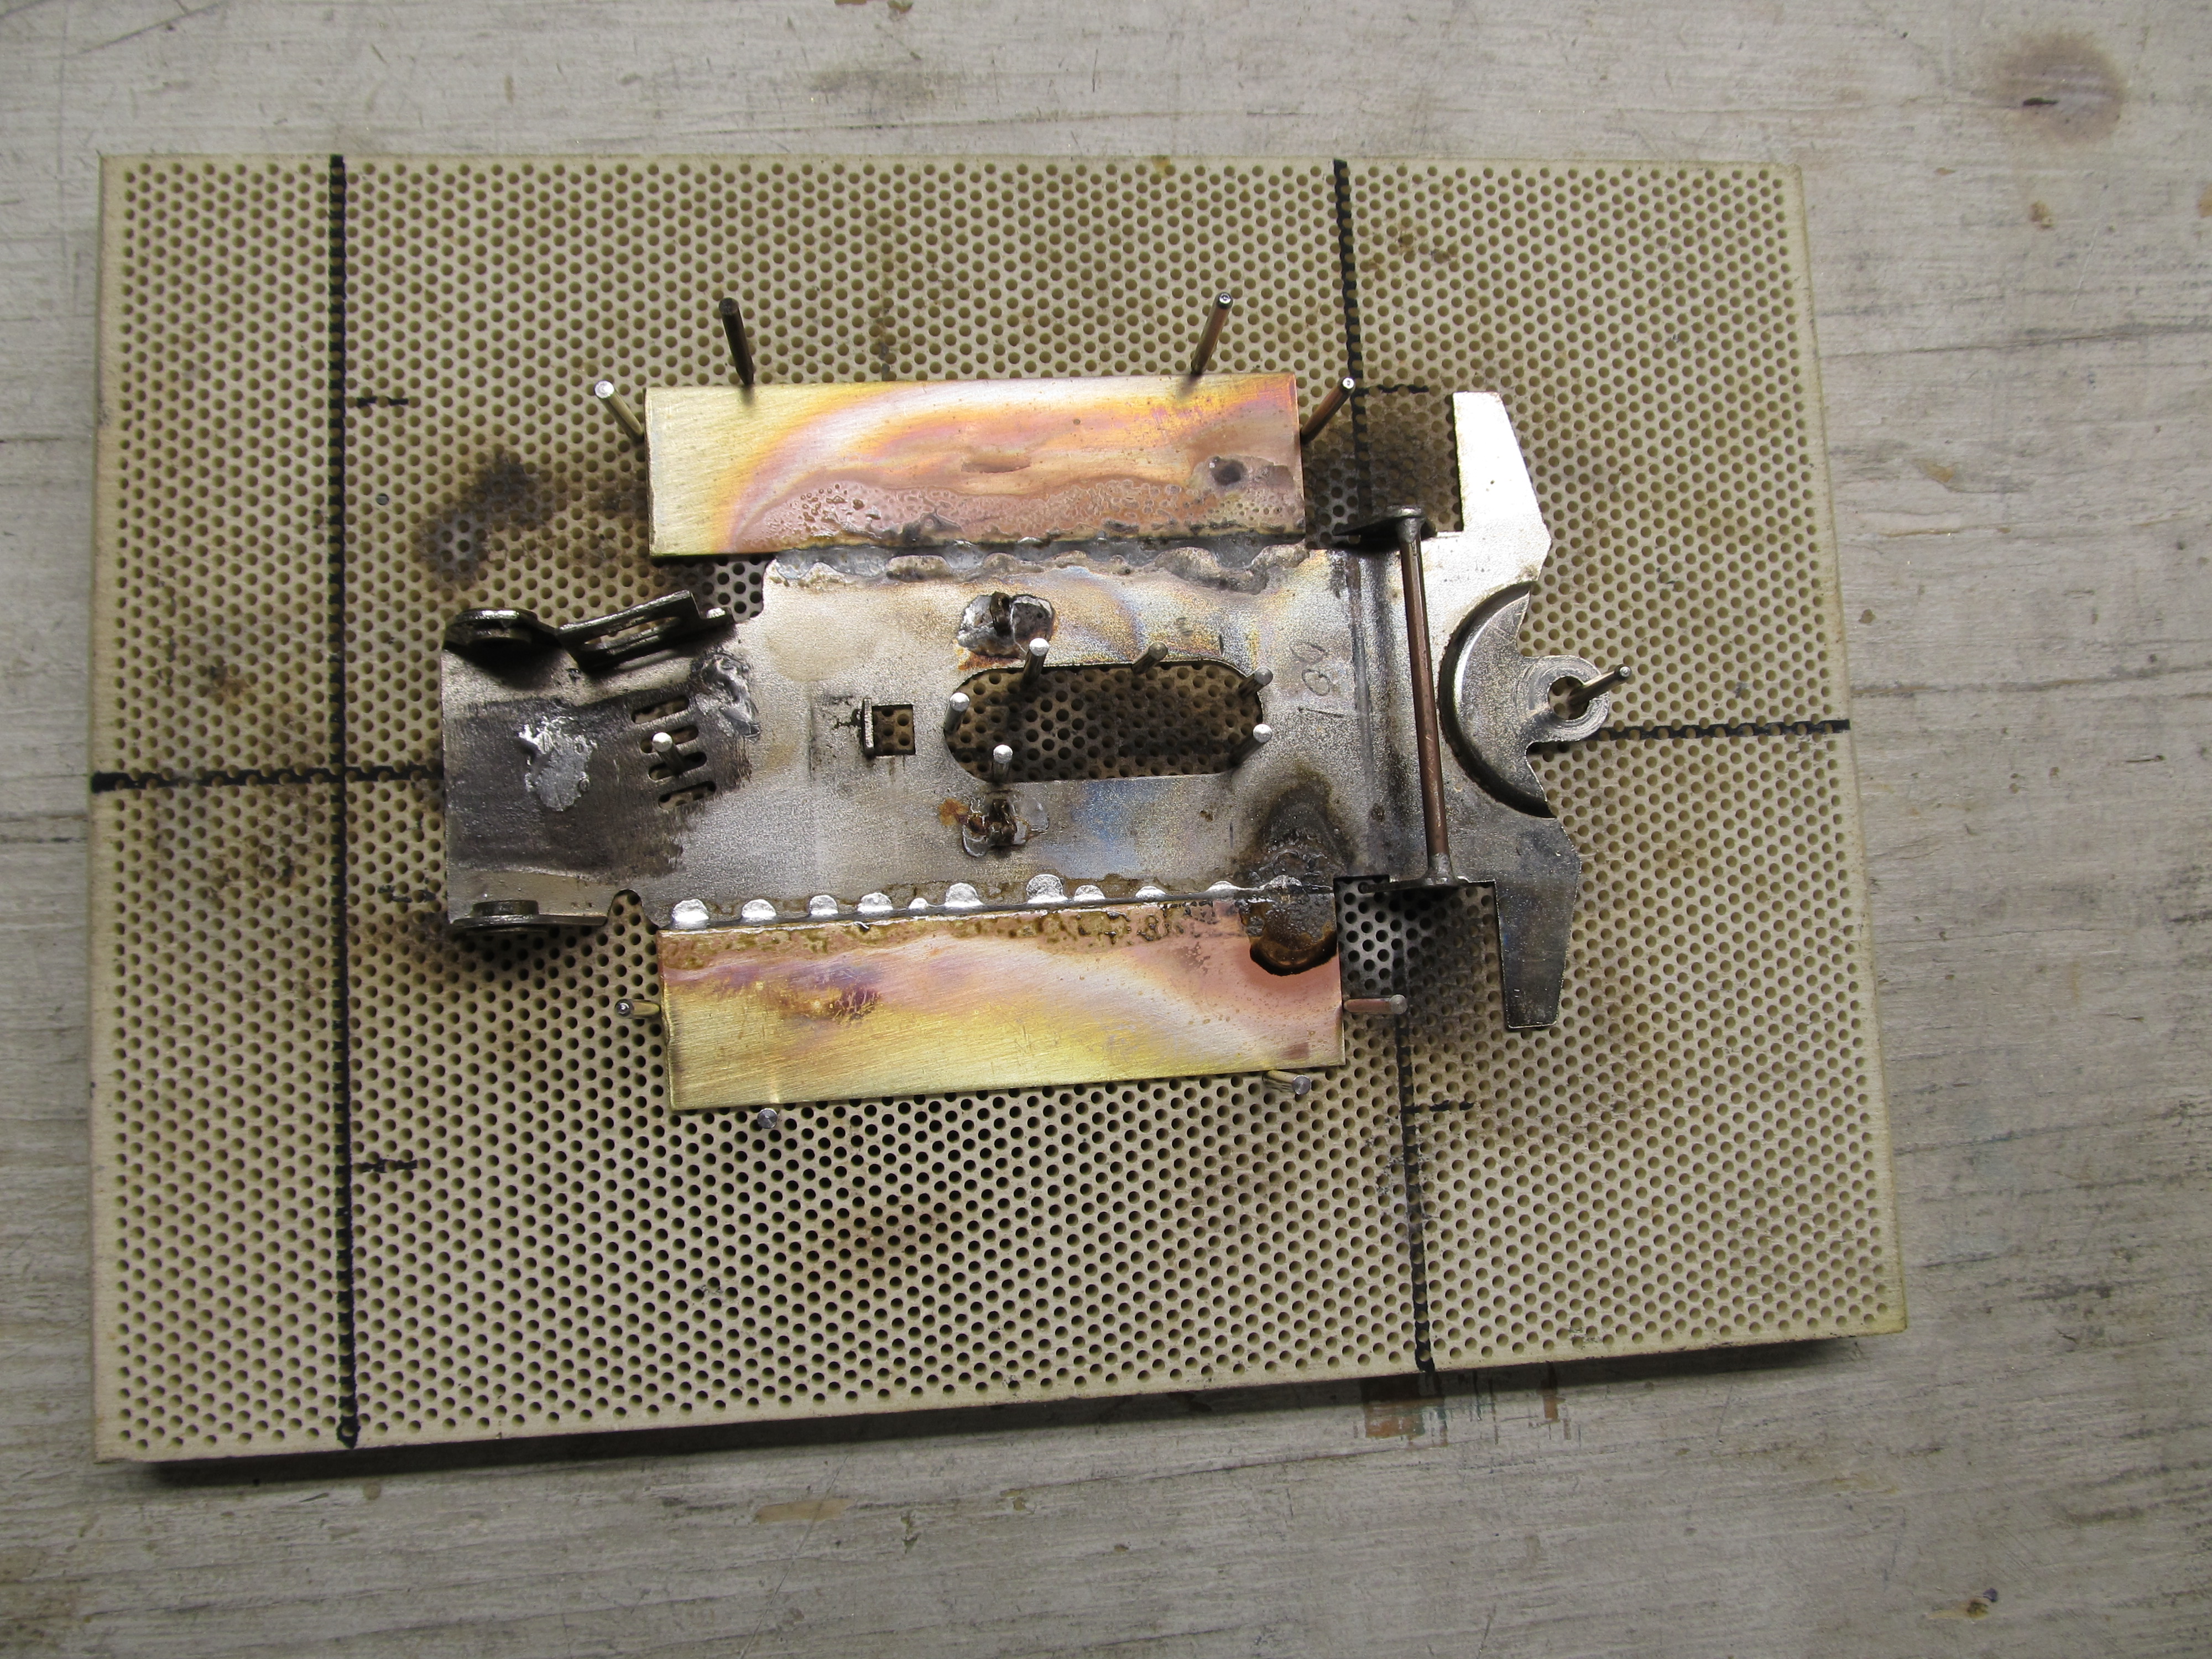
I decided to make a new front axle mount to accomodate front tires and wheels with a minimum .800" diameter. This will allow me to make additional modifications to the chassis and be able to race in a Northwest True Scale Class should this experiment go sideways. I soldered a brass tube across the chassis to hold the front axle oillites, with a brace behind it. Old metal crown gears were used as wheel jigs.
After the front axle mount was finished I soldered "U" channel brass strip to the sides of the chassis to serve as body mounts. At this point the chassis was pretty much done. It's been a long time since I have completed any sort of chassis build in one day. I spent about 4 hours on this one, with a lot of time wasted when my torch ran out of fuel!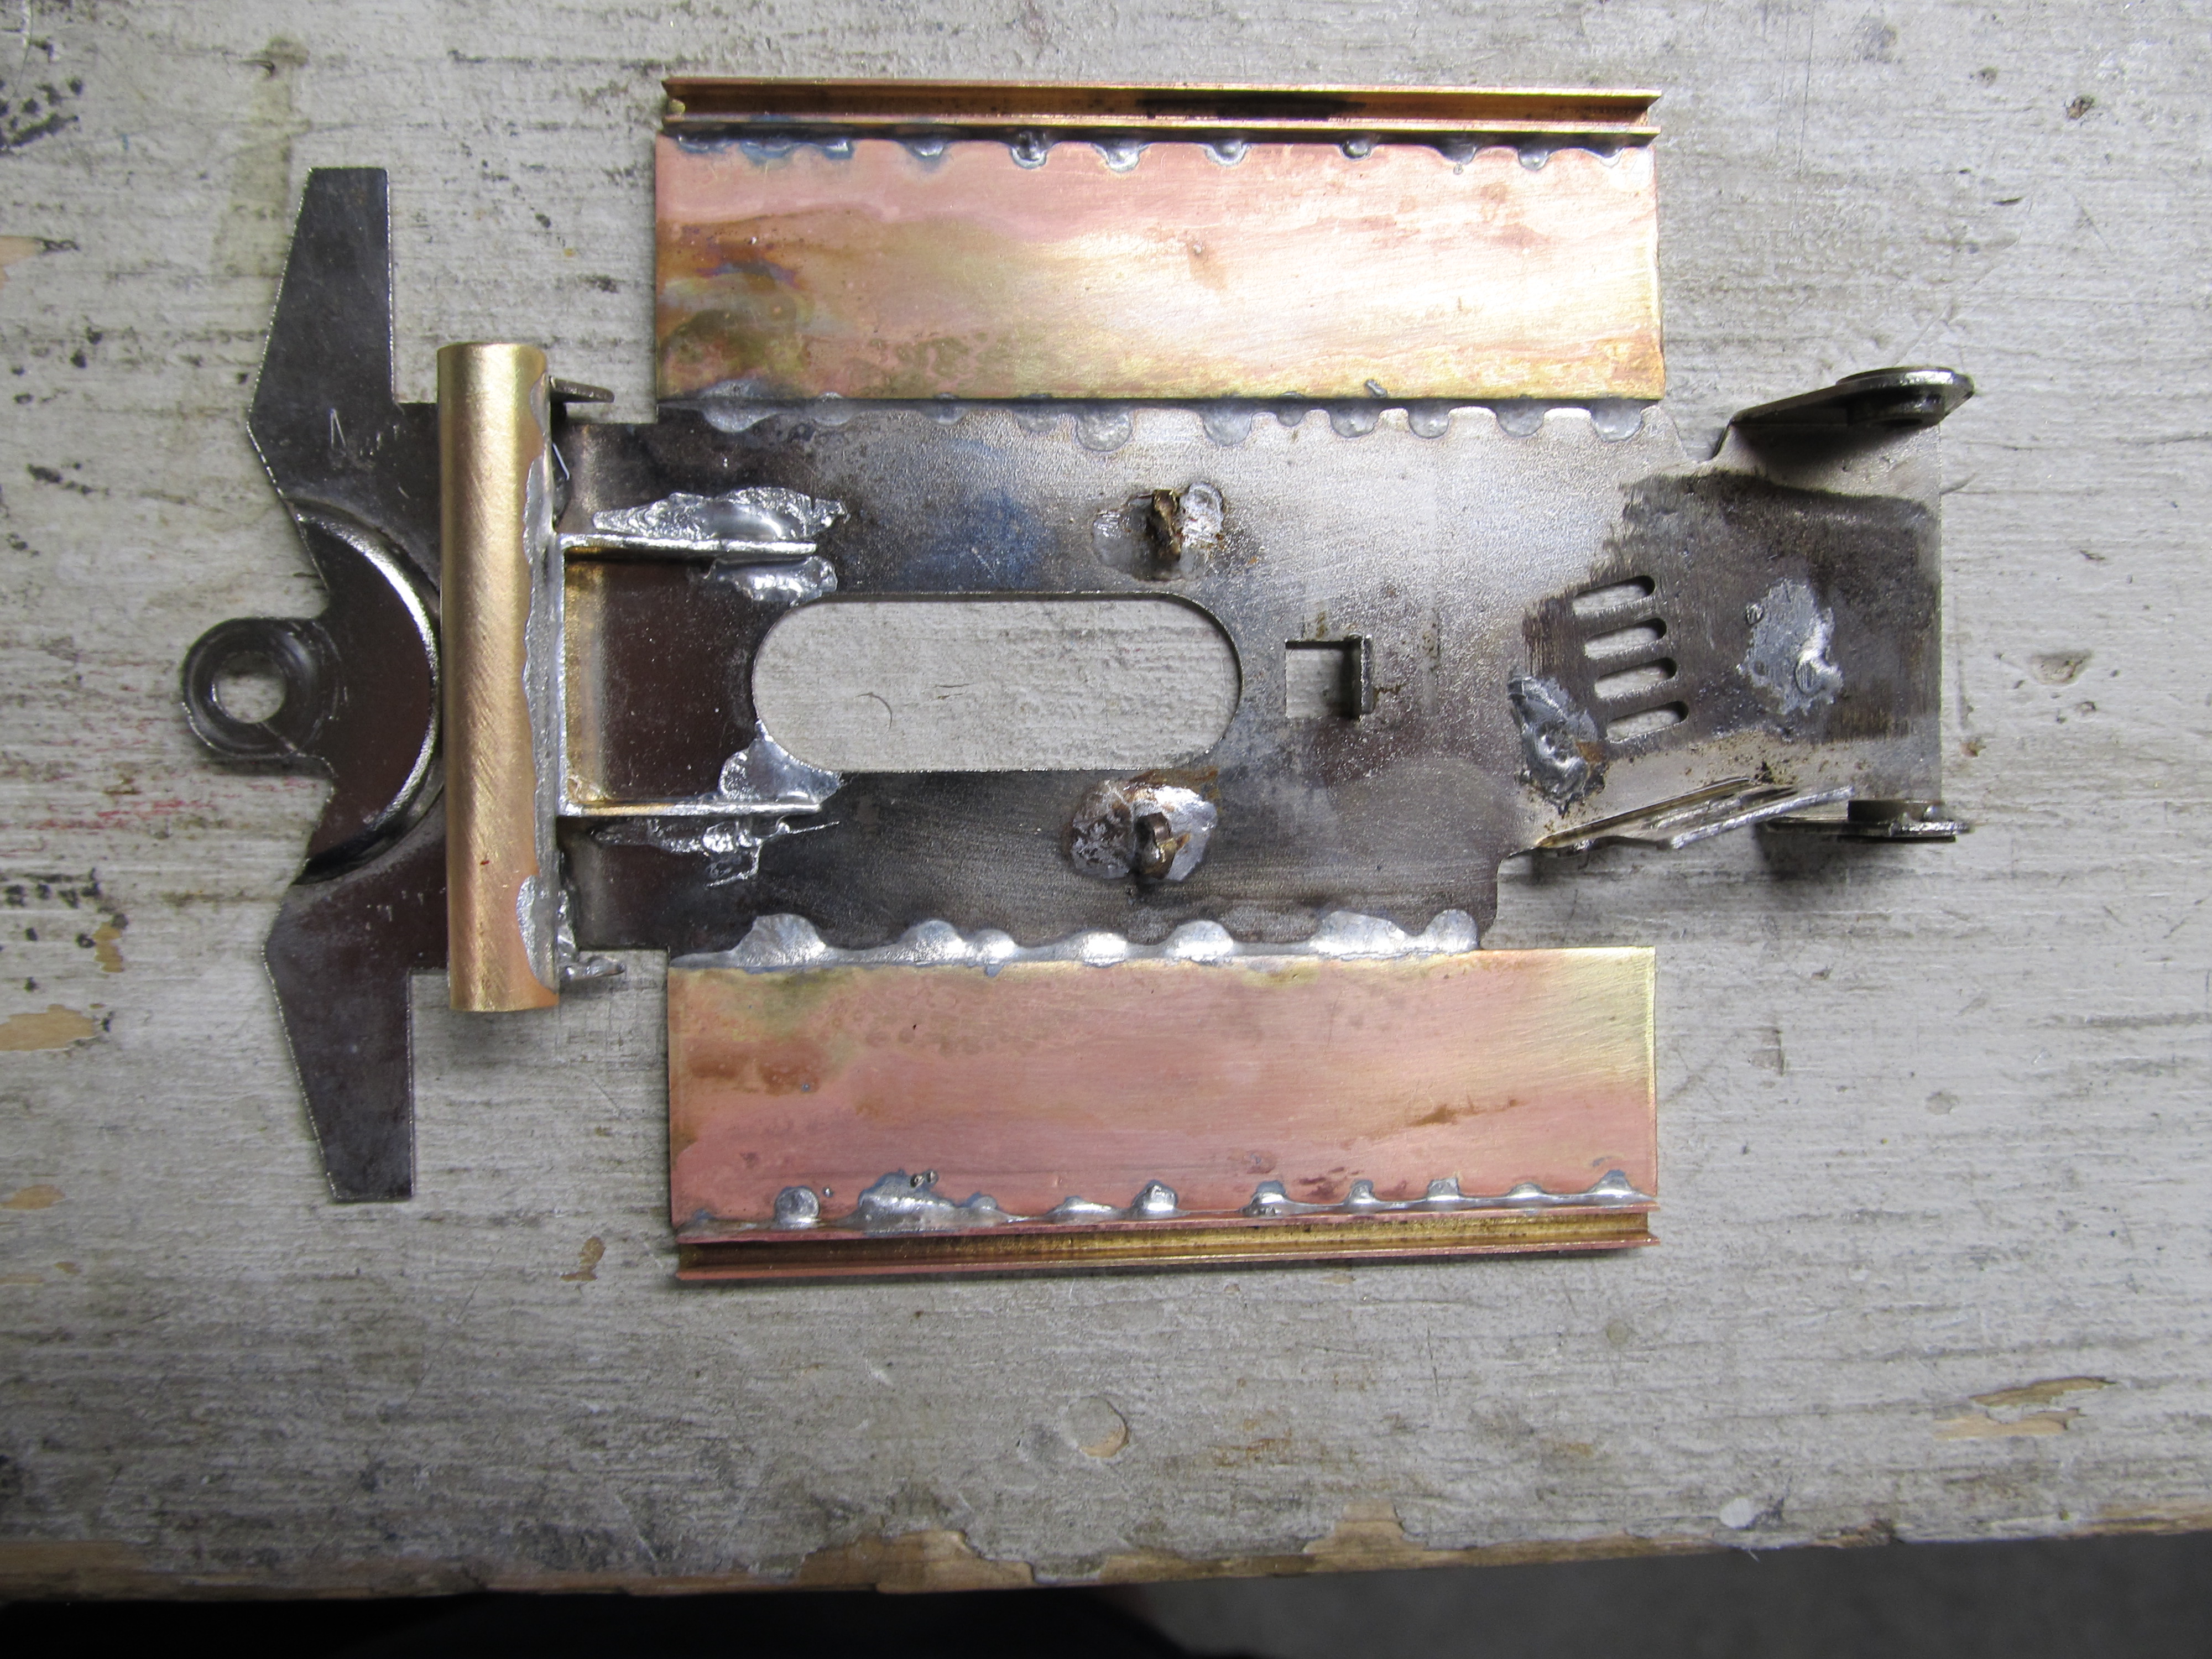
I assembled the chassis for testing. I installed an old Parma pink endbell 16D motor. I didn't think this chassis will handle much power. The first few test laps indicated to me why nobody built any chassis like this. It was crap! It handled very badly, jumping up and down all over whenever the throttle was applied quick and hard. This thing had all kinds of traction! I replaced the rear tires with an older set that I figured wouldn't be as tacky. That settled the chassis down somewhat, but it was still a handfull! It could run 5.8 second laps pretty consistently, dipping into the 5.6 second range occassionally. Not great.......It was still a fun day going from sketch to completed build and testing all within a single day! That is BIG for me! What now?...Well I'm not quite done with it. I'm going to try another motor, maybe an old Falcon, to see if I can calm it down. Probably change the gearing to a higher ratio at the same time. If I can make it work, this will be a really easy build to put some of my Team Bluegroove bodies to use. I have plenty of "Flexi" type chassis to use!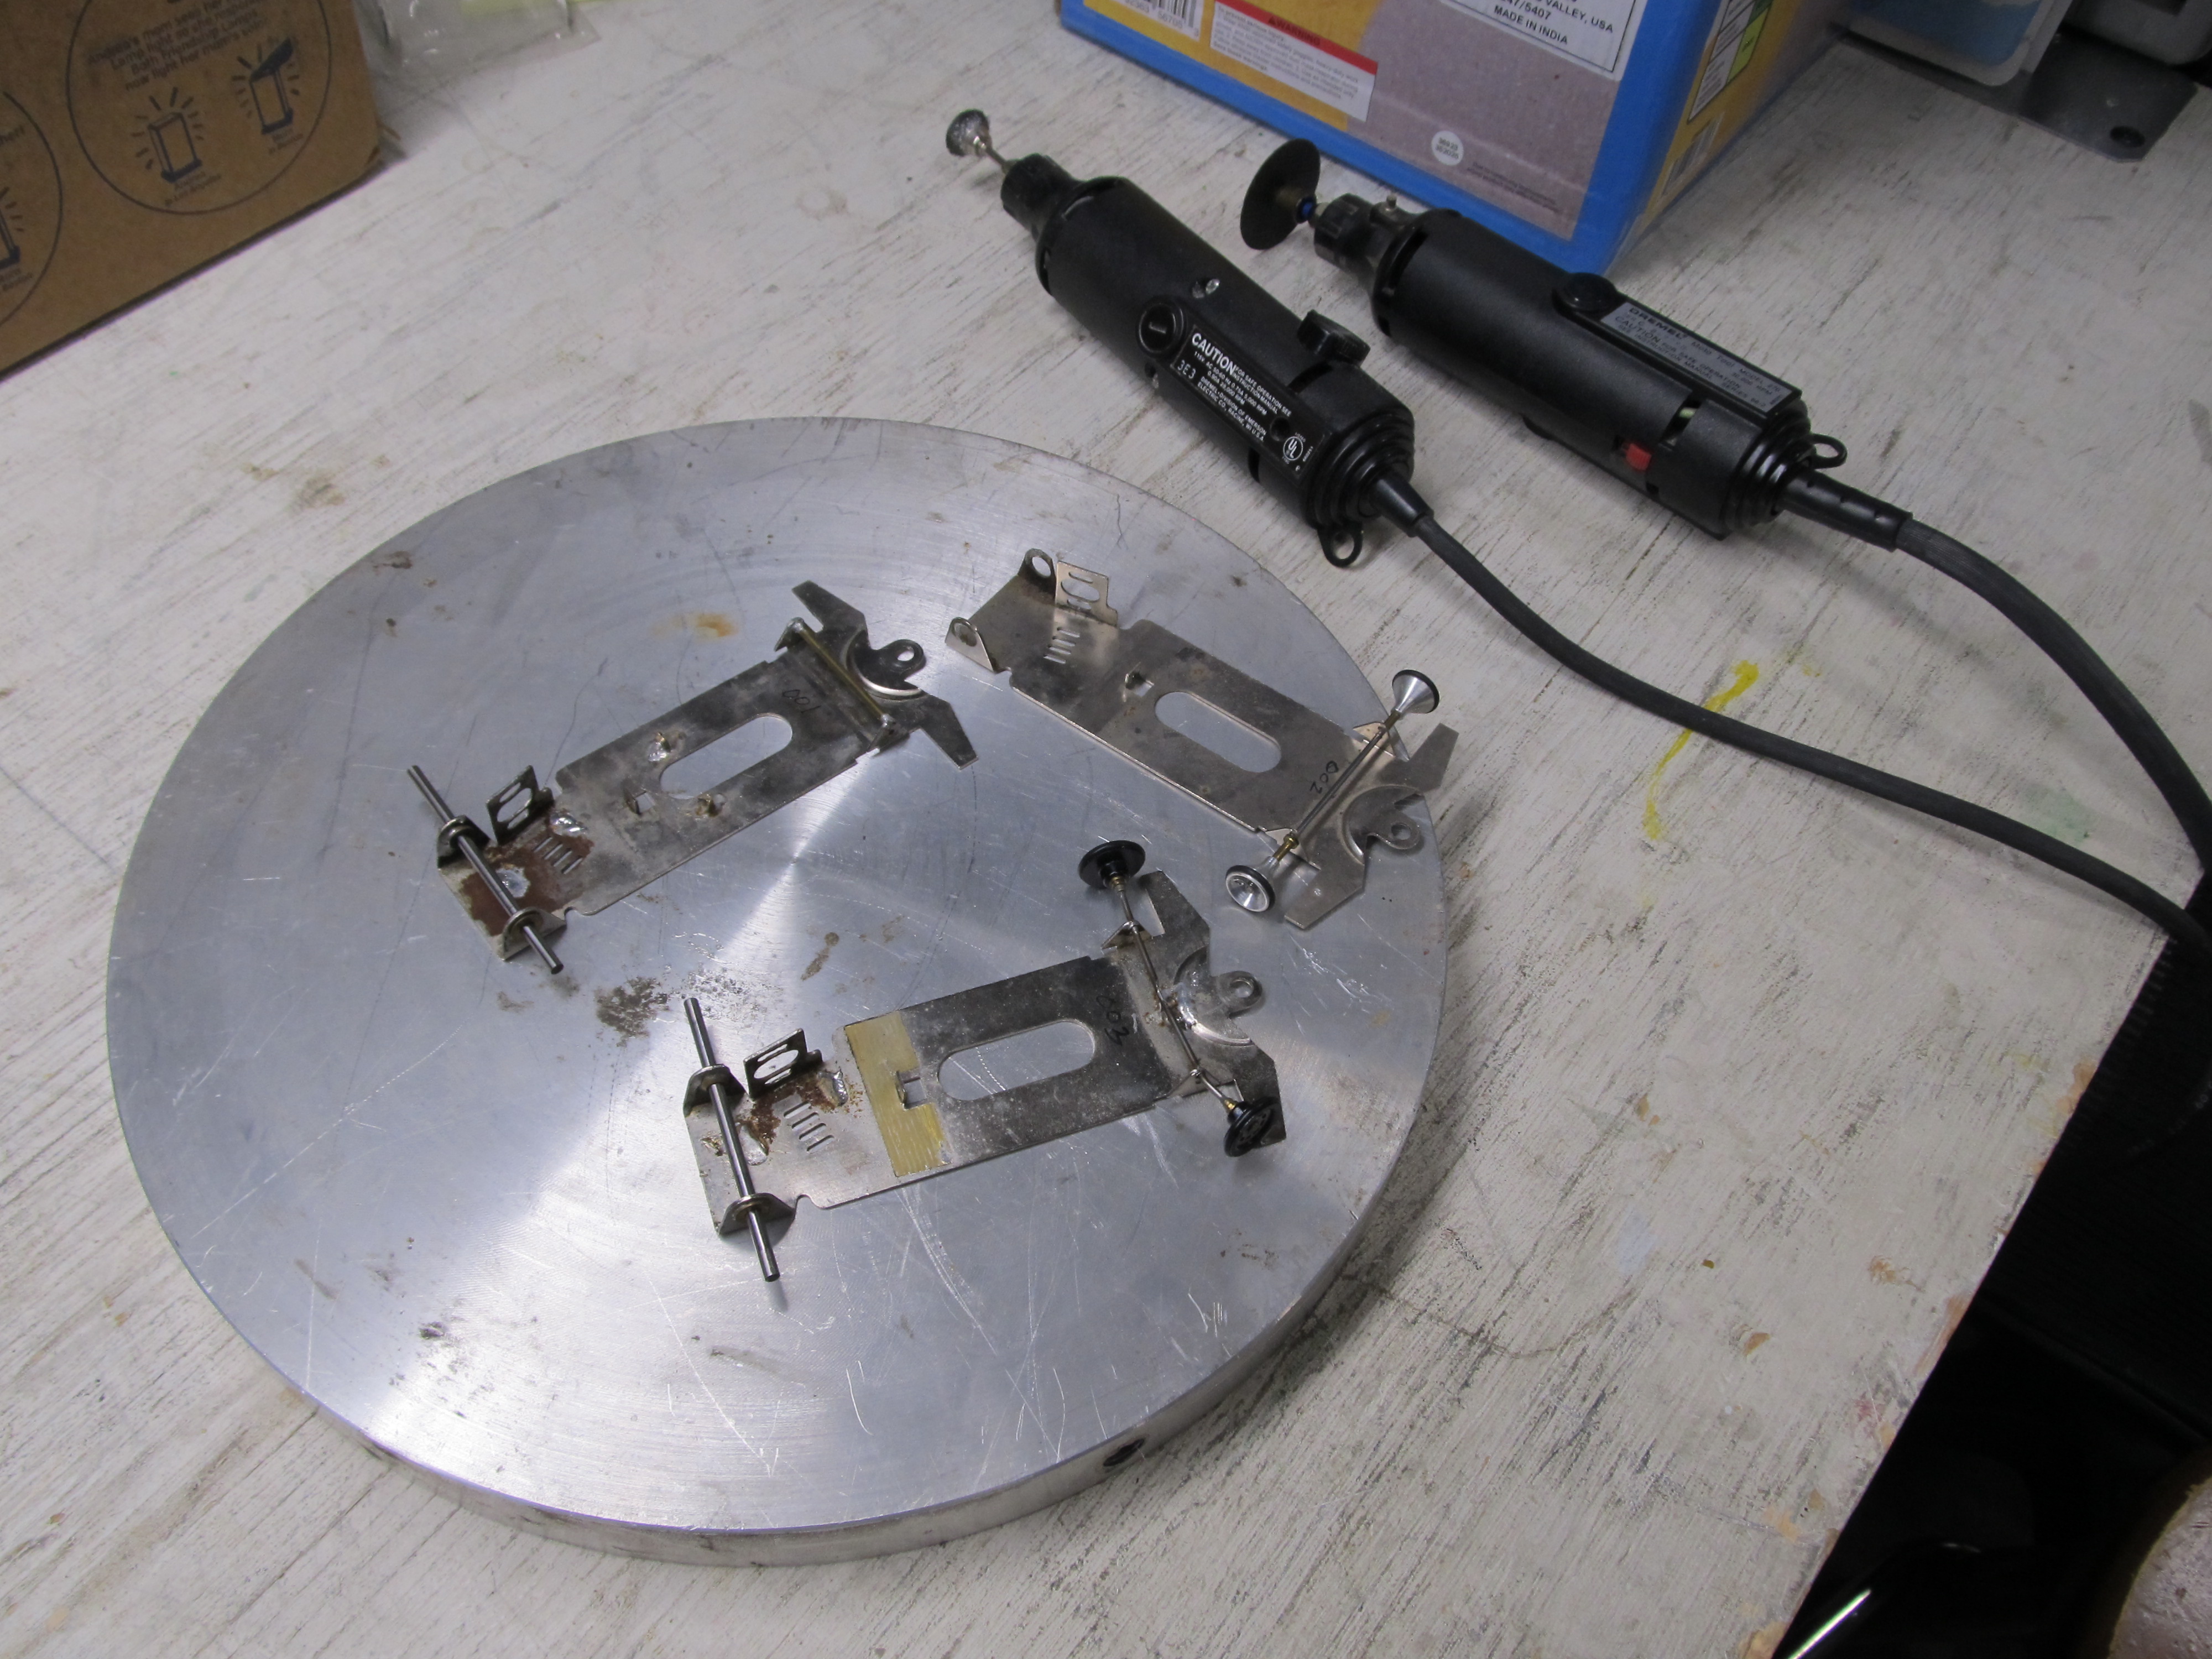
Not to worry, this is NOT going to be a new class! This is just an old man revisting his early slot car building past.
16 June 20, 2026 9:01 pm
Re: Nostlagia.......Rookie Northwest Style. (2 replies, posted in Cars)
My plan is to experiment with a flat pan style chassis with the motor mounted in an anglewinder configuration. Why, because I didn't see it done in my early experience racing with the PASER guys. The goal is to build a really simple chassis and use a Team Bluegroove .030" Lexan body. Of course all of the Champion Turbo chassis center sections were slightly bent, so I took the time to straighten one before starting the build. 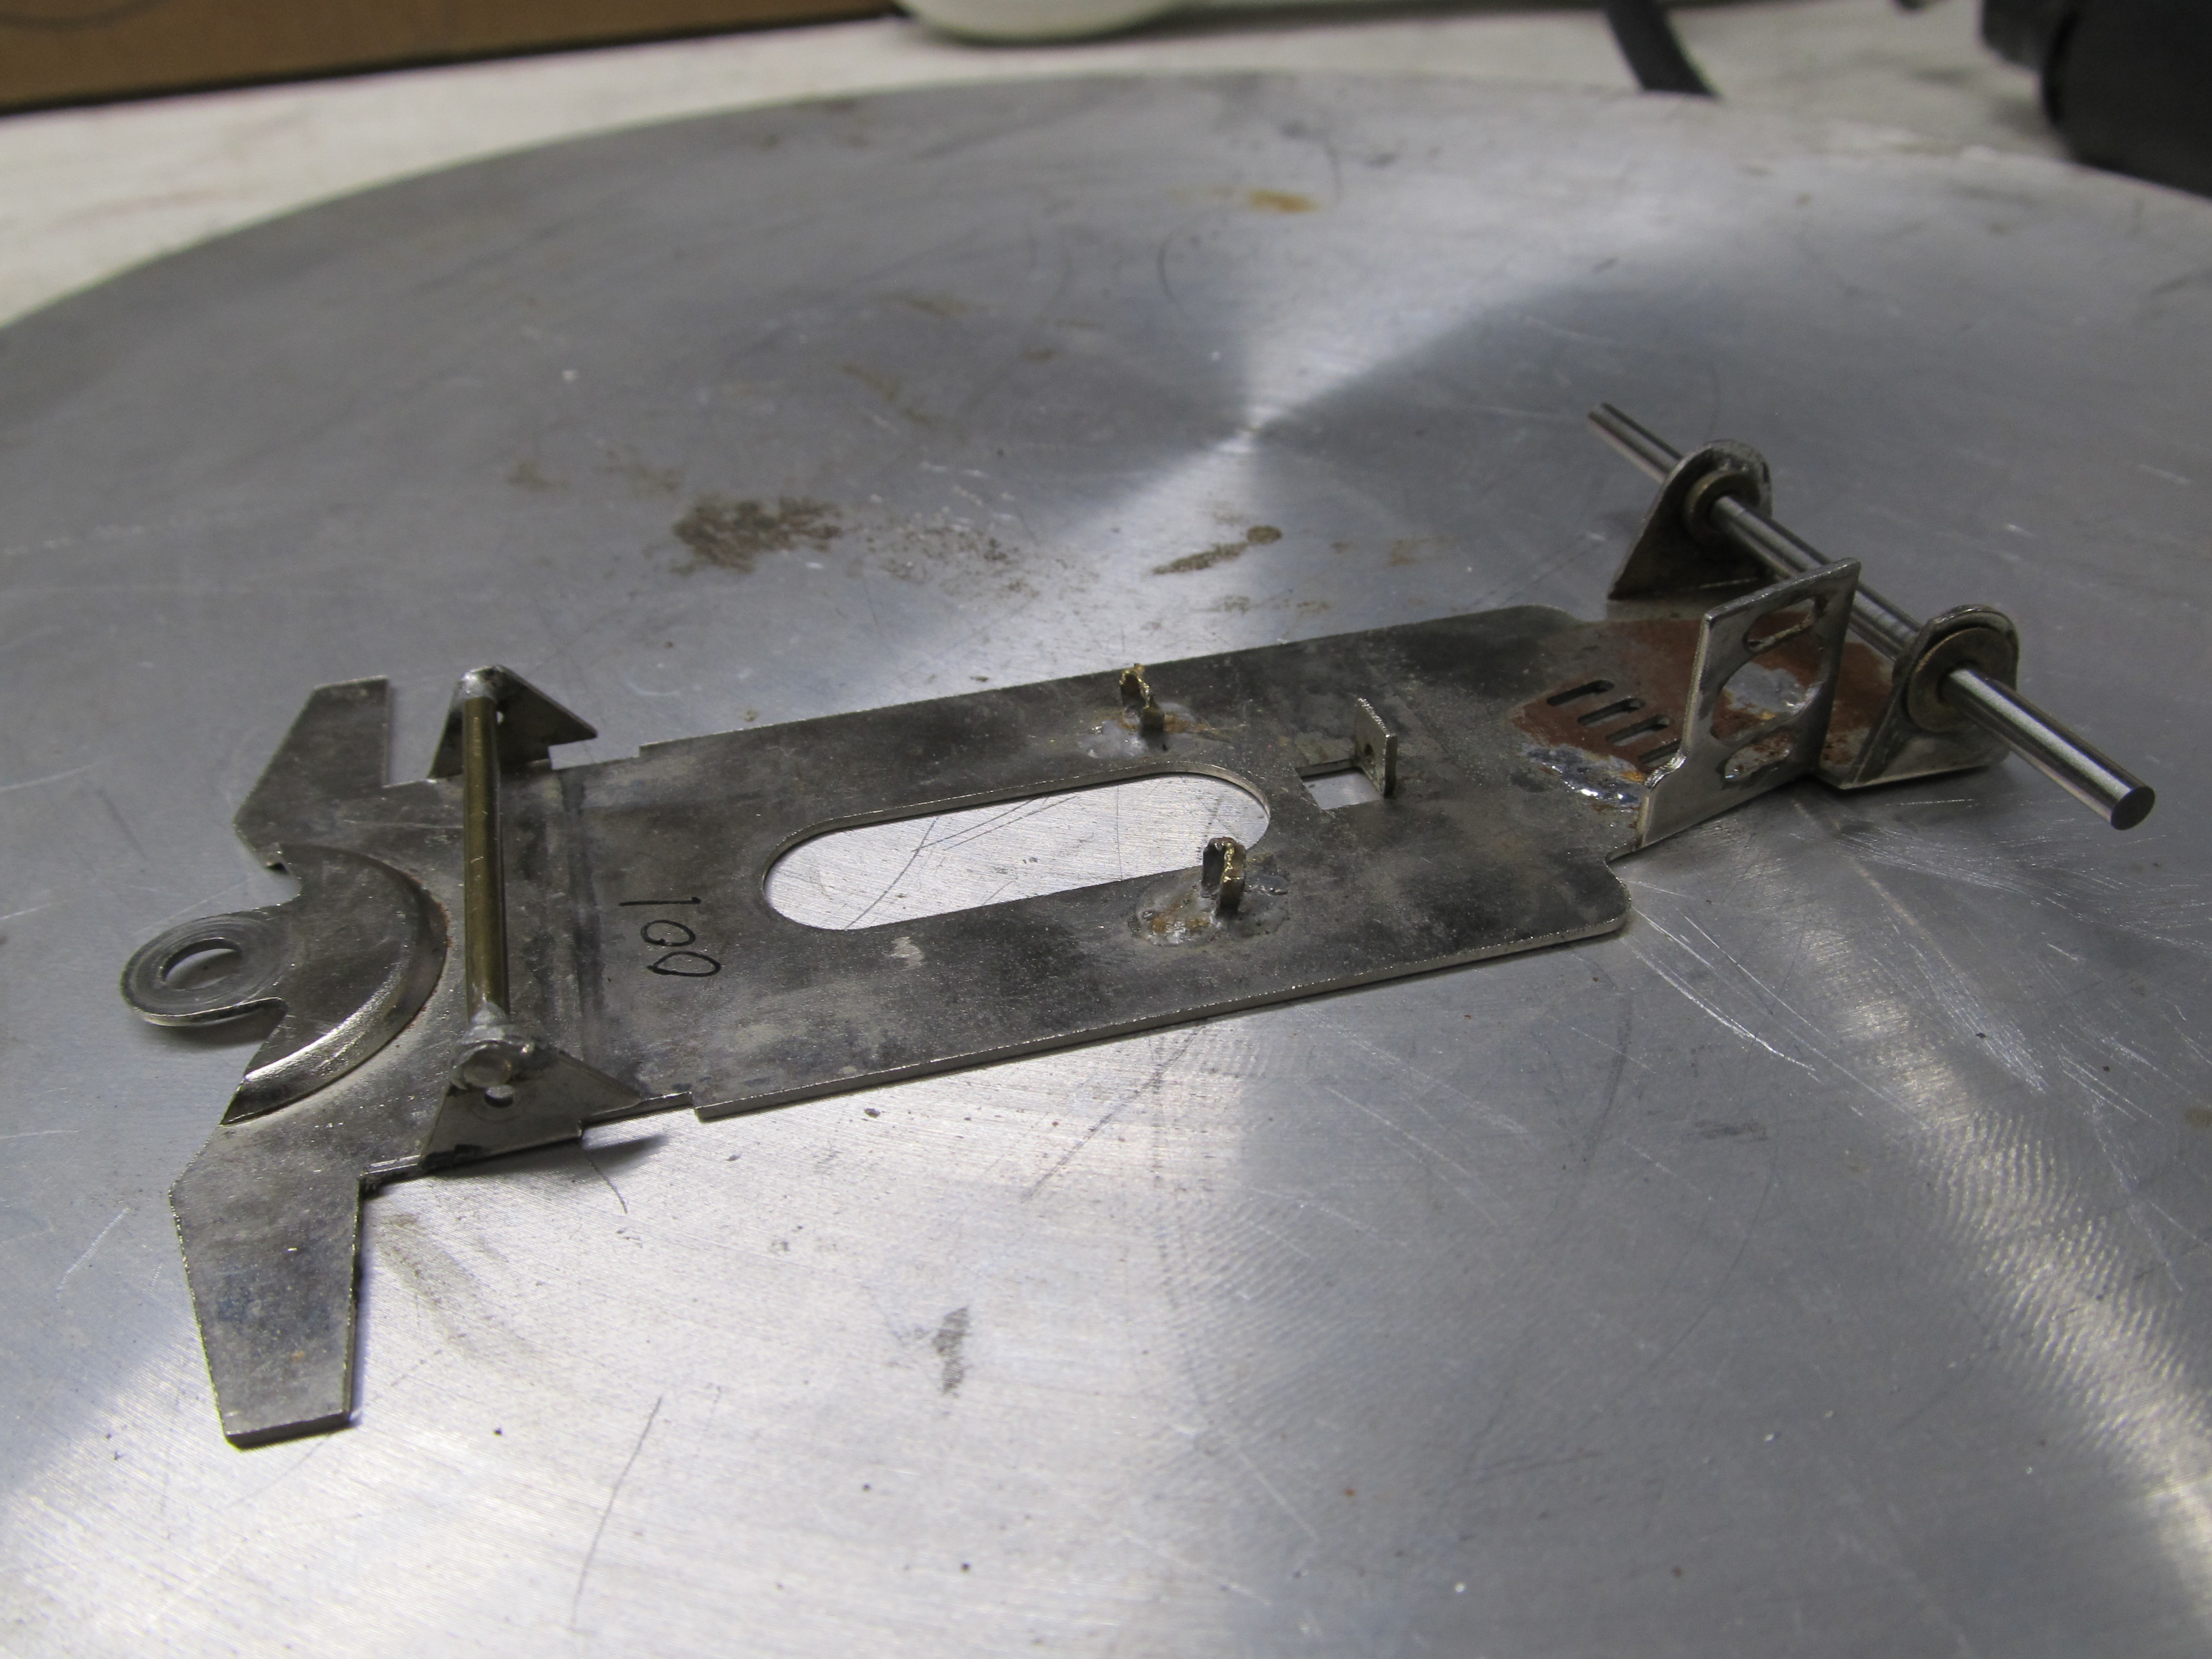
I used a wire brush on my Dremel tool to clean up the chassis, removeing rust and corrosion. I've found this type of wire brush works the best for me. It doesn't seem to lose or throw wires nearly as bad as the other type.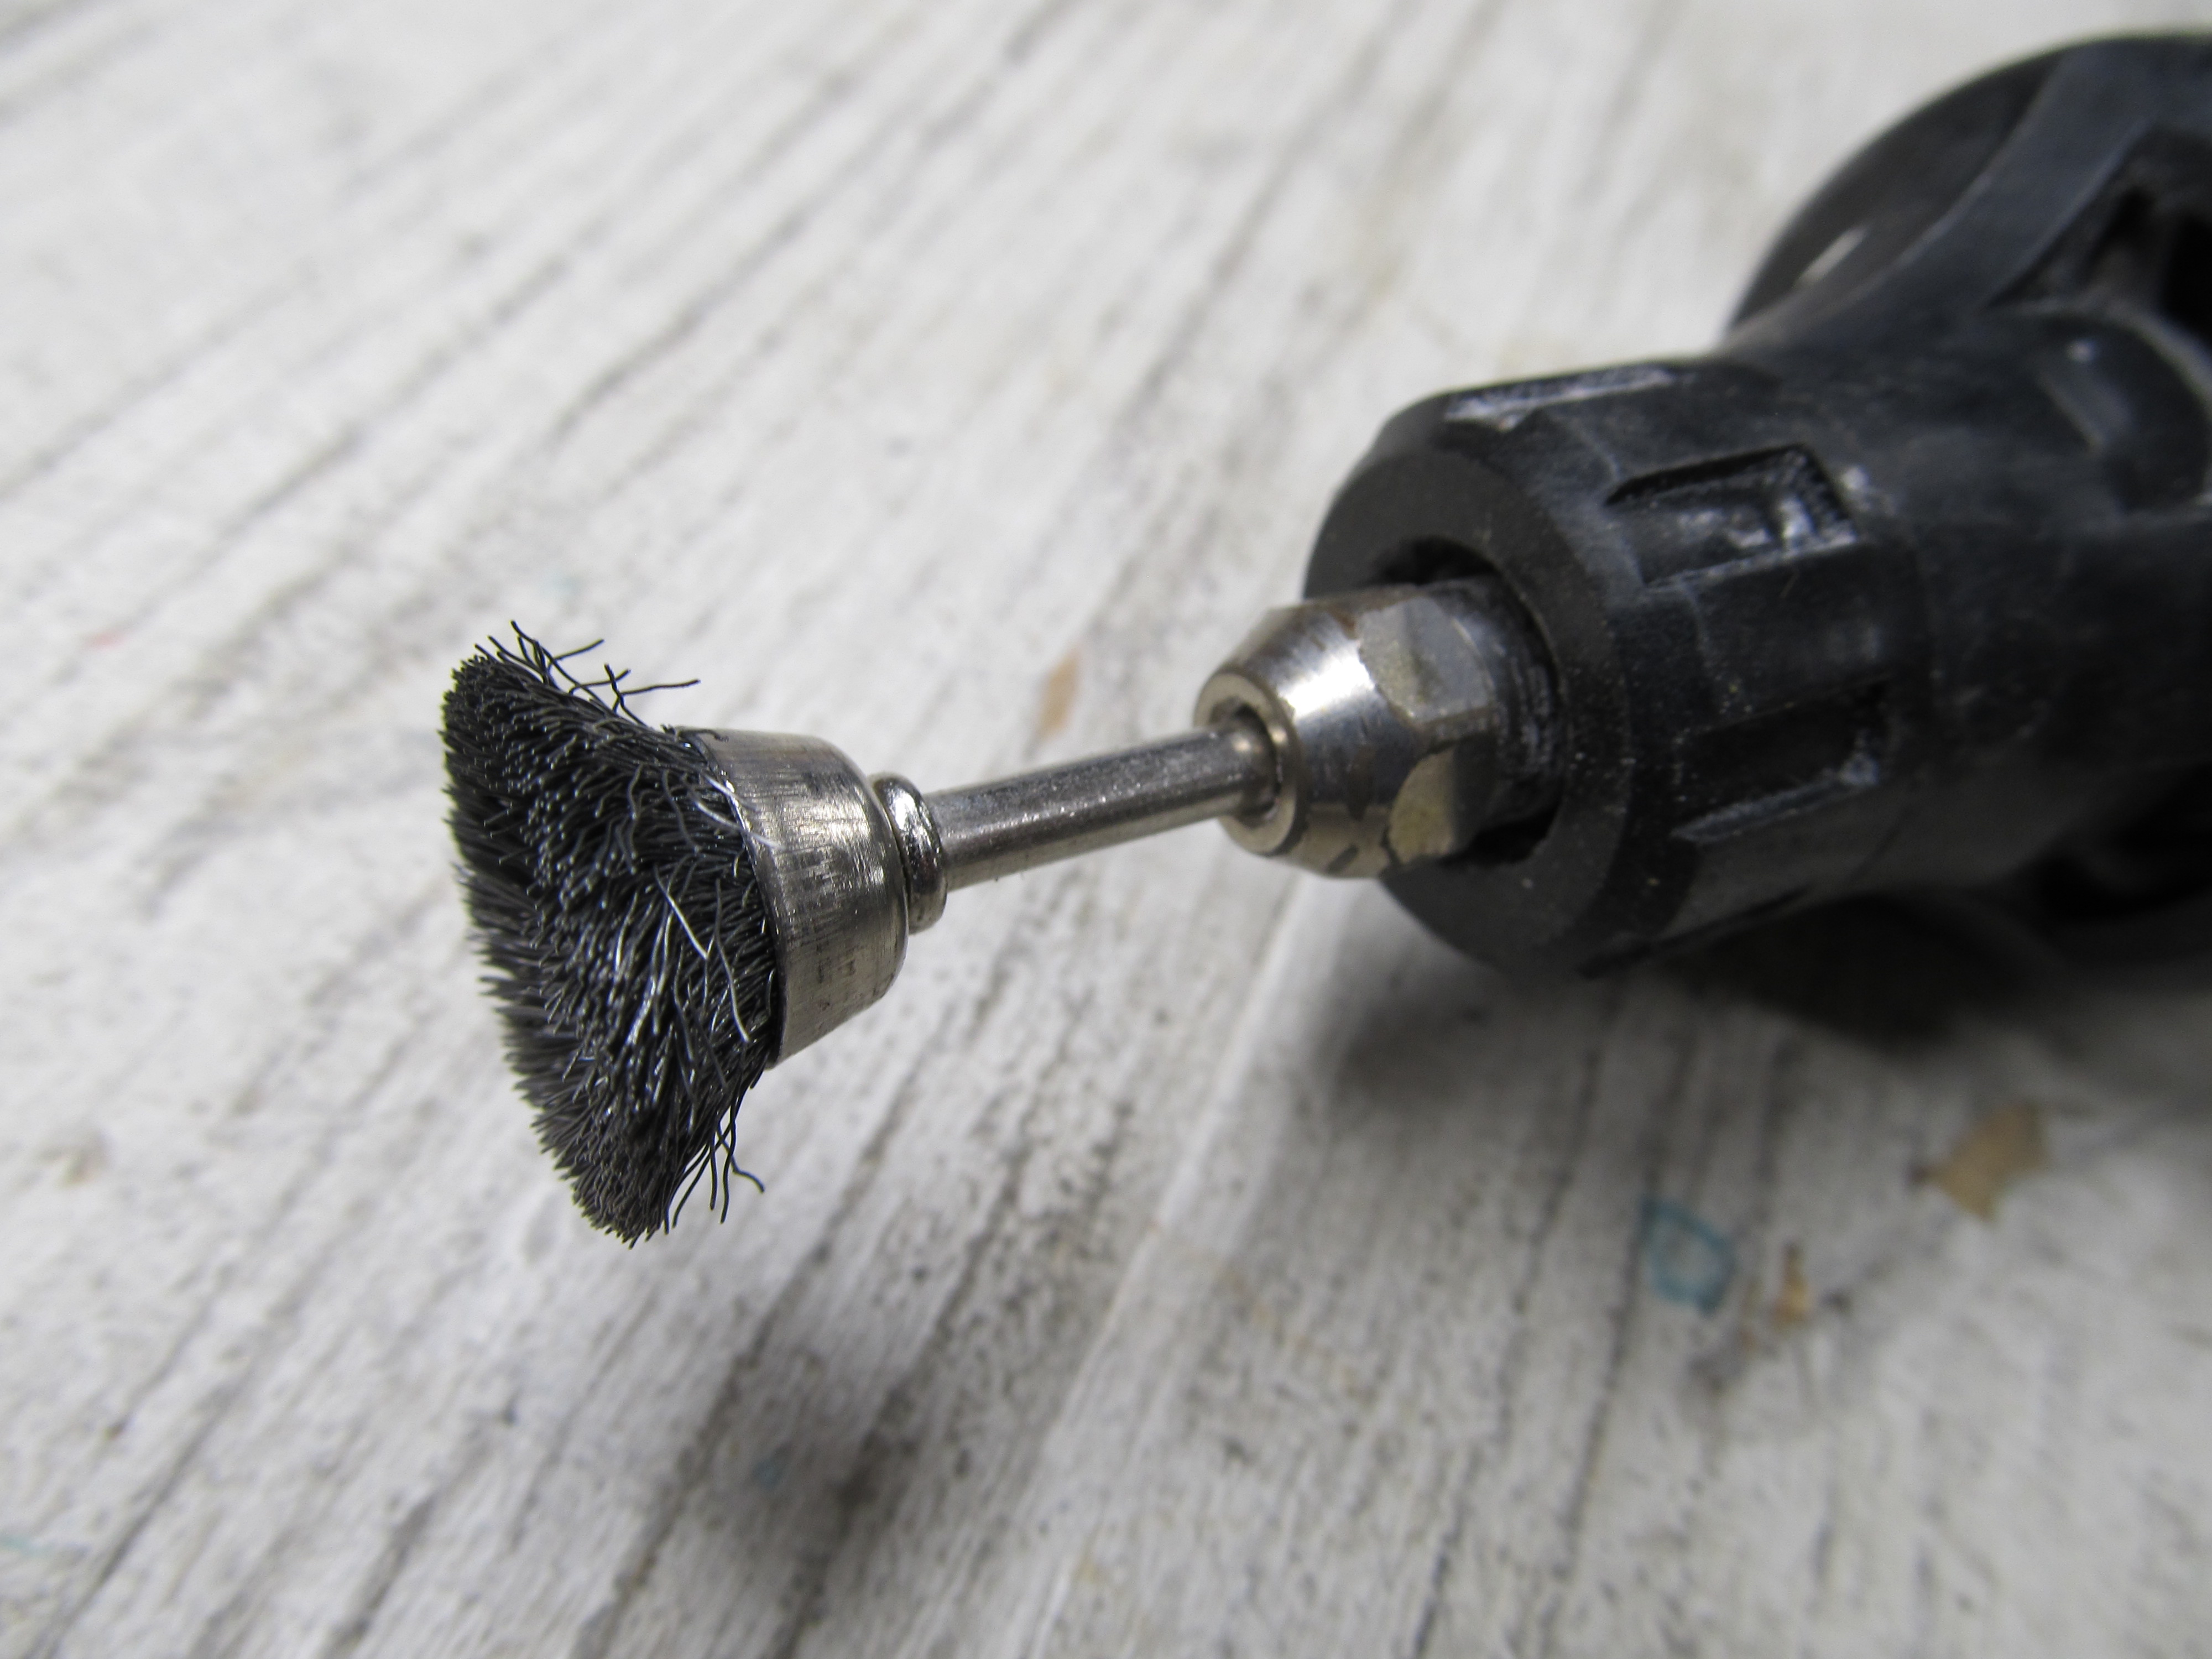
I decided I would solder .062" side pans to the center section. I used .750" brass strip and cut it to length. One piece for each side. So far a very simple modification. The rear motor mount and axle mount will remain unaltered. I have a large round piece of aluminum that I used when cutting the brass strip with my Dremel tool and a cut off wheel. Laying the brass on the aluminum while cutting allows the aluminum to work as a heat sink, keeping the brass strip from getting too hot to handle.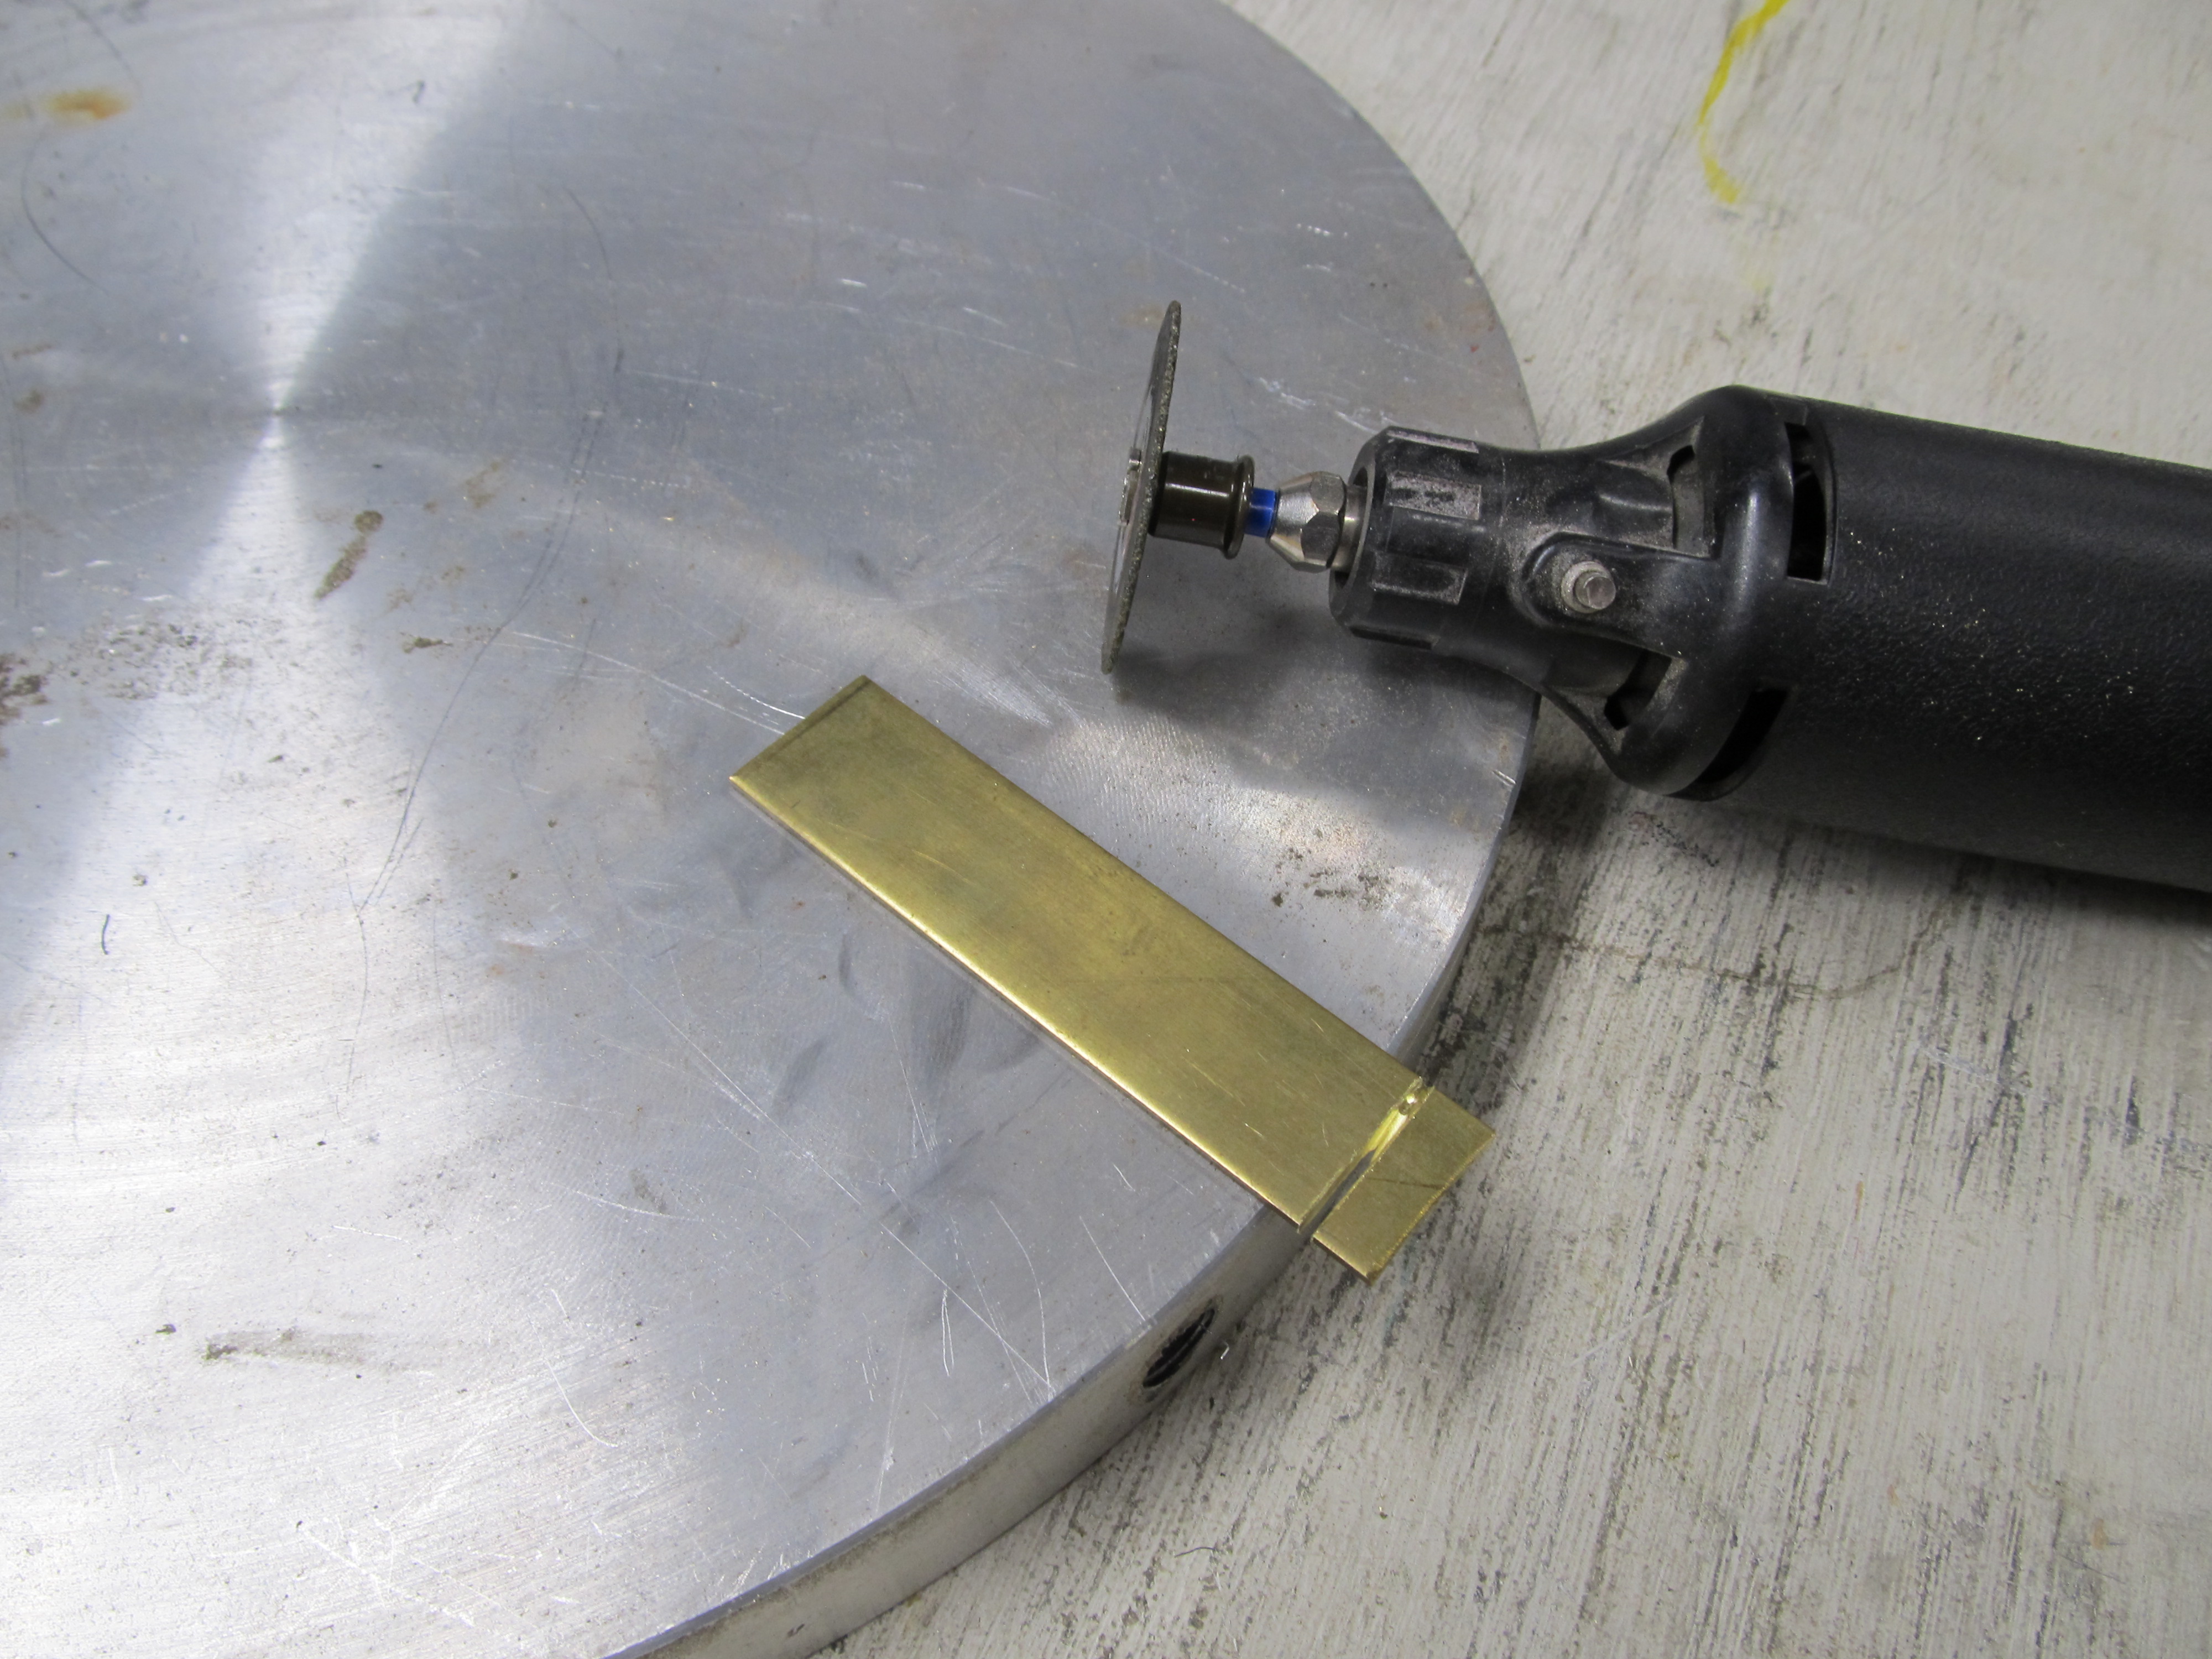
17 June 20, 2026 7:18 pm
Topic: Nostlagia.......Rookie Northwest Style. (2 replies, posted in Cars)
My good friend Dave Smith came by the shop along with Brian Tooley this last week. I always enjoy a visit from these guys. Brian for his enthusiasm as a somewhat new enthusiast, and Dave because I have known him through my entire slot car racing experience. I met Dave in the early 1980's or maybe late 1970's. I don't really remember exactly. What I do know is as far as slot car racing he has always been part of my experience! We started out racing HO cars in the Portland area and all up and down the Willamette Valley. Then we found out about the PASER club in the early '80s and started racing at Lee Dundas' barn in Willsonville. We raced 1/32 Parma Womp Womps and scratch built 1/24 cars with 36D motors and model car bodies. In those early days the chassis were very basic brass scratch built, with an inline motor configuration flat chassis. There were no hinges or moving parts to the chassis. They were basic and pretty simple to build. That in no way distracted from the fun!
Everytime I get together with Dave we can't help but reflect on the "old days". Simpler times for sure, but just as much racing fun from my memories. Today I got an urge. Back then when we were racing the hard body 1/24 inline cars, the club for a short time also raced some 1/24 anglewinder chassis with 36D motors and clear bodies. They were way superior to the inline hardbody cars we were racing. At this point in time I left the slot car racing hobby for a period of time. When I returned the club was still racing hardbody cars with inline chassis, but they were now powered with much faster super 16D motors and inline chassis that featured hinges and separate moving parts. I was now way behind the curve. I had never really gotten up to speed on the first generation of hard body chassis design!
Building the new generation of chassis for racing with PASER was very difficult for me, and it still is! This and my recent reminiscing and discussions with Dave got me to thinking. How did the chassis designs jump from flat pan style to the hinged style with all the movement? What steps did I miss in between? Today I decided to explore, using my own strange reconstructive path.
In those early PASER days of the inline scratchbuilt chassis I believe it was easier to build up the motor boxes in an inline configuration. You could also keep the the wider tires inside of the 1/24 model car body with an inline configuration. There were sidewinder chassis from the '60s with 36D motors, and then there were anglewinder chassis with 16D motors. Two piece stamped chassis that worked great! But my question is; was there any experimentation with angle or side winder chassis for the 16D with just a flat pan design? Well, being a slot car adict that has plenty of used "Flexi" type chassis and parts, I though I might experiment a little.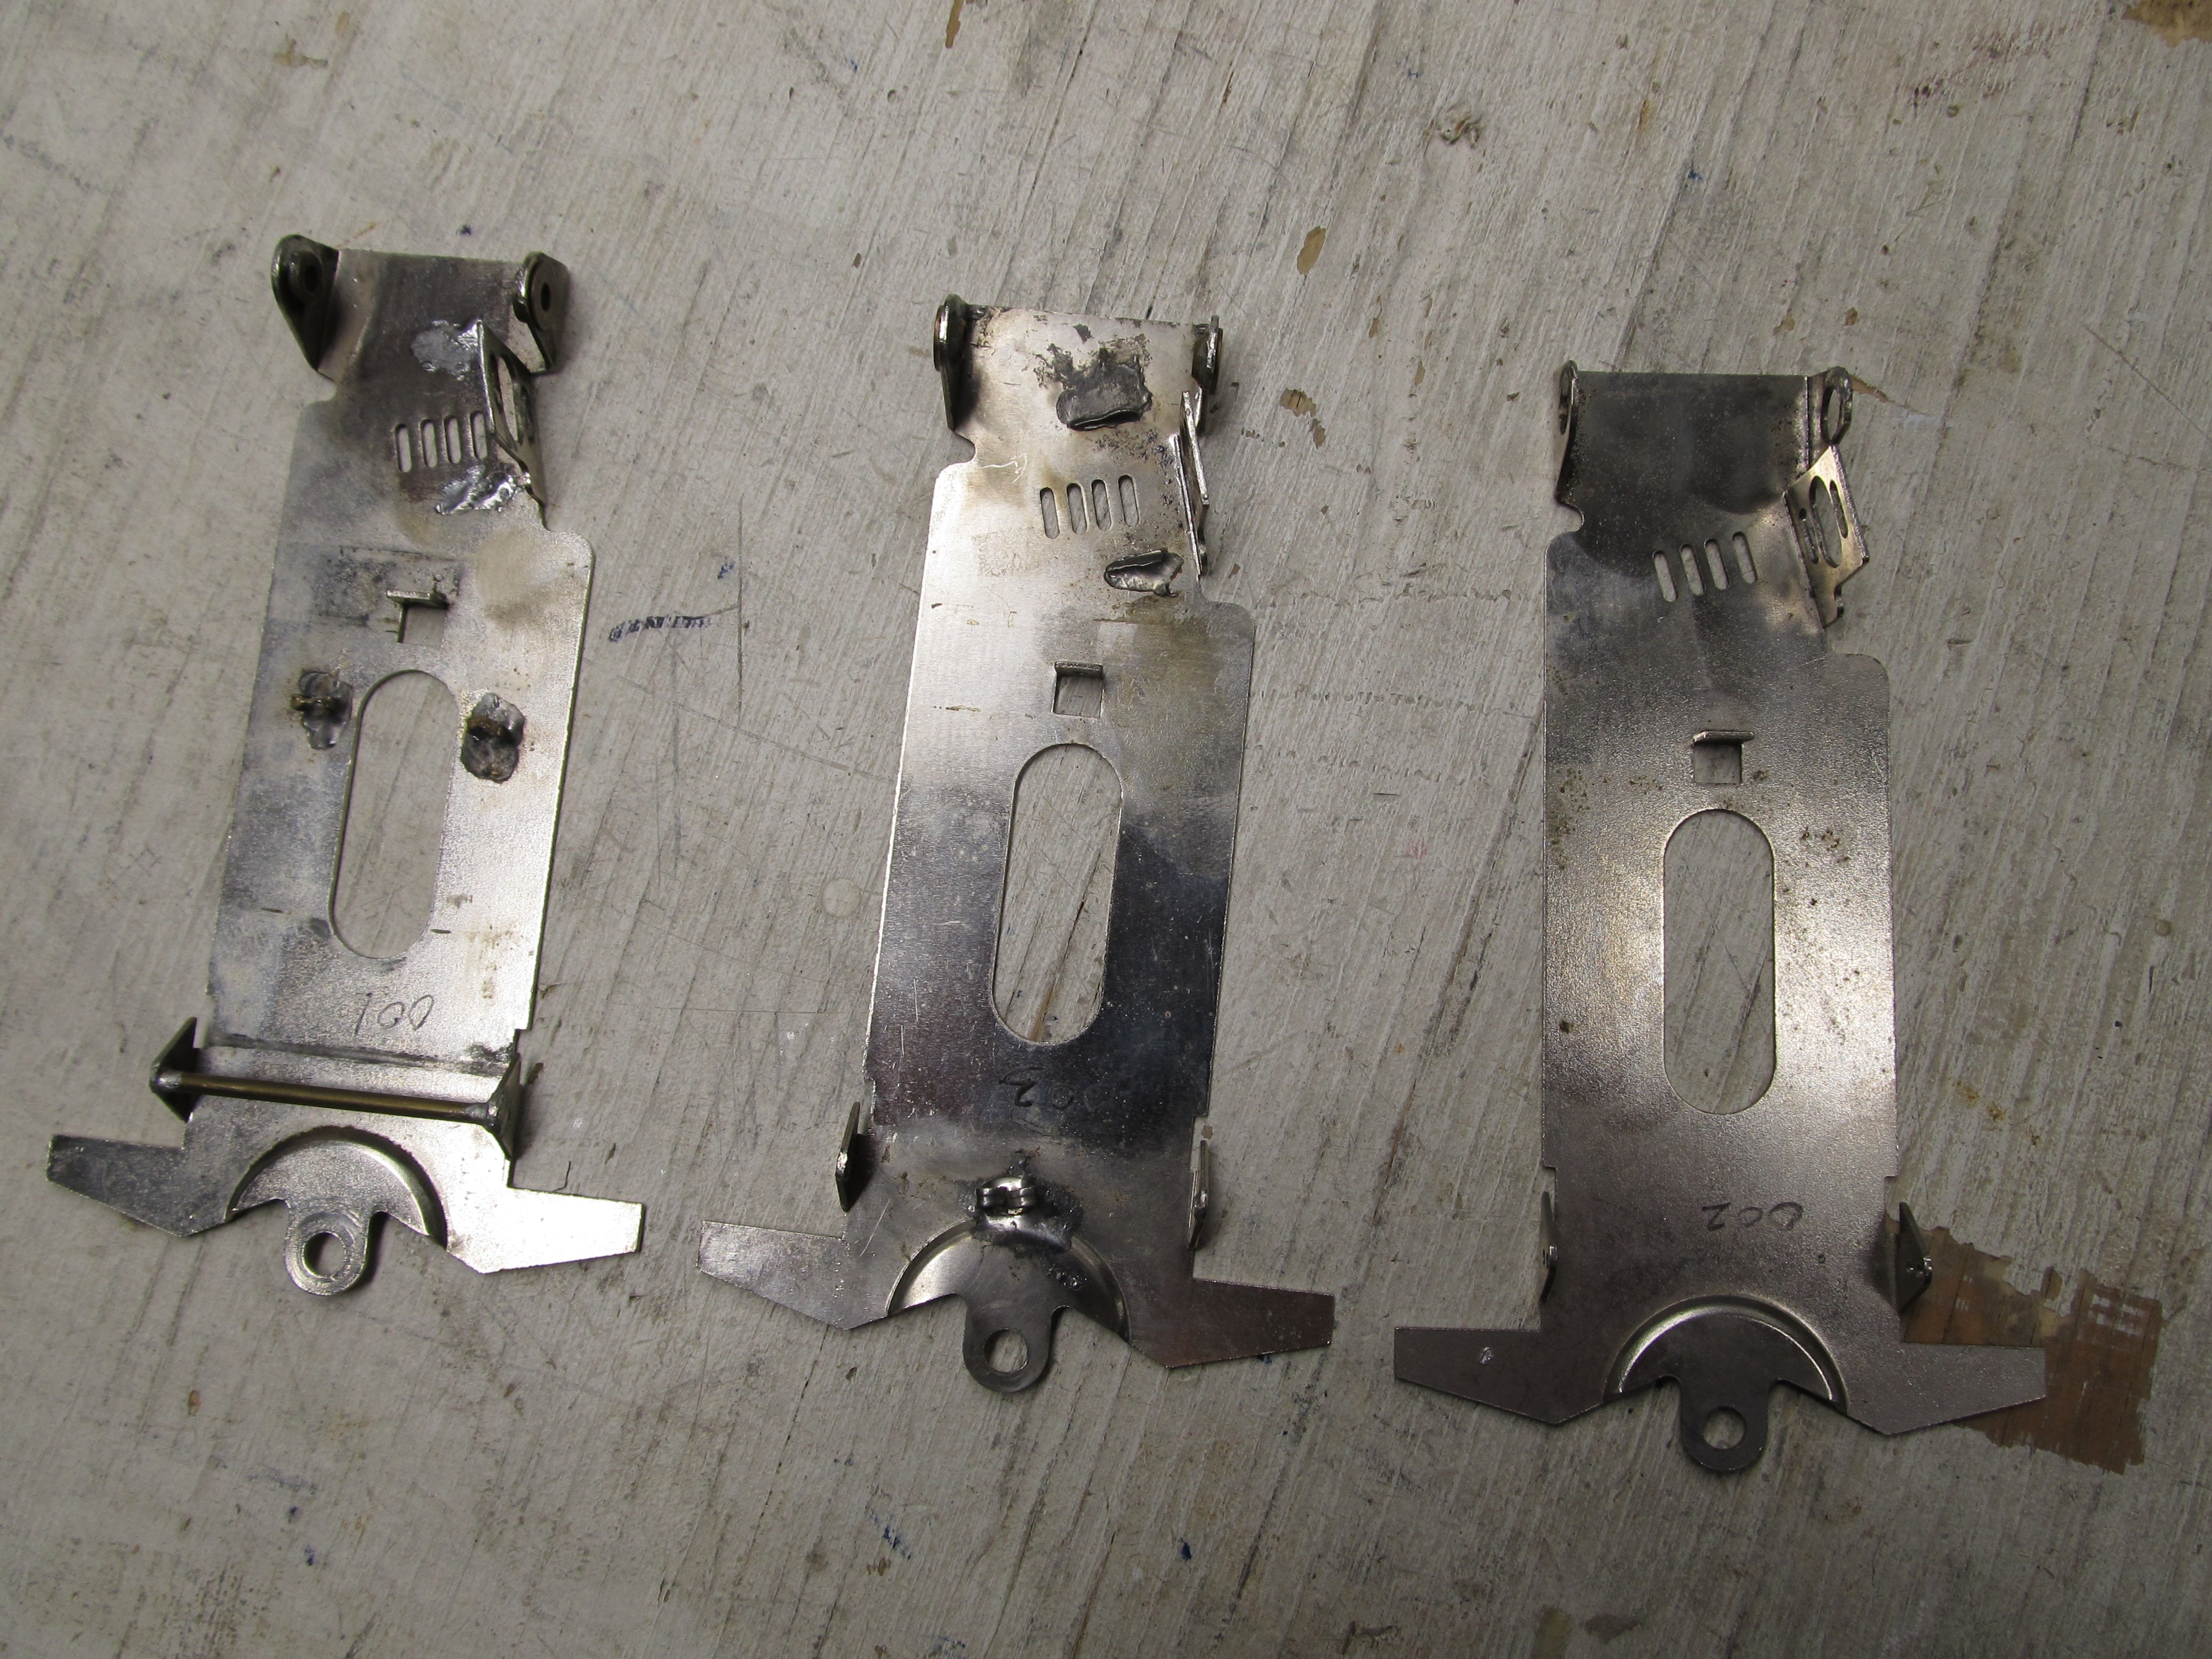
18 June 17, 2026 6:59 am
Re: IROC Slot Car Race at Electron Raceway in Roseburg! (10 replies, posted in Electron Raceway)
The results are in and our Columbia River Cyclones Team won the team title!
Results & video here: https://www.youtube.com/watch?v=JJThiwkWvrA
19 June 16, 2026 7:29 am
Re: IROC Slot Car Race at Electron Raceway in Roseburg! (10 replies, posted in Electron Raceway)
The Roseburg Team only had two members. James on the left and Rich on the right.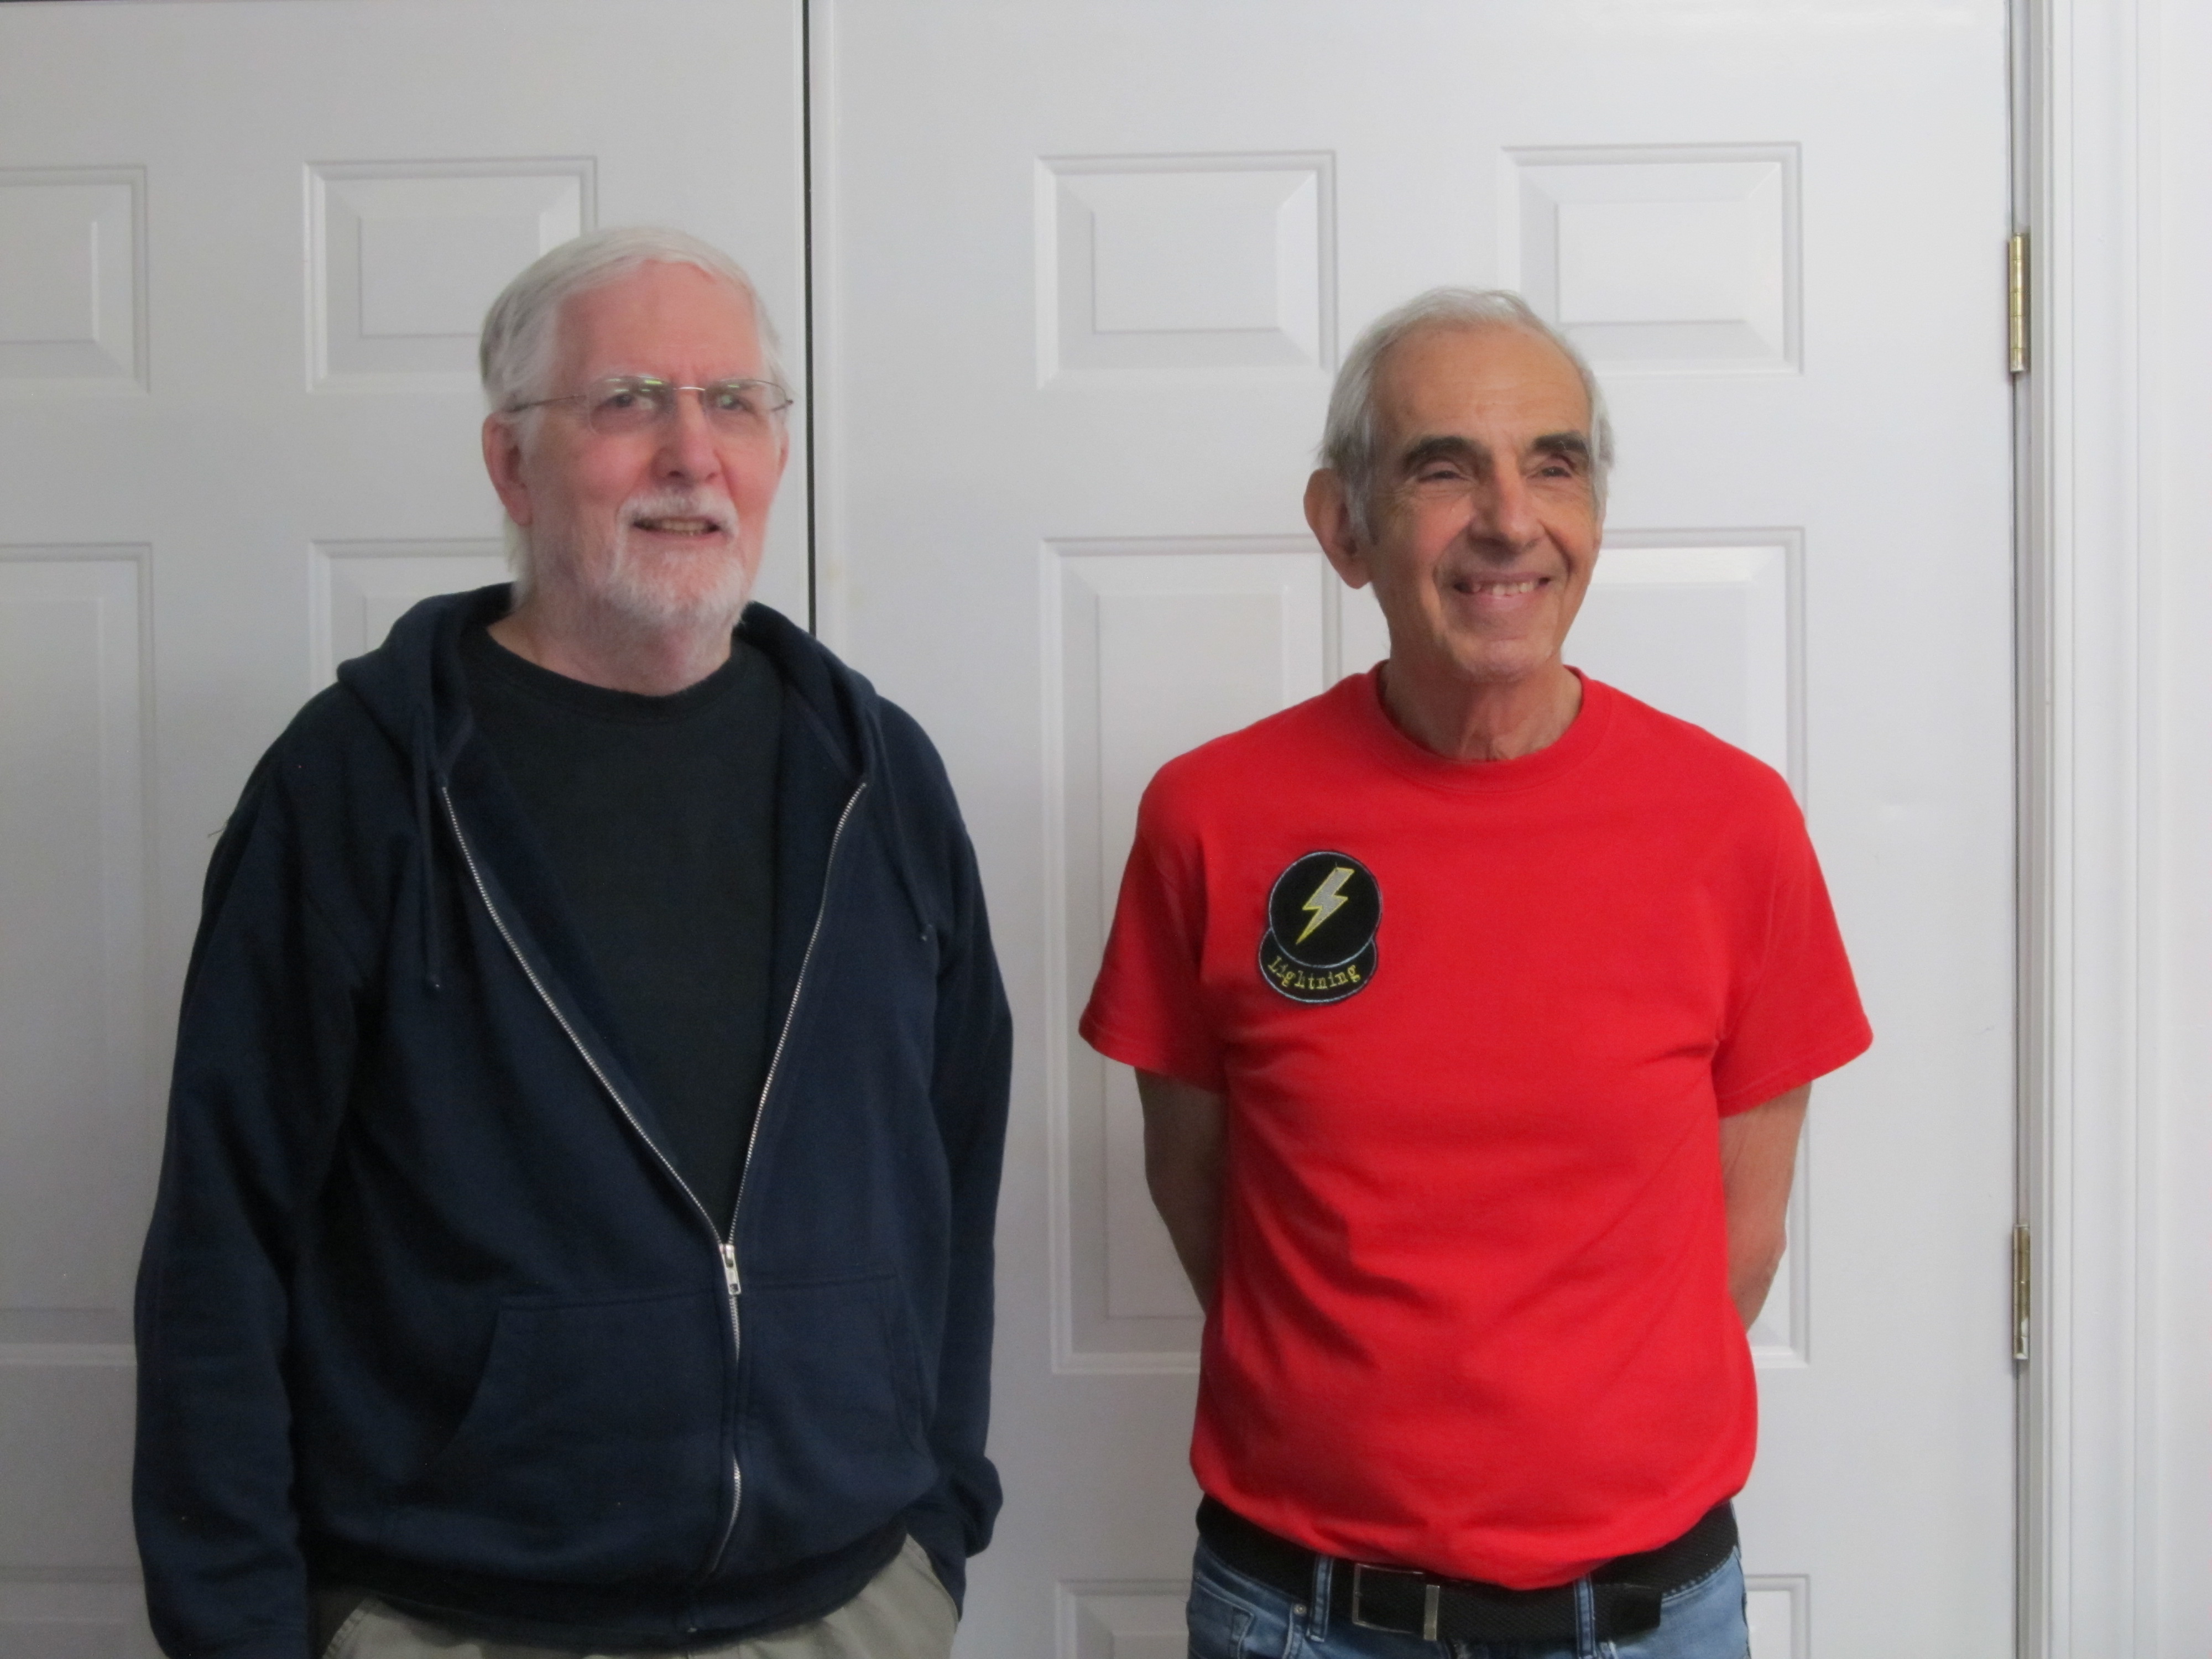
The "Hooligan" race was exciting! There were no slow racers anywhere in the entire field for this IROC race! Left to right: Paul, Kevin, James, John.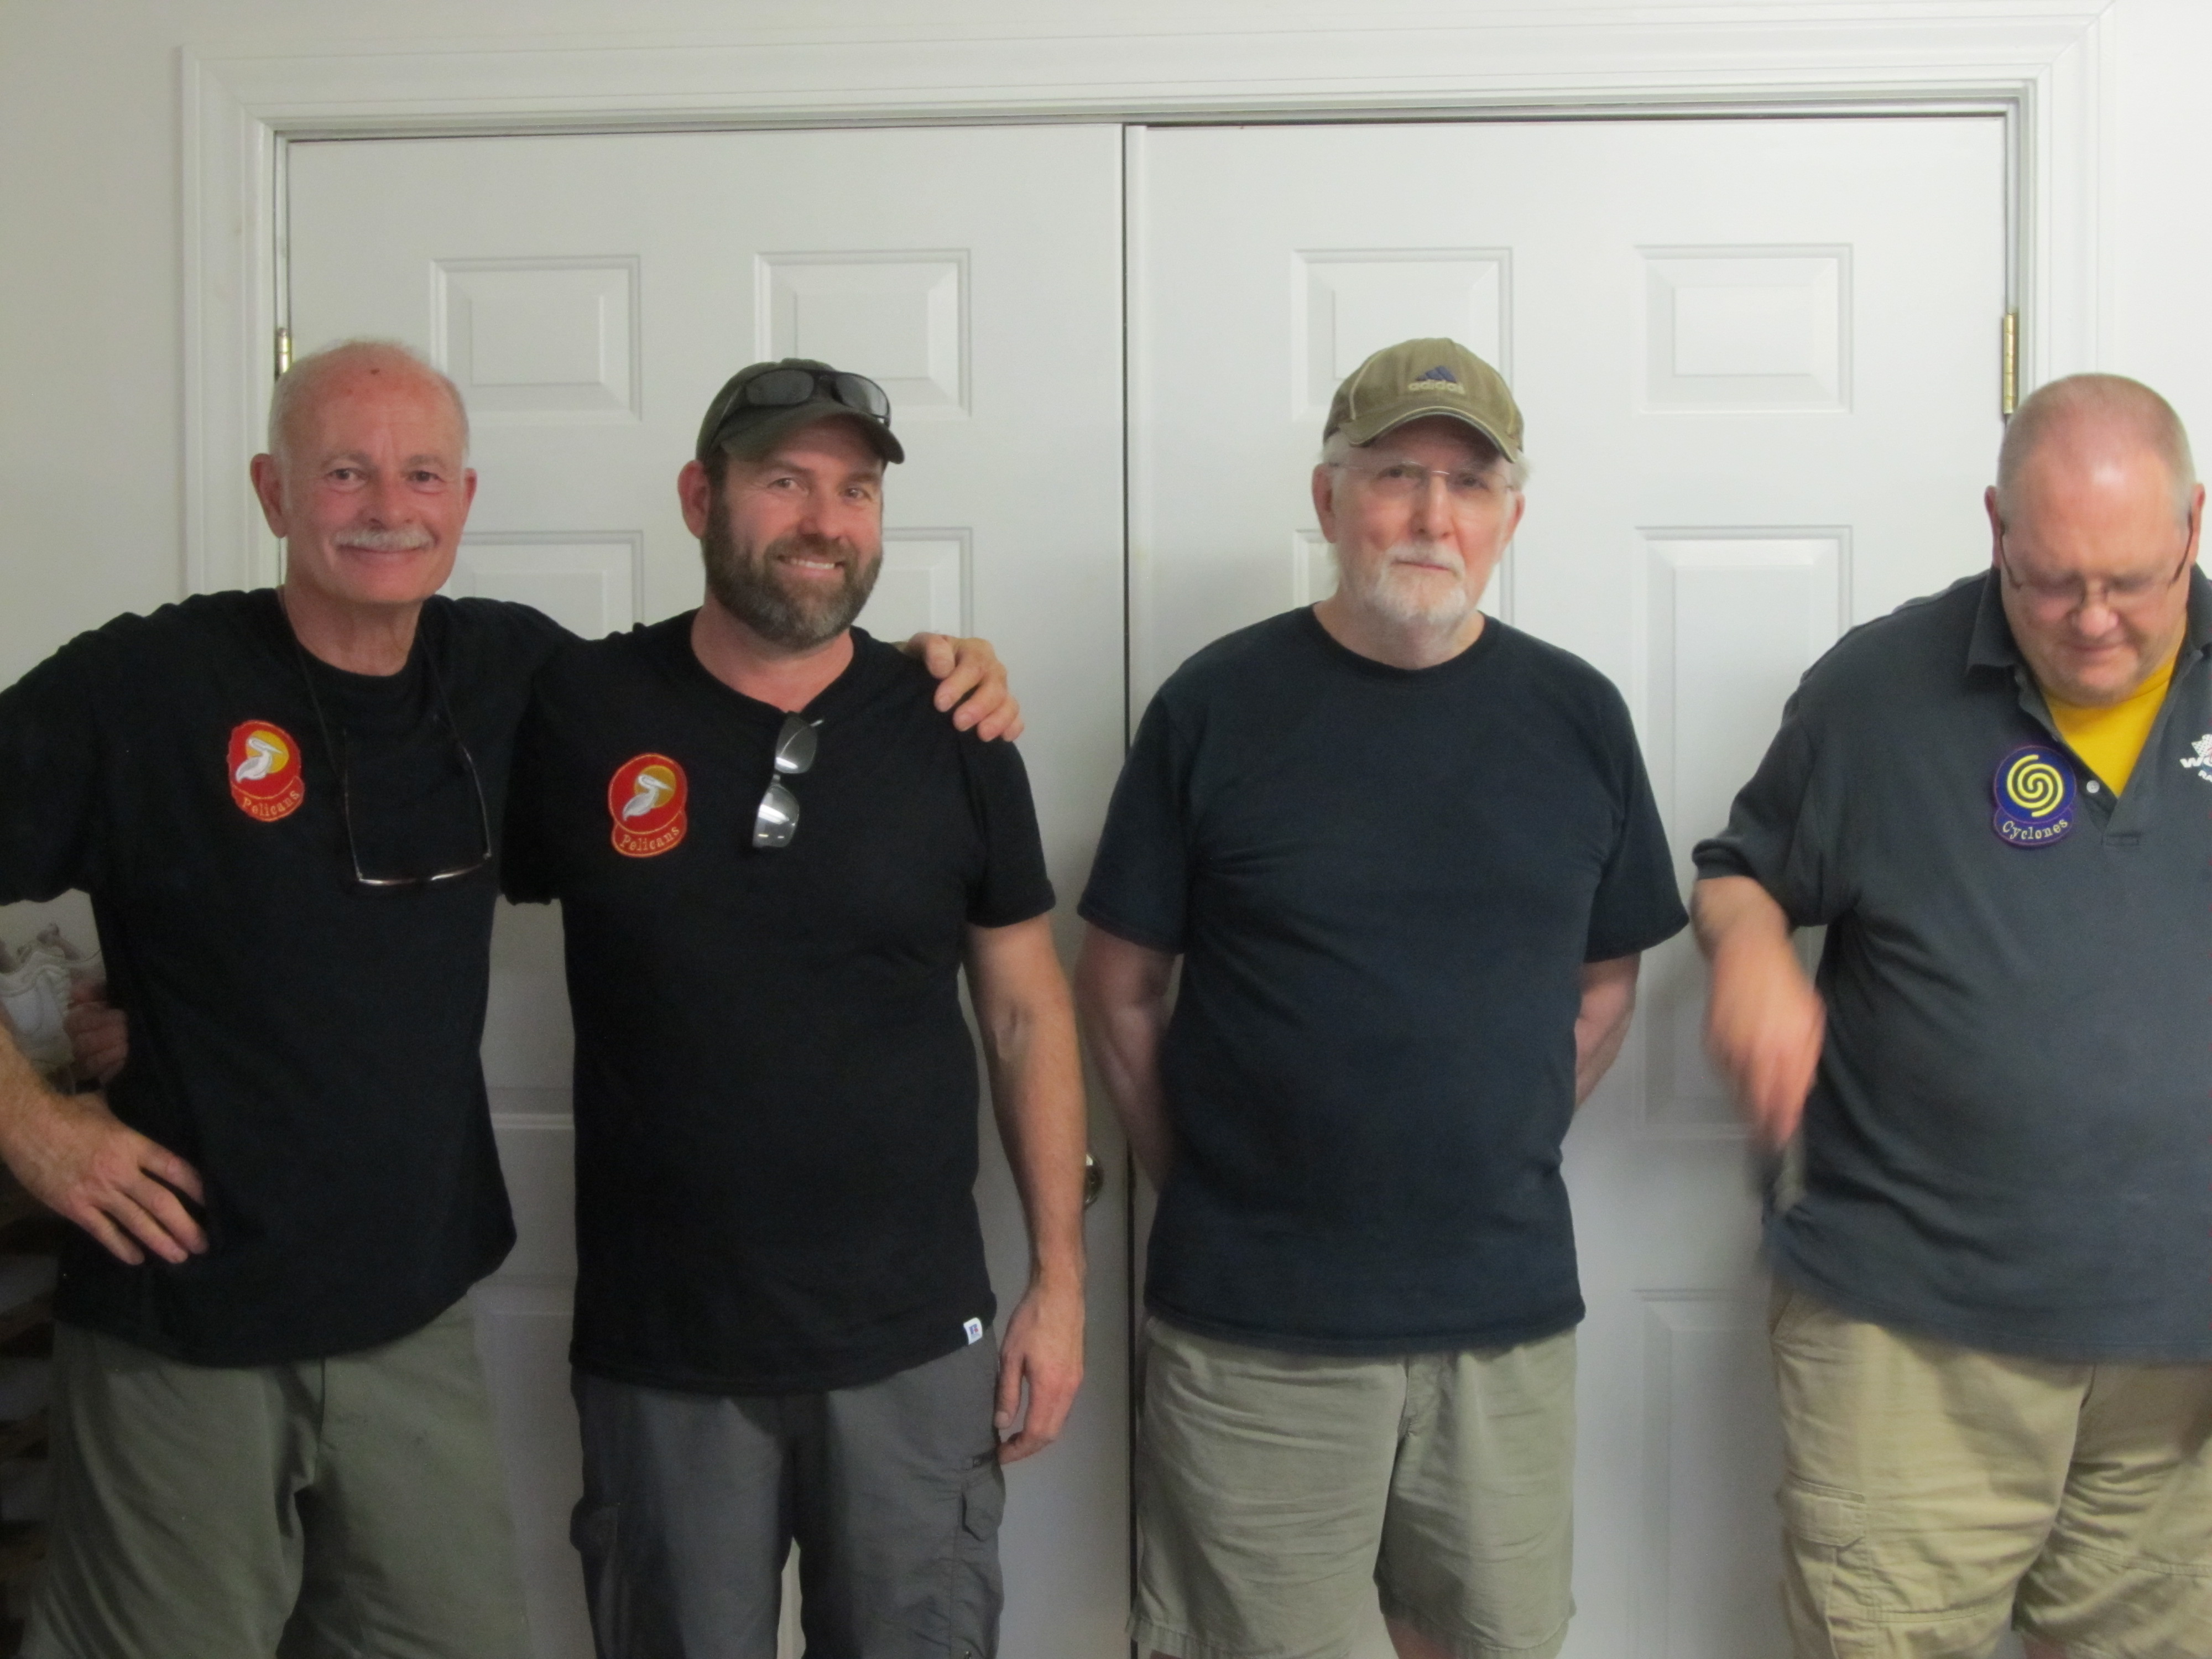
These are the racers that made it into the "Main Event" (sorry for the poor photo). Left to right: Rich, Steven, Gary K., Gary T.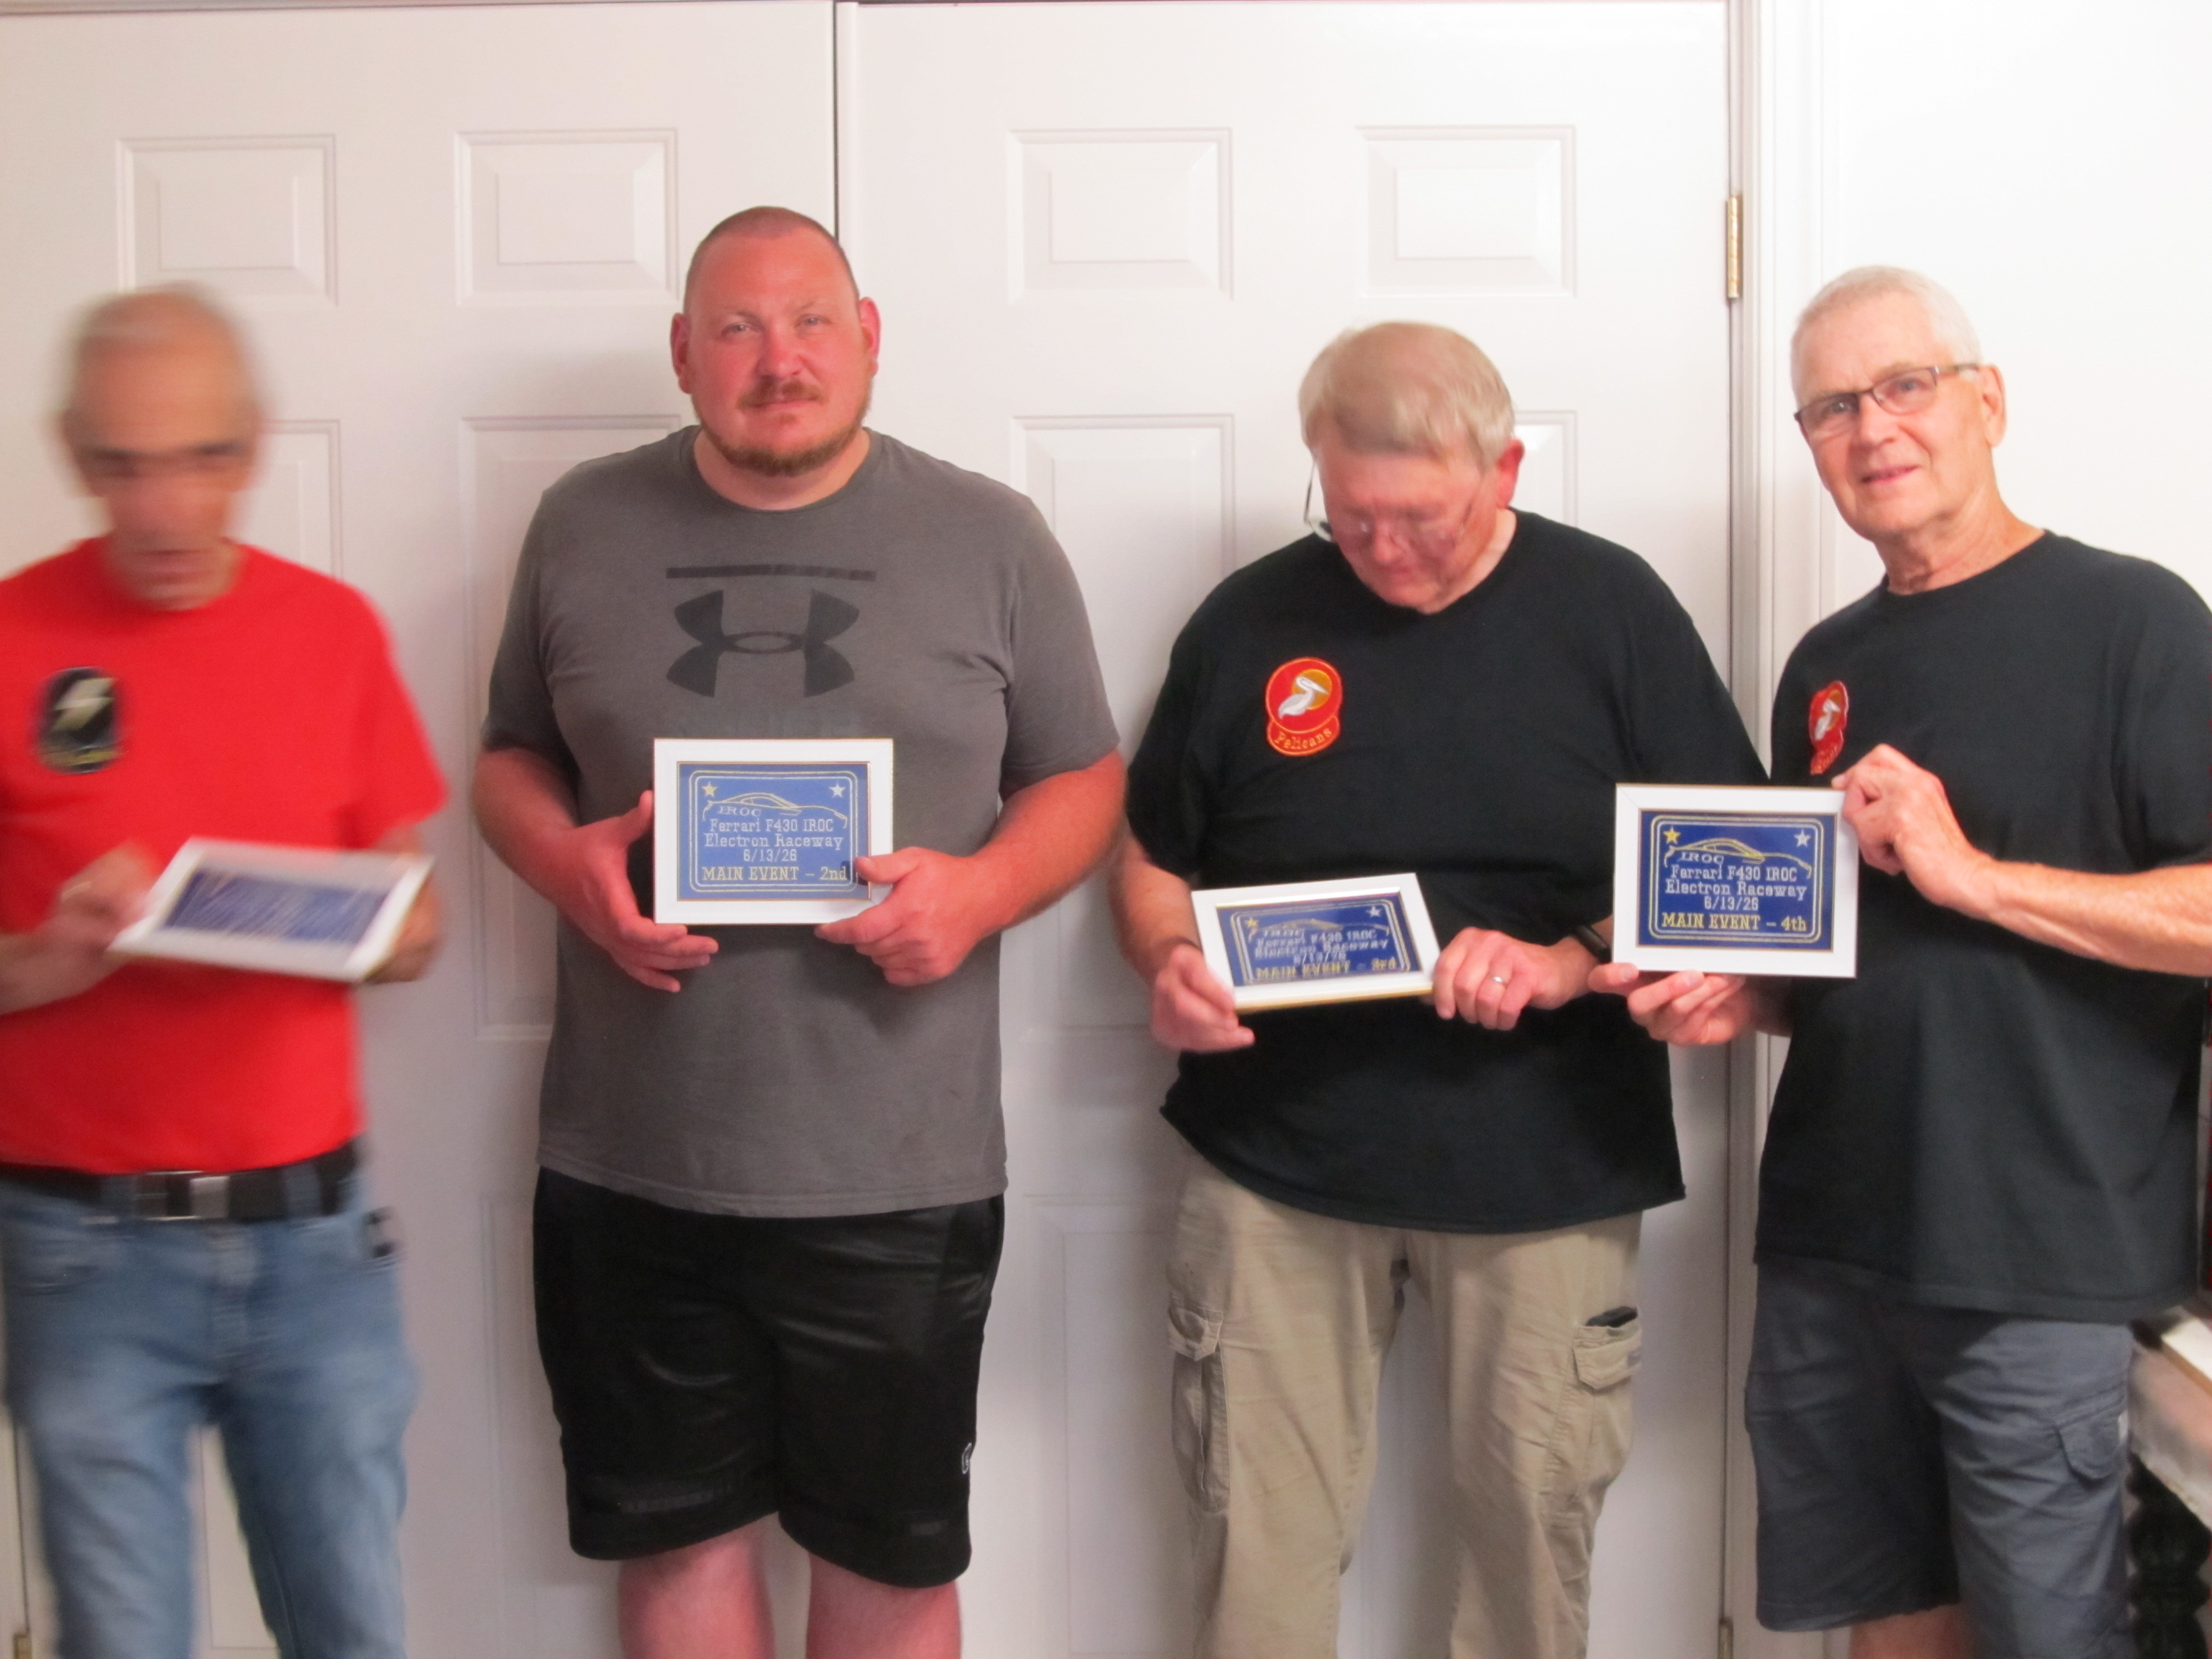
The IROC cars prepared by Rich were all model car bodied Ferraris mounted on an assortment of 2NASTE, Schoeler, and other types of bolt together 1/24 chassis. Other than a couple of gear mesh issues there were no car failures!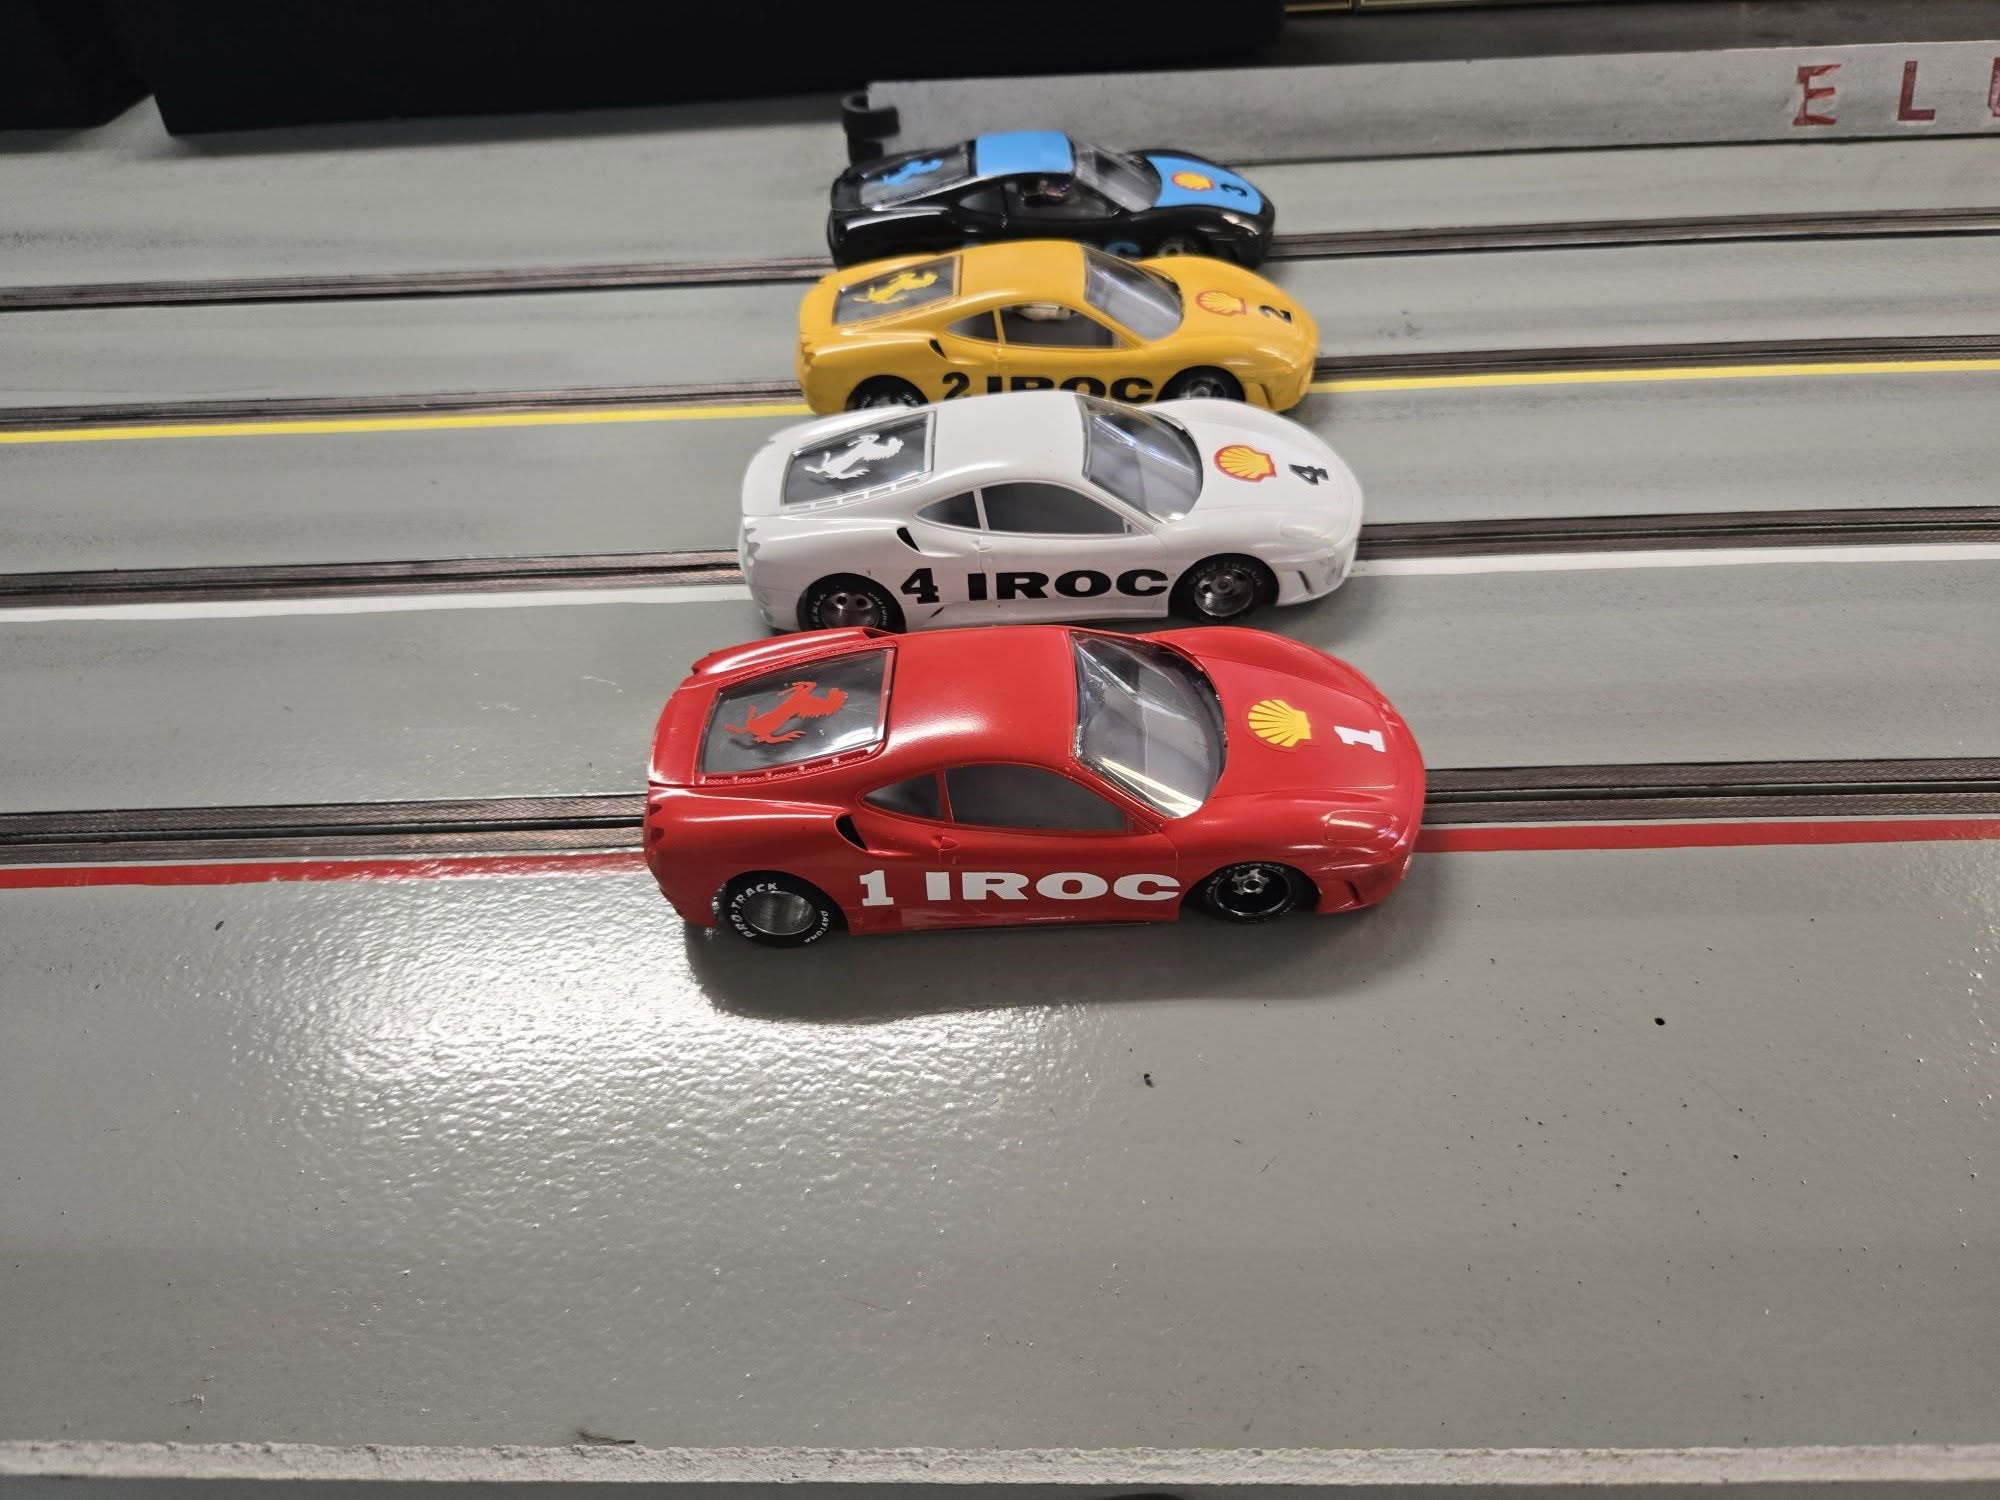
20 June 16, 2026 7:21 am
Re: IROC Slot Car Race at Electron Raceway in Roseburg! (10 replies, posted in Electron Raceway)
Race designer, creater, and host; Rich Vecchio.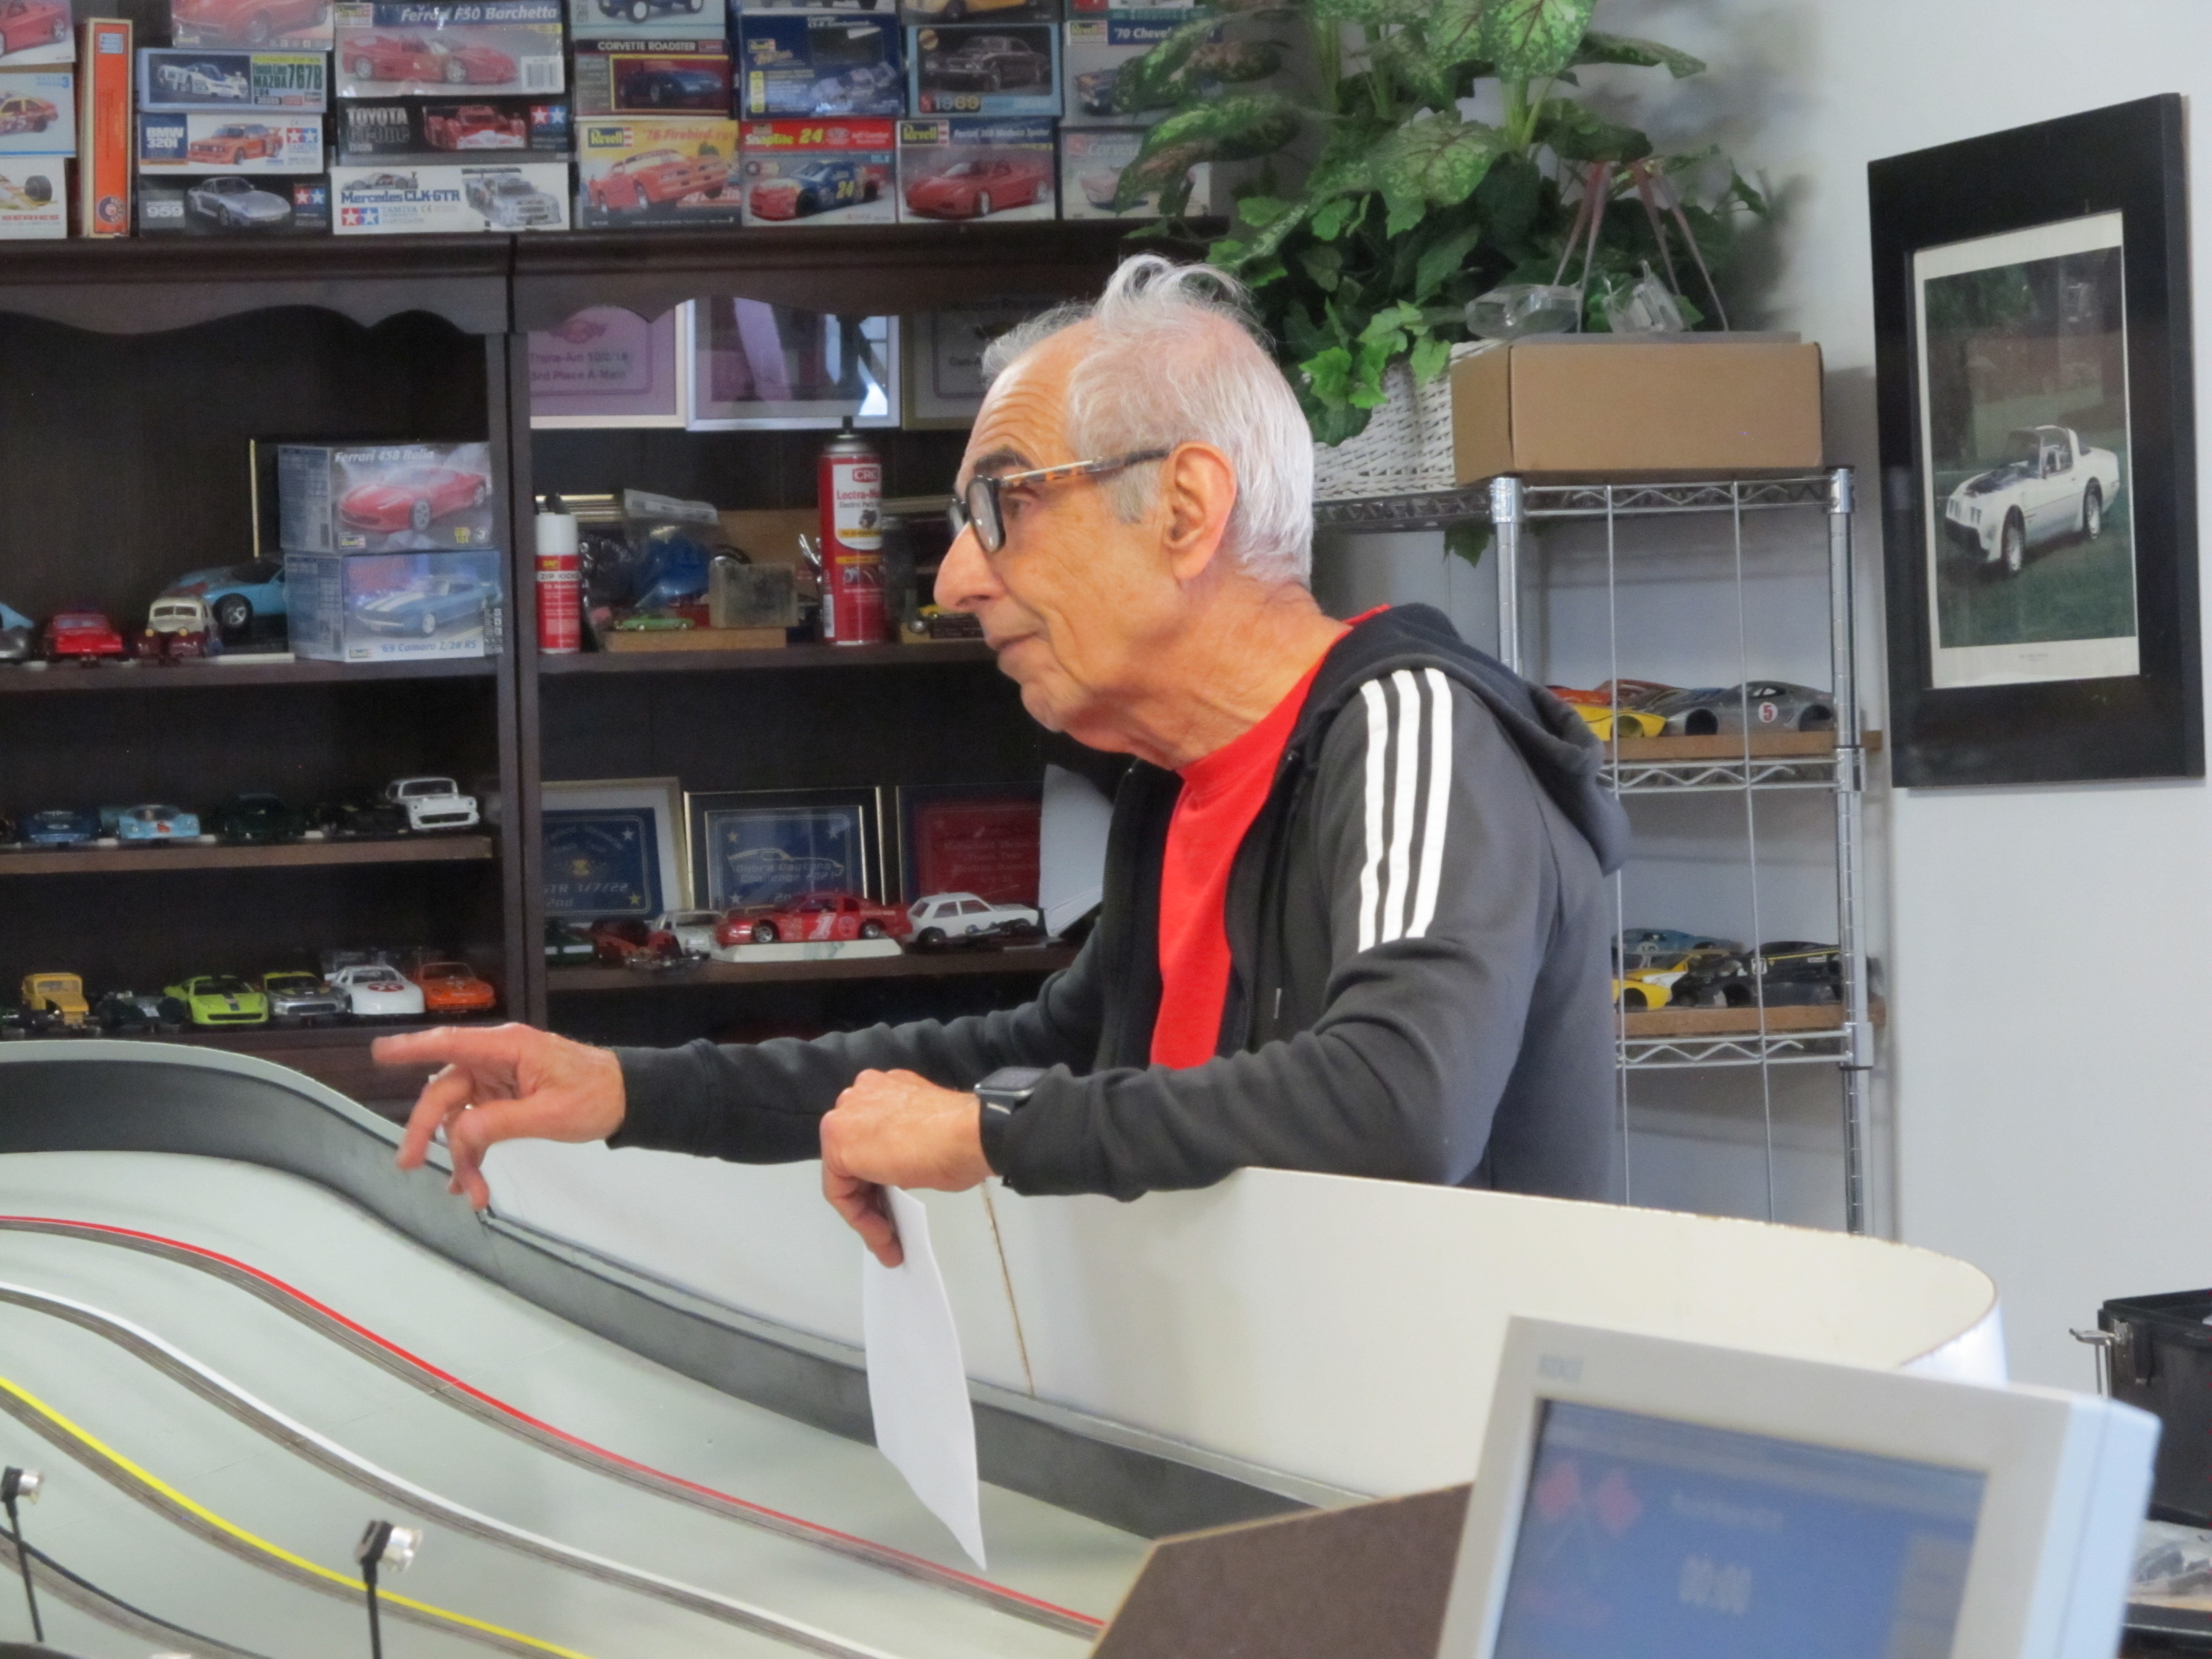
Rich had a custom high volume motor cooler strategically located near the track!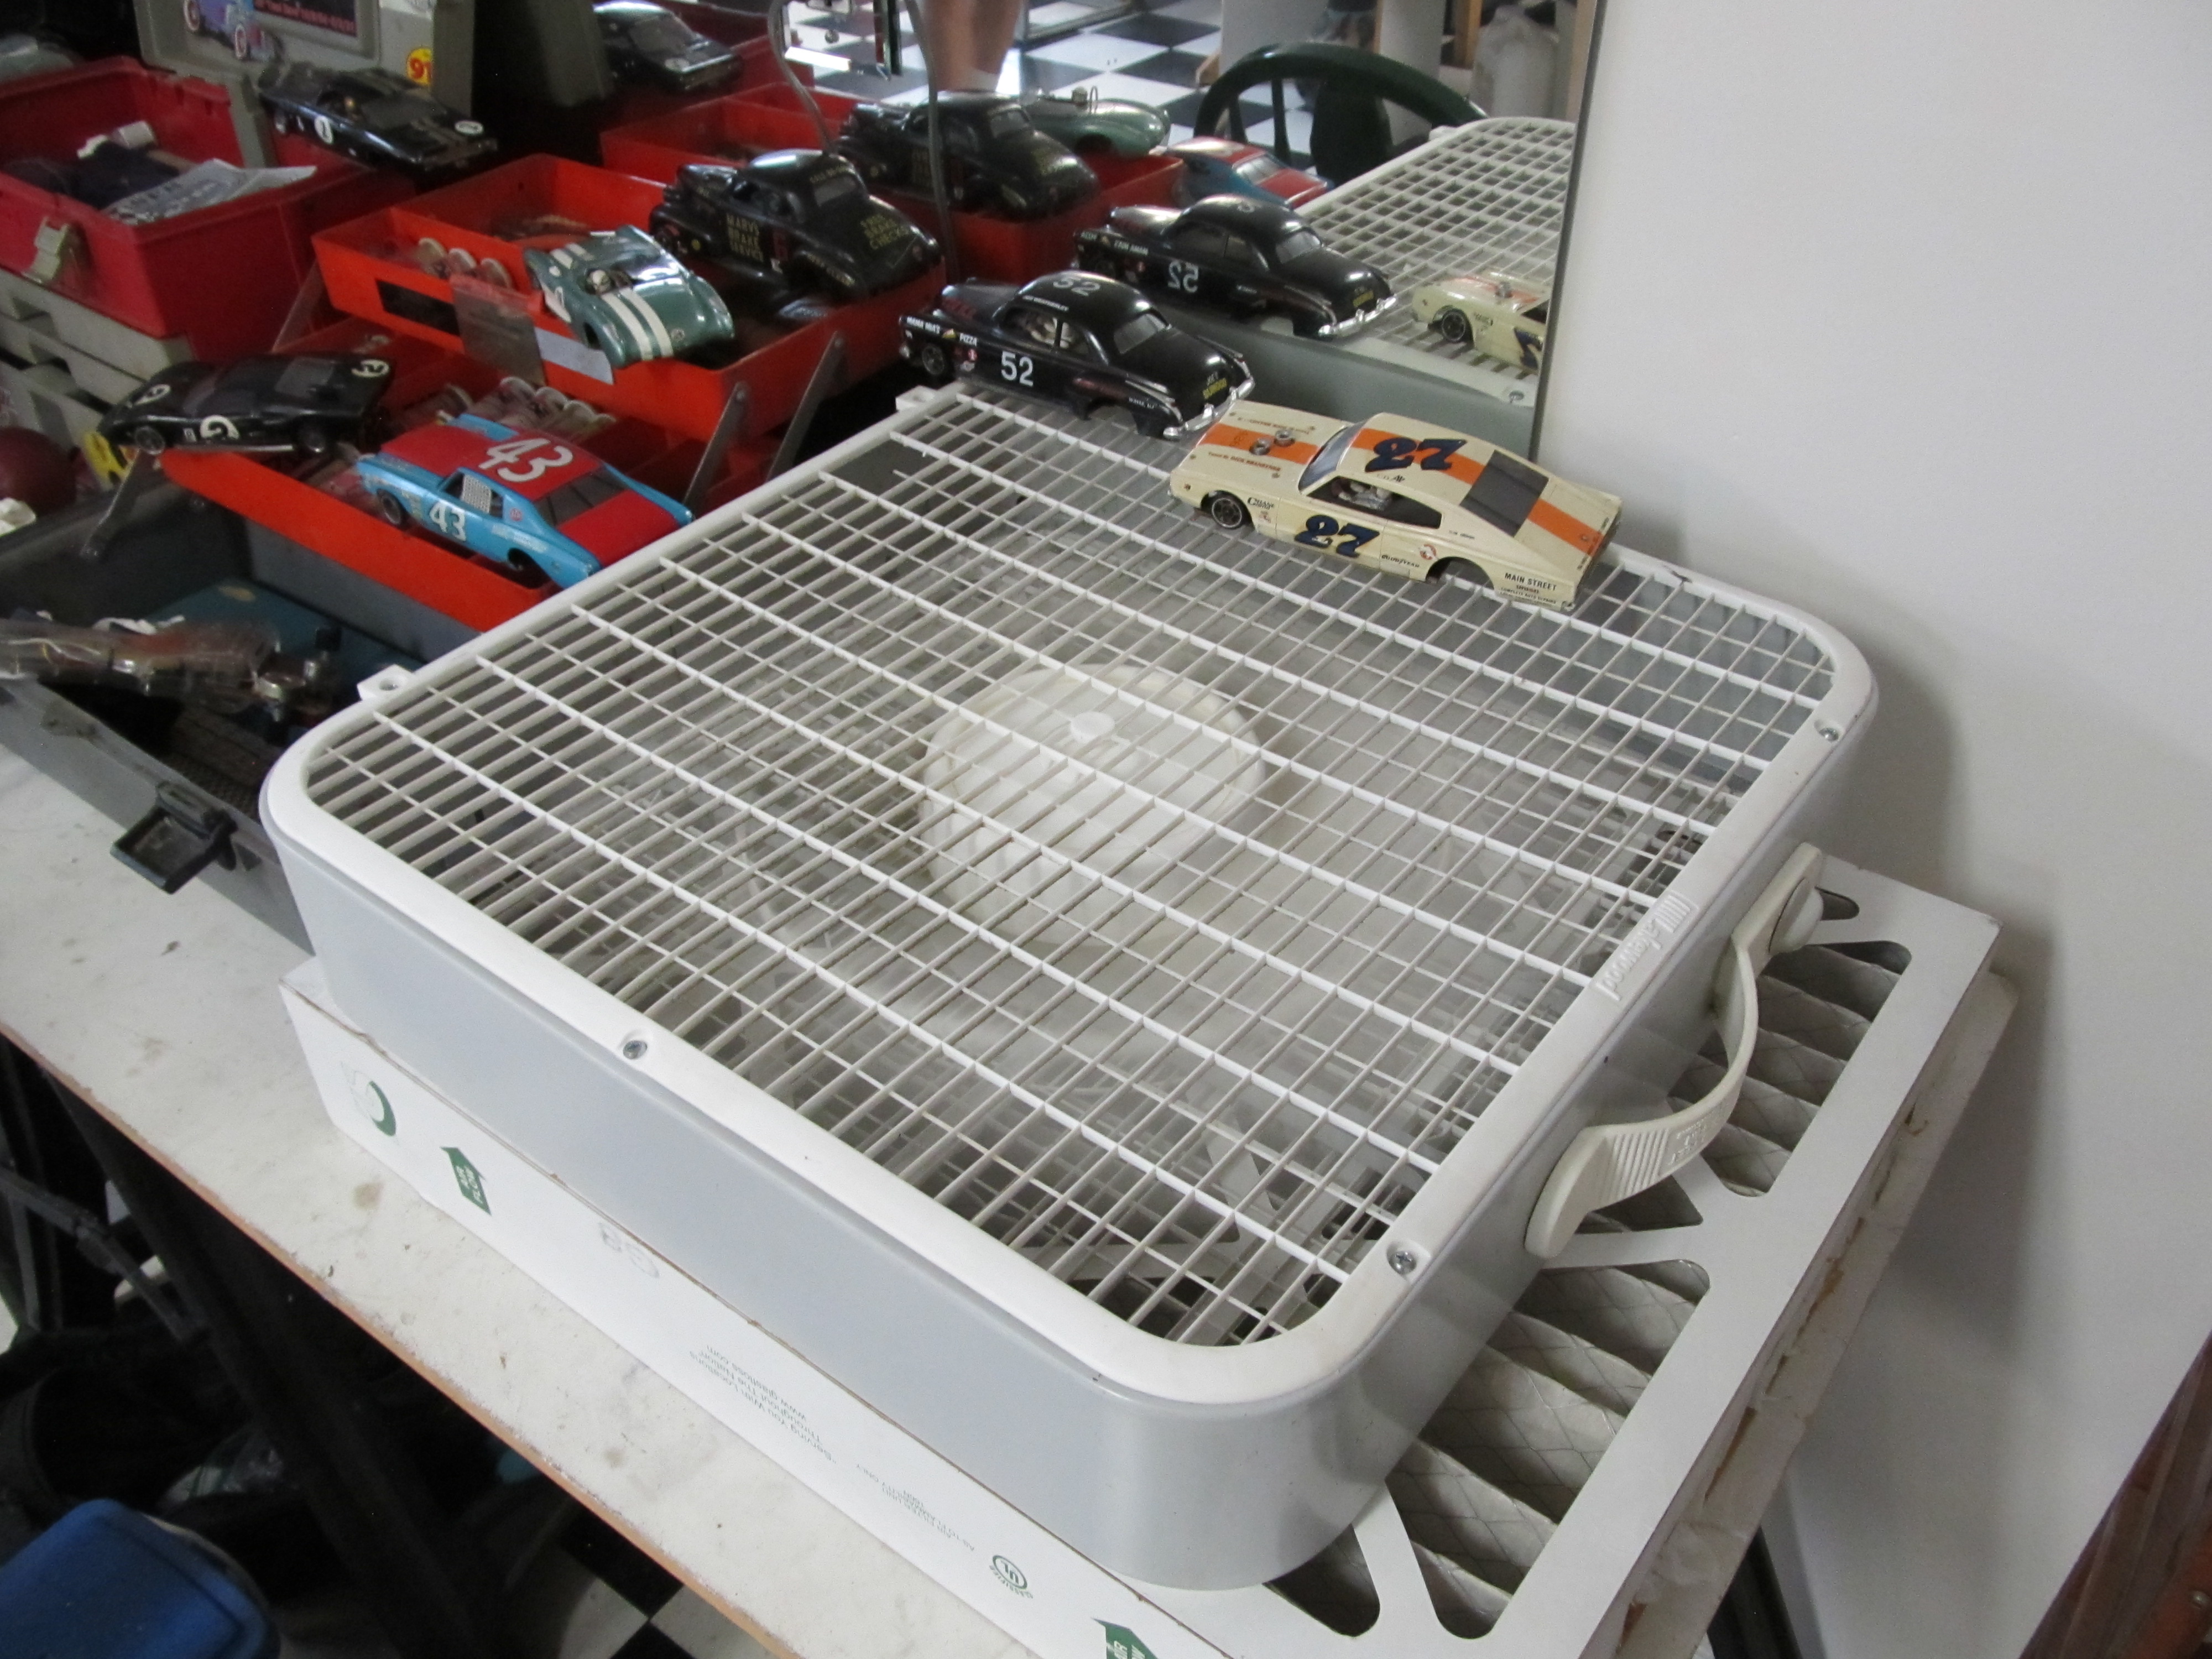
Rich explained the race format in the driver's meeting.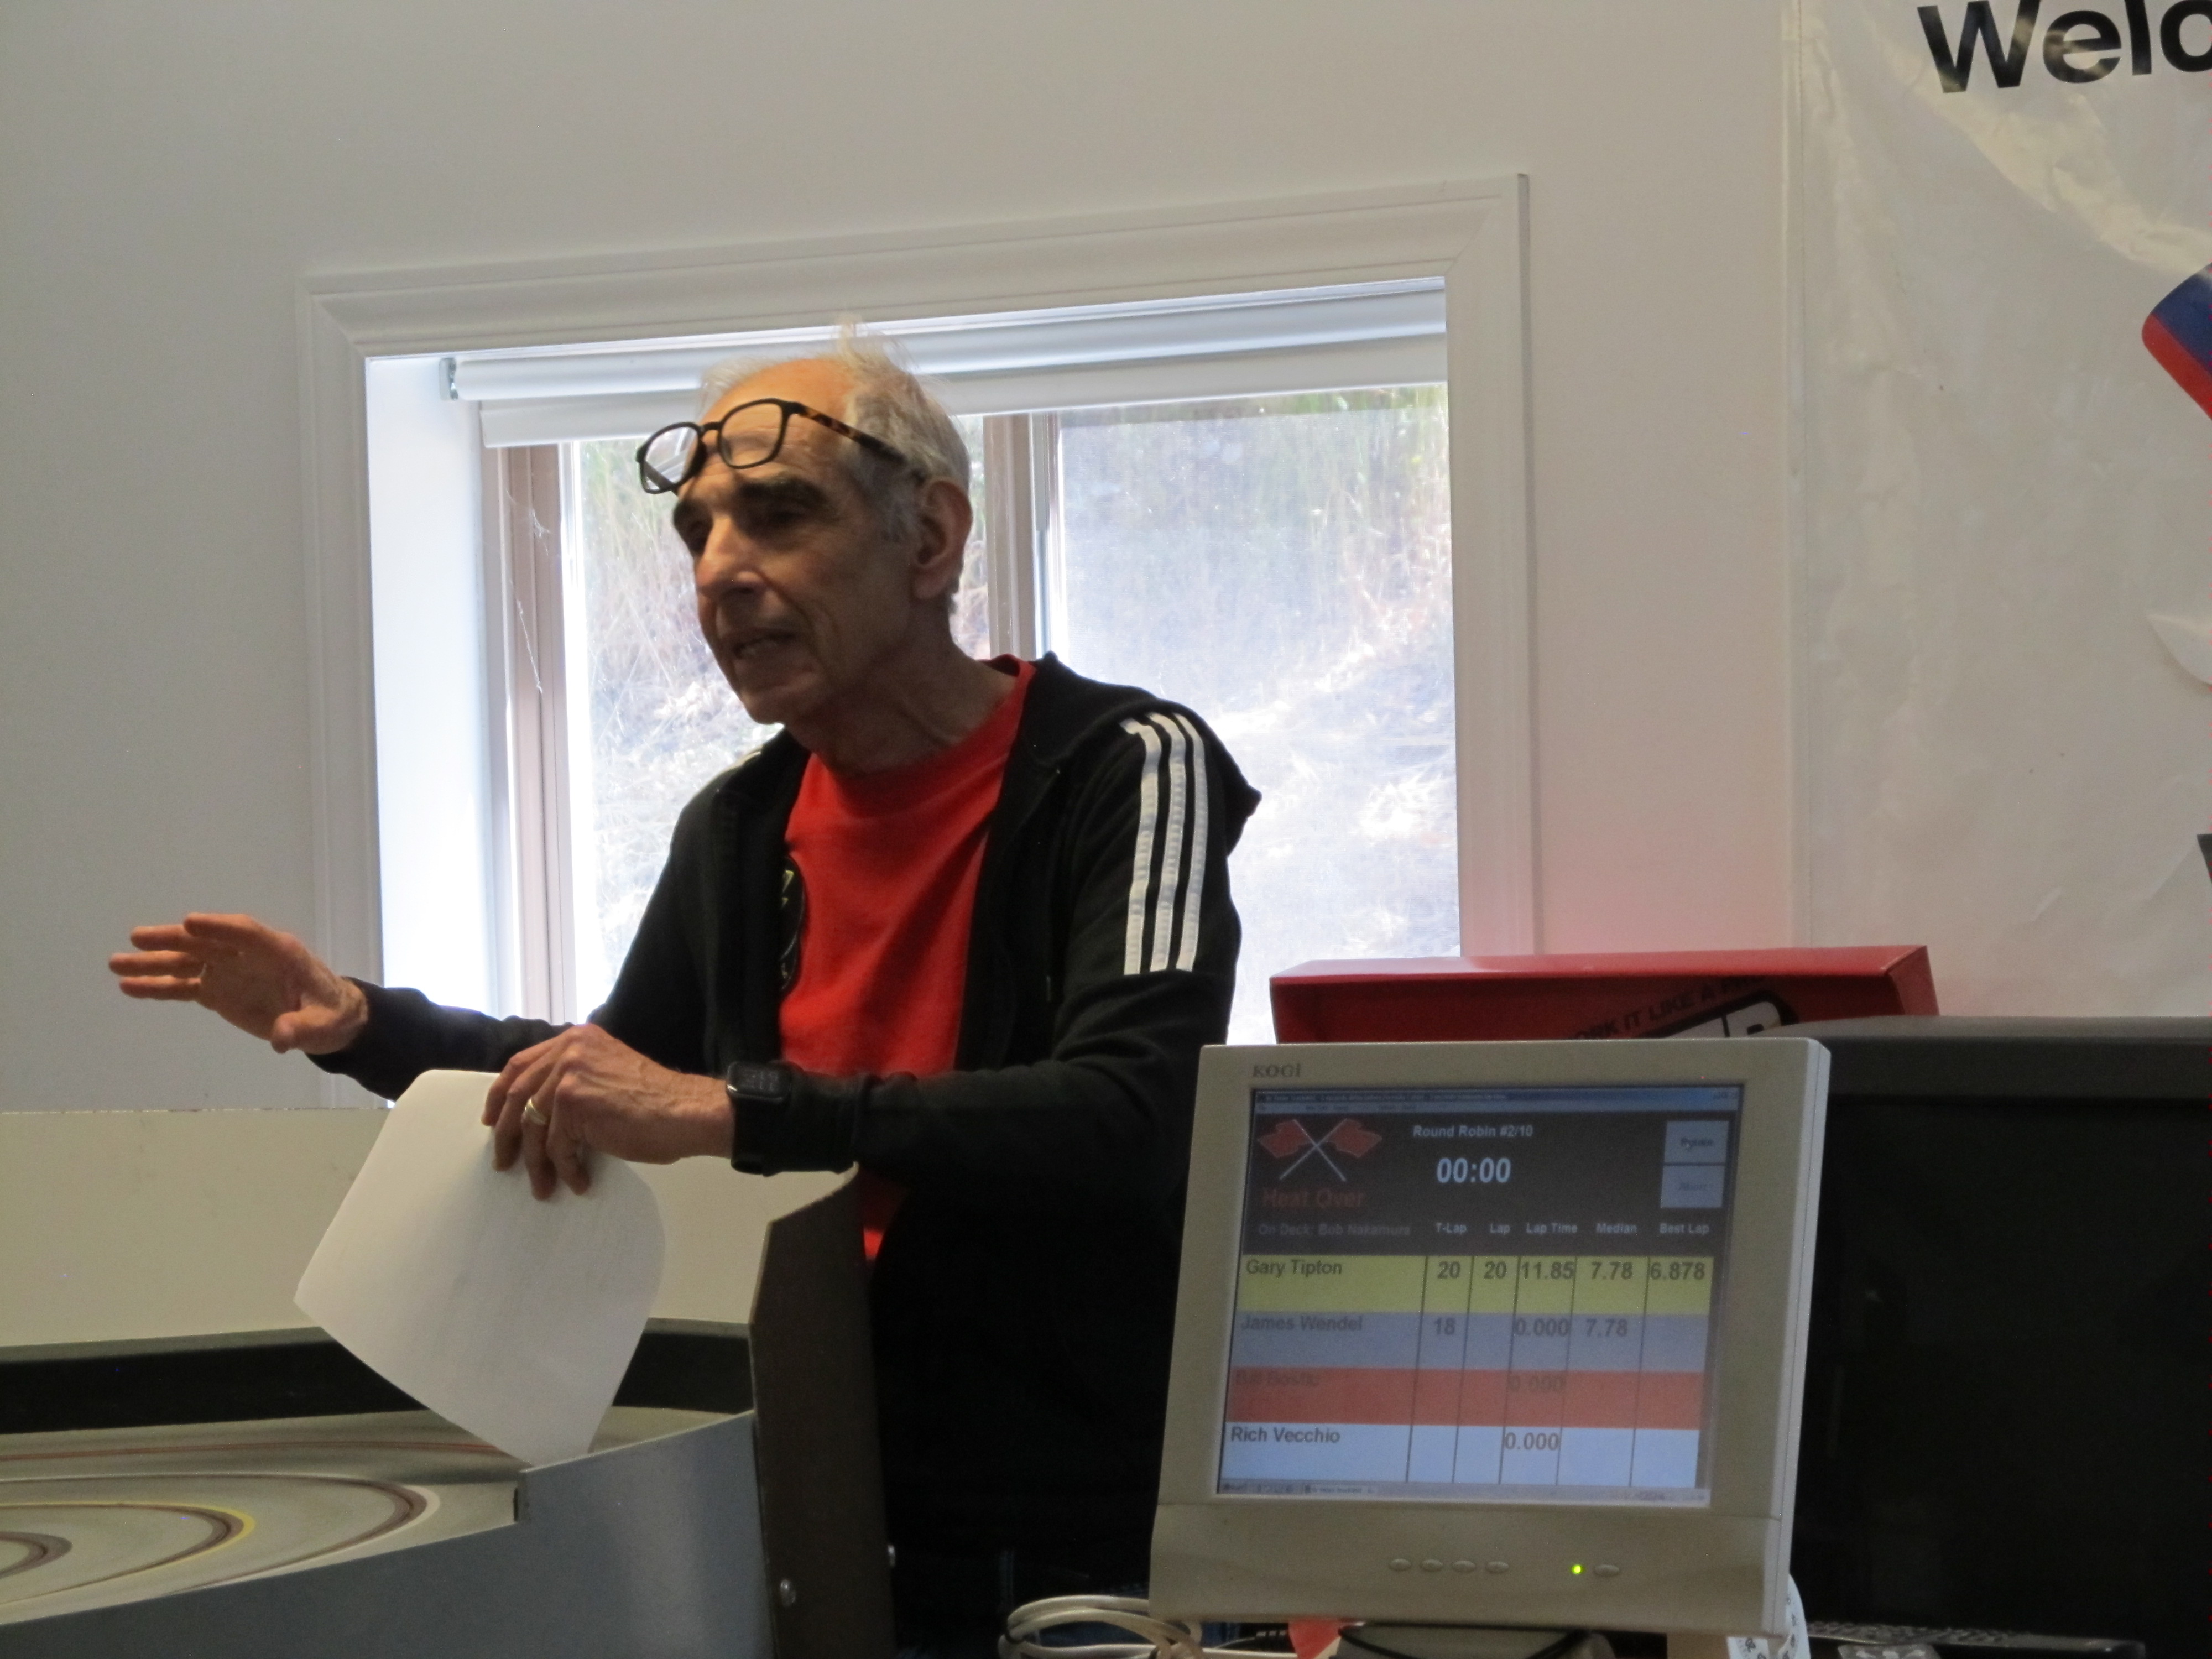
The Pelicans Team showed up at the race prepared for battle!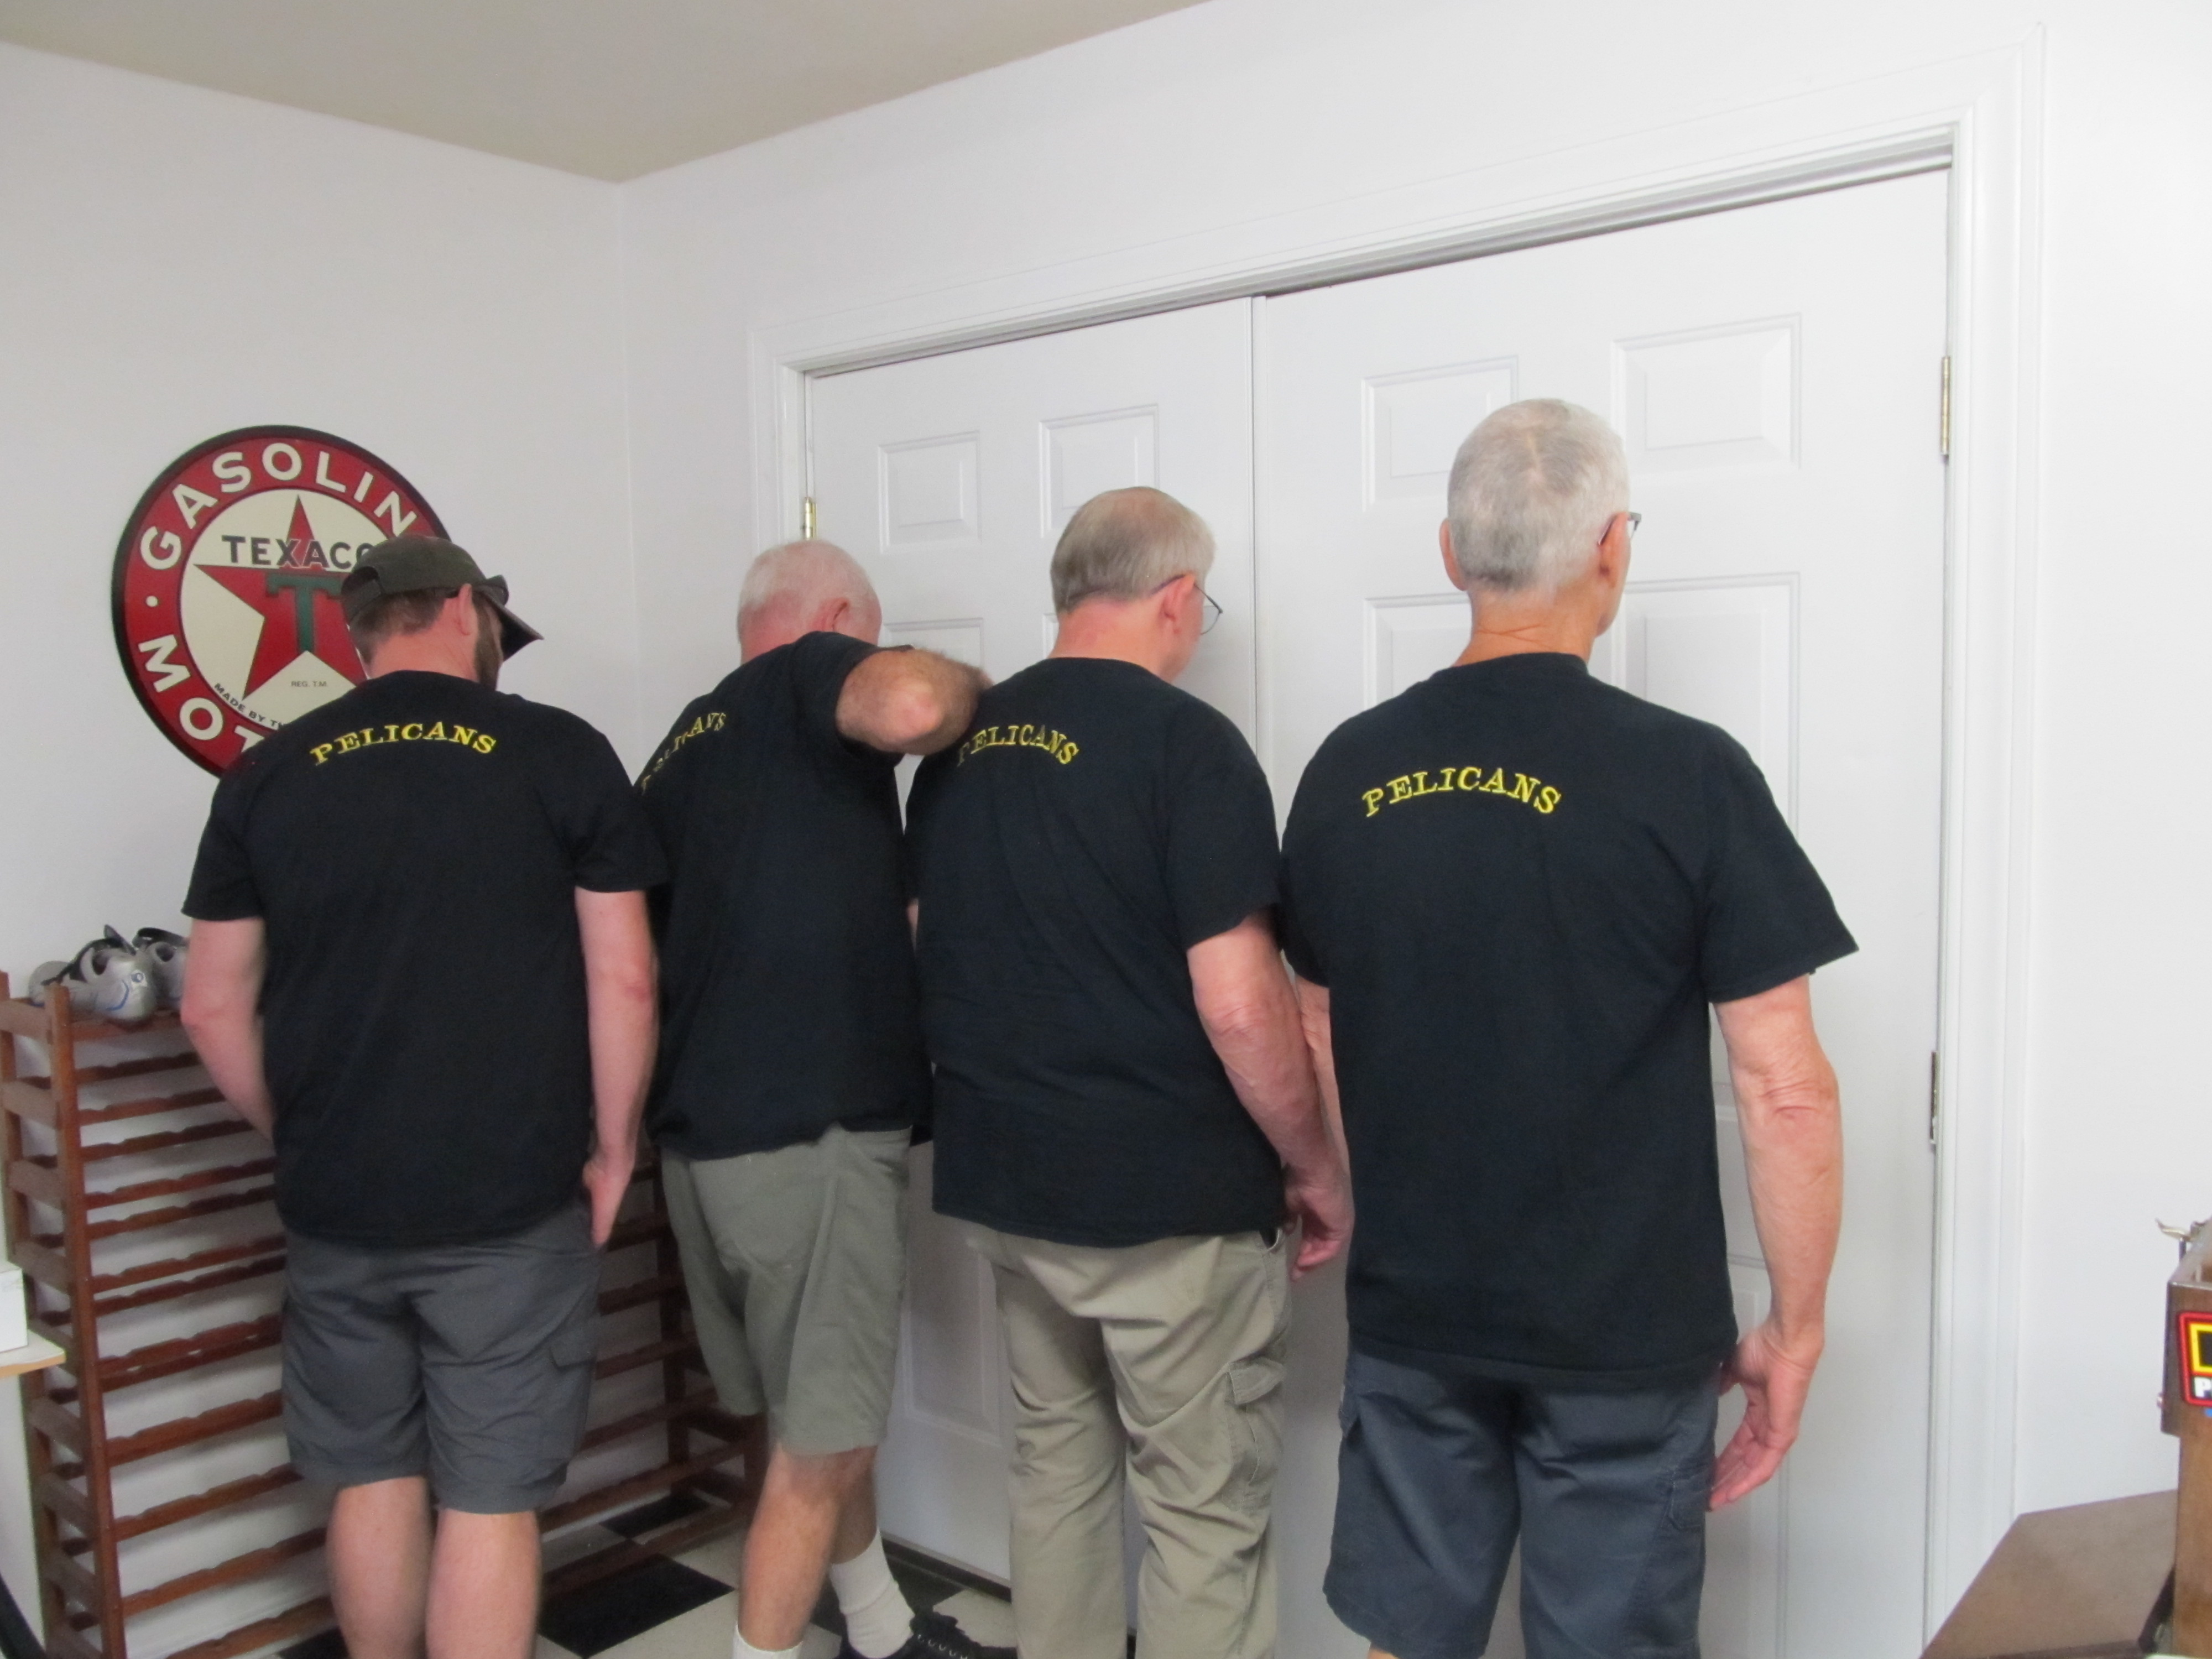
The flip side of the Pelicans. Left to right: Kevin, Paul, Gary K., Gary T.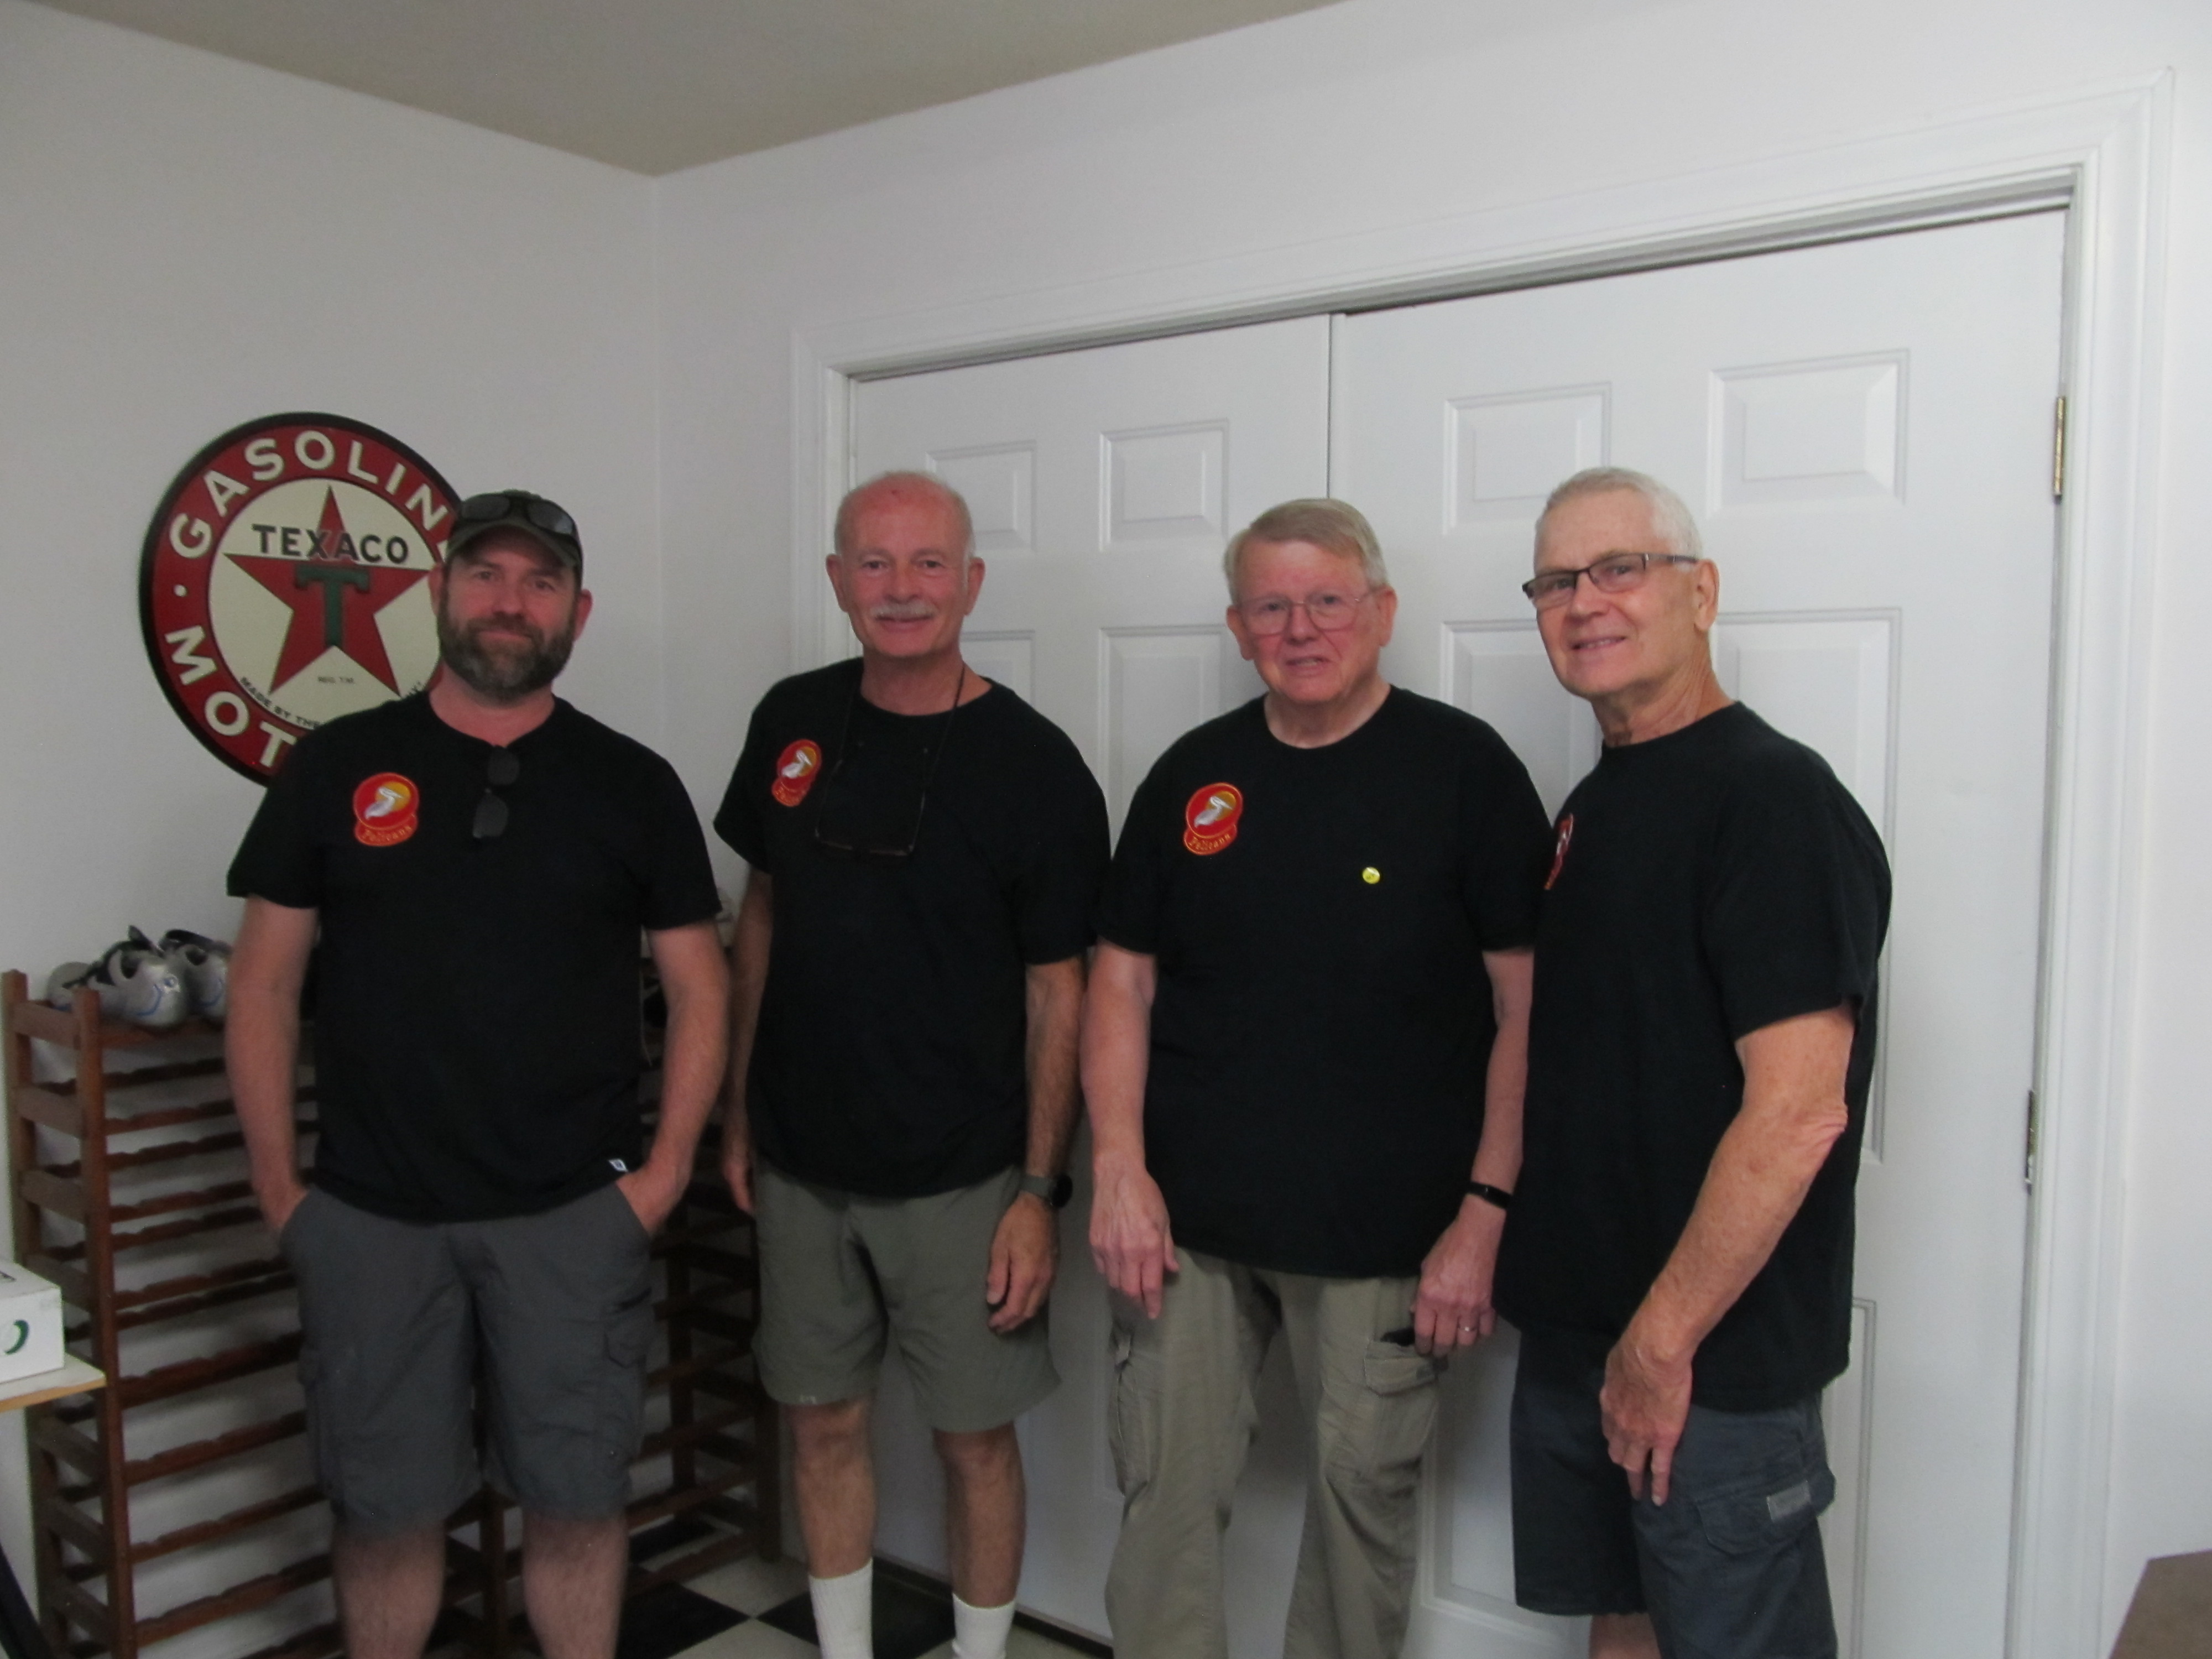
21 June 16, 2026 7:15 am
Re: IROC Slot Car Race at Electron Raceway in Roseburg! (10 replies, posted in Electron Raceway)
This section of the track is very fast! Exiting the bank, down the back straight, and then a quick transition into the left hander. It was amazing to see how quickly some of the drivers could get through this section!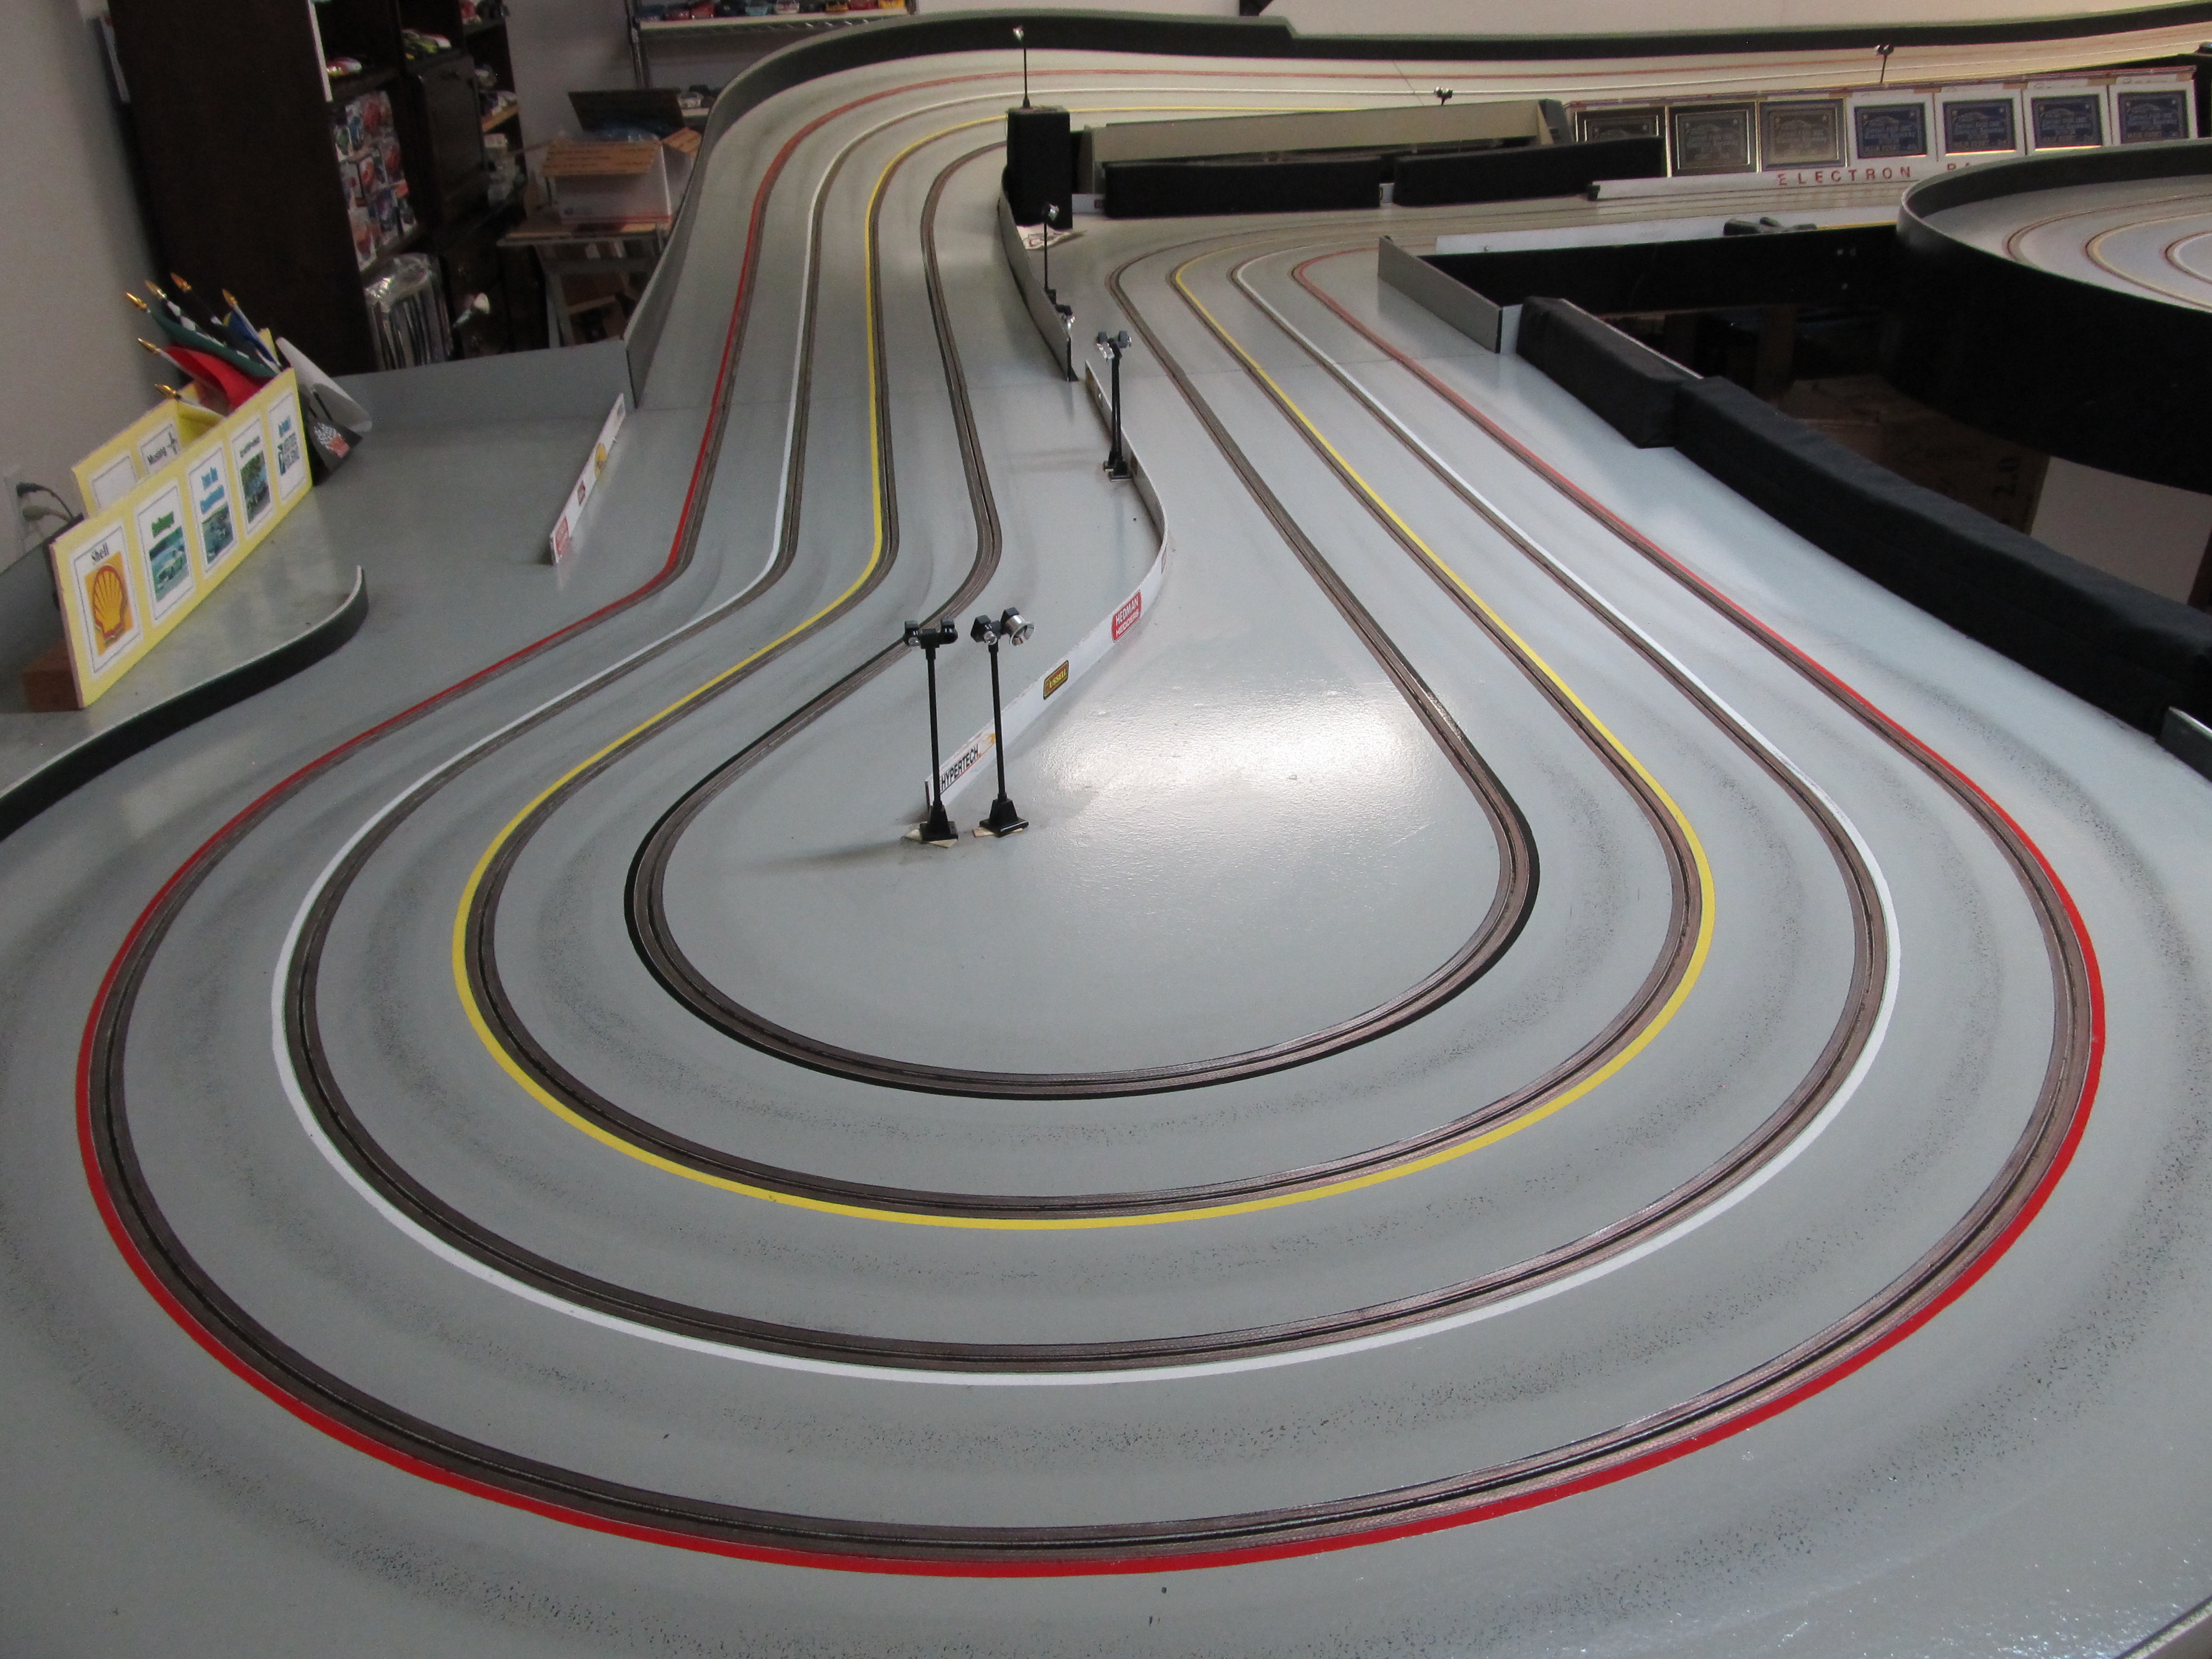
A short straight gets you to the "Lead-On" left hander. Challenging to not throttle up too soon!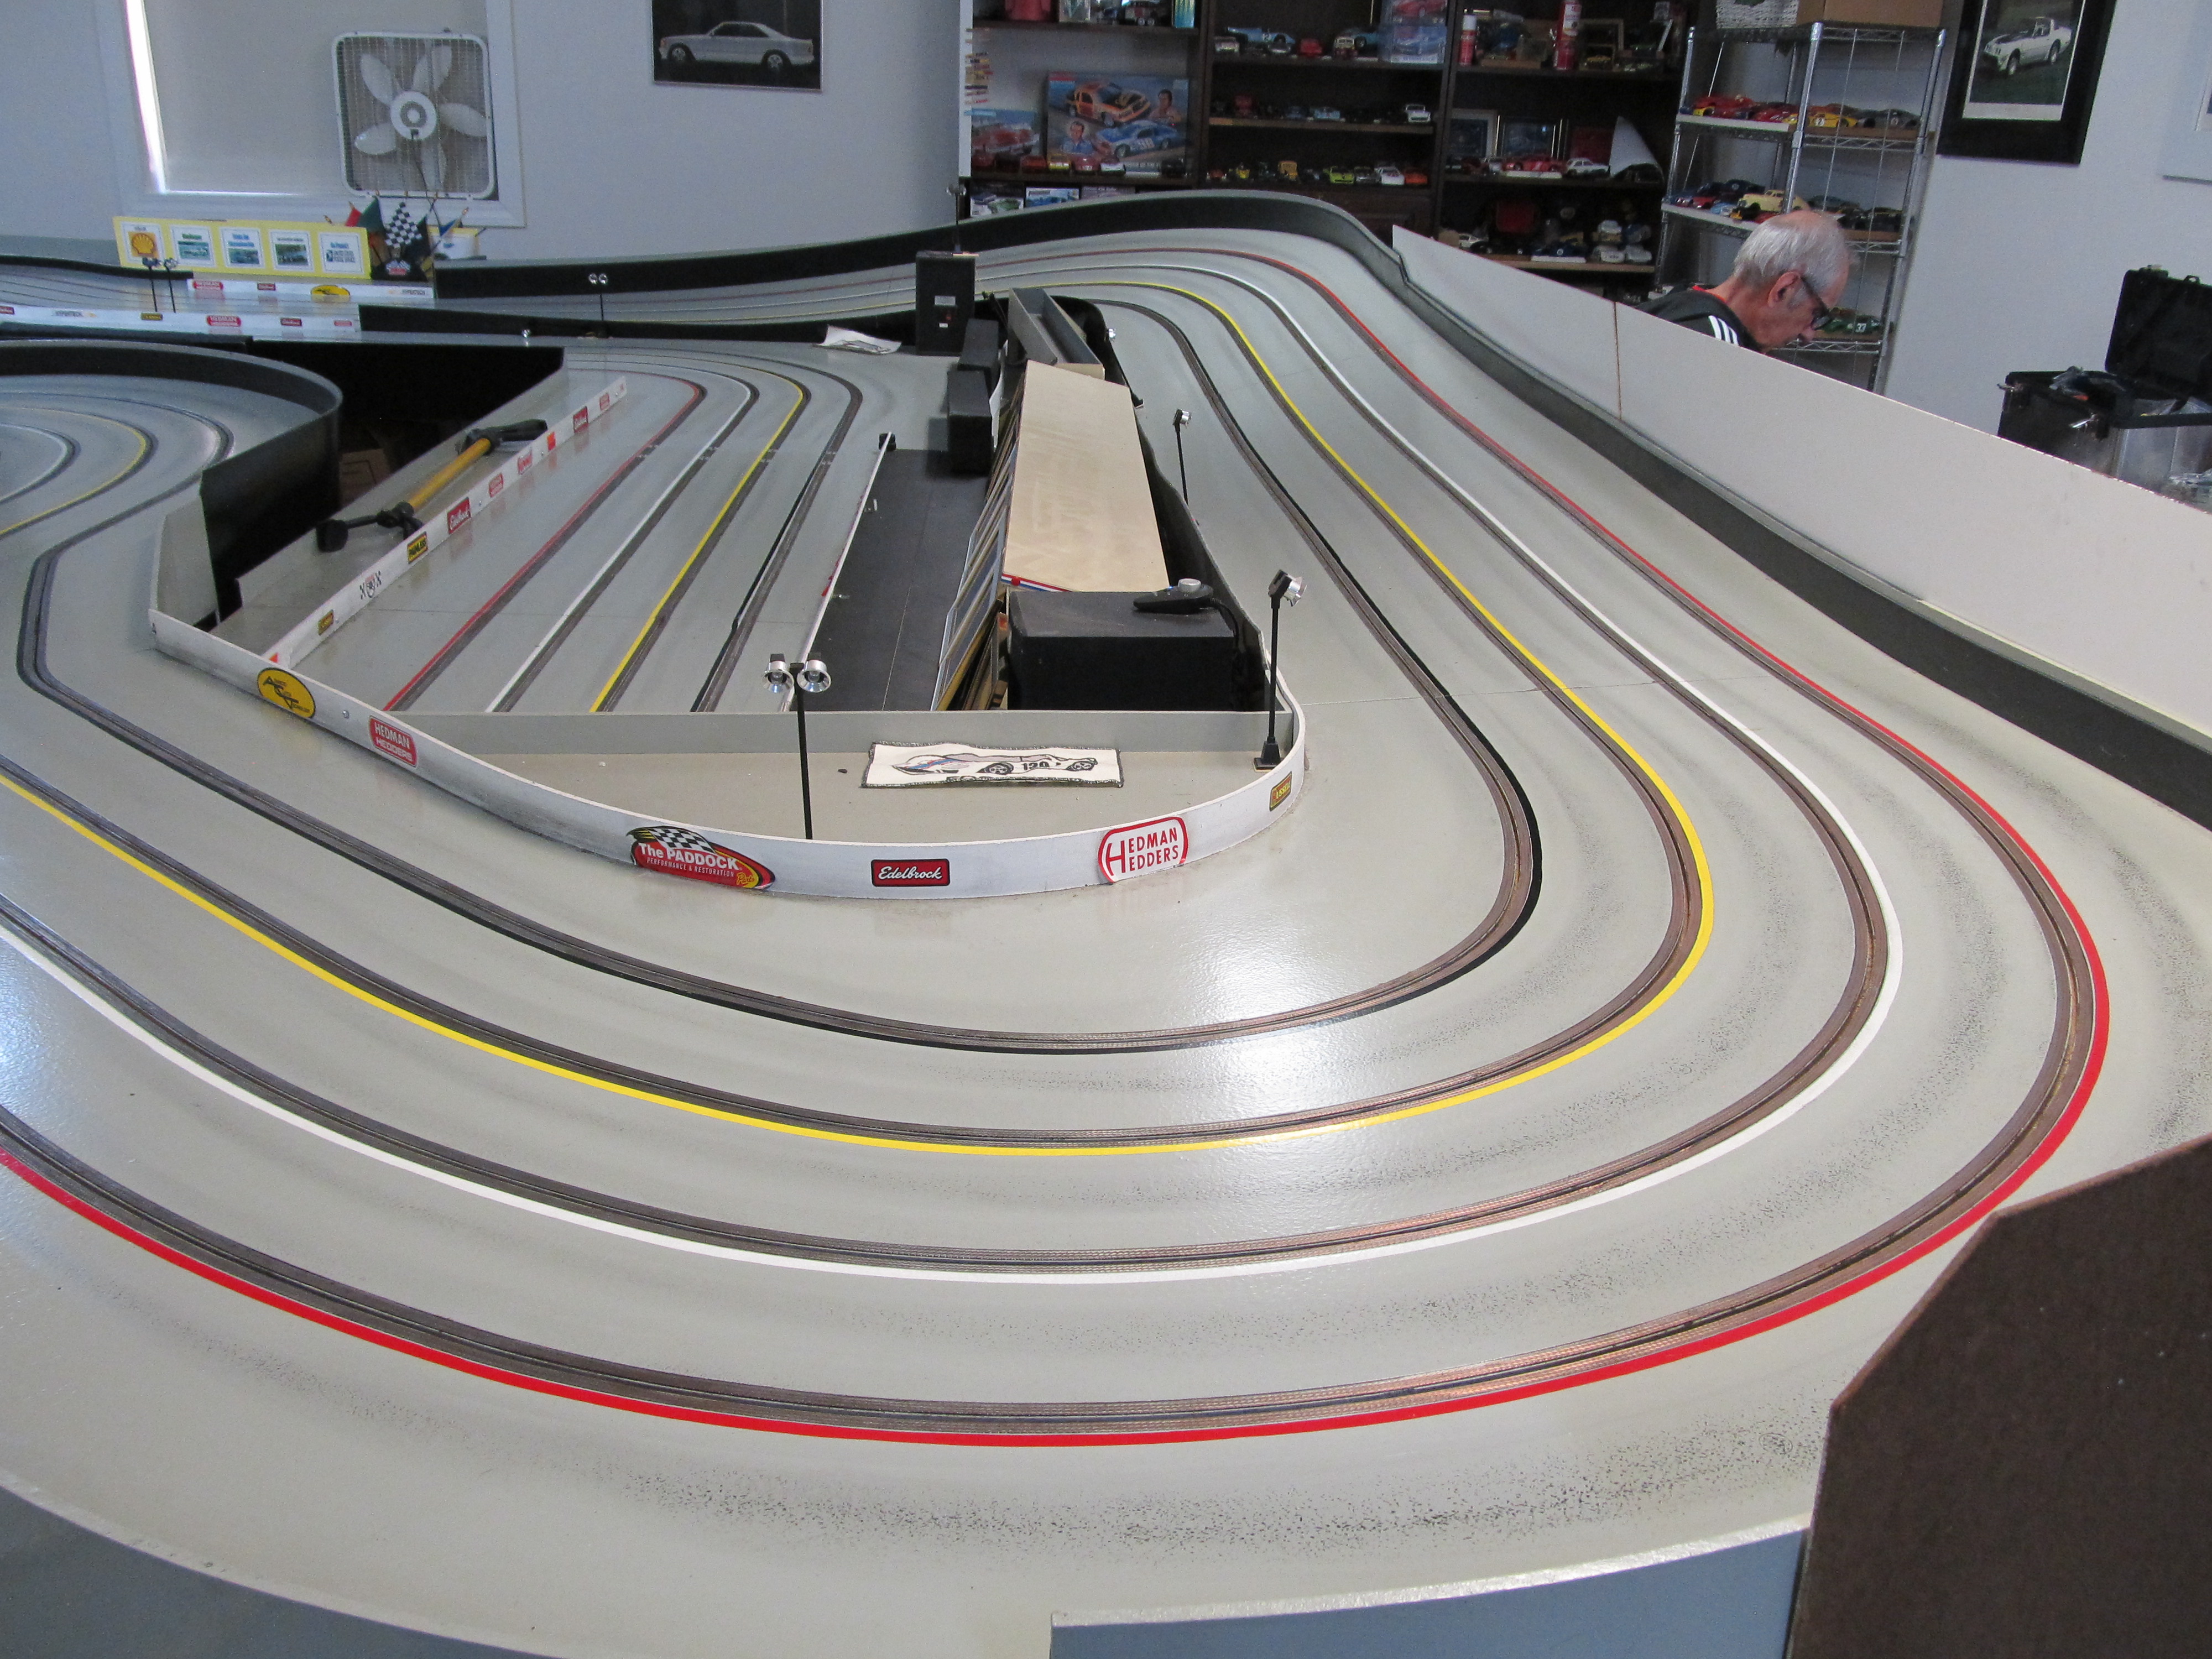
This is the uphill section into the "Lead-On". The key is to not push too hard!
This is the right hander at the end of the main straight. The outside lanes are really fast through this curve!
Underpass....Don't crash under there!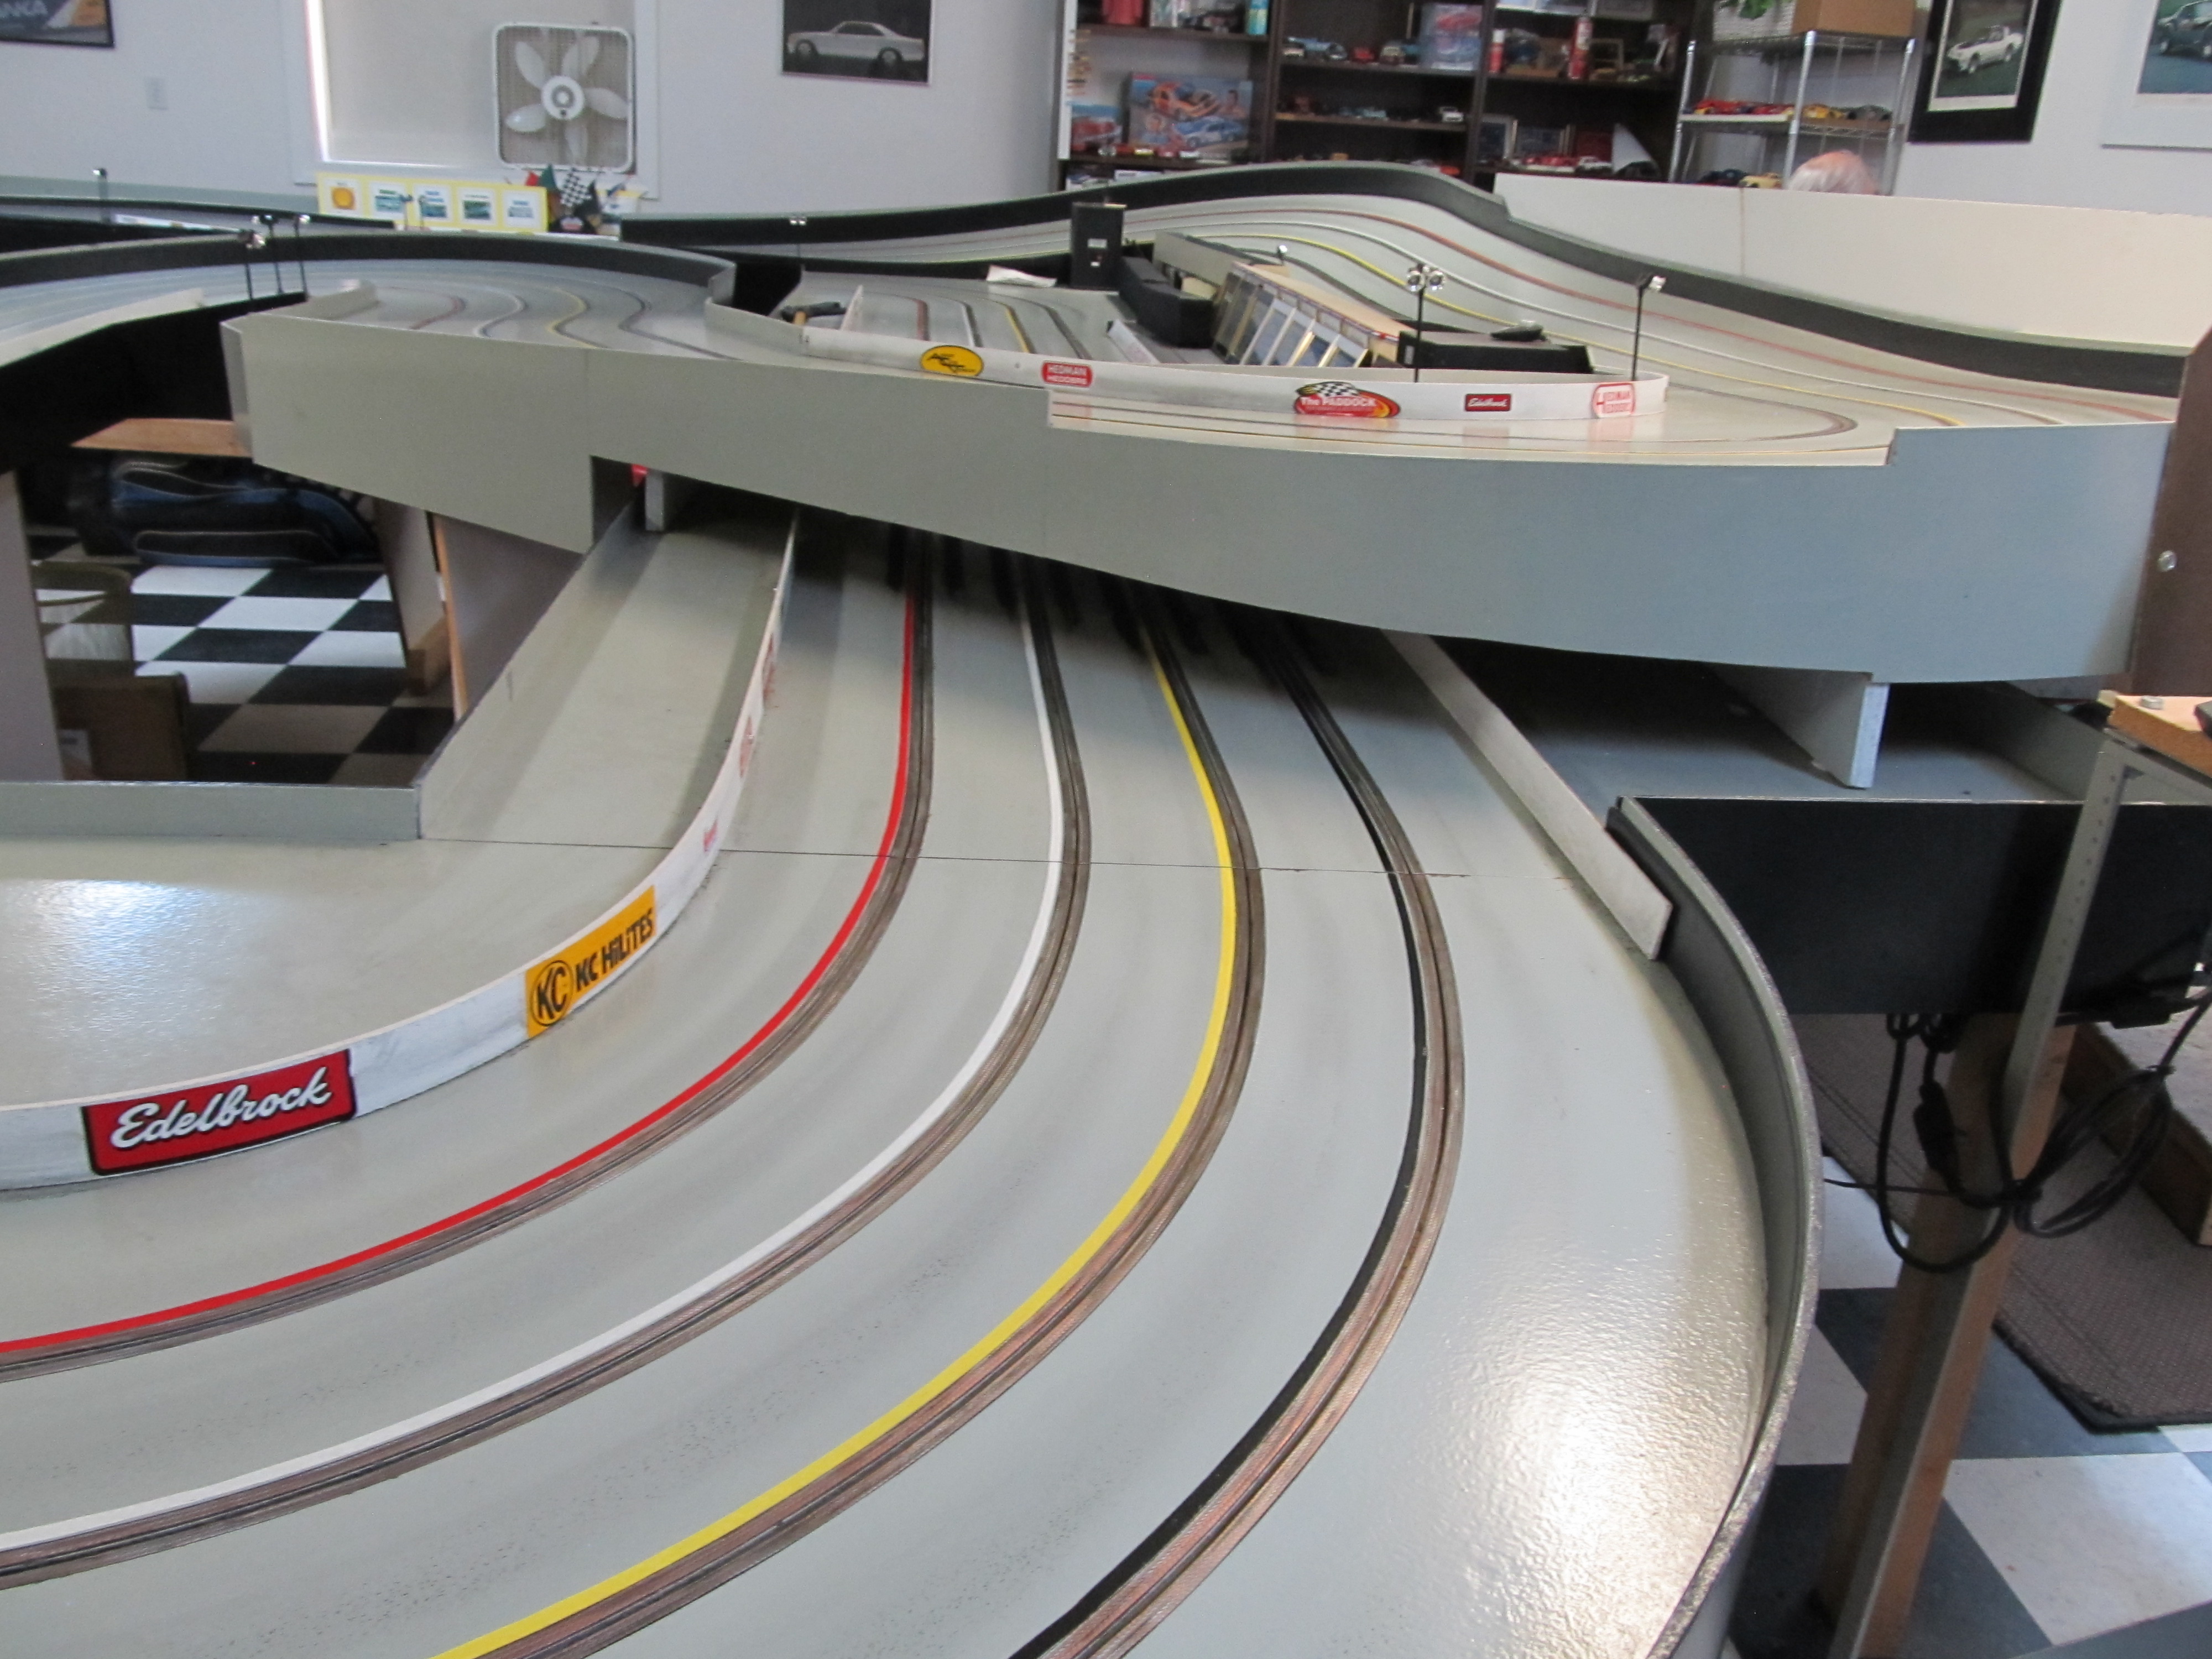
Rich did a great job of preparing all of the IROC Ferraris!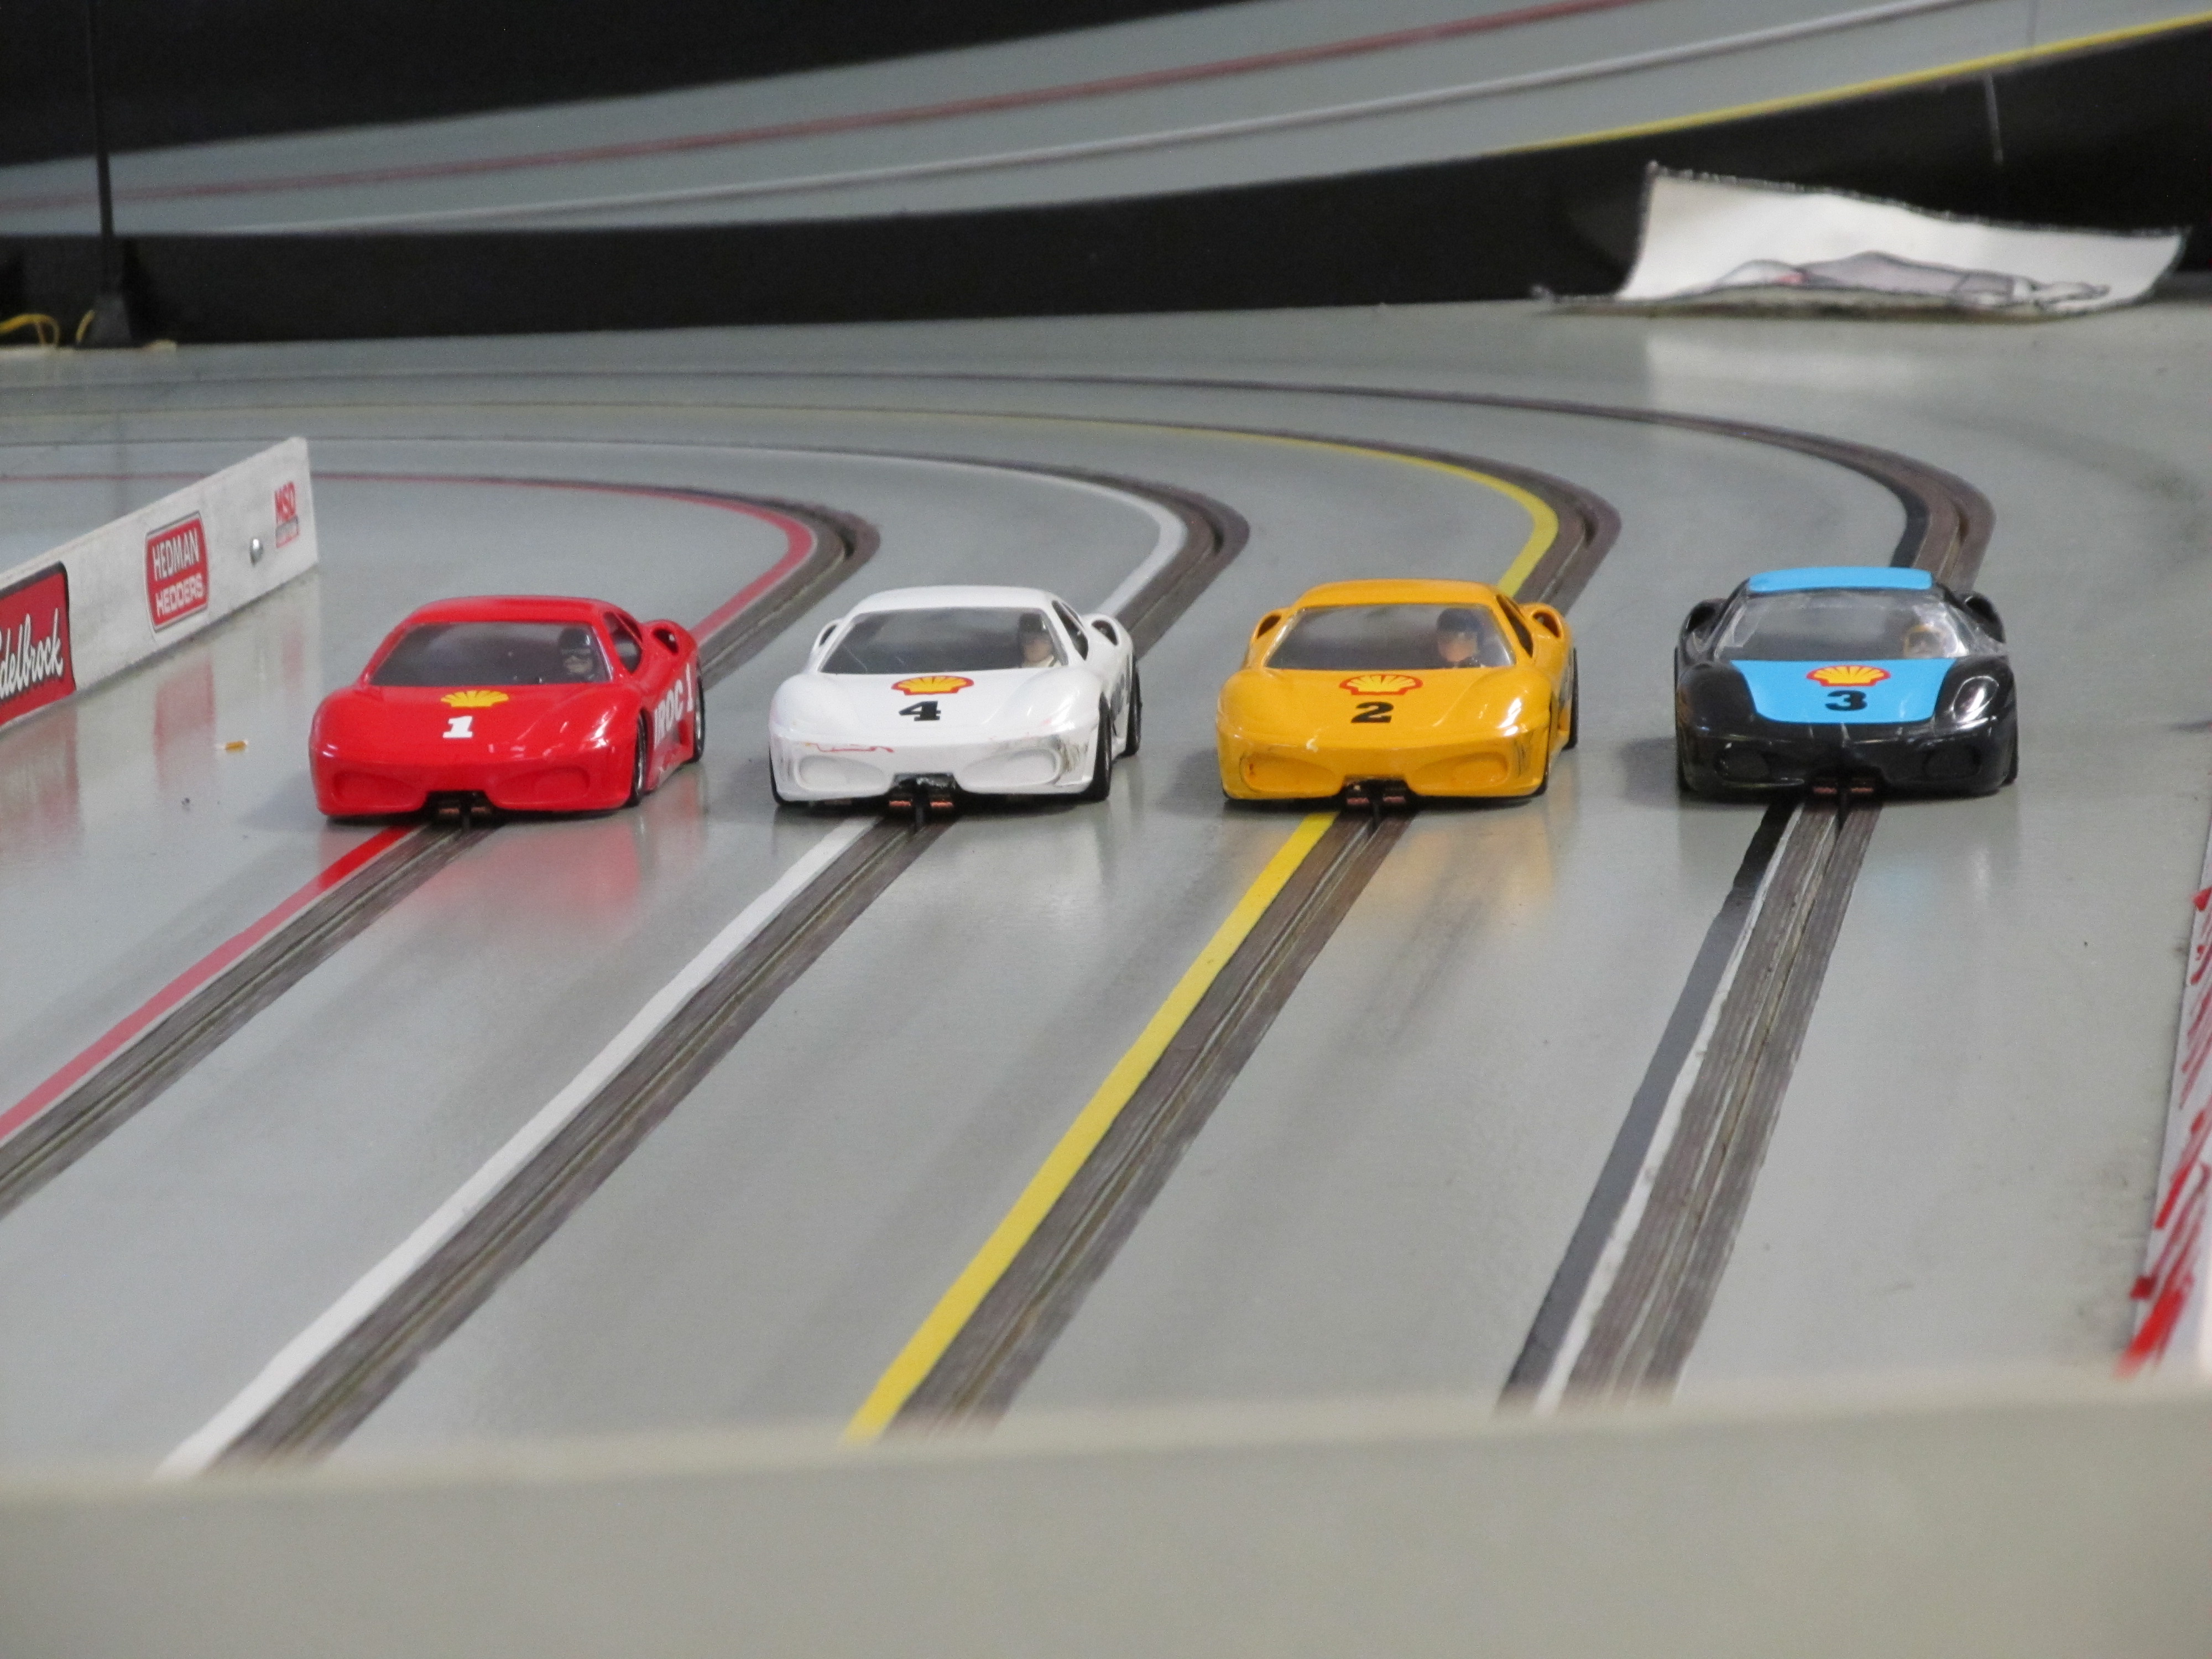
22 June 16, 2026 7:07 am
Re: IROC Slot Car Race at Electron Raceway in Roseburg! (10 replies, posted in Electron Raceway)
Here's a few more photos I was able to take:
Our team manager Greyson checking the track for avaiable traction.
I believe this was the Pelican Park Team's strategy session.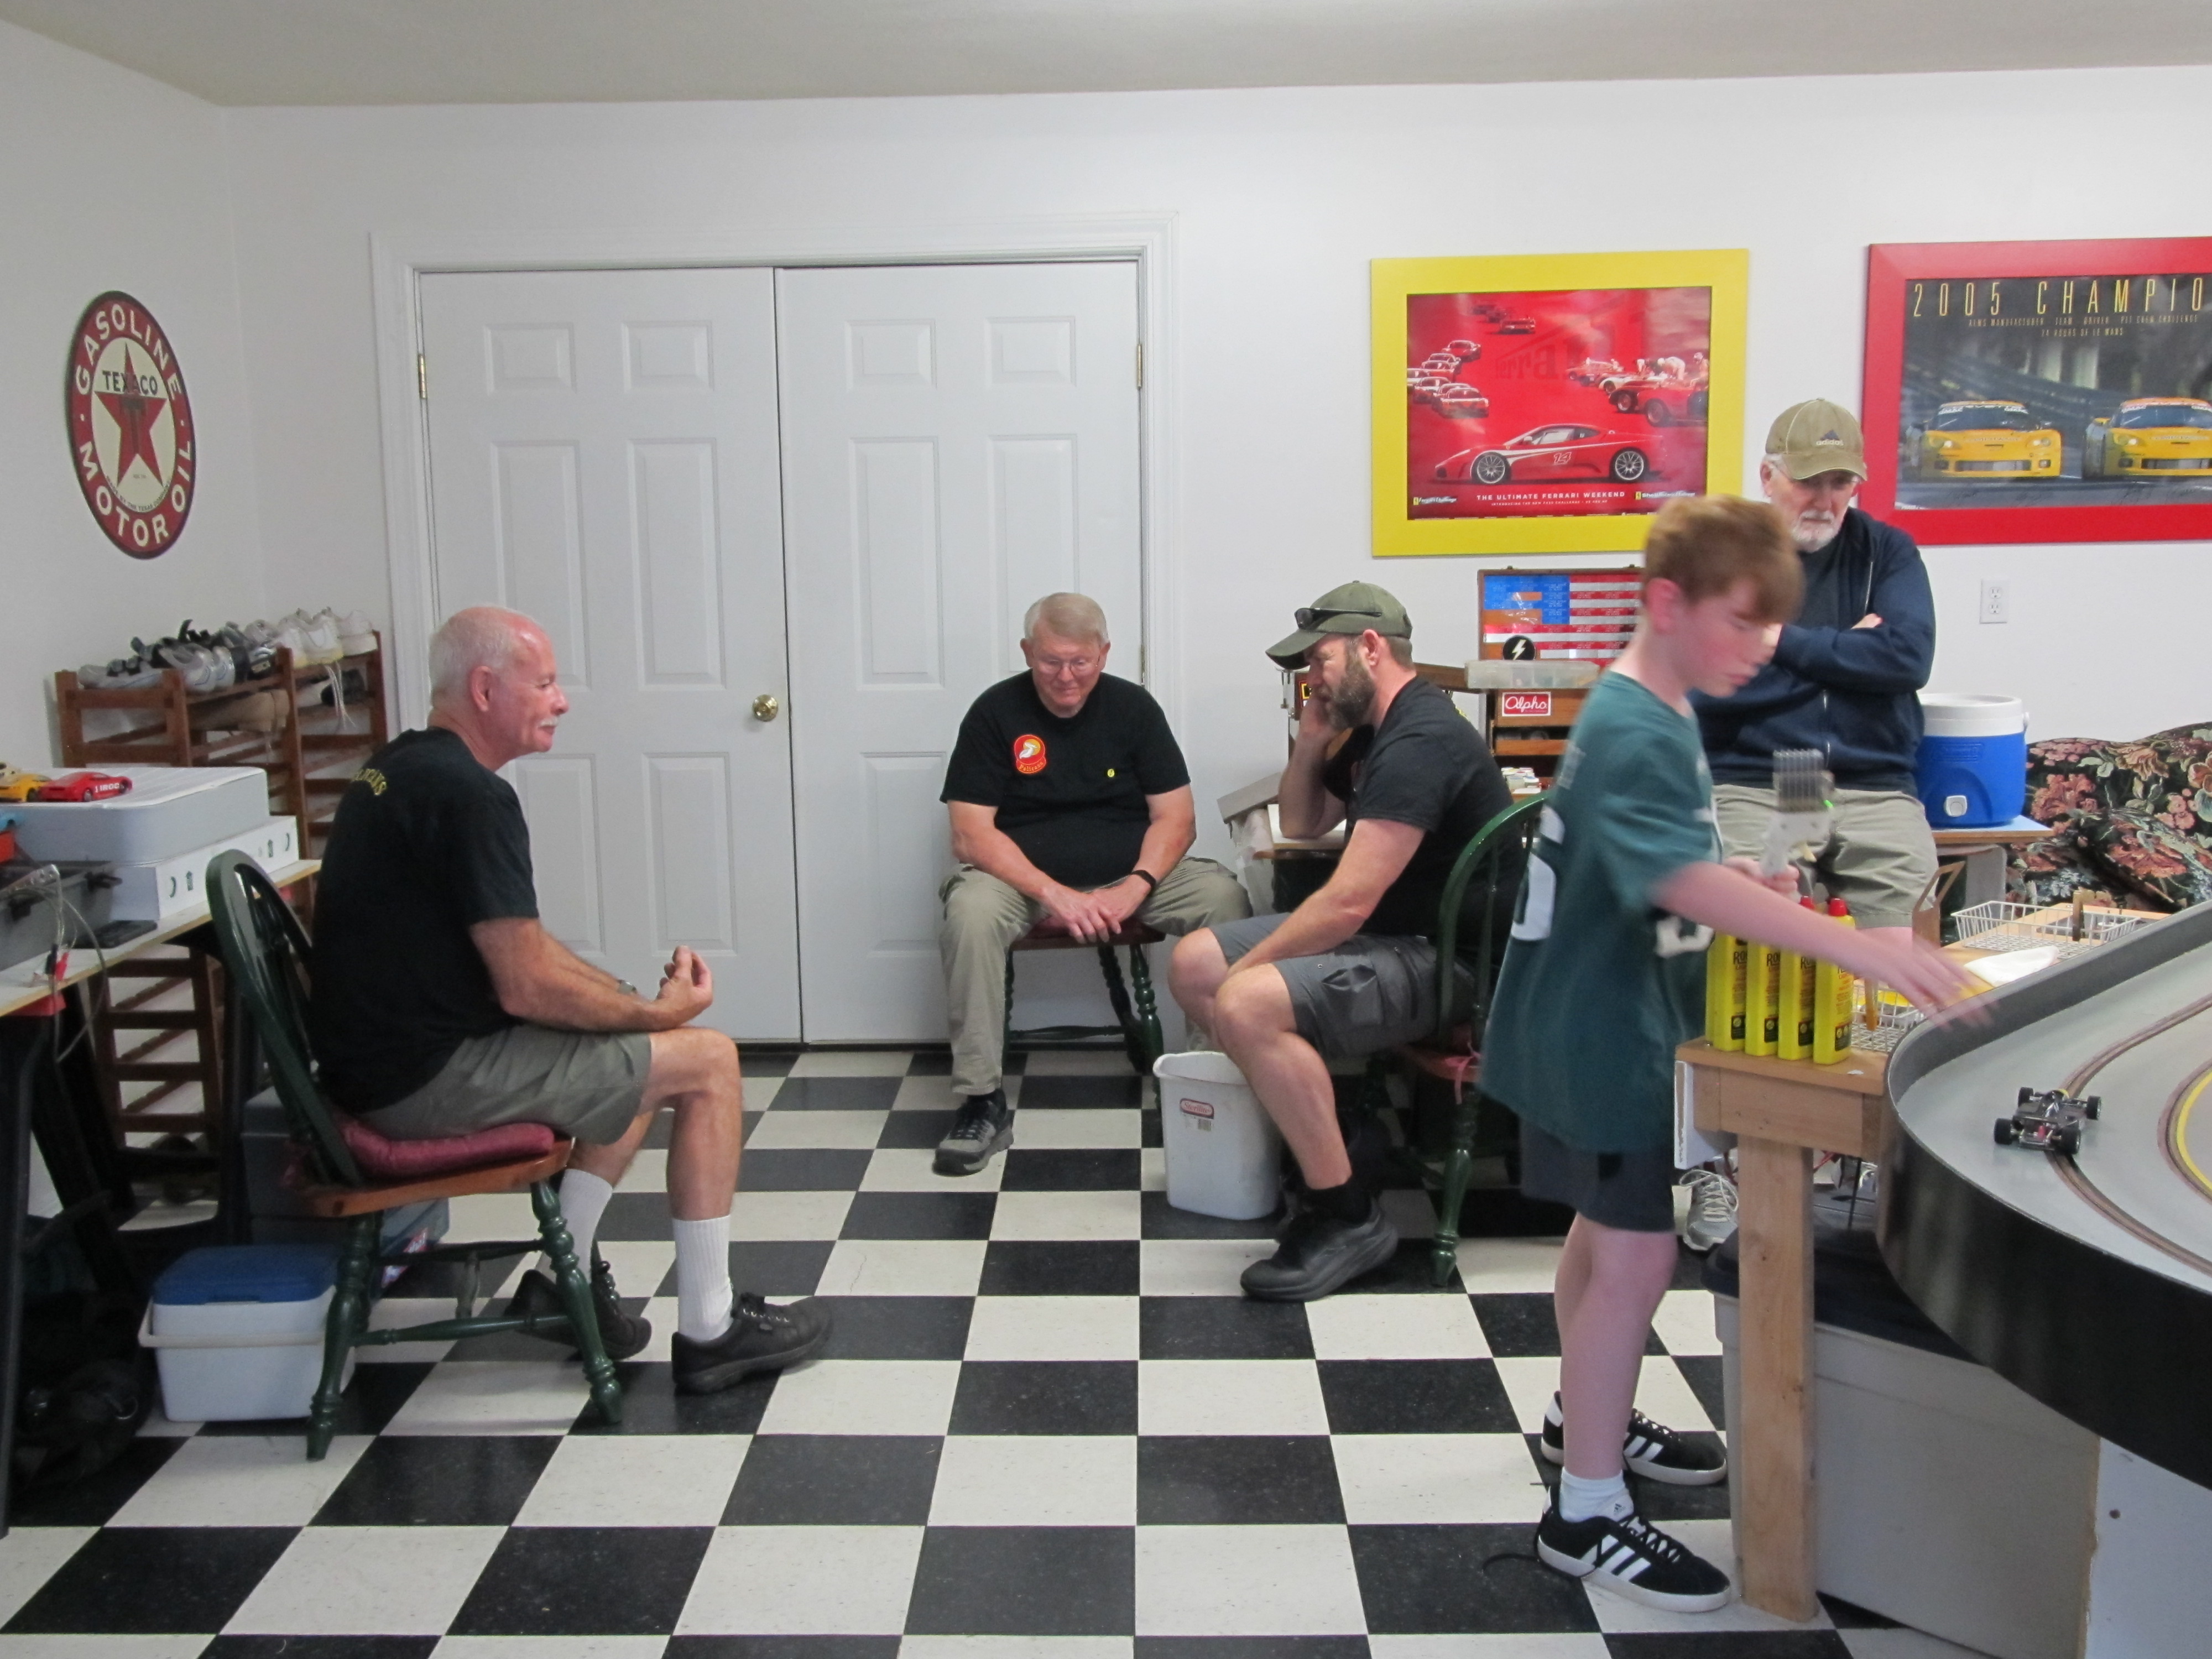
John and Bob kept an eye on the competition.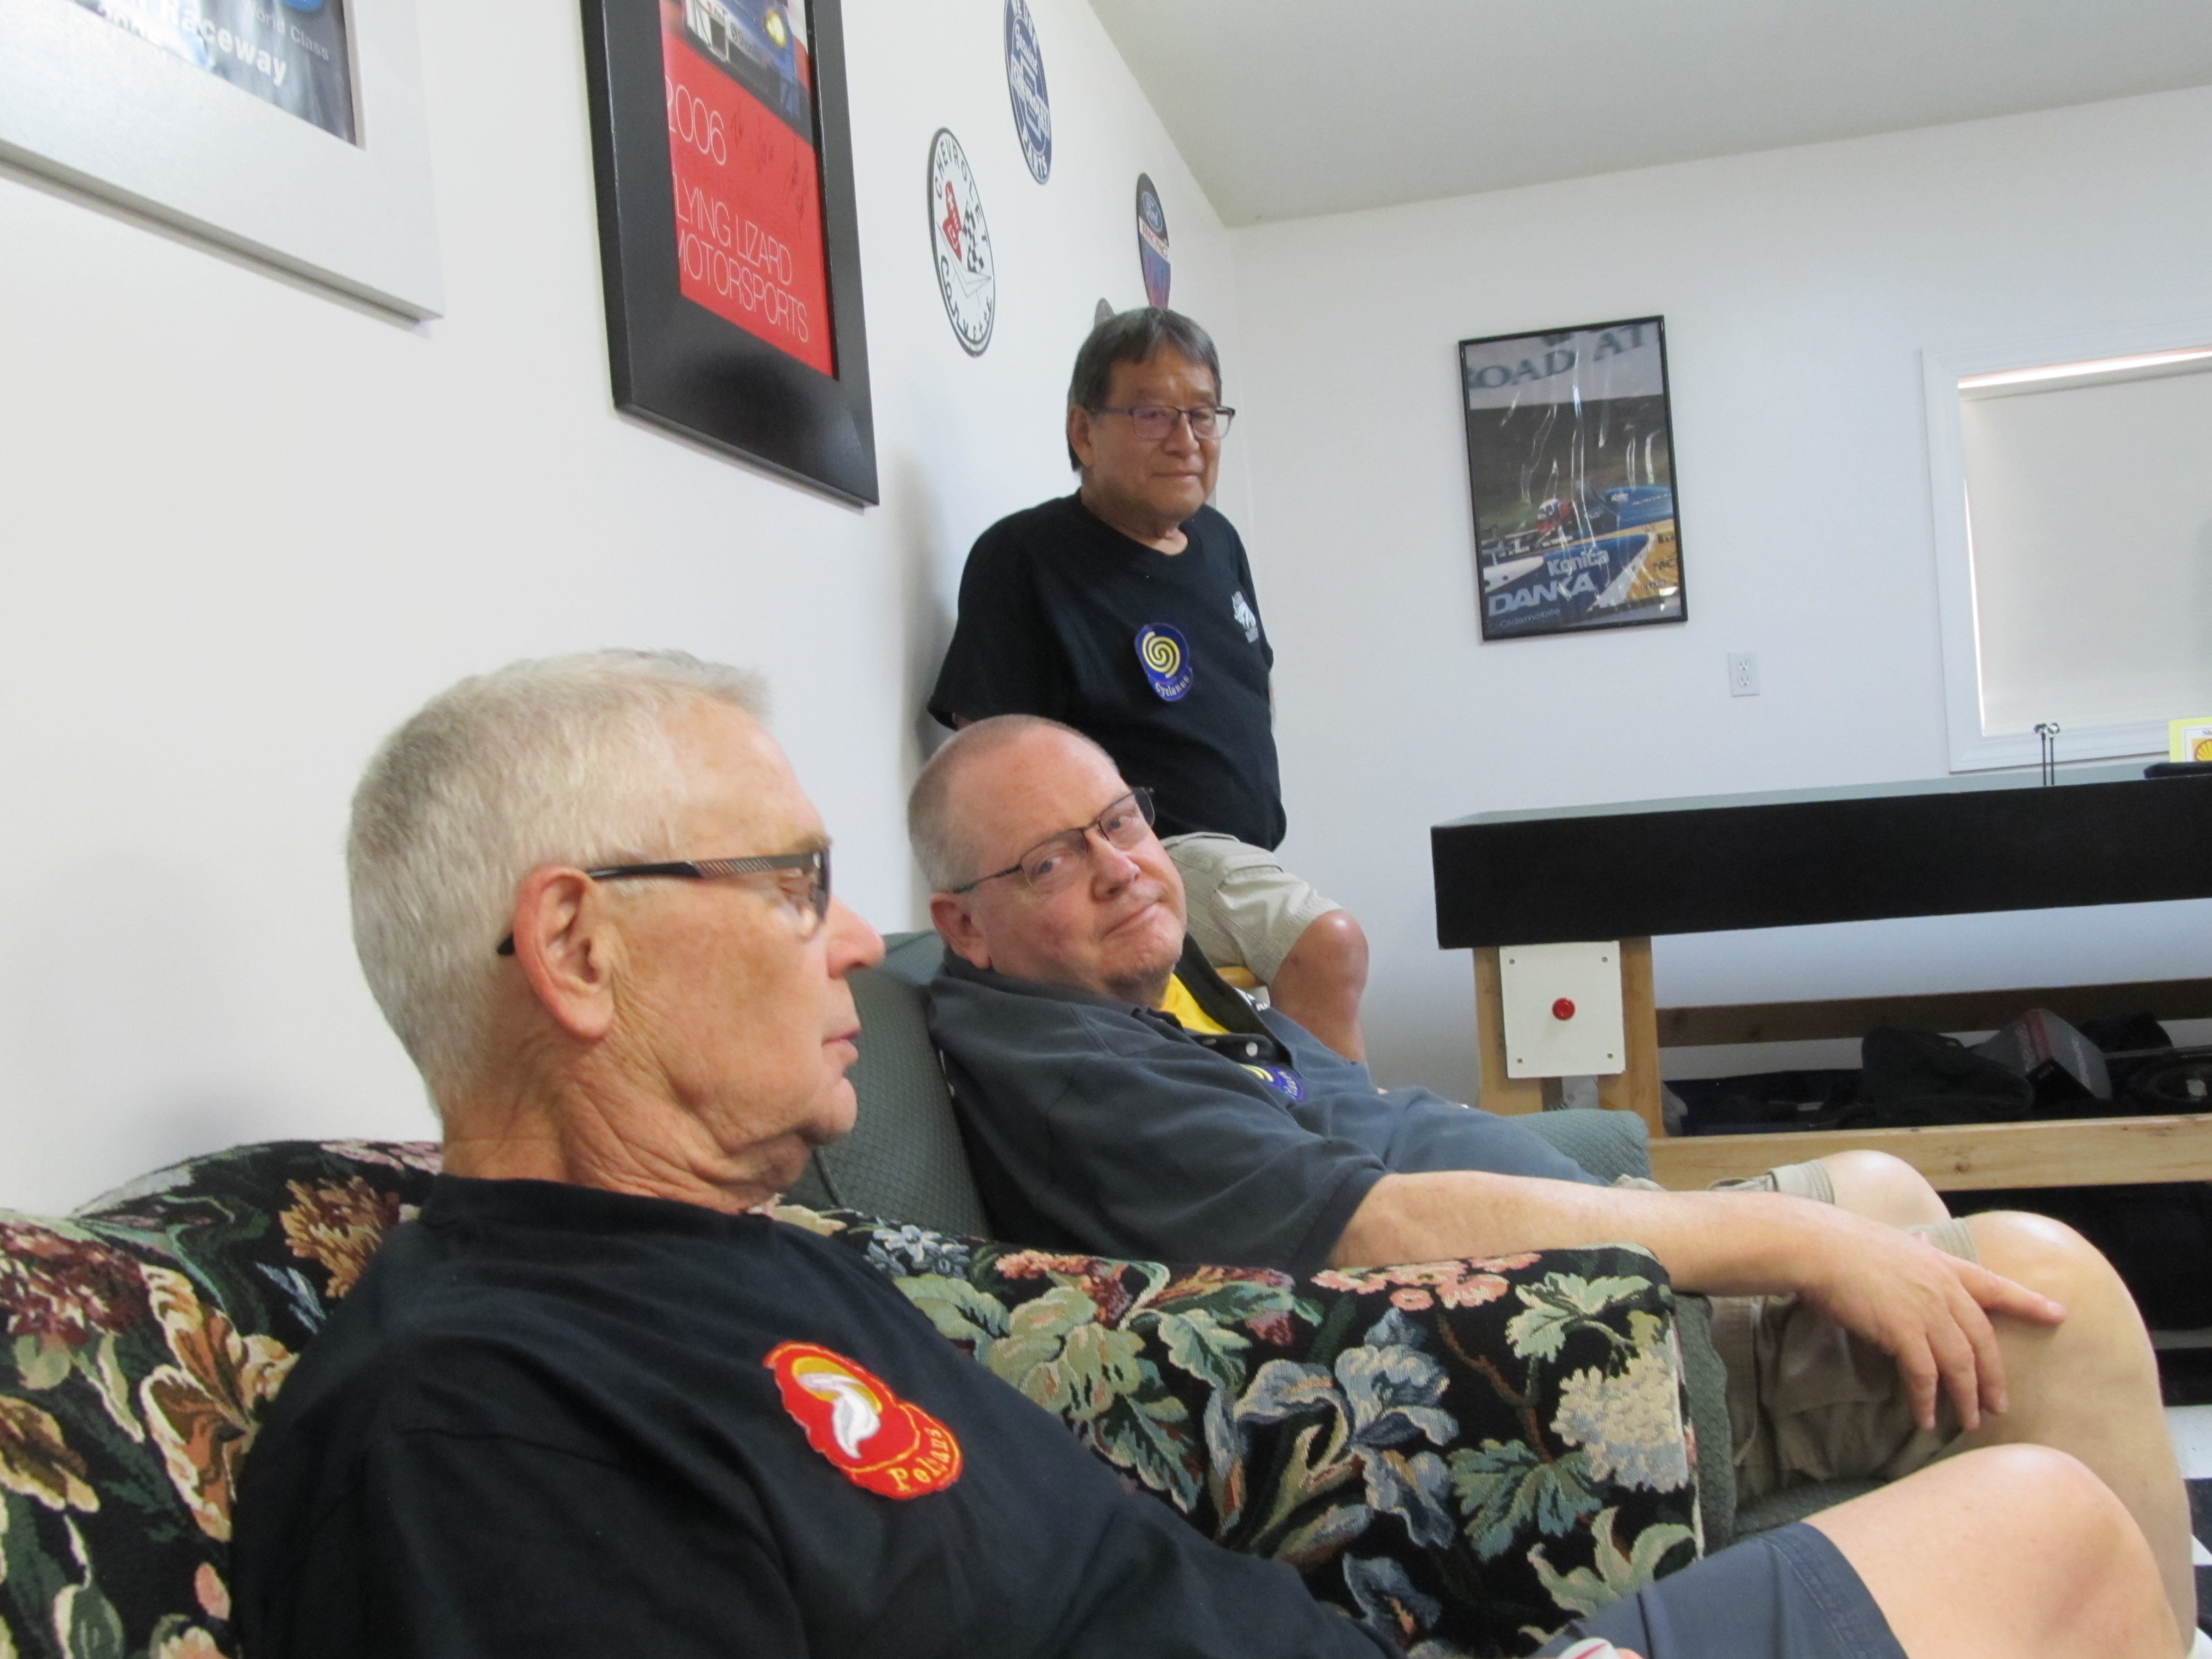
This right hand turn leading to the uphill provided plenty of crashes, especially on the inside lanes!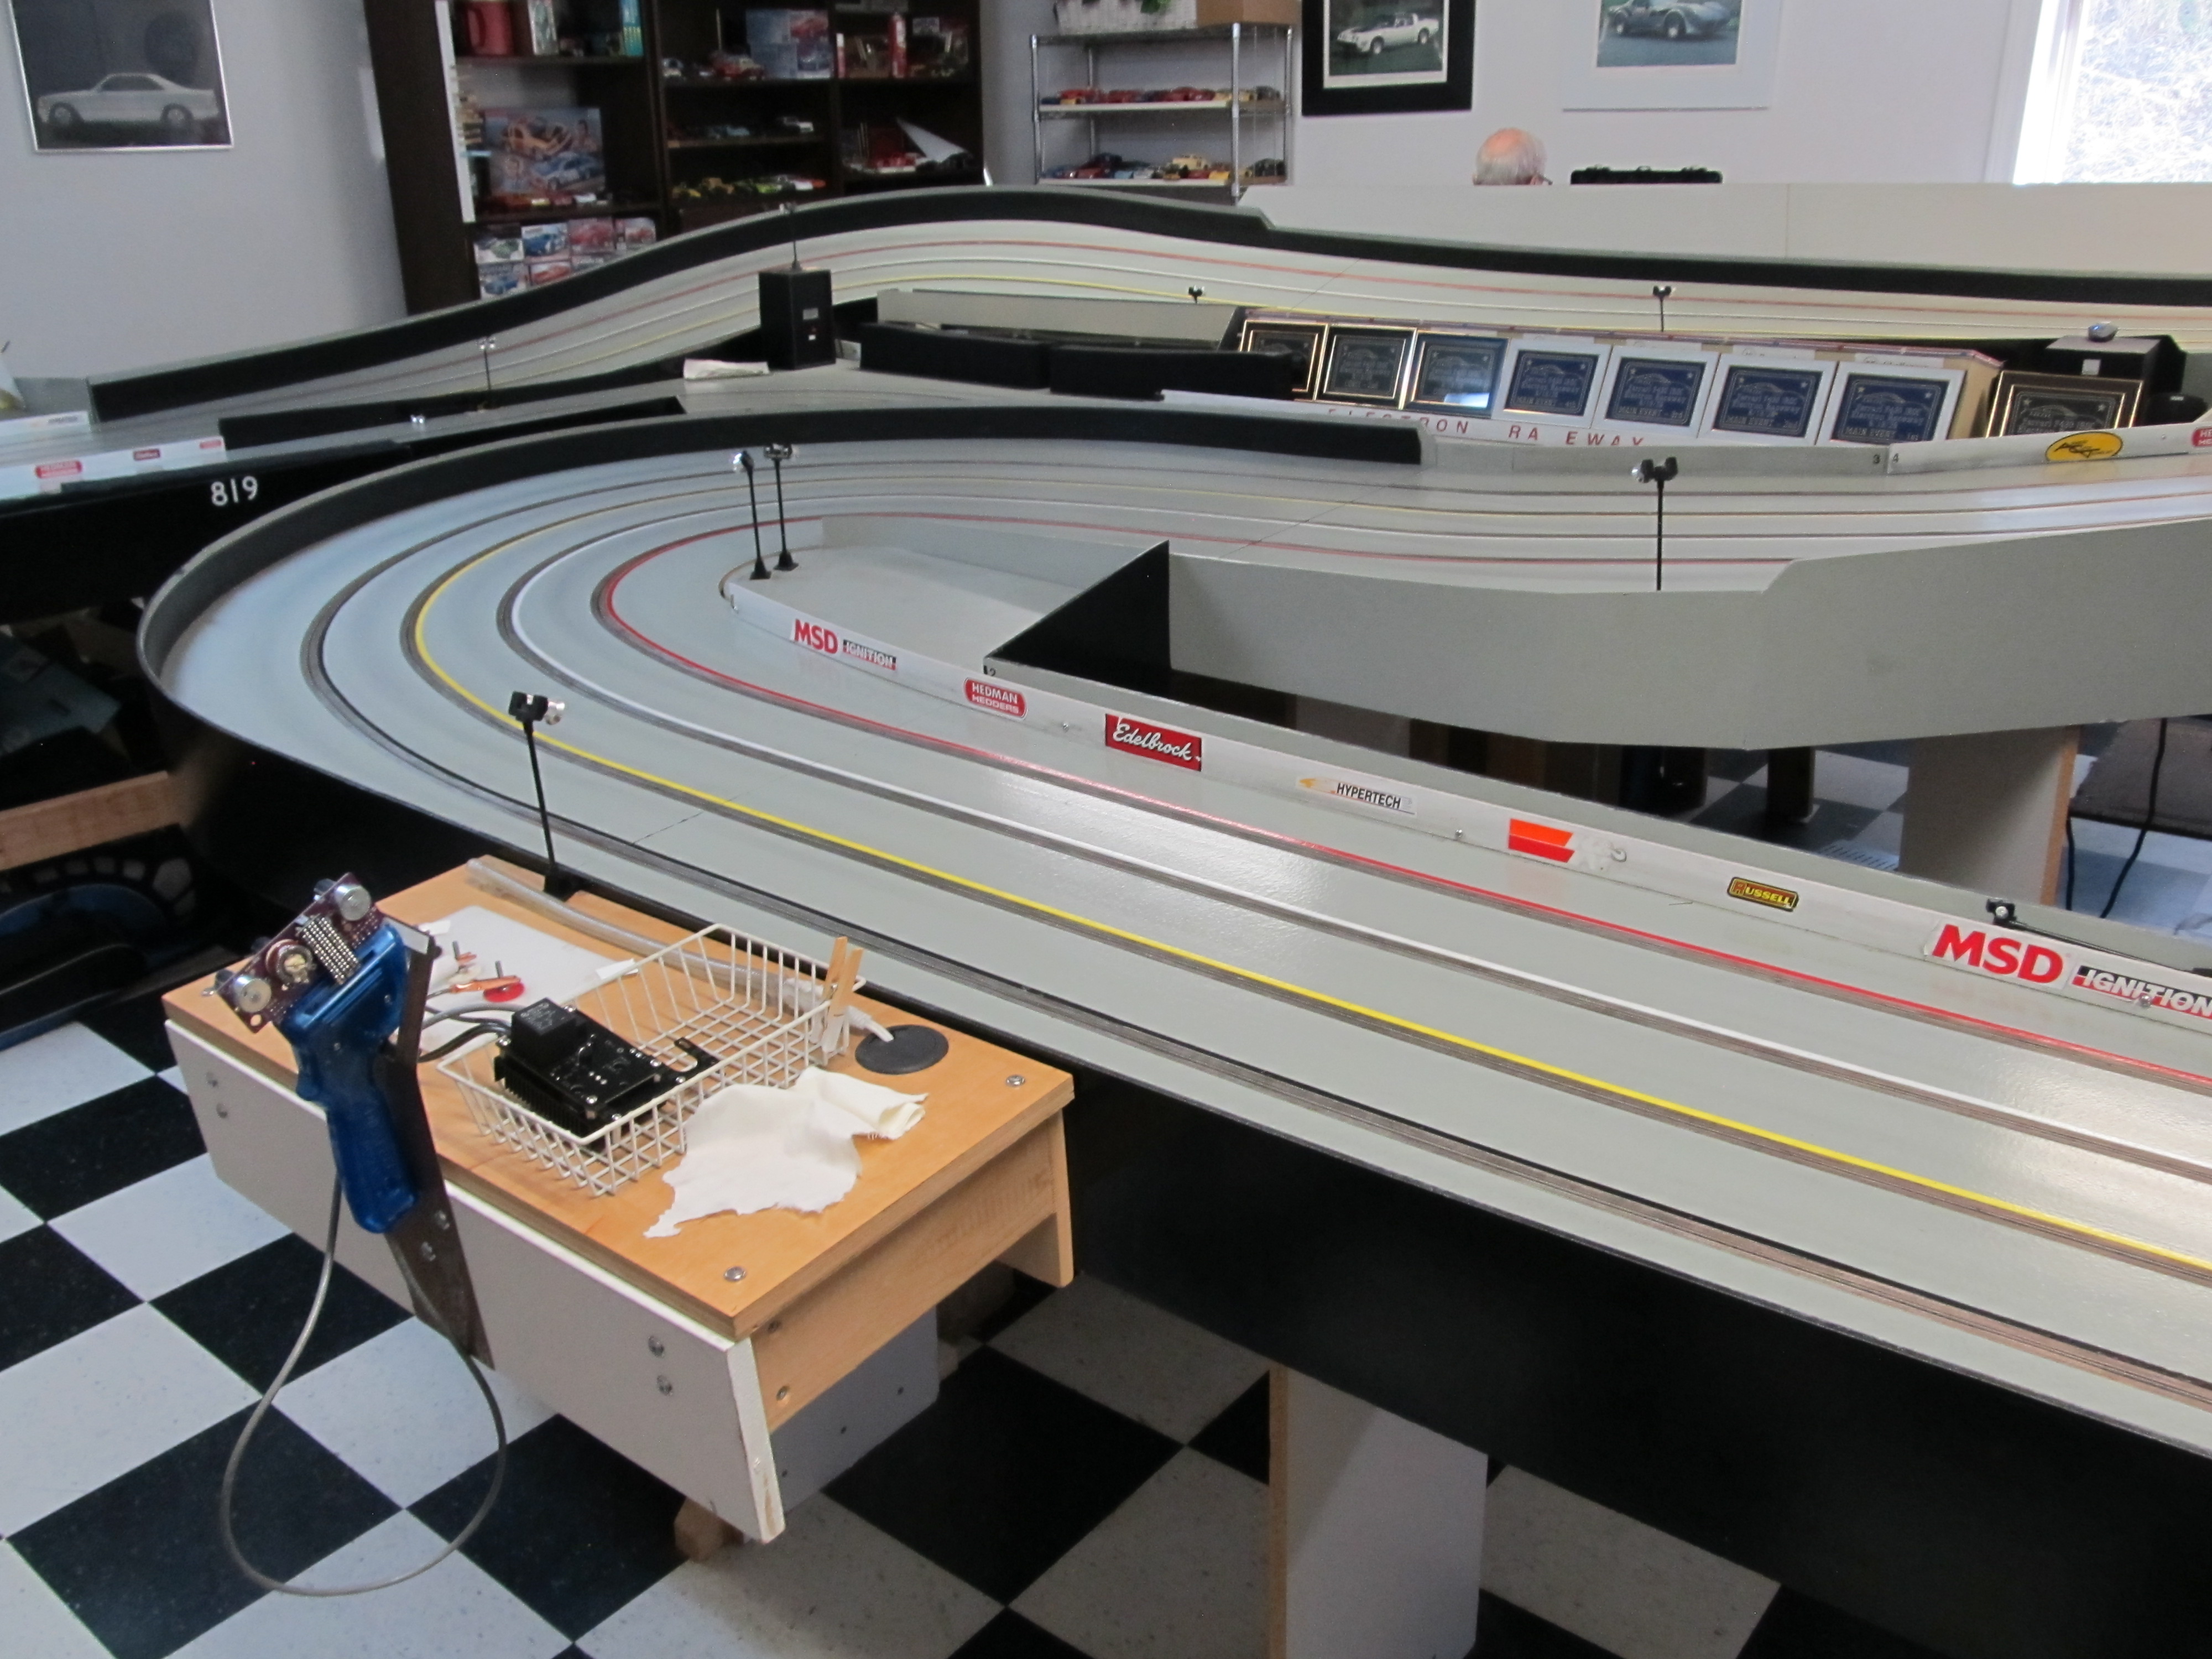
This end of the track is very challenging!
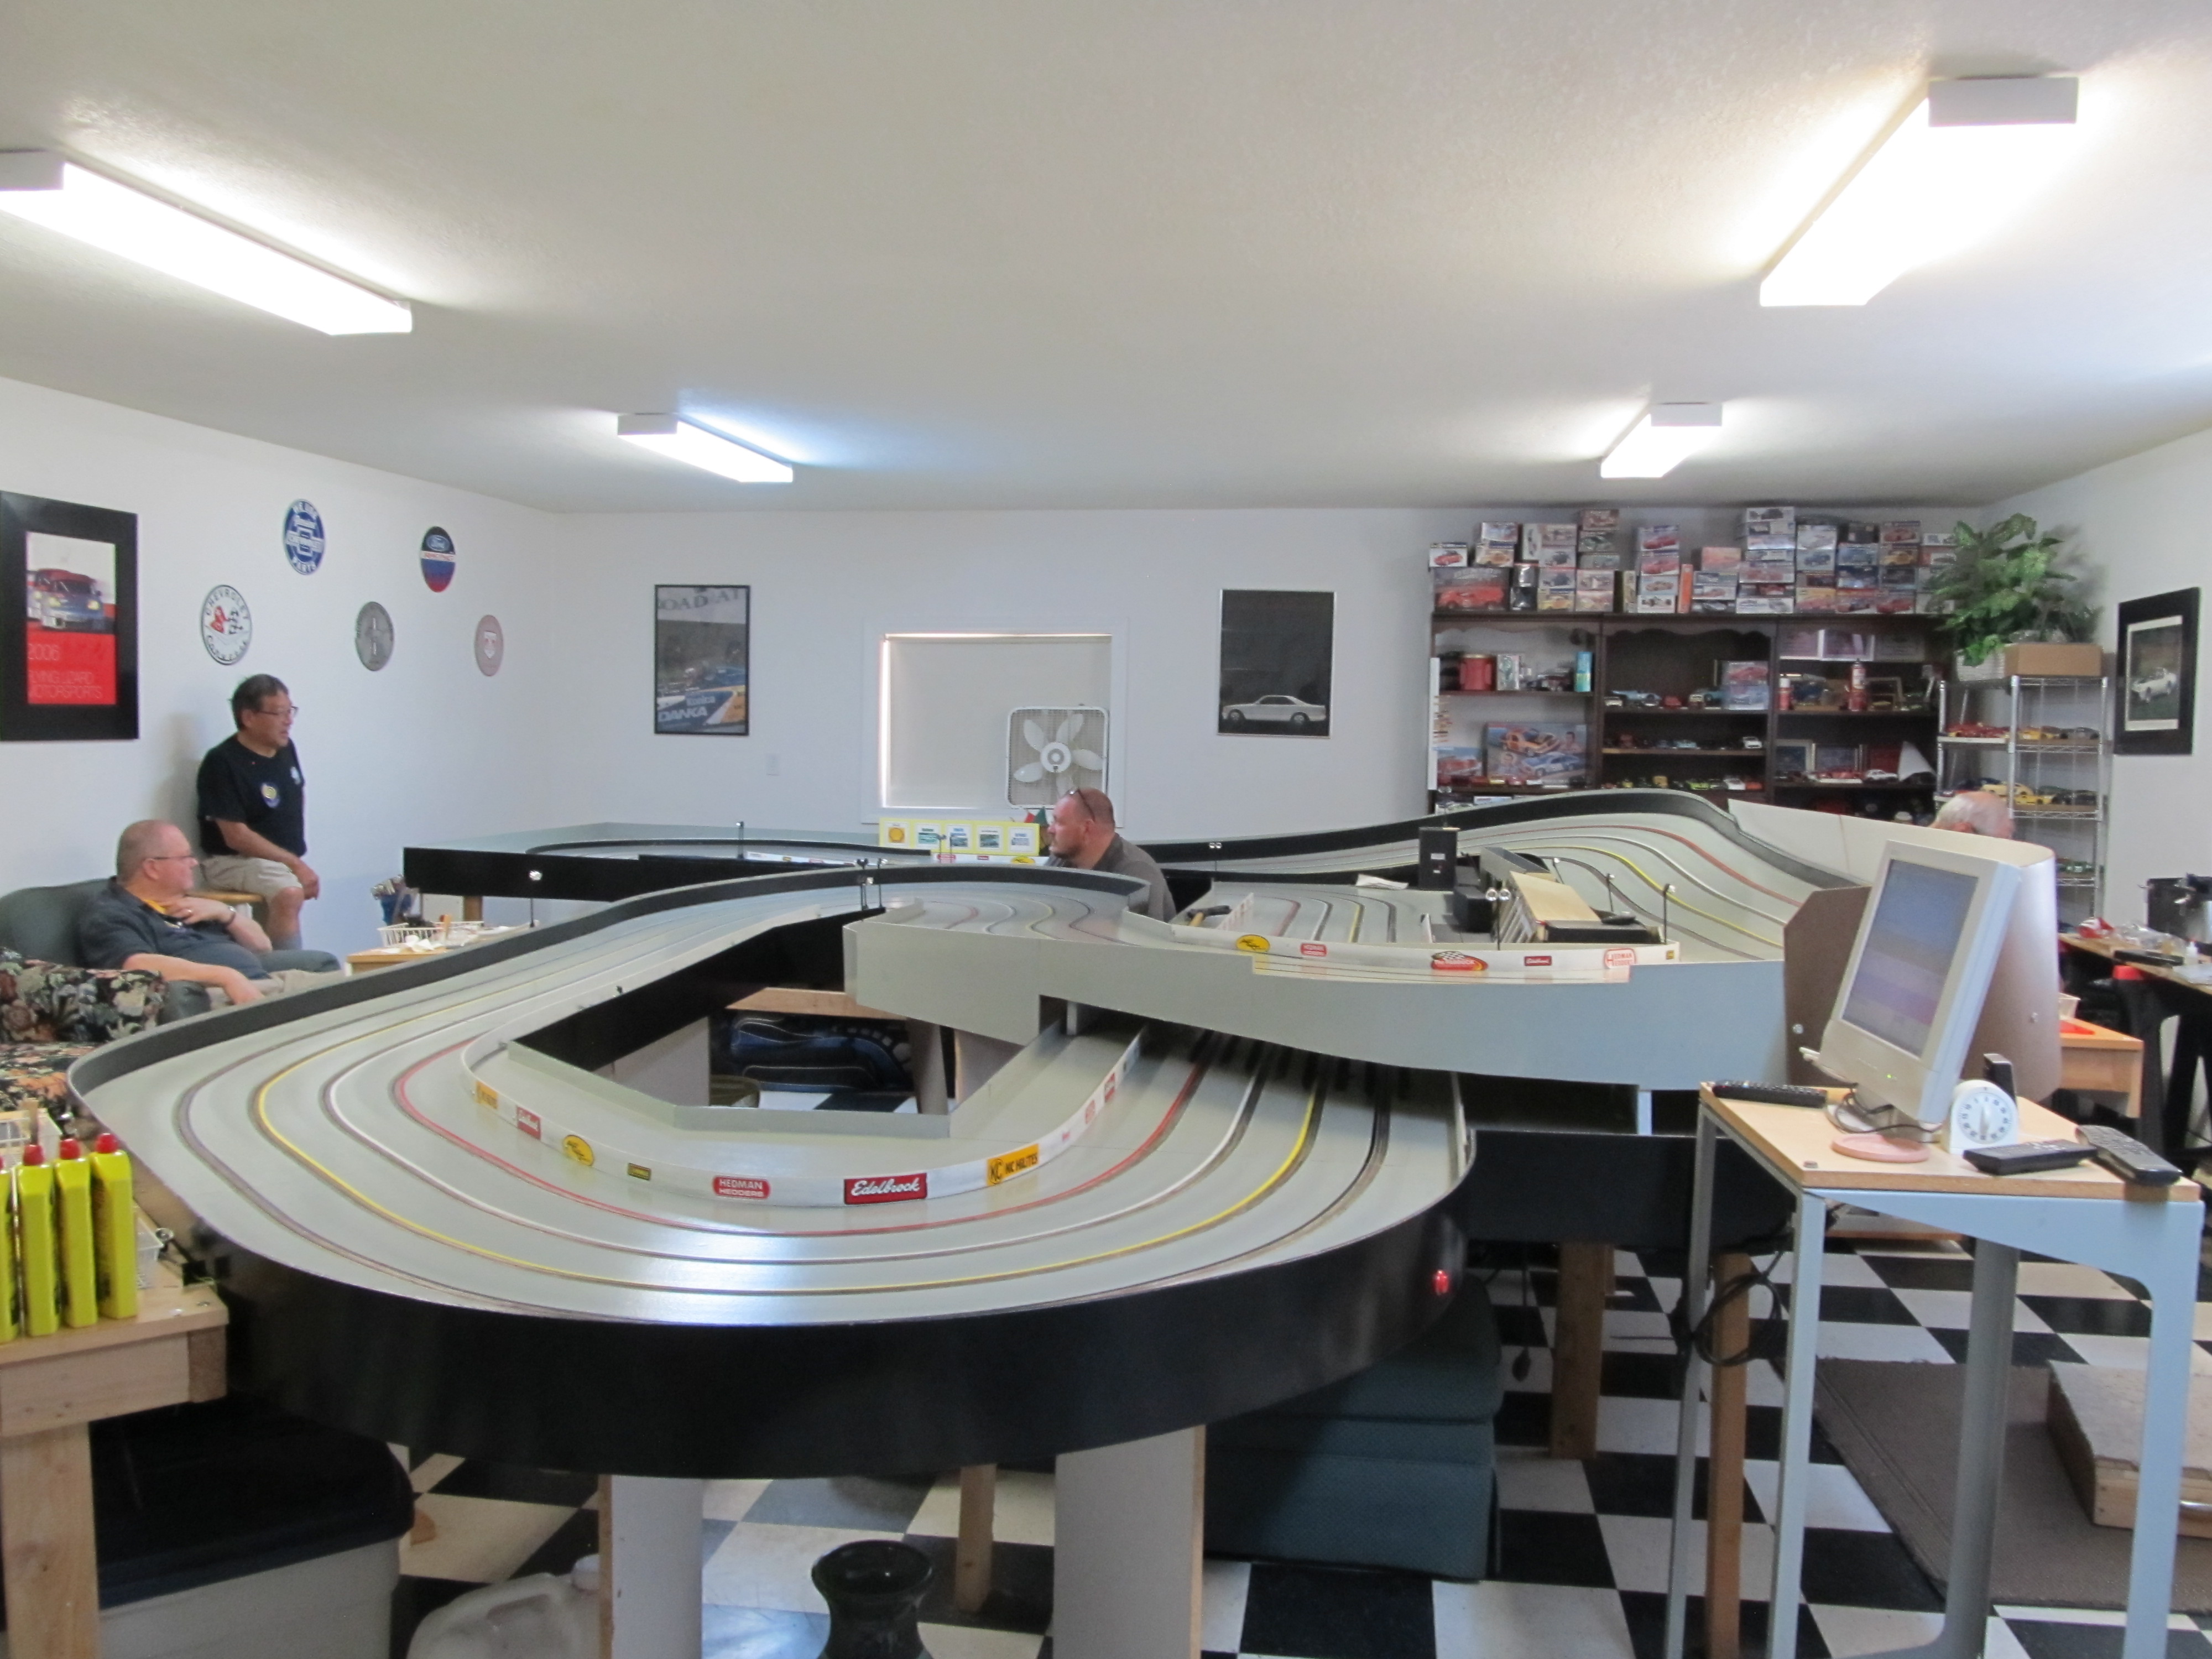
23 June 15, 2026 7:14 am
Re: IROC Slot Car Race at Electron Raceway in Roseburg! (10 replies, posted in Electron Raceway)
This past Saturday five portland area racers travelled to Roseburg Oregon as part of the Columbia River Cyclones Racing Team. The plan was to compete in Rich Vecchio's IROC race at Electron Raceway. The team consisted of four drivers and the team manager.
Rich built a total of five cars for this event. All five cars were fitted with 1/24 Ferrari model car bodies. The chassis were a mix of 2NASTE, Schoeler, and other bolt together style chassis. There was one car built as a backup car. We raced these cars HARD for nearly 1,000 laps without any failures. That is a huge statement in regards to Rich's preparation efforts! The cars were fast and handled the tight Electron course very well.
A race program similar to that used at Pelican Park Speedway was used, consisting of a Qualifying Race followed by Semi races, a Consi race, a Hooligan race, and finally the Main Event. Steven representing the Columbia River Cyclones scored our best finish, second in the Main Event! Bob Nak and myself finished second and first (respectively) in the Consi race. John Gill was relegated to the Hooligan race which was not an accurate reflection of his performance for the entire race. Our Team Manager Greyson Ennis did an outstanding job of keeping us on track and focussed!
In addition to some great racing on a beautiful track, we were treated to an outstanding lunch from Rich's wife Susan. Thank you Rich and Susan for putting on this fantastic event! We are all looking forward to the next one!
24 June 12, 2026 11:23 am
Re: NASTE Odd Thursday Night Racing Rules & Current Thread (2,206 replies, posted in NASTE)
Congrats on the win Rico!
25 June 6, 2026 2:10 pm
Re: Team Bluegroove Body Orders (21 replies, posted in Cars)
I am receiving inquiries regarding available Team Bluegroove bodies. As most of you are aware I do not "stock" and inventory of bodies for sale. I have a few examples on hand which varies from time to time. If there are enough racers interested I will put together a large order which allows us to save a bunch of money per car. I just need to know who is interested in bodies and which bodies. You can send me an email, respond here, or on one of the other affiliated Facebook pages. I will start making a list.