Skip to forum content
The NASTE Forum
Welcome to the forum of the Northwest Slot Track Enthusiasts!
You are not logged in. Please login or register.
Active topics Unanswered topics
Search options (Page 131 of 241)
Topics by wb0s User defined search
Posts found: 3,251 to 3,275 of 6,017
by howie » Sun Apr 26, 2015 8:01 am
Race of April 25, 2015.
Results:
1st.......... Beau.................368 laps.............4.718353 sec...........yellow.
2nd.........Gearloose............356..................4.882902................yellow.
3rd..........Howie................350..................4.773052................white.
4th..........Marty.................349..................4.663987................blue.
5th..........John F................274..................4.999561................blue.
6th...........Stuart.............Disq.
Beau set a new track record, go to Pit Stop then Records.
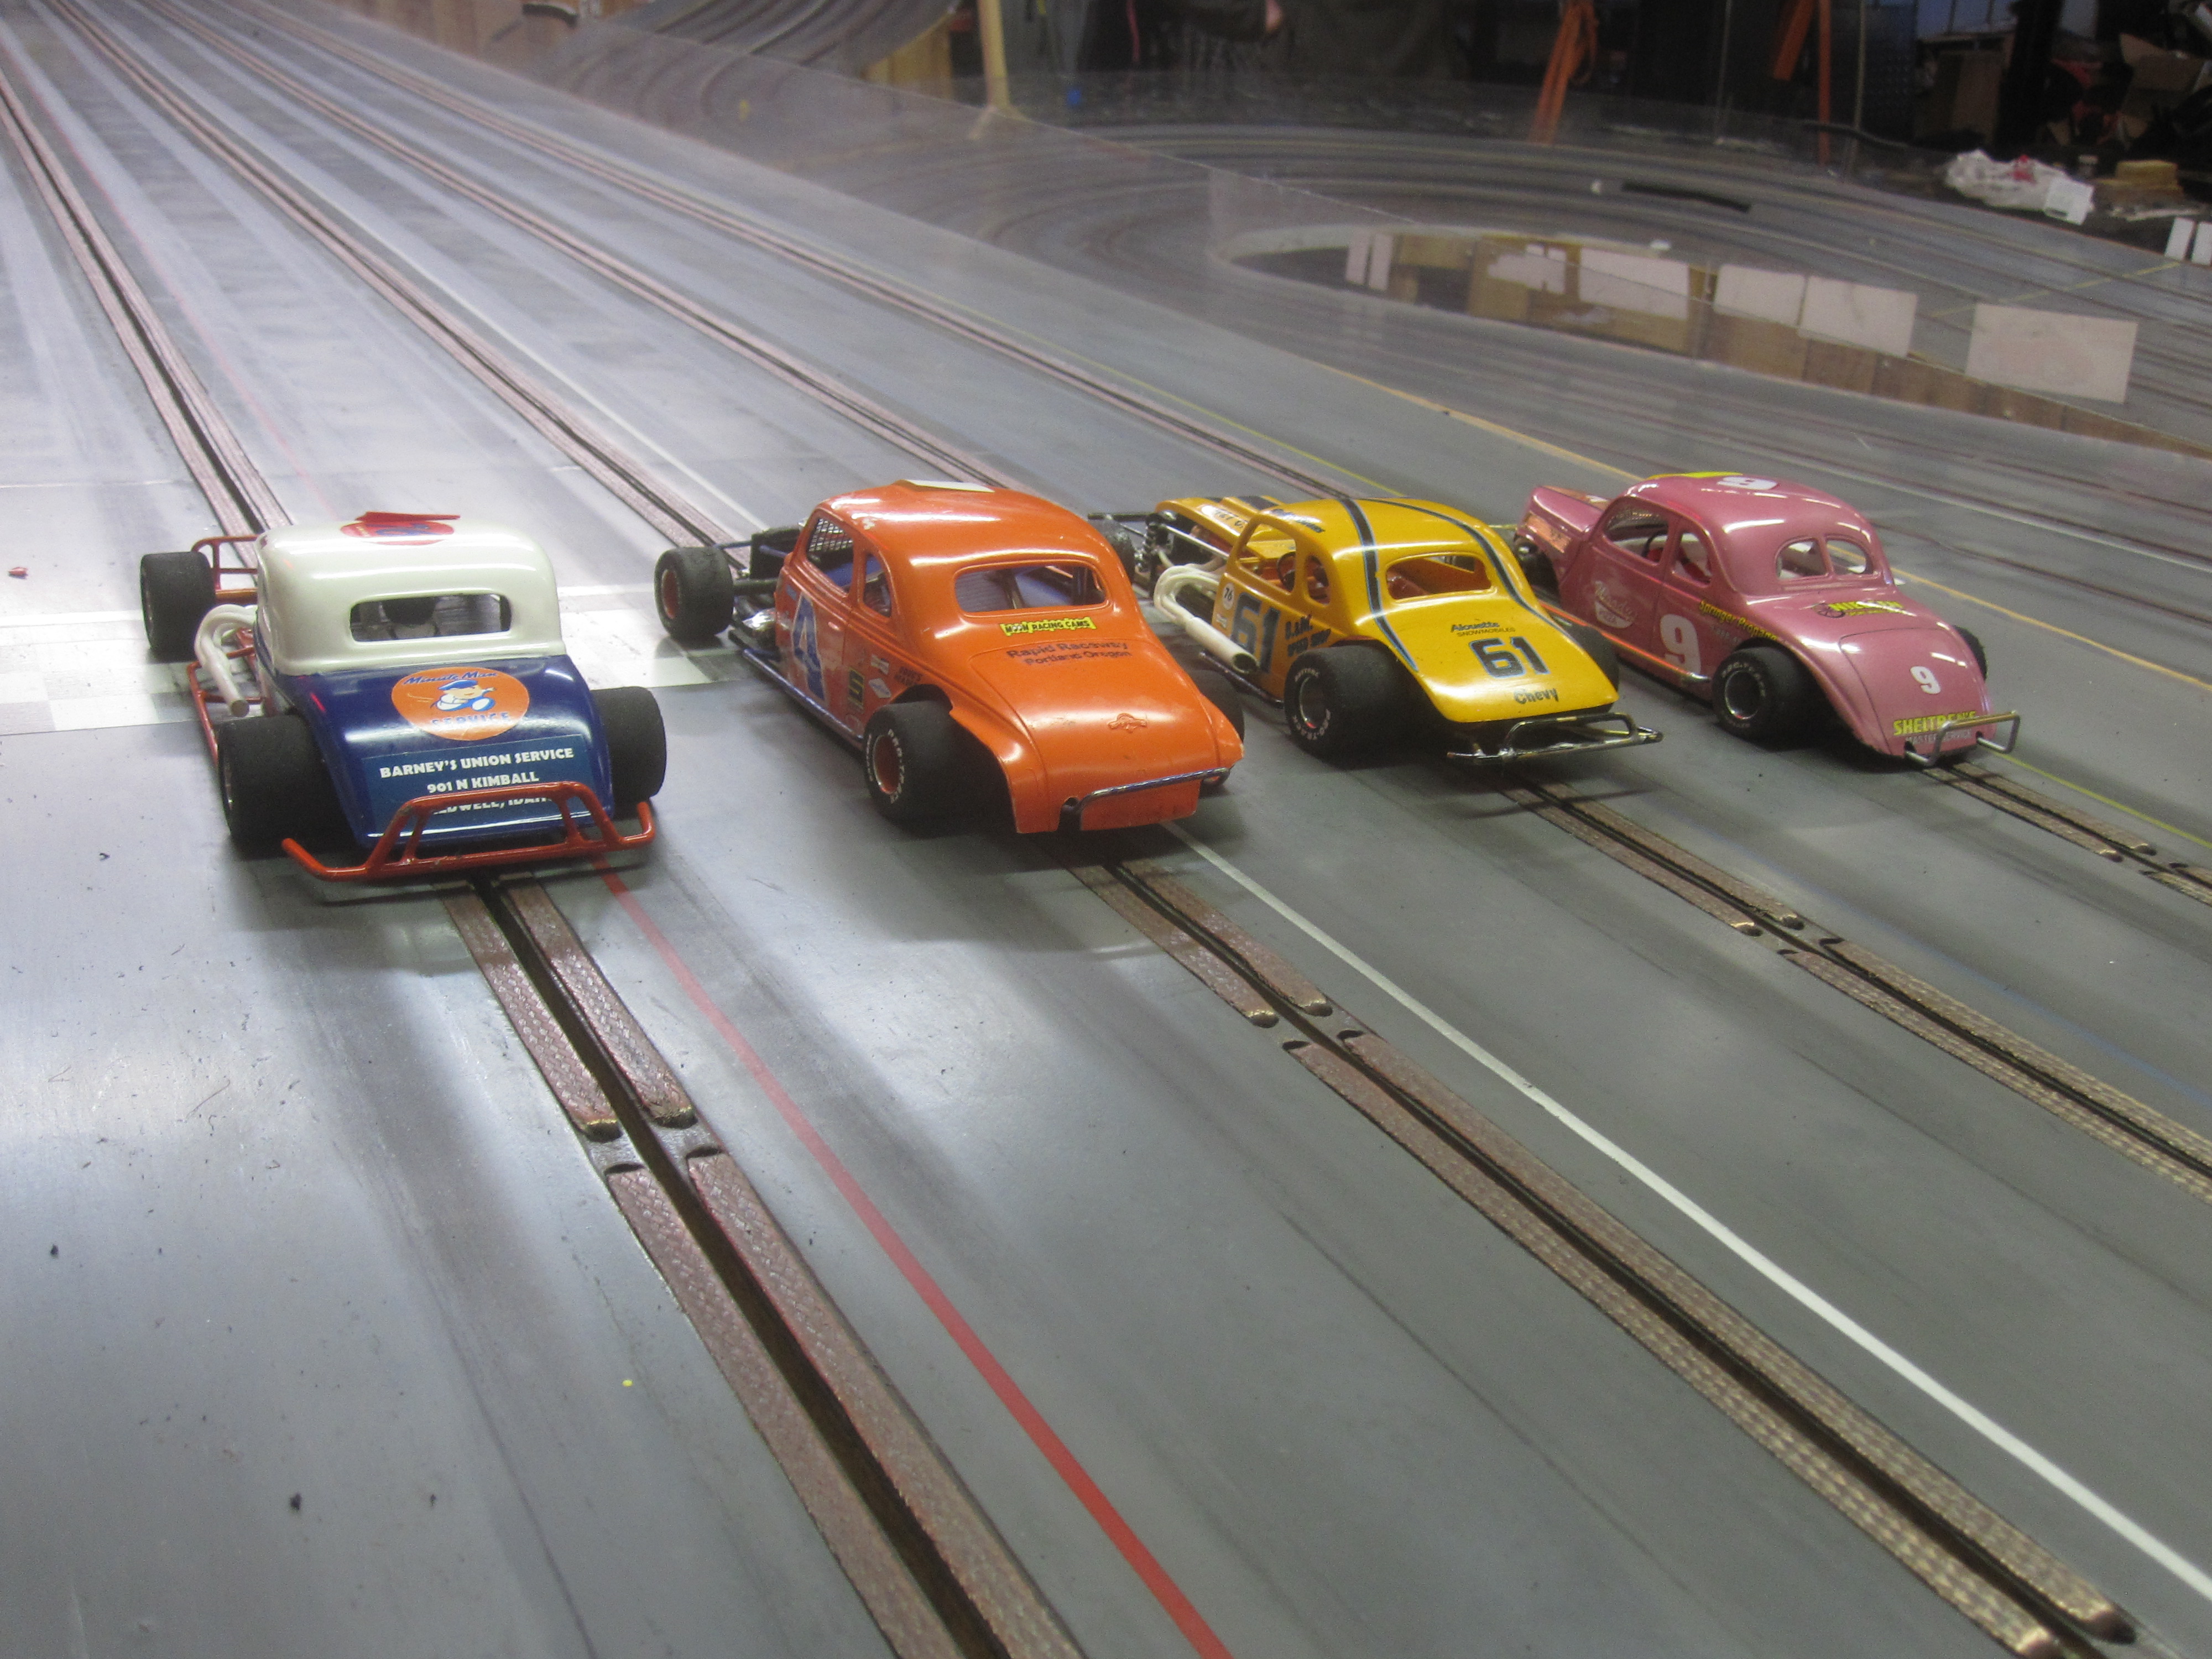
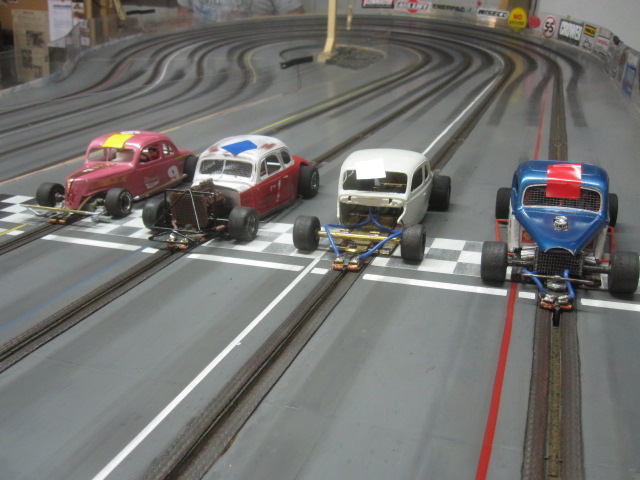
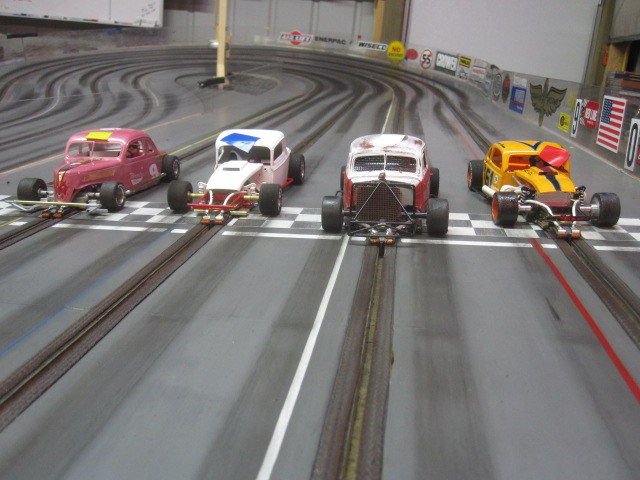
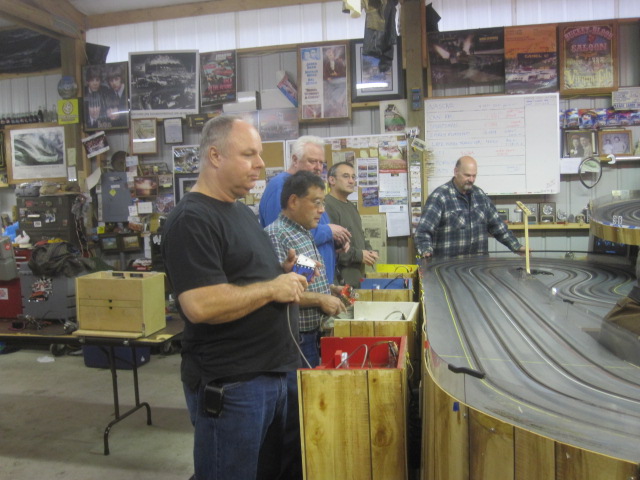
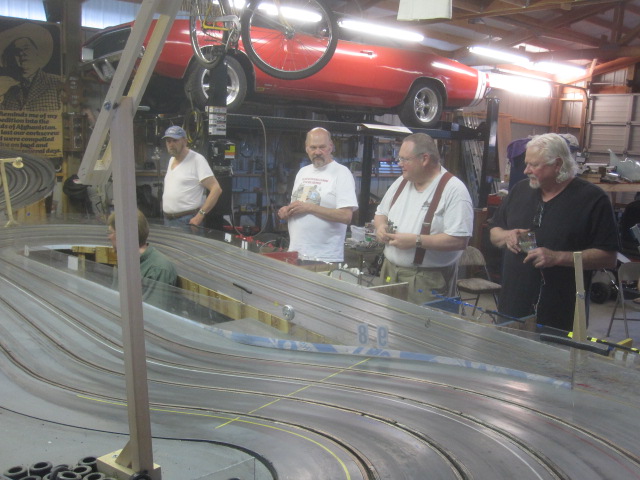
Left to right: Marty, Dwayne, Beau, Gearloose getting ready to launch.
by howie » Sun Apr 19, 2015 7:44 am
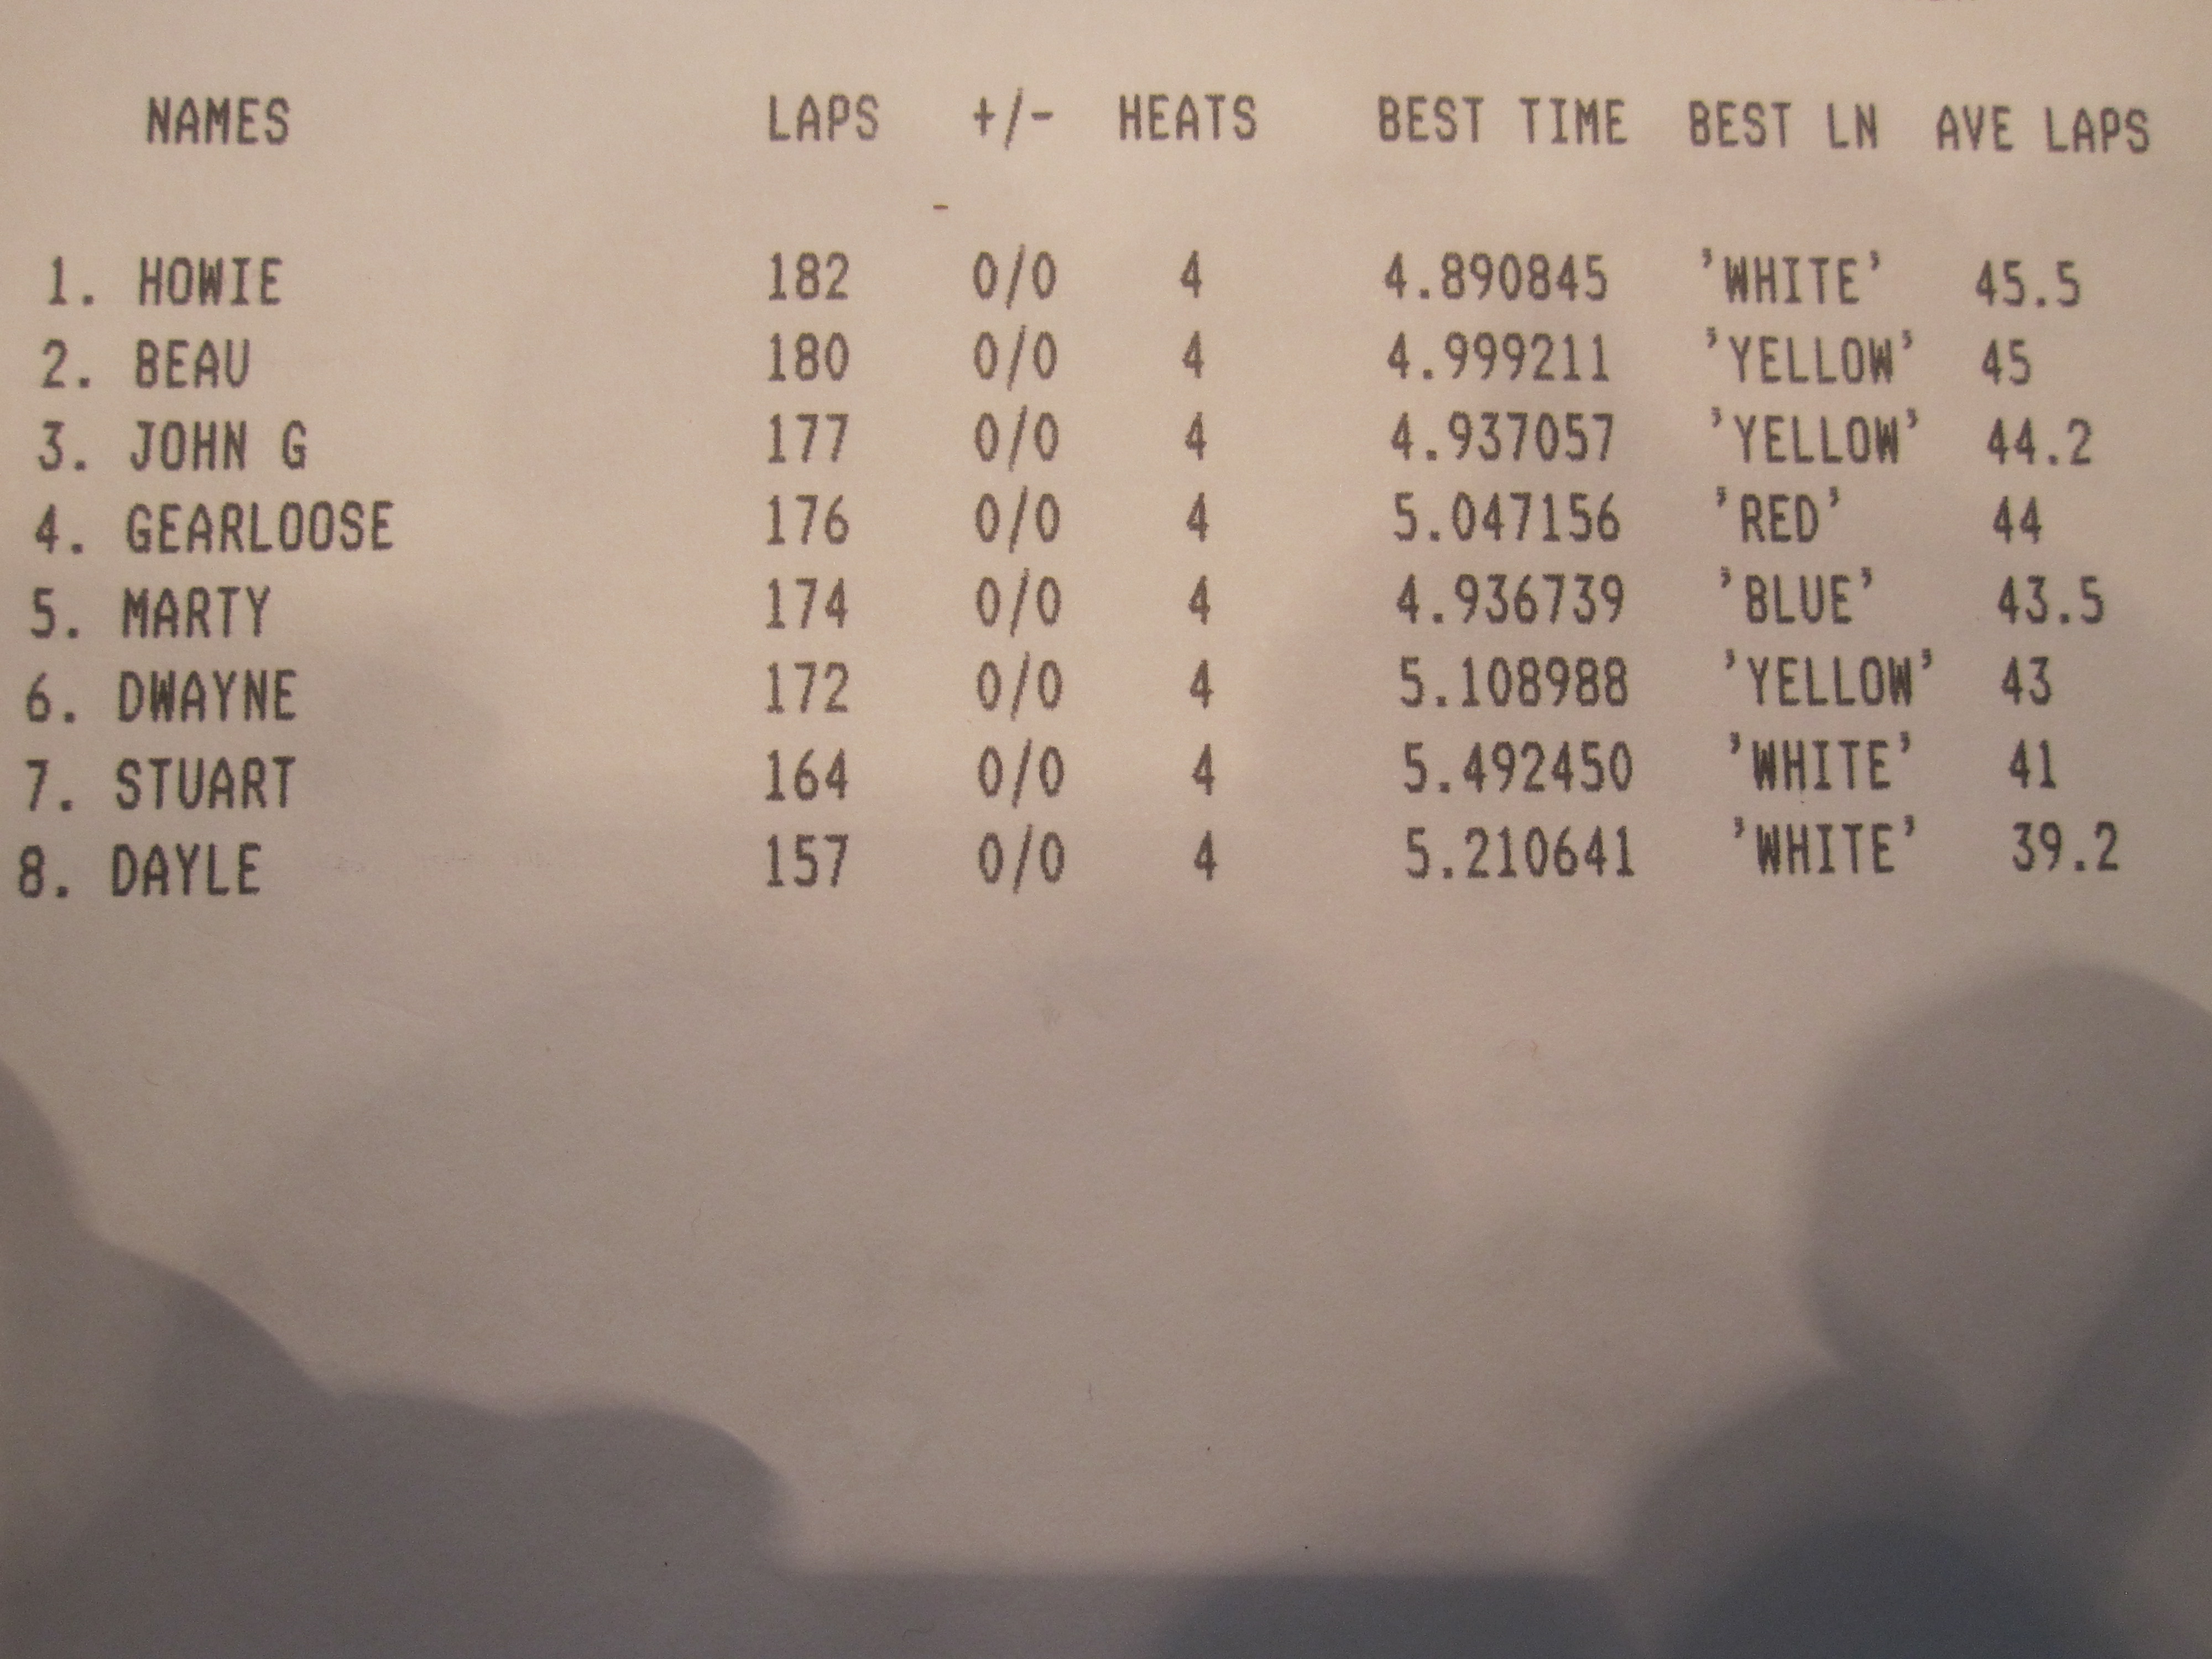
Race of Apr. 18, 2015. Results:
1st....Beau............182 laps......4.827434............yellow lane.
2nd...Gearloose......176...........5.046459.............yellow.
3rd...Bob N...........174...........4.952431..............blue.
4th...Howie...........172...........4.874110..............white.
5th...Ted..............166...........4.937483..............yellow.
by howie » Sun Apr 05, 2015 10:17 am
Race of April 4th. 2015. For details of this night of racing go to the Can-Am page. These cars are a lot of fun and I hear comments from other racers about how these cars handle and how much fun they are especially in close proximity to another open wheel car.
Results:
1st. Beau..............365 laps............5.046155............white
2nd. Howie.............359 .................4.983789............red
3rd. John F.............357..................4.936839............blue
4th. Bob N..............348..................5.046350............blue
5th. Gearloose.........346..................5.211177............red.
by howie » Sun Mar 22, 2015 7:05 am
Race of March 21, 2015. Very good racing, very cool cars!
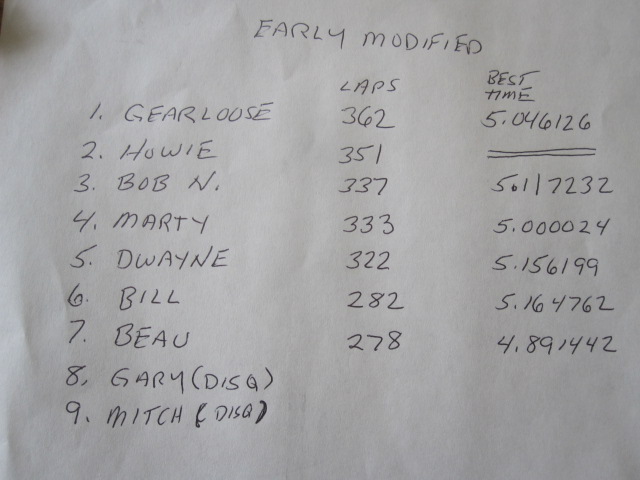
by howie » Sun Jan 25, 2015 9:31 am
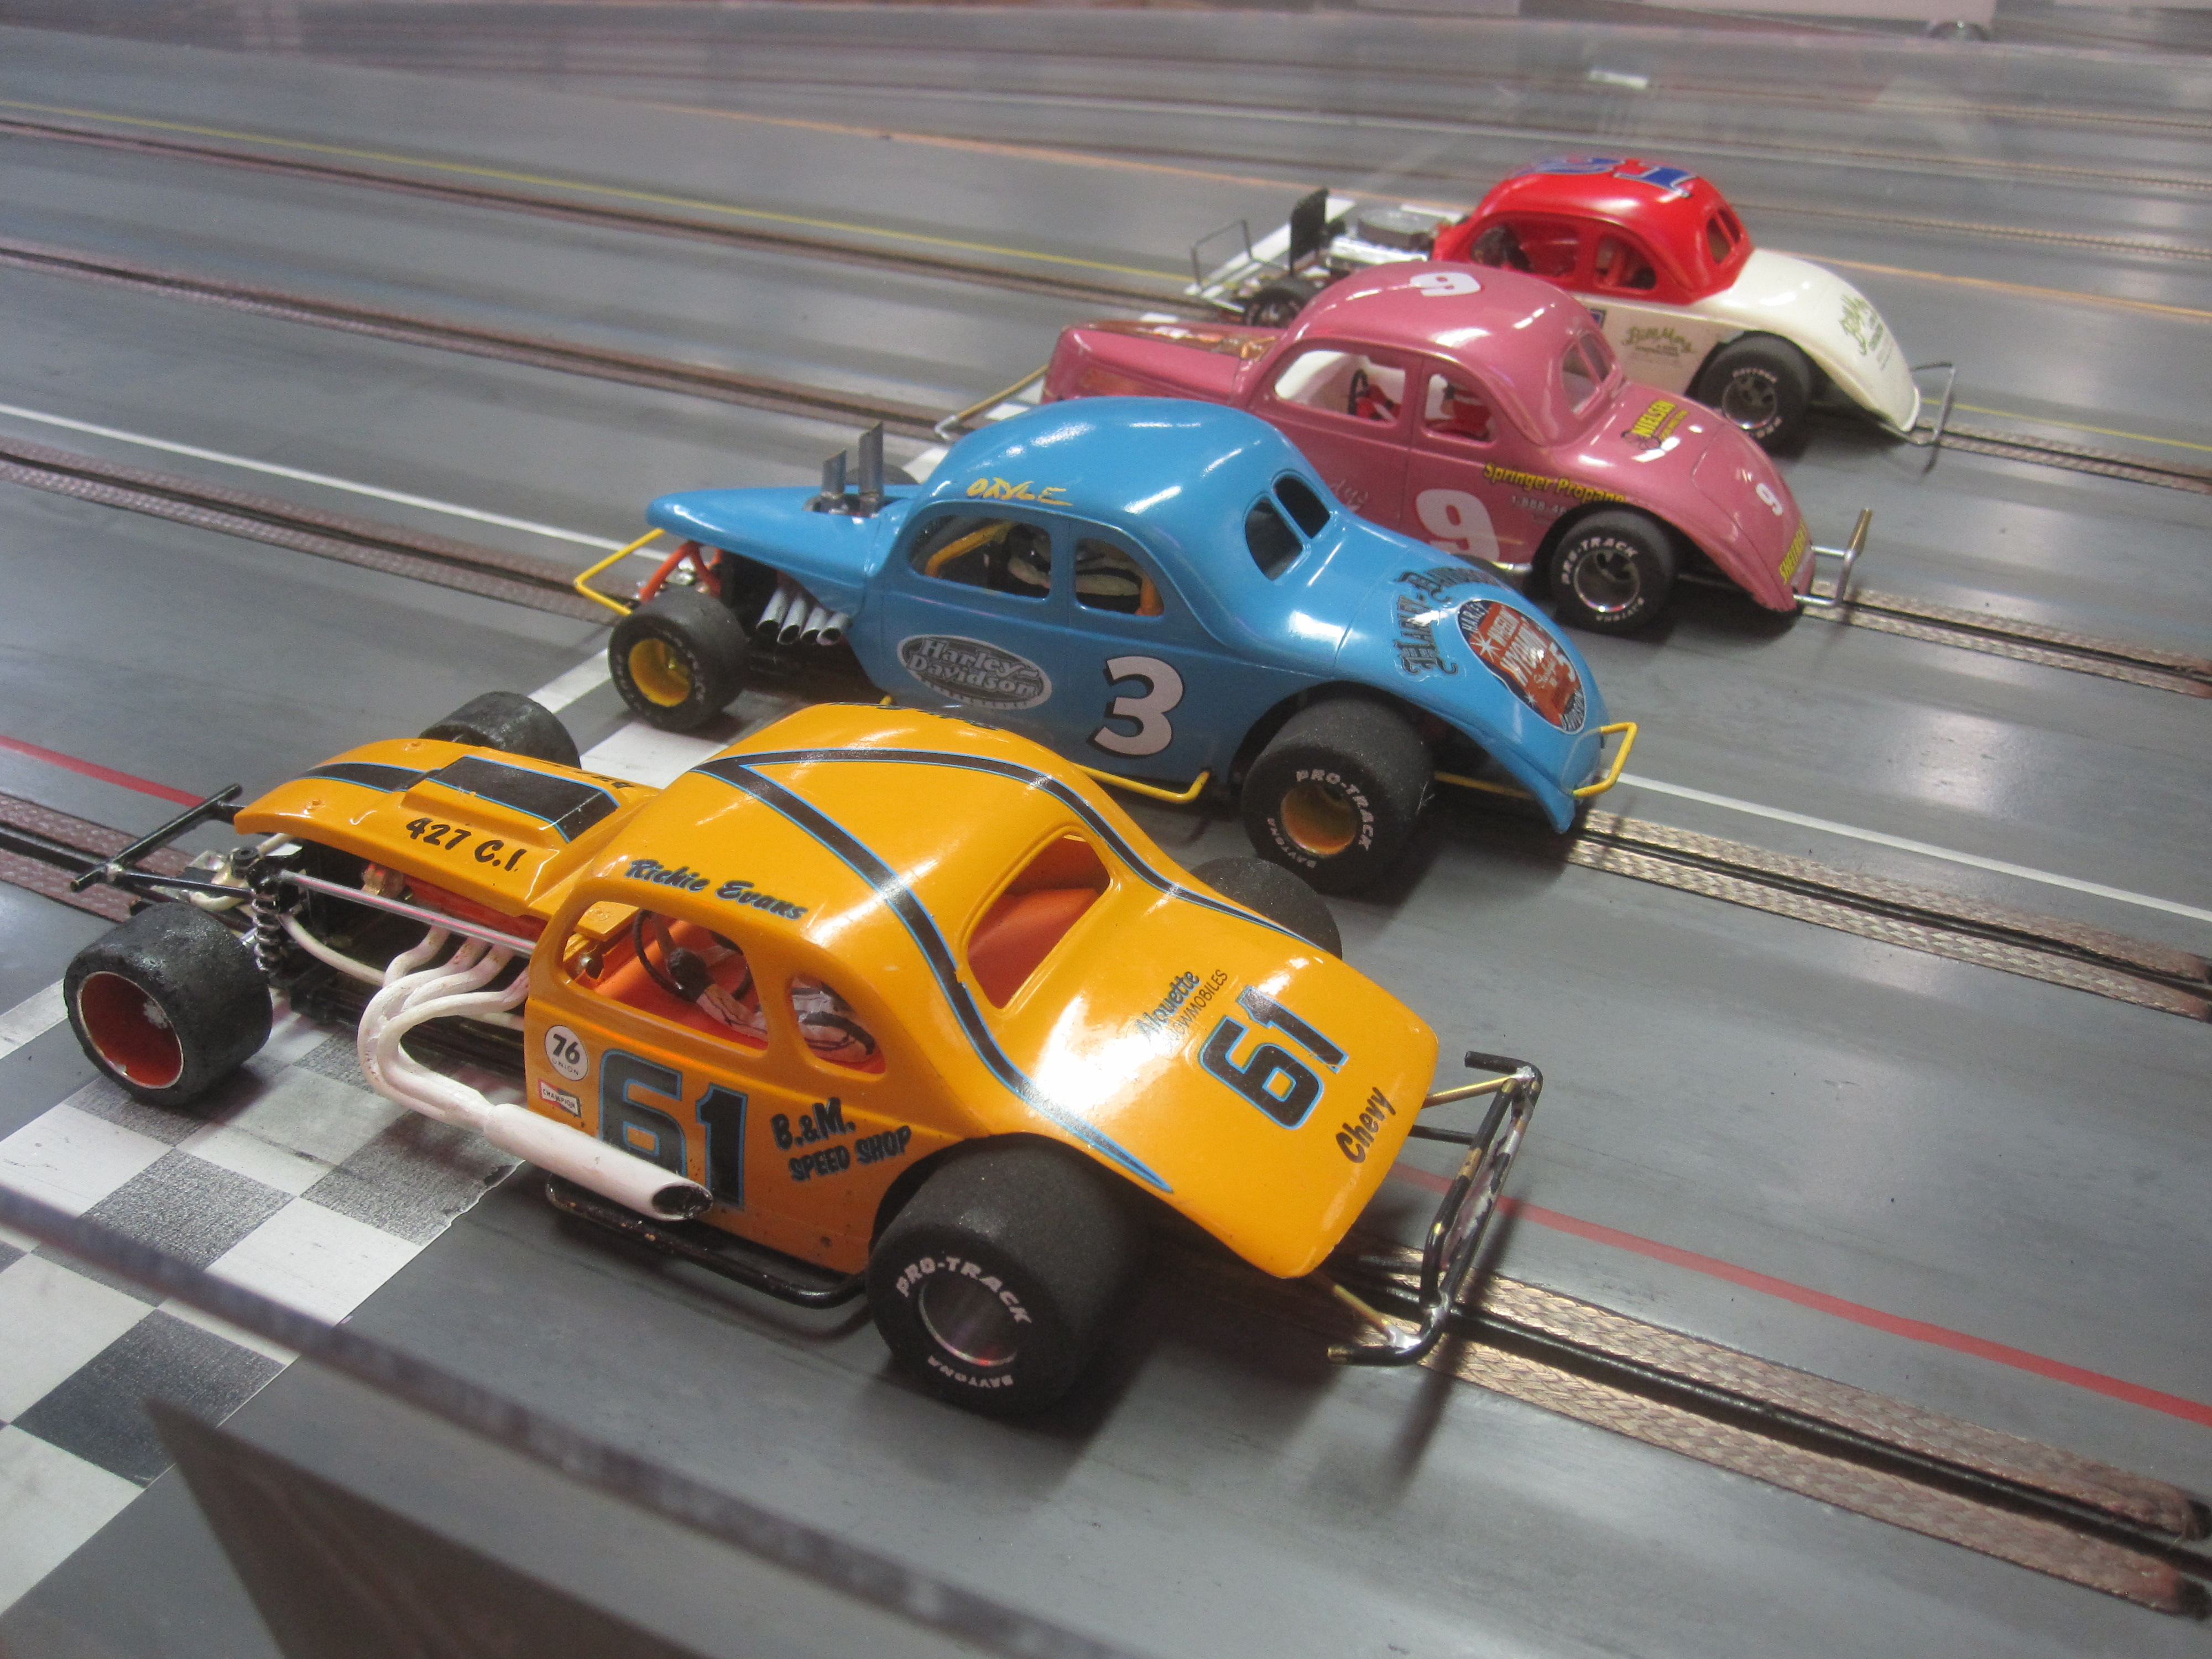
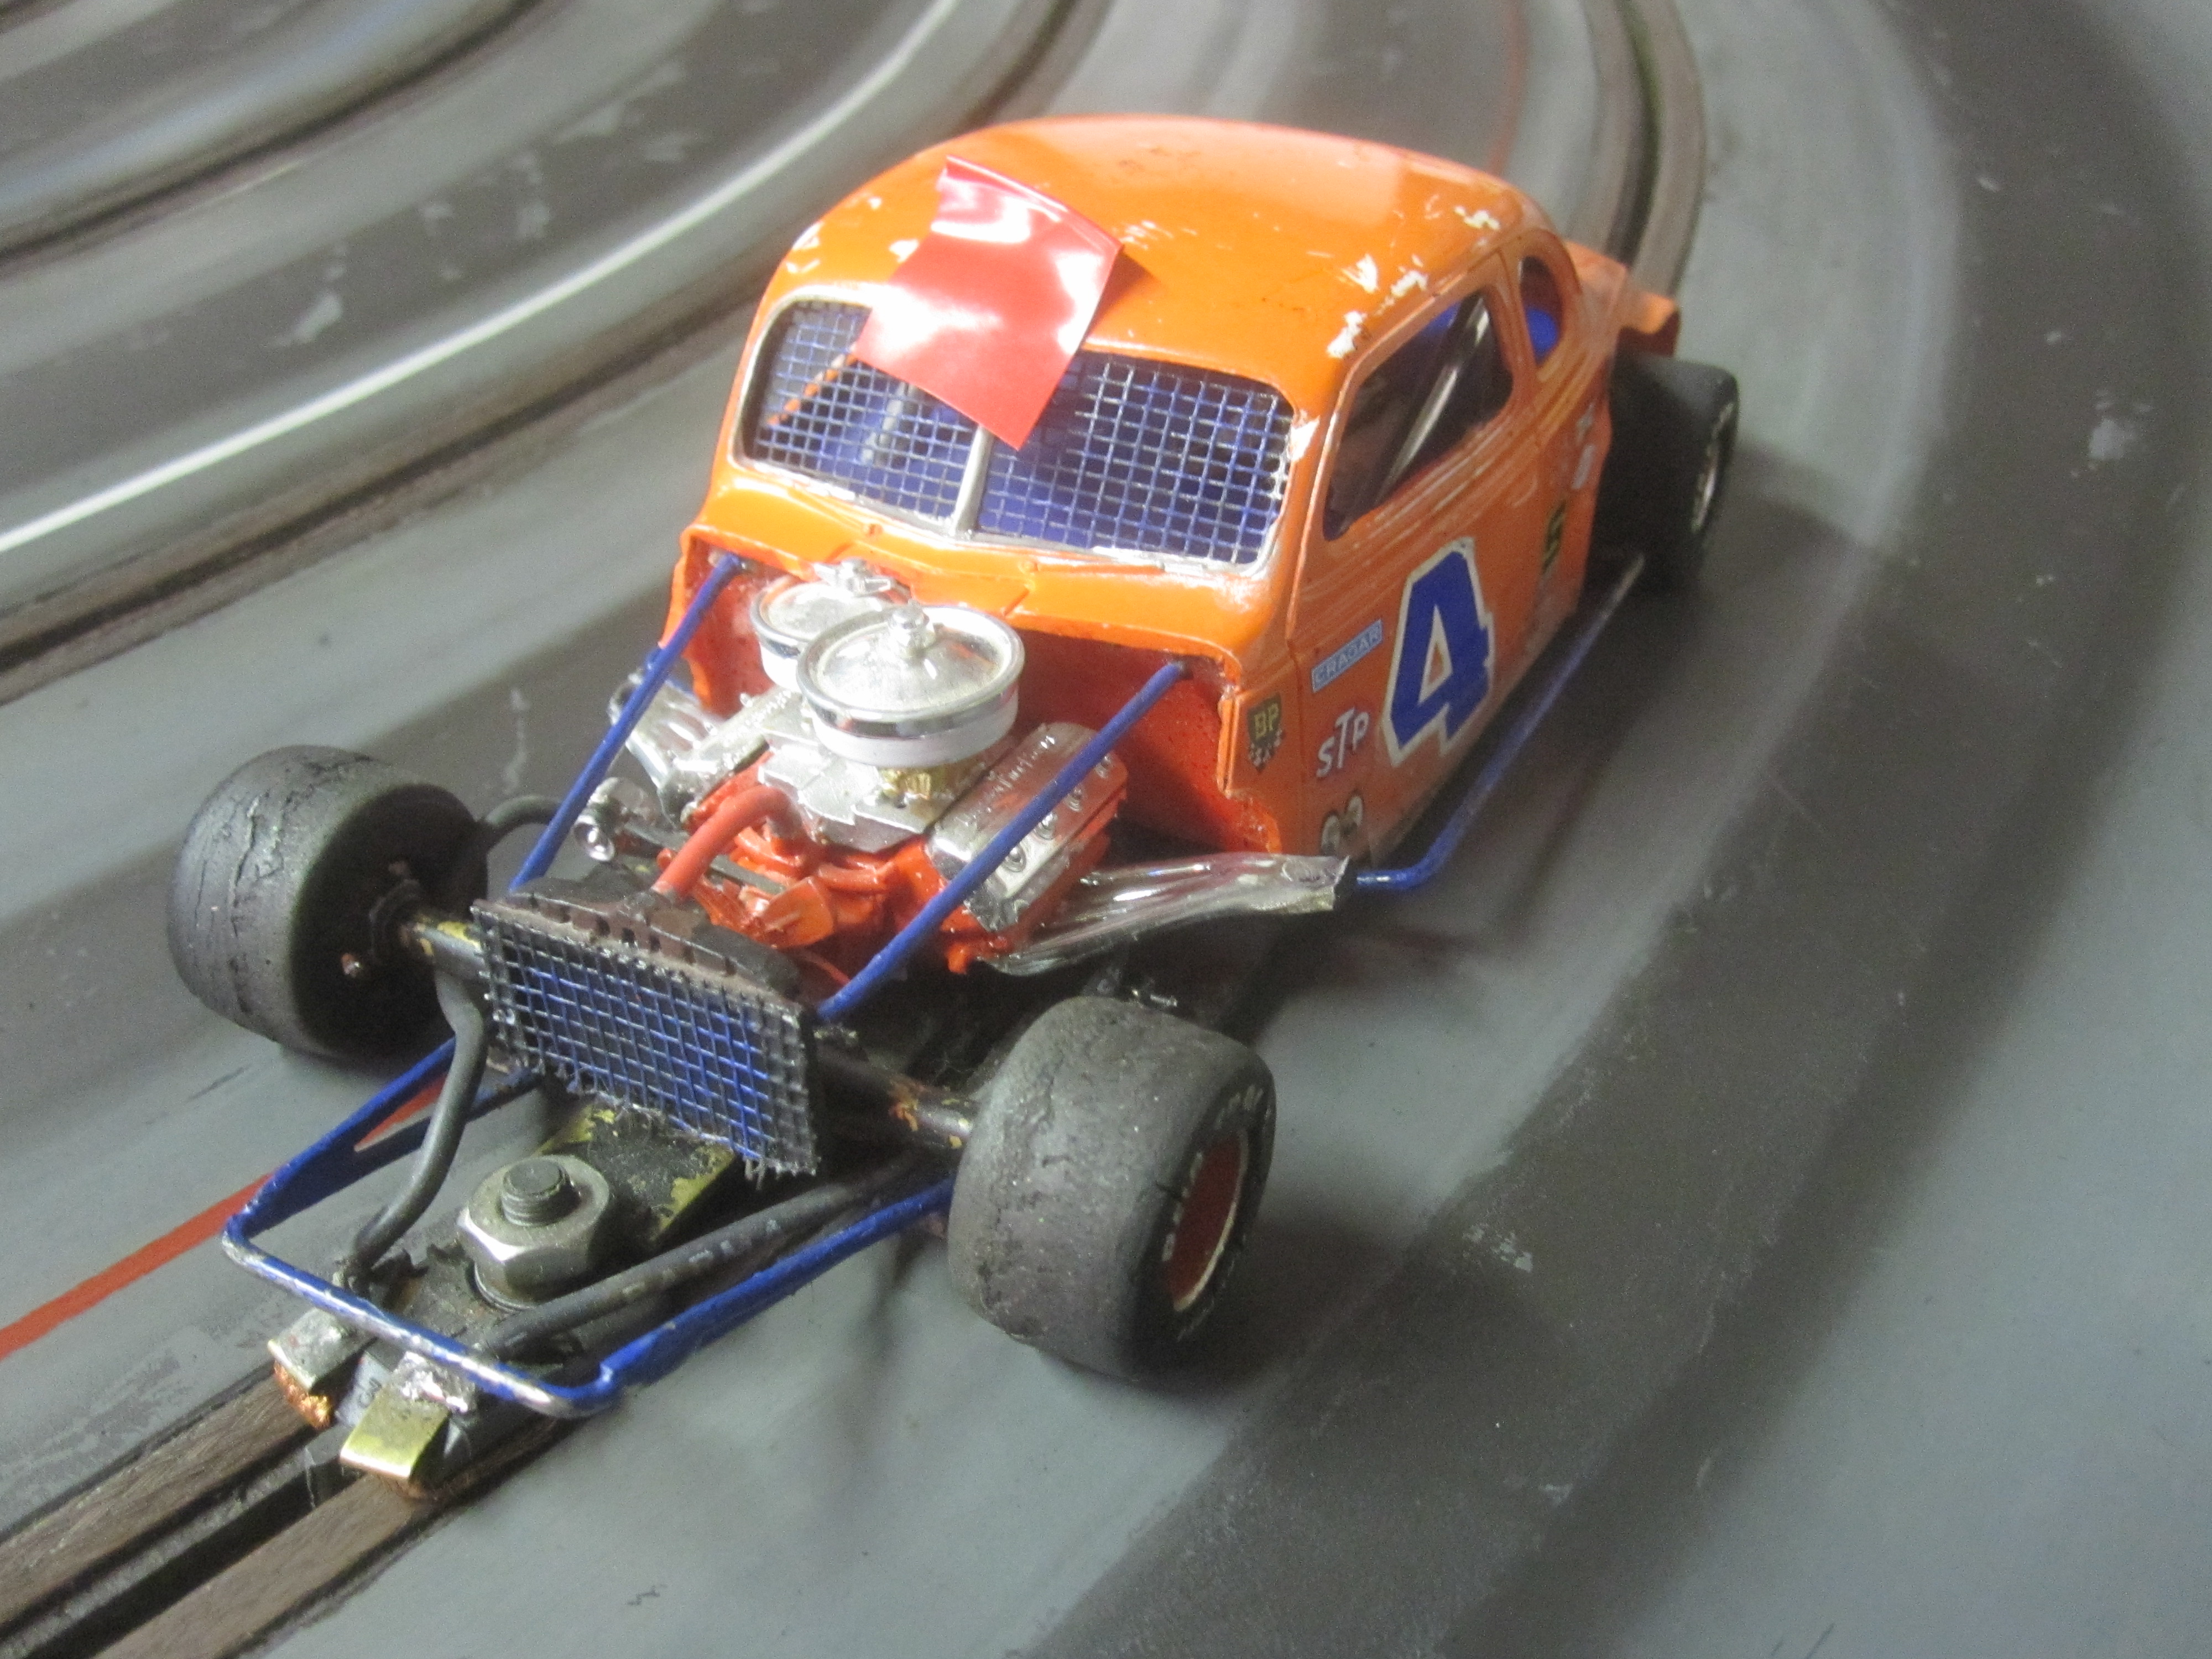
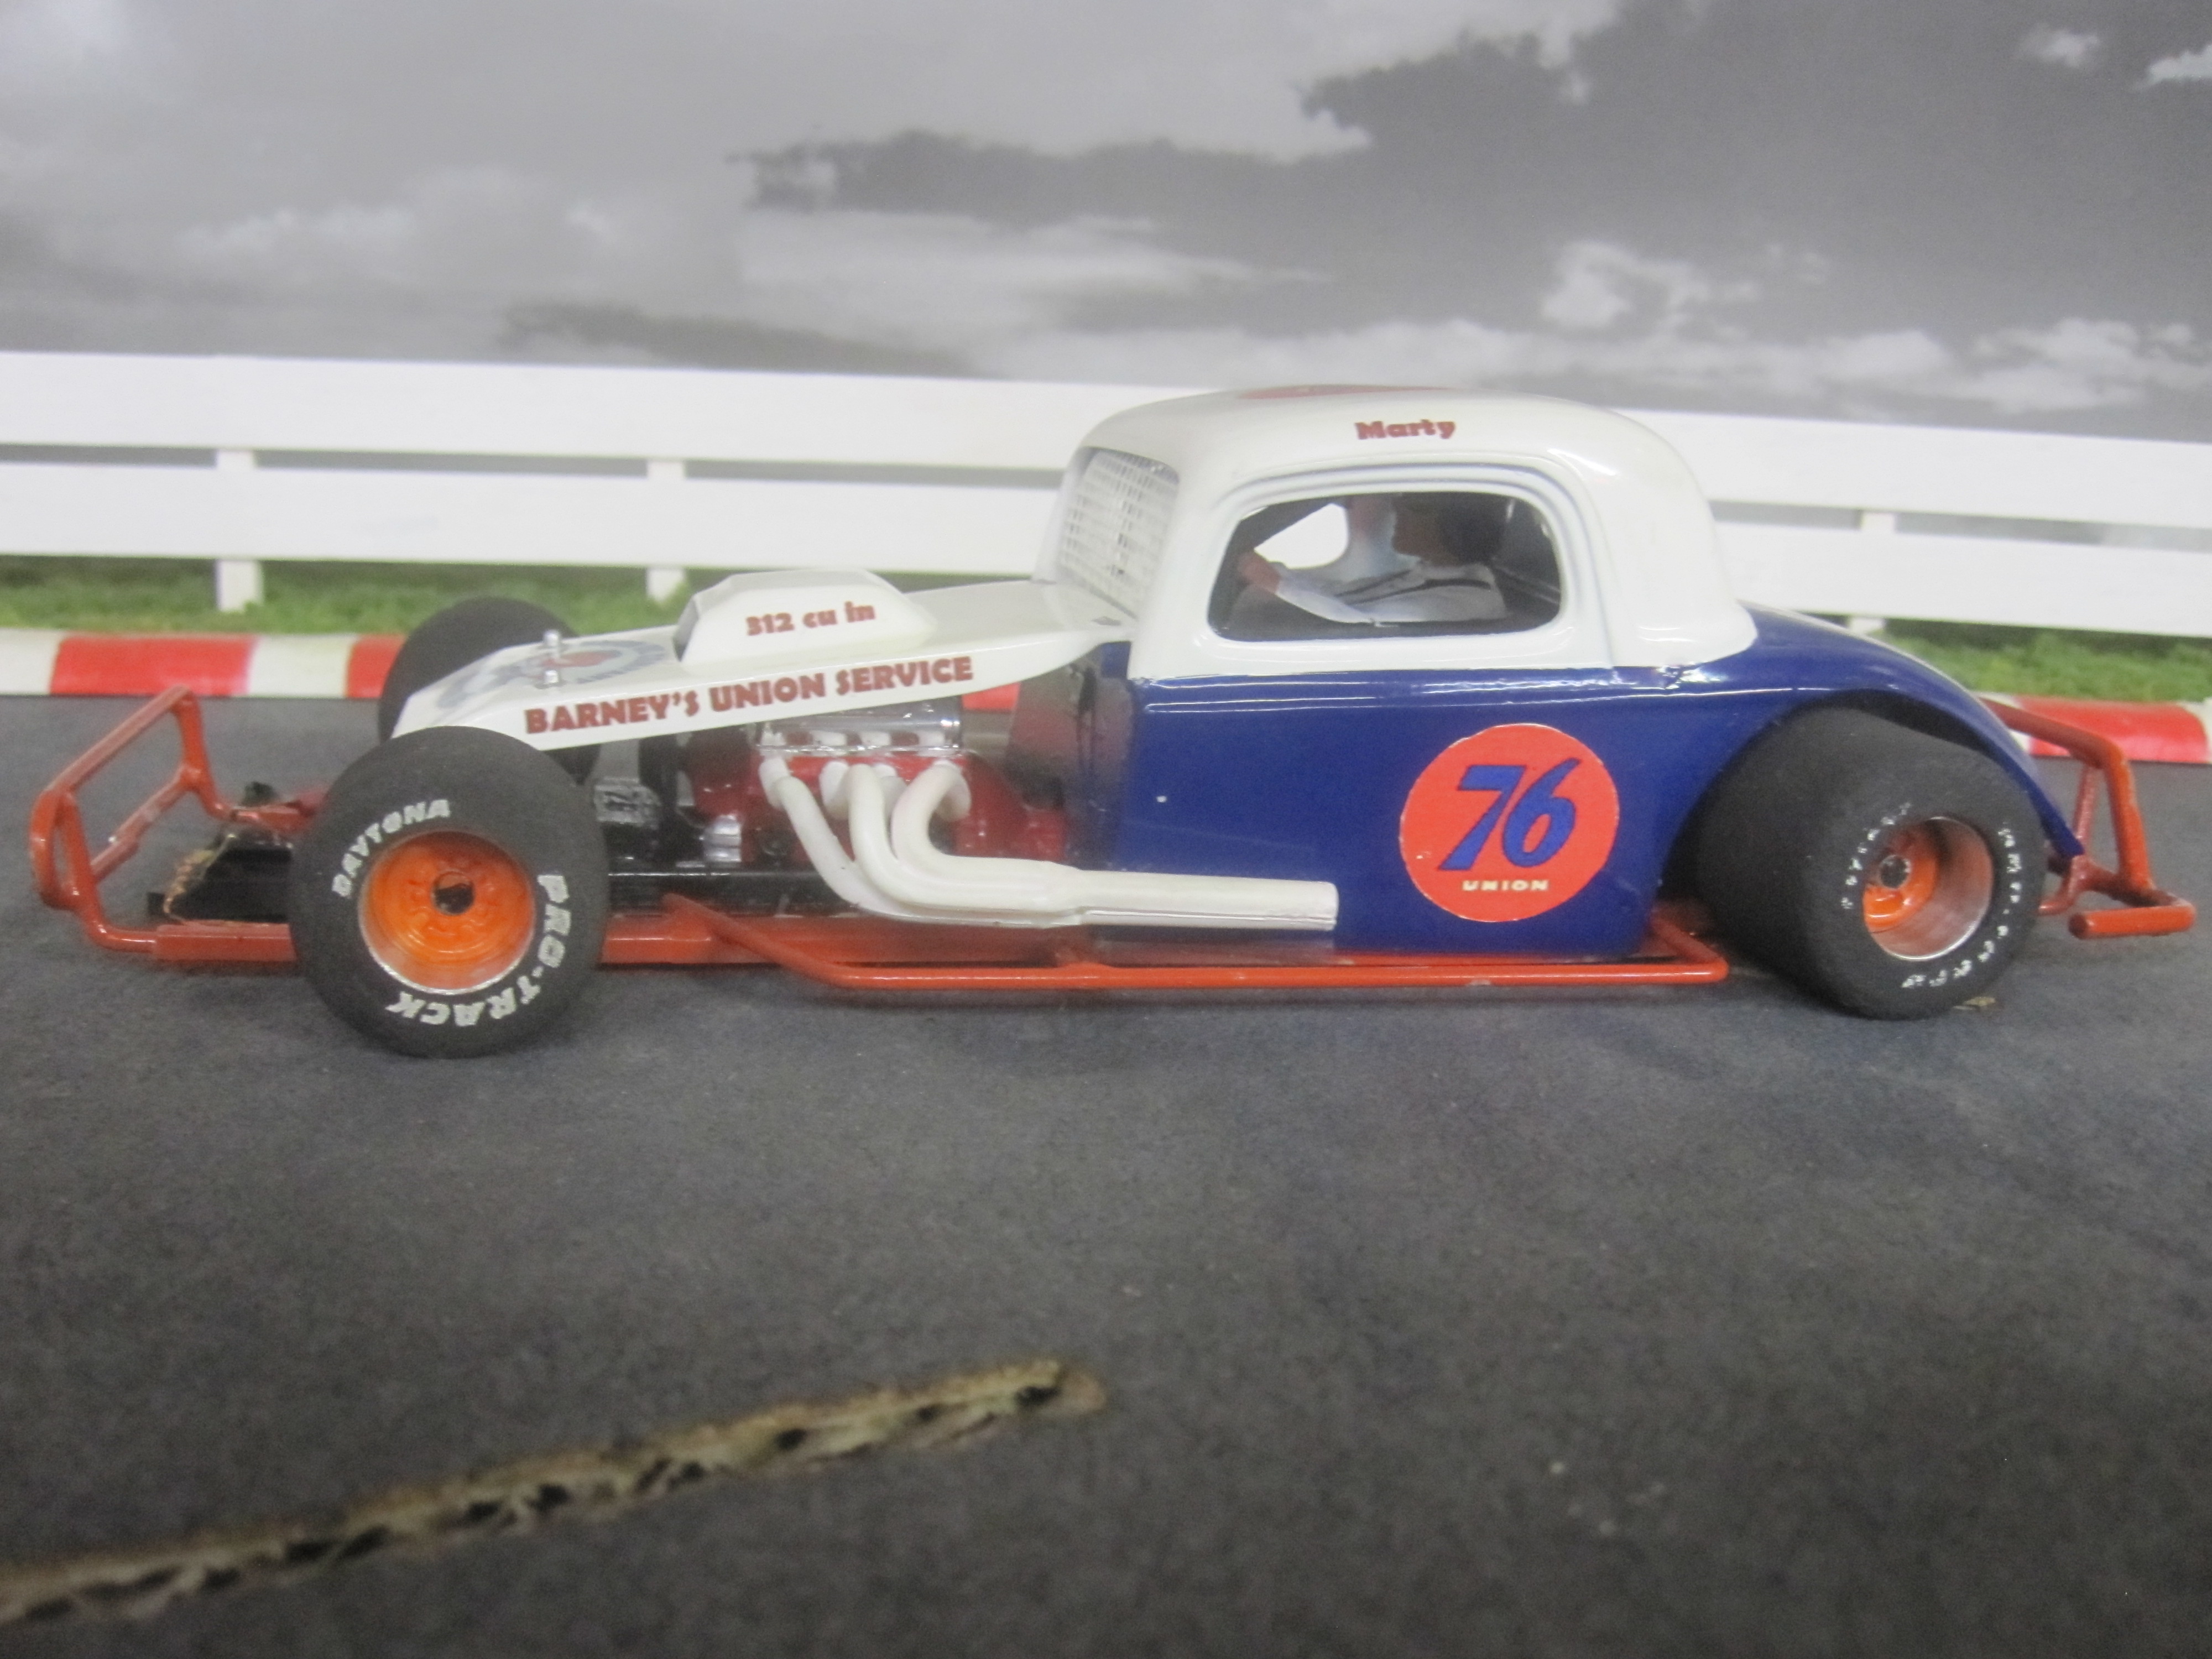
If you want to get into an exciting race, try open wheel! The Early Modified is really a fun class to drive as you need to be cautious going into corners which makes for some exciting times! I really like open wheel racing and this class with the old cars ( like me!! ) is a great way to finish up the night! This class will be the runner up to the points class Can-Am starting on March 21st.
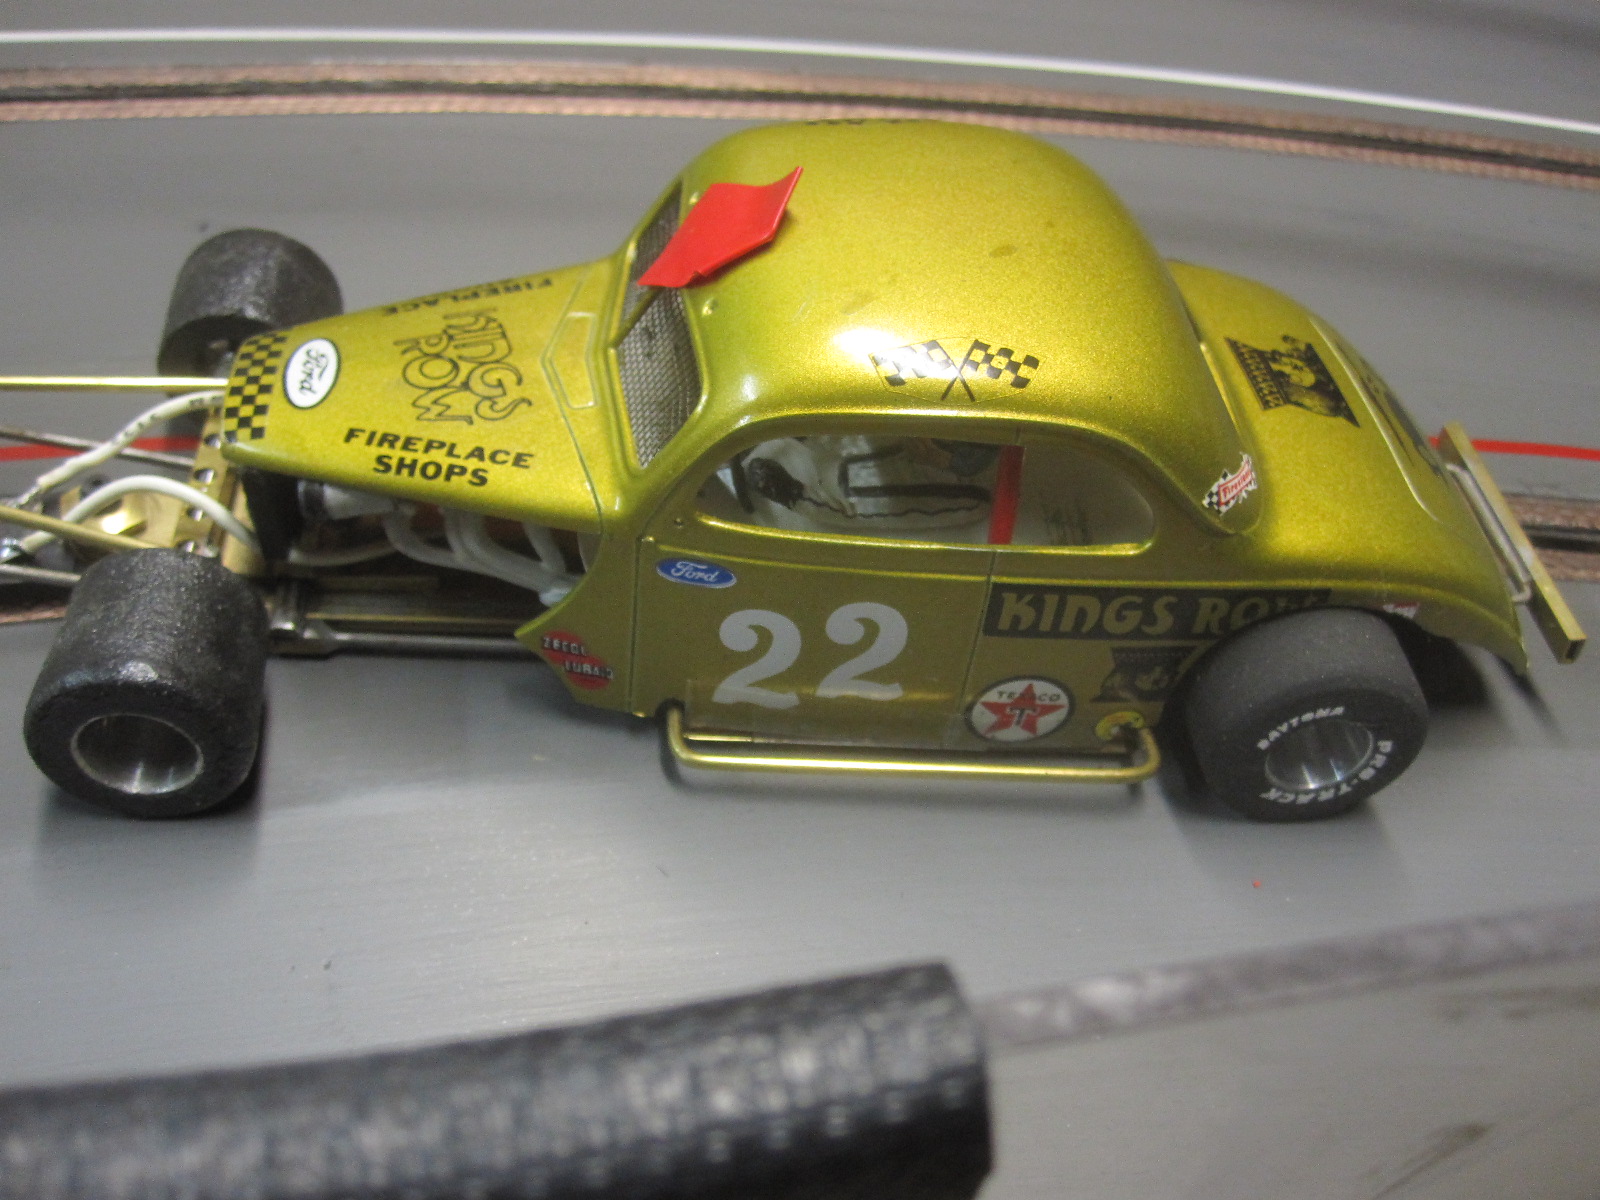
Marty's winning car. He made the decals to represent a 76 station his dad had in Idaho when Marty was in his youth.
by howie » Sun Feb 23, 2014 12:16 pm
Race of Feb. 22, 2014. The Early Modifieds are gaining popularity! The entries are gaining ground as racers find that these cars are a lot of fun and handle great, not to mention the good looks. It was Gearloose's night as he won both classes. James set a new track record with Beau's car. Track records are on the News page.
Haven't seen Gary's car for awhile,

by howie » Sat Nov 02, 2013 9:17 pm
Race of Nov. 2nd. 2013. Beau came through with a fine win. These cars are a fun class with wheel to wheel racing.

by howie » Sun Jan 27, 2013 11:17 am
Race of Jan. 26th. 2013. Second race for these open wheel hot rods. Fun racing once again.
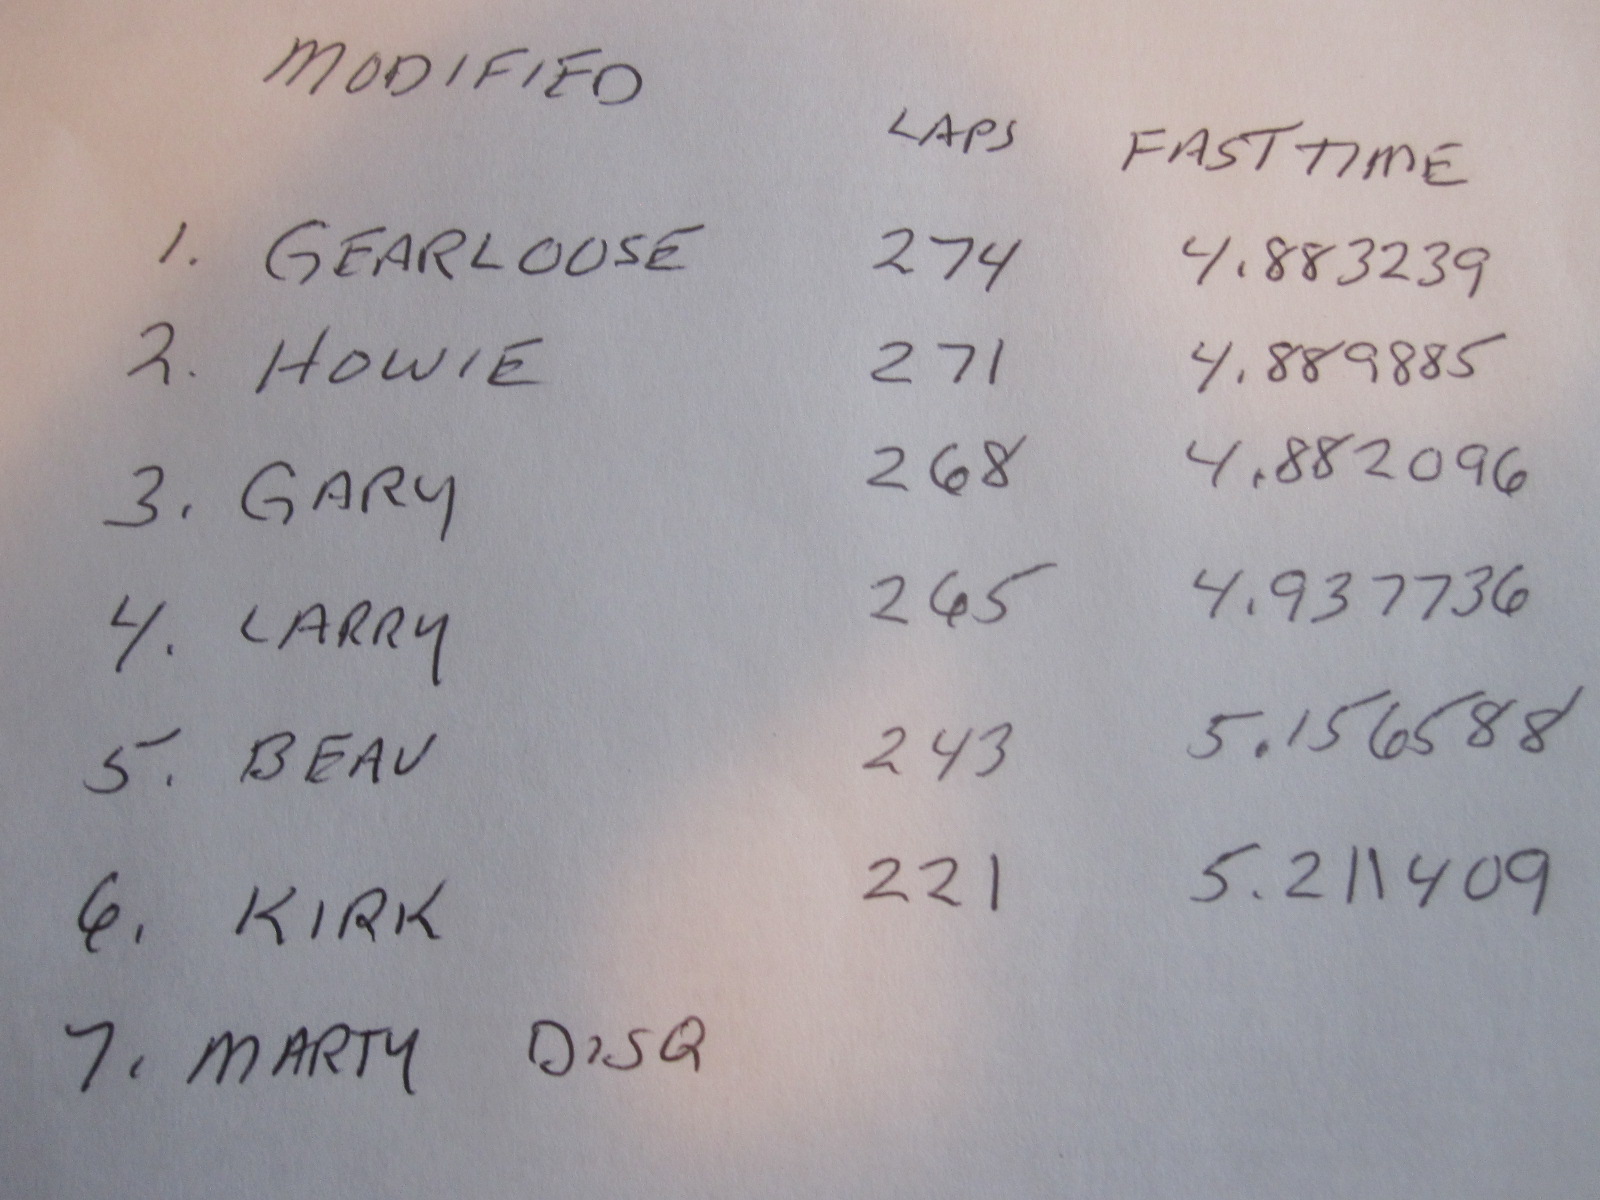
Kirk's '39 Chevy.
Larry's '32 Ford. What else but a Ford for Larry!
Results.
by howie » Sun Oct 07, 2012 11:52 am
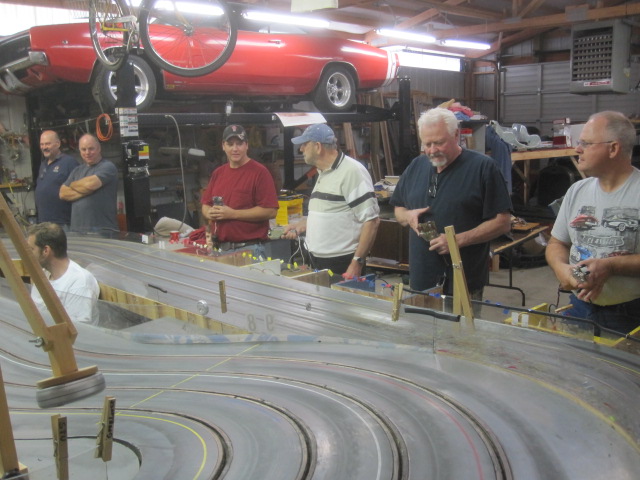
The race of Oct. 6, 2012. Small turnout for the night, but what a great race!! For those who shun open wheel racing: you are missing out! This was definitely to me the most exciting race I have had in yrs. You have to drive with skill and keep on your toes at all times, like a Grand Prix driver!! To go three wide into the bank and curves is thrilling, especially if it continues lap after lap. That was the way this race went more than a few times. We did not get done with racing 'till about 11:30pm and no one wanted to go for the track record so it is still open.
Results of a great race.
by howie » Thu Sep 27, 2012 10:01 am
Race results and posts pertaining to Early Modified will be posted here.
Early Modified chassis copied from a Bob Hanna designed Sportsman chassis.
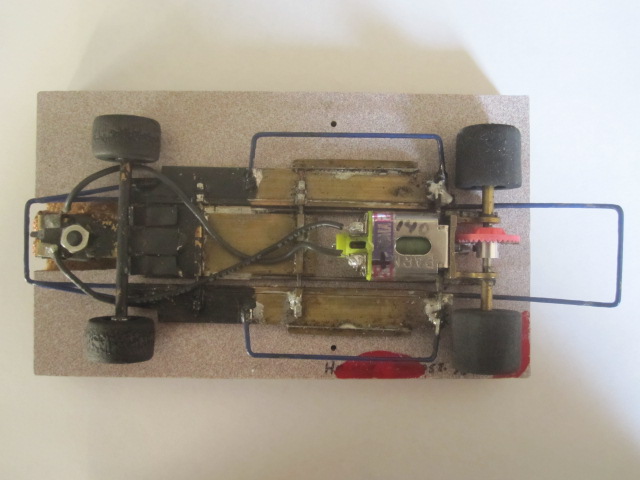
This is the body ( 1941 Plymouth ) that goes to the chassis.
The previous posts to this topic were copied over from the Northwest True Scale Racers site with Howie's permission. The NTSR site is scheduled to close down at the end of this year. I will be copying over as much of the great information posted there as possible in the next few months. =====Bill
by howie » Sun Dec 18, 2016 10:33 am
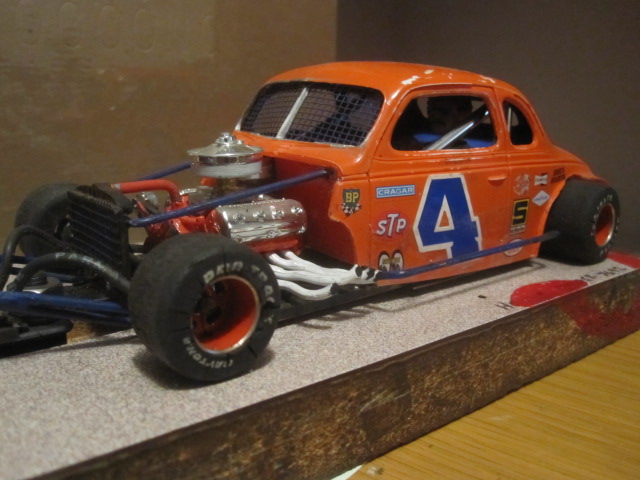
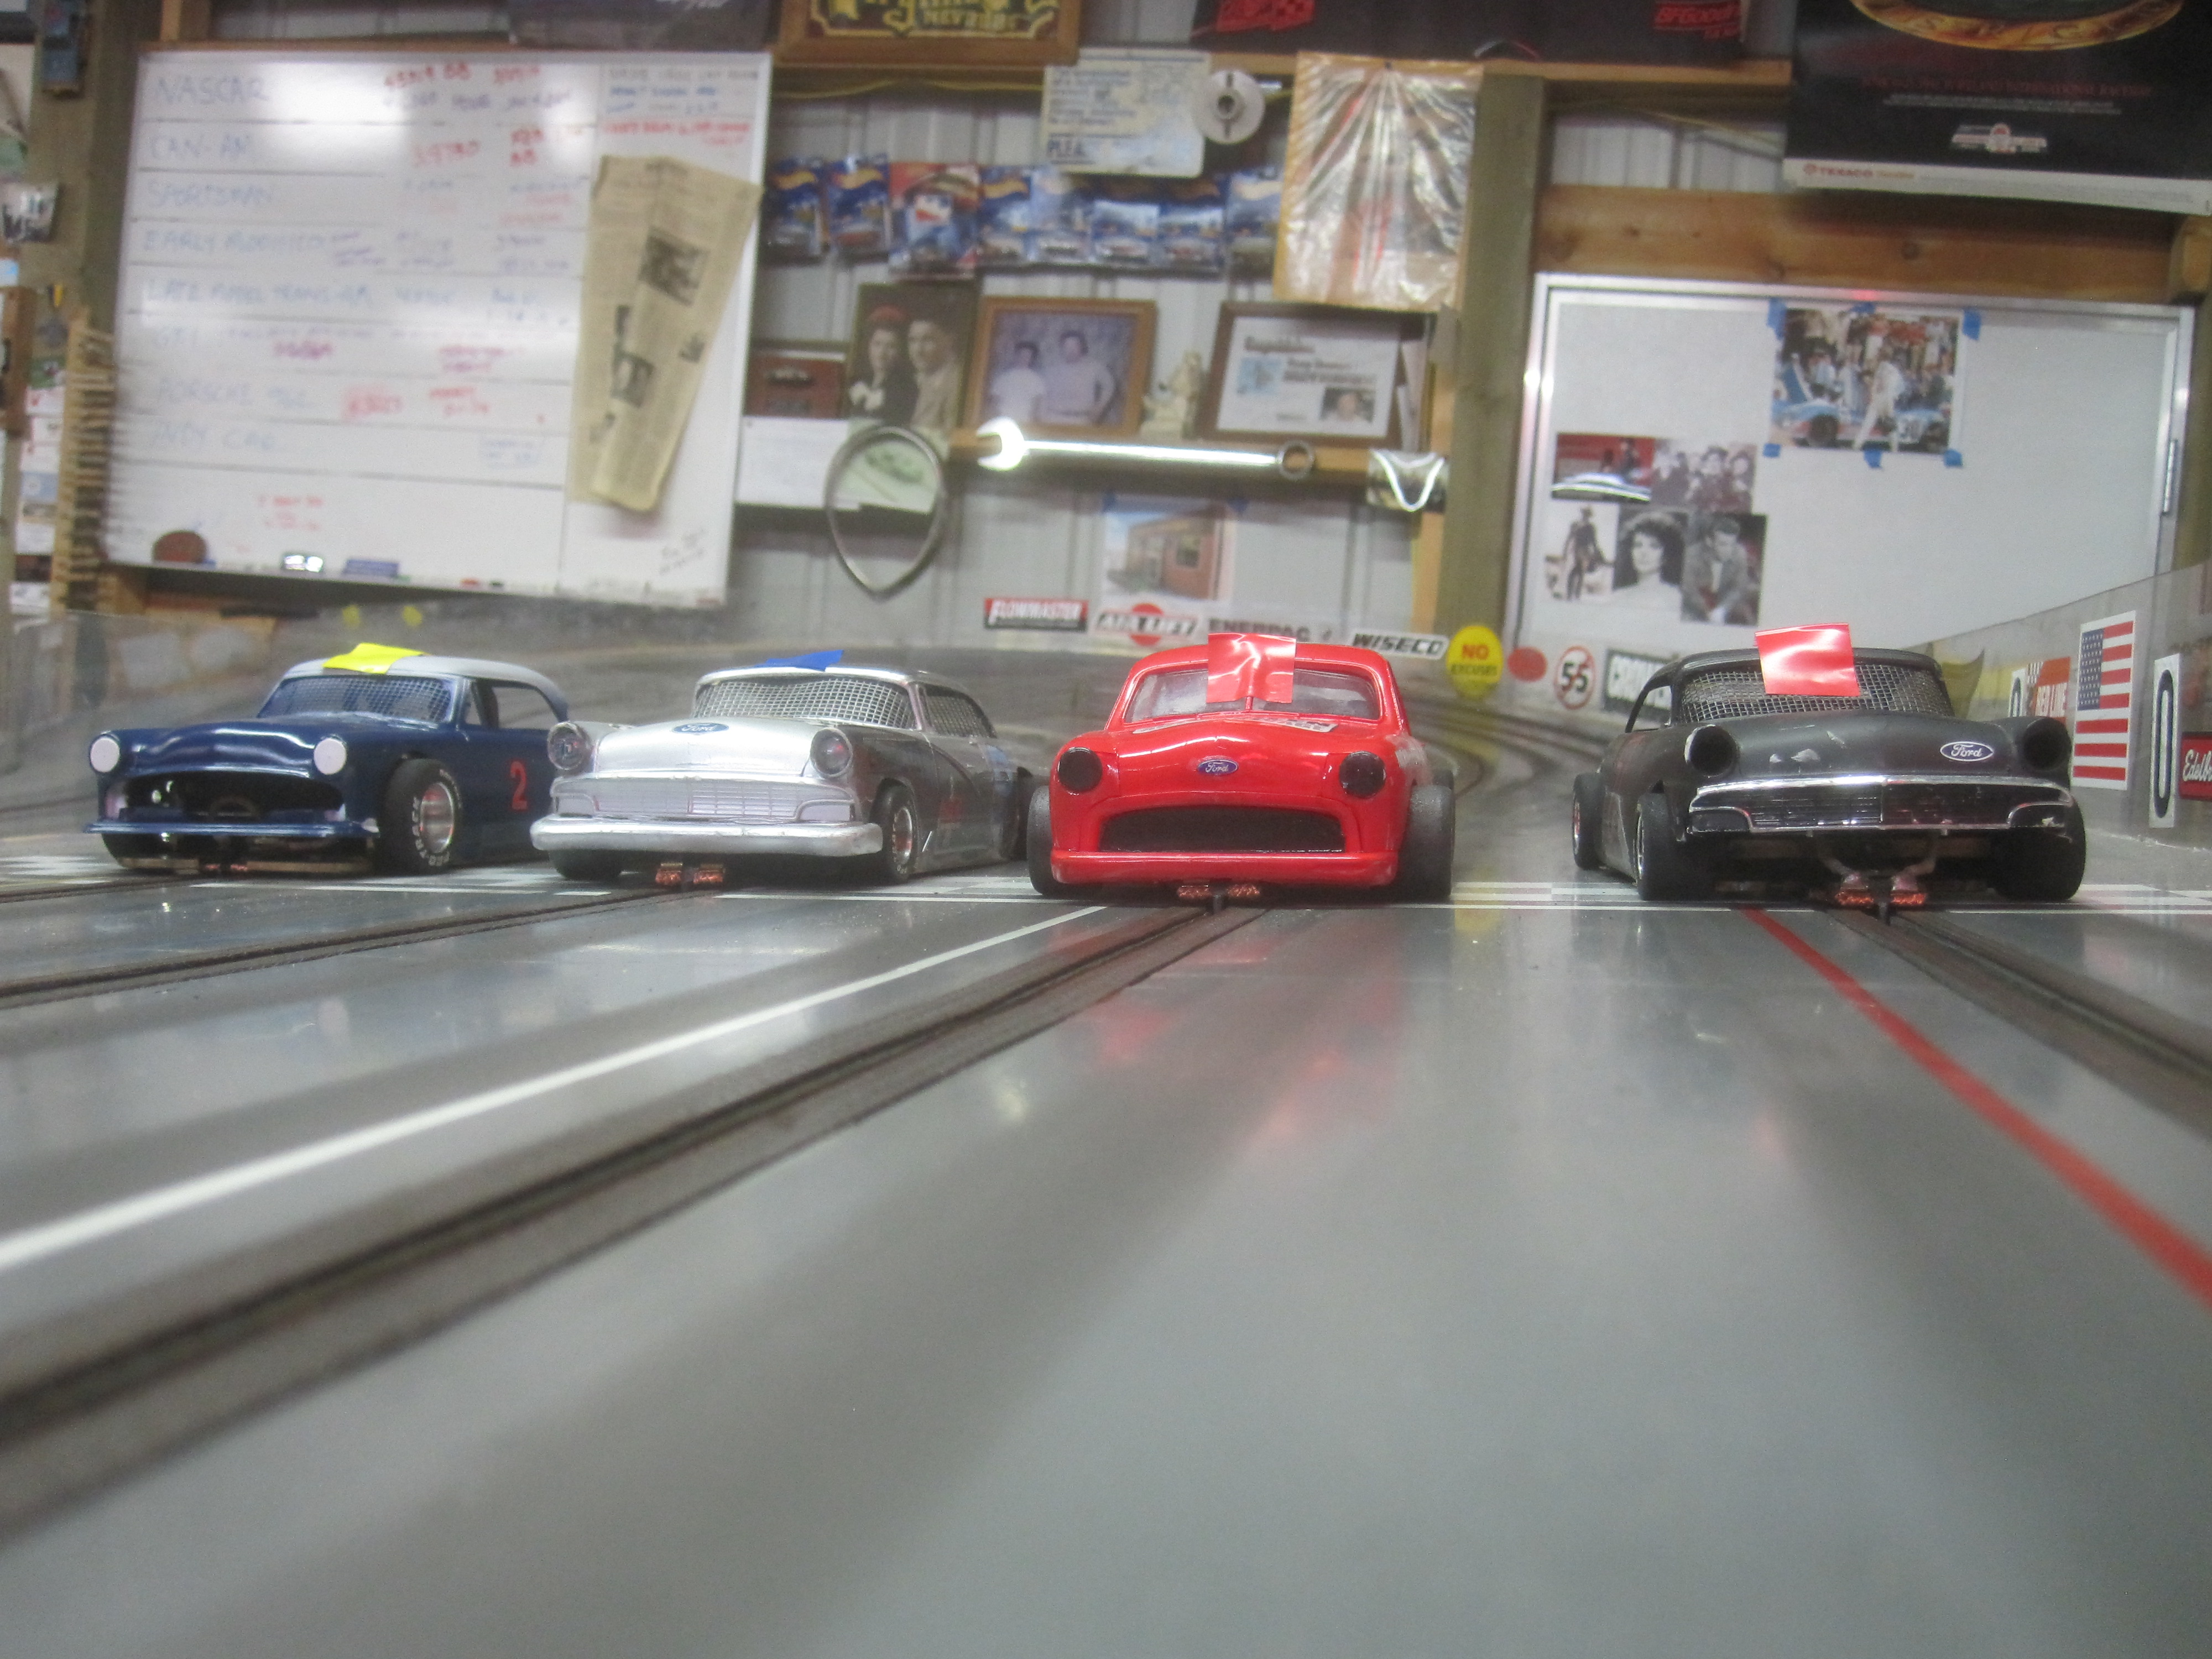
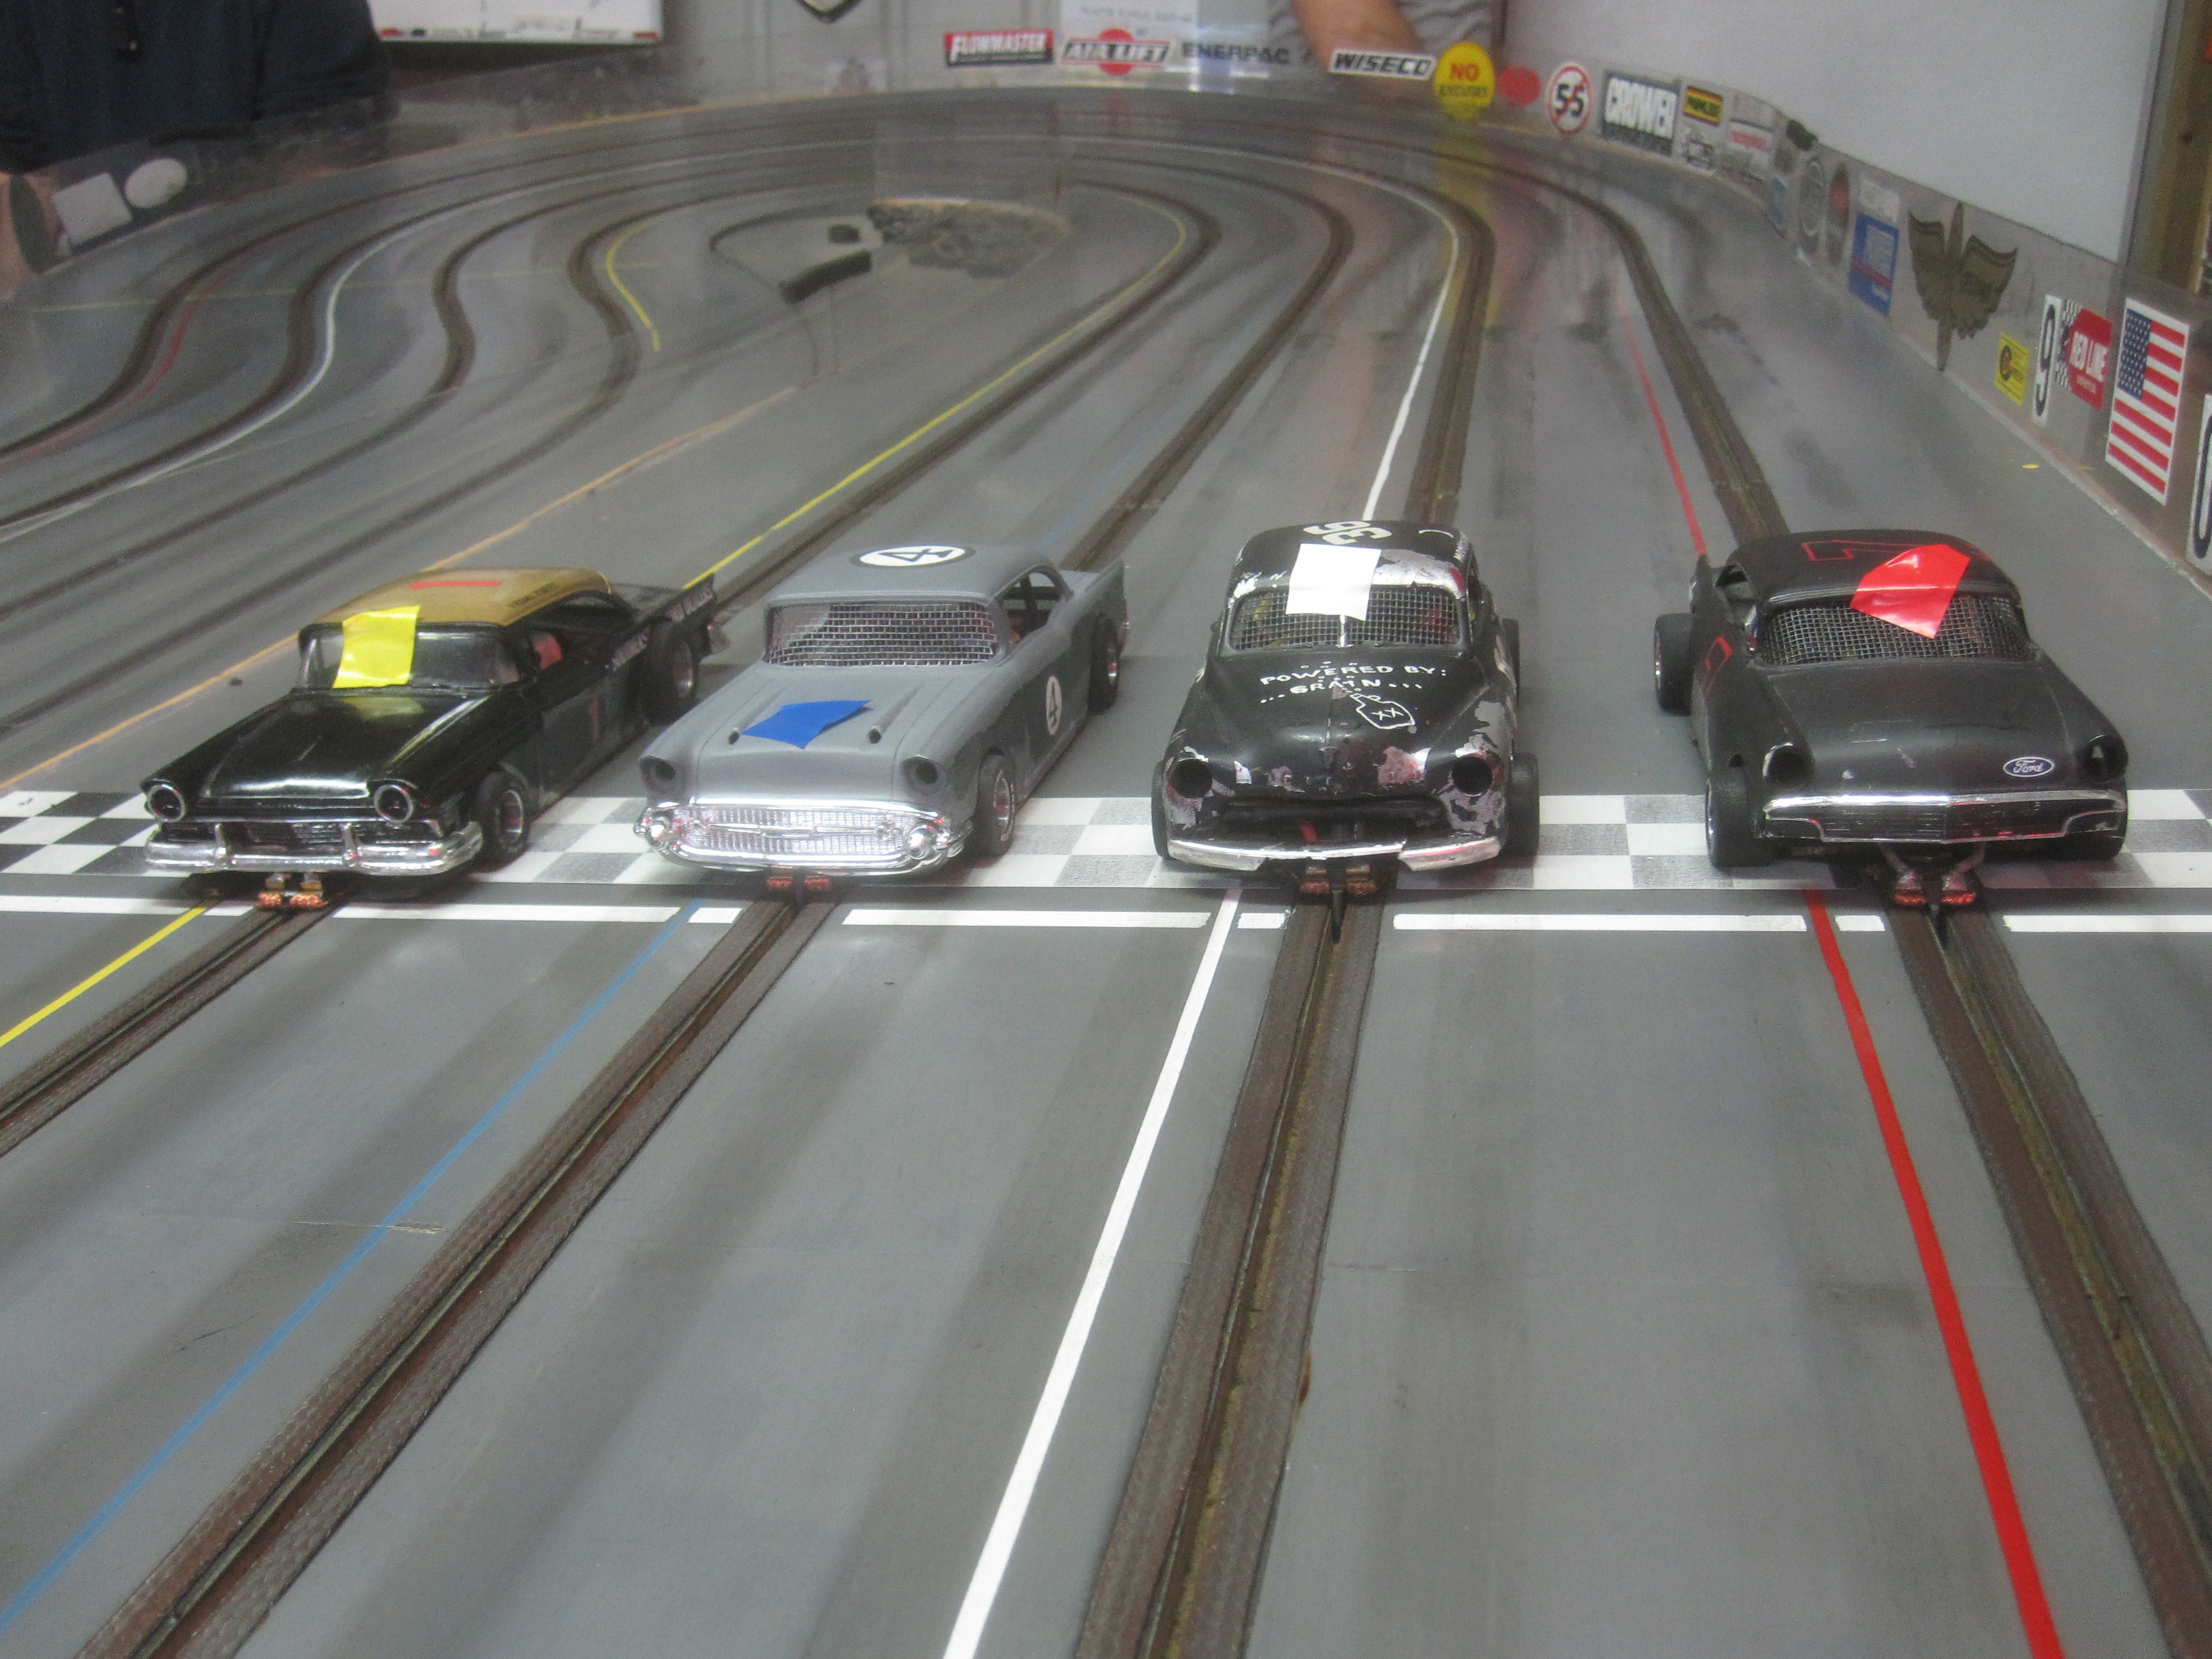
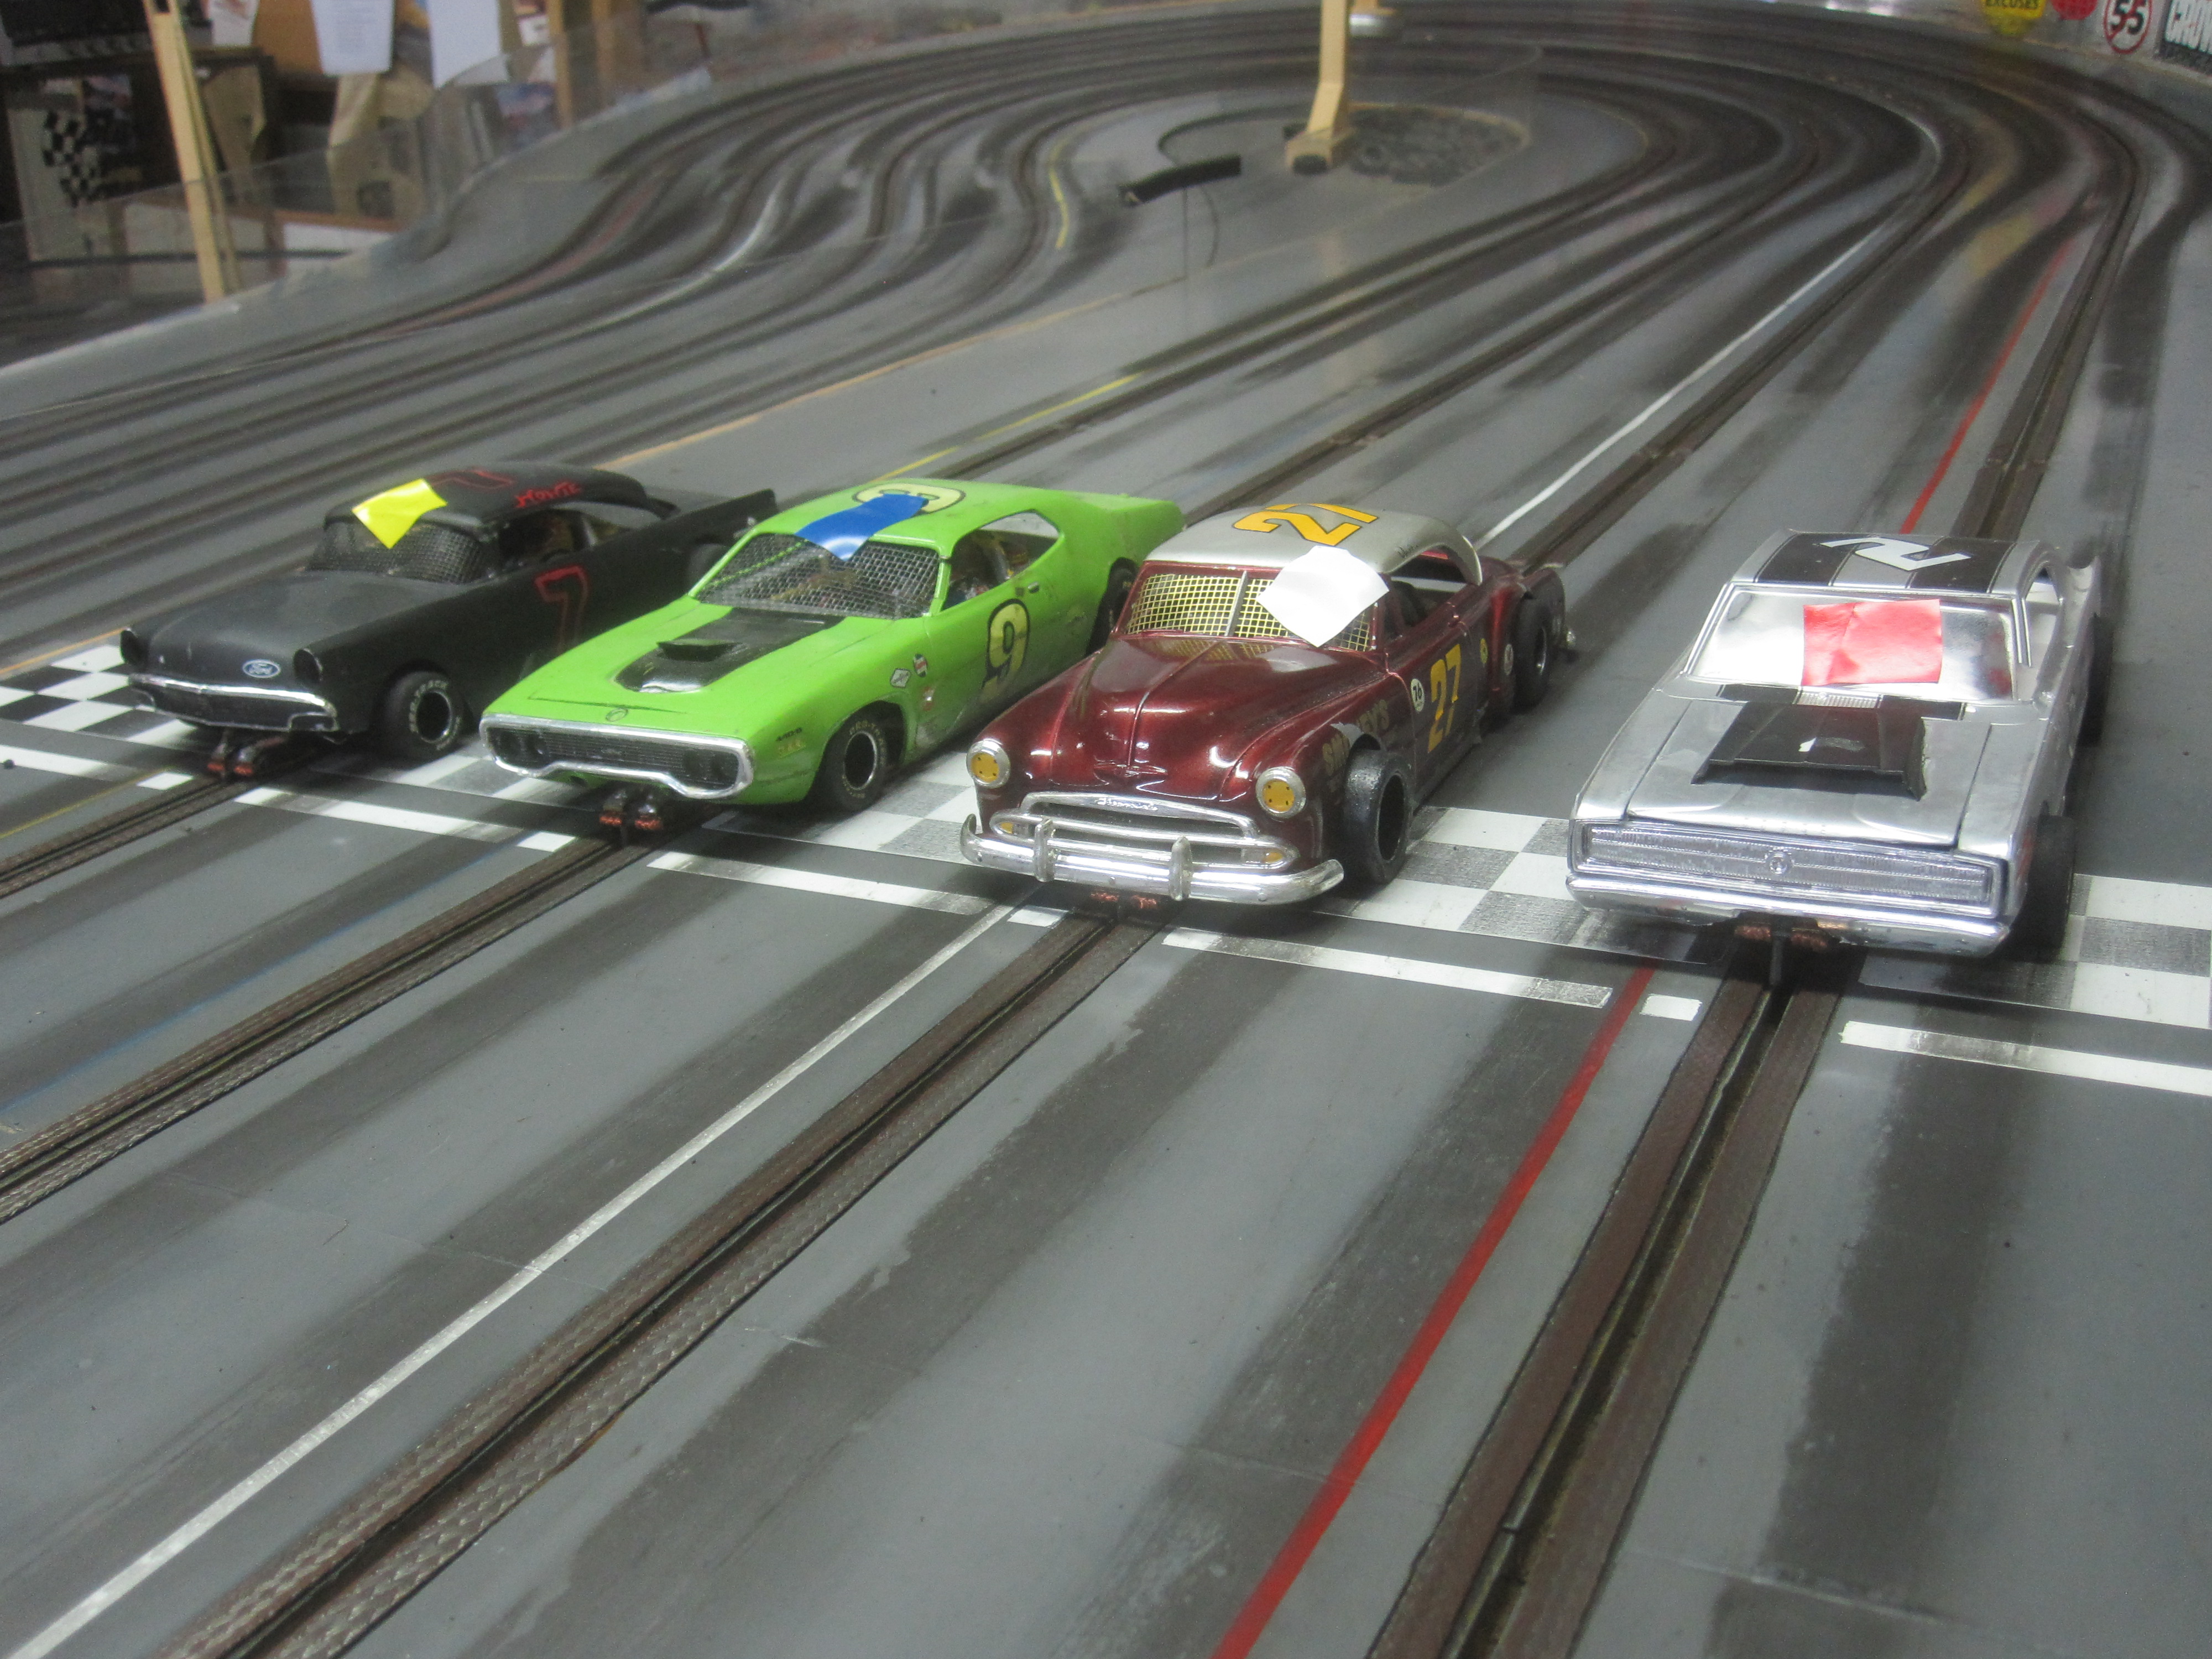
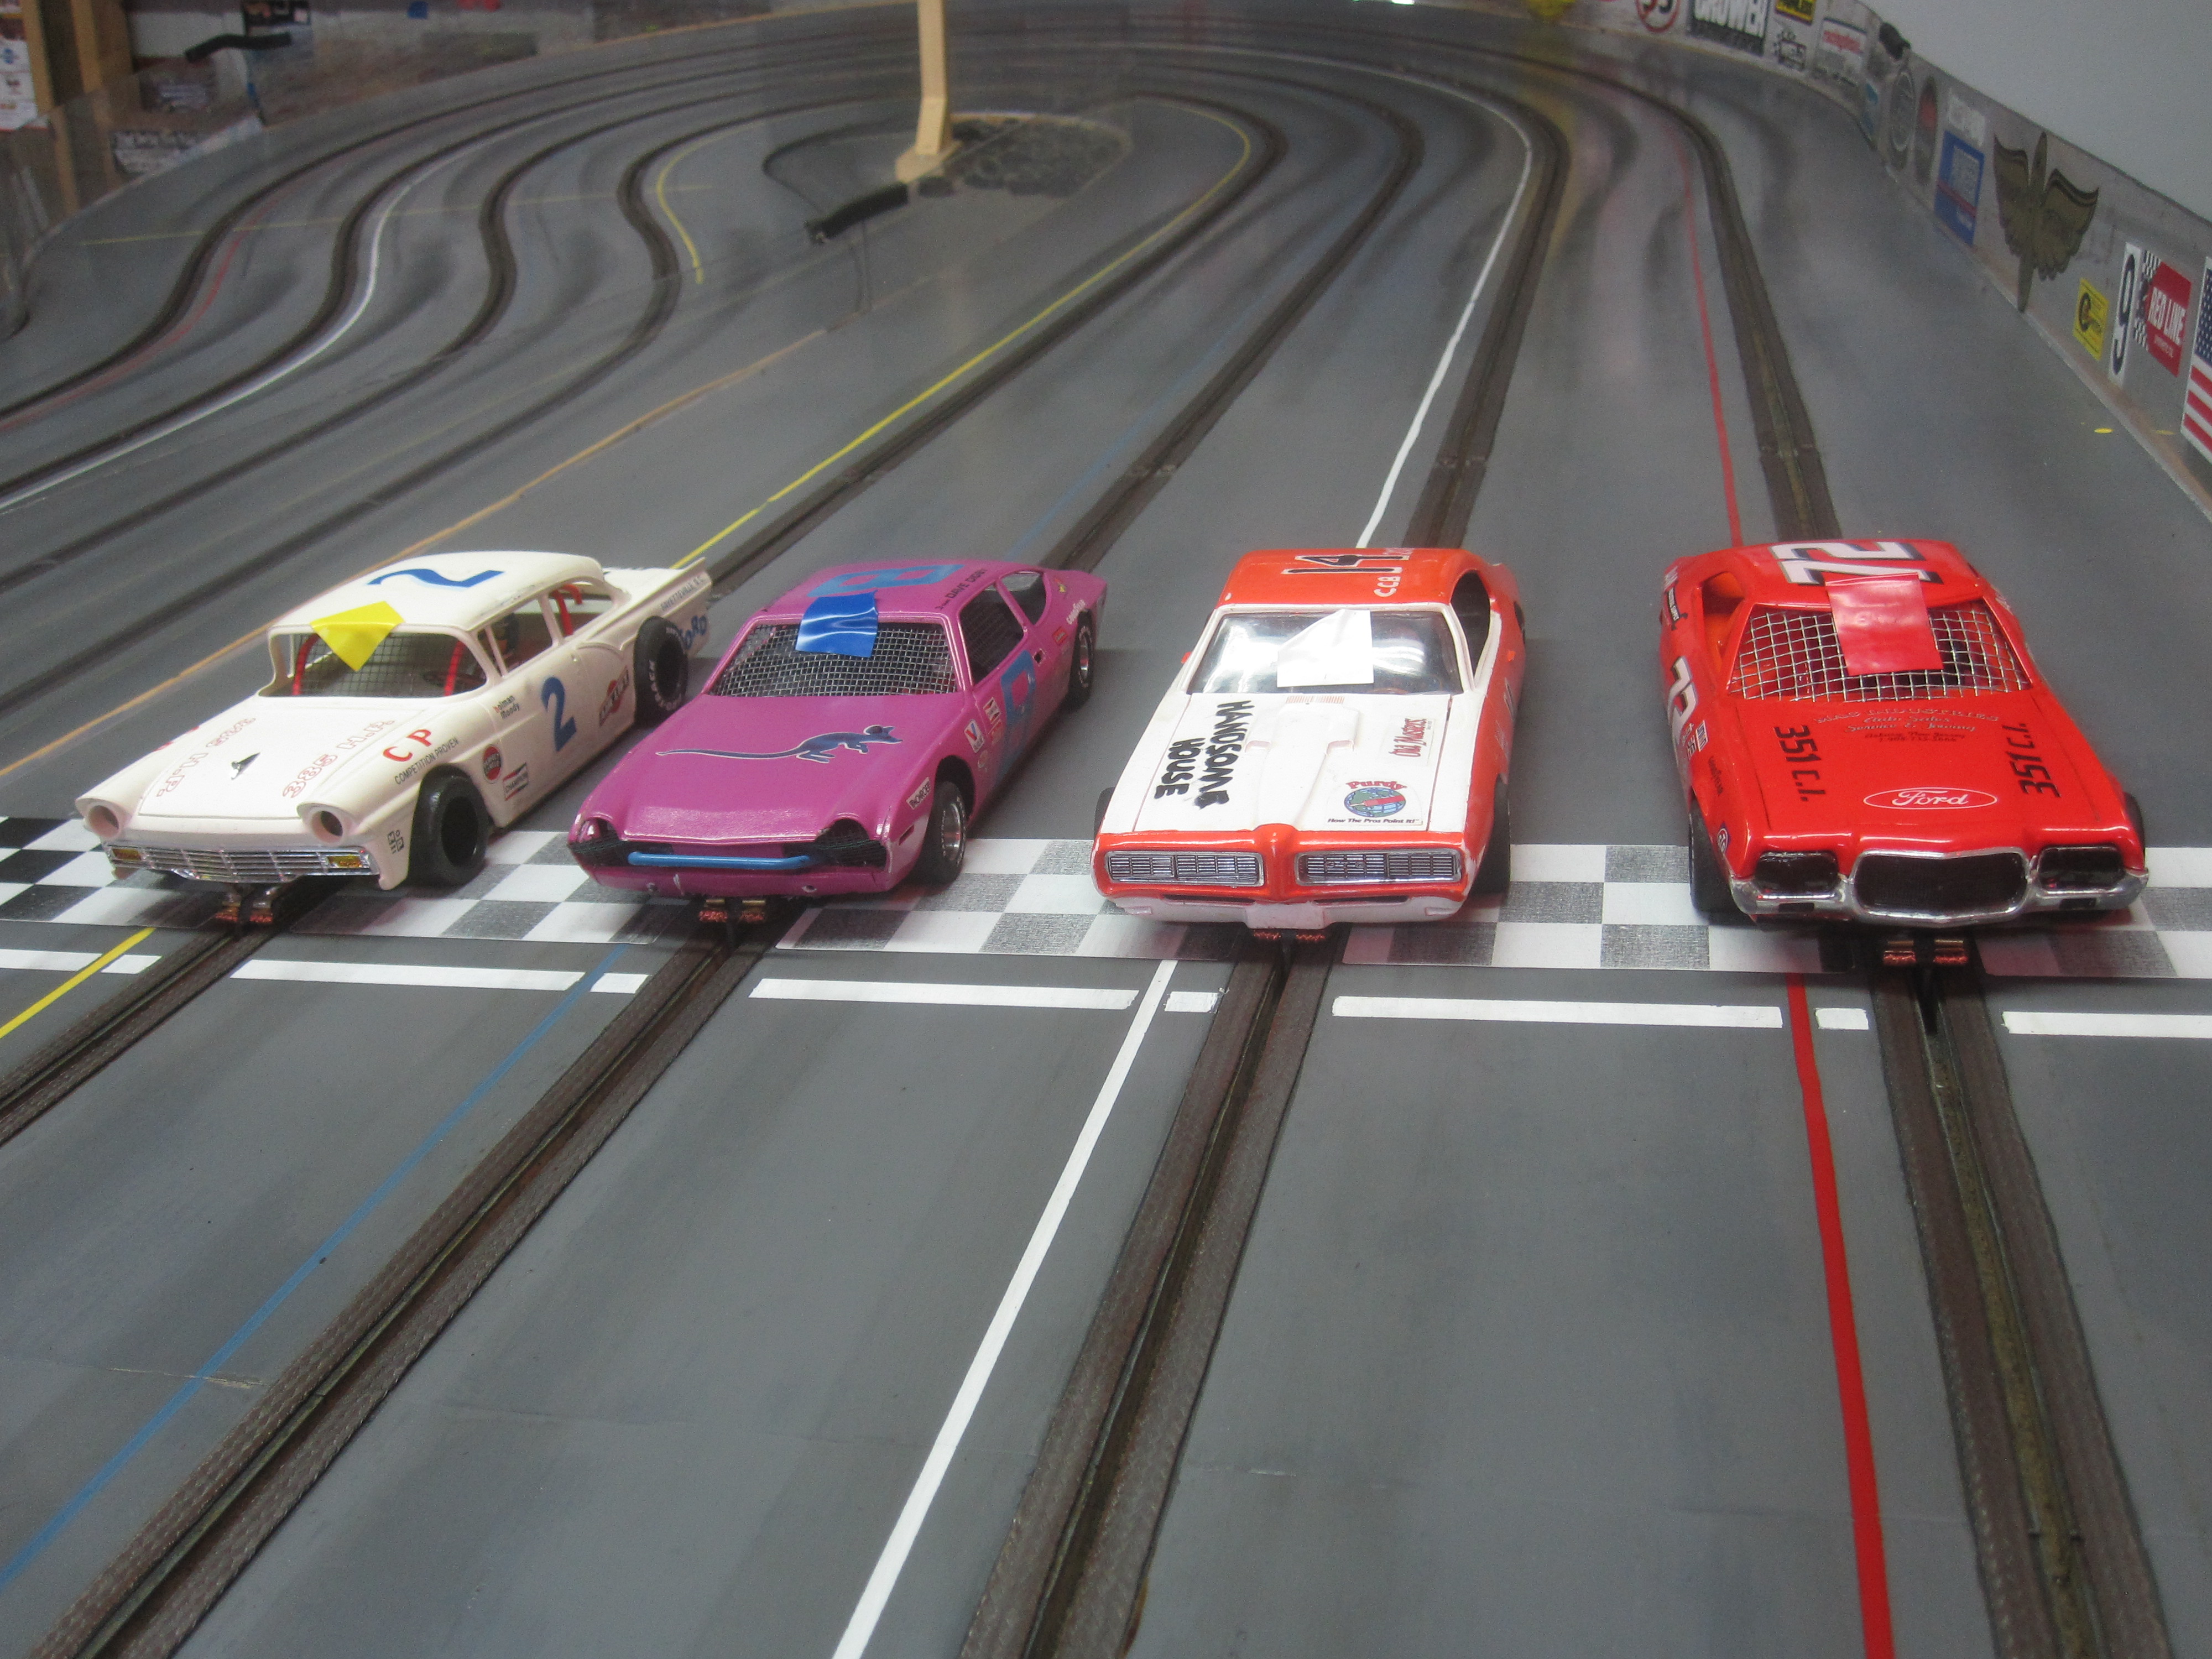
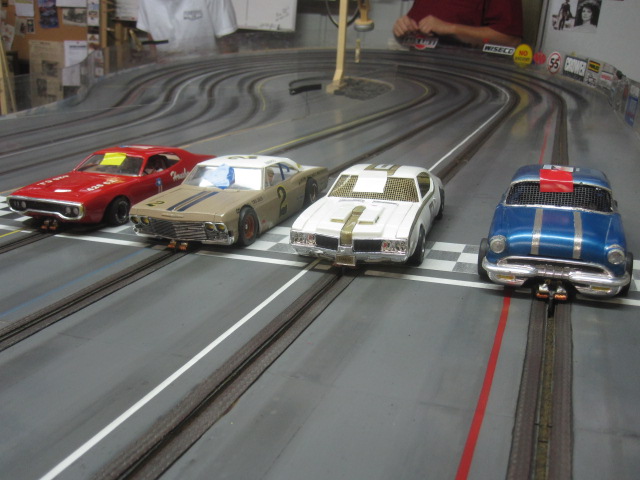
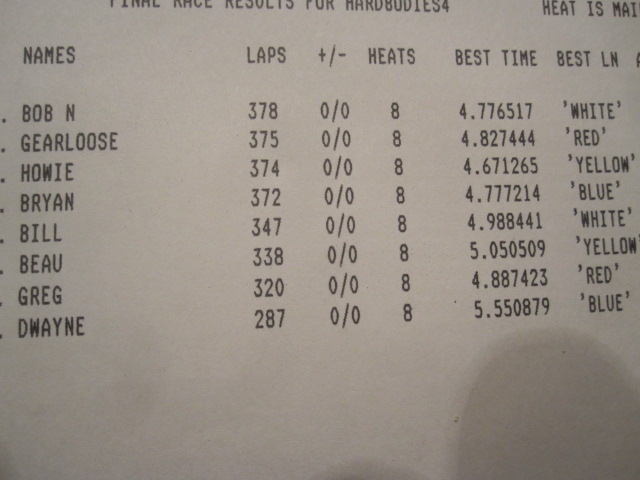
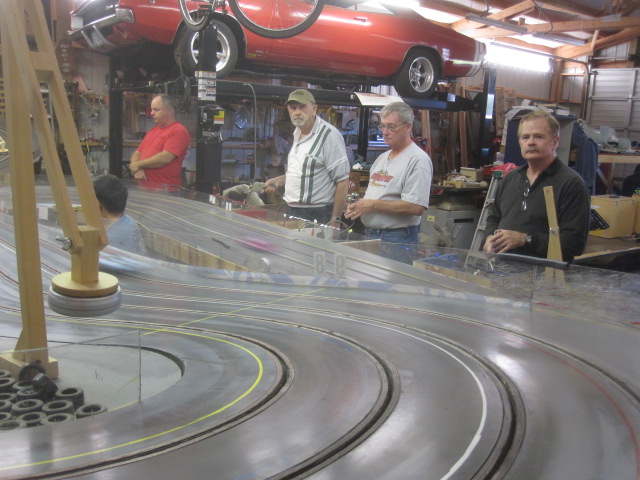
Dec. 17, 2016. A make up race. Bob N. showed us the way to the checkered flag once again with his fast and great handling '49 Ford.
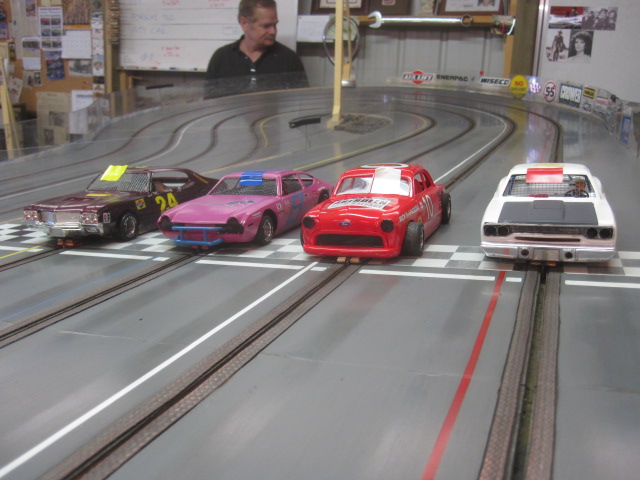
An all Ford line up! L-R: Marty, Gearloose, Bob N., Howie.
by howie » Sun Nov 20, 2016 10:48 am
Opening points race for the 2017 season.
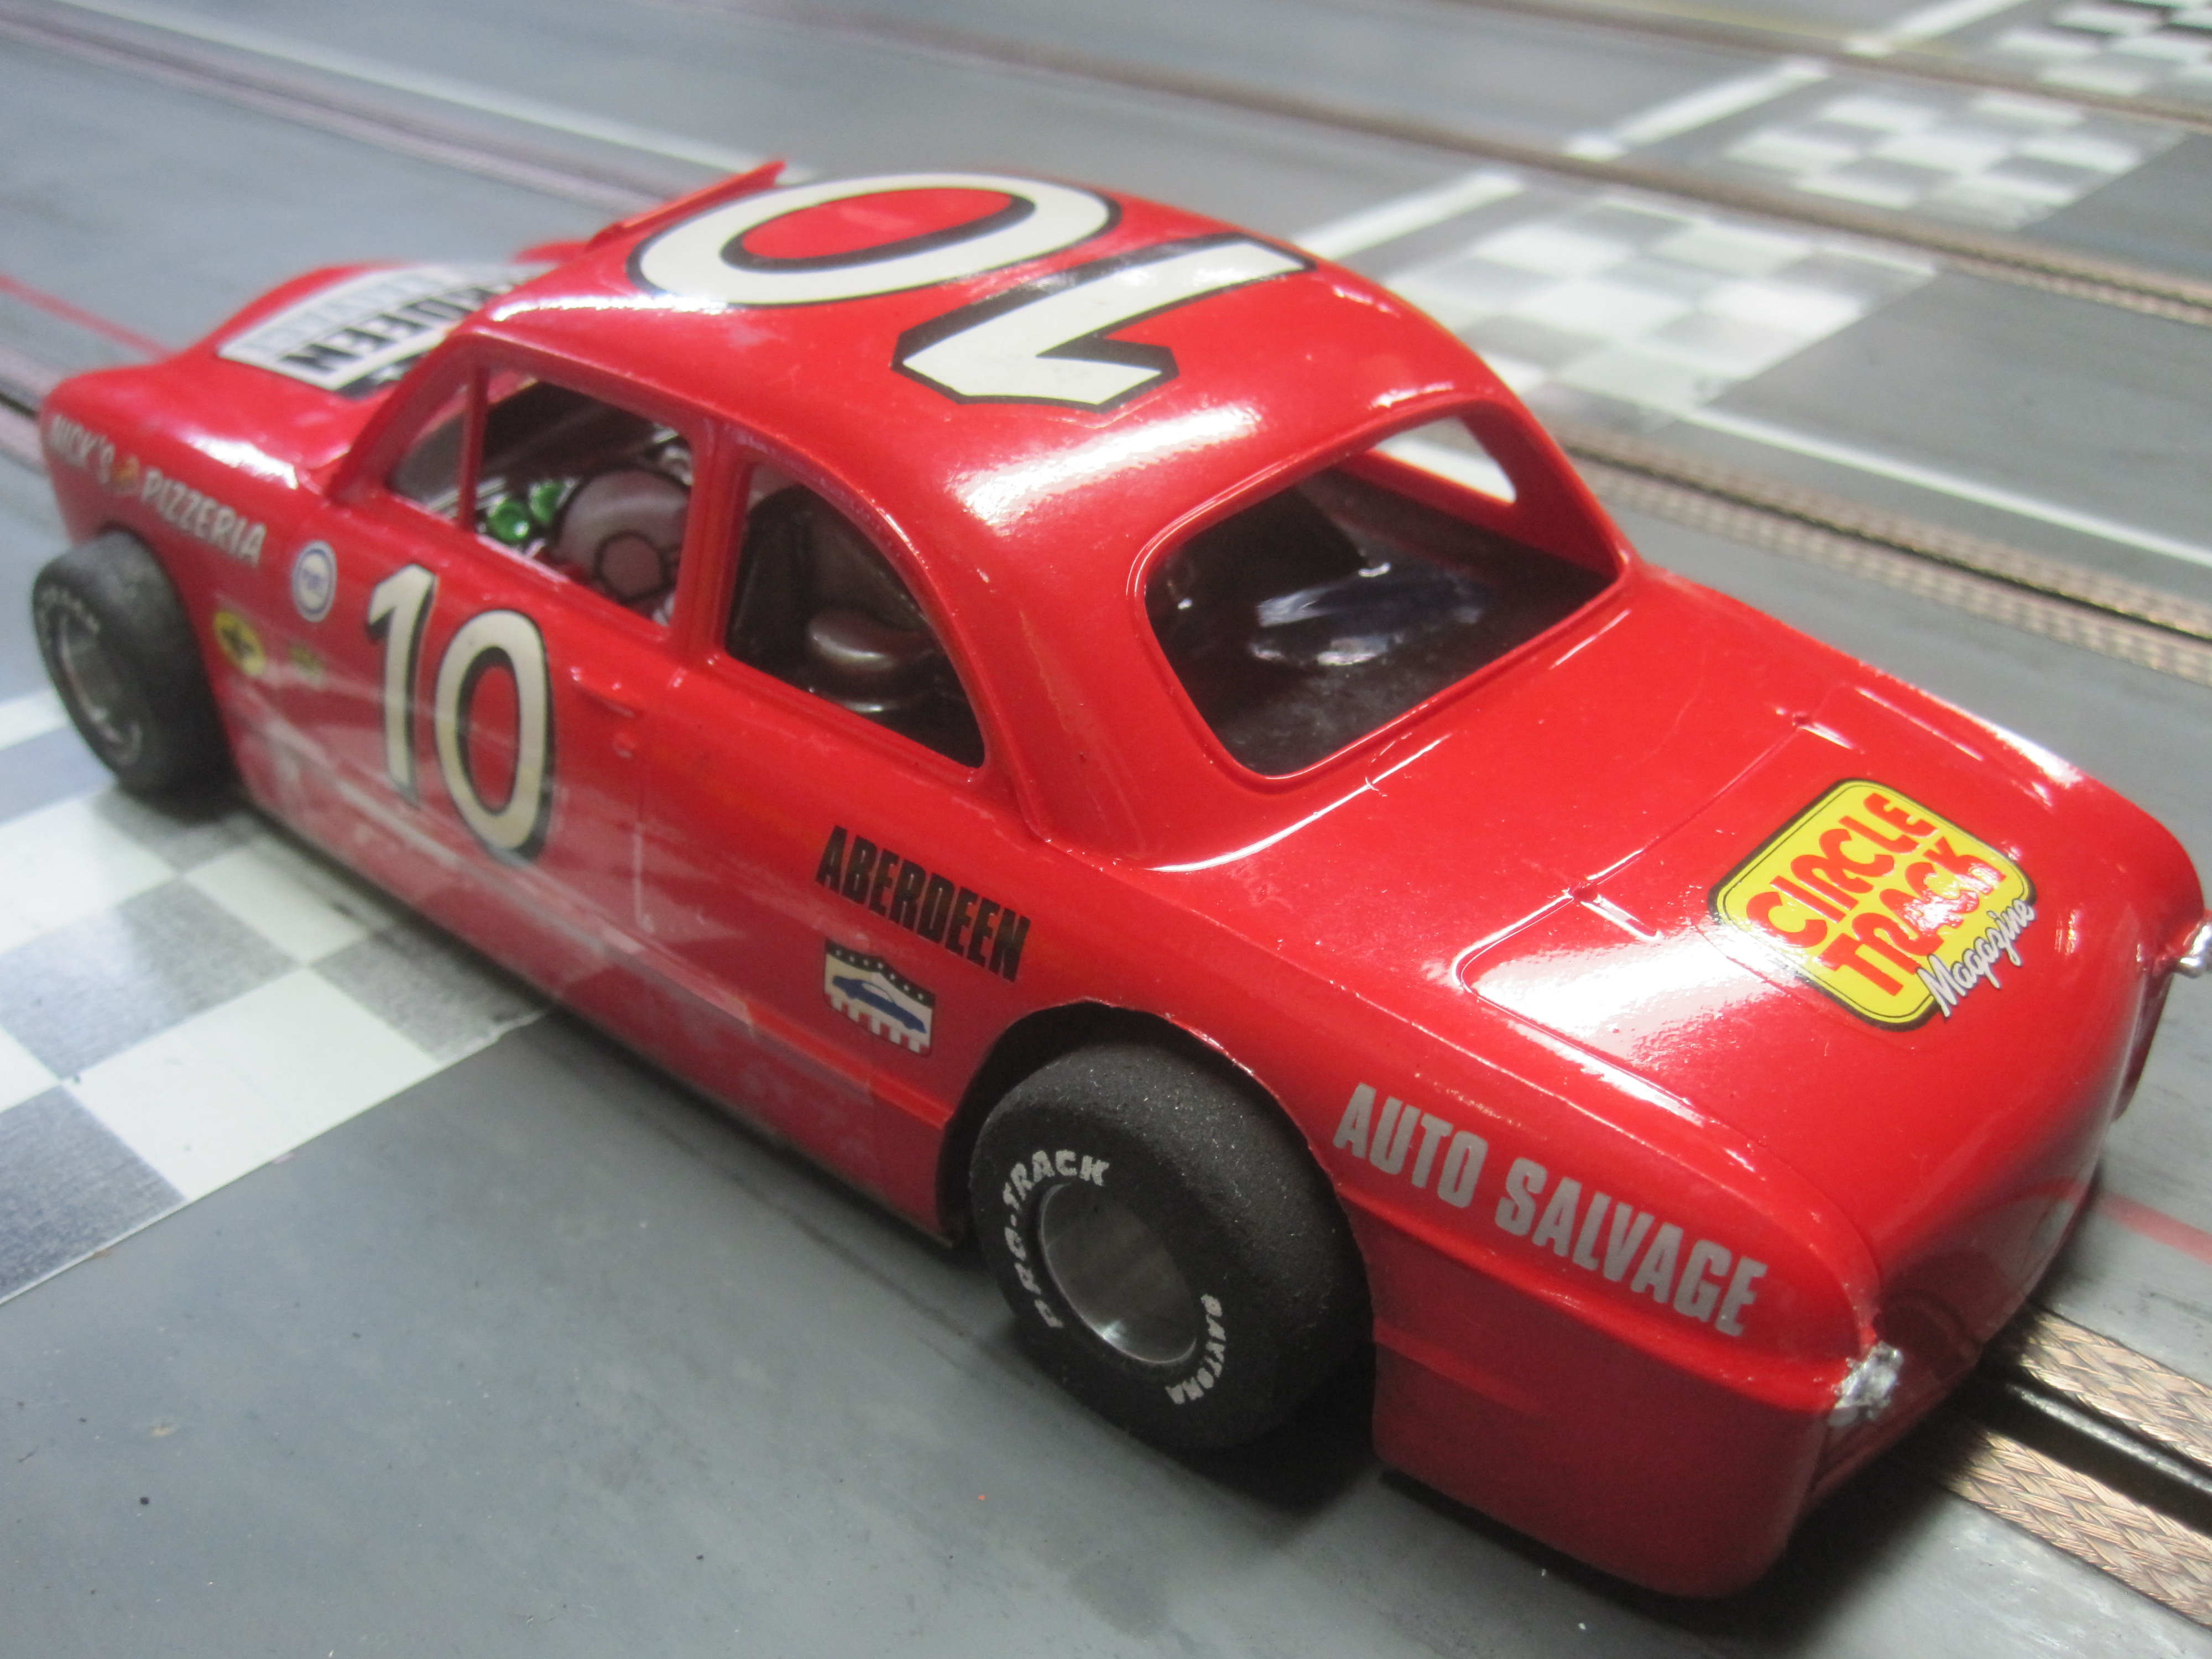
Beau's new Sportsman.

by wb0s » Sun Oct 18, 2015 8:43 pm
Thanks for the excellent race last night Howie! I can't believe how much use and fun I have gotten out of my Sportsman/Econocar over the years. I've been racing this same car (chassis anyway) for over 10 years! These cars are still a lot of fun!
by howie » Sun Oct 18, 2015 8:47 am
These cars are really fun and very close racing. I can't post any pictures because it says: my attachment quota has been reached. I'll see what is up with that. Ok, Monte got it figured out so I added a picture of the starting line up. Thanks Monte.
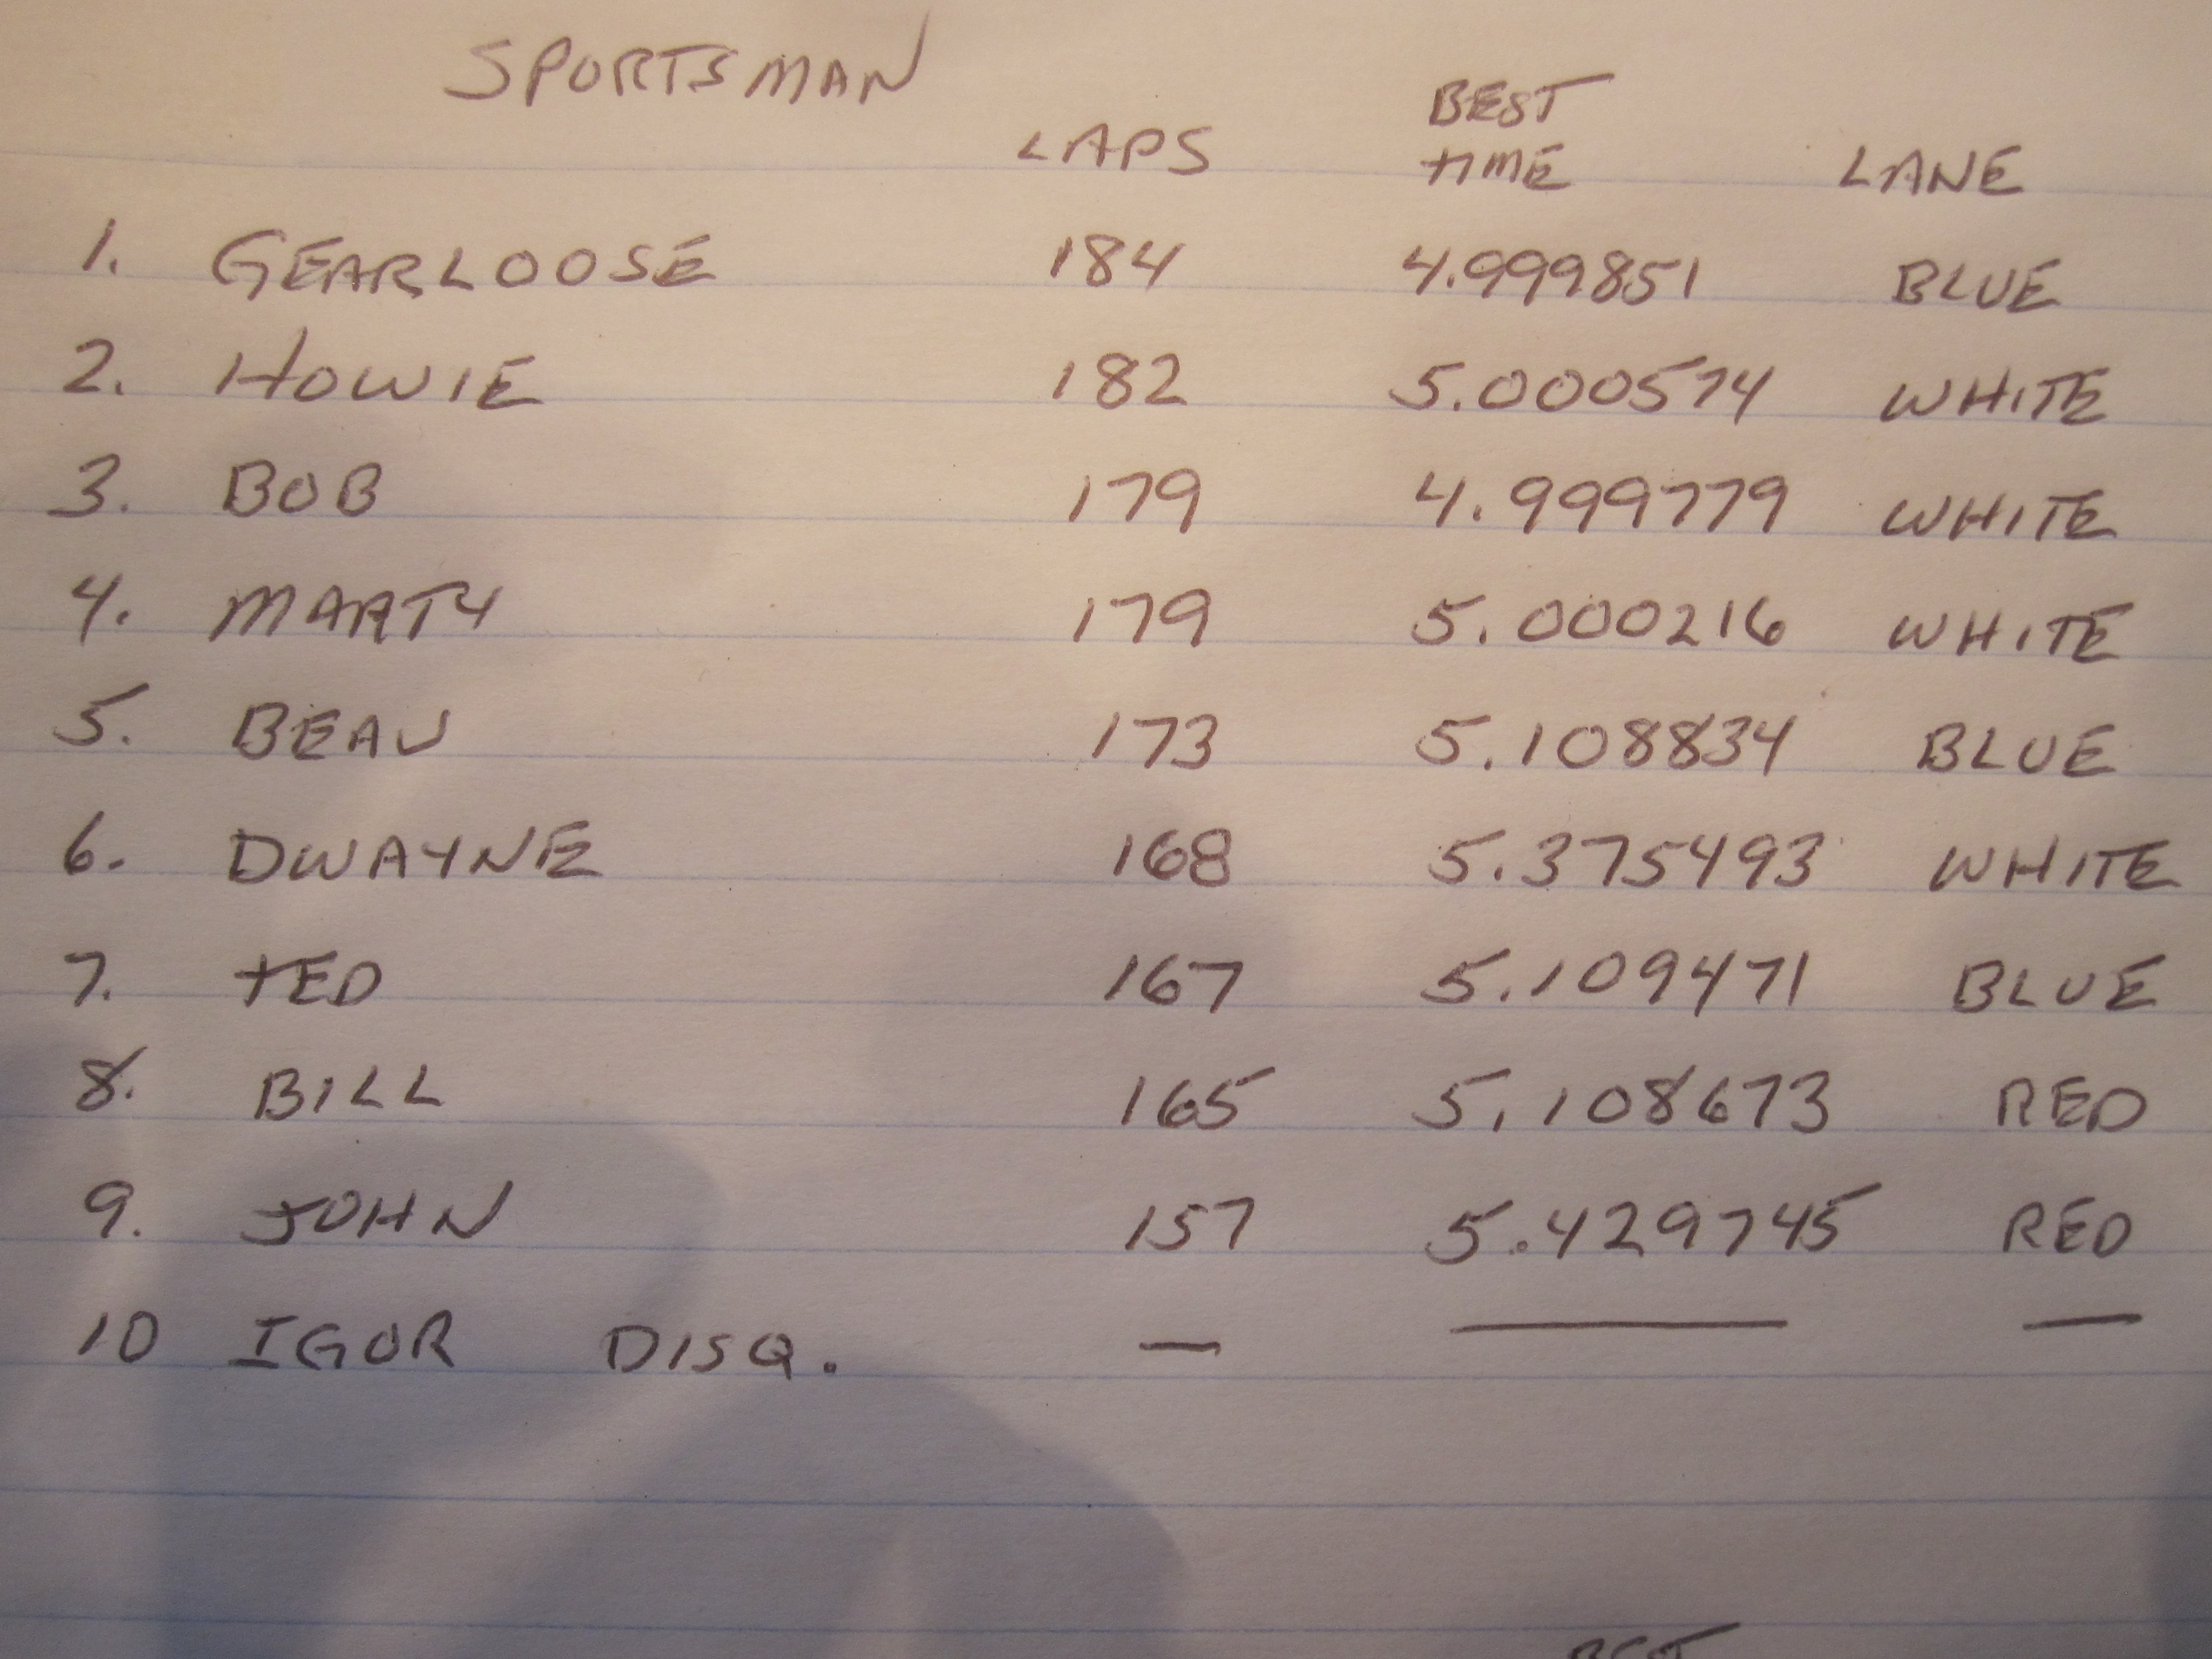
Finishing order:
1st, Howie......................169 laps.
2nd. Ted.........................167.
3rd. Bill..........................166.
4th. Dwayne...................165.
5th. Beau.......................162.
6th. Gearloose................,160.
7th. BLake......................153.
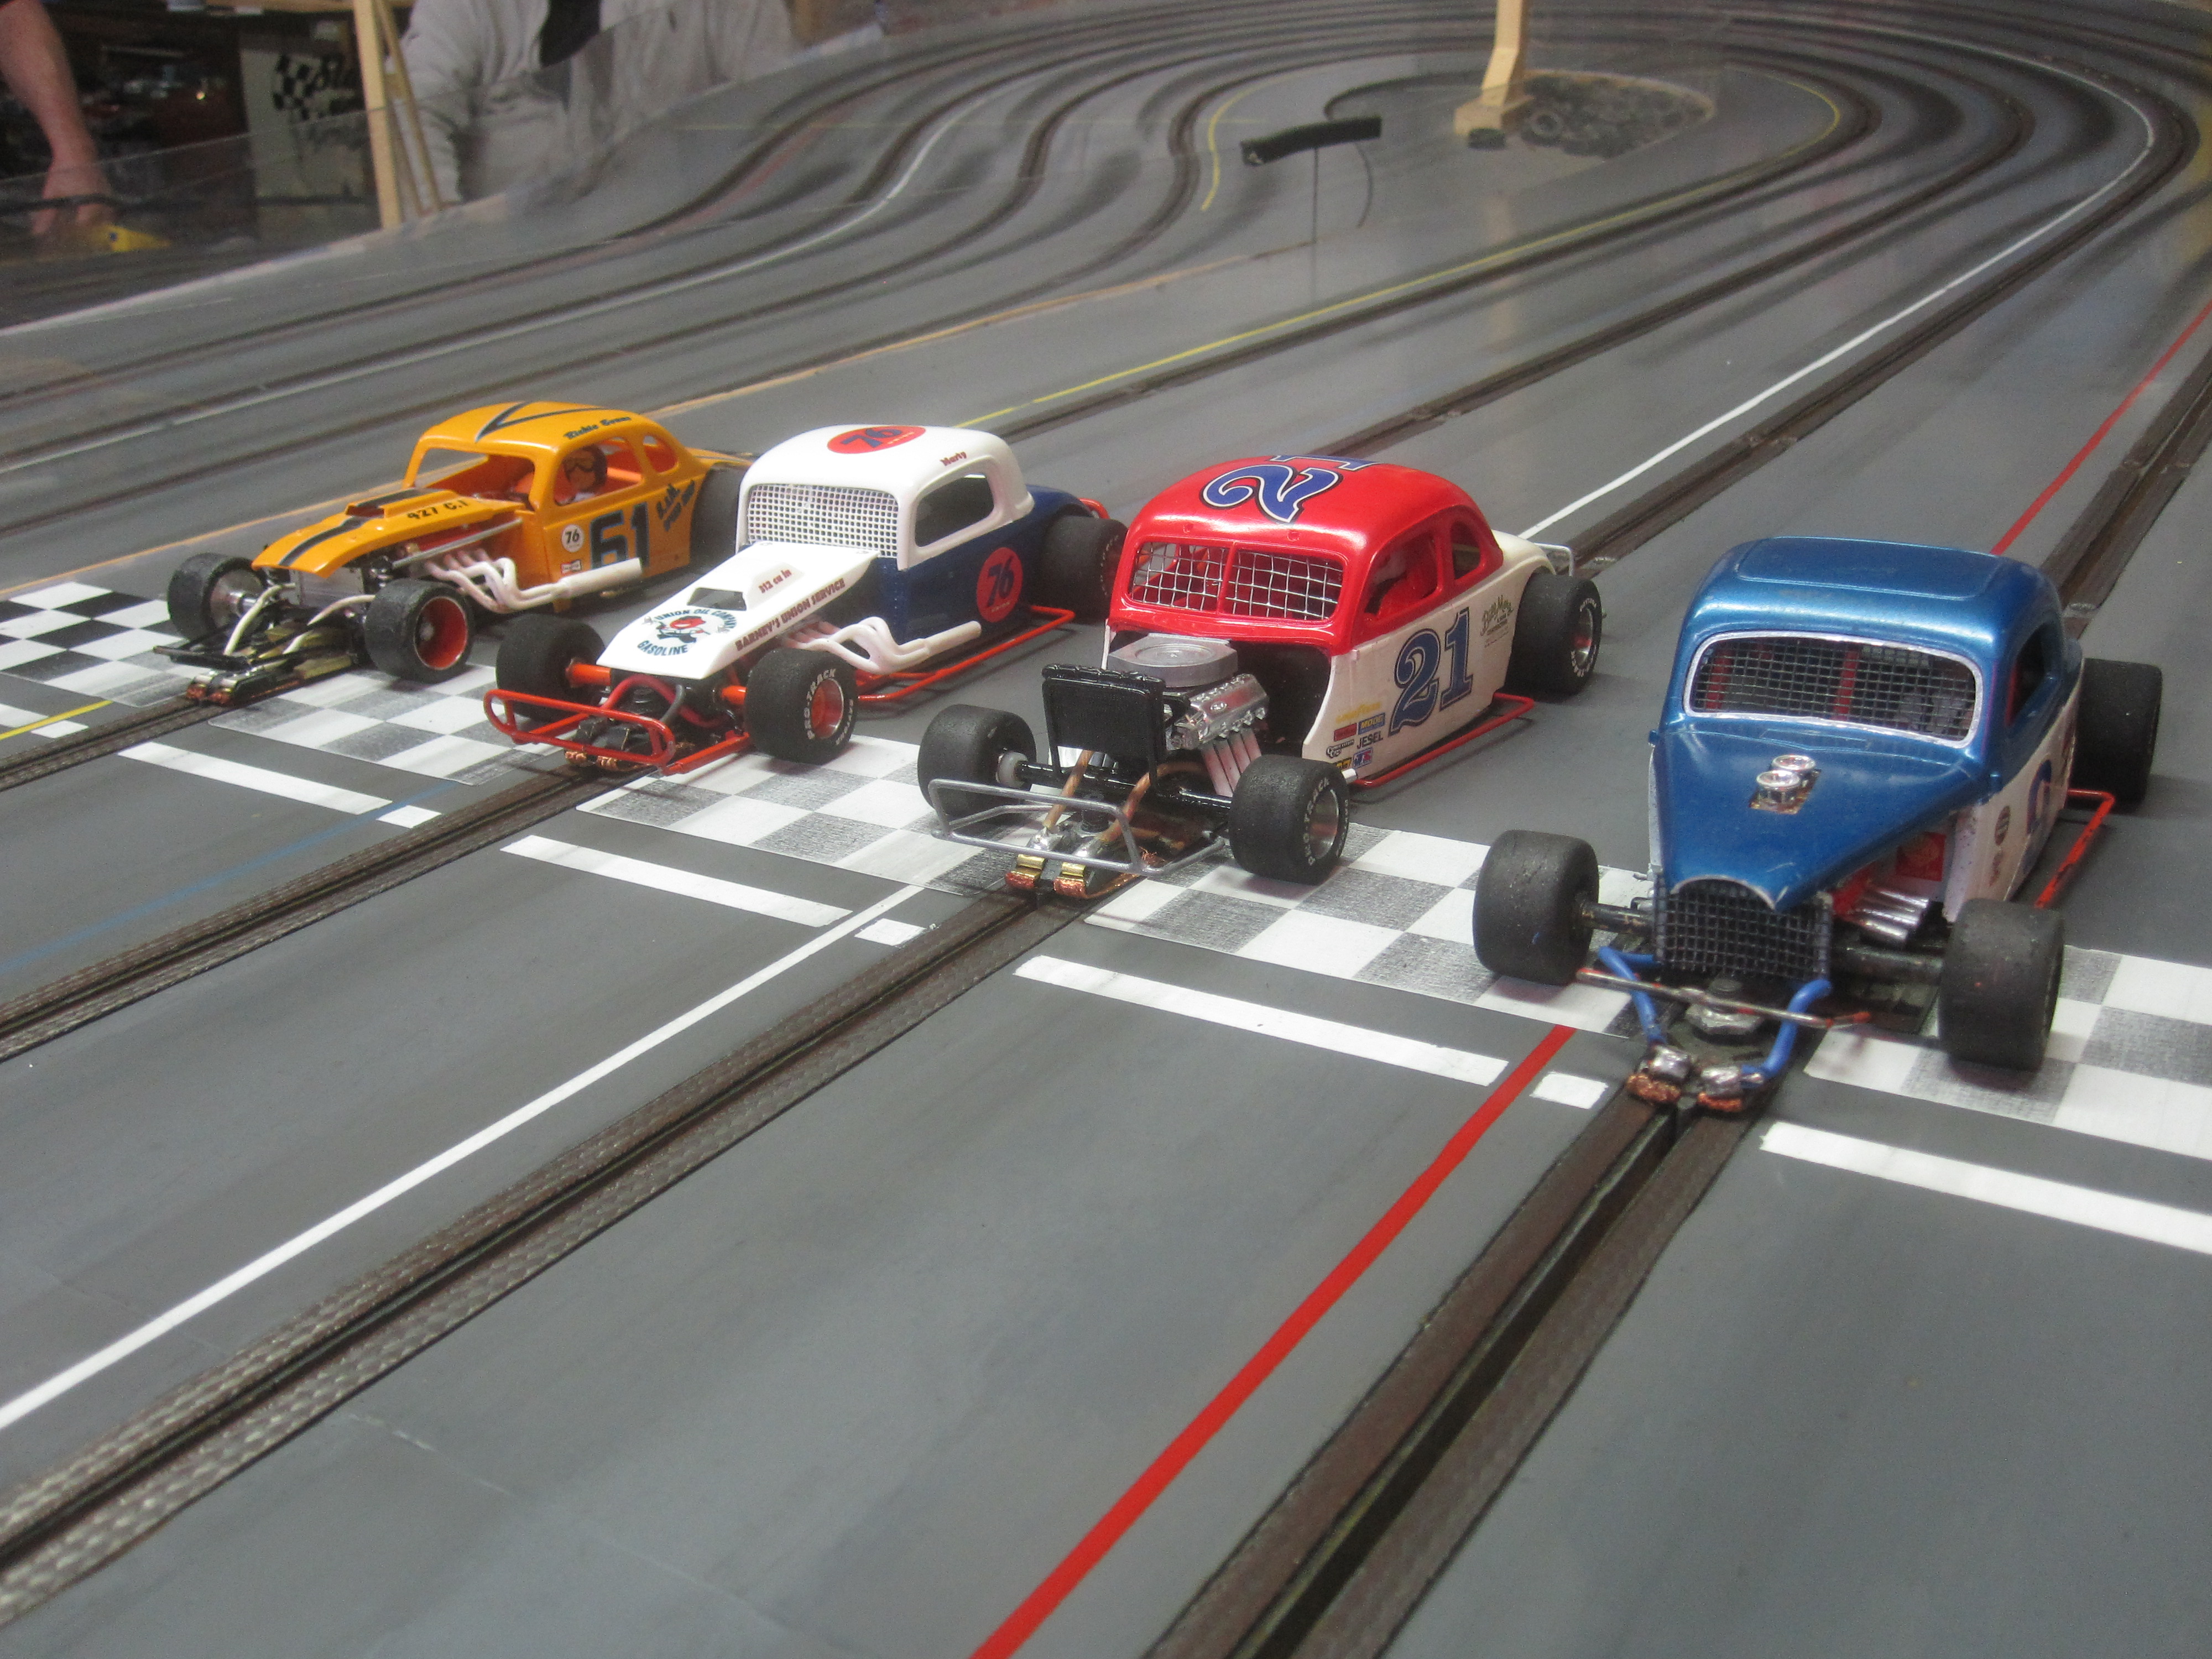
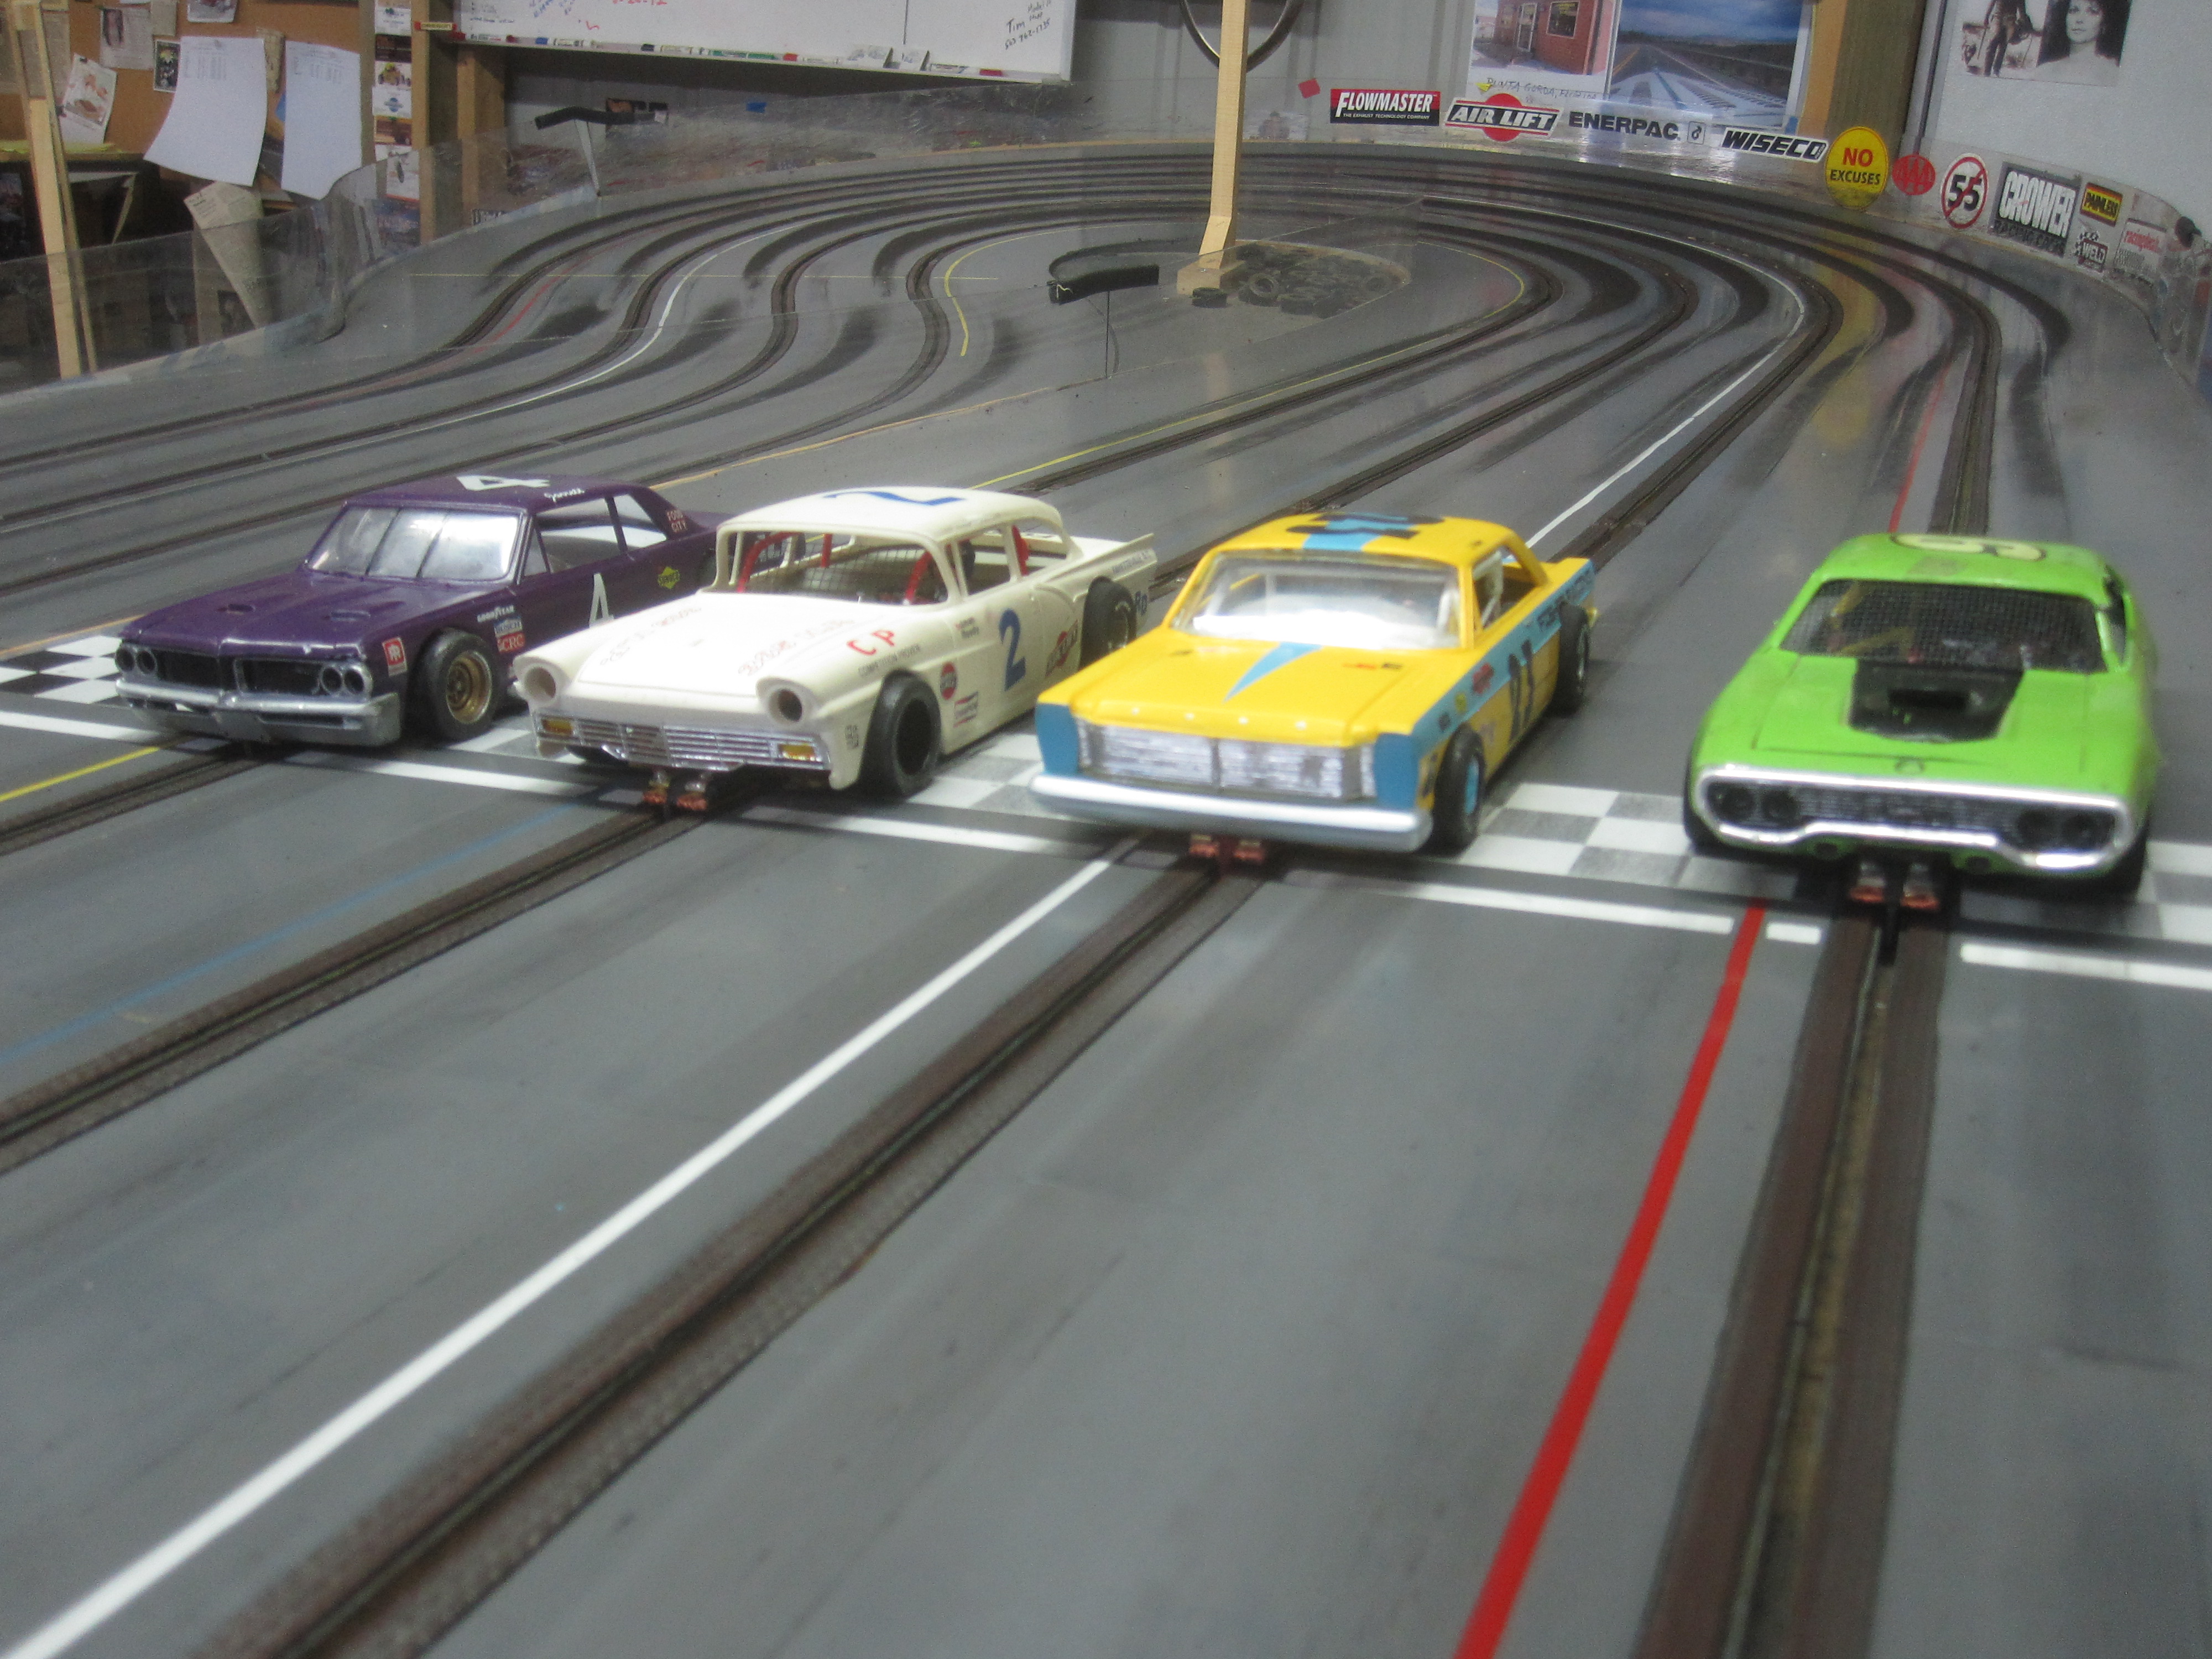
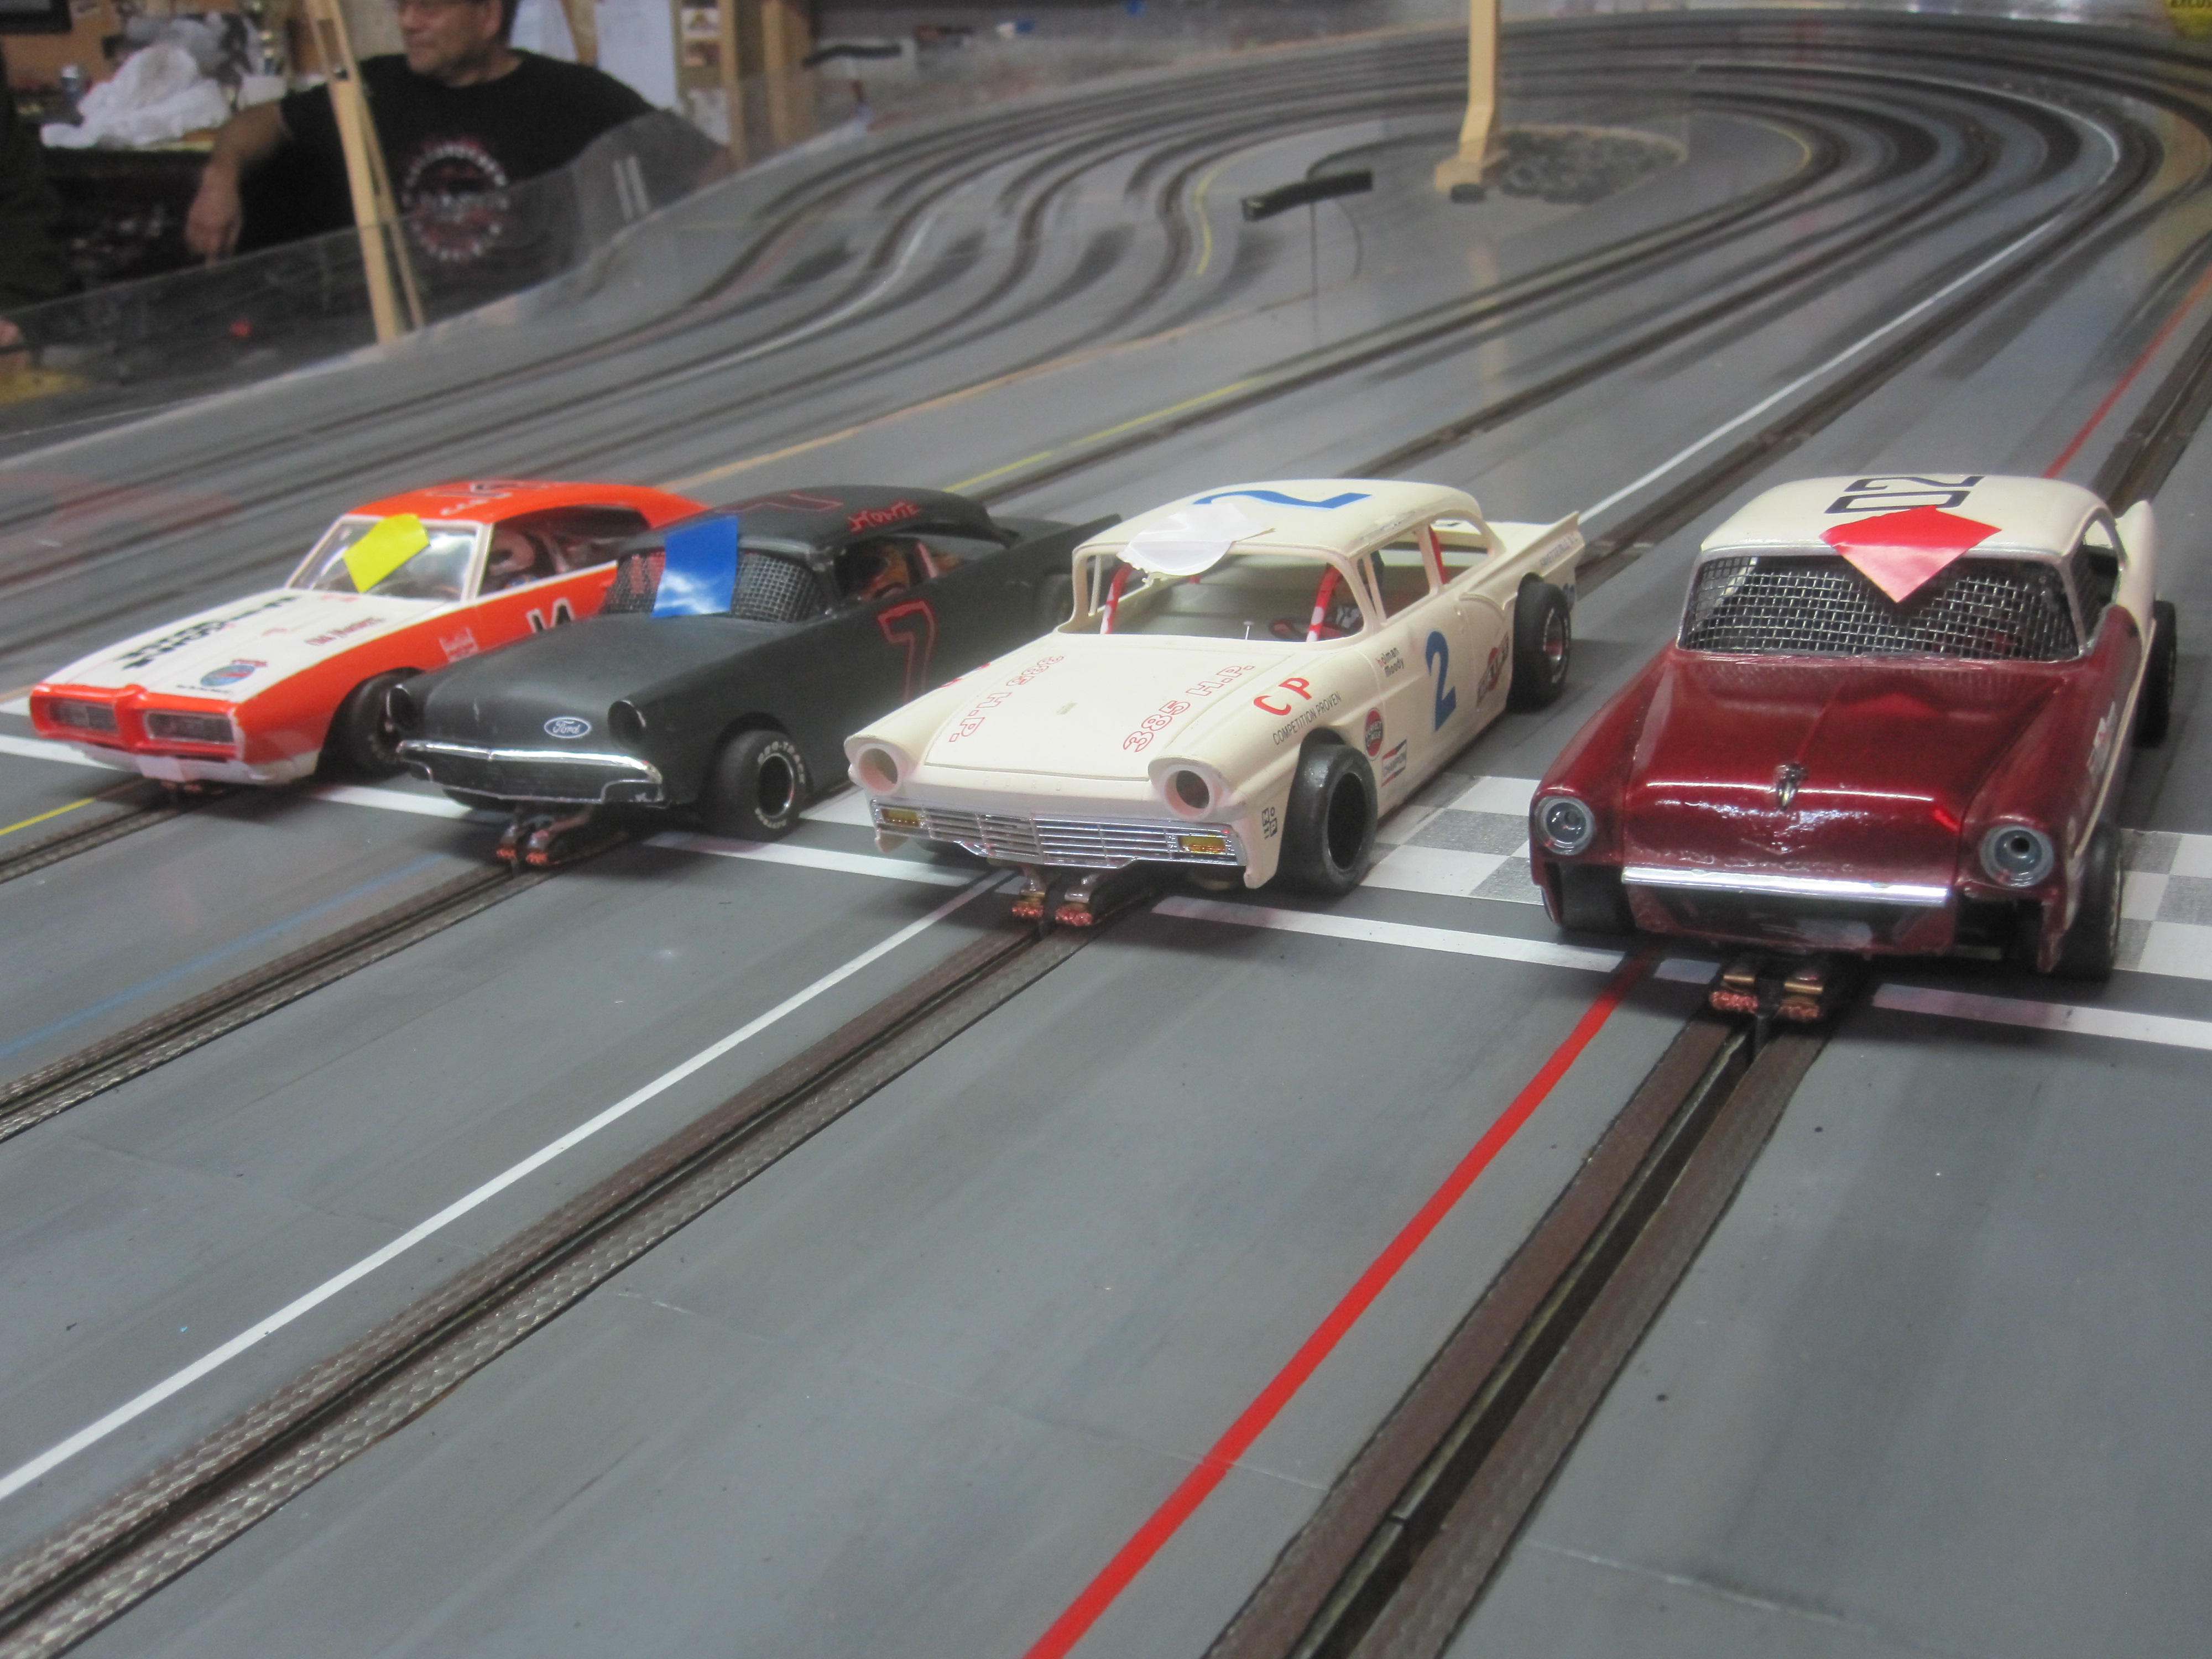
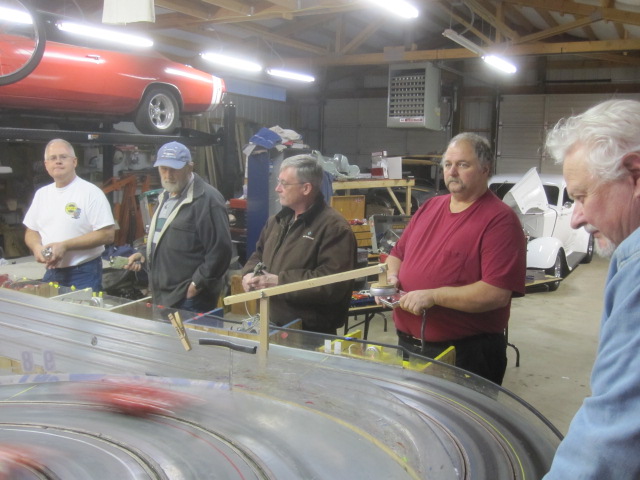
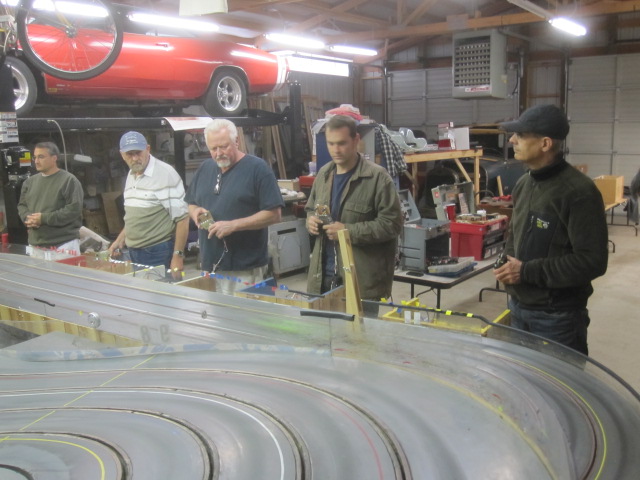
From left to right: Howie, Dwayne, Beau, and Blake ready to battle!
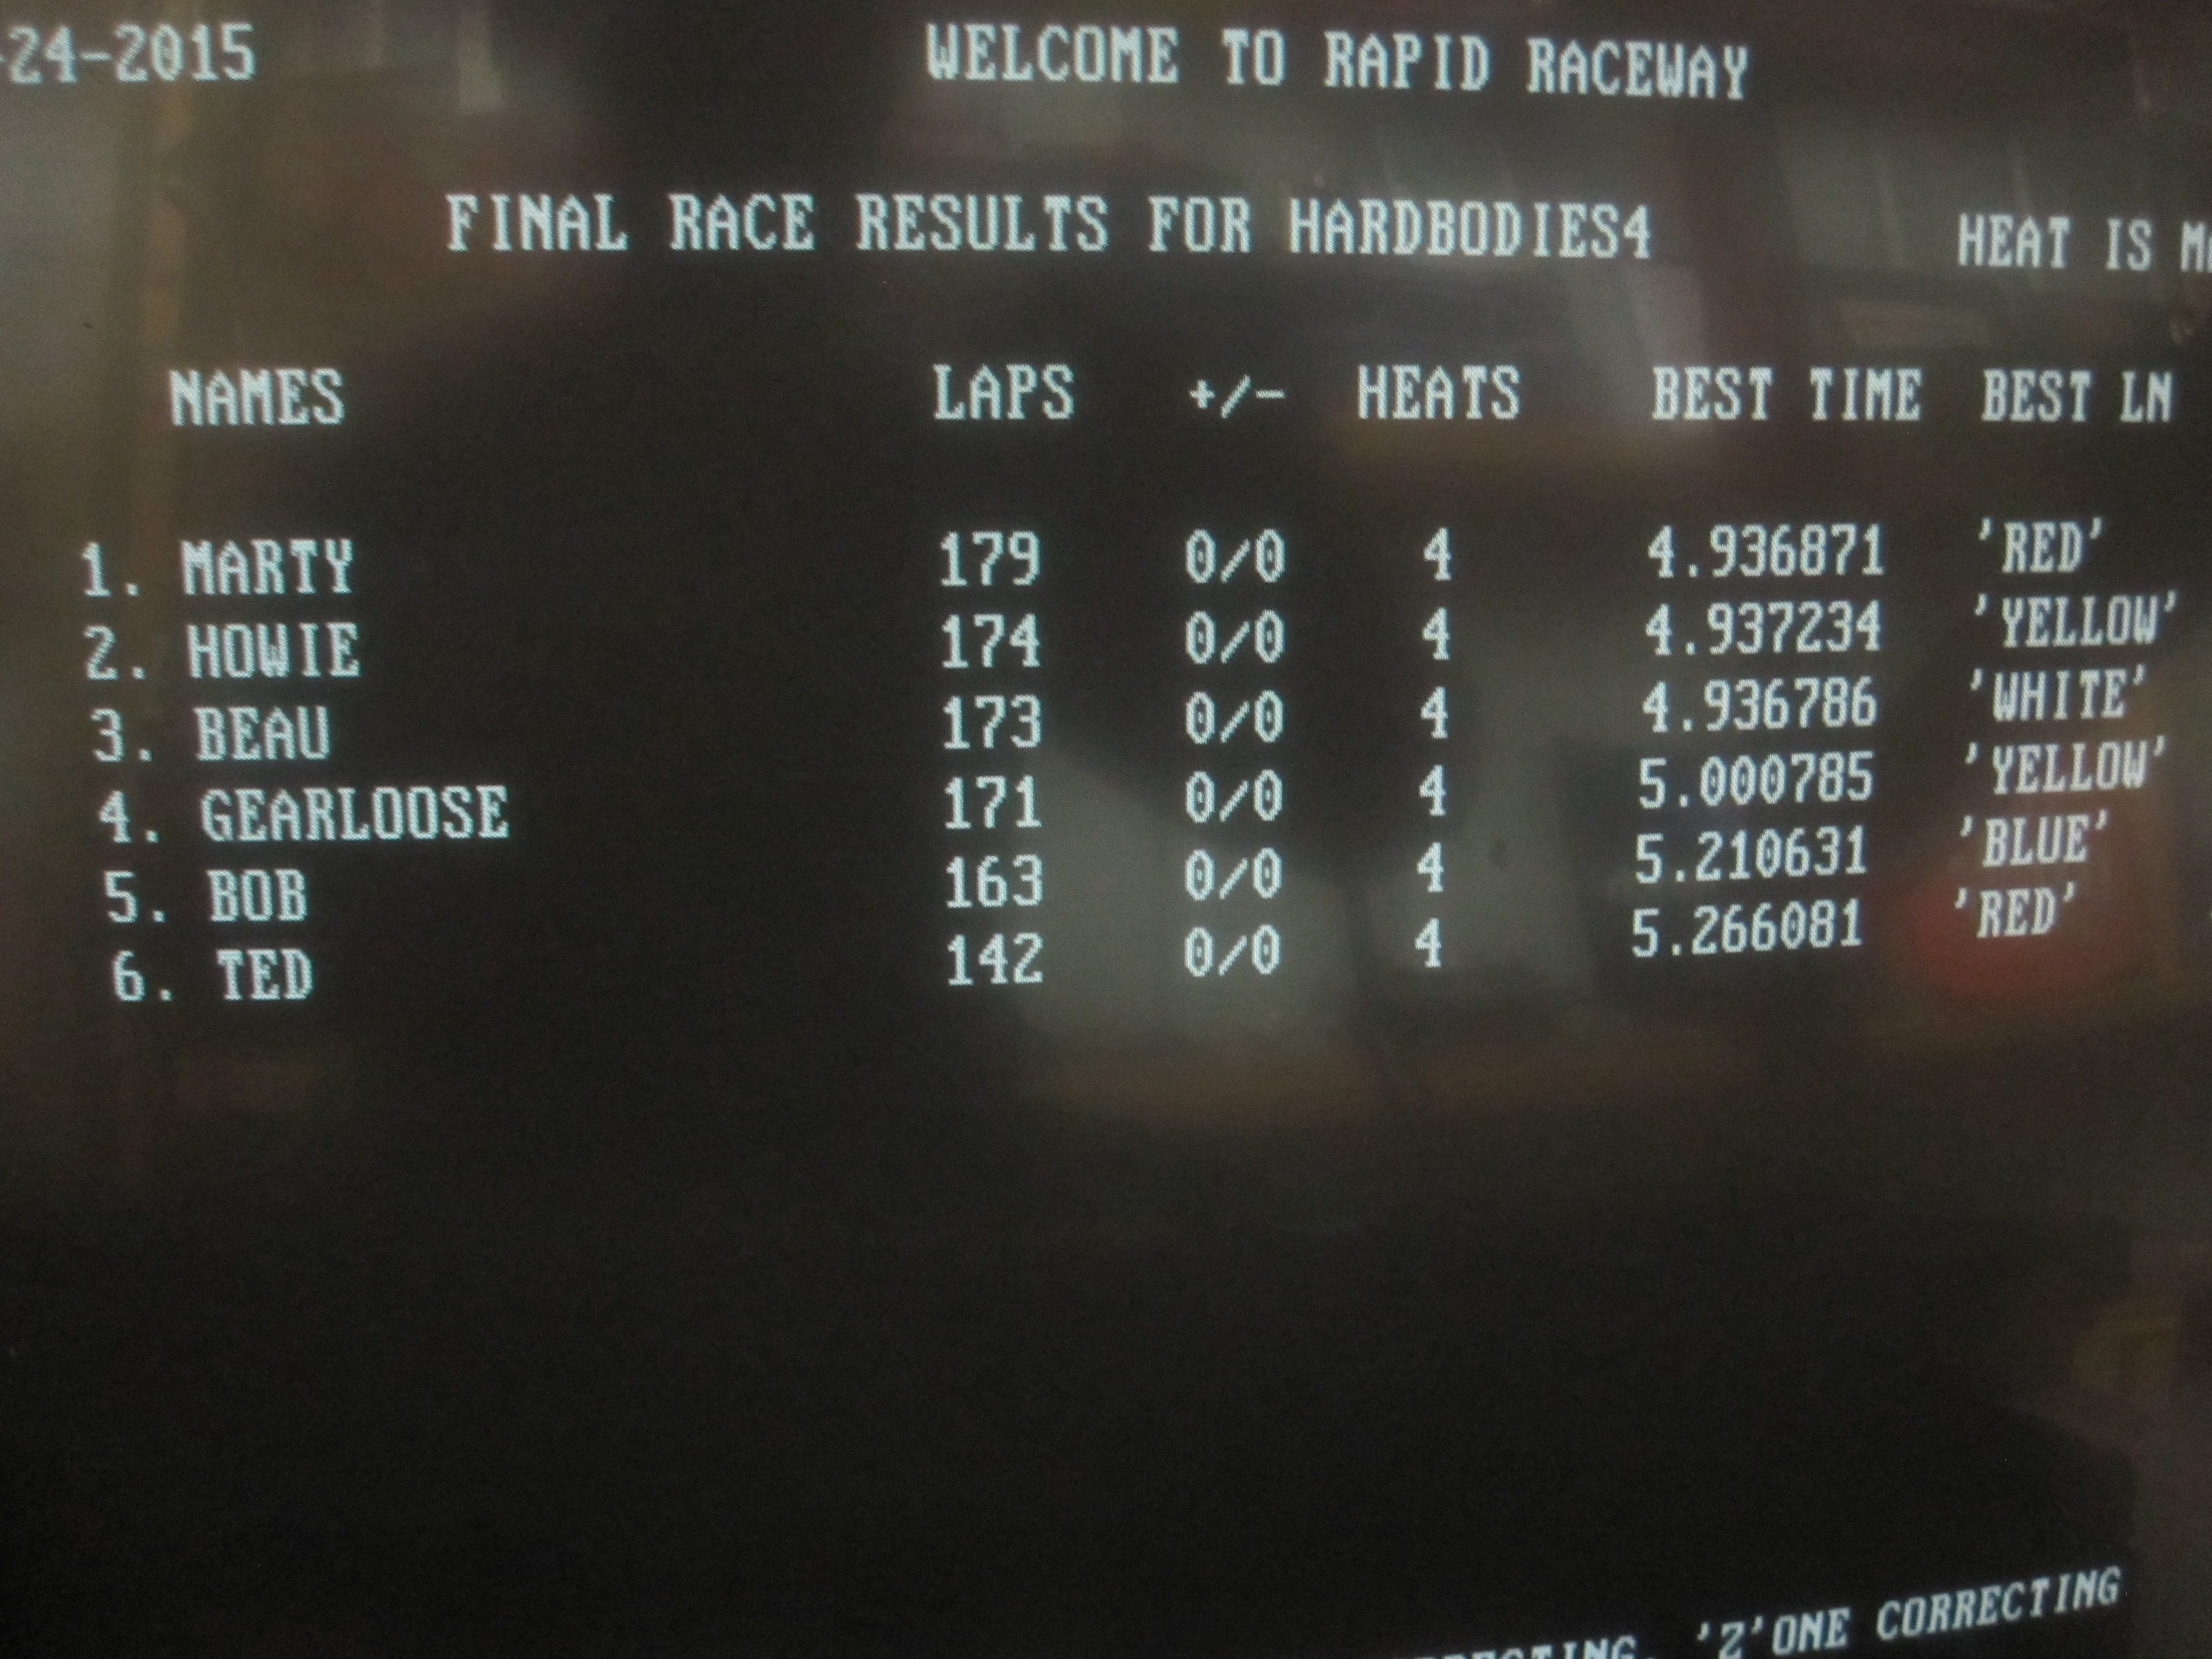
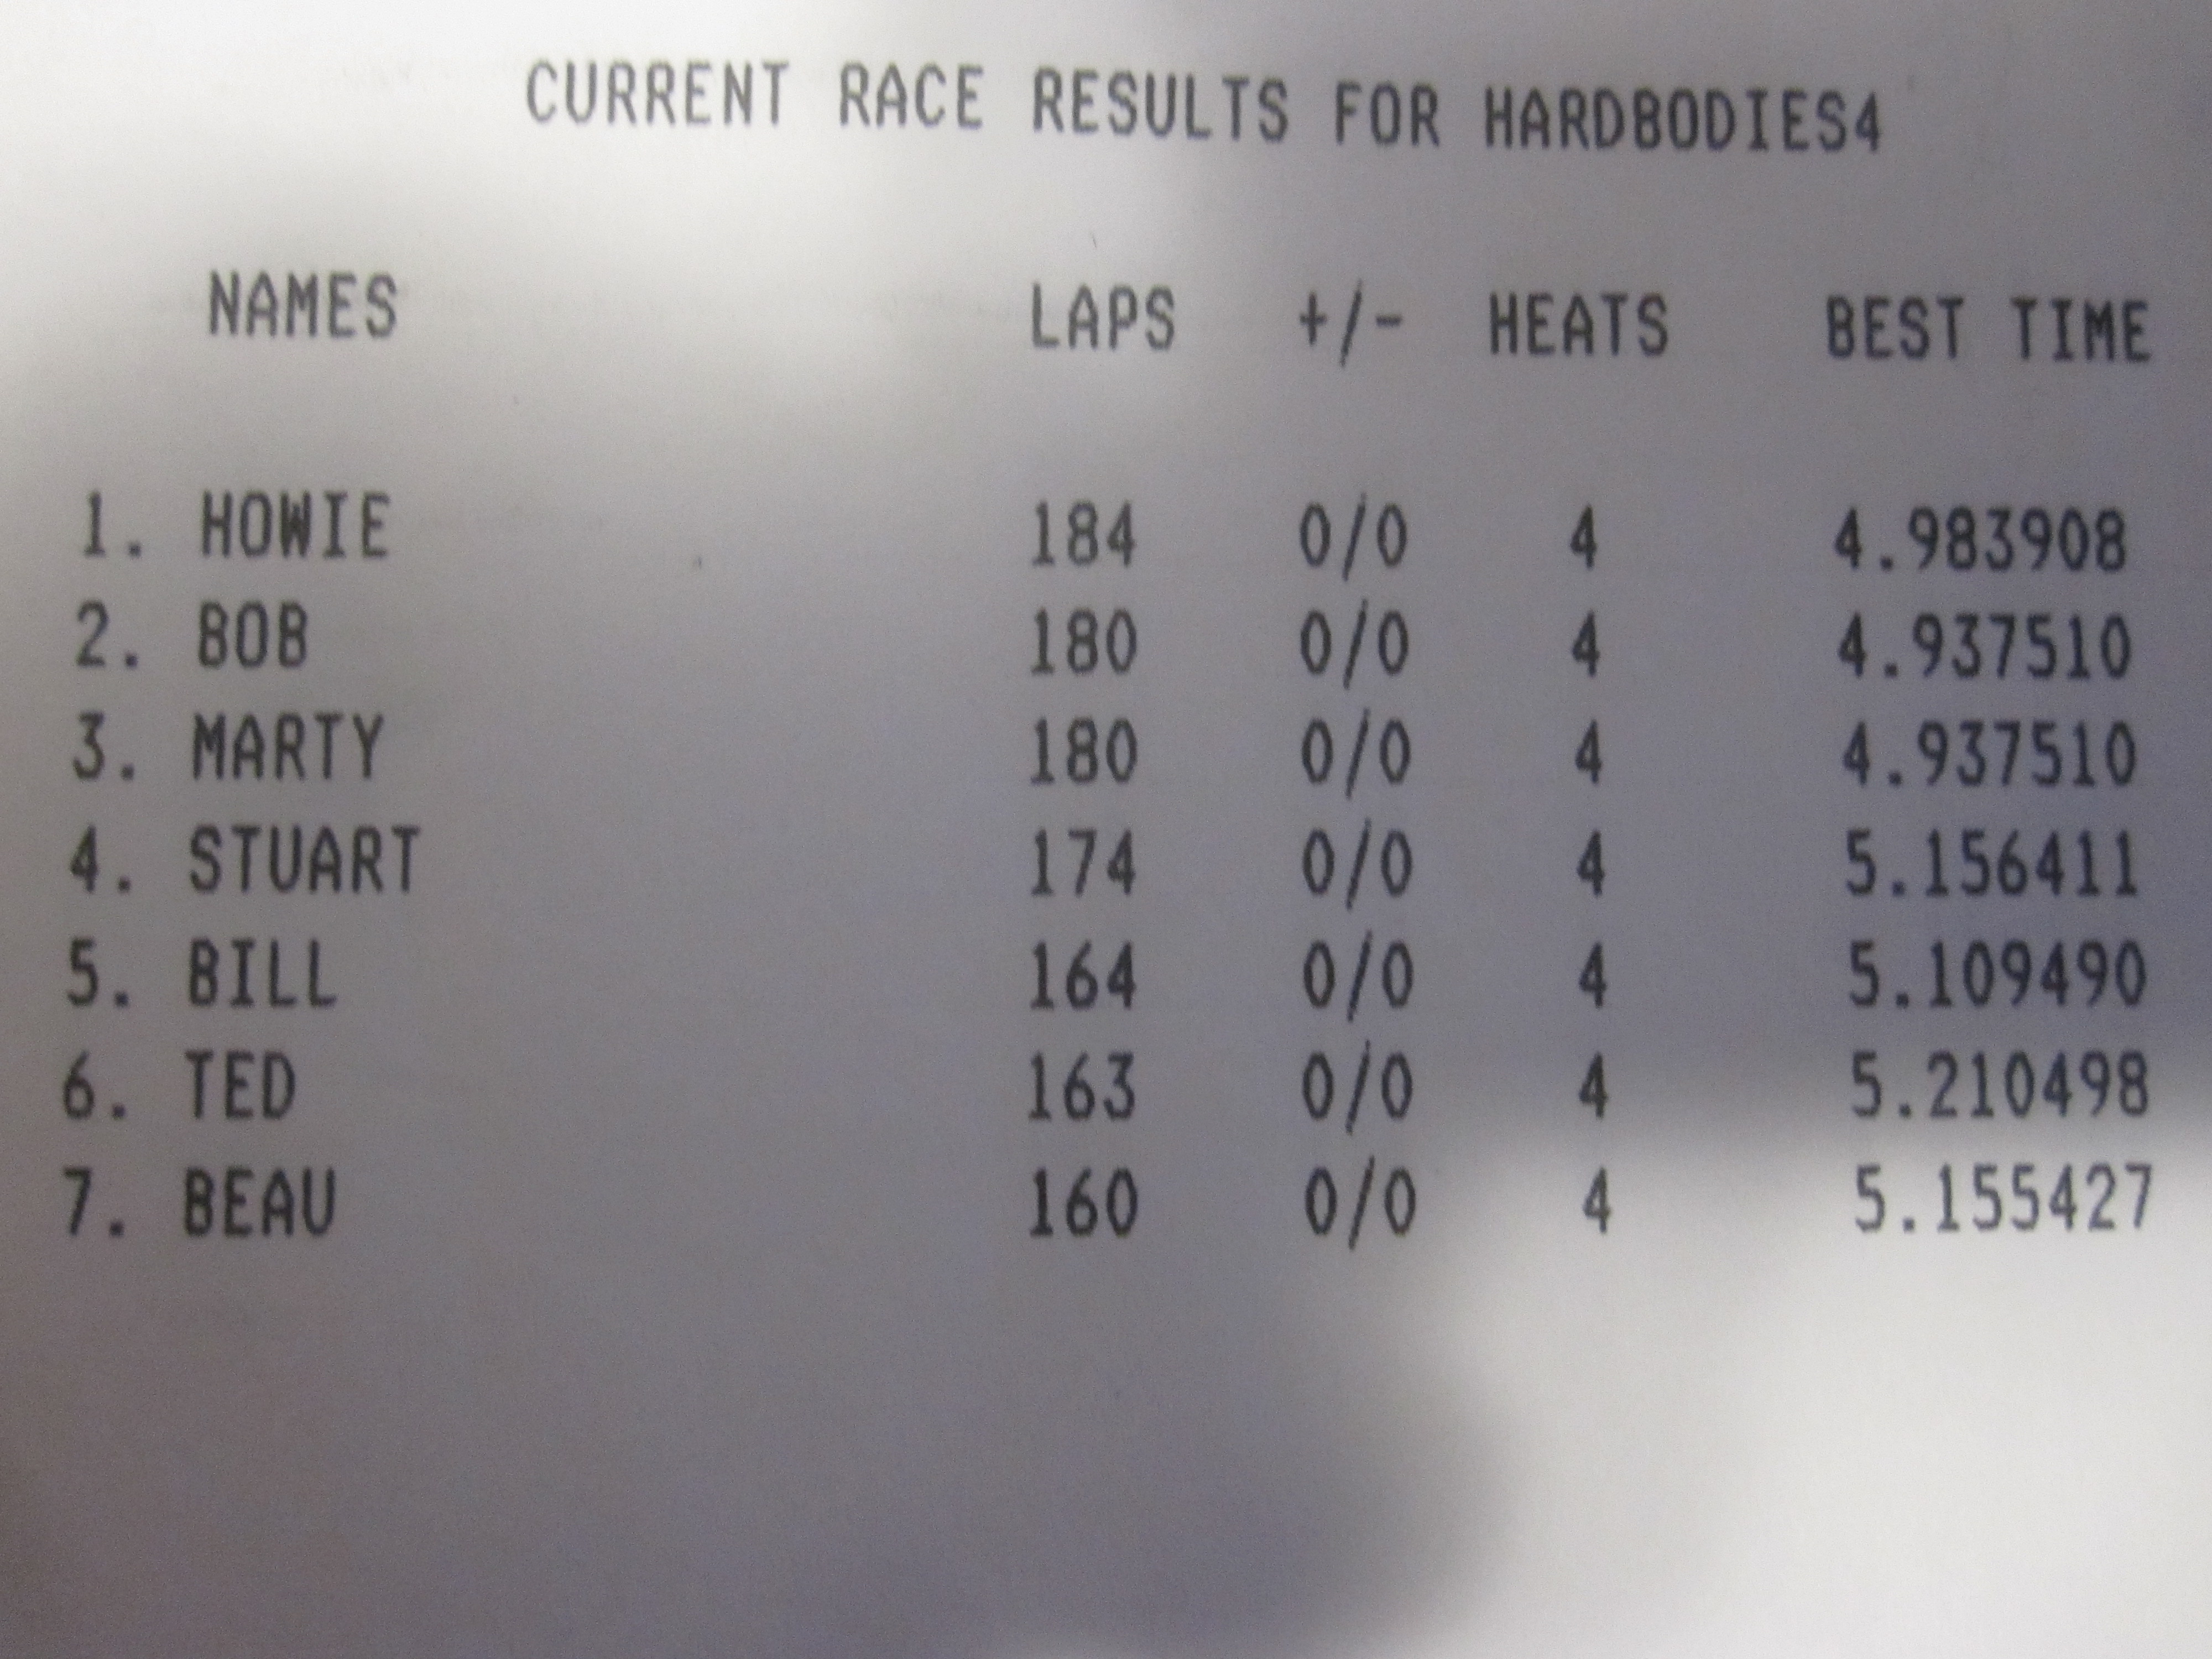
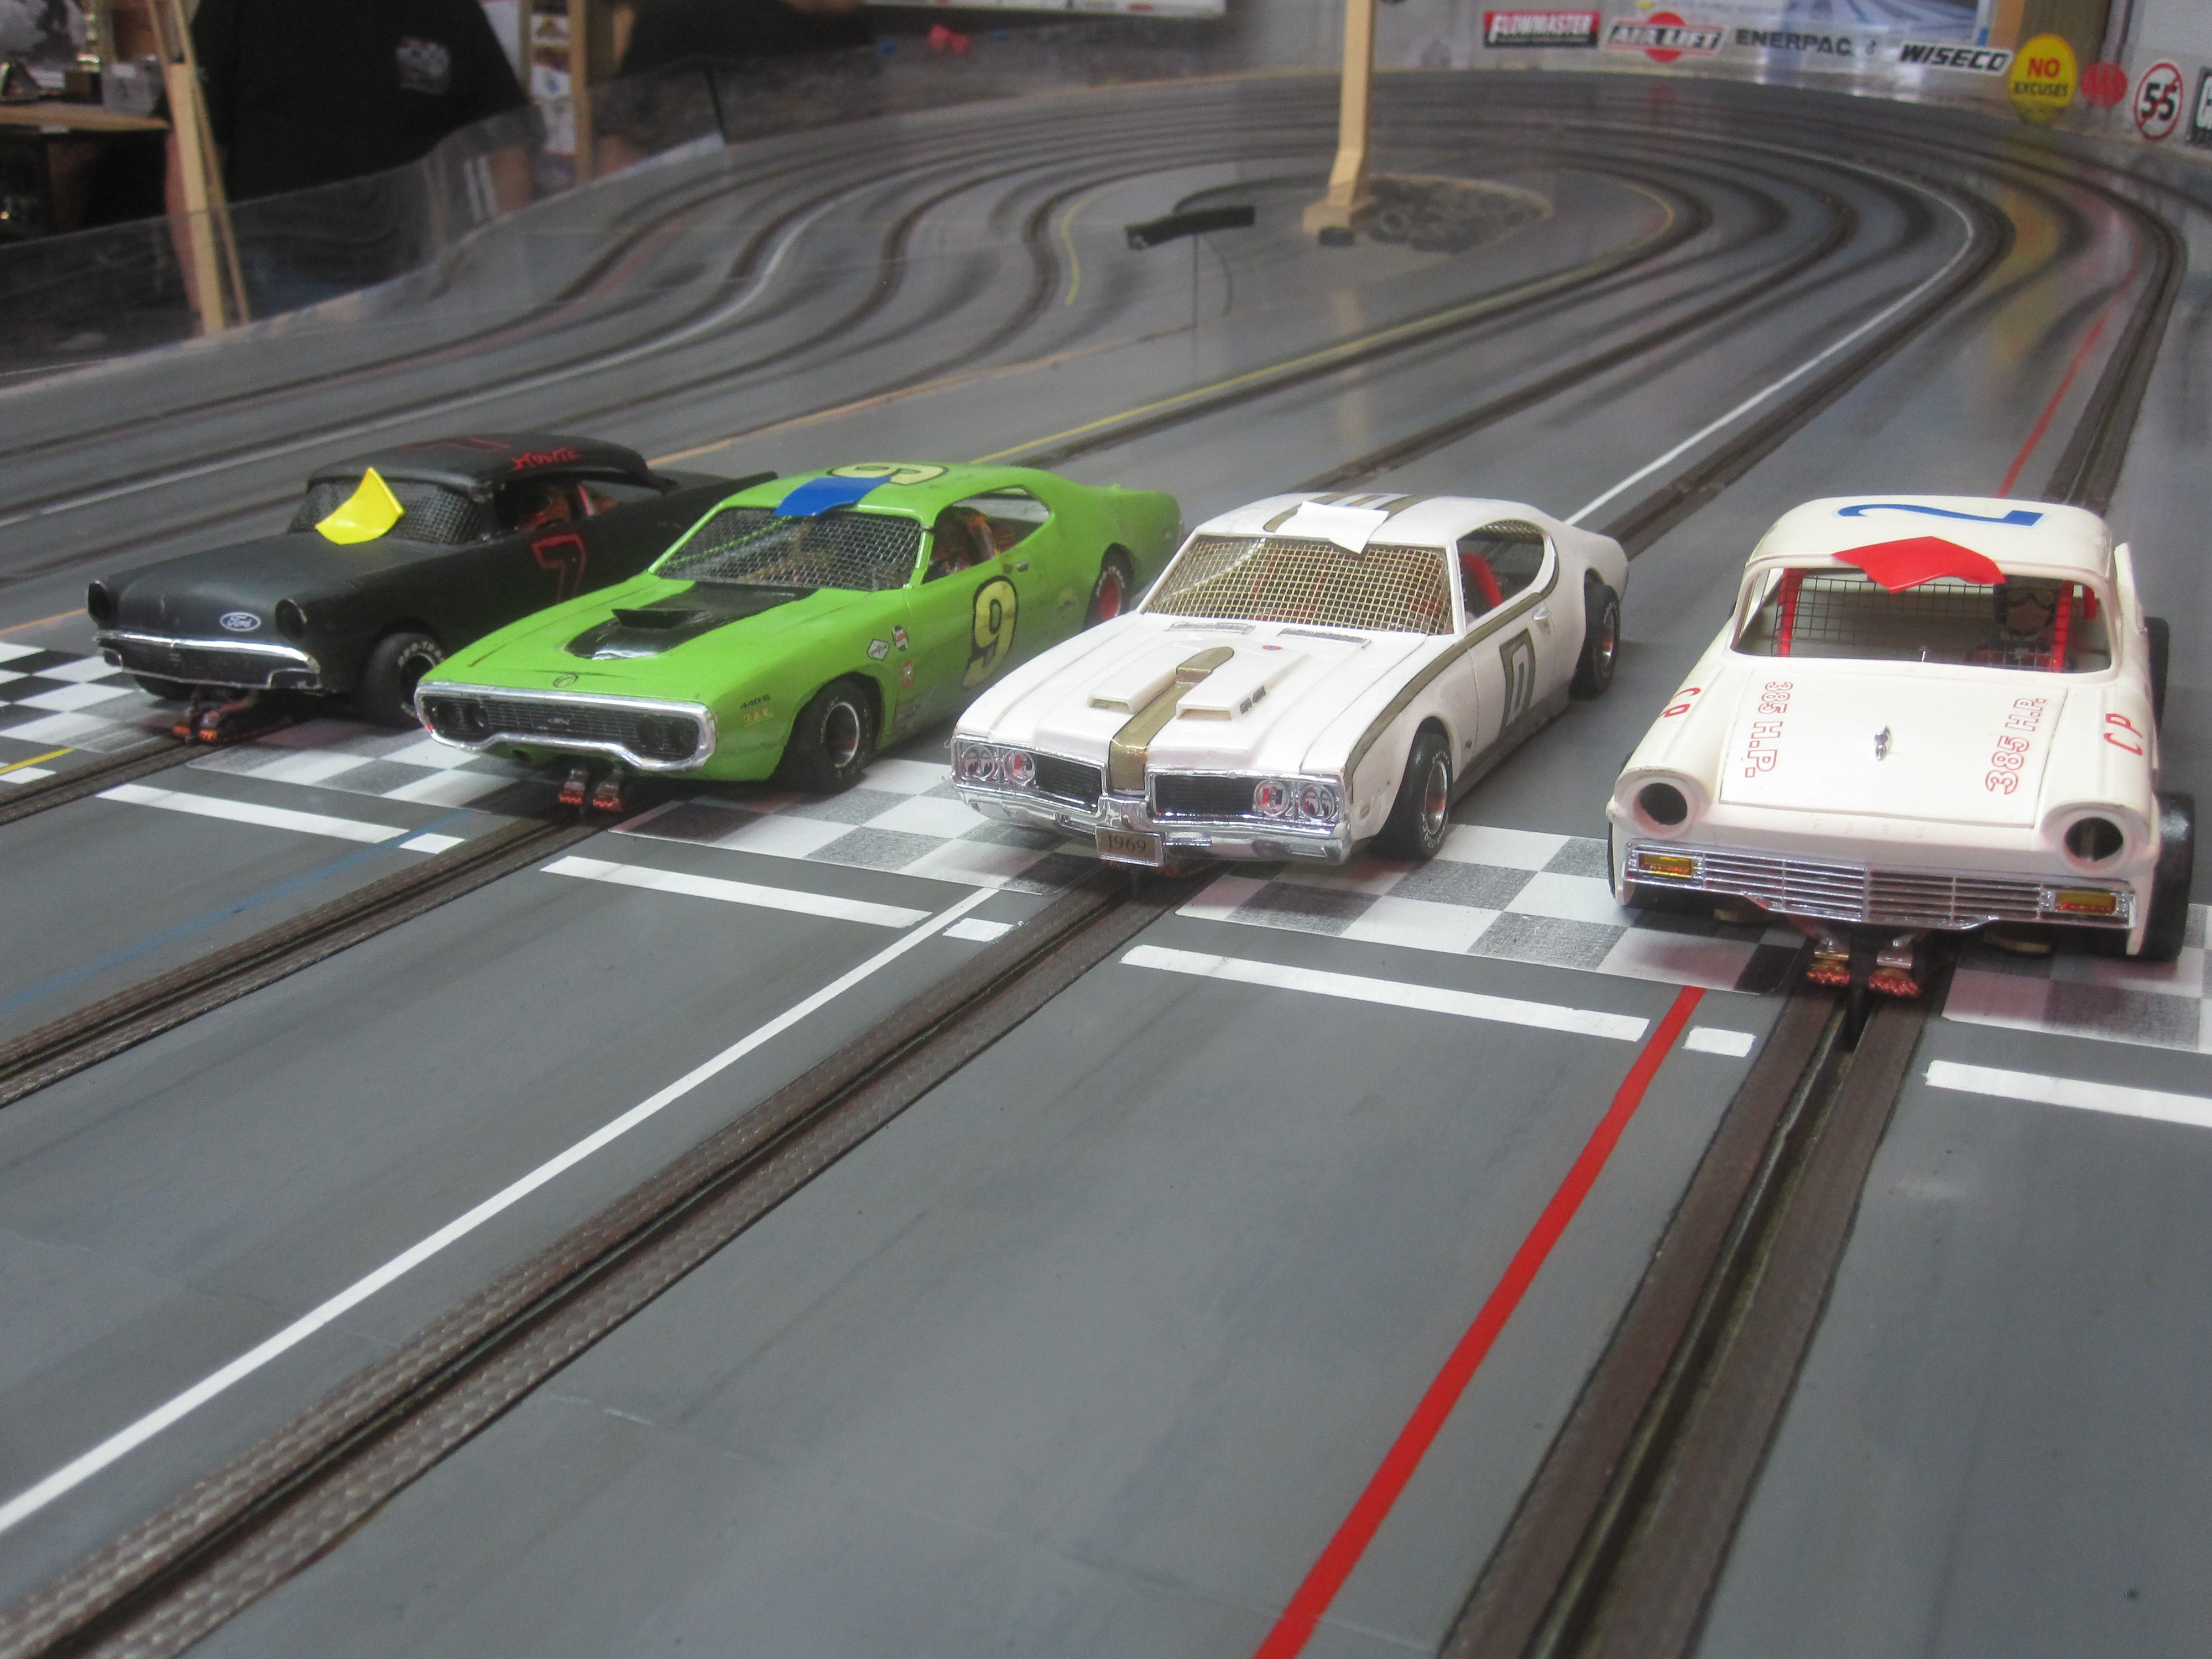
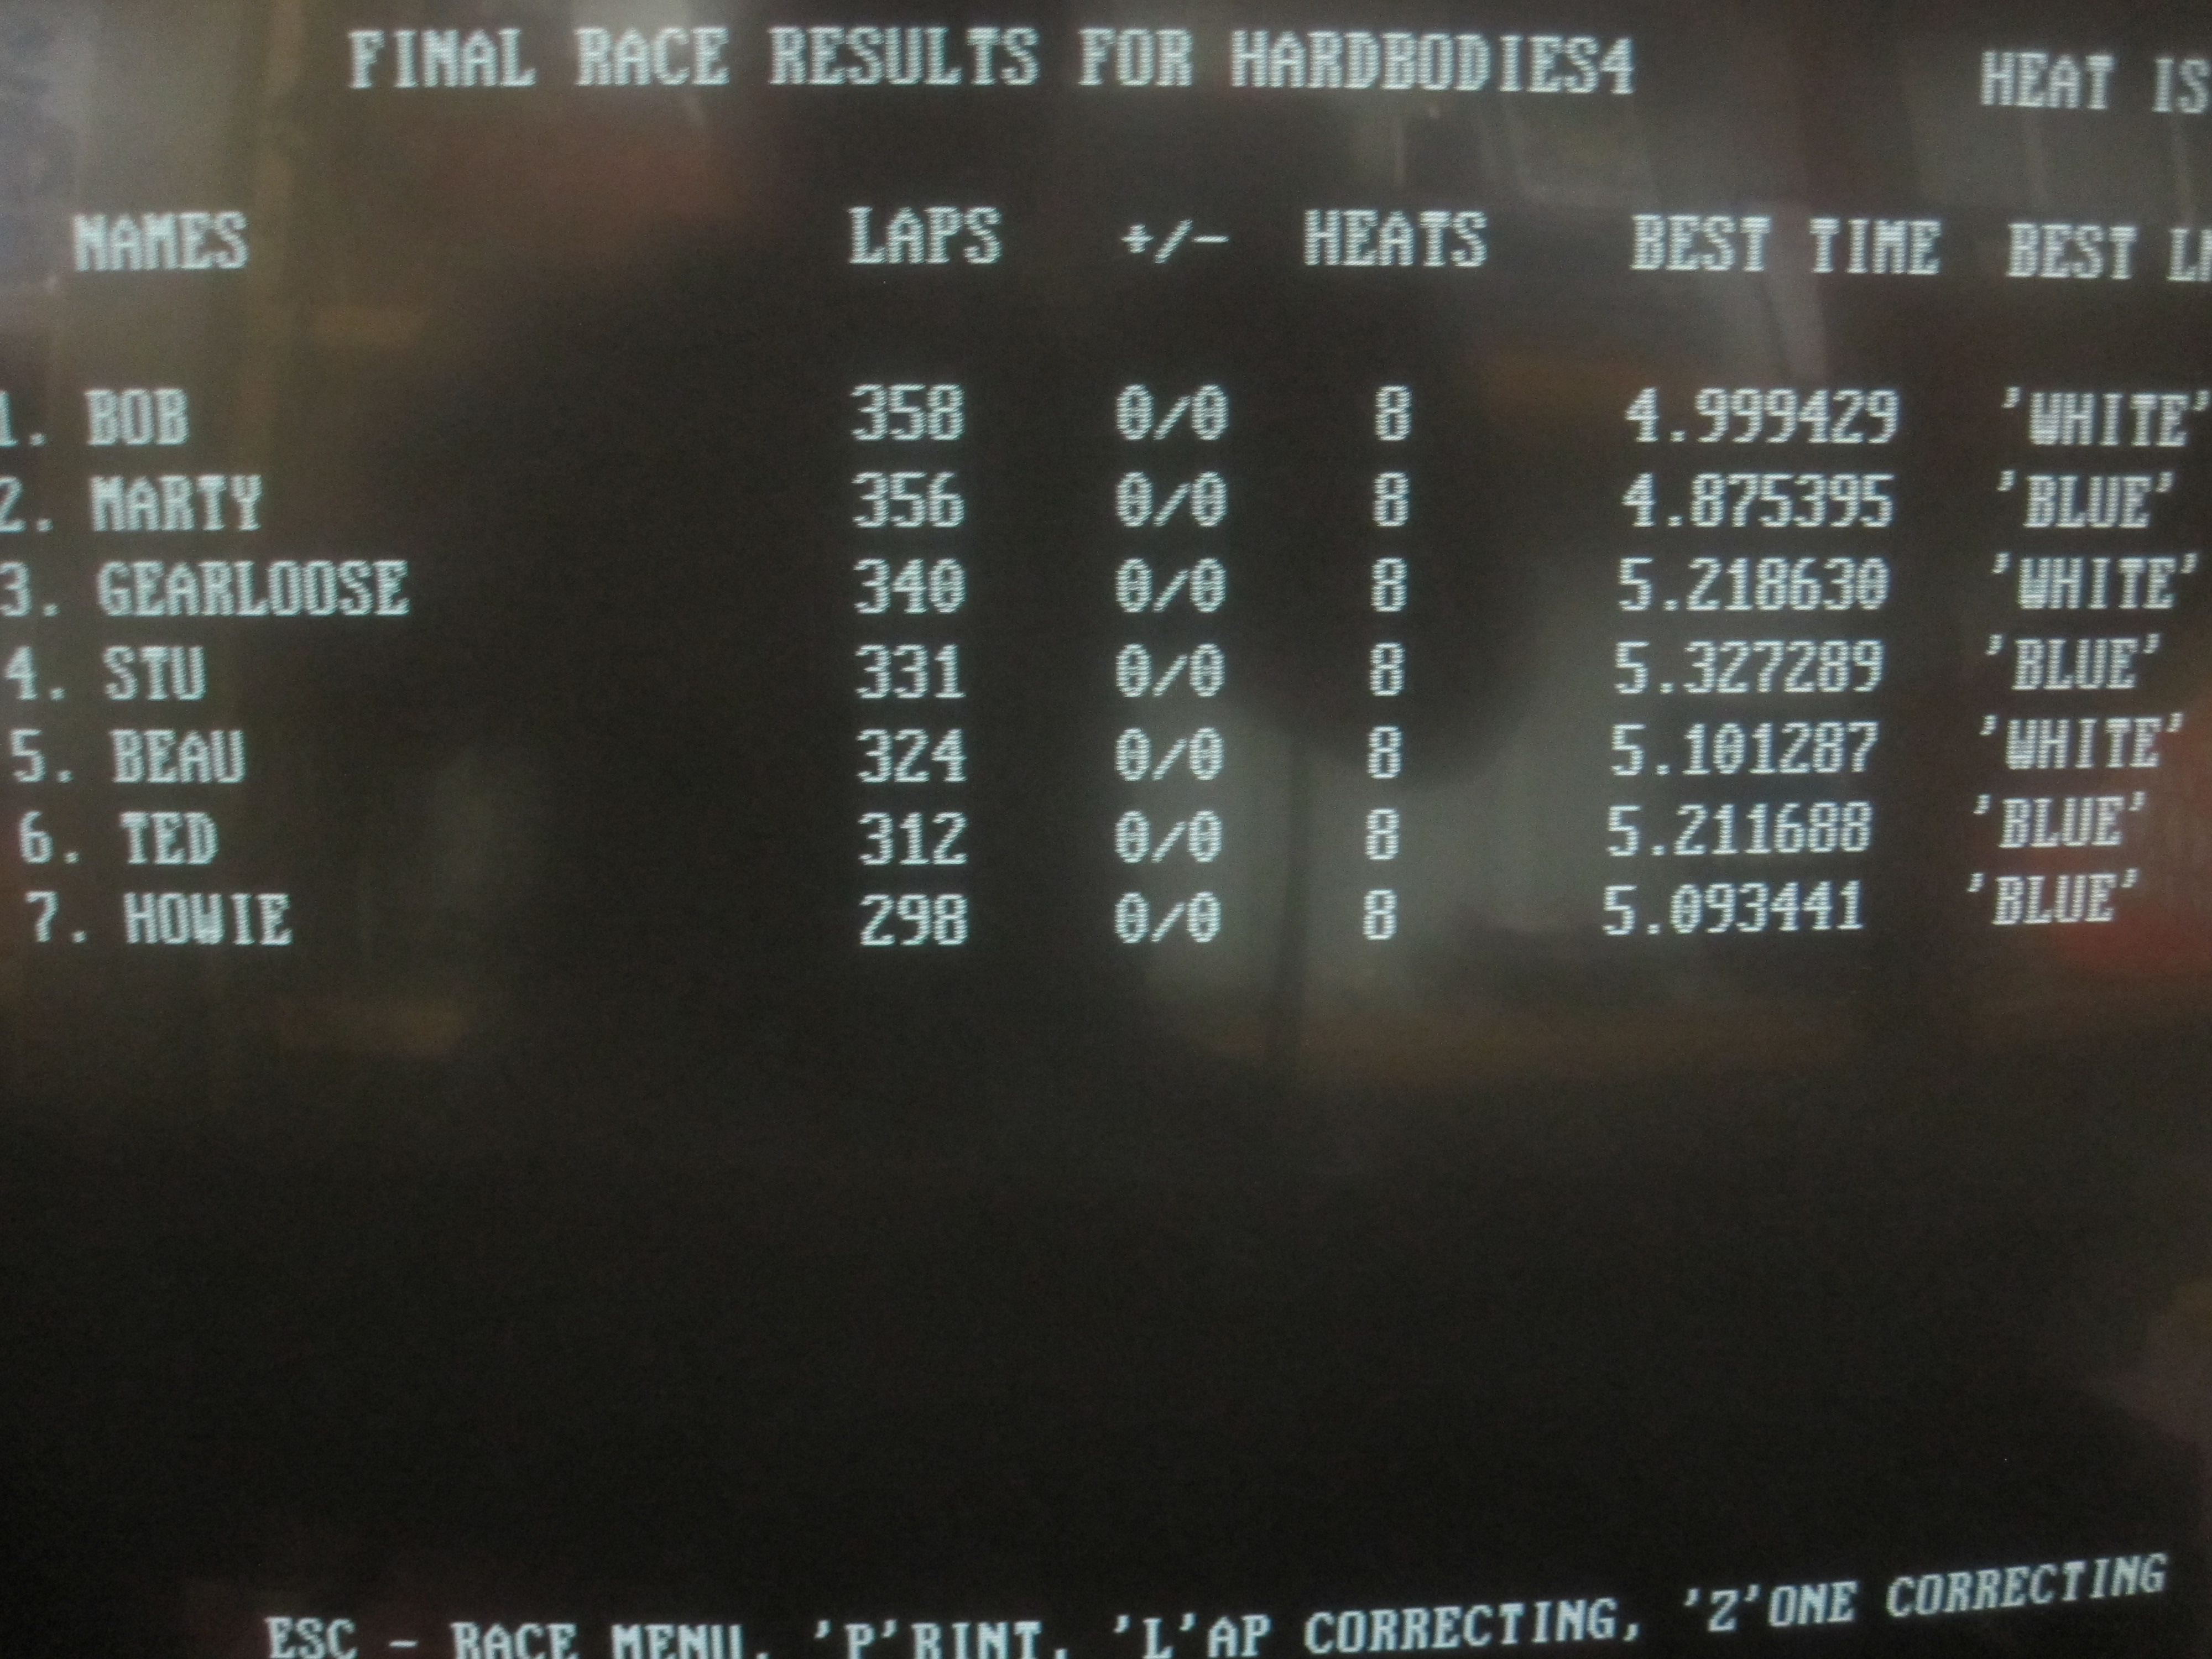
by howie » Wed Feb 25, 2015 9:30 am
Race of Feb. 24th. 2015. These cars are always close racing.
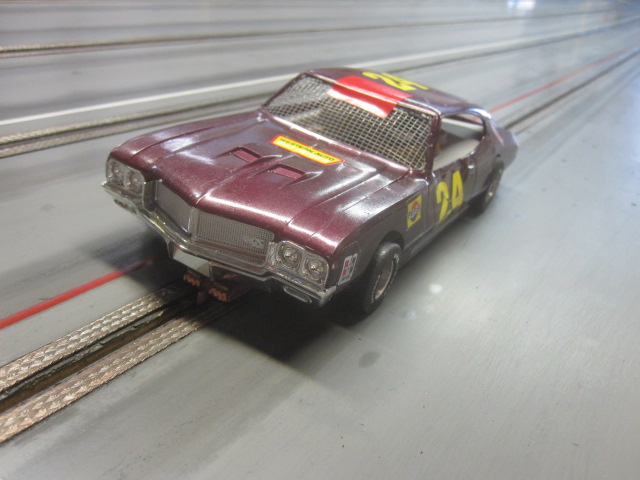
Gearloose put his Olds at the top spot with a new motor.
Bob's '49 Ford.
Bill's '56 Chev.
by howie » Sun Feb 08, 2015 12:18 pm
Feb 7, 2015. Good racing as usual for the Sportsman class.
by howie » Sun Jan 25, 2015 9:19 am
The Sportsman class always is fun. A simple chassis and some cool cars, close racing, doesn't get much better than that.
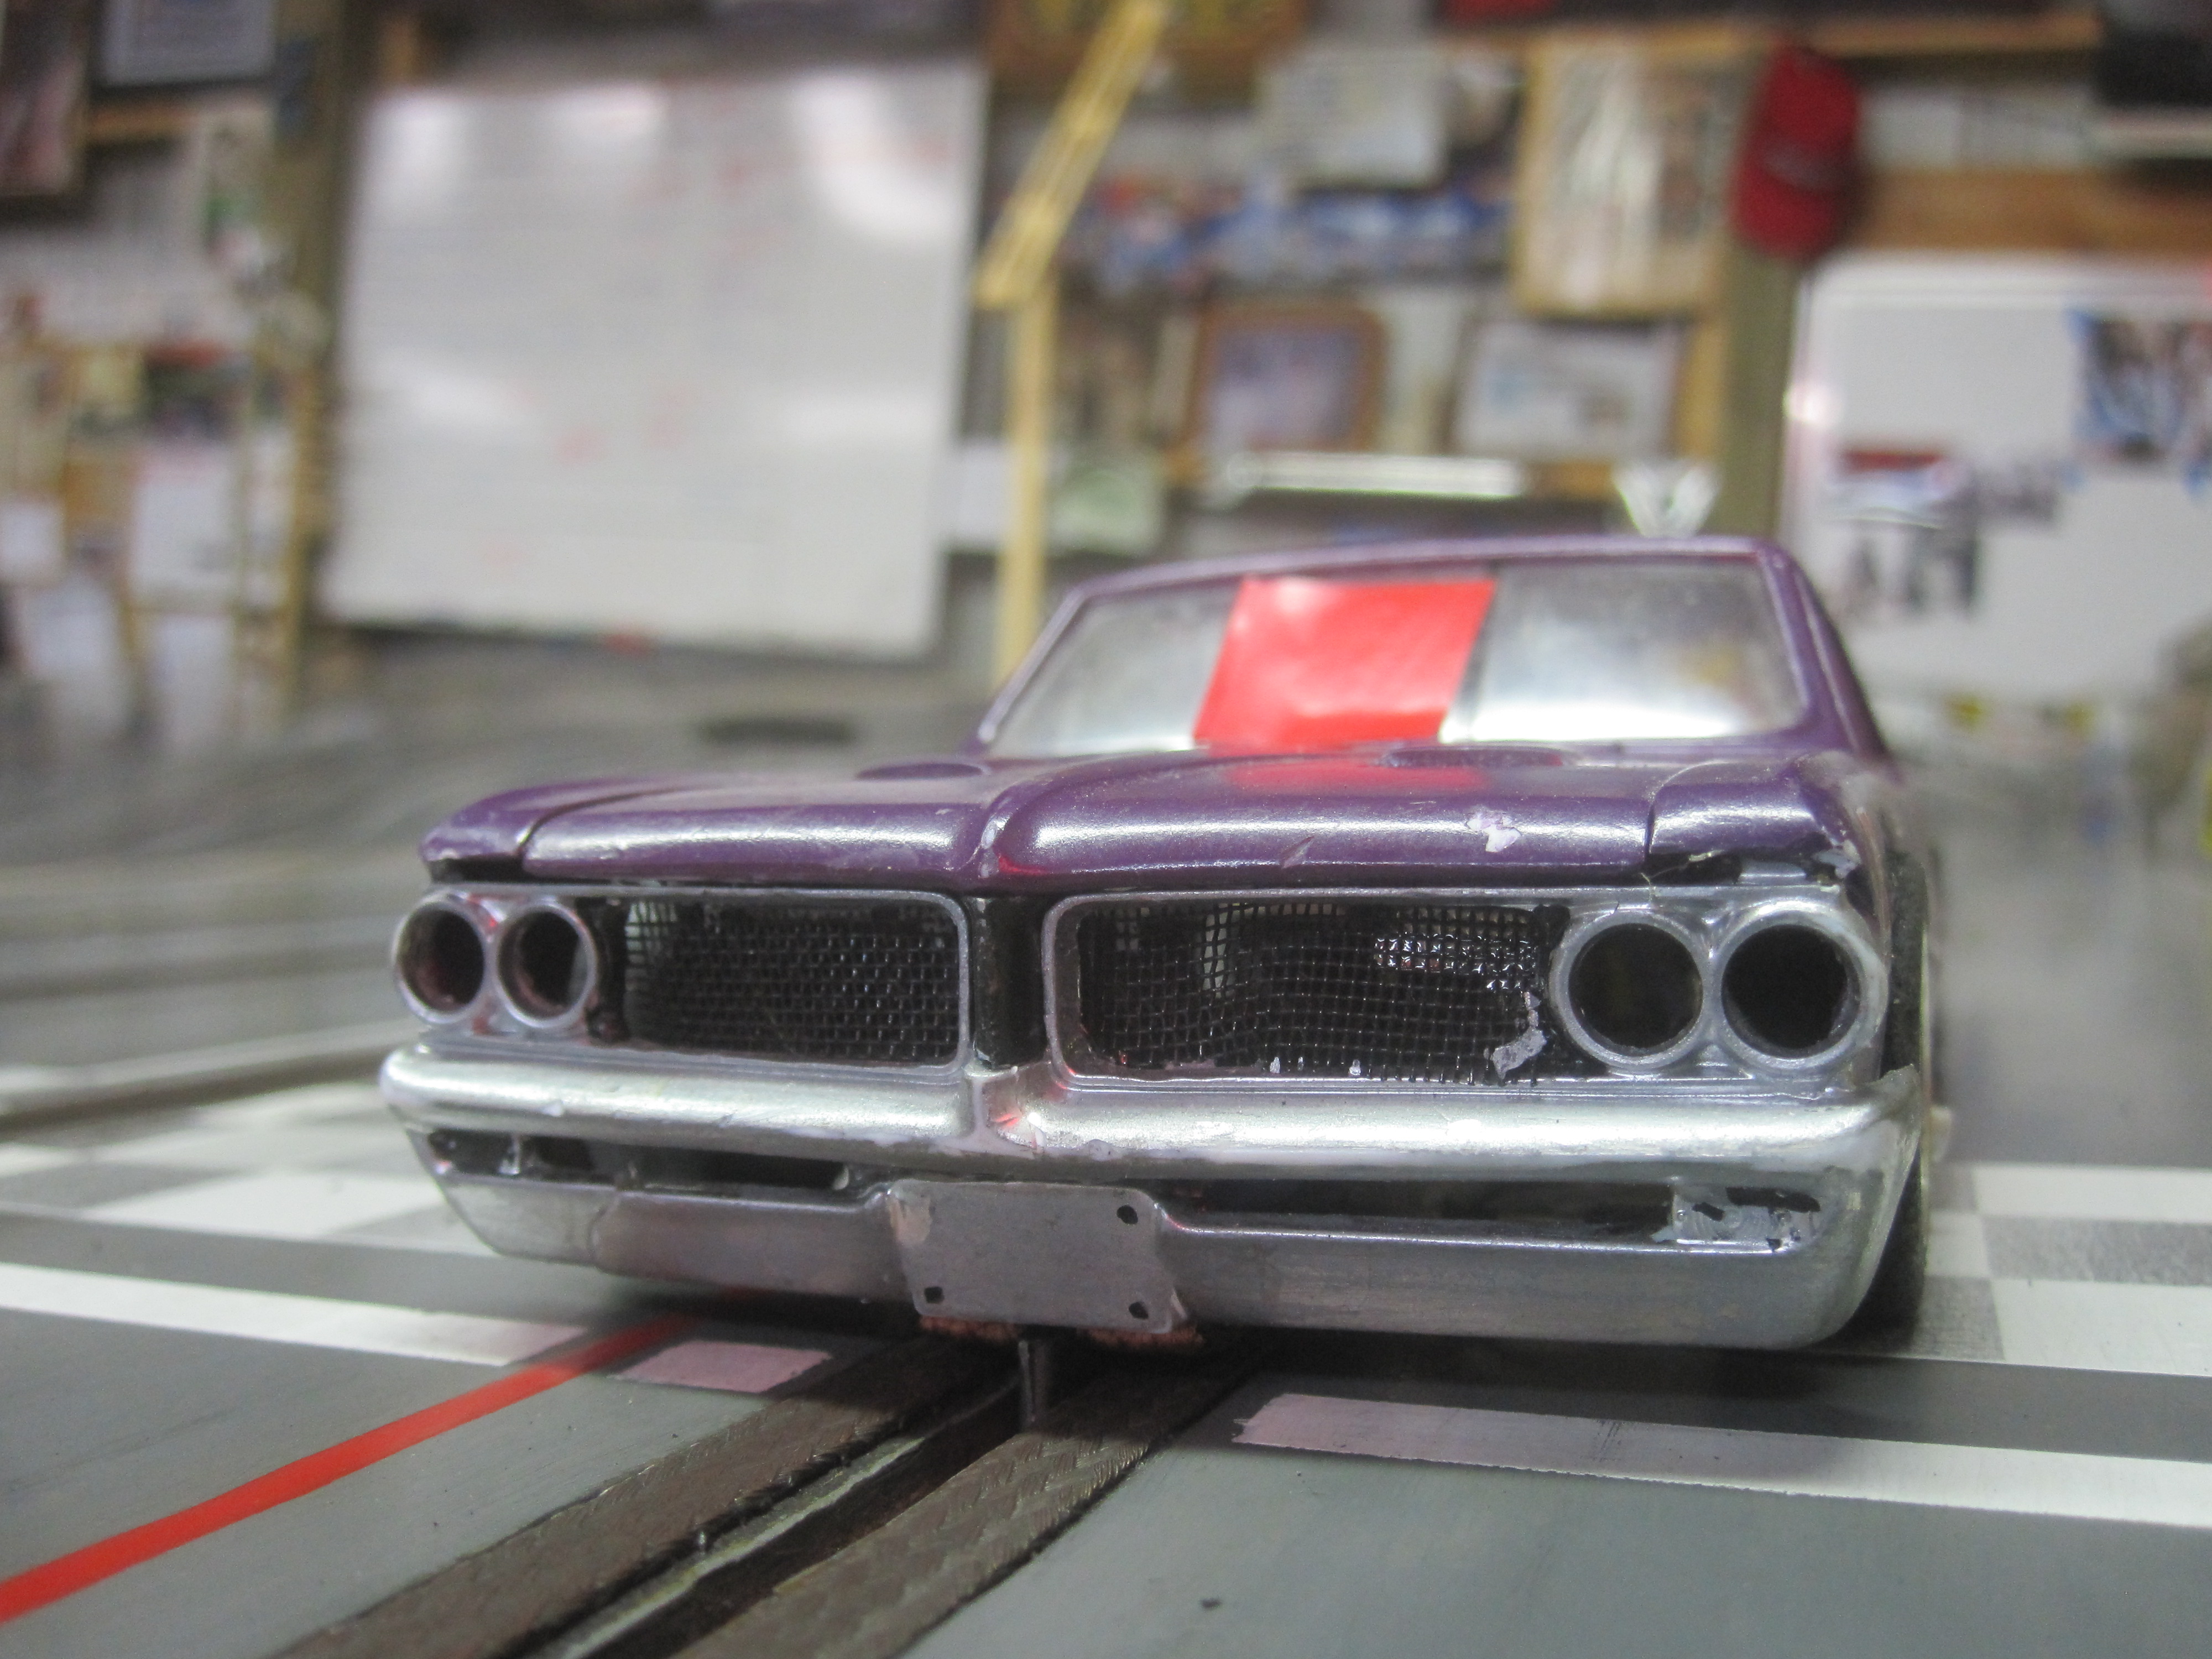
Ted's Pontiac.
by howie » Sun Jan 11, 2015 10:00 am
Good night of racing. These cars are still a lot of fun after all the years they have been on the scene. Marty has a fast car, but not as fast as the time on the results, a rider I assume.
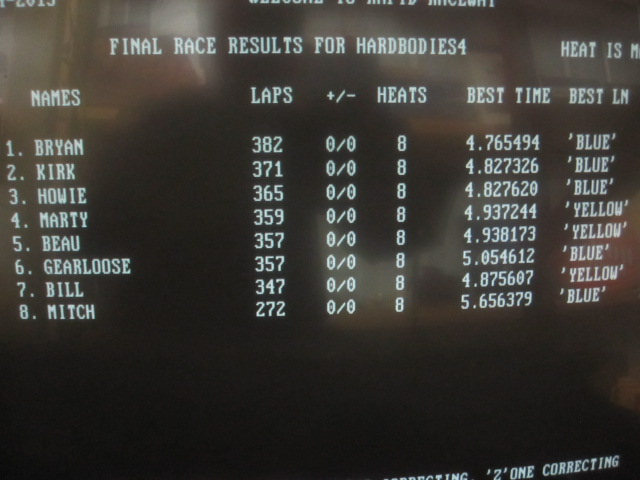
by howie » Sun Dec 15, 2013 11:42 am
Last race of the season for the Sportsman class. It was a good time of racing and once again, Kirk brought a crock pot full of one of his fine soups.
Congratulations to Bryan for another fine win.
Kirk challenged the track record for Sportsman and was very successful in establishing a new track record!
We had a drawing for the Viagra NASCAR kit and the winner was Beau, I am sure we will see the car on a chassis in the
future.
We welcome Mitch who raced a borrowed car. Hopefully he can make it to more of our races. He is new to the track, but not to slot racing.
On Jan. 4th. we will be racing the NASCAR class for points to close out the season.
I am very happy that the racing program this year is going well! I believe it will be onward and upward from here.
A discussion on what main two classes to run for points in the 2015 season was held. GT-1, Can-Am, LM Trans-Am came up, but no decision was made at this time. At the end of the season it will be voted on.
Thanks to all who participated at Rapid Raceway in the first half of the season to make it a success. As we all know, without racers, there is no racing!
Go to the News page for the final points count for the Sportsman class.
by howie » Sun Nov 24, 2013 1:25 pm
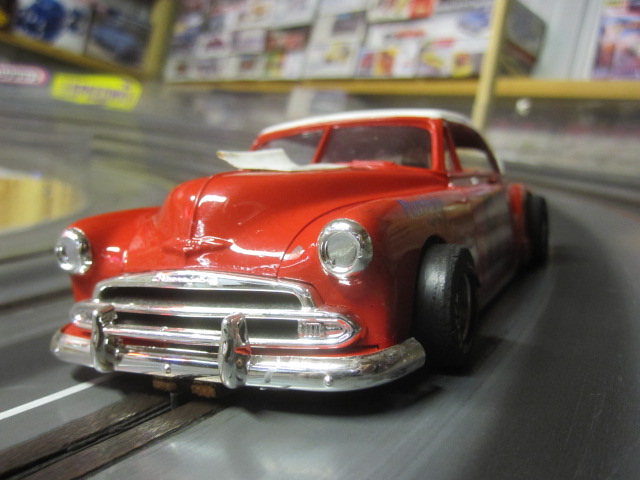
Race of Nov. 23rd. 2013. Another good race for the Sportsman class. Bryan came through with a win in his fine red '51 Chevy.
We have one more race for the Sportsman class on Dec. 14th. There will be a drawing for a sealed NASCAR kit at this race. Then it is on to NASCAR for the points class for the remainder of the 2014 season.
Thanks to Kirk who showed up with a crock pot full of some mighty good food, add chips, sandwiches, pop, coffee, cookies, dinner rolls etc.. We took a break halfway through the race to eat.
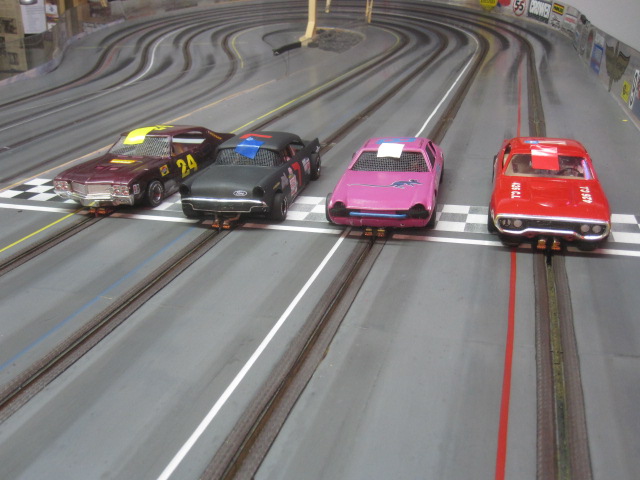
Kirk's car, good for third place.
Bryan's winning car.
by howie » Sat Nov 02, 2013 9:11 pm
Race of Nov. 2nd. 2013. Greg V. took top honors this race with his fine '49 Ford.
by howie » Sun Oct 27, 2013 7:27 am
Race of Oct. 26th. 2013. Bob Nak. is continuing his winning ways with his '49 Ford.
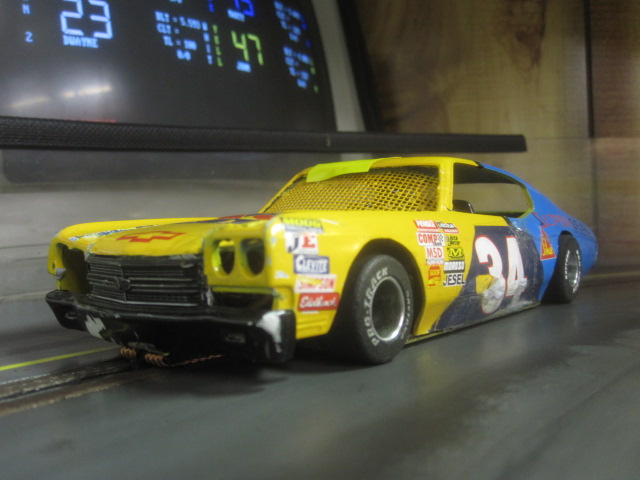
Bill's Matador, the second race for the car.
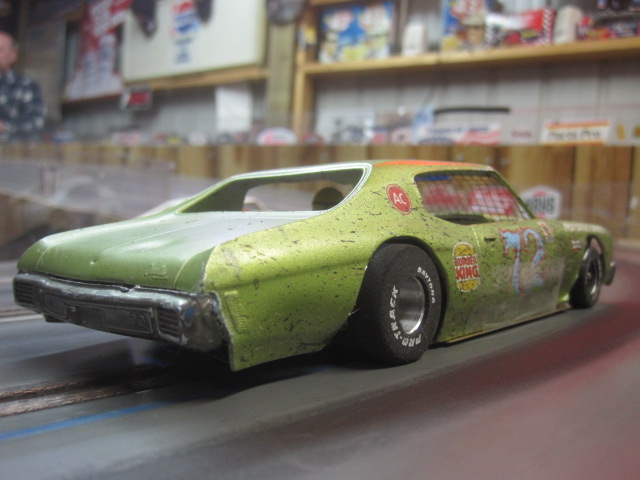
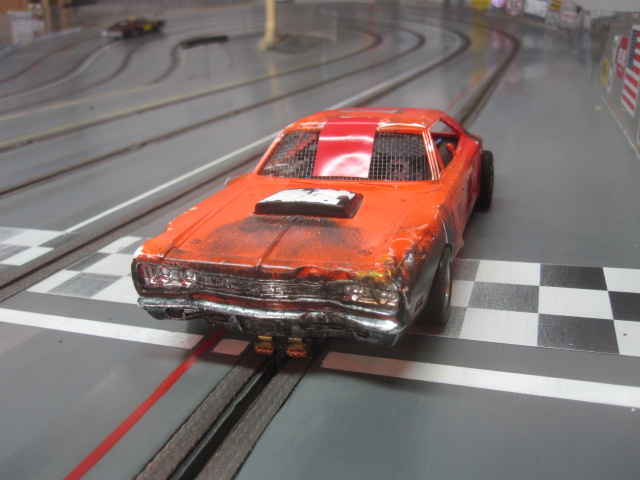
Beau's new Sportsman, a 1965 Chevy.

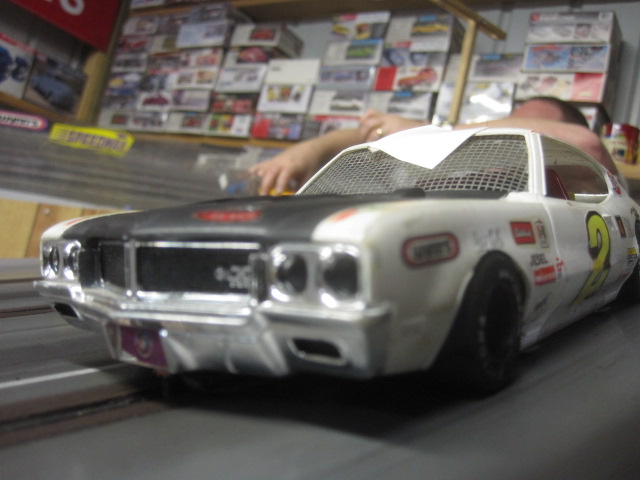
Gearloose's new Sportsman, an Oldsmobile.
by howie » Sun Oct 06, 2013 9:06 am
Oct. 5th. 2013, kick off race of the new 2014 season. The Sportsman class is the points class for half of the season. This was a good race, these cars are fun and simple. Bob N. starts off leading the points chase with a win in his very fast '49 Ford.
Bill was racing a Matador, a first for the brand!
To check on points: go to the News page.
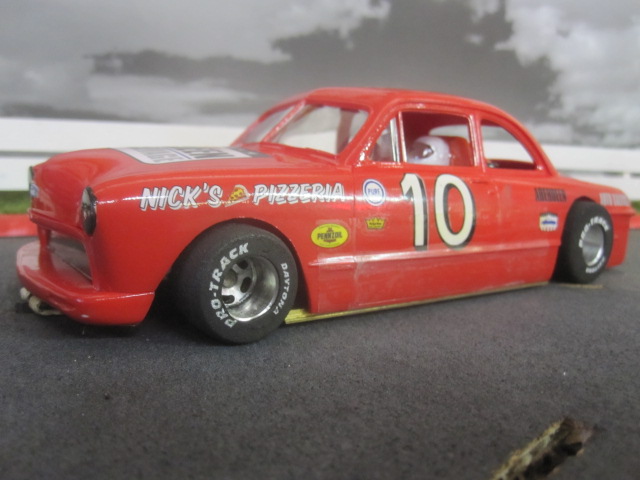
Bob Nak's nice looking and winning '49 Ford.
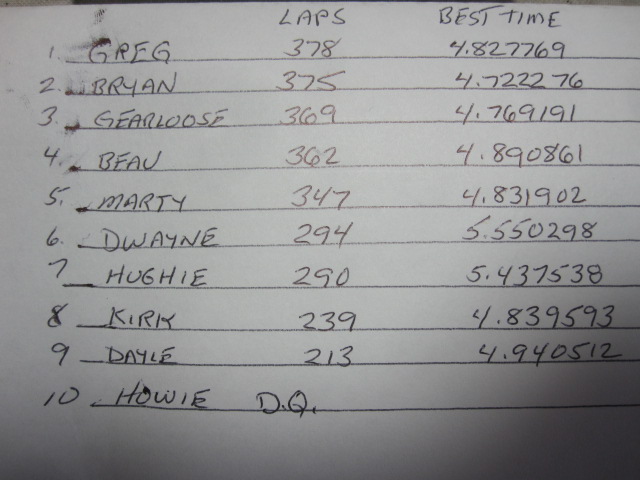
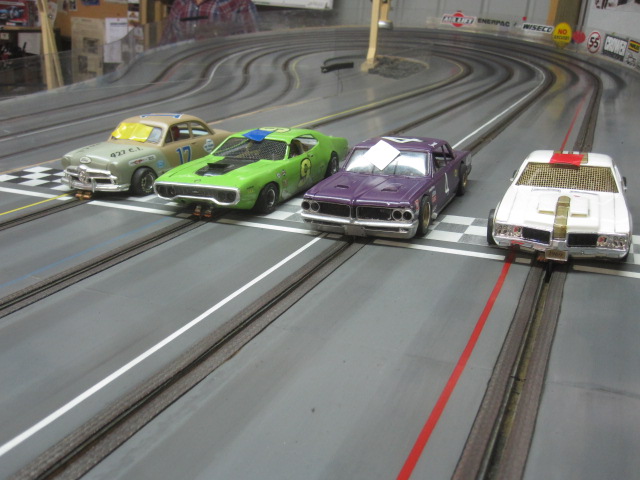
by howie » Sun Mar 31, 2013 10:02 am
Race of March 30th. 2013. A good turnout for such a beautiful day.

John's winning Chevy.
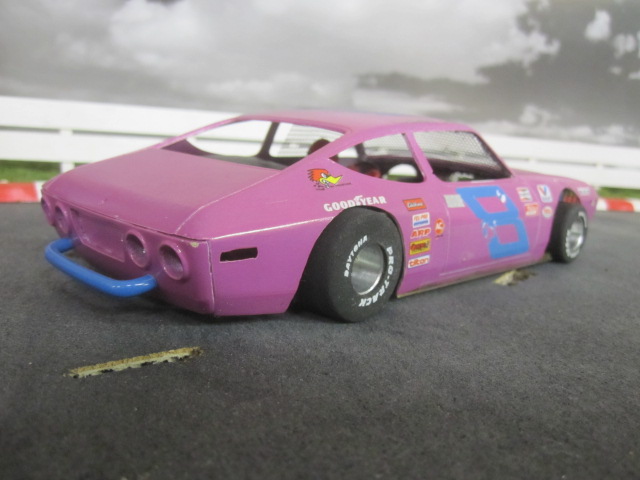
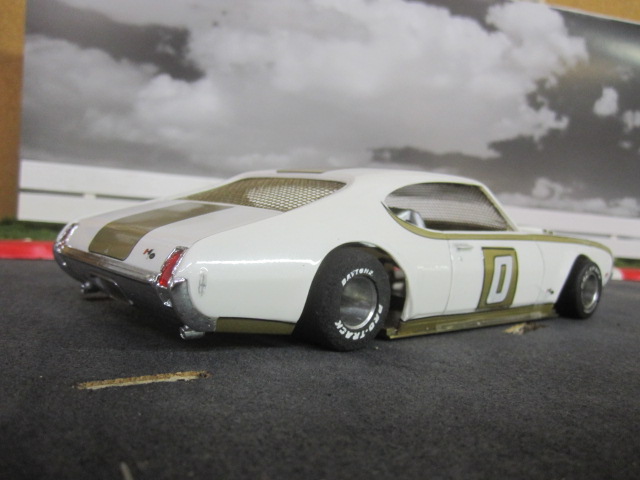
A Buick that Dayle drives.
A Buick that Hughie drives
Posts found: 3,251 to 3,275 of 6,017