Great Mitch, looking forward to seeing the new controller in action!
552 January 26, 2018 11:20 am
Re: Projects: Done/Not So Done (259 replies, posted in Rapid Raceway)
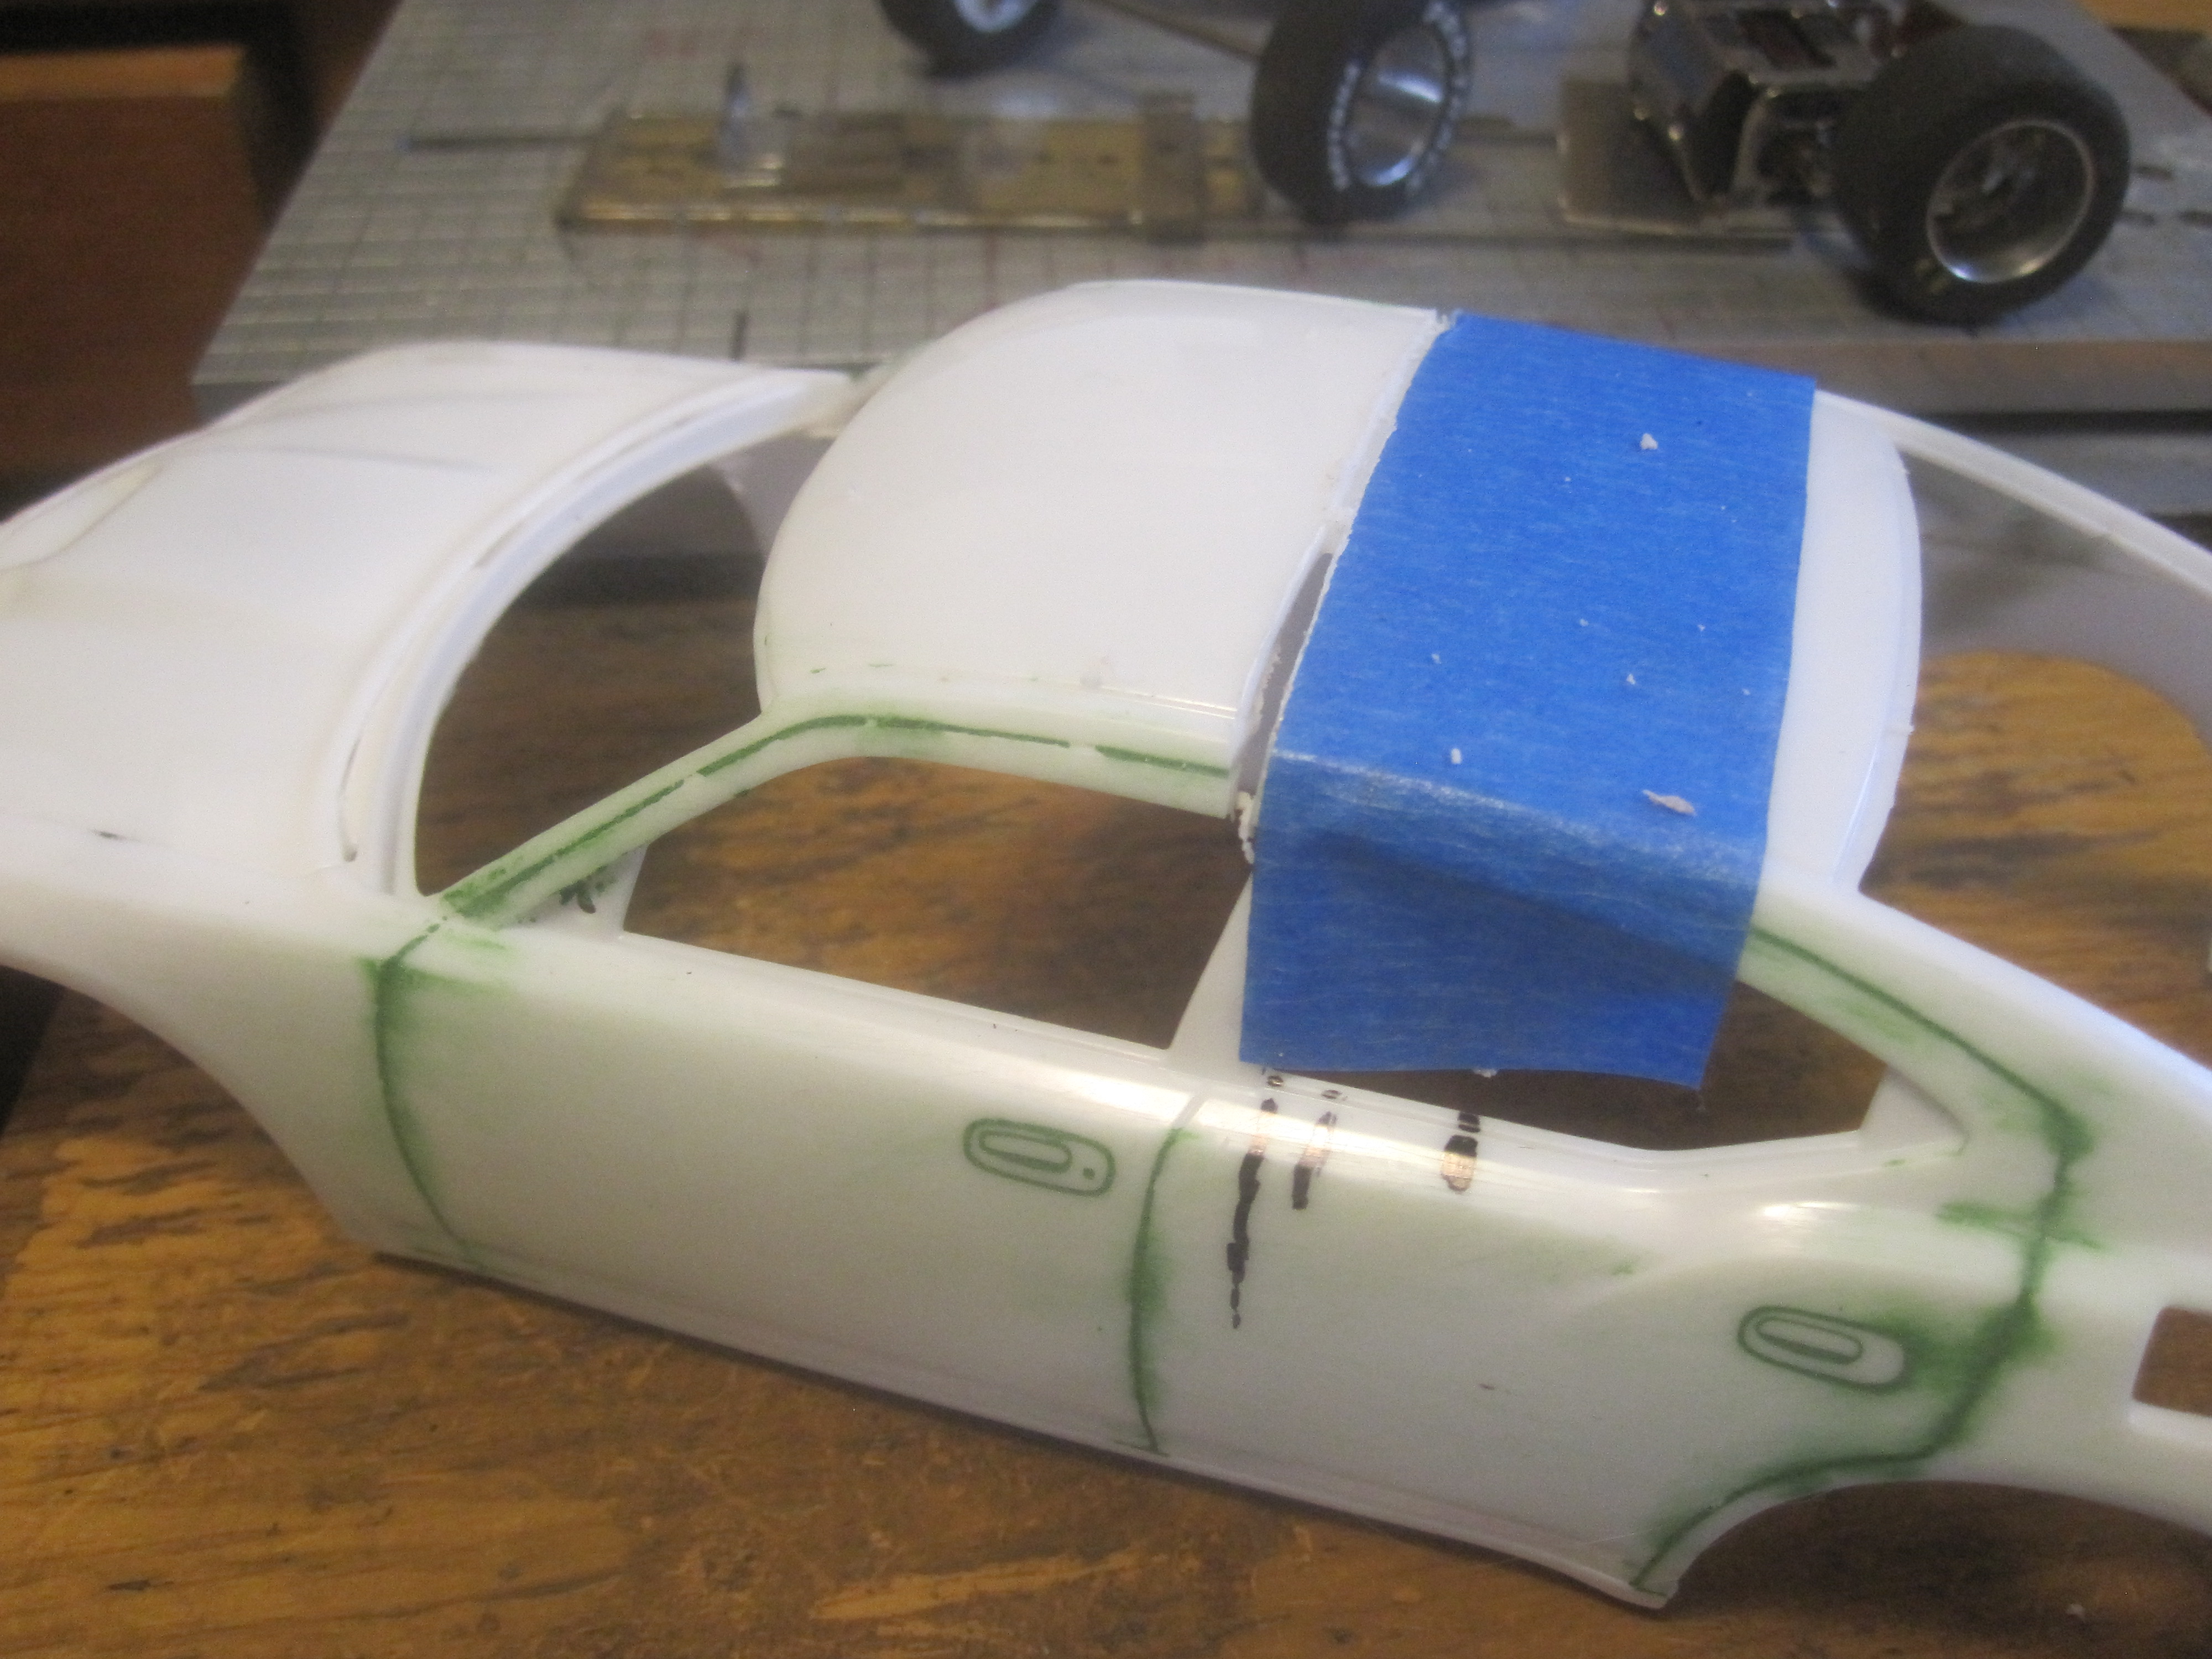
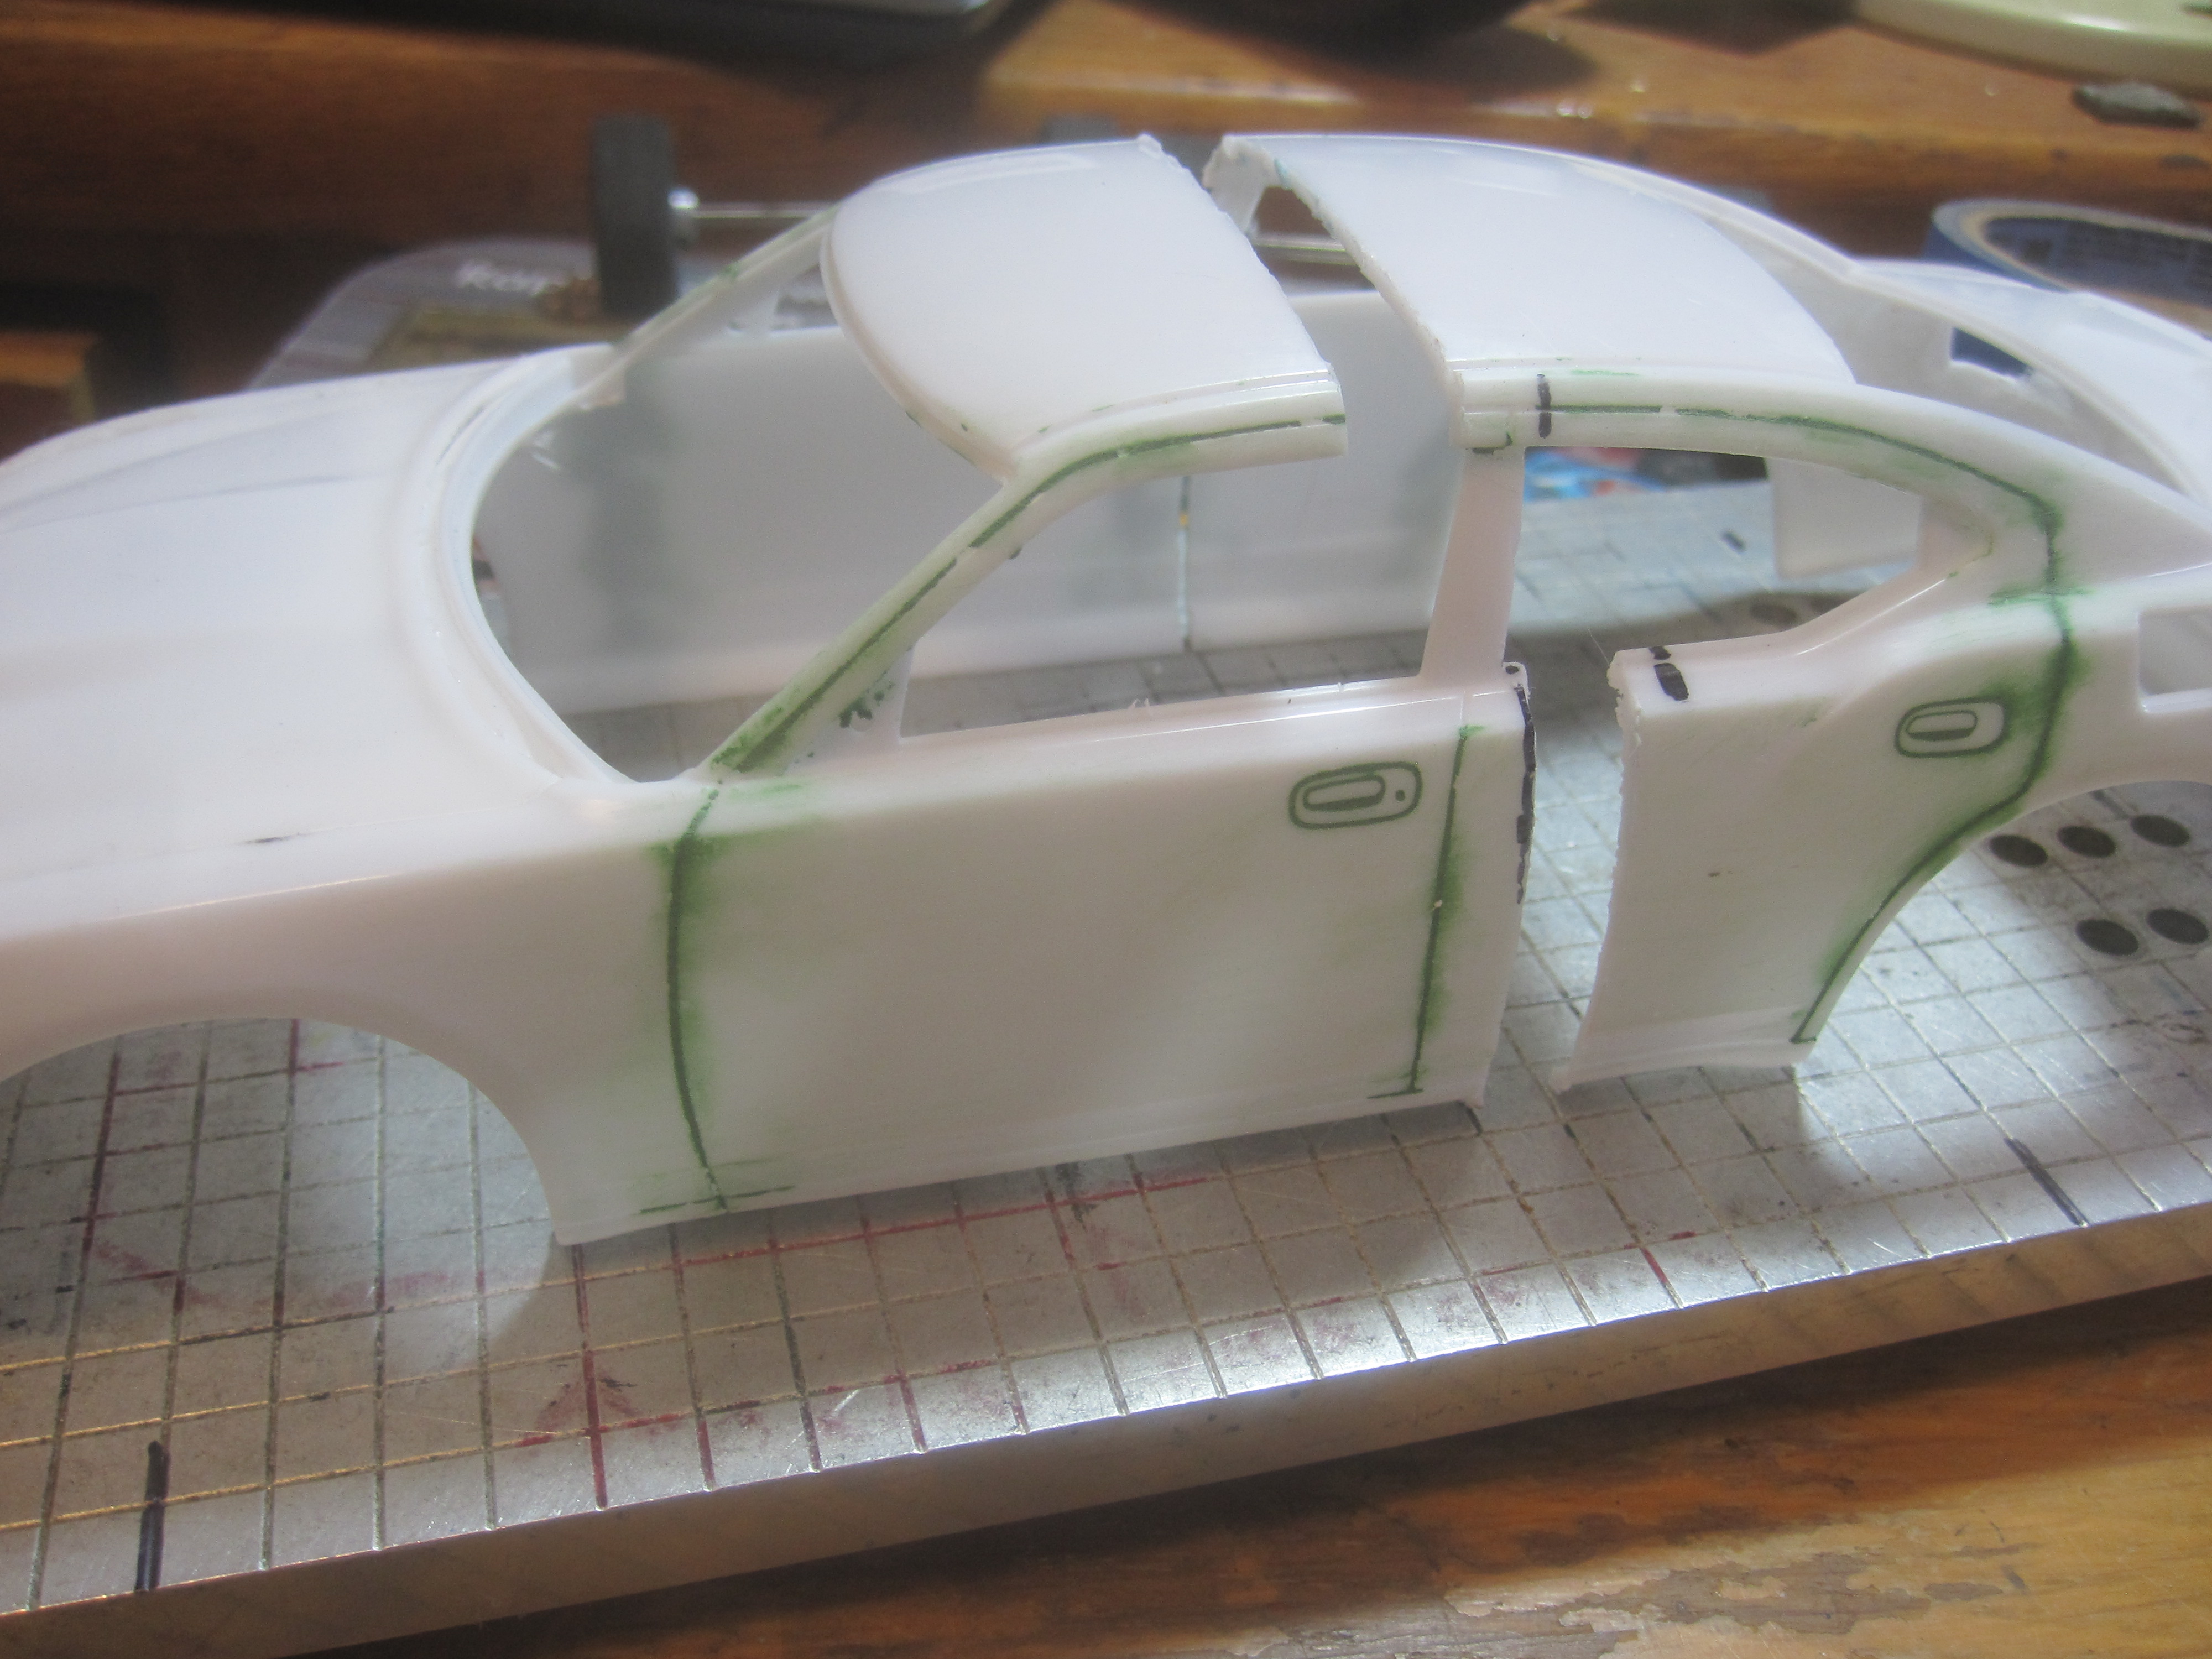
As most know we went to current hard bodies for NASCAR. The only current NASCAR hard bodies are by Revell and only Ford and Chevy are available at this time. So beings I am a Mopar fan I bought a current 1/24th. Dodge Charger SRT8. by Lindberg. The Ford and Chevy have a wheelbase of 4.5". This Mopar has a 5.0" wheelbase. It is a four door car, way too long. The rest of the body dimensions are close to the Ford and Chevy. So I am taking .300" out of the body. As soon as my good friend Bill adds the pictures you will be able to see the "action"! I will use Goop and toilet paper to glue the body back together and then body filler to hide the seems.
553 January 14, 2018 10:05 am
Re: This is the Indy car page. (73 replies, posted in Rapid Raceway)
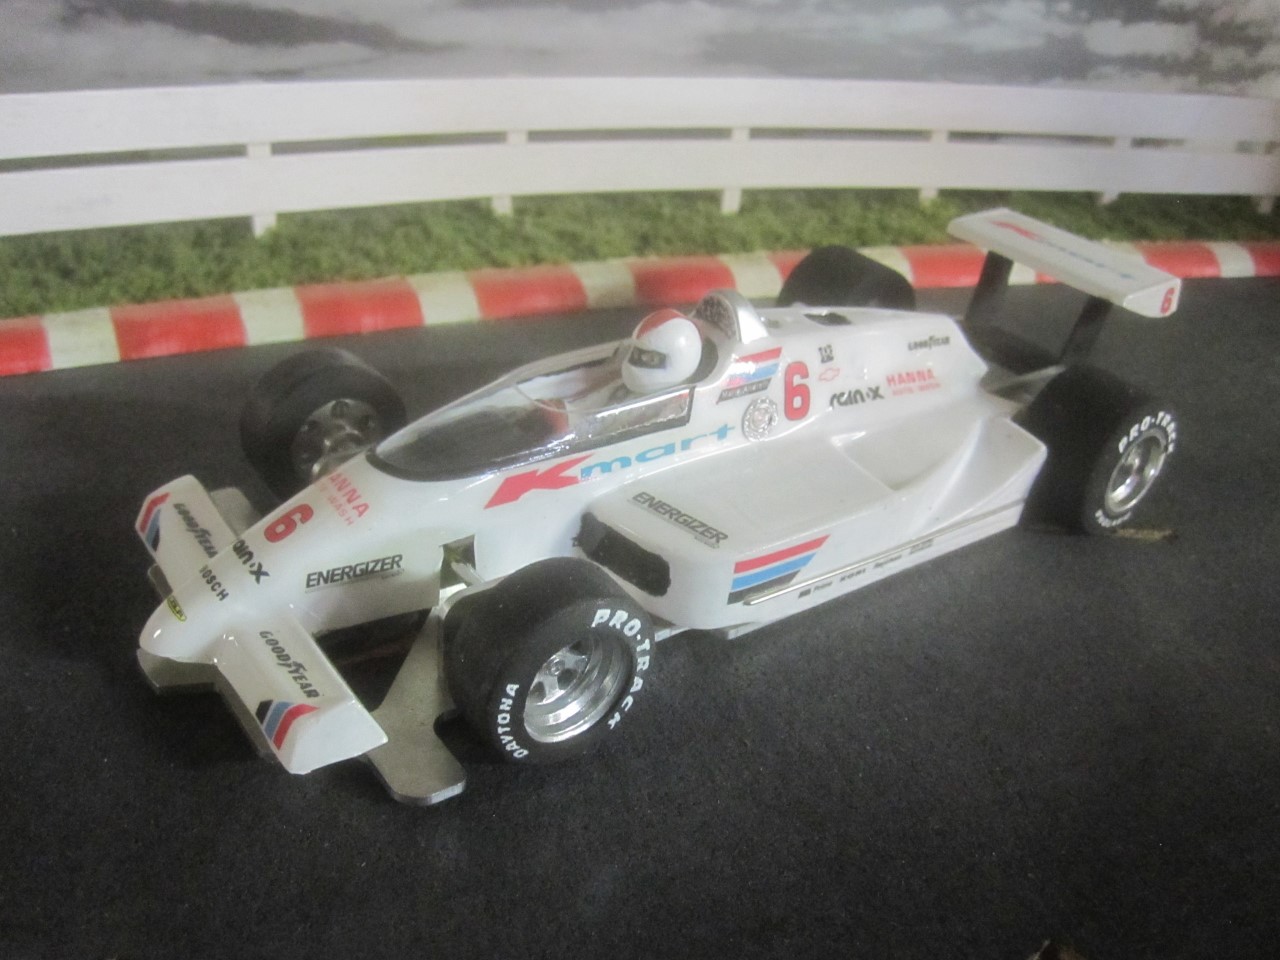
Update: all 10 Indy cars have been spoken for. If you want one you can order them from Professor Motor.
I just ordered 10 Hawk 7 motors that we will run in these cars and will have 6 on the parts rack if any one is interested.
554 December 22, 2017 8:45 pm
Re: This is the Indy car page. (73 replies, posted in Rapid Raceway)
Update on the Indy class: As most know I have been trying to get an Indy class up and running for at least the last 4yrs. Well I think we are finally seeing the light at the end of the long tunnel. Beau found a 4.5" Indy car complete with everything except motor, gears and guide flag. The cost? $59.99, great price. I ordered 10 of them and they are all taken except one which will go on the parts rack. With that count and the two racers who already have one we have 11 Indy racers to start off the class. This class will be a very spec class. The car is made by Pro track, part #PT651. We will run the Hawk 7 motor. Beau has been working on handling issues and he brought his car over today and we managed to get the car to handle quite well and I think there is more to come. He is trying to make it easy for all racers to do the same minor changes to make the car handle better. We will have a special Indy race in May.
555 December 22, 2017 8:26 pm
Re: Rapid Raceway 11/4/17 (6 replies, posted in Rapid Raceway)
Kidvolt is right, that should help a lot!
556 December 21, 2017 8:43 pm
Re: Rapid Raceway 11/4/17 (6 replies, posted in Rapid Raceway)
Mitch; I was watching your Early Modified going around the track, your car is as fast going down the straight as any car, you may need more gonads for the corners or maybe just more time on the track!!
Thanks for joining our "big" car program!
See ya.
Howie.
557 November 1, 2017 8:59 am
Re: Oregon Donors Needed Nov 9-12 (24 replies, posted in NASTE)
Sadly to me is the fact that John Fisher did move to California to be near his daughter after his divorce. Another member of the Rapid "gang" tried to email him and he didn't respond.
558 October 15, 2017 8:10 am
Topic: Season opener. (1 replies, posted in Rapid Raceway)
The Rapid 500 for 2017 is now history.
It was a very successful and fun night with the new NASCAR hard bodies. We raced two different segments of 4 heats 2 times through for a total of 36 heats.
On the podium: 3rd place went to Beau, 2nd. to Marty, and 1st. went to Bob Nak. who not only had a great looking car with the Office Depot Ford but also had the shirt to match!
Thanks for all who showed up to do battle, it is appreciated!
I think we had three Joey Logano Fords in the mix!
559 September 20, 2017 6:50 am
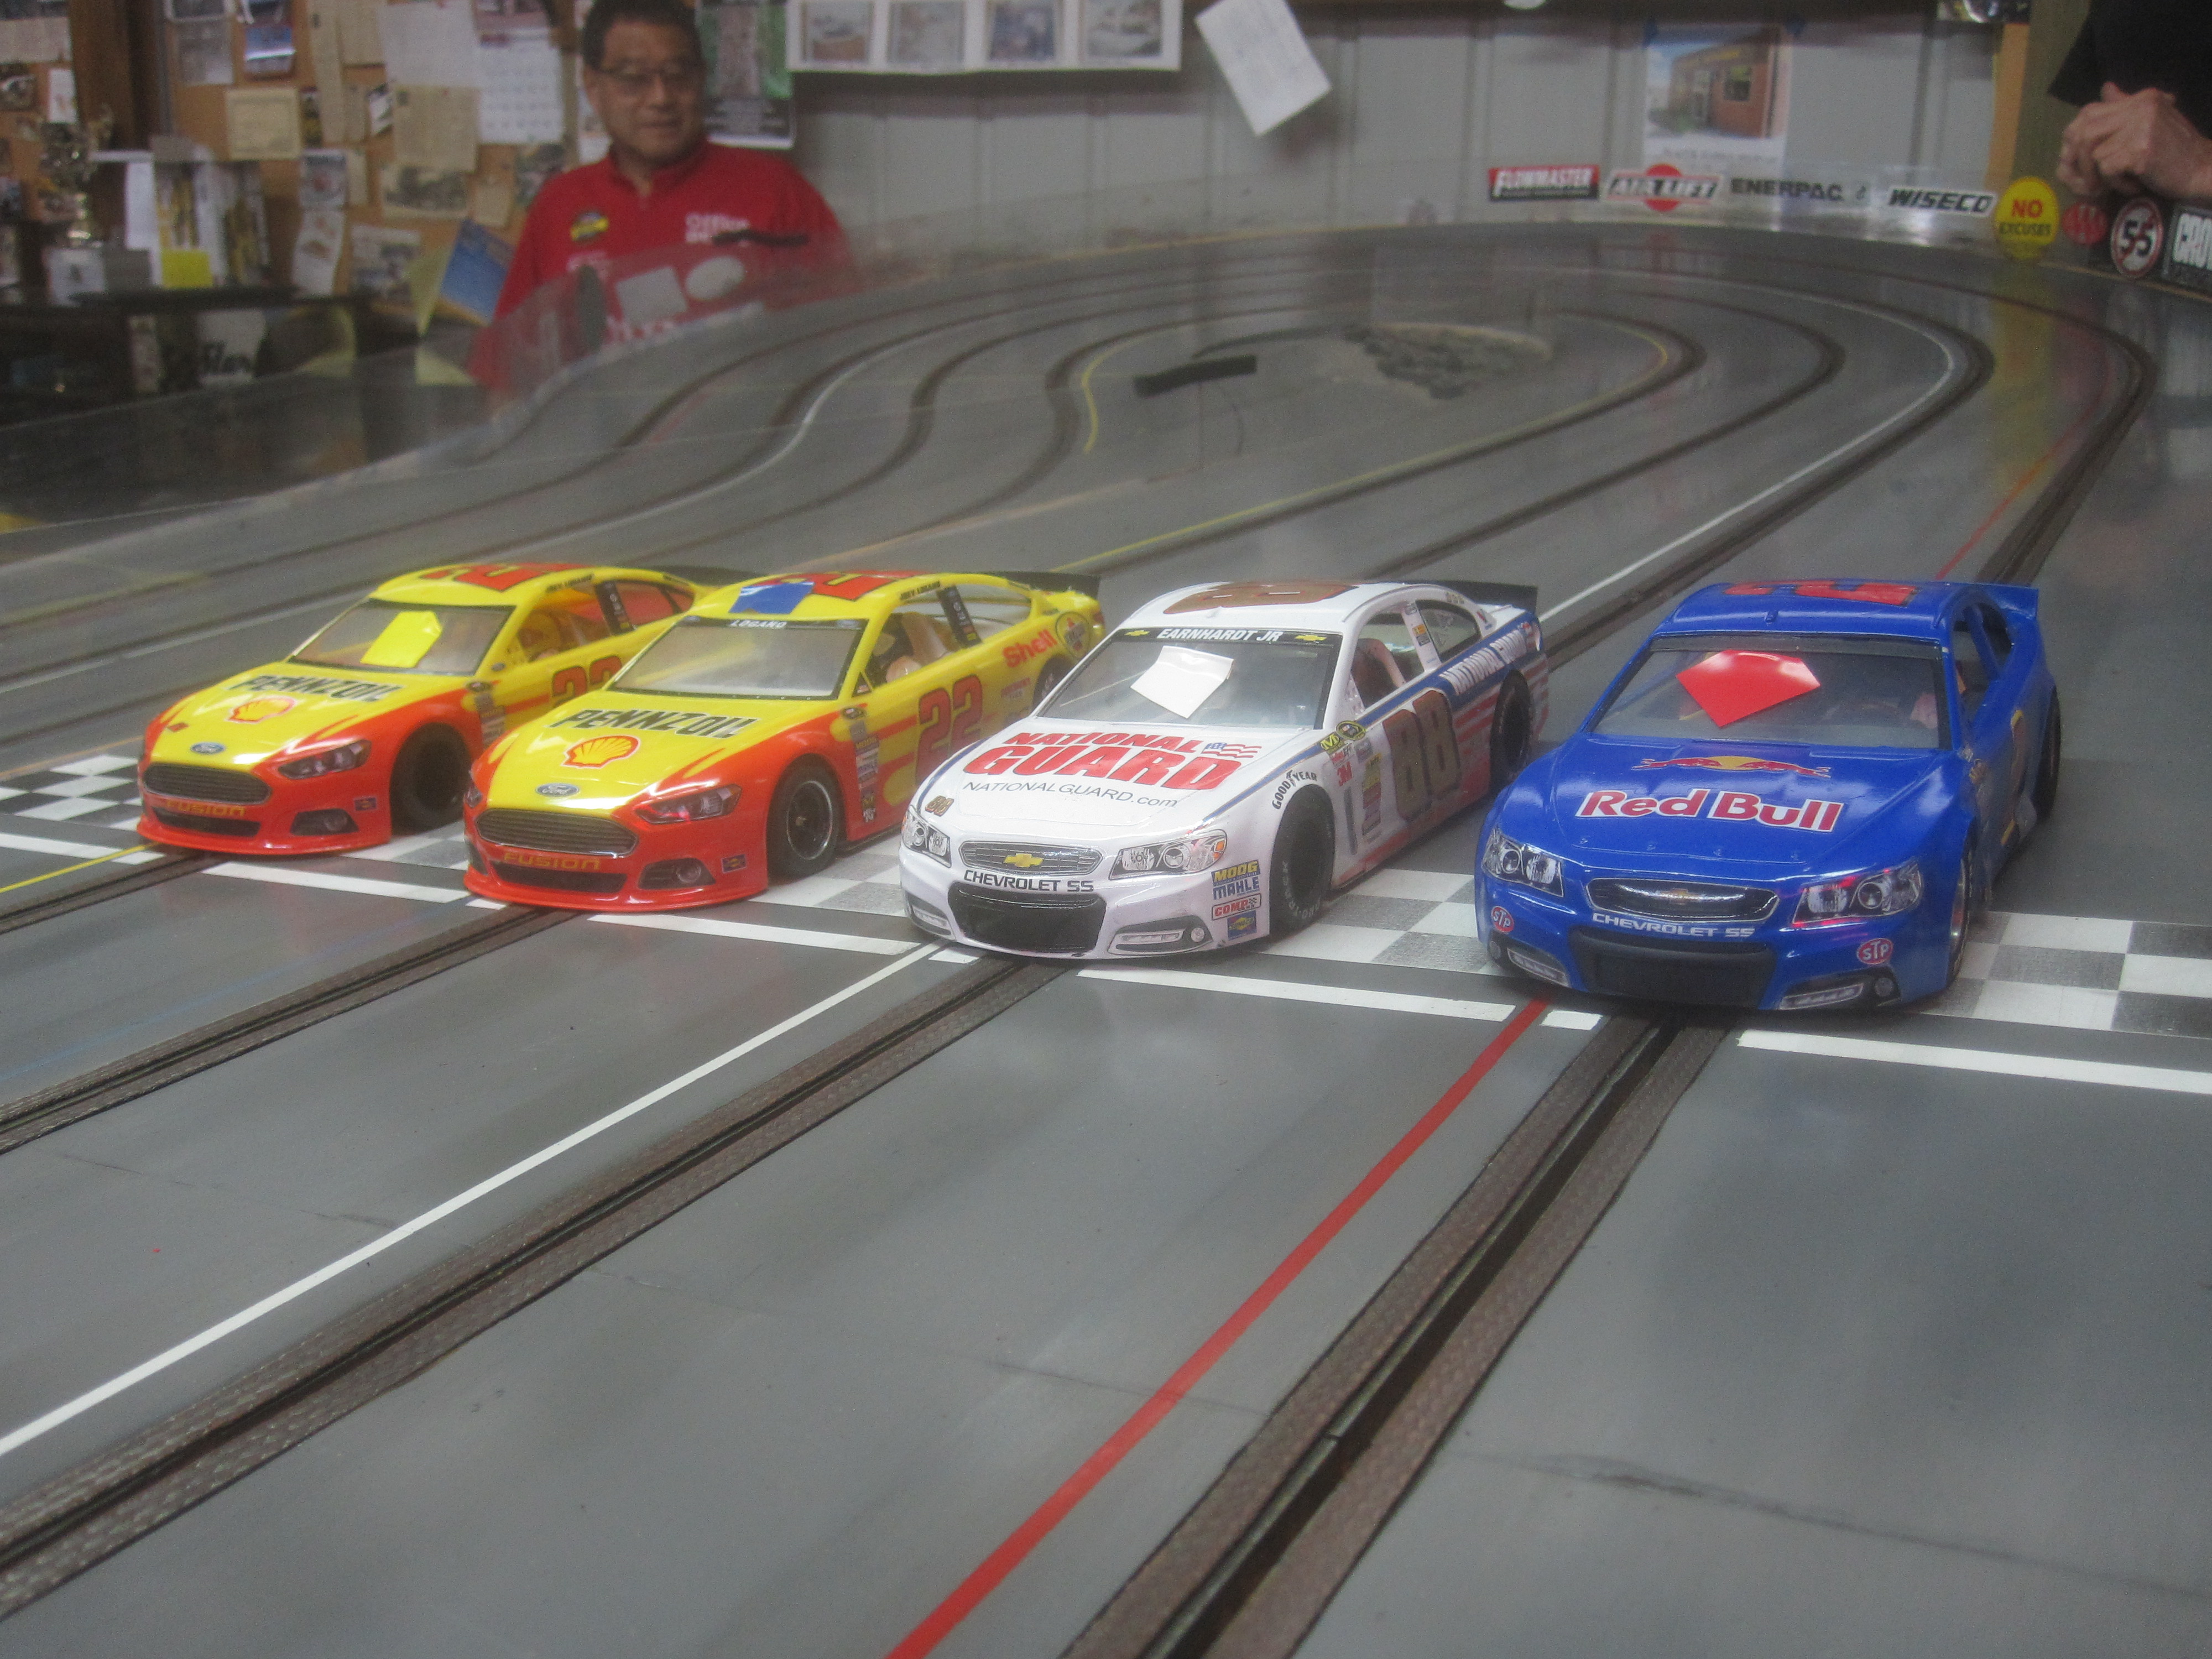
Re: Back to hard bodies for NASCAR! (4 replies, posted in Rapid Raceway)
There were several reasons: flimsy, hard for a corner marshal to pick up, water decals wouldn't stick, the finish looked like alligator skin. A lot of work went into trying to make them look nice but to no avail! They are basically junk! The only thing the Pattos bodies had going for them was that they had many choices of bodies for the latest NASCAR brands. I and others are looking forward to the Chevy VS. Ford hard body fight!
560 September 19, 2017 8:04 am
Topic: Back to hard bodies for NASCAR! (4 replies, posted in Rapid Raceway)
At our get together last Sat. we voted to do away with the very unpopular Pattos NASCAR bodies. Instead we will be using the 1/24th. Revell snap kit or the glue kit. We have a choice to what we will run: either a Ford or a Chevy, they are the only two late model hard bodies available, Revell is trying to get the Toyota but so far no luck. I have ordered both Ford and Chevy snap kits. If anyone wants one let me know.
561 May 15, 2017 4:06 pm
Re: TooBad Motorplex is GONE!....Too Bad! (14 replies, posted in Too Bad Motorplex)
It is a real shame that it had to end the way it did. Neat layout, well built track. I have a place to store the track if you want Bill.
562 April 3, 2017 10:24 am
Re: NASTE Gravity Racer Program (306 replies, posted in NASTE)
I really like the Stagecoach, every time I go through the swinging doors I expect to see John Wayne with his guns strapped to his hips leaning against the bar!!
Great job Bill on getting them as a sponsor!
563 March 19, 2017 9:29 am
Re: Upgrades at Rapid Raceway! (15 replies, posted in Rapid Raceway)
Last nights race here was just great!! No problems at all, the race program did very well and I am VERY pleased. I am still not quite up to speed on the running of it, but it is not a hard program to learn and I like it a lot over the SRT program.
Bill spent part of 3 days here getting this thing up and running and Monte was the go to guy with his knowledge! I thank both gentlemen VERY MUCH!!
564 March 1, 2017 4:51 pm
Re: The Fray in Ferndale (18 replies, posted in Events)
Hold on! Stop the presses!! Some huge flares are needed on these rigs!!!
565 February 18, 2017 9:08 am
Re: NASTE Gravity Racer Program (306 replies, posted in NASTE)
These are killer machines! Nice work guys.
If you feel like a flame job, I can do flames!
I "THINK" I will be around on race day, I will lend a hand if you need it.
566 January 9, 2017 11:36 pm
Re: N.A.S.T.E. Halloween race of 2015. (2 replies, posted in Rapid Raceway)
Love the Halloween races.
567 December 15, 2016 8:02 pm
Re: Bill's Junk (240 replies, posted in Slot Talk)
Ok, I have waited long enough to add my two cents. I have been up to Bill's man cave, shortly after that I informed him that he has earned the top spot and I crowned him the new "Slot Car Slut". Nobody that I know of is into this hobby like he is. Of course that is what I said about the last guy that wore the crown, but it is going to be hard as hell to dethrone Bill!!
568 June 15, 2016 10:29 pm
Re: The NASTE Shoot Out at Rapid Raceway this Sunday June 12th (3 replies, posted in NASTE)
It was a fun day at Rapid. Neat pictures you took "Hammer", and thanks for the positive comments on the track.
Yes I got some free labor from some nice guys, a thank you to all that lifted the Model A onto the chassis. The body and the chassis look a lot better together.
569 June 15, 2016 6:41 am
Re: Econo Cars are Alive and Well at Rapid Raceway! (12 replies, posted in Rapid Raceway)
I have 4 motors right now and can get more as needed. They are $12.00.
Another rule on the Sportsman class is that you have to run a screen in place of the windshield, I have PLENTY of screen that I will donate to those who don't have any. The rules are posted on the www.northwesttruescaleracers.com site under Sportsman on the Classes/rules page. Keep in mind that you can go 3.250" tracking front and back.
Also keep in mind that if someone needed a chassis, Beau will build you one, he is VERY reasonable on the price to those who want to race at Rapid.
570 June 12, 2016 8:01 am
Re: Econo Cars are Alive and Well at Rapid Raceway! (12 replies, posted in Rapid Raceway)
The bodies are restricted to '49 to '57 for the 2017 season. No chop tops and no convertibles, bodies must remain stock out of the box. You can cut the front for guide flag clearance. You may cut the wheel wells for tire clearance. Motors can be the Parma S16D #502 sealed or not, the Pro Slot PS2003 or PS2001. Pro Slot is the faster motor! I usually have one extra car that I will loan out if Dayle is not here, he is a trucker and only makes one or two races a yr.
571 June 8, 2016 8:44 pm
Re: Econo Cars are Alive and Well at Rapid Raceway! (12 replies, posted in Rapid Raceway)
Yes, the Sportsman class is very alive and well at Rapid. The Sportsman class was voted in to be a points class for the first half of the upcoming 2017 season.
572 June 8, 2016 7:19 pm
Re: NASTE Racing 2016 (6 replies, posted in NASTE)
I am honored in that NASTE has chose to have it's final "shootout" for 2016 here at Rapid. I think it will be a fun day for all. I am looking forward to the event.
VERY nice looking cars Bill.
See ya then.
573 May 3, 2016 10:10 am
Re: Racing at Rapid Raceway (2 replies, posted in Events)
At least we know we can have a fun time with just 5 racers. It was fun and very close racing and plenty of time when the racing was over for some cookies, coffee and general BS'n!! BS'n is part of racing, right?
574 March 5, 2016 9:14 pm
Re: Interesting video (6 replies, posted in Slot Talk)
That is a very cool video. Gas powered slot cars, mmmm......................................................................
A little voice is telling me: "enough already!" "You have more than enough projects as it is!!!
Thanks for the video Rico.
575 February 19, 2016 7:25 pm
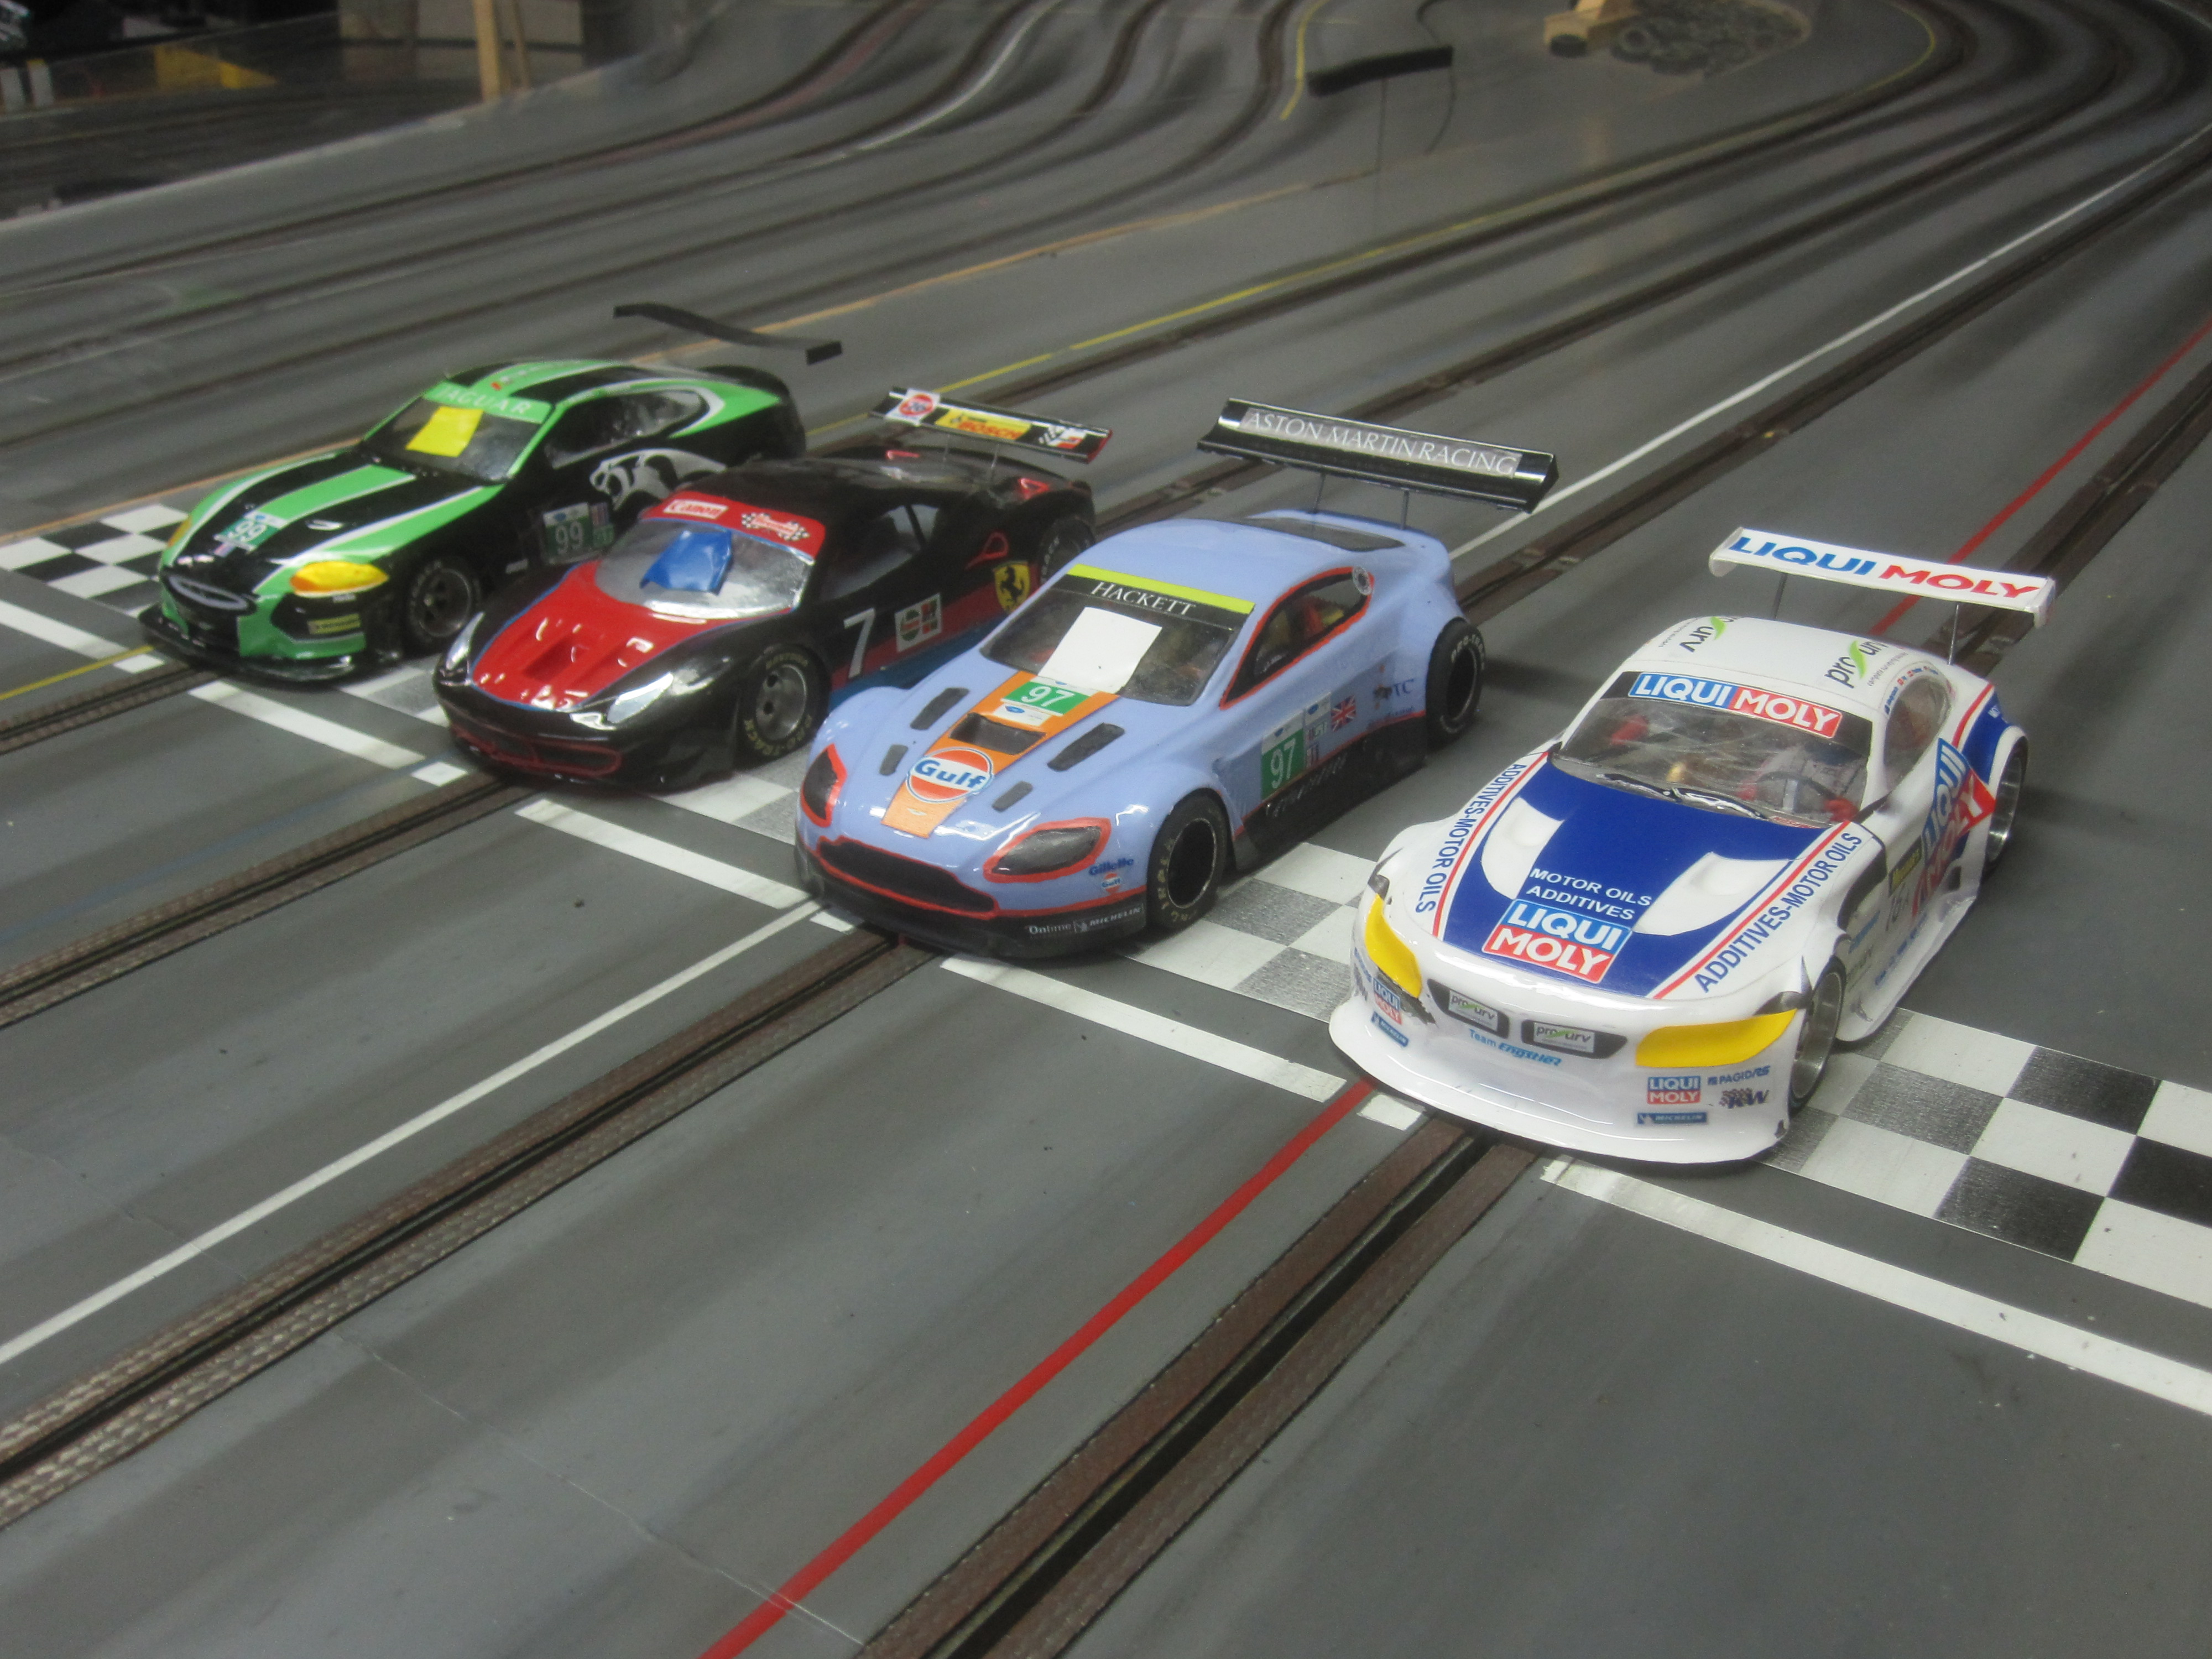
Re: GT1 class (62 replies, posted in Rapid Raceway)
We have already had one race with the new GT3 cars and they are a good handling car and fast with the Pro Slot motors.
From left to right: Marty, Blake, Howie, Beau.