That is going to be a REALLY nice box!
1,851 November 13, 2019 8:37 am
Re: My Buddies company....building me a Pit box! (19 replies, posted in NASTE)
1,852 November 13, 2019 7:43 am
Re: Projects: Done/Not So Done (259 replies, posted in Rapid Raceway)
Lookin' good Zack!
1,853 November 12, 2019 1:45 pm
Re: My Buddies company....building me a Pit box! (19 replies, posted in NASTE)
WAY COOL!
1,855 November 10, 2019 9:45 am
Re: OSCAR Sportscar race (21 replies, posted in Springwater Raceway)
This pretty much sums it up!
1,856 November 10, 2019 9:45 am
Re: OSCAR Sportscar race (21 replies, posted in Springwater Raceway)
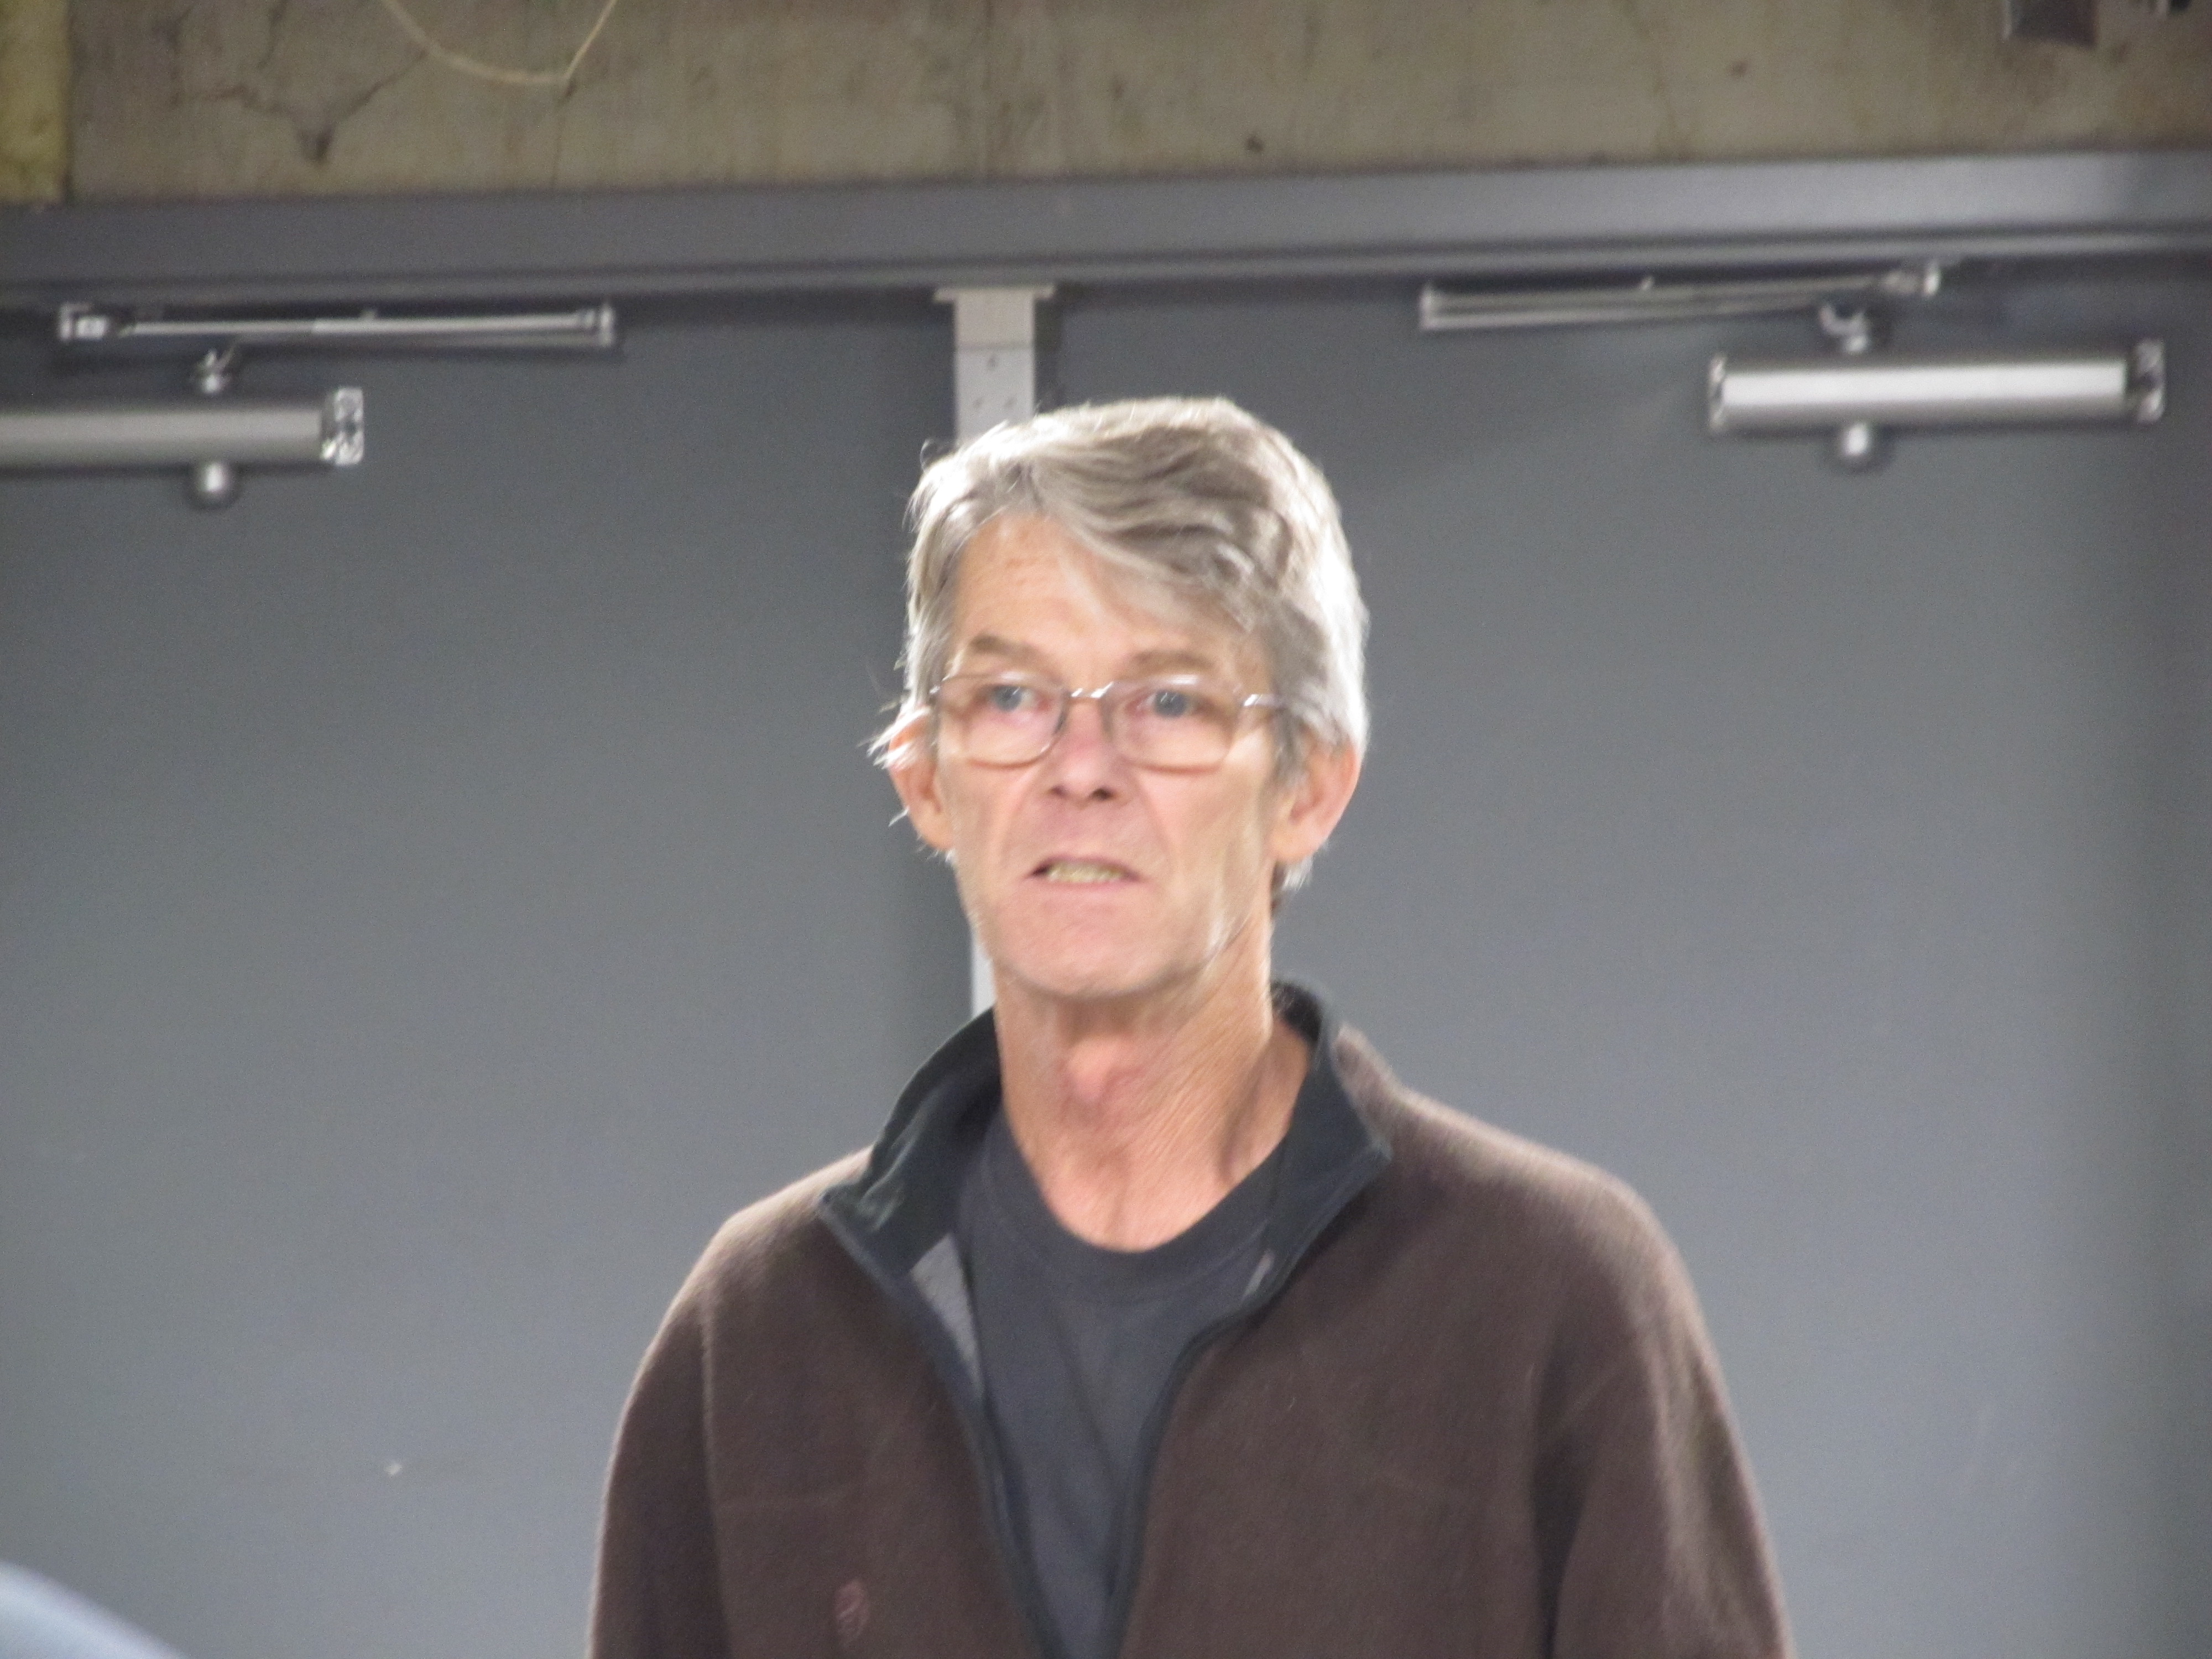
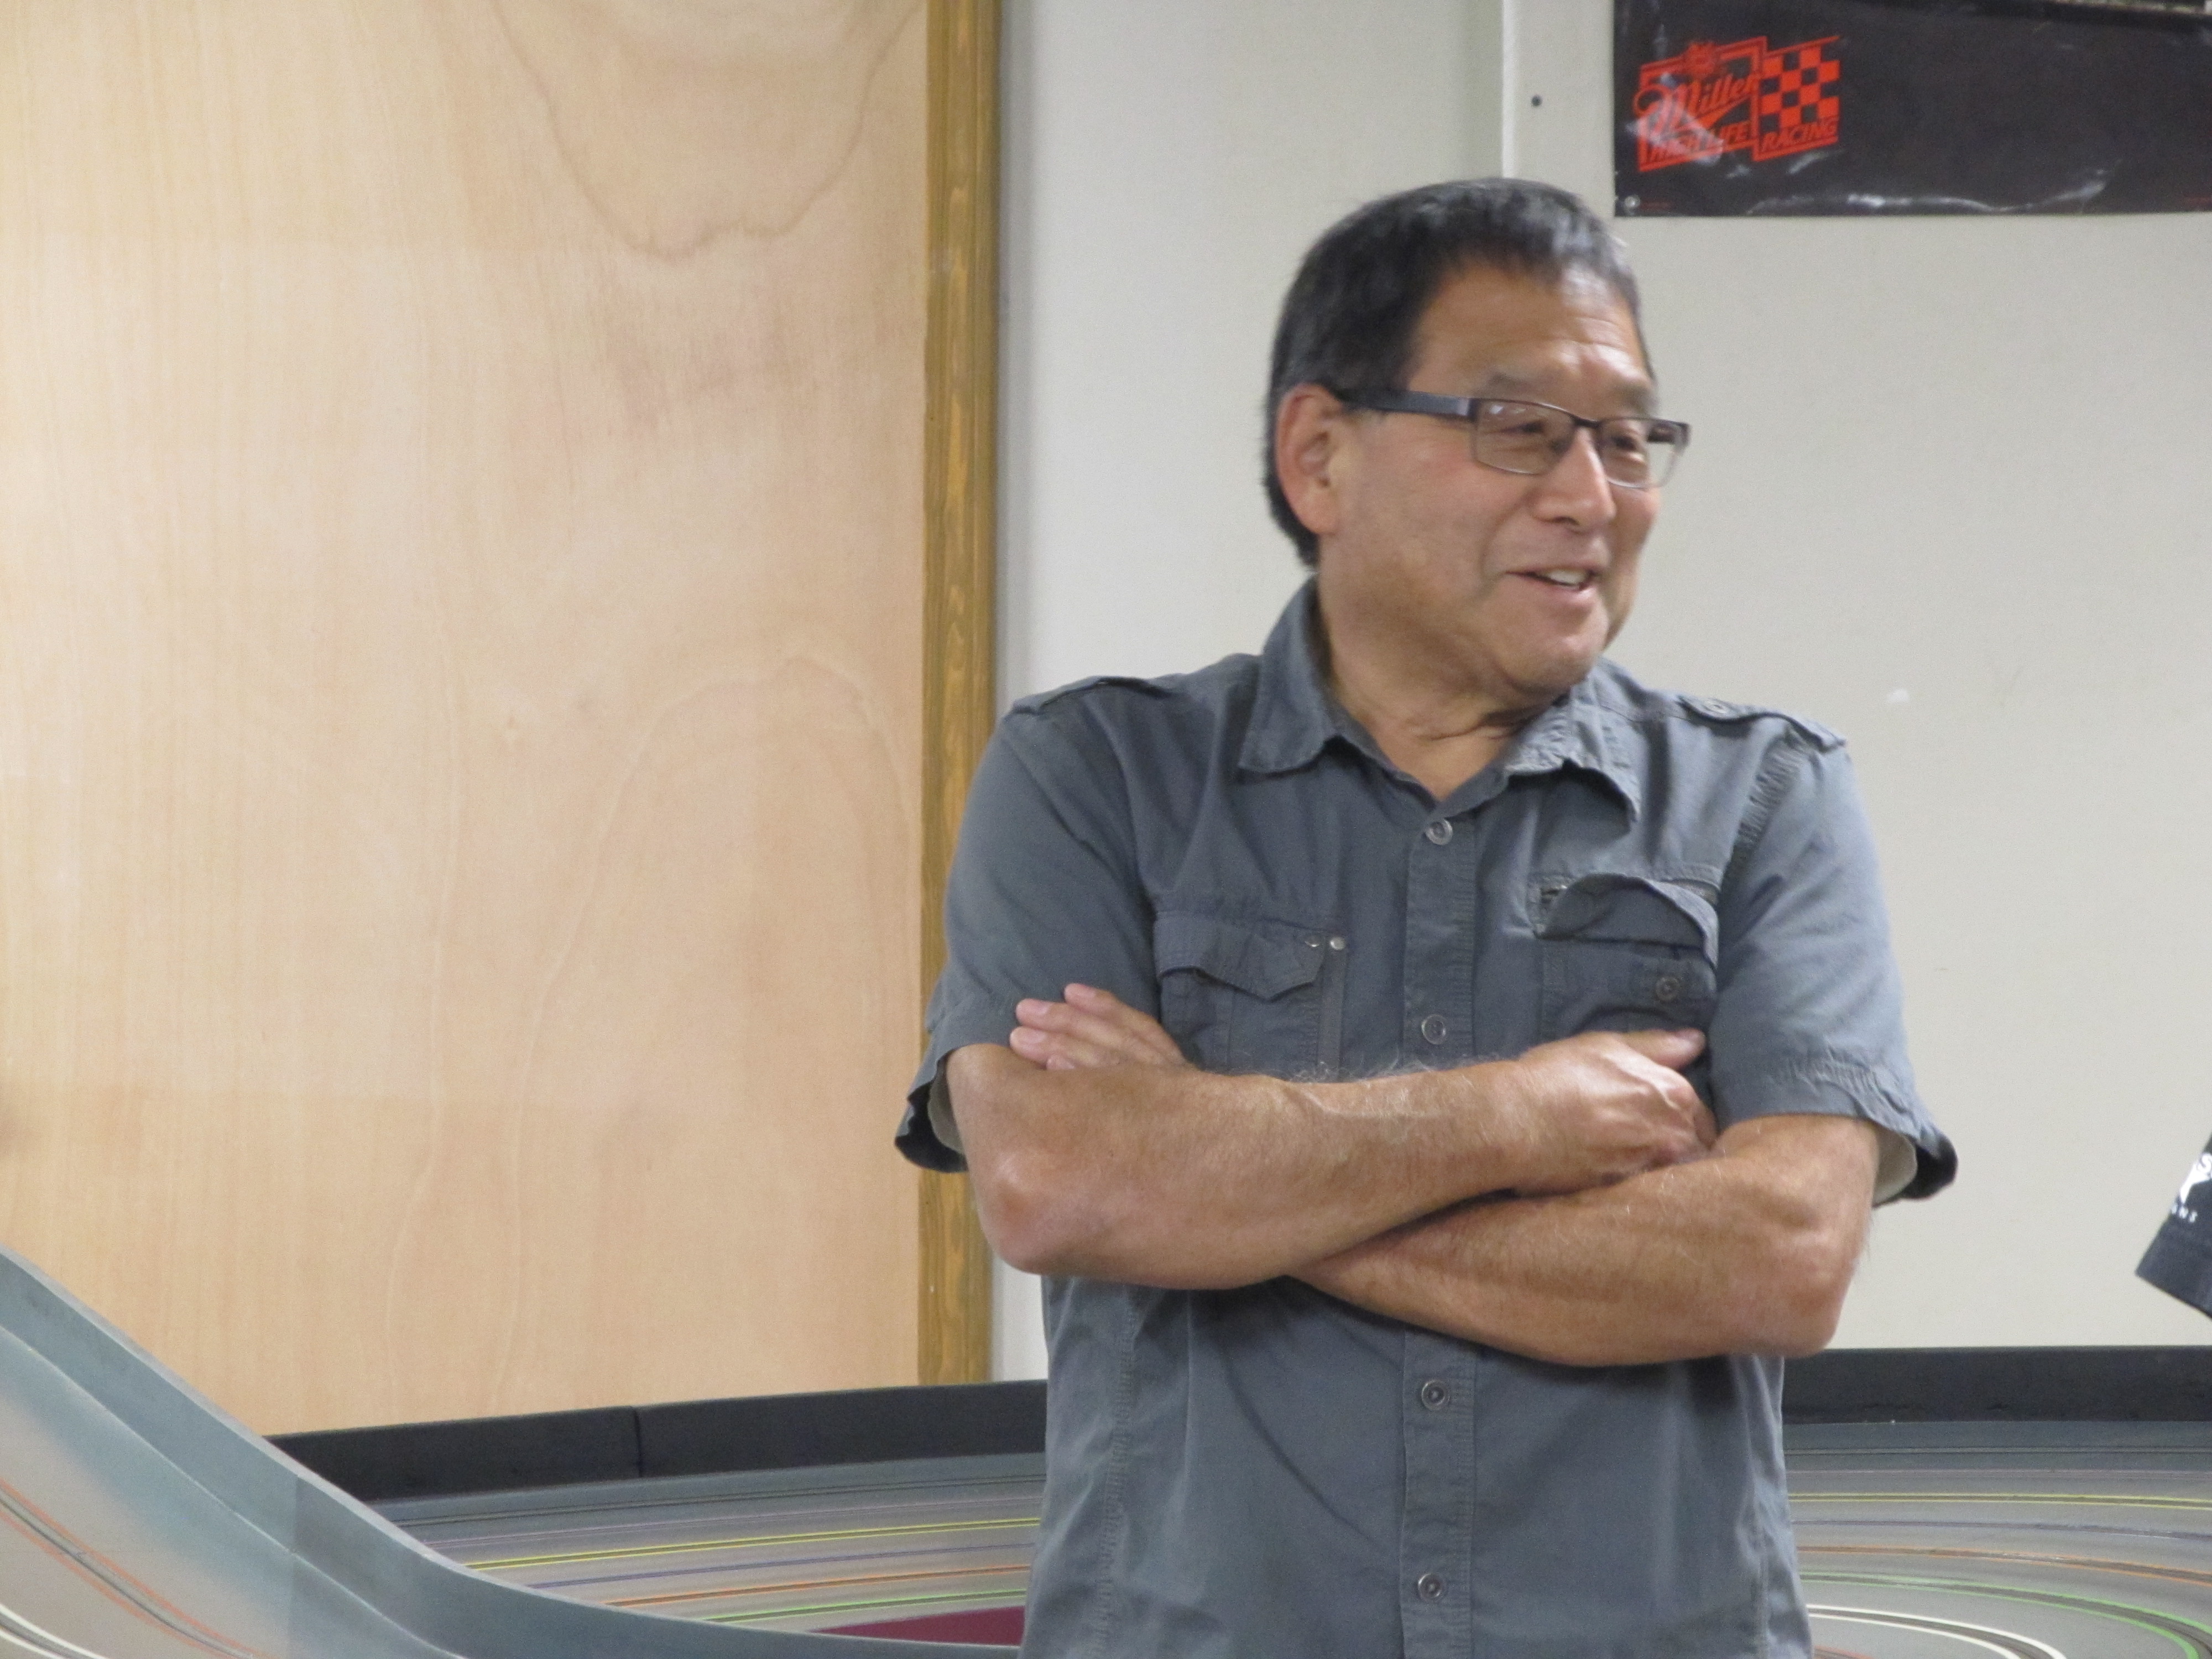
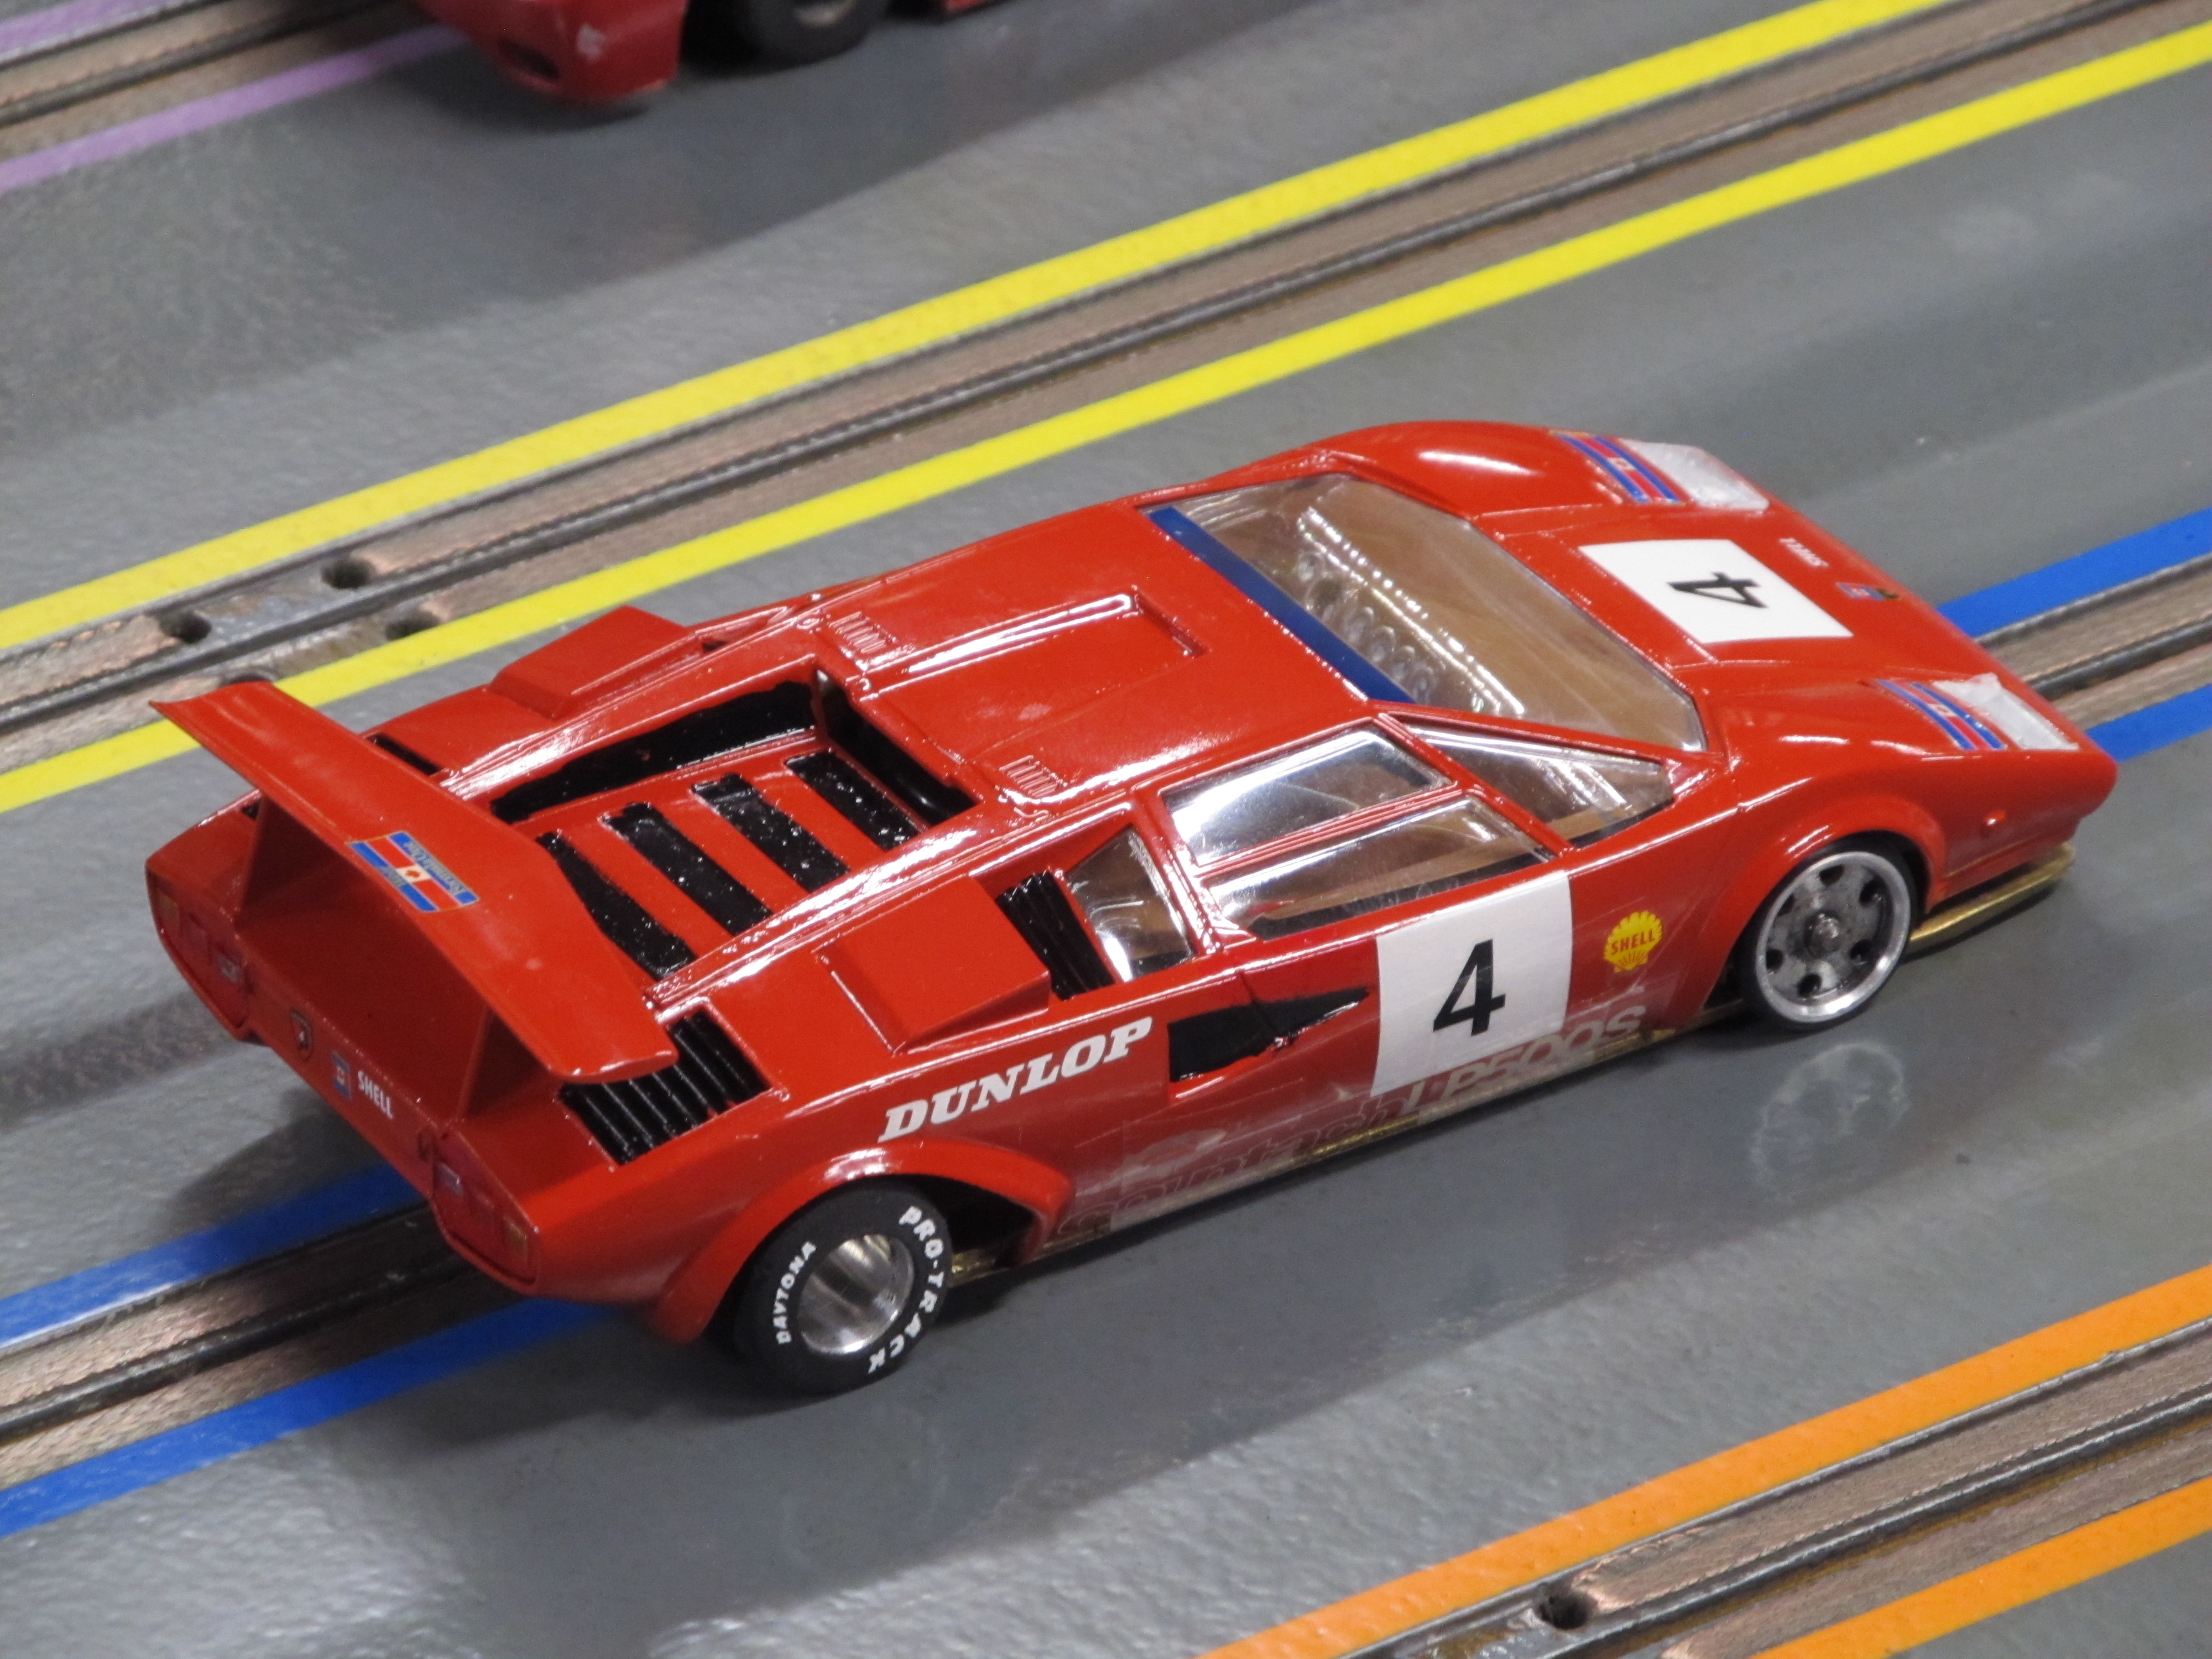
Bob Hanna from Roseburg was in attendance. Bob ran one of his famous chassis, and yes, that is a HAWK motor! And YES, he WAS competitive and in the hunt!

1,857 November 10, 2019 9:37 am
Re: OSCAR Sportscar race (21 replies, posted in Springwater Raceway)
Thanks to Mitch for these photos!
1,858 November 10, 2019 9:36 am
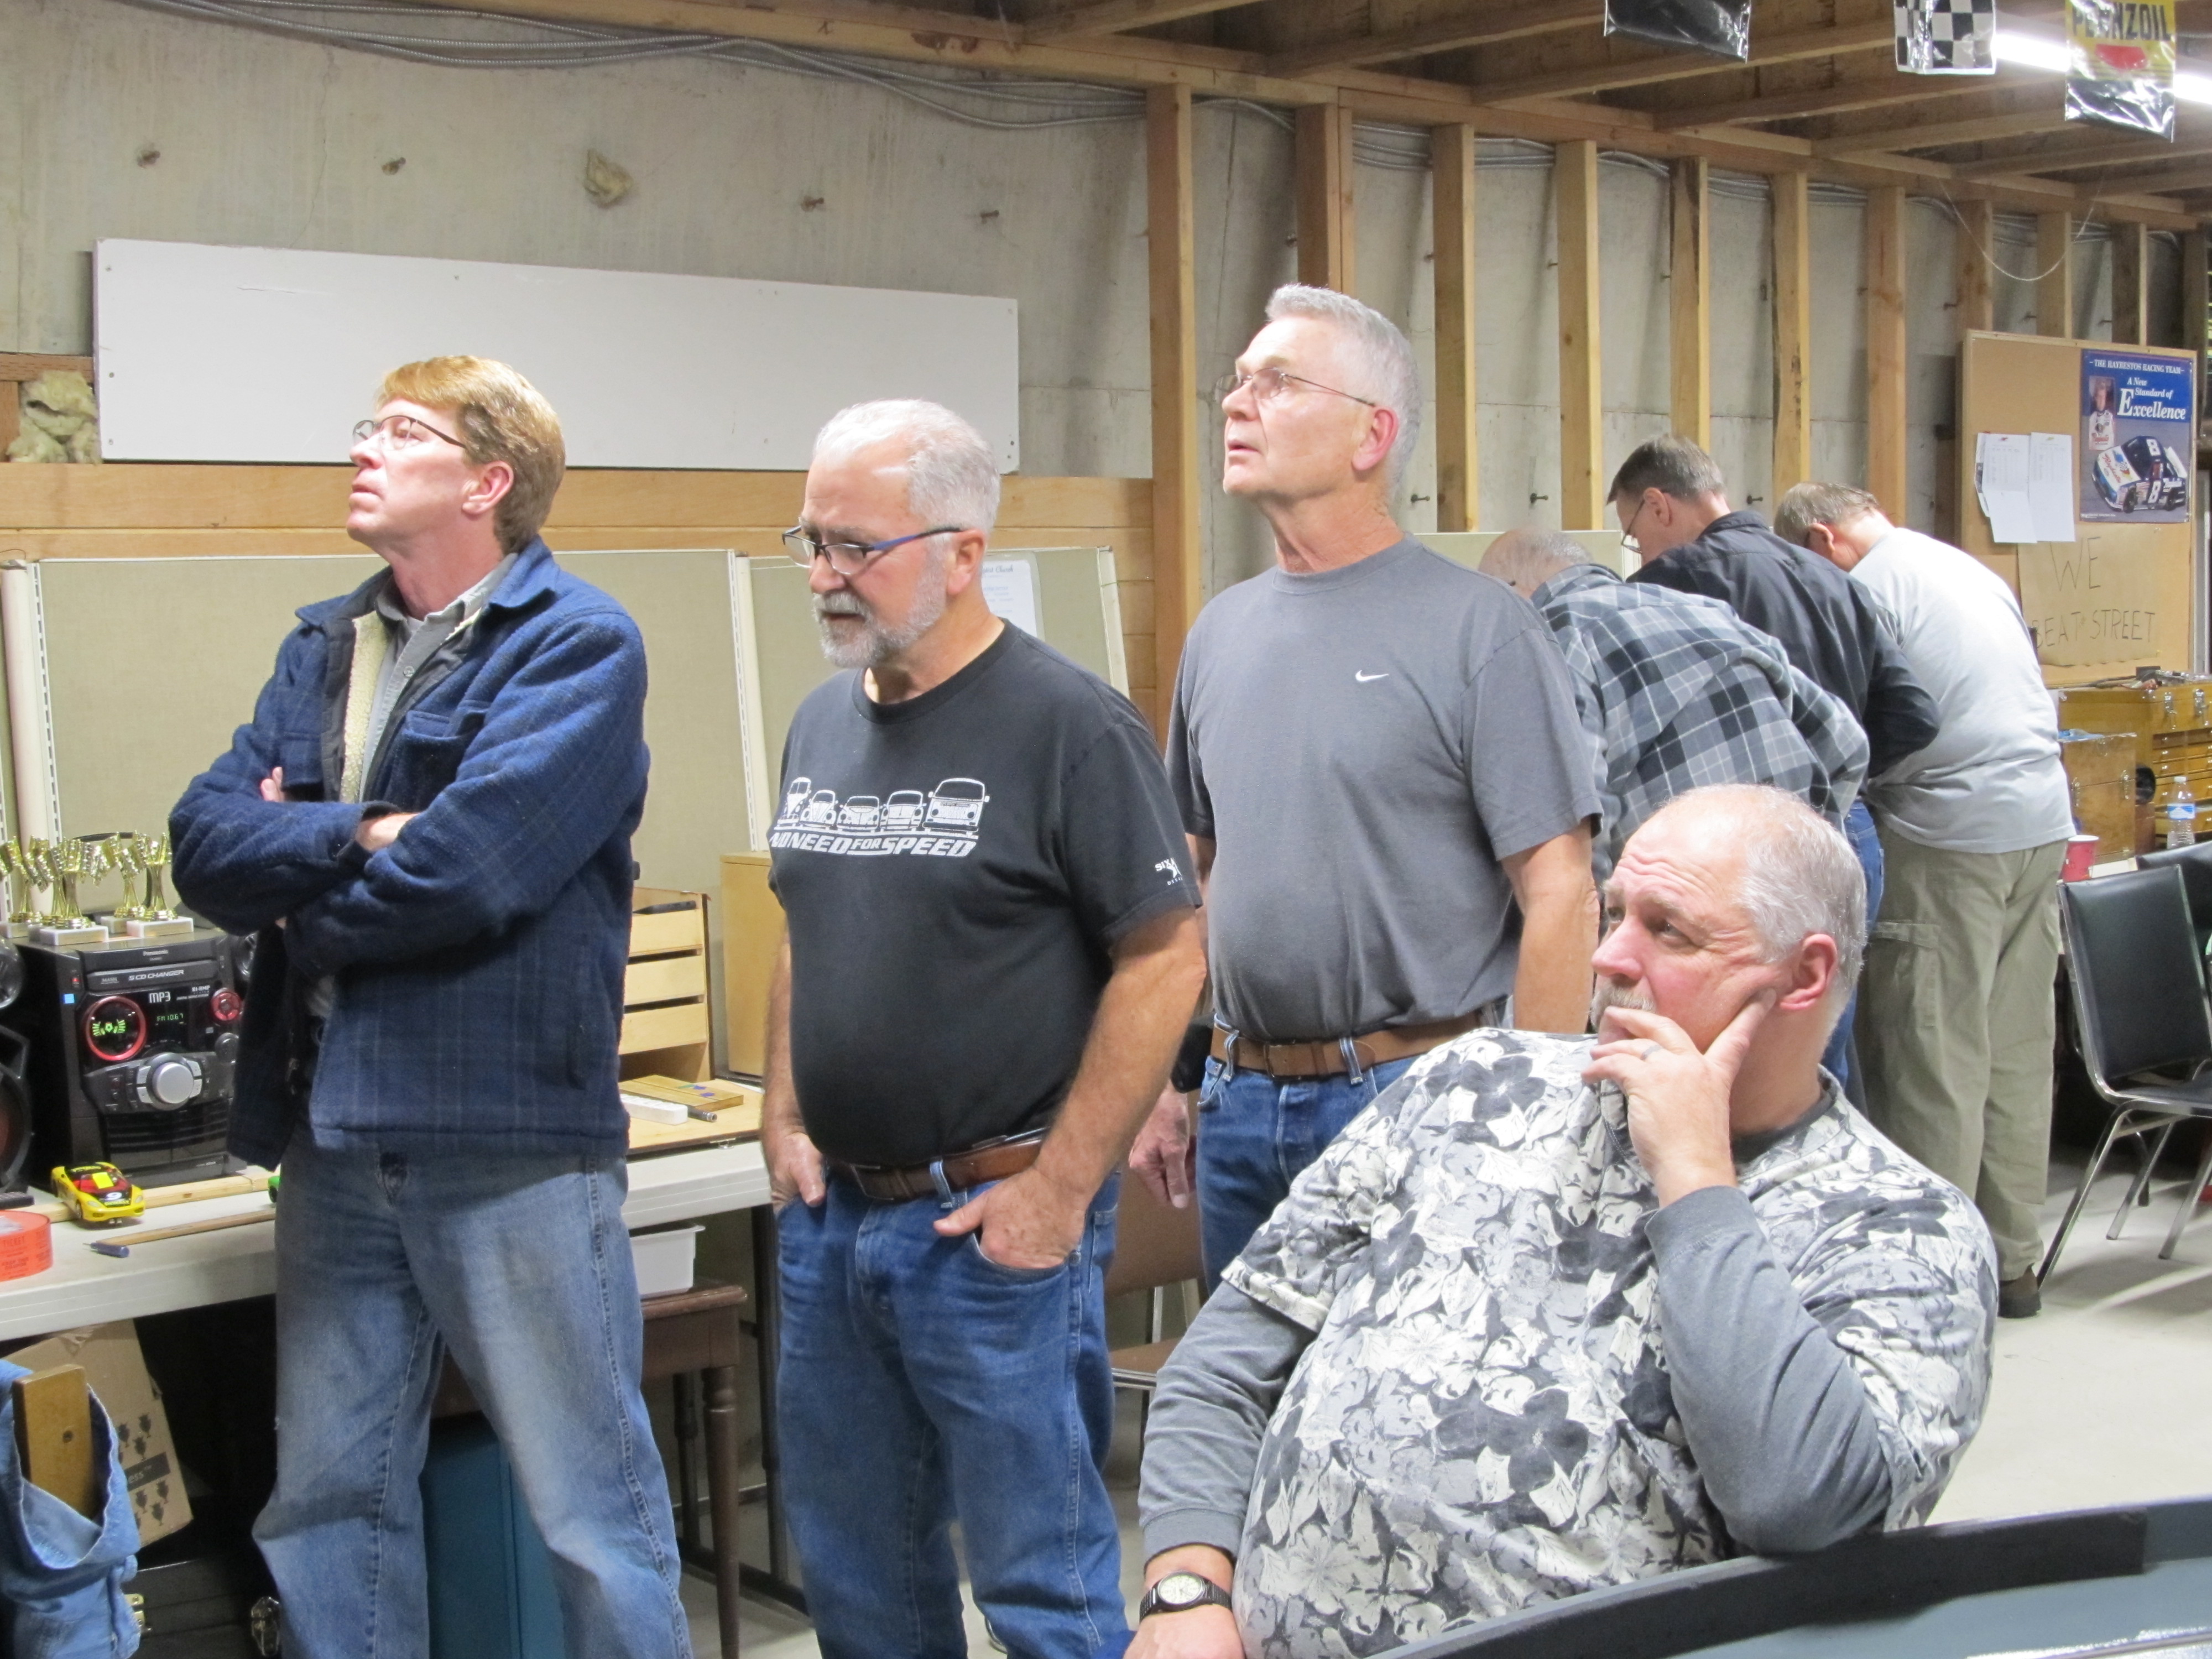
Re: OSCAR Sportscar race (21 replies, posted in Springwater Raceway)
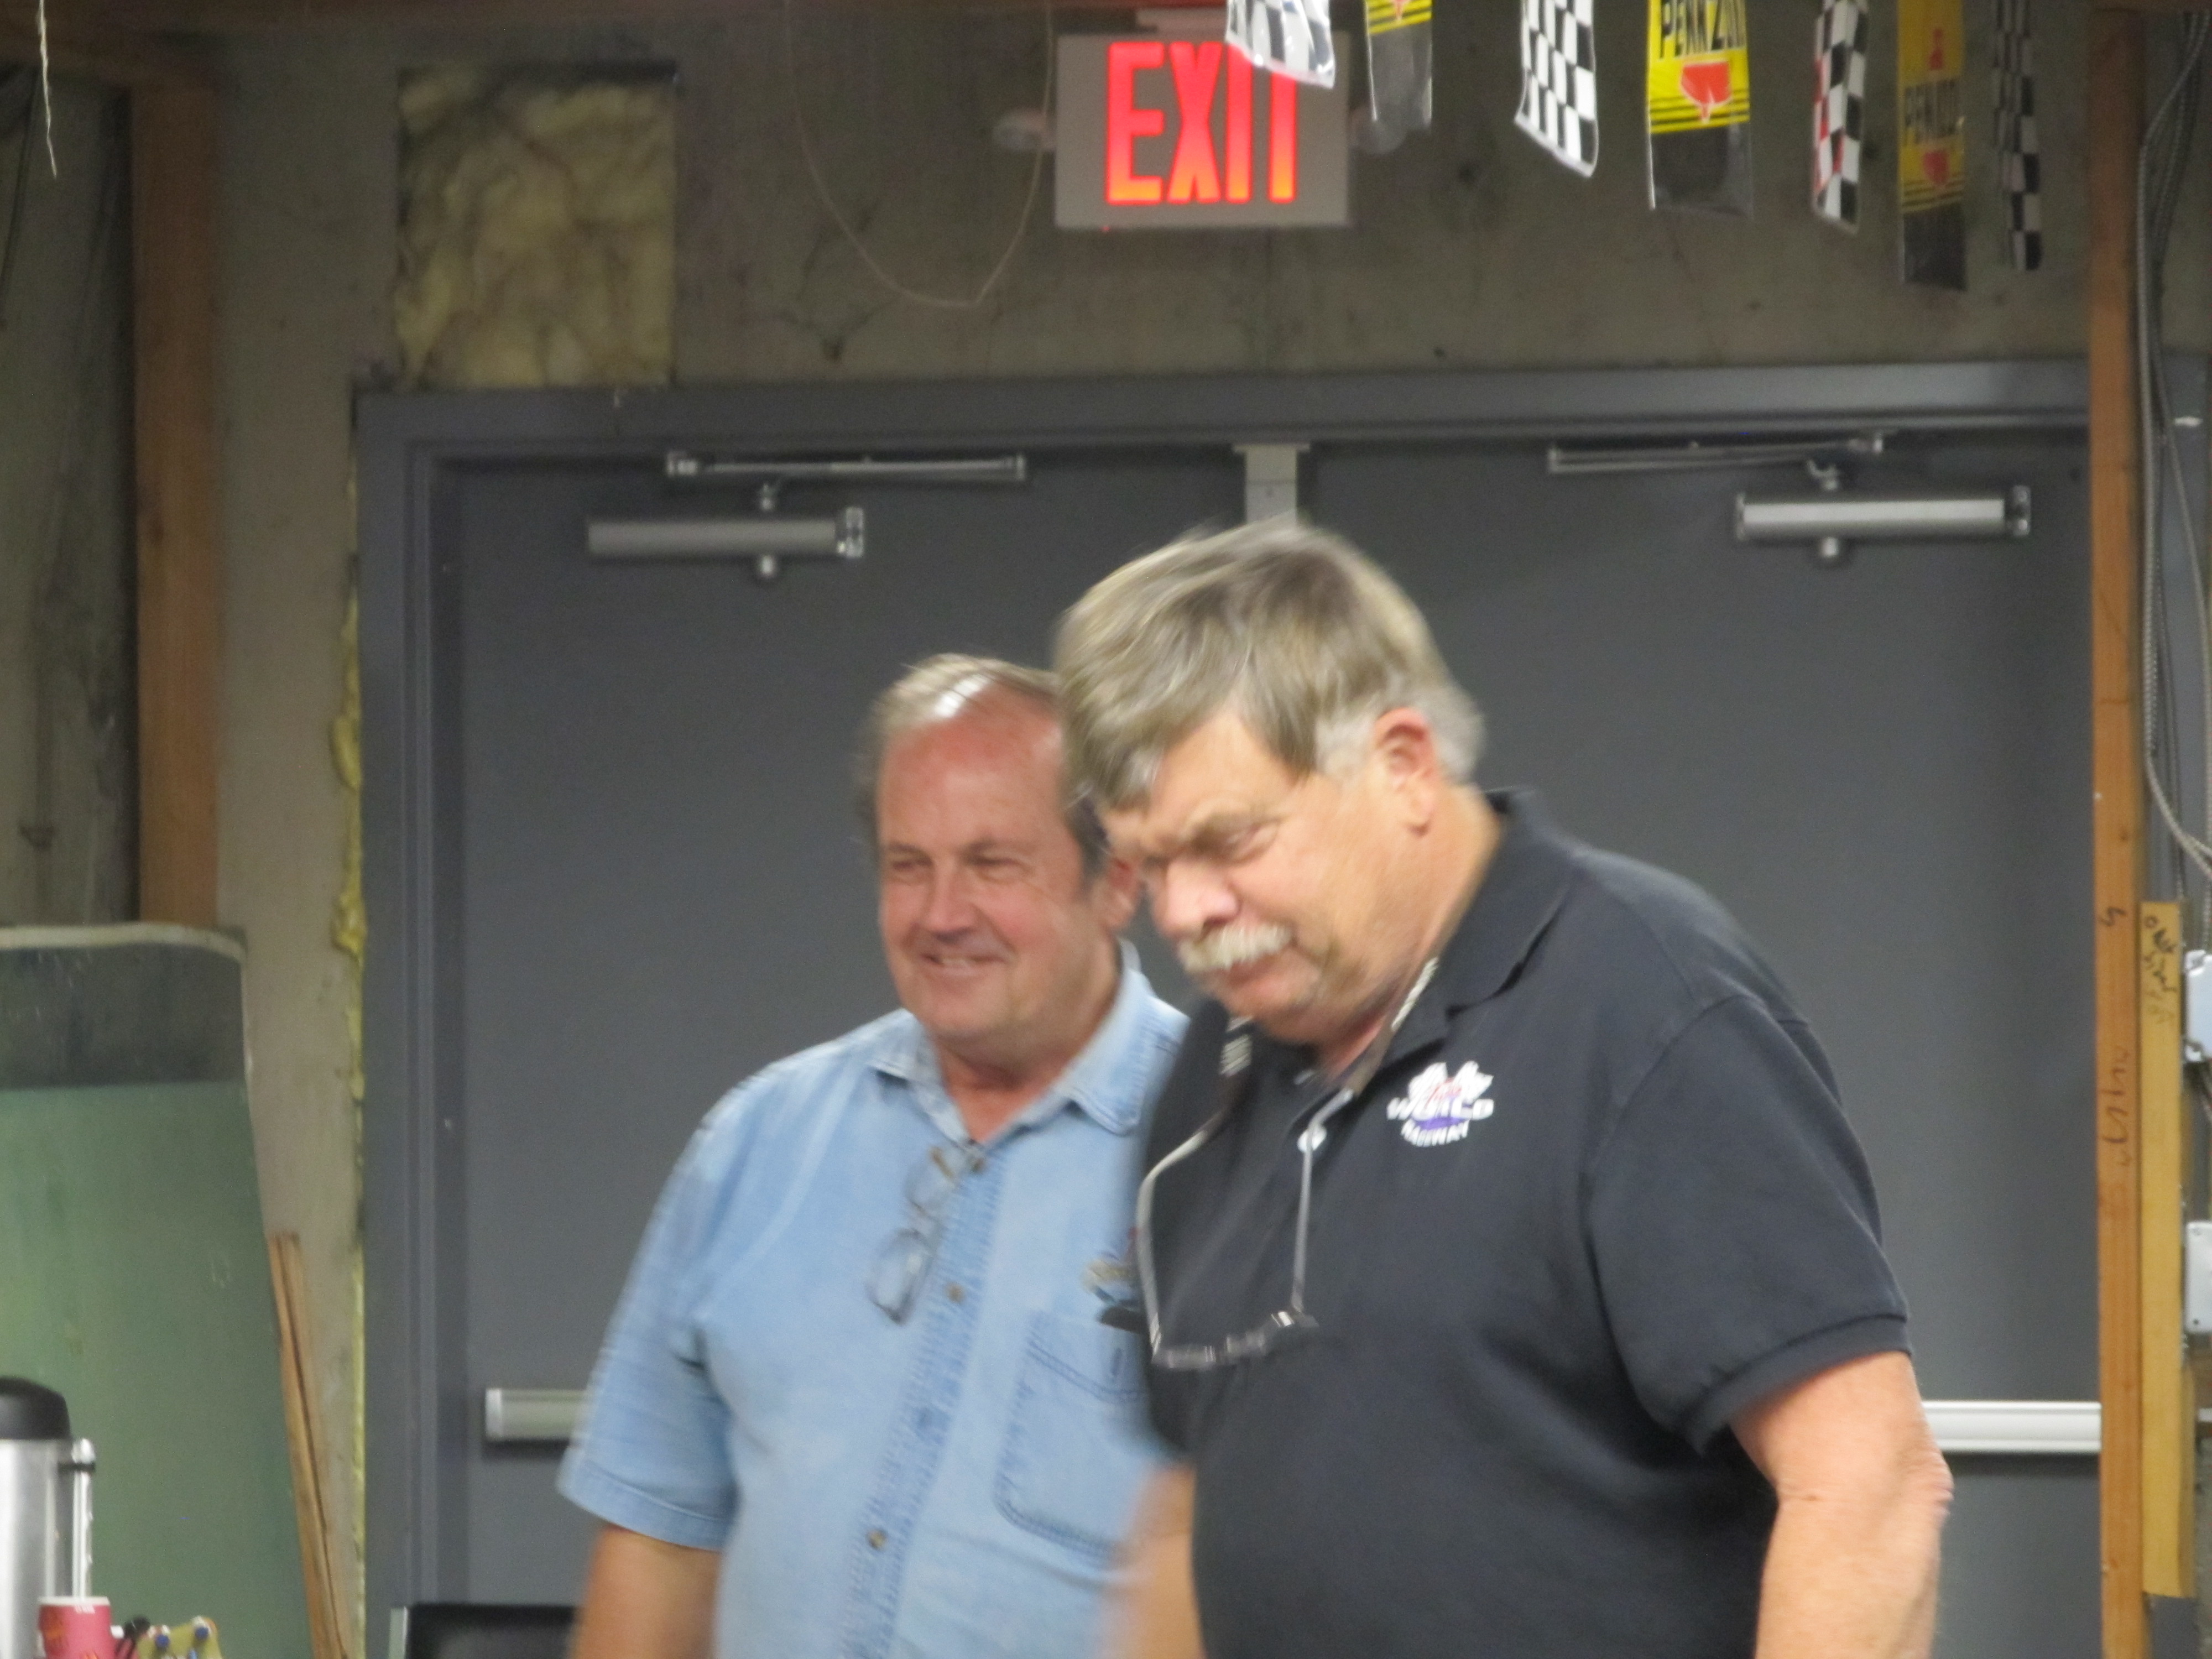
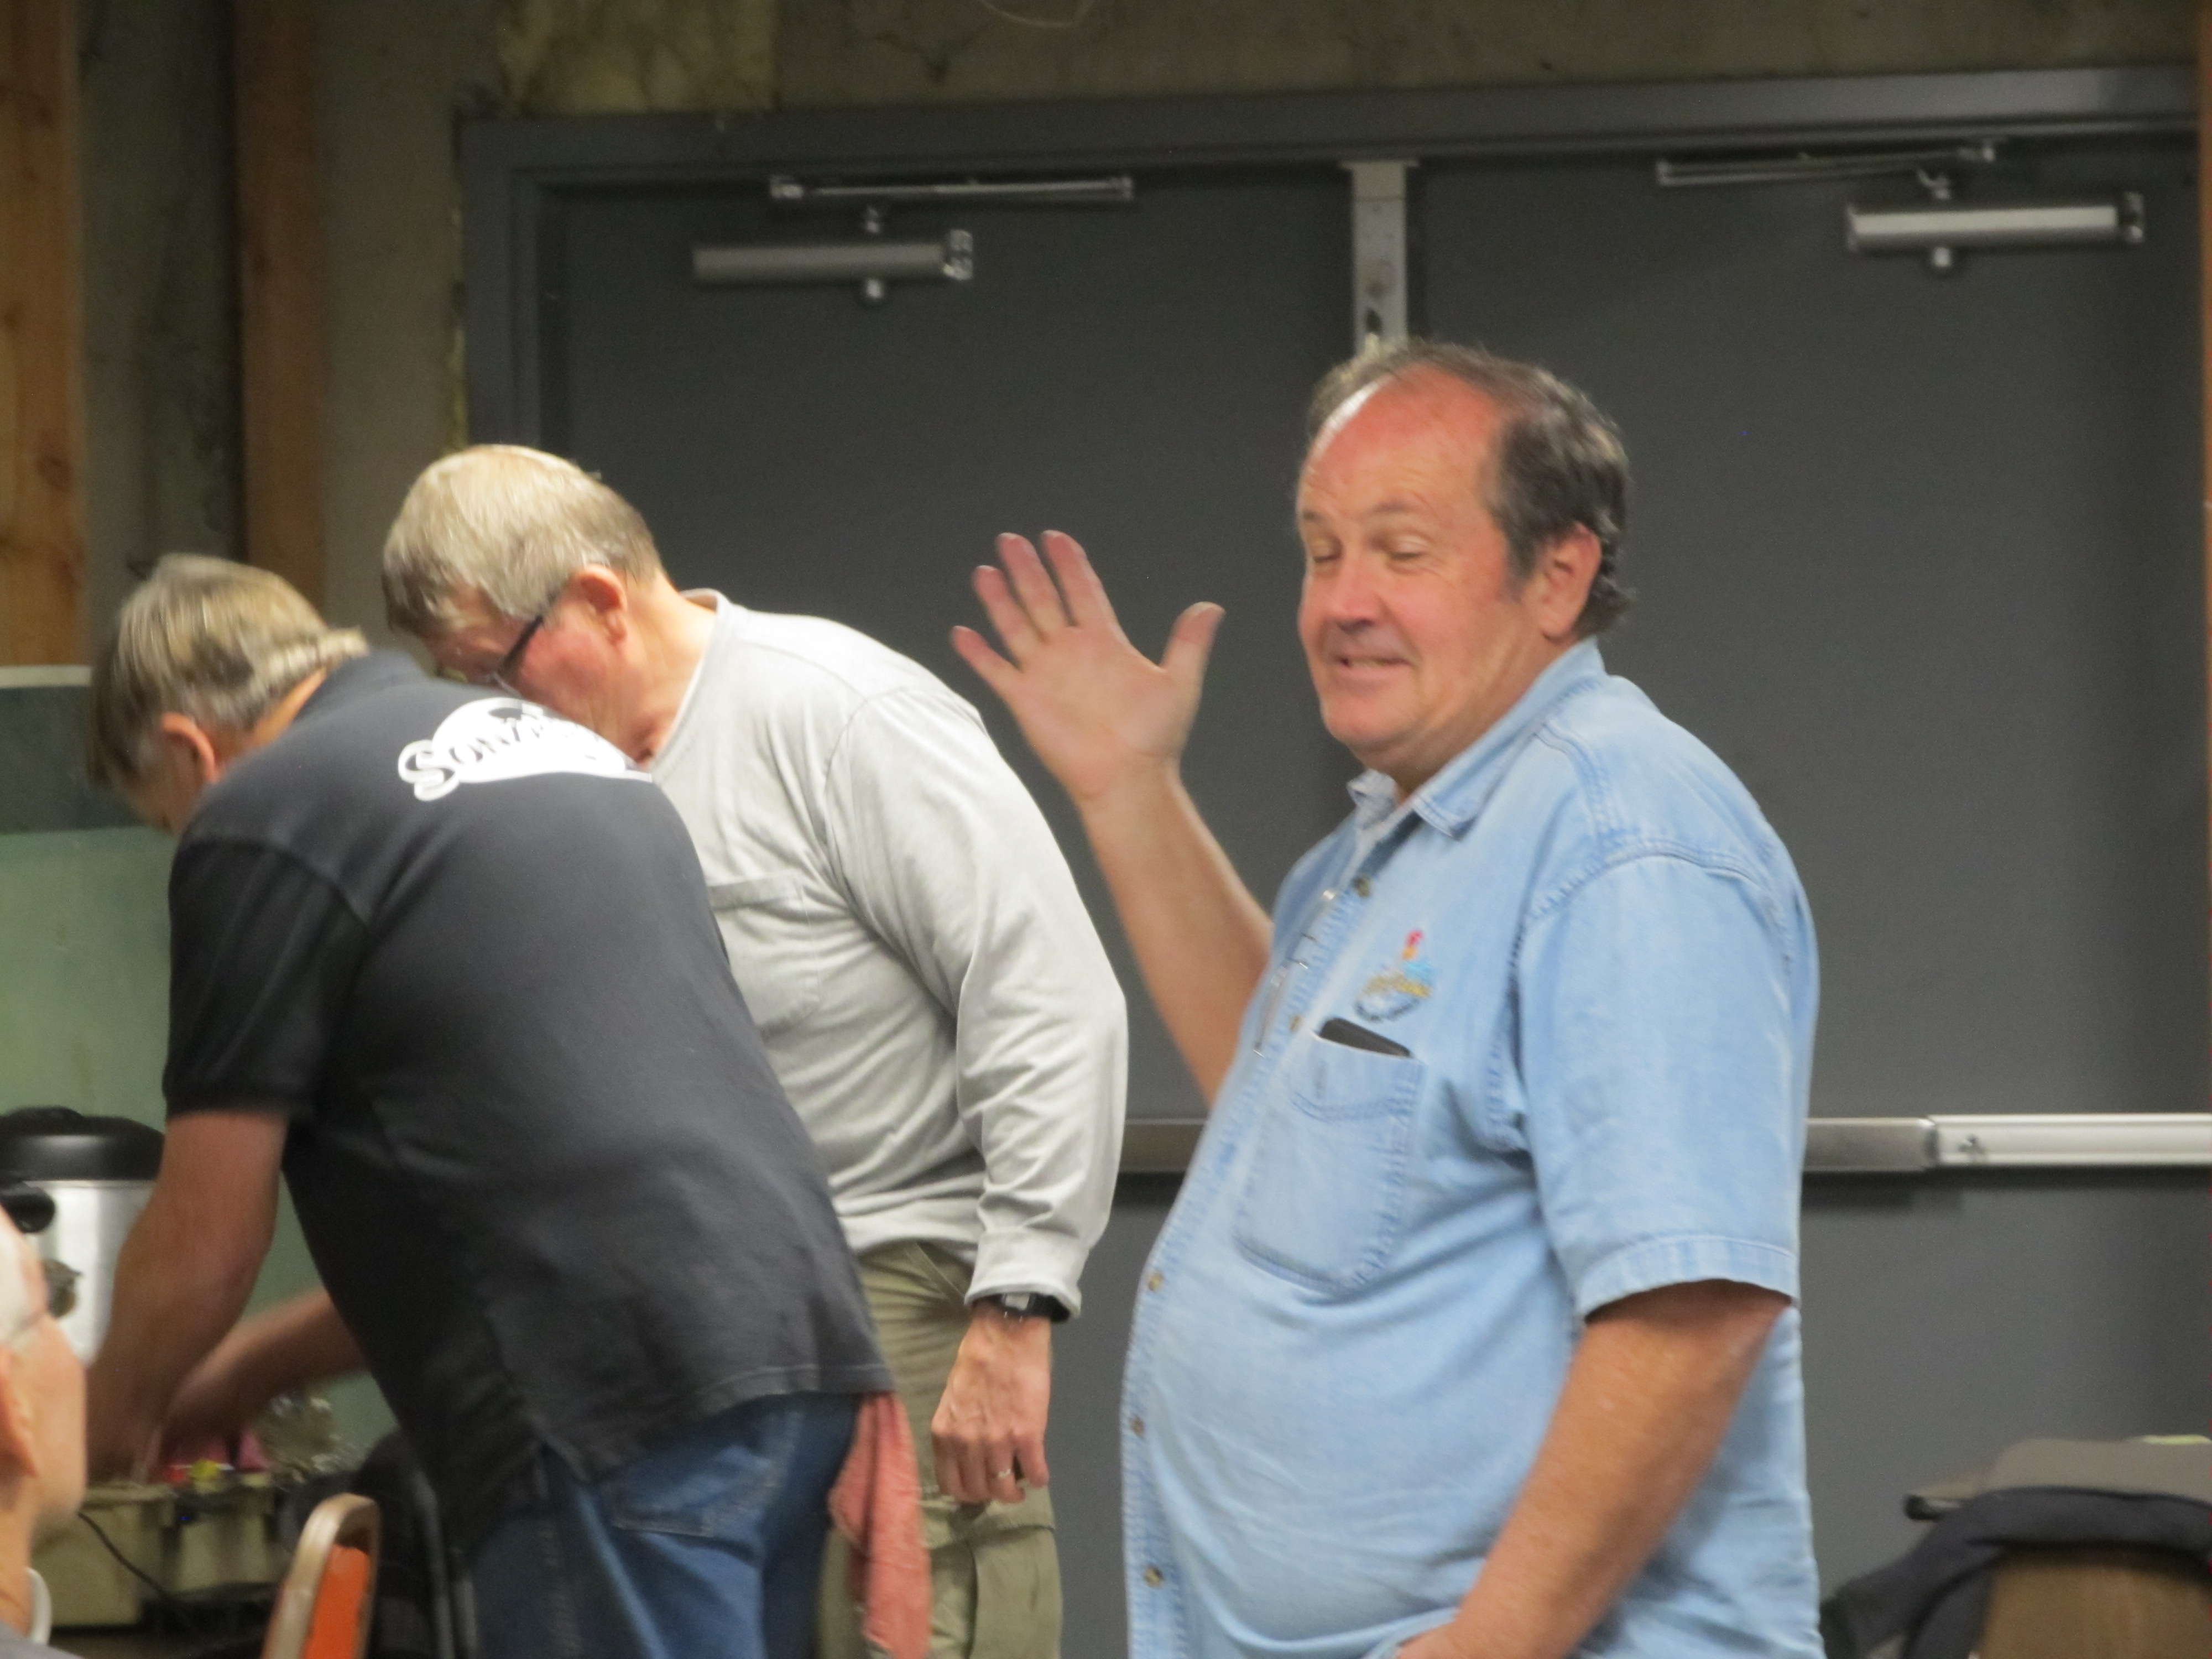
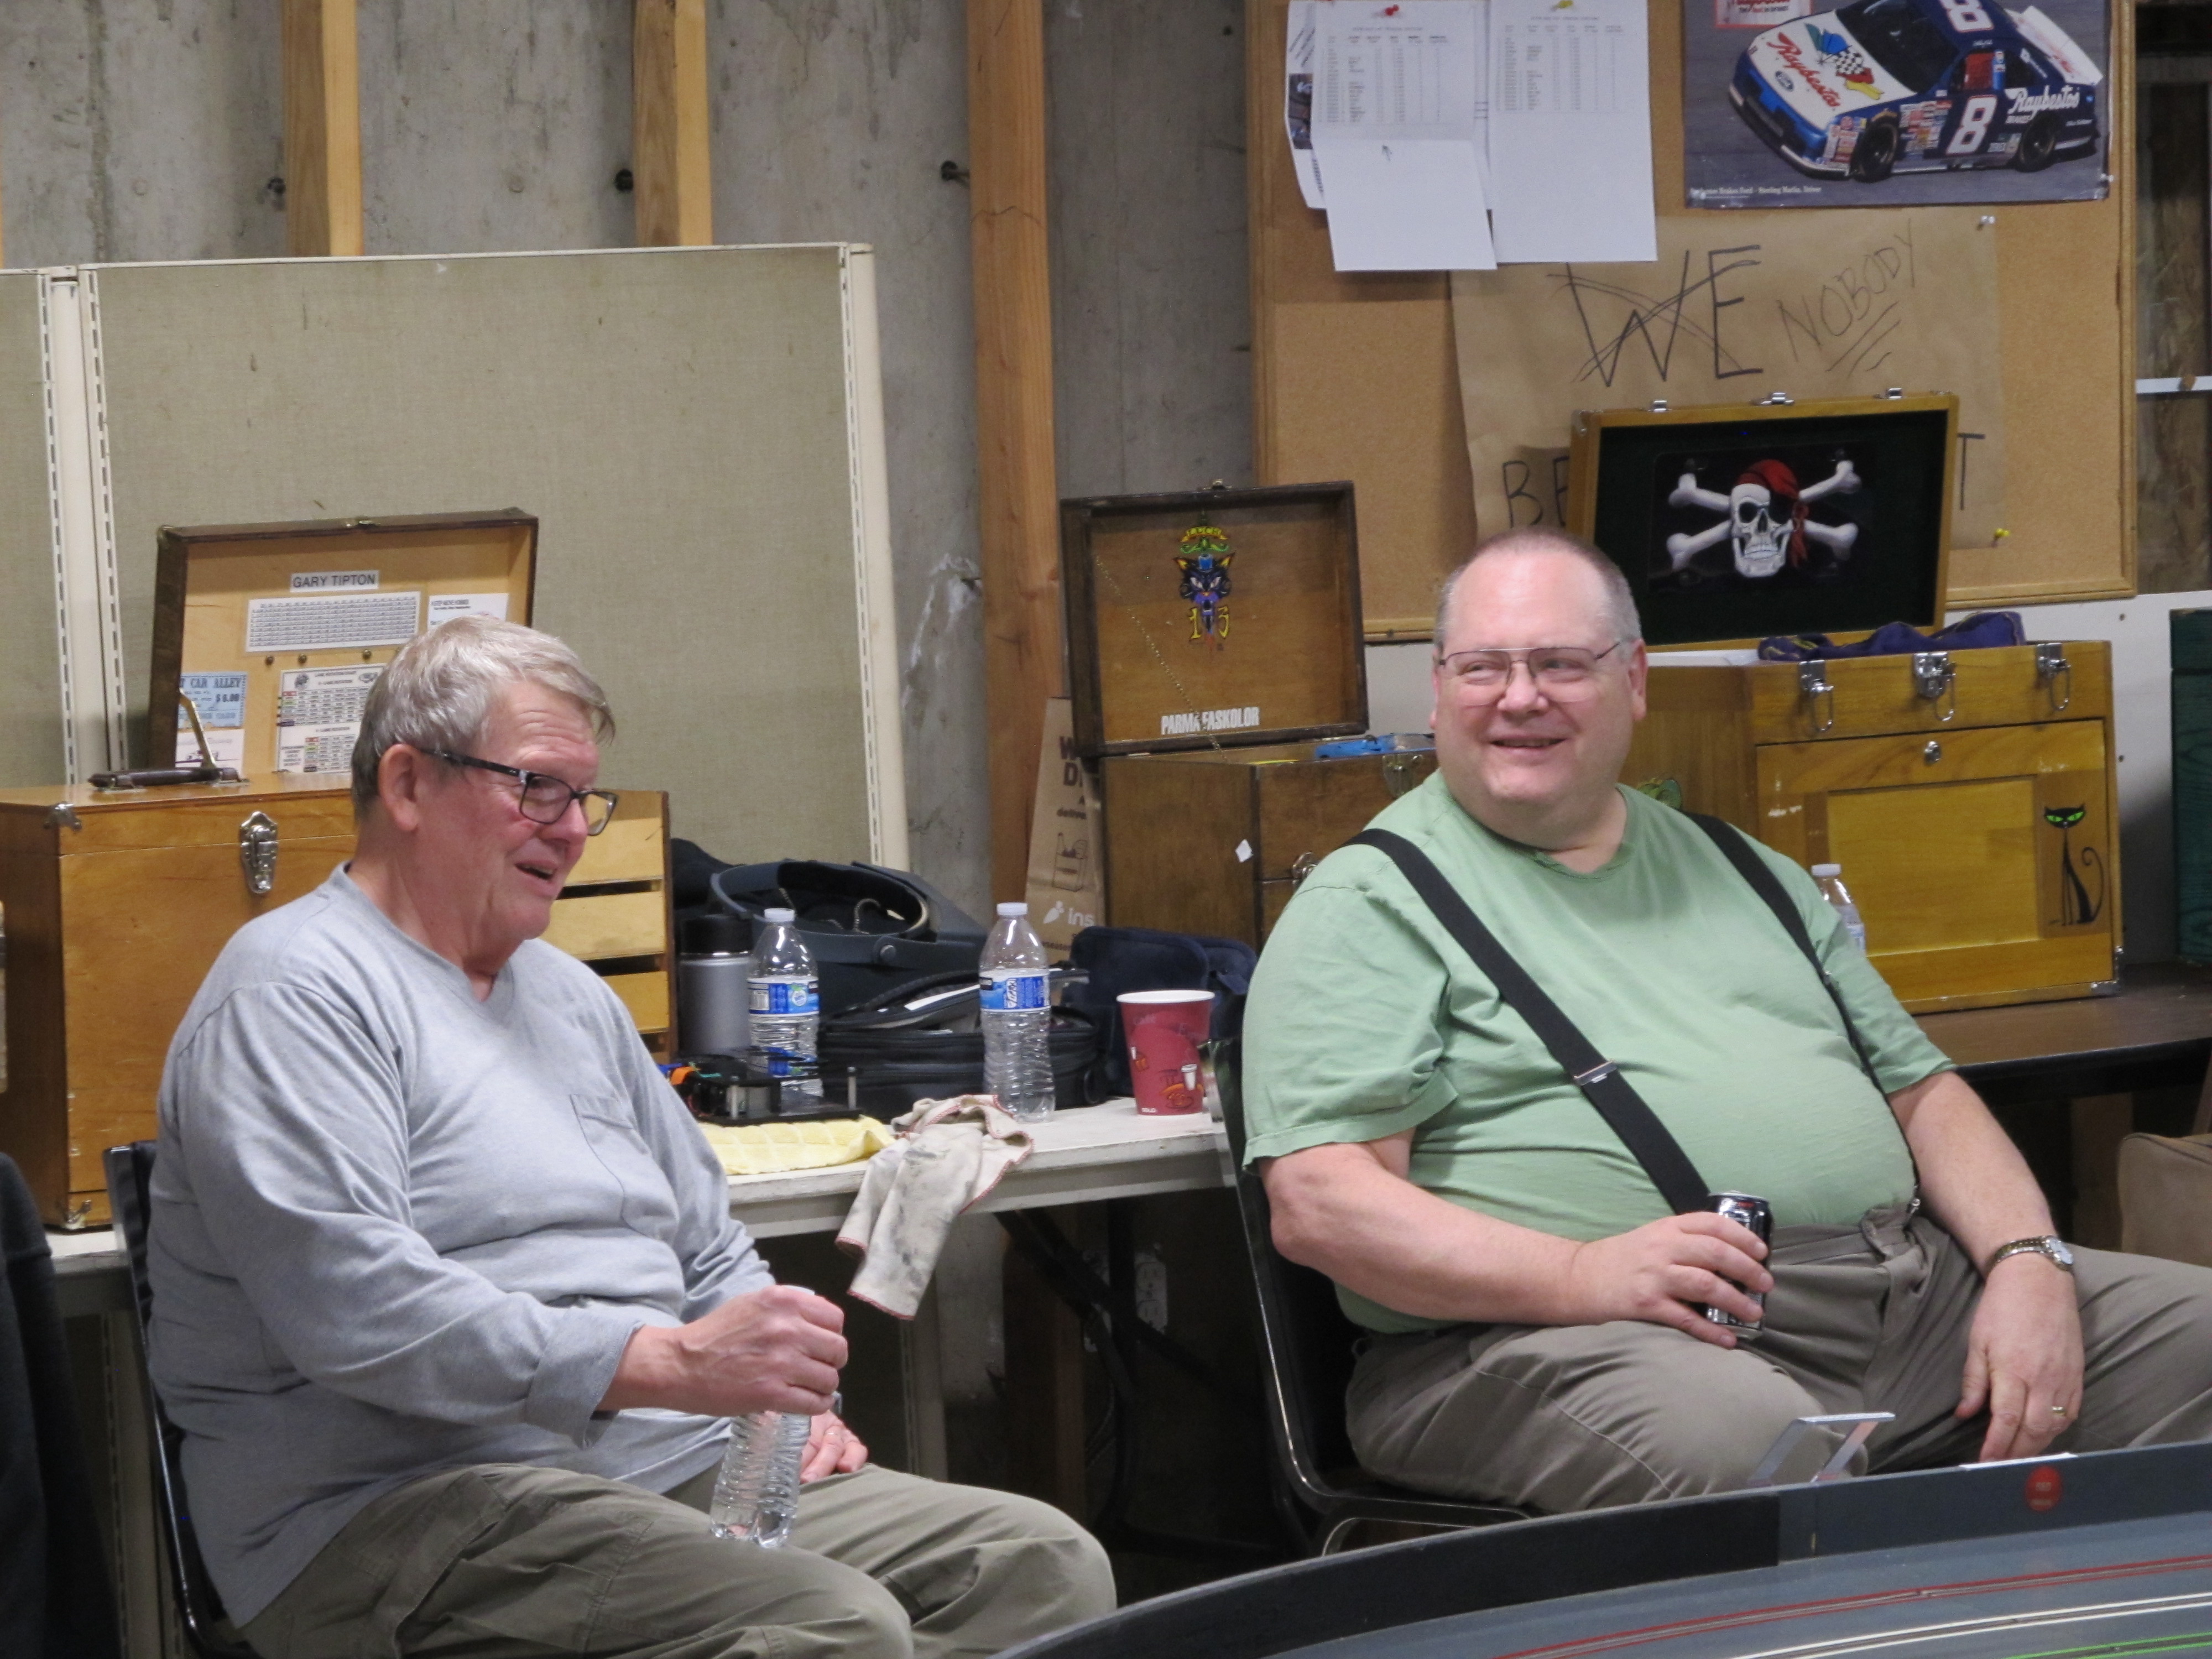
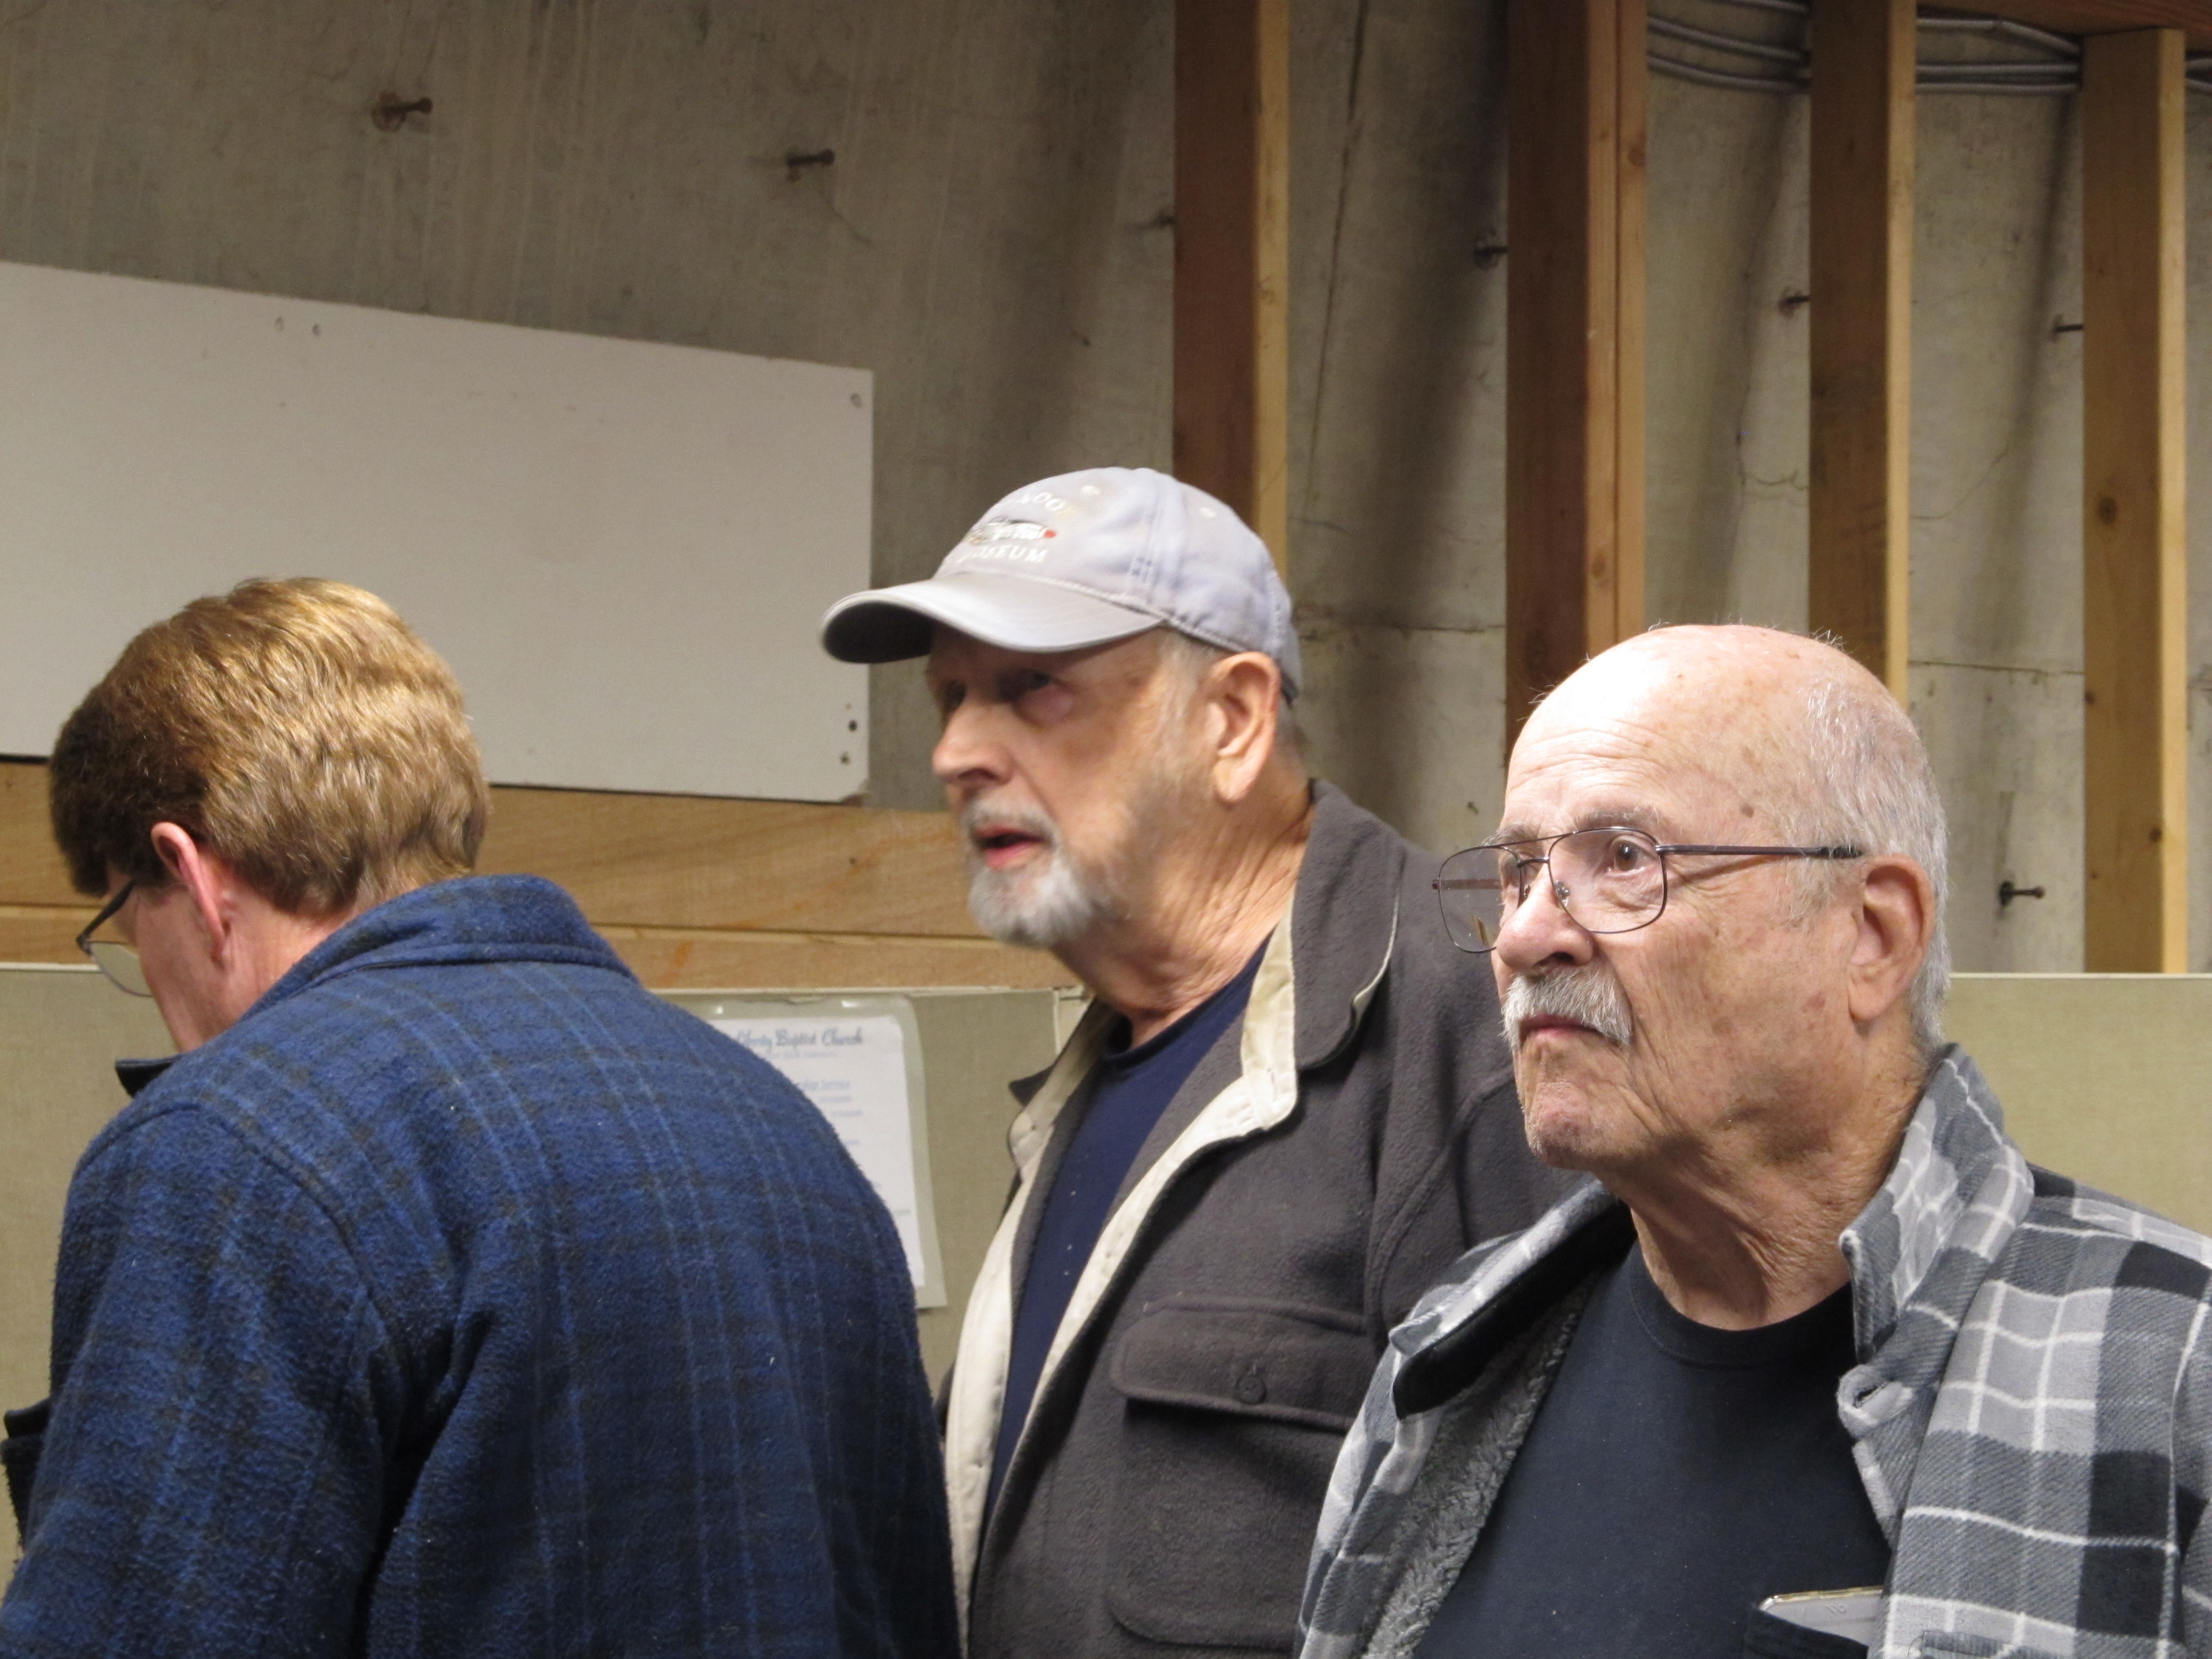
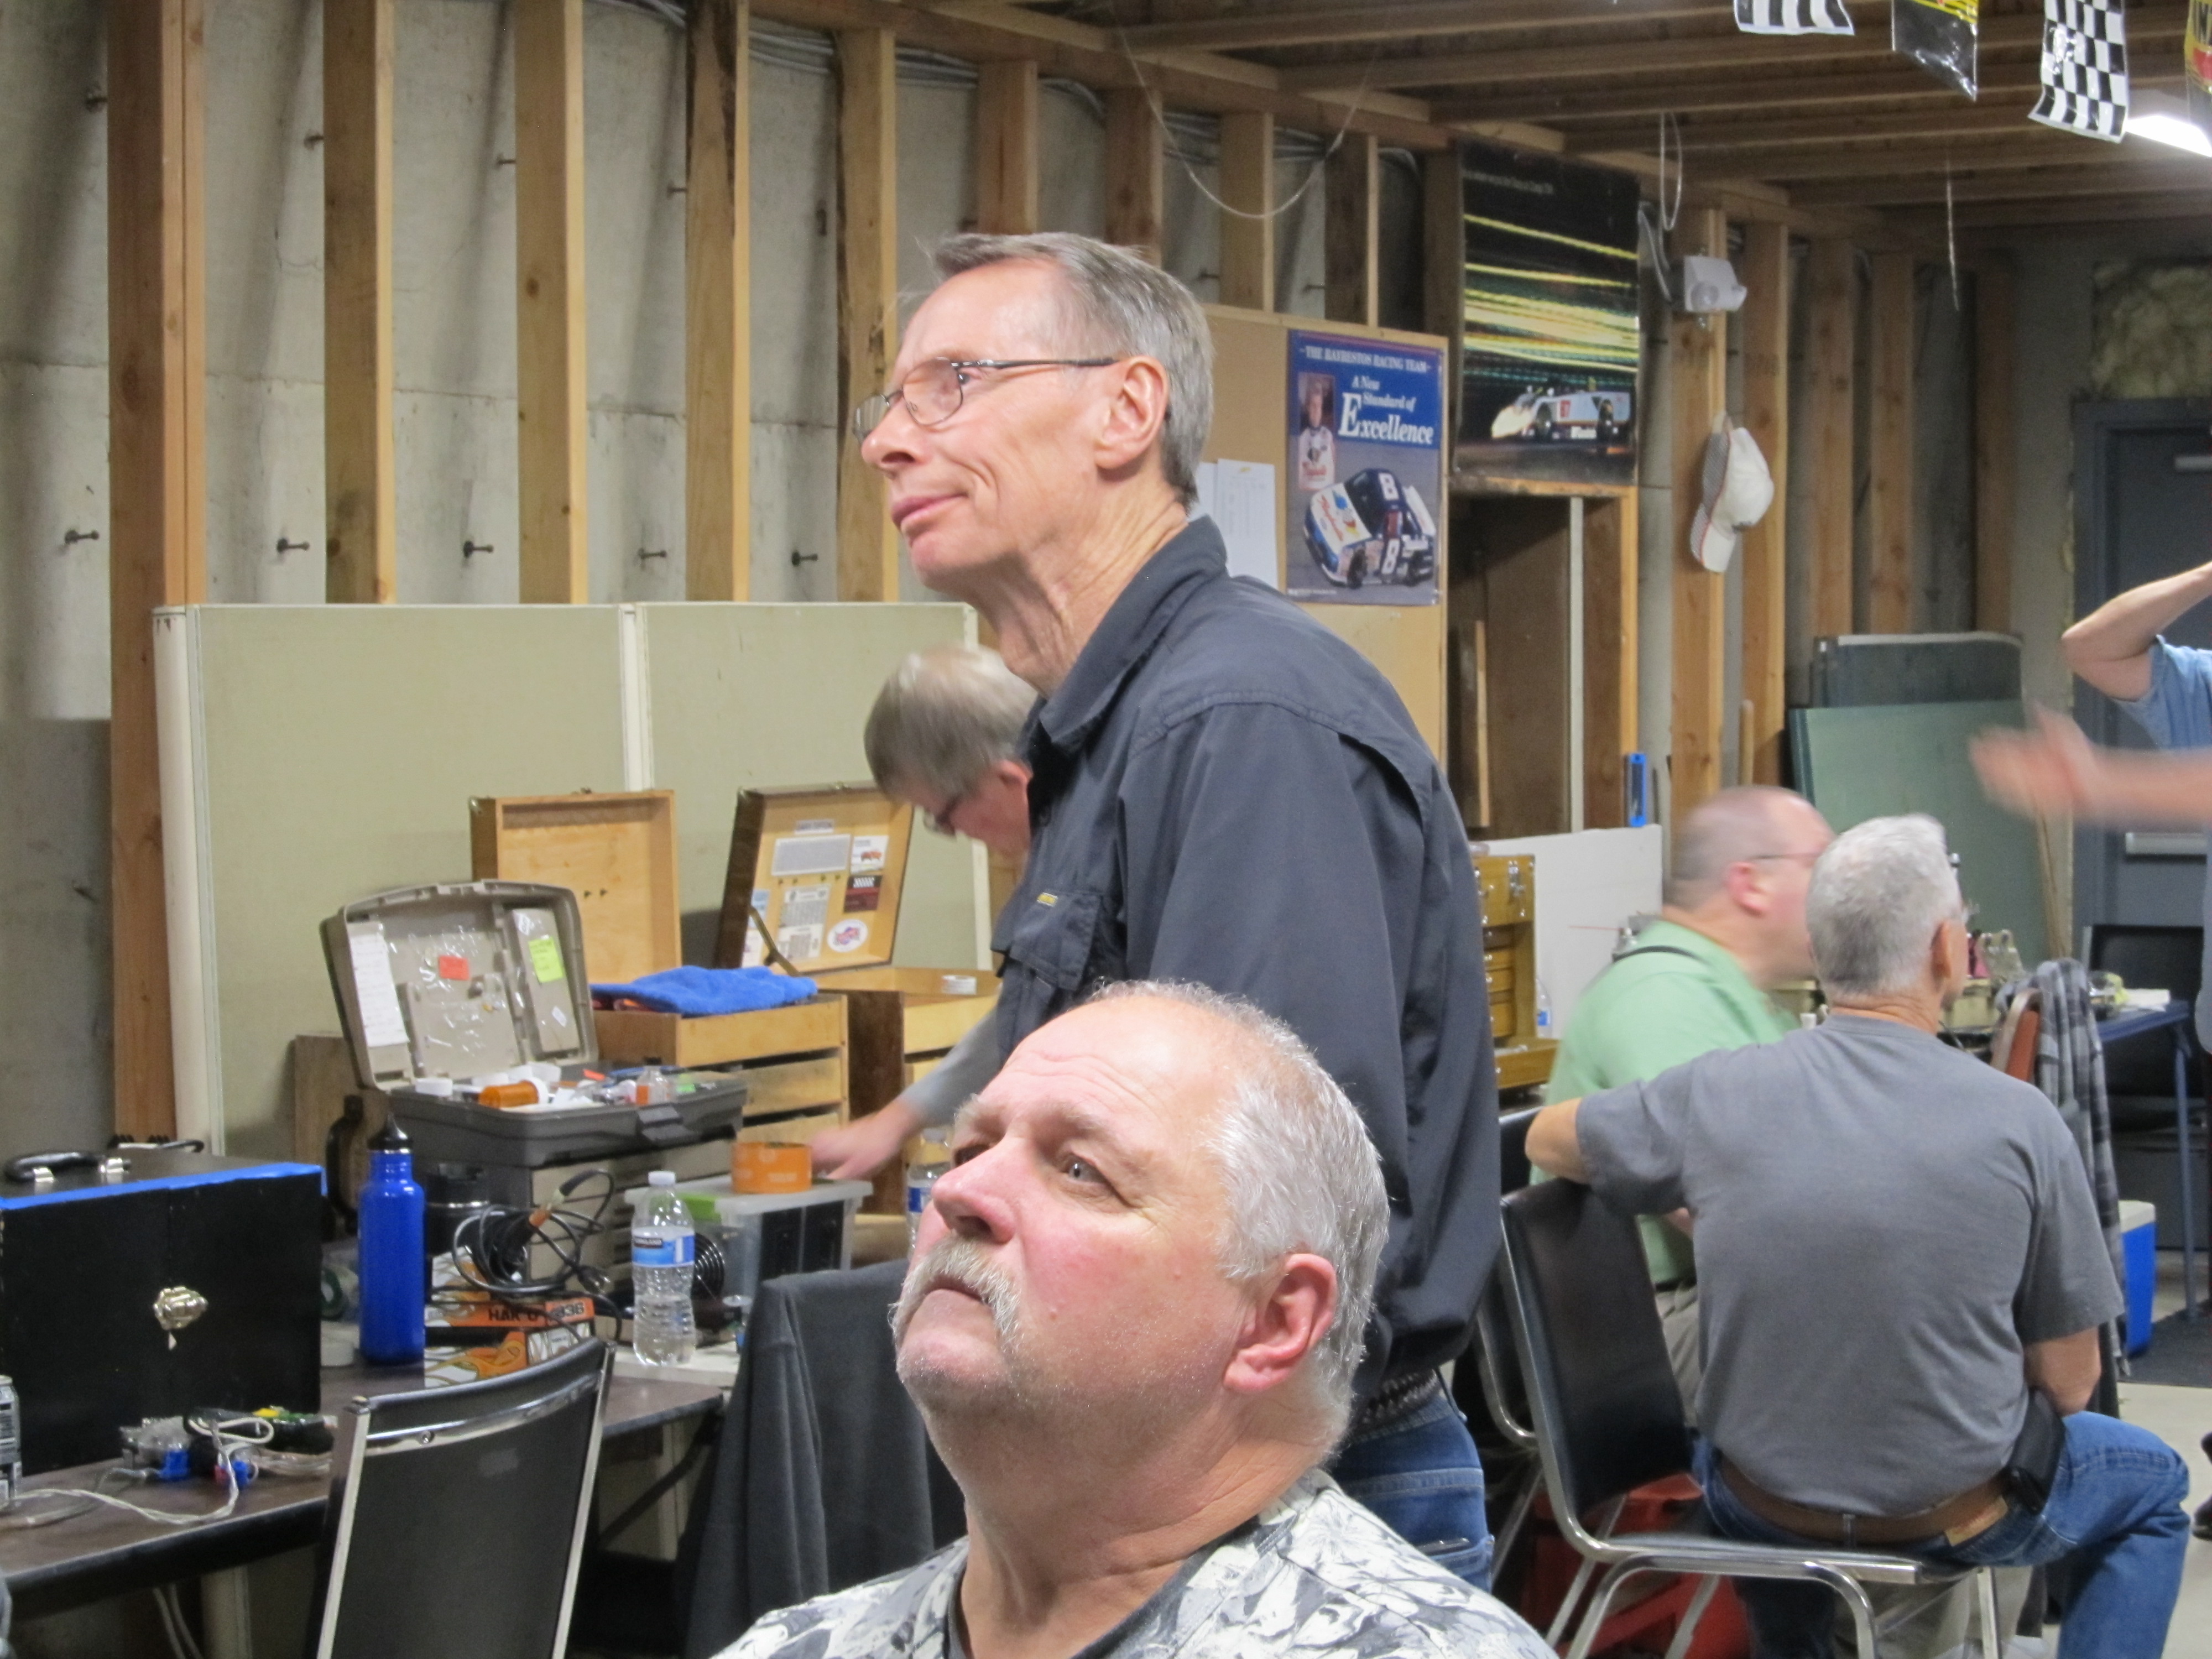
EVERYONE seemed to have a great time!
1,859 November 10, 2019 9:34 am
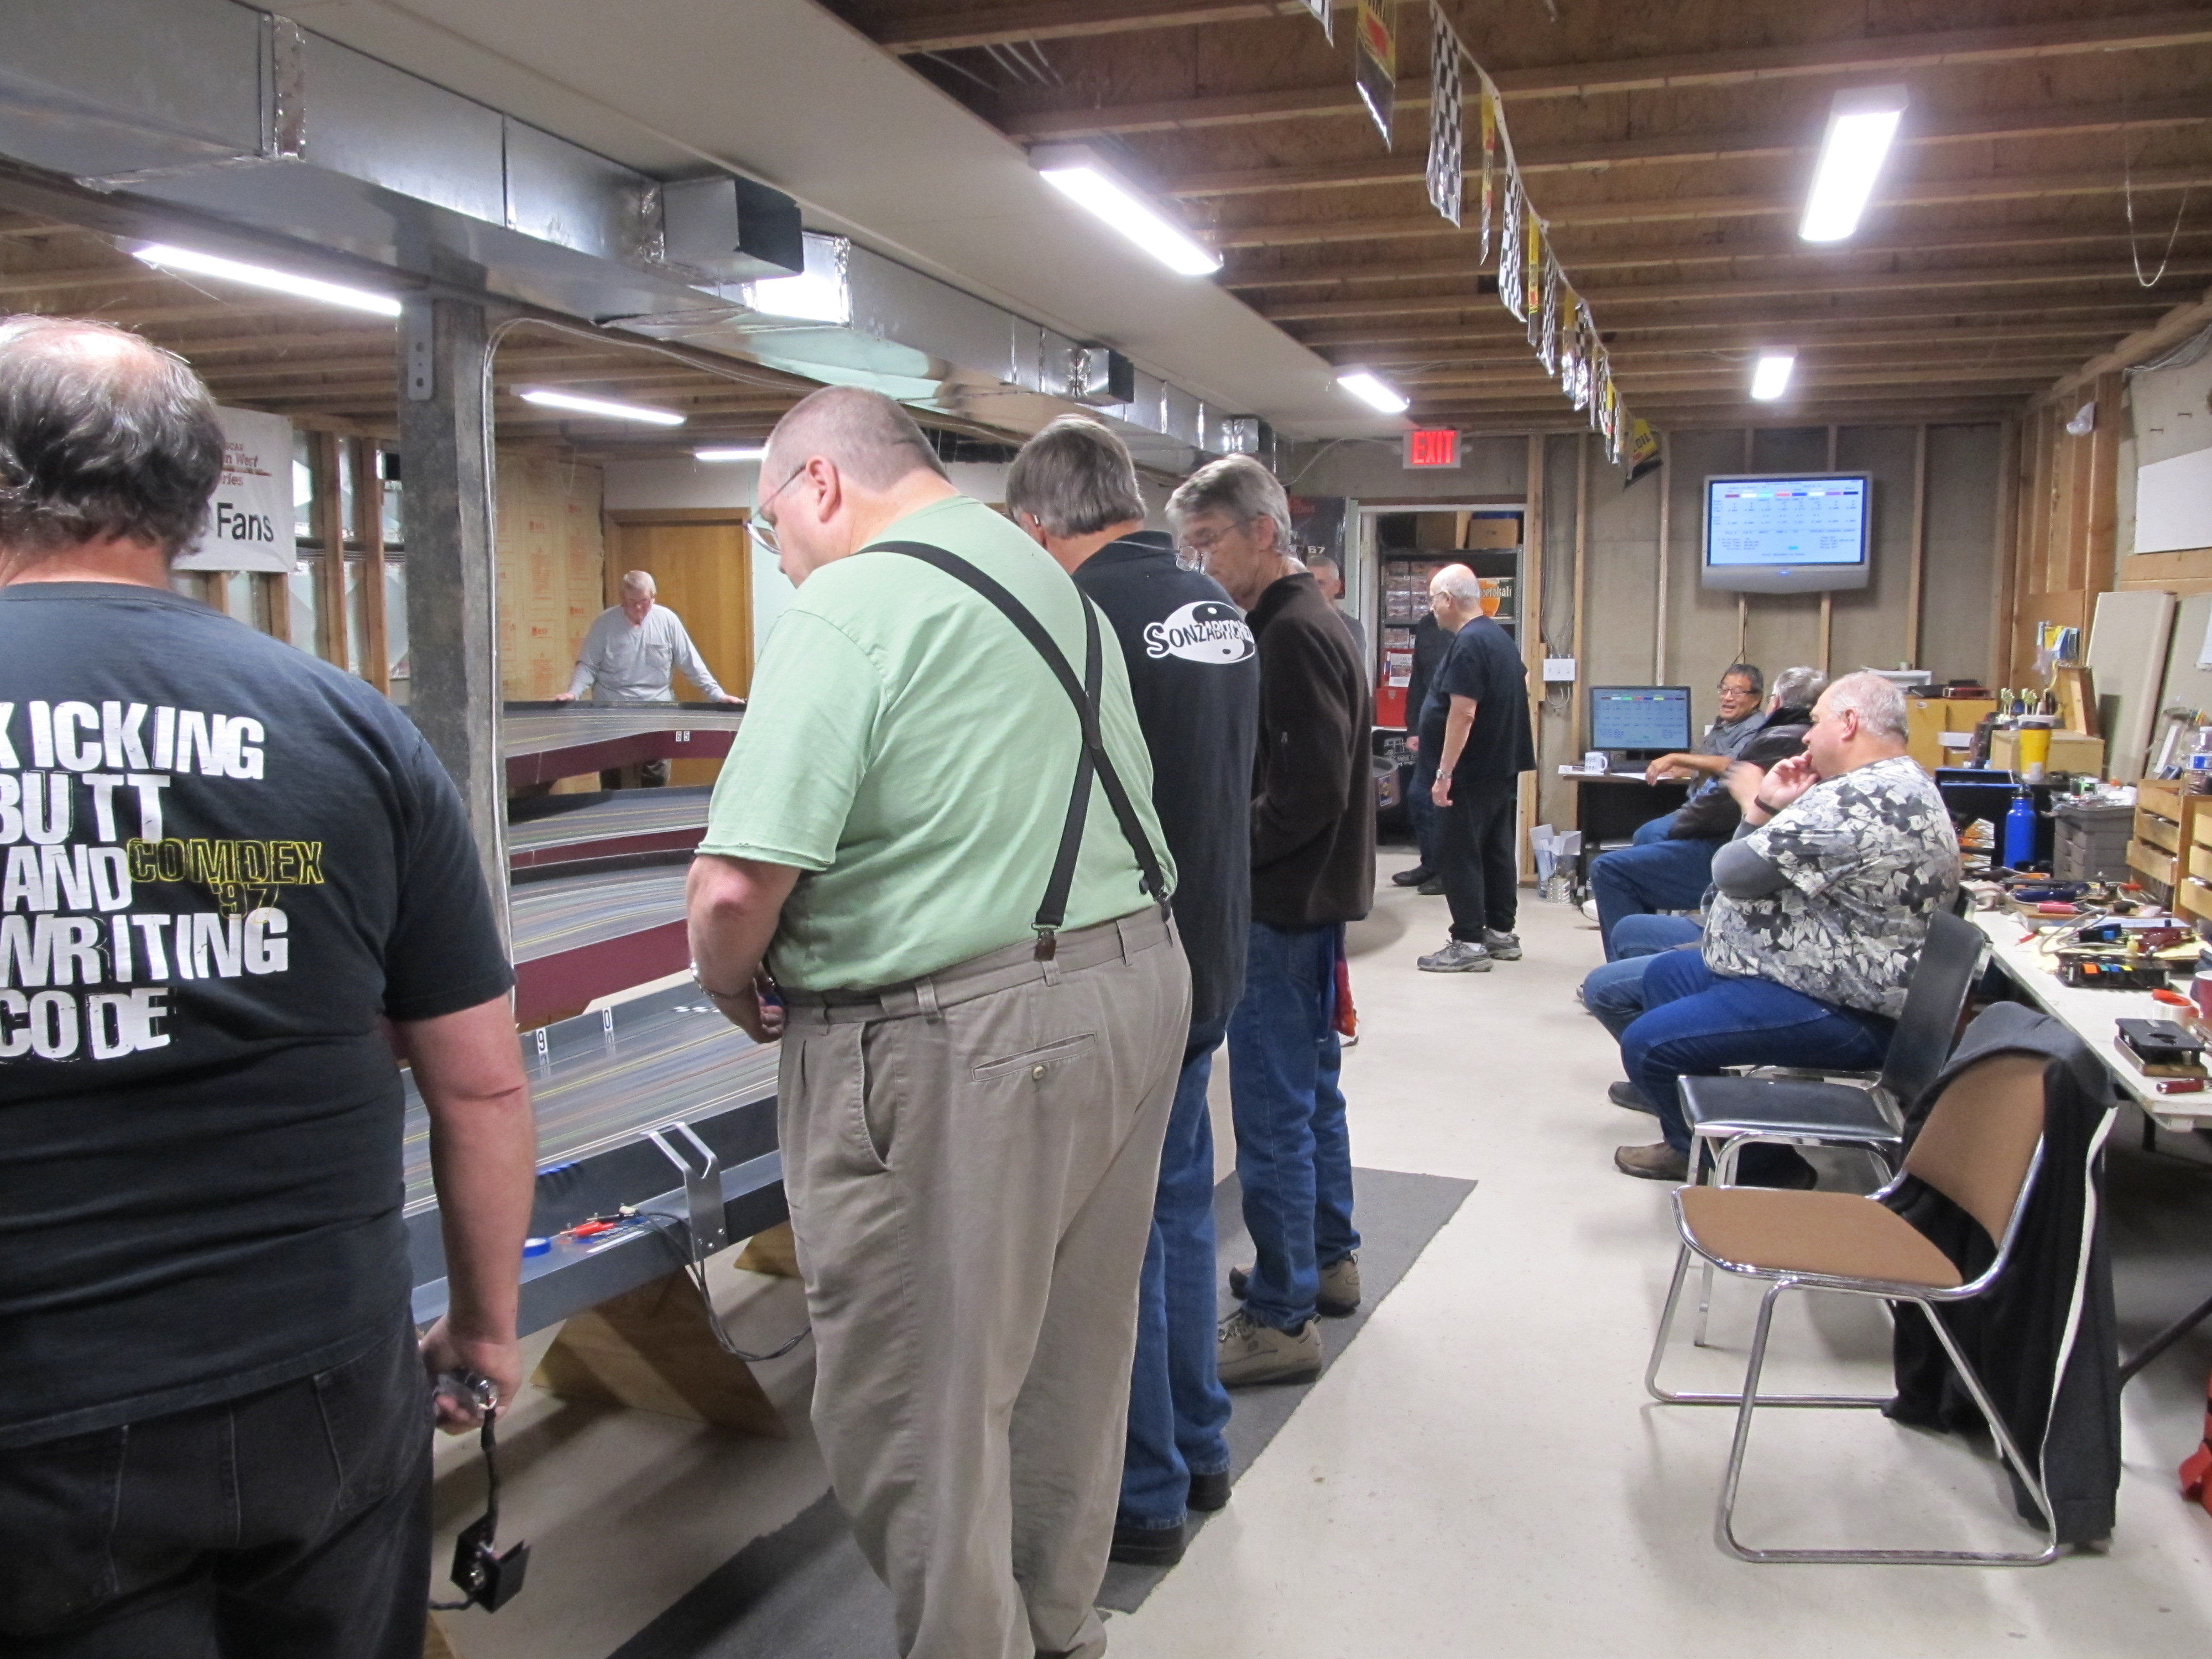
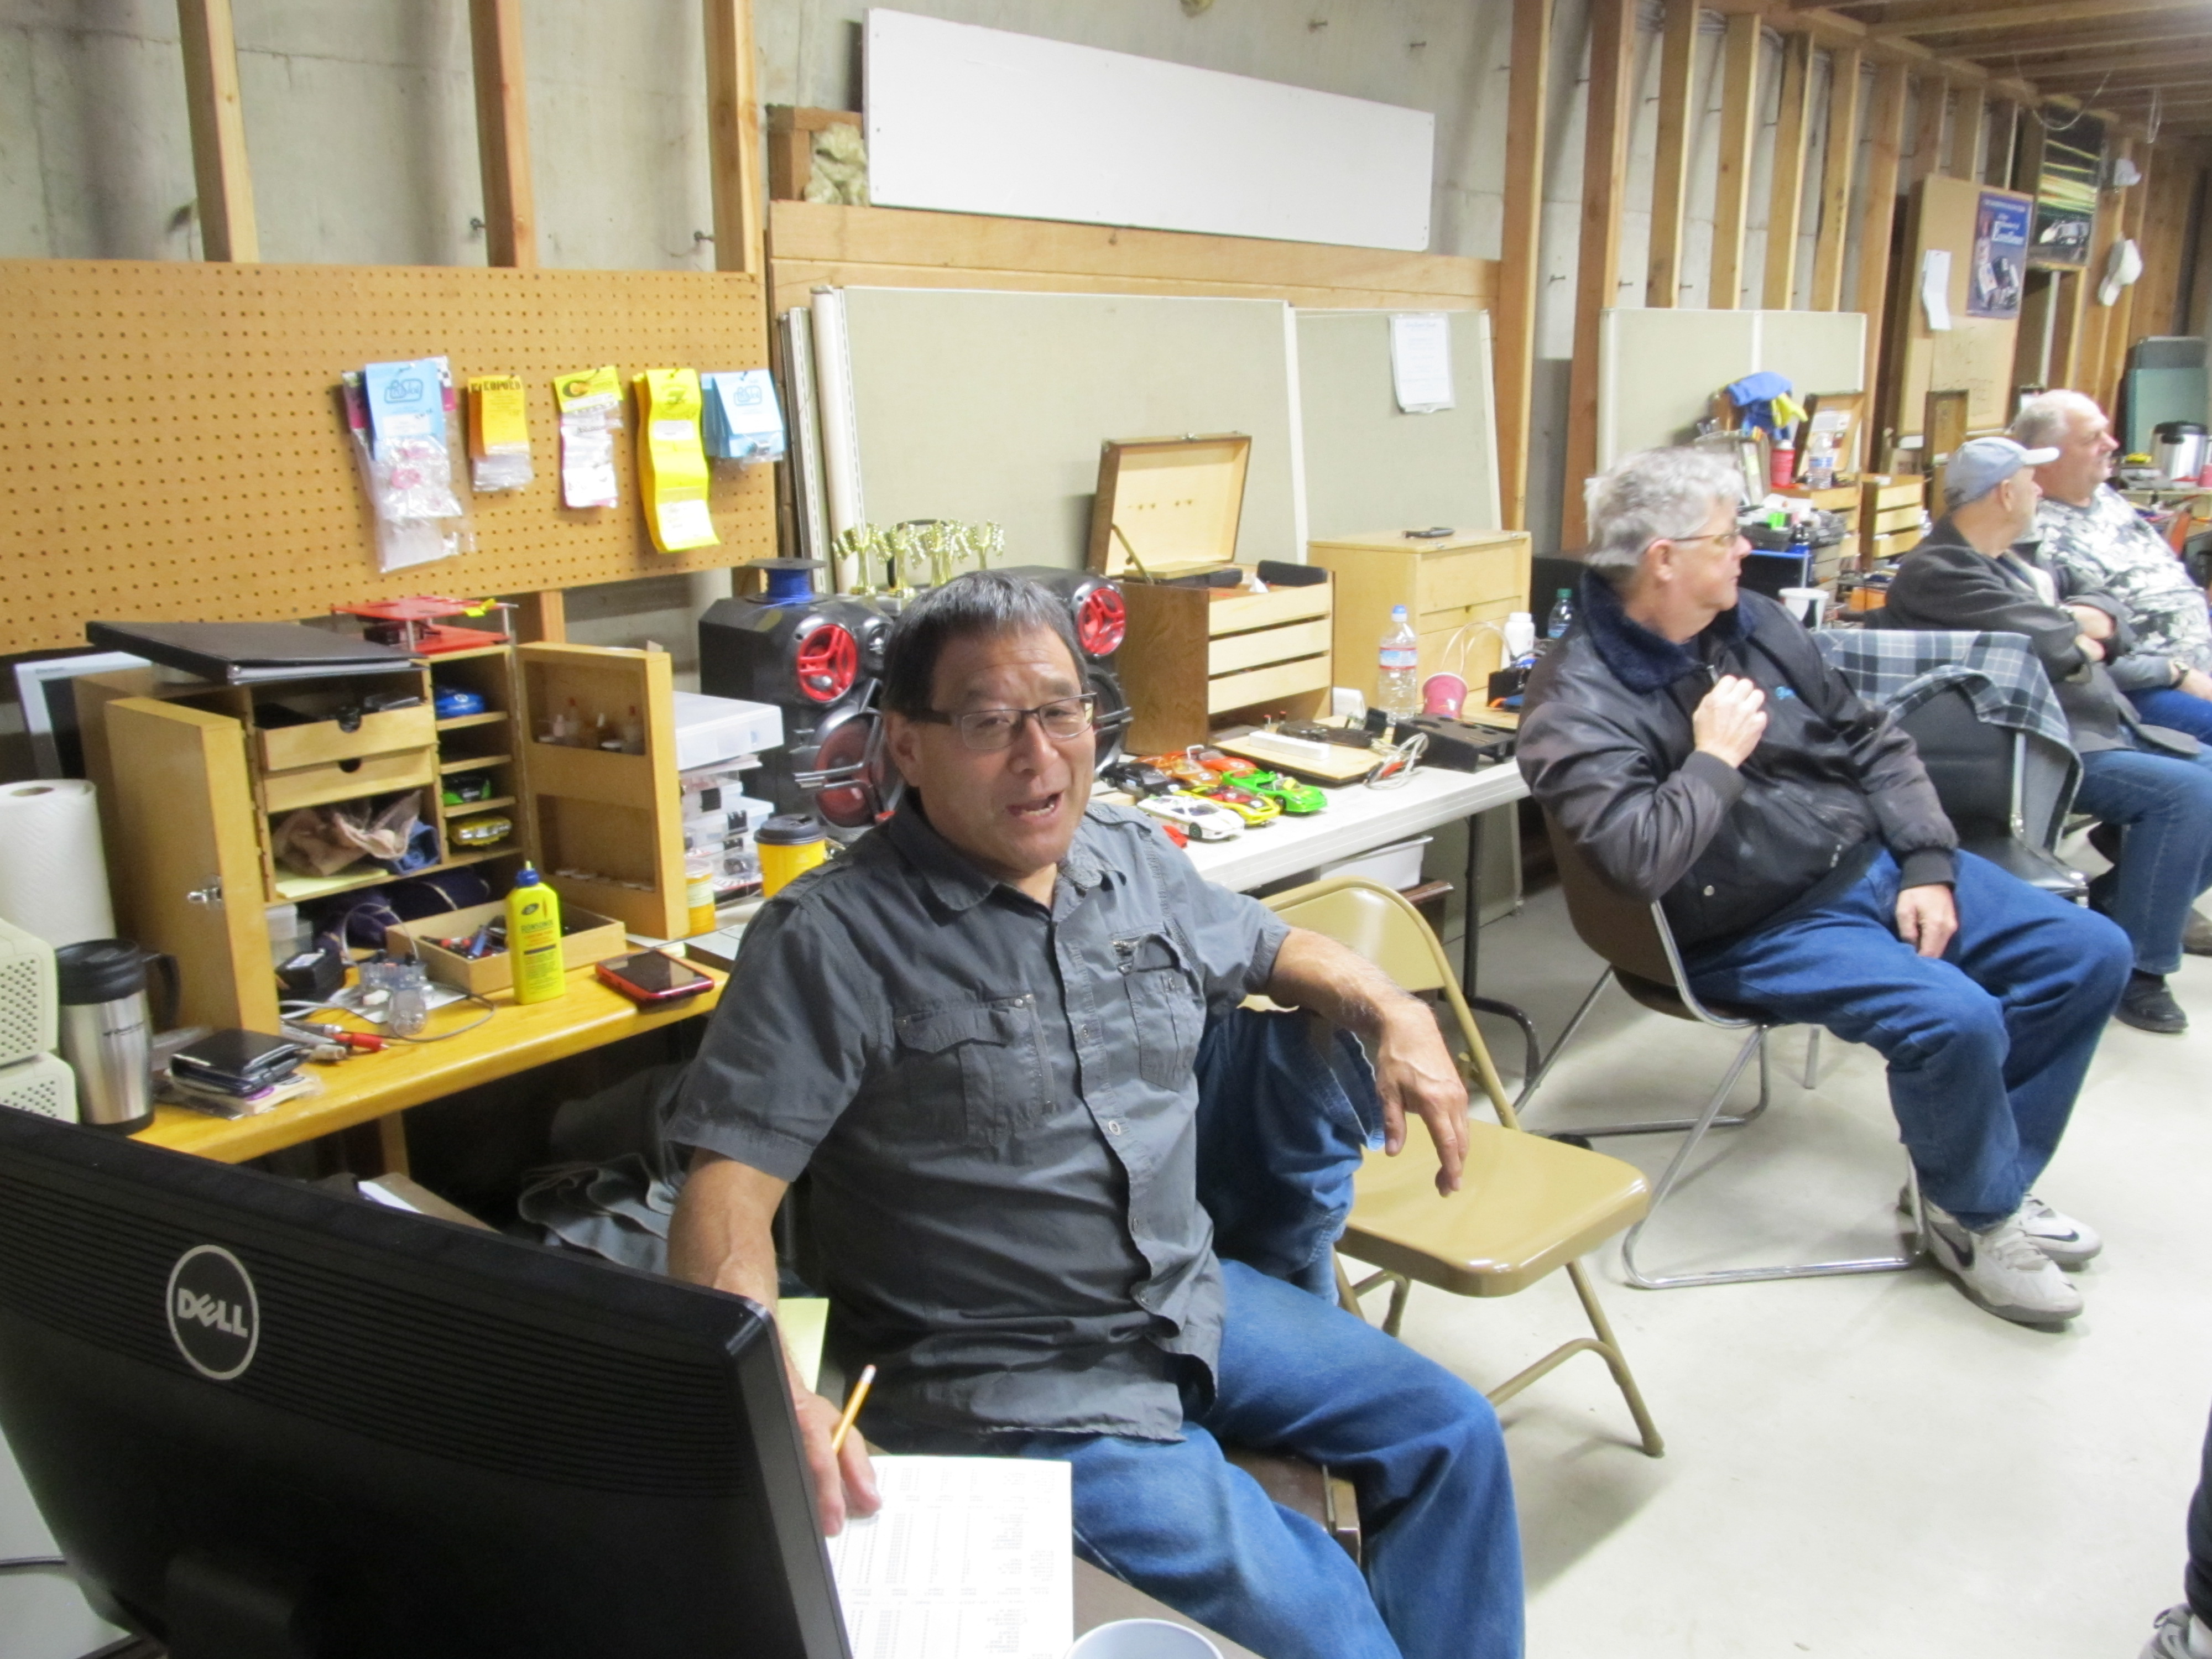
Re: OSCAR Sportscar race (21 replies, posted in Springwater Raceway)
Positioning your camera close to the computer monitor is the best way of getting photos of the competitors!

1,860 November 10, 2019 9:28 am
Re: OSCAR Sportscar race (21 replies, posted in Springwater Raceway)
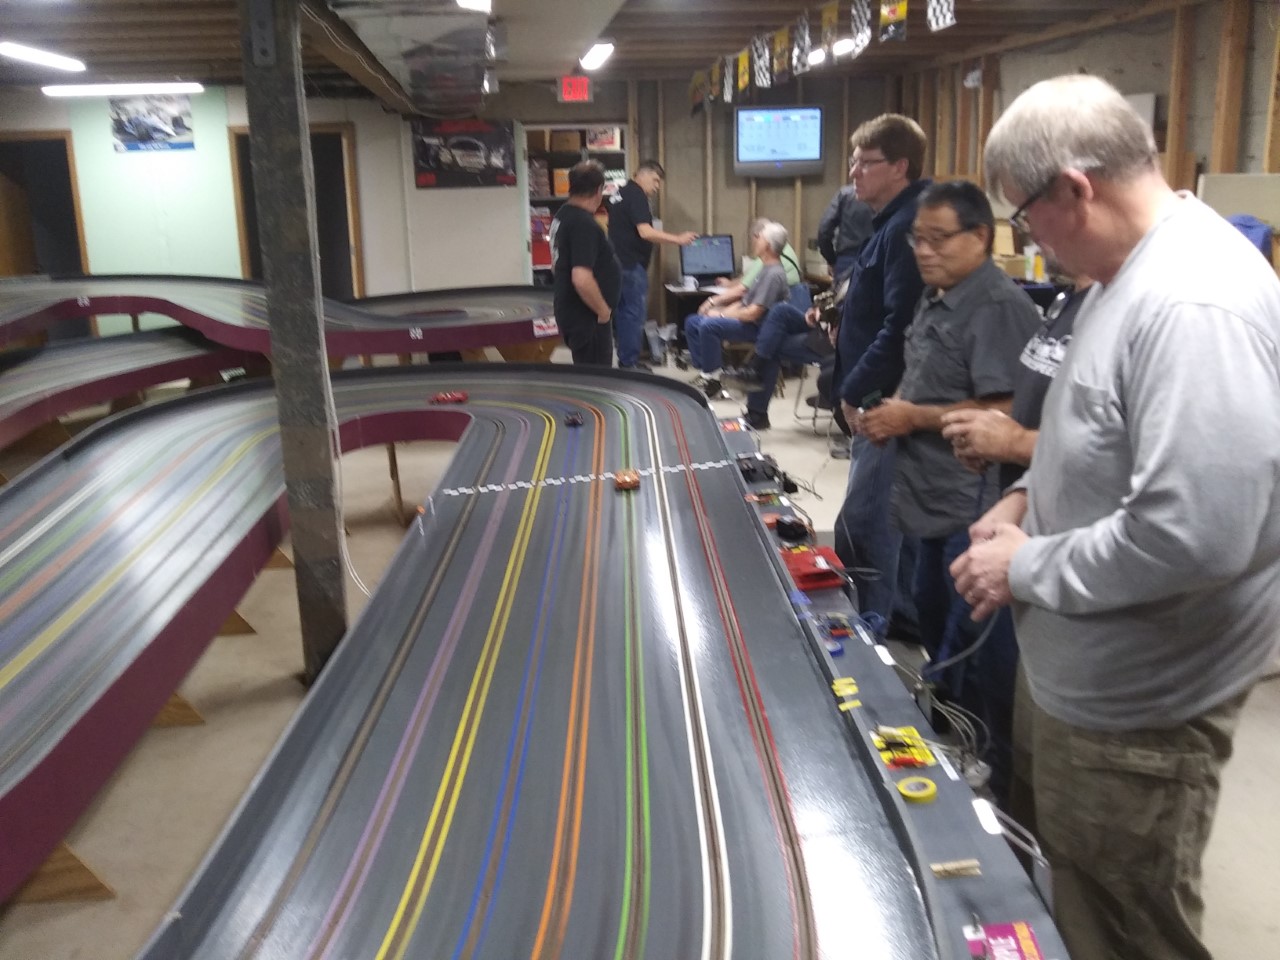
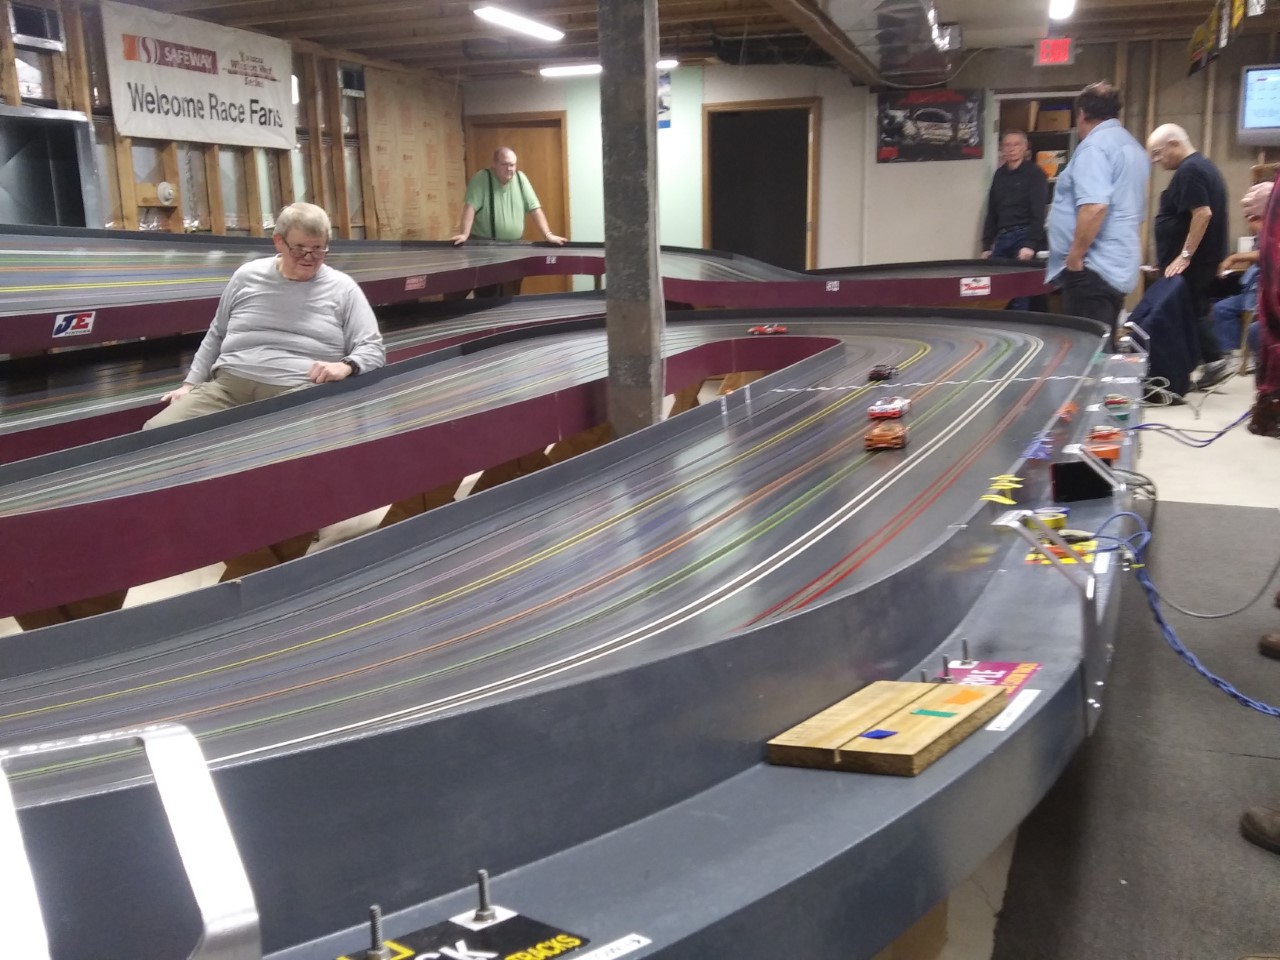
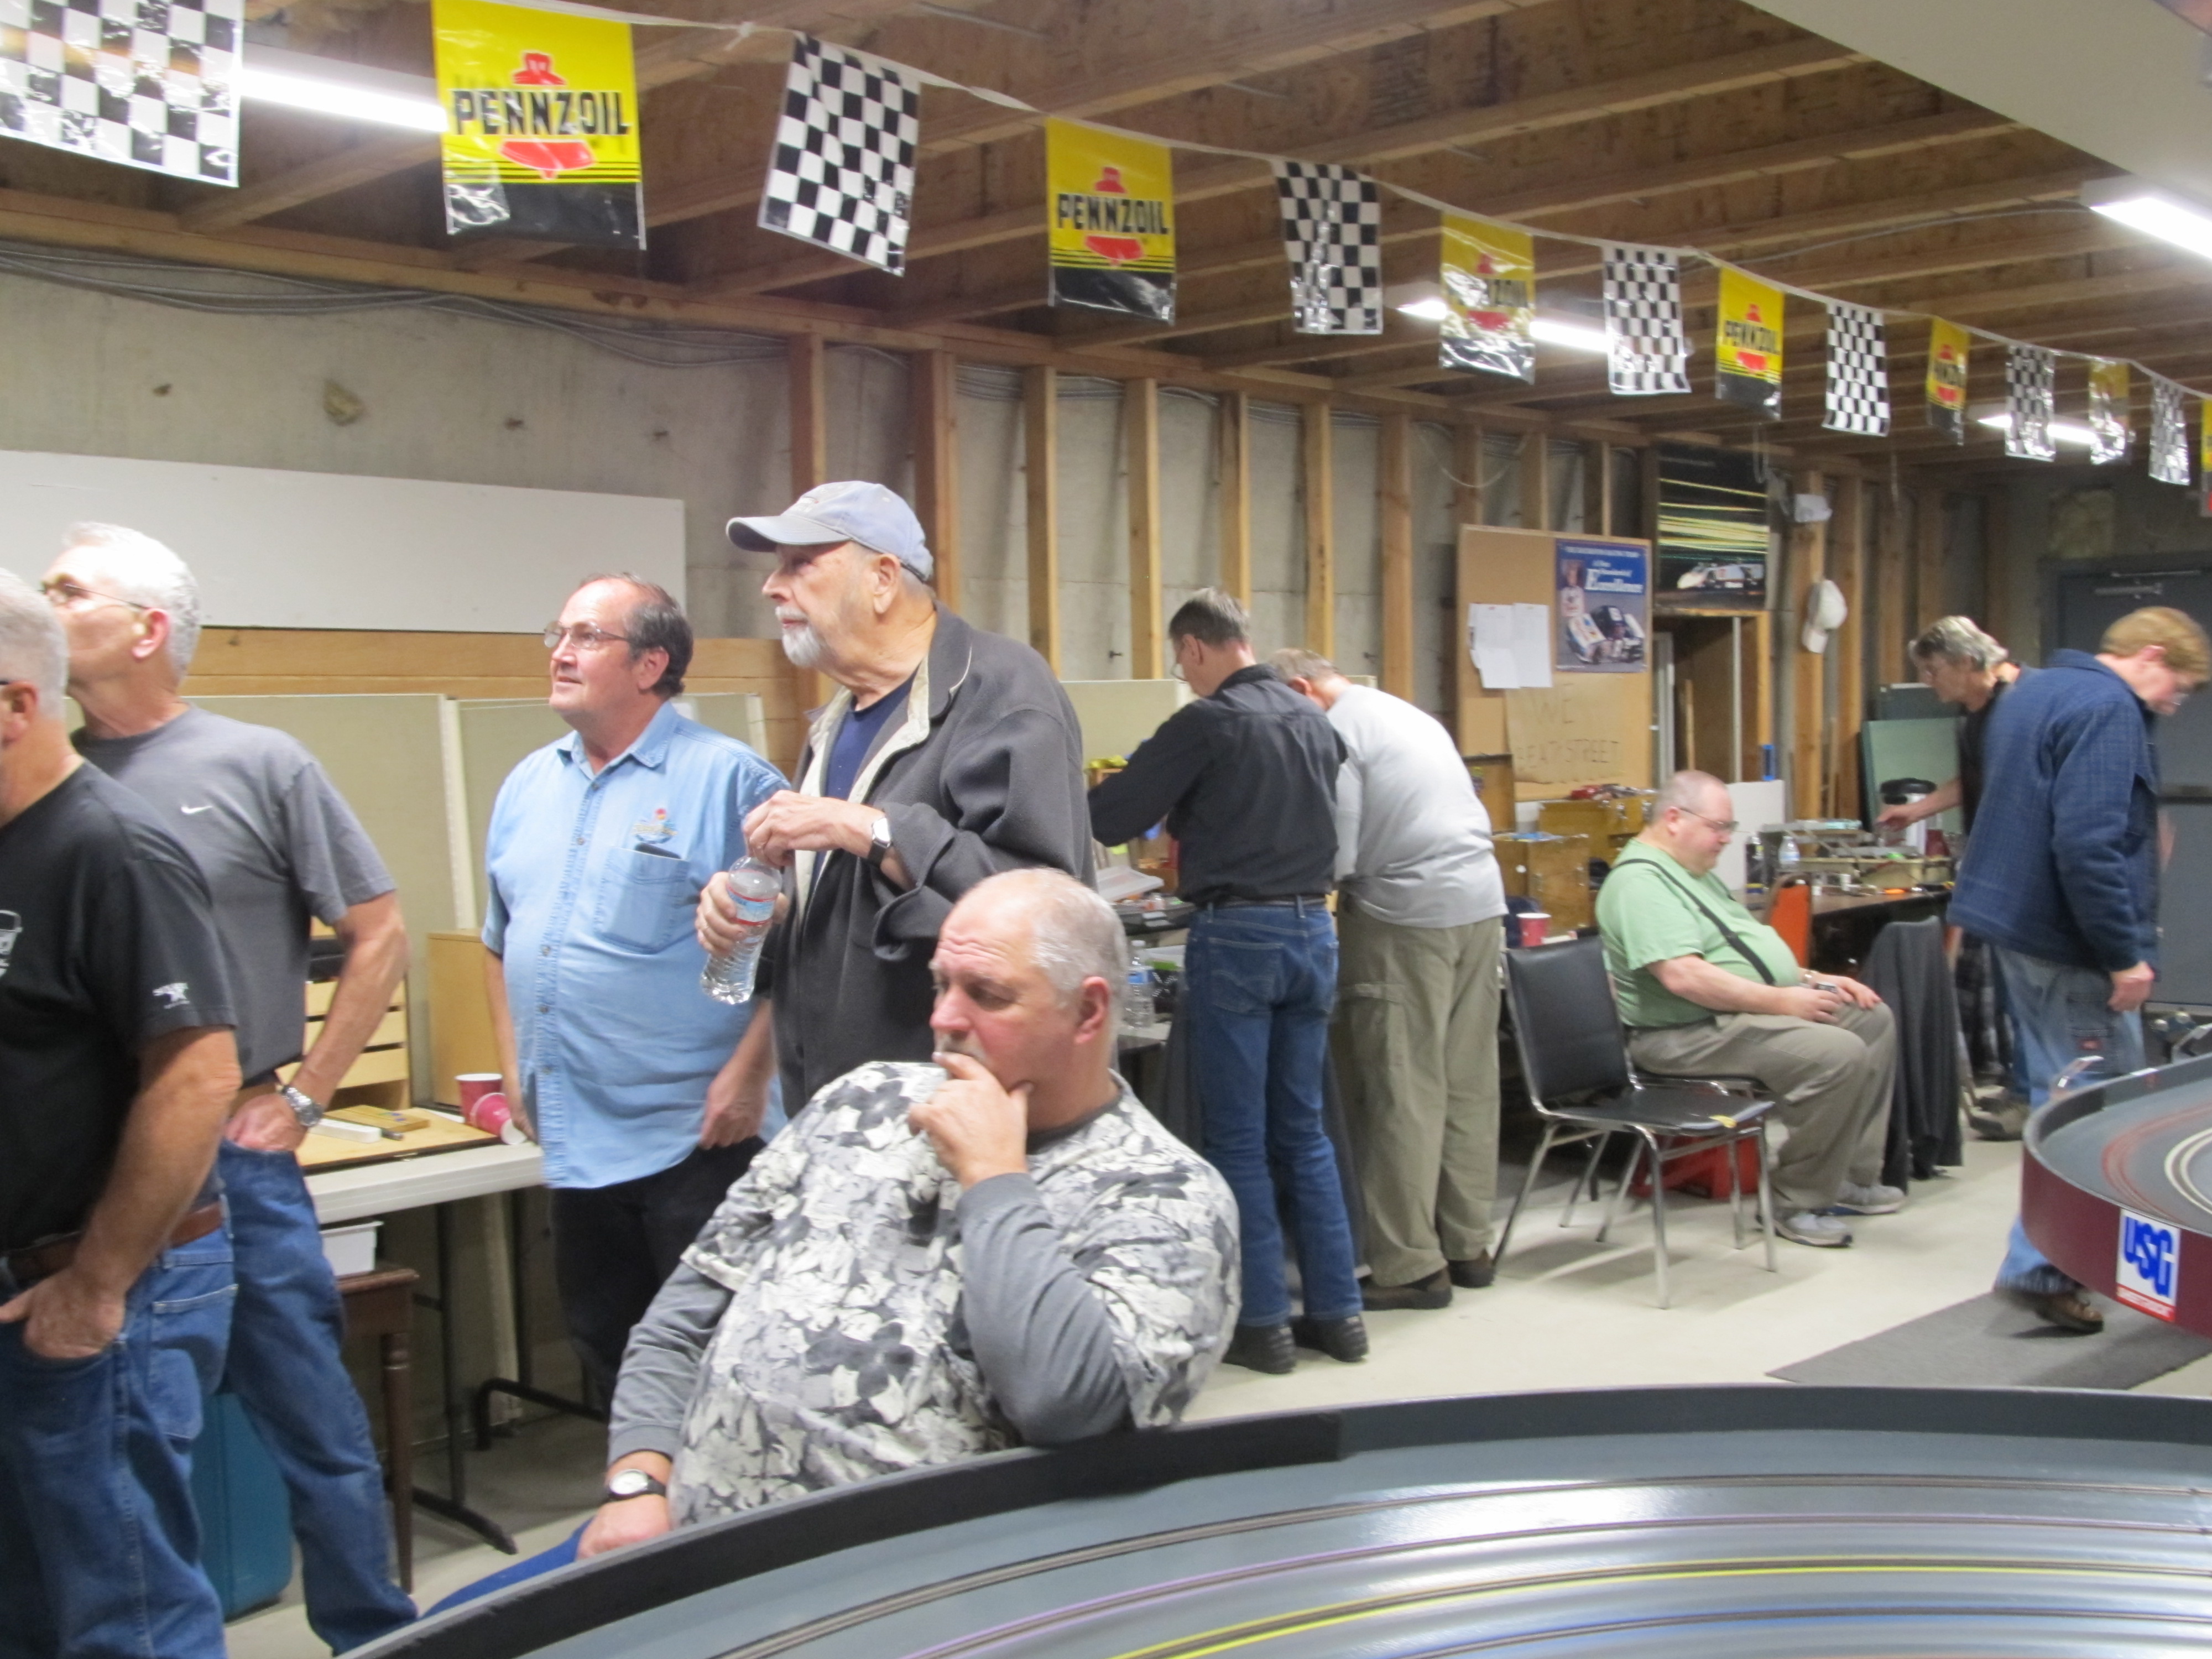
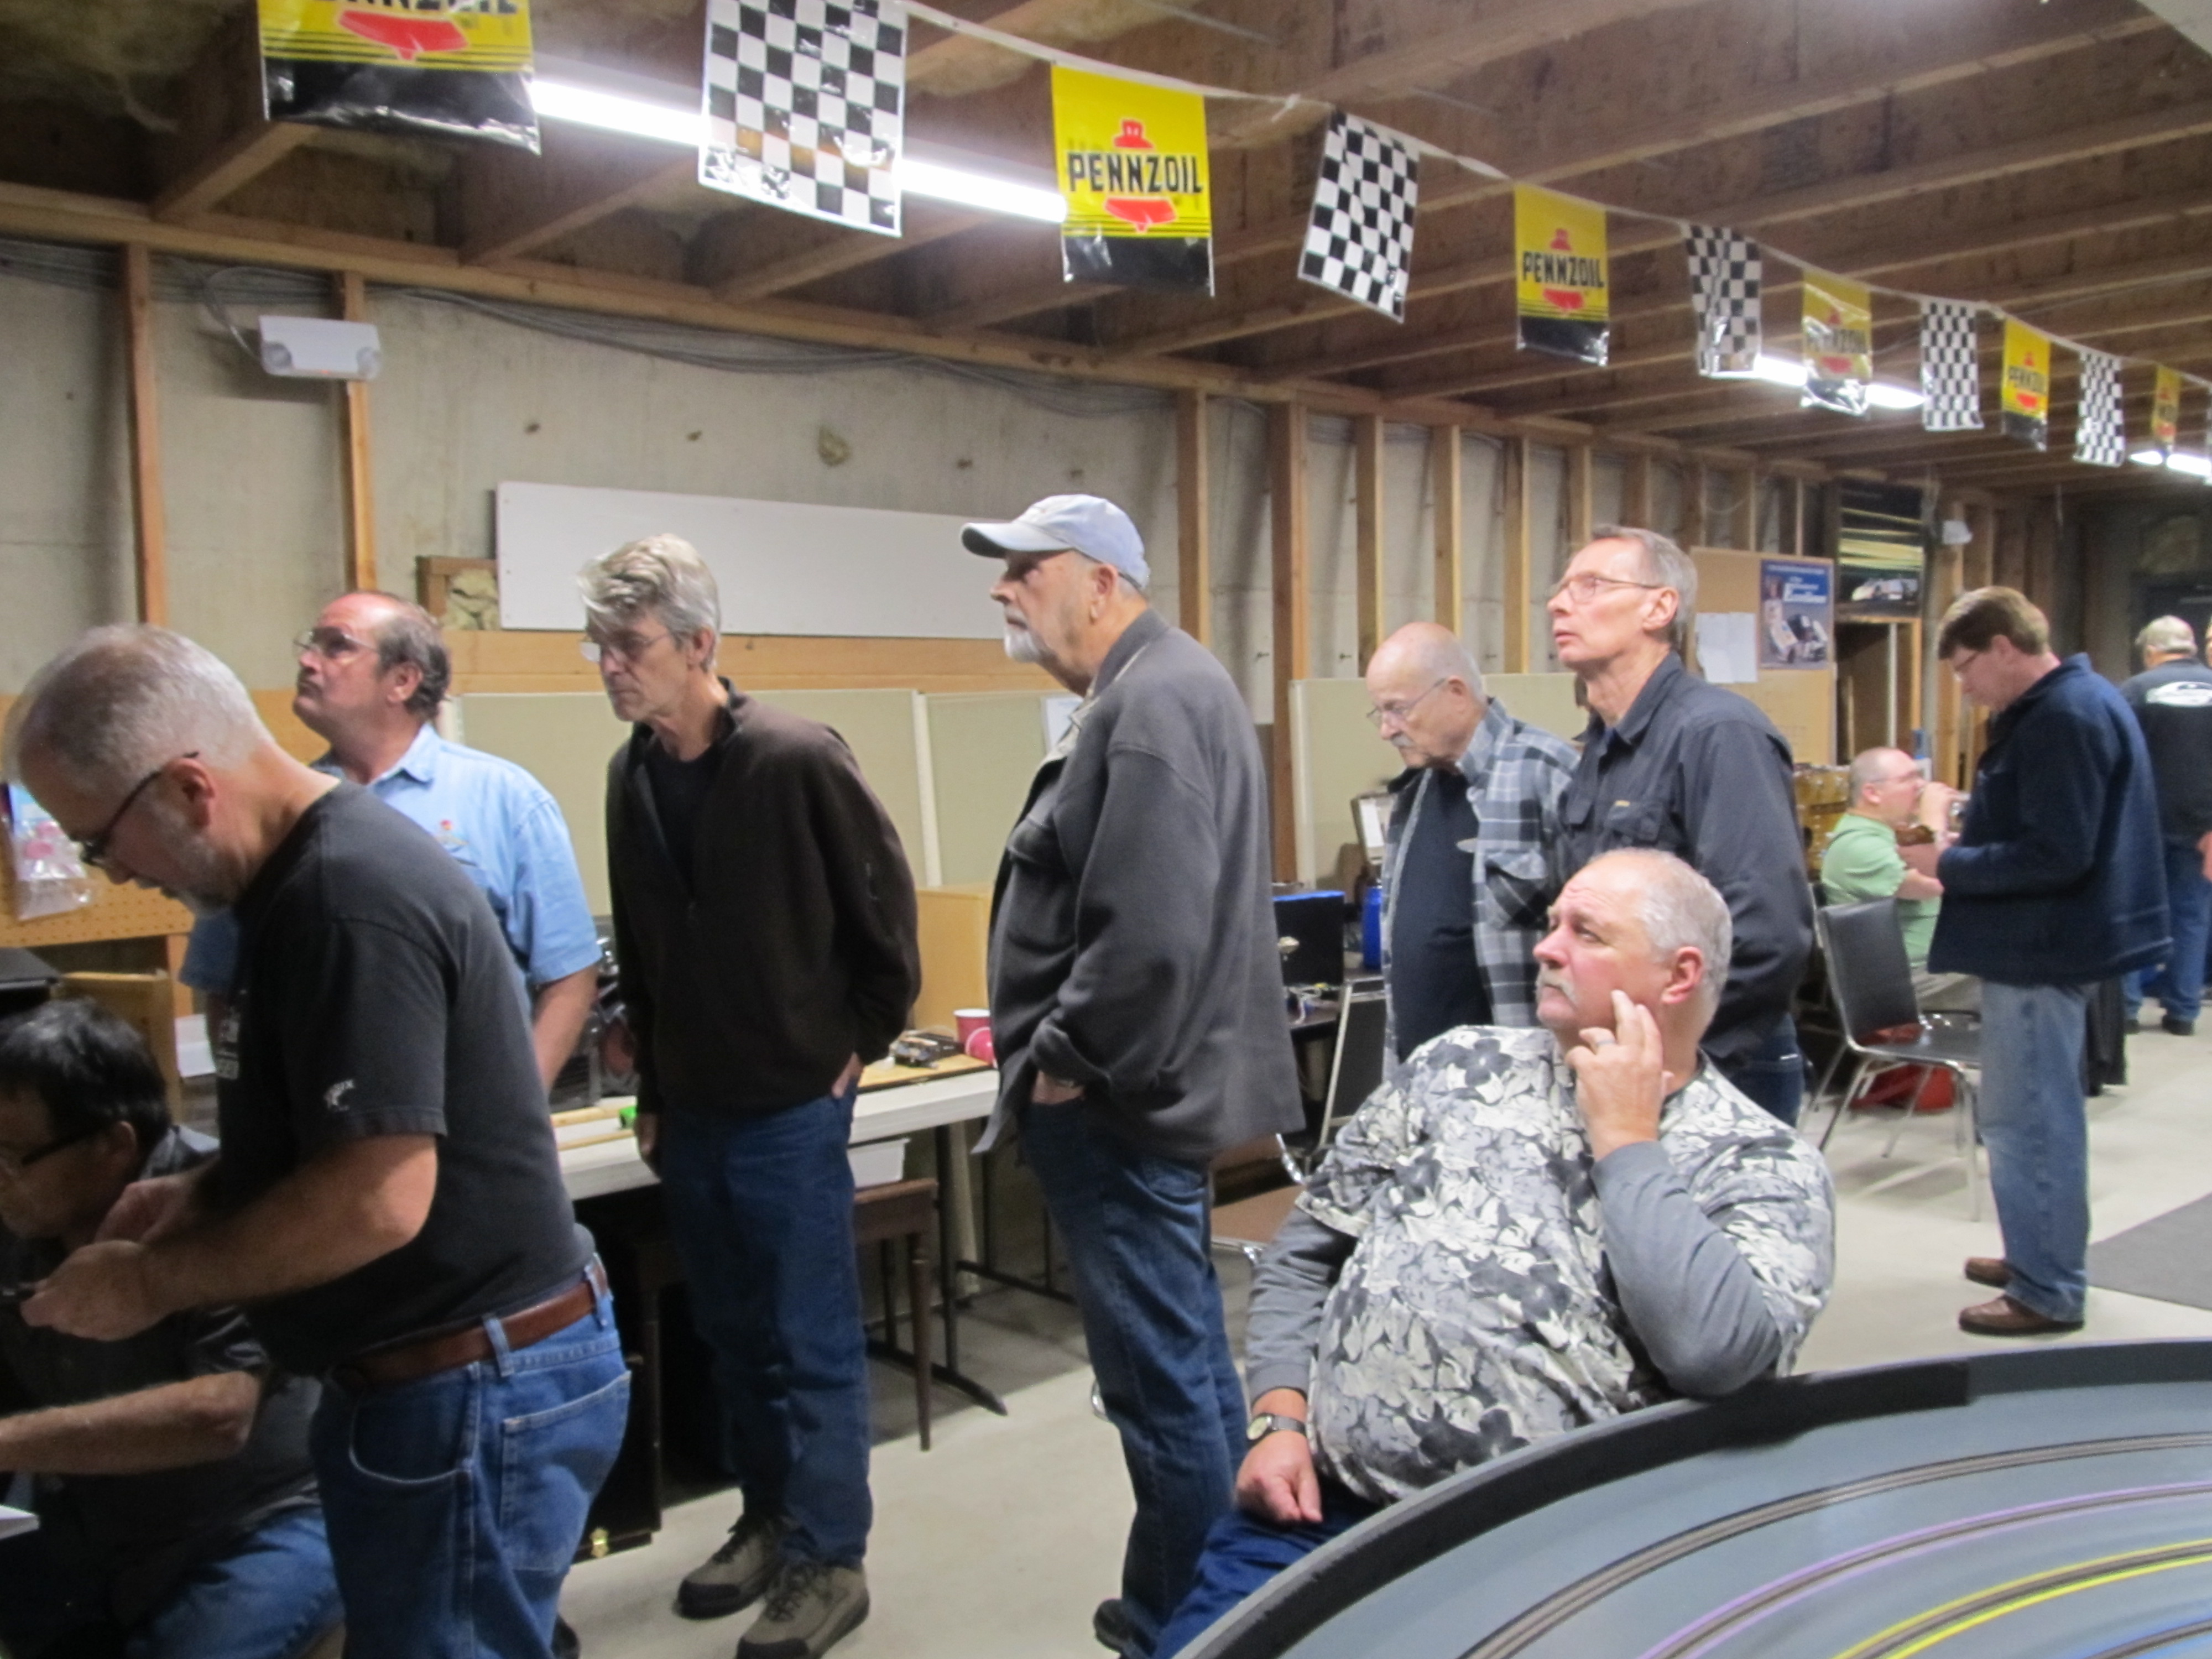
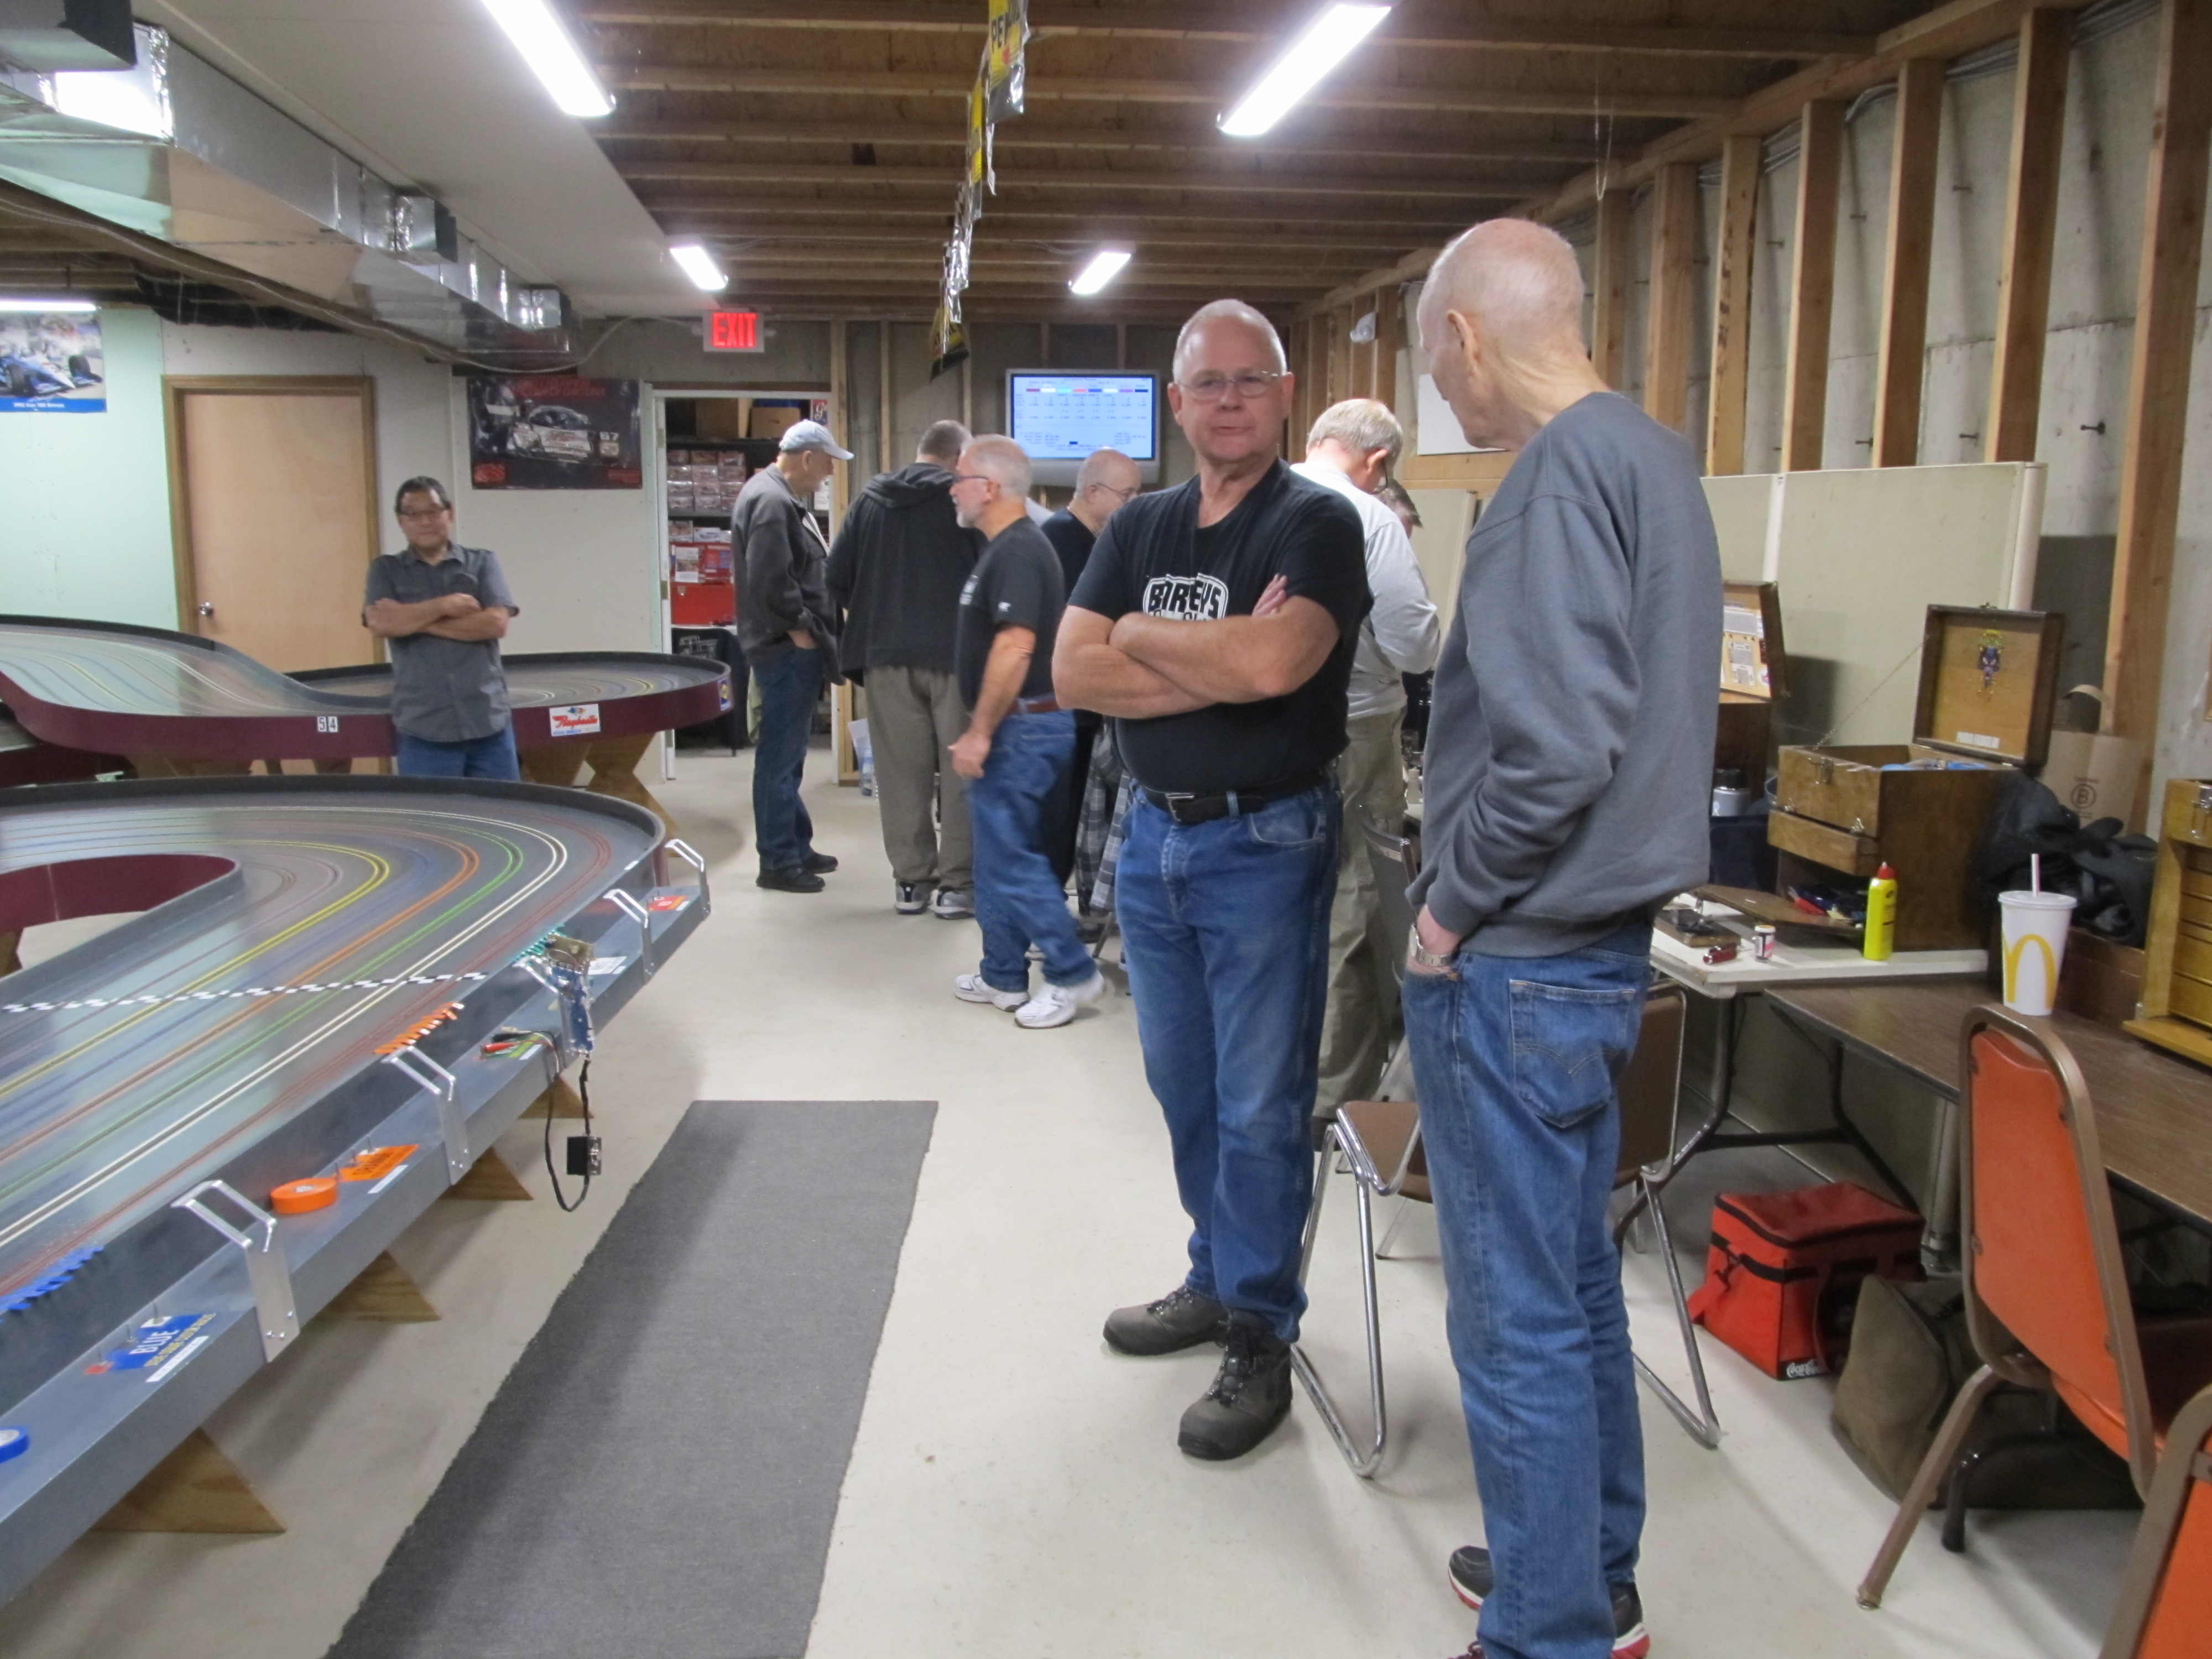
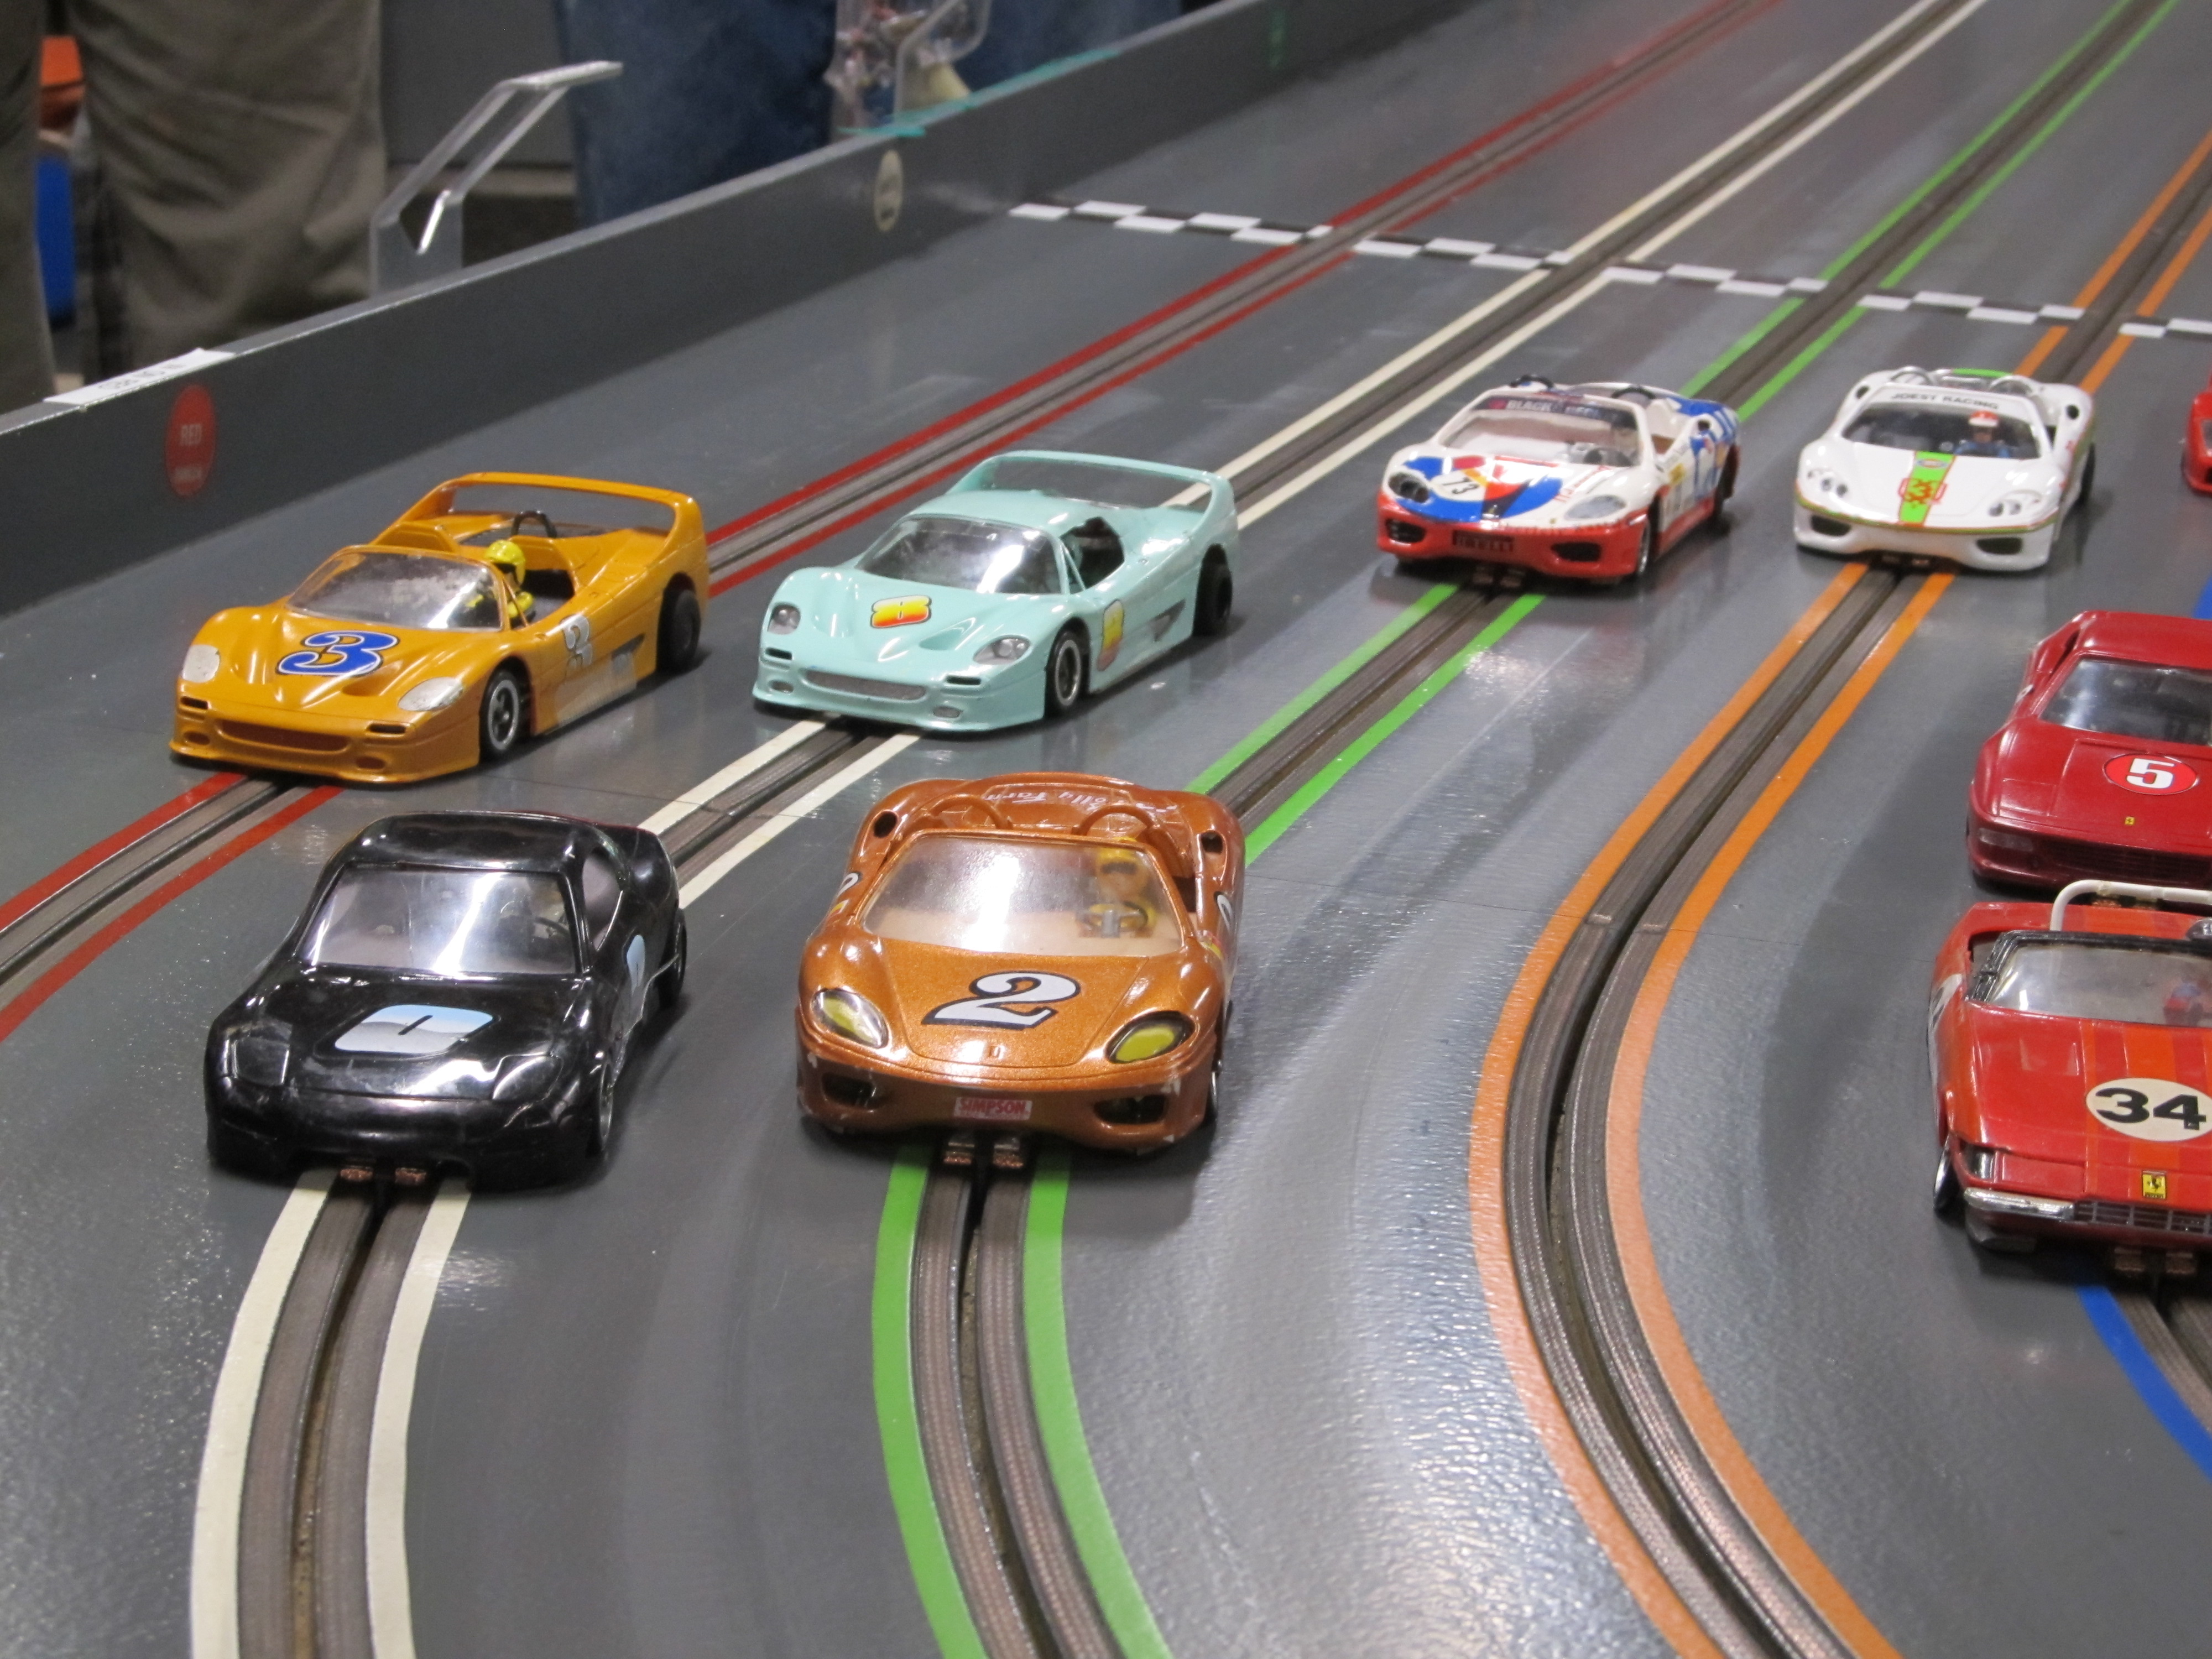
Attendance was high for Springwater Raceway's opening race!
1,861 November 10, 2019 9:26 am
Re: OSCAR Sportscar race (21 replies, posted in Springwater Raceway)
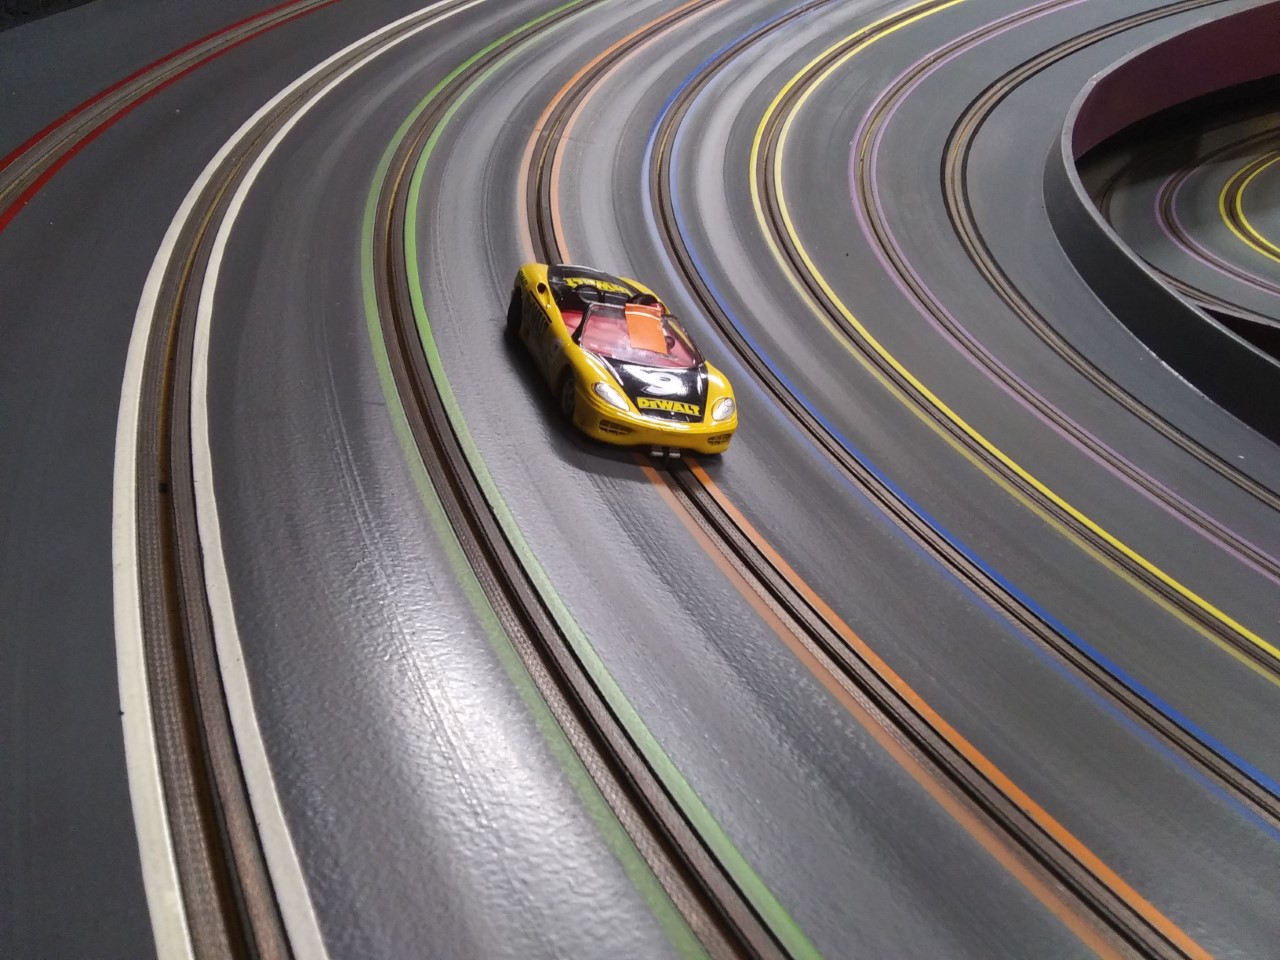
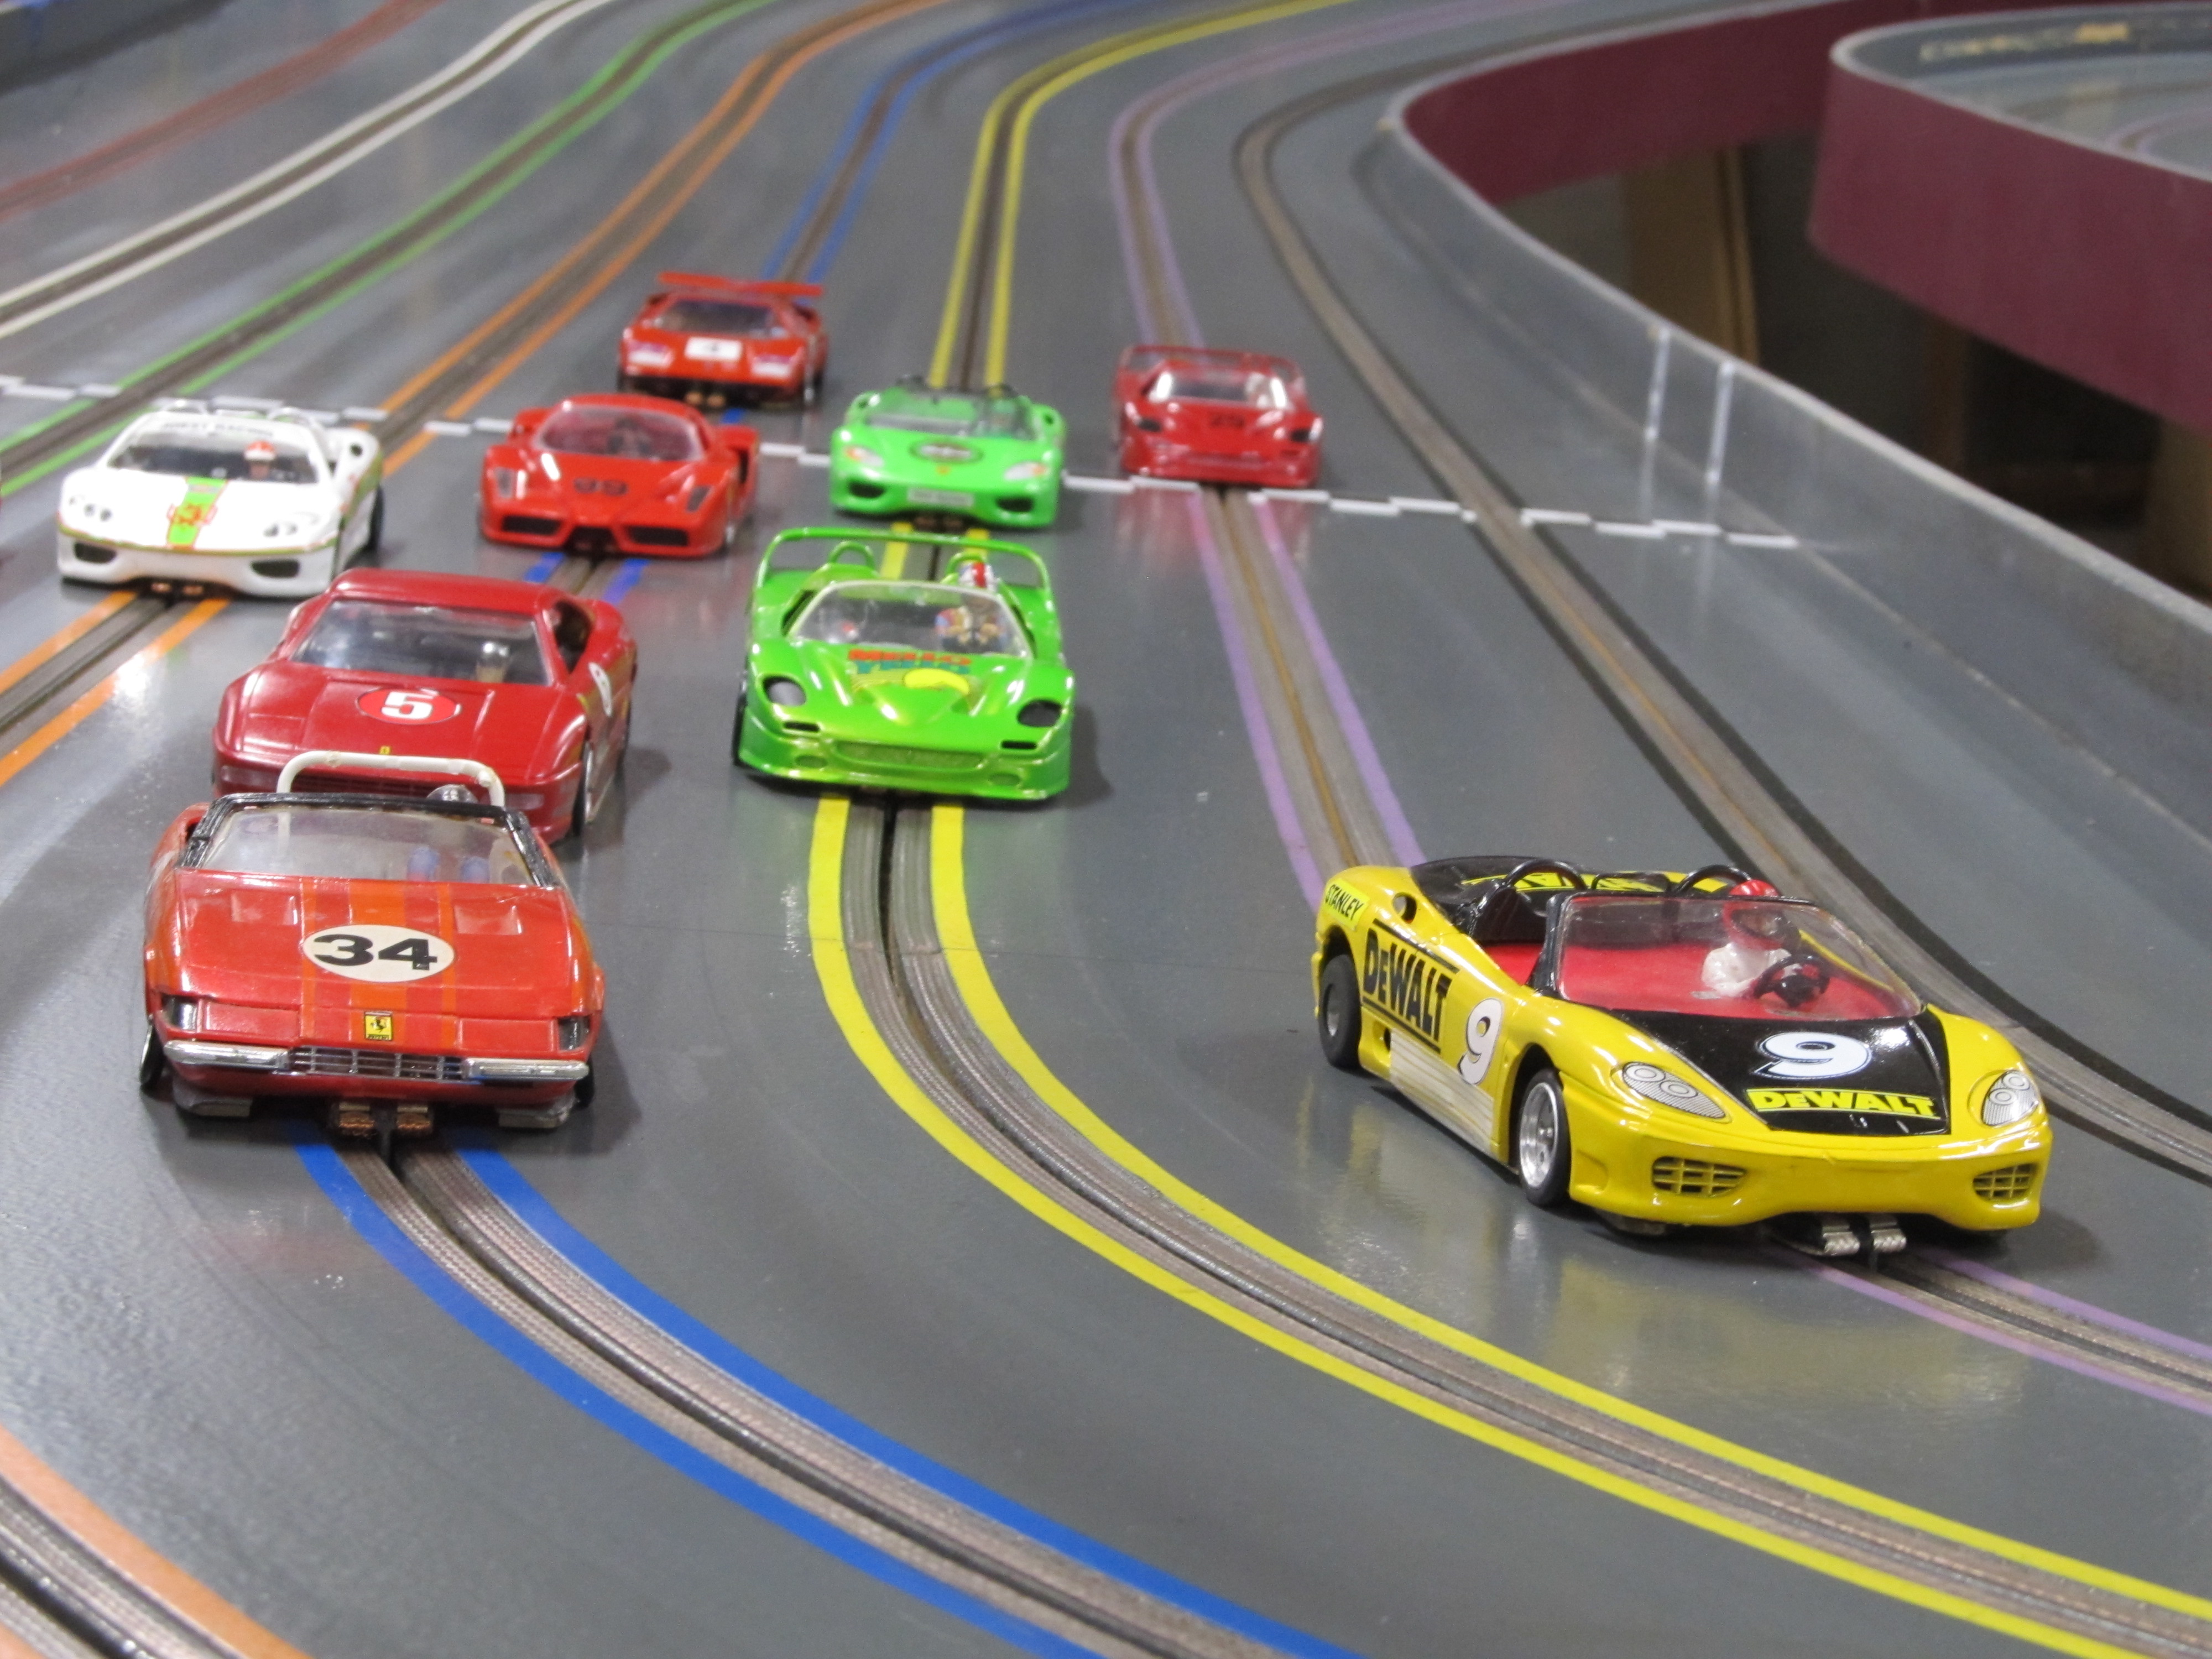
More sporty type cars:
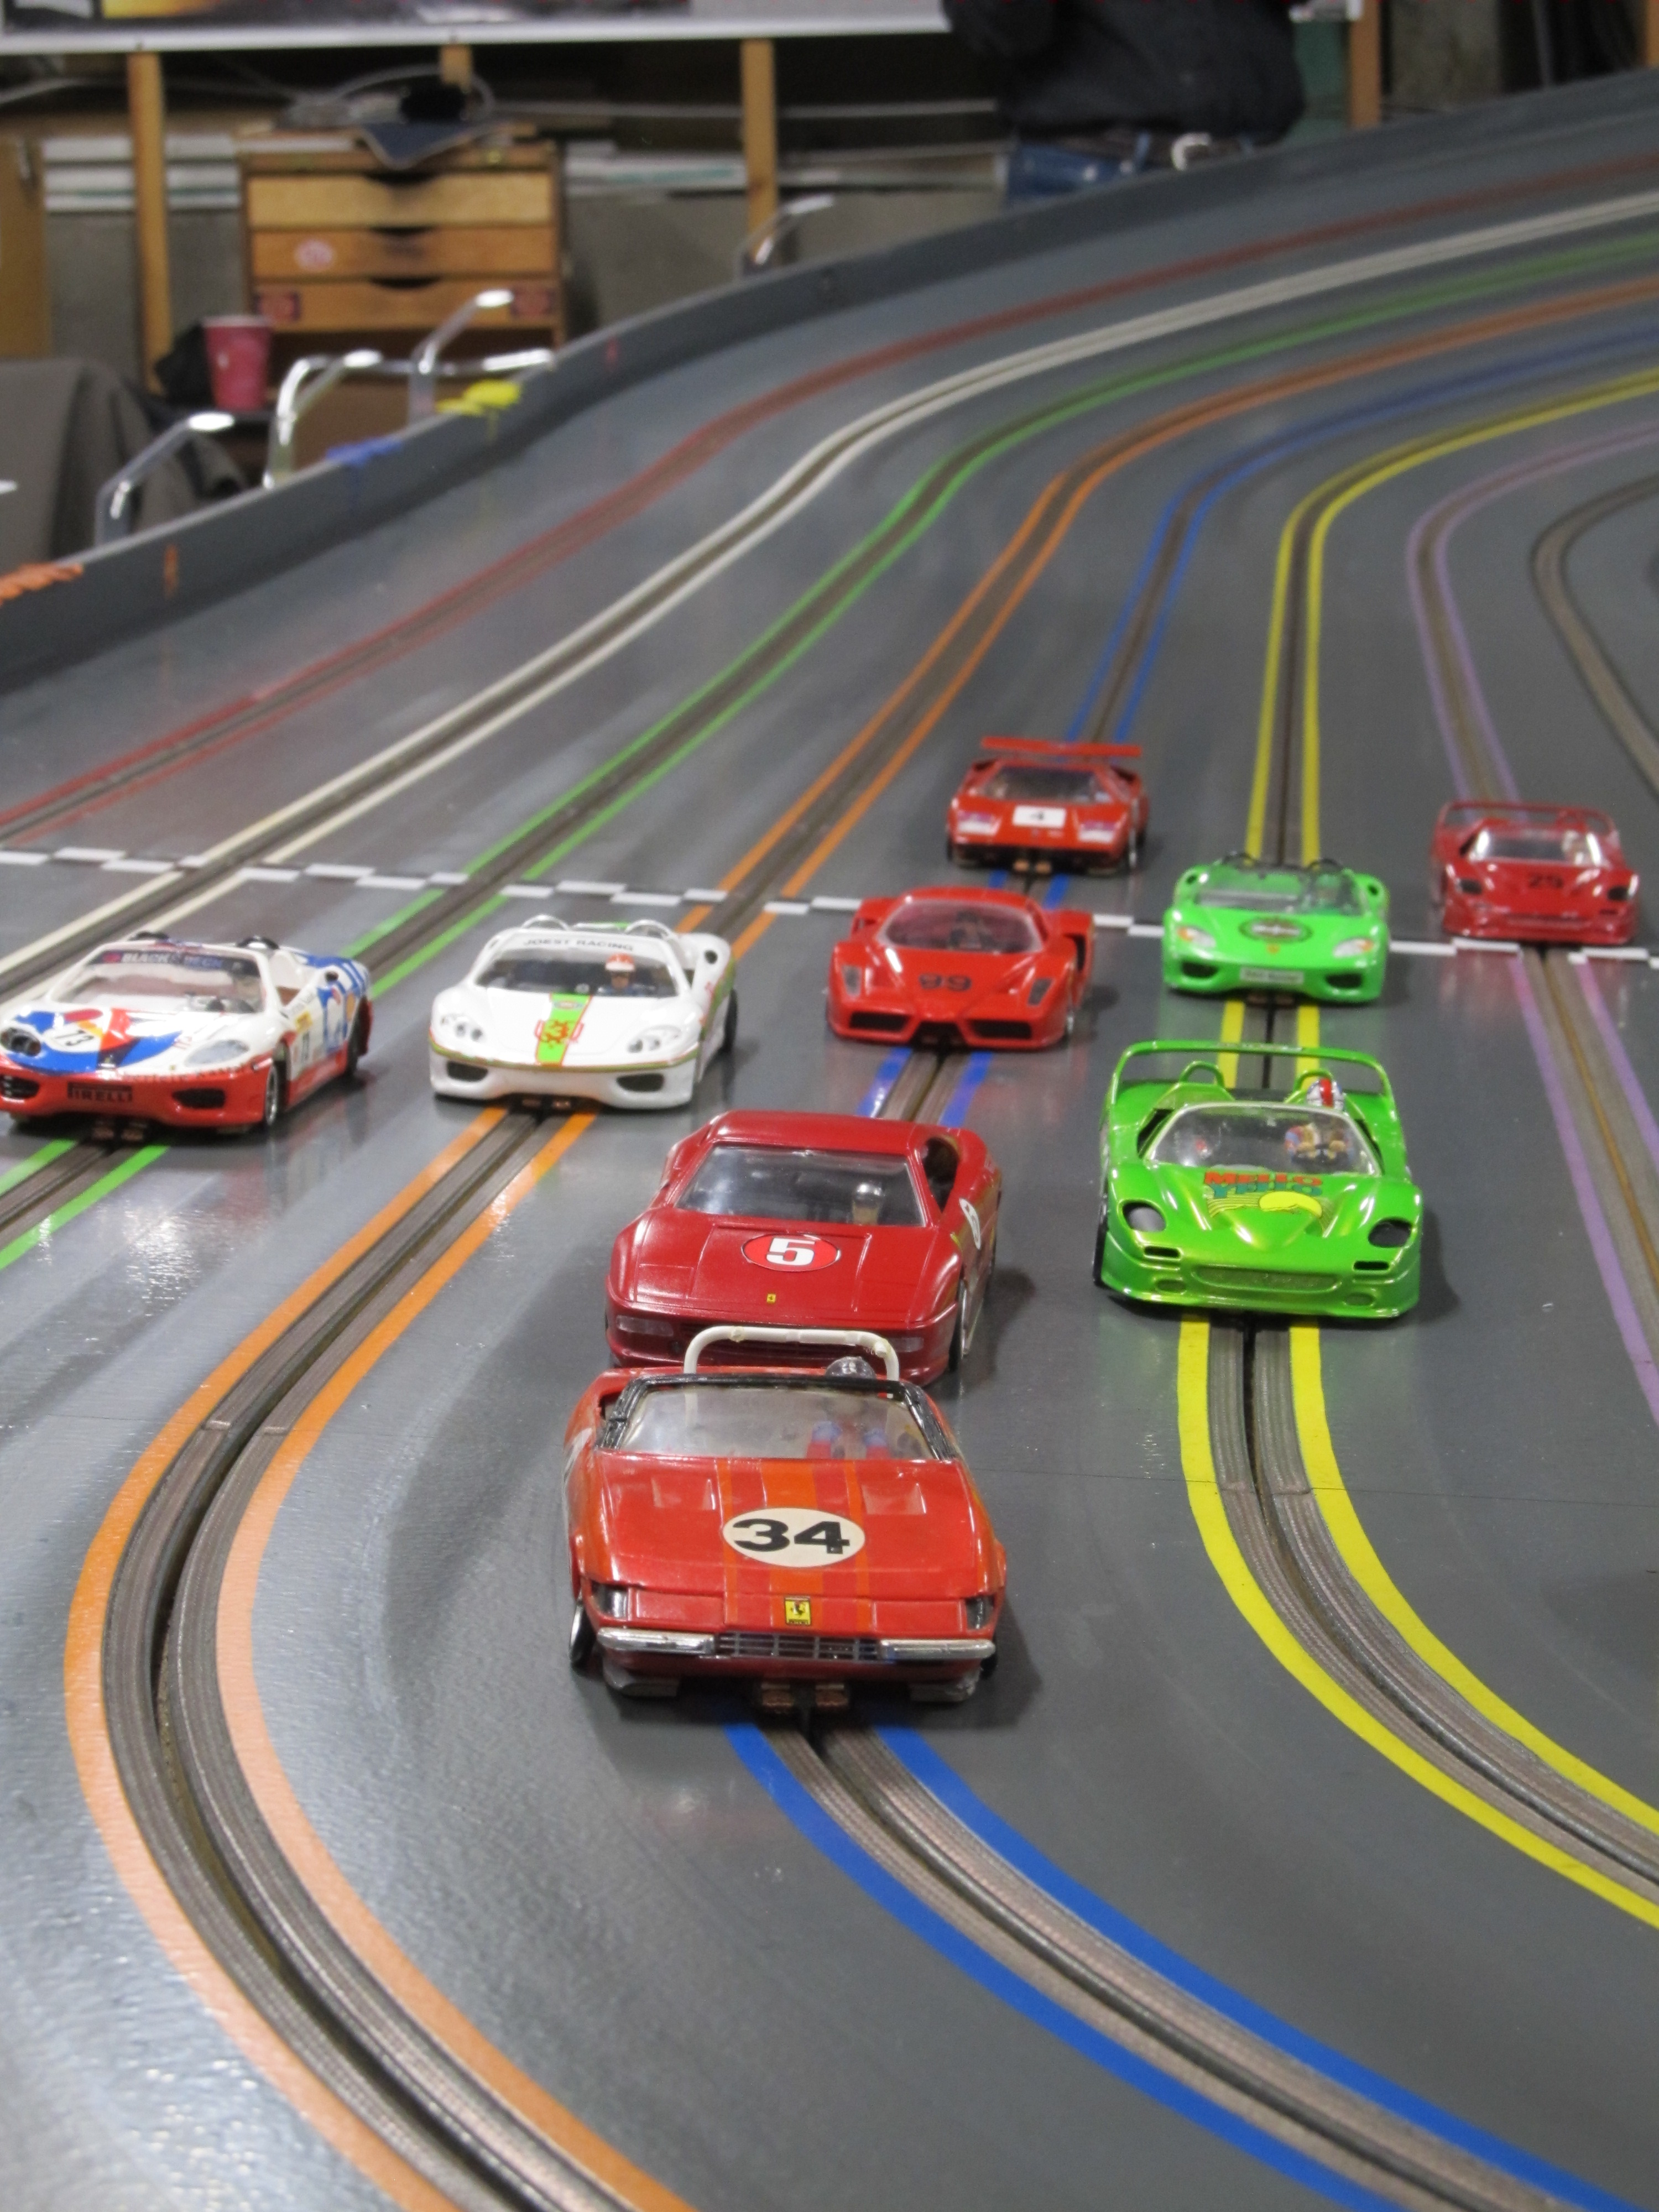
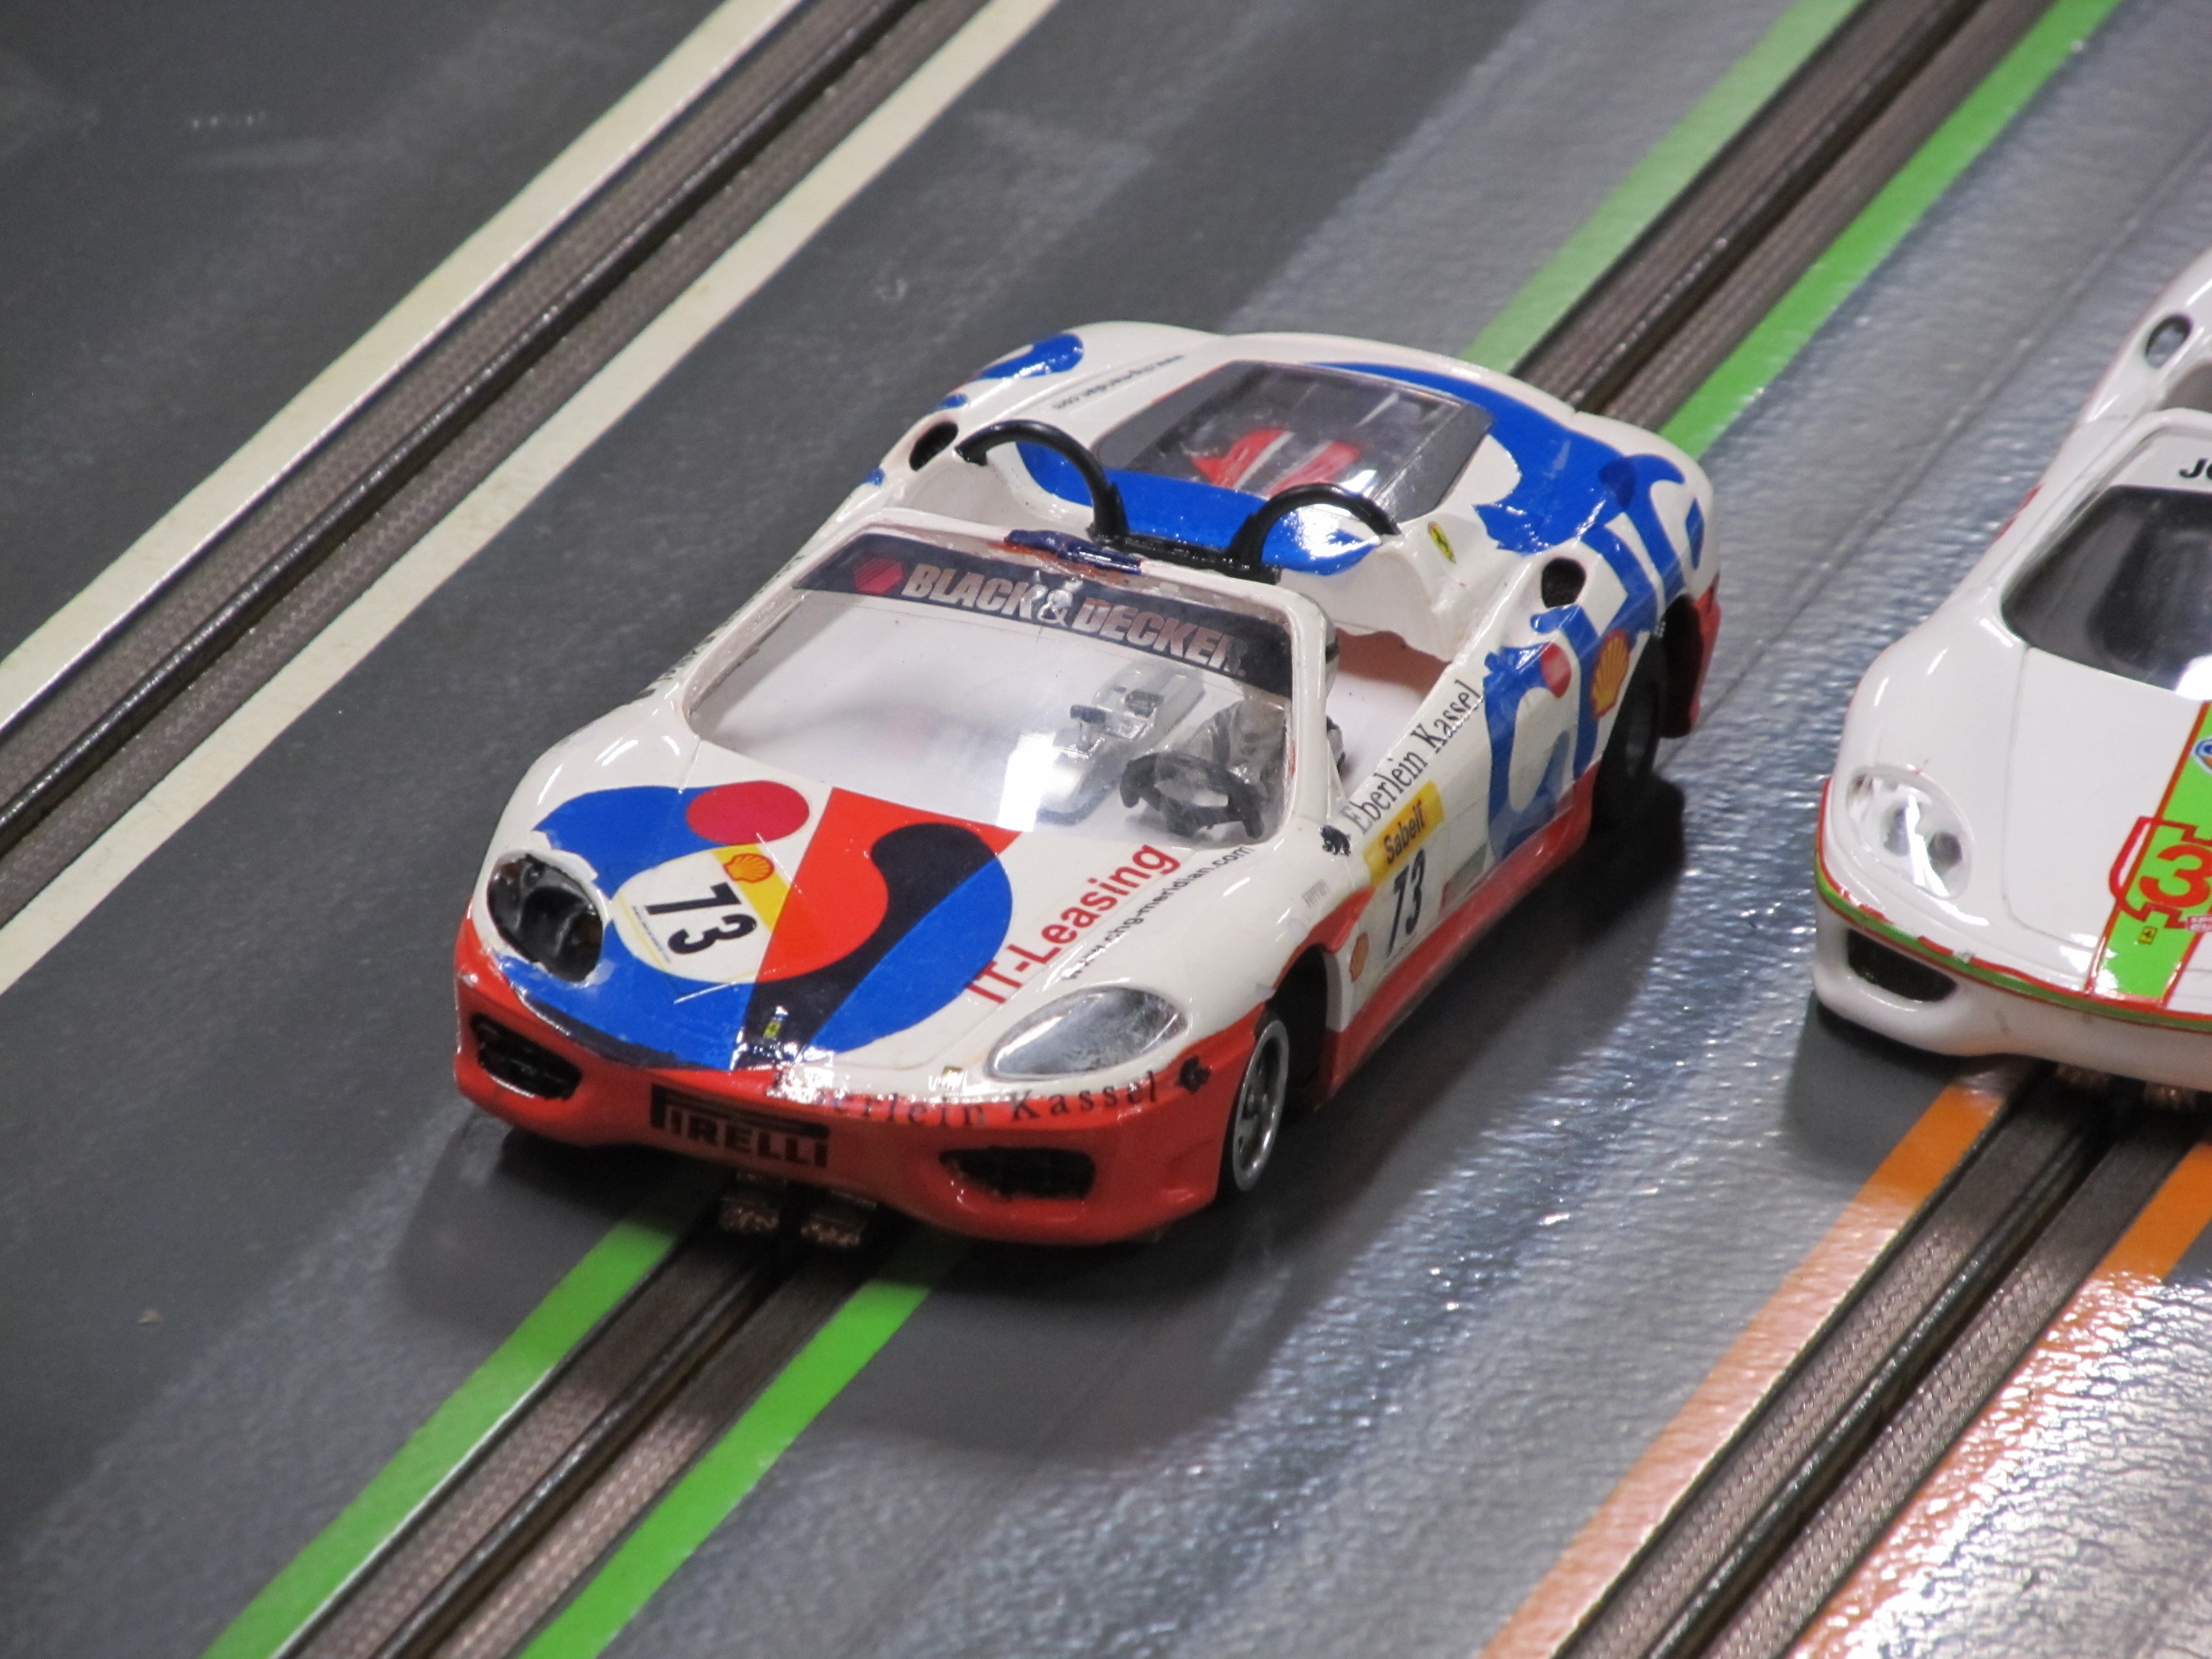
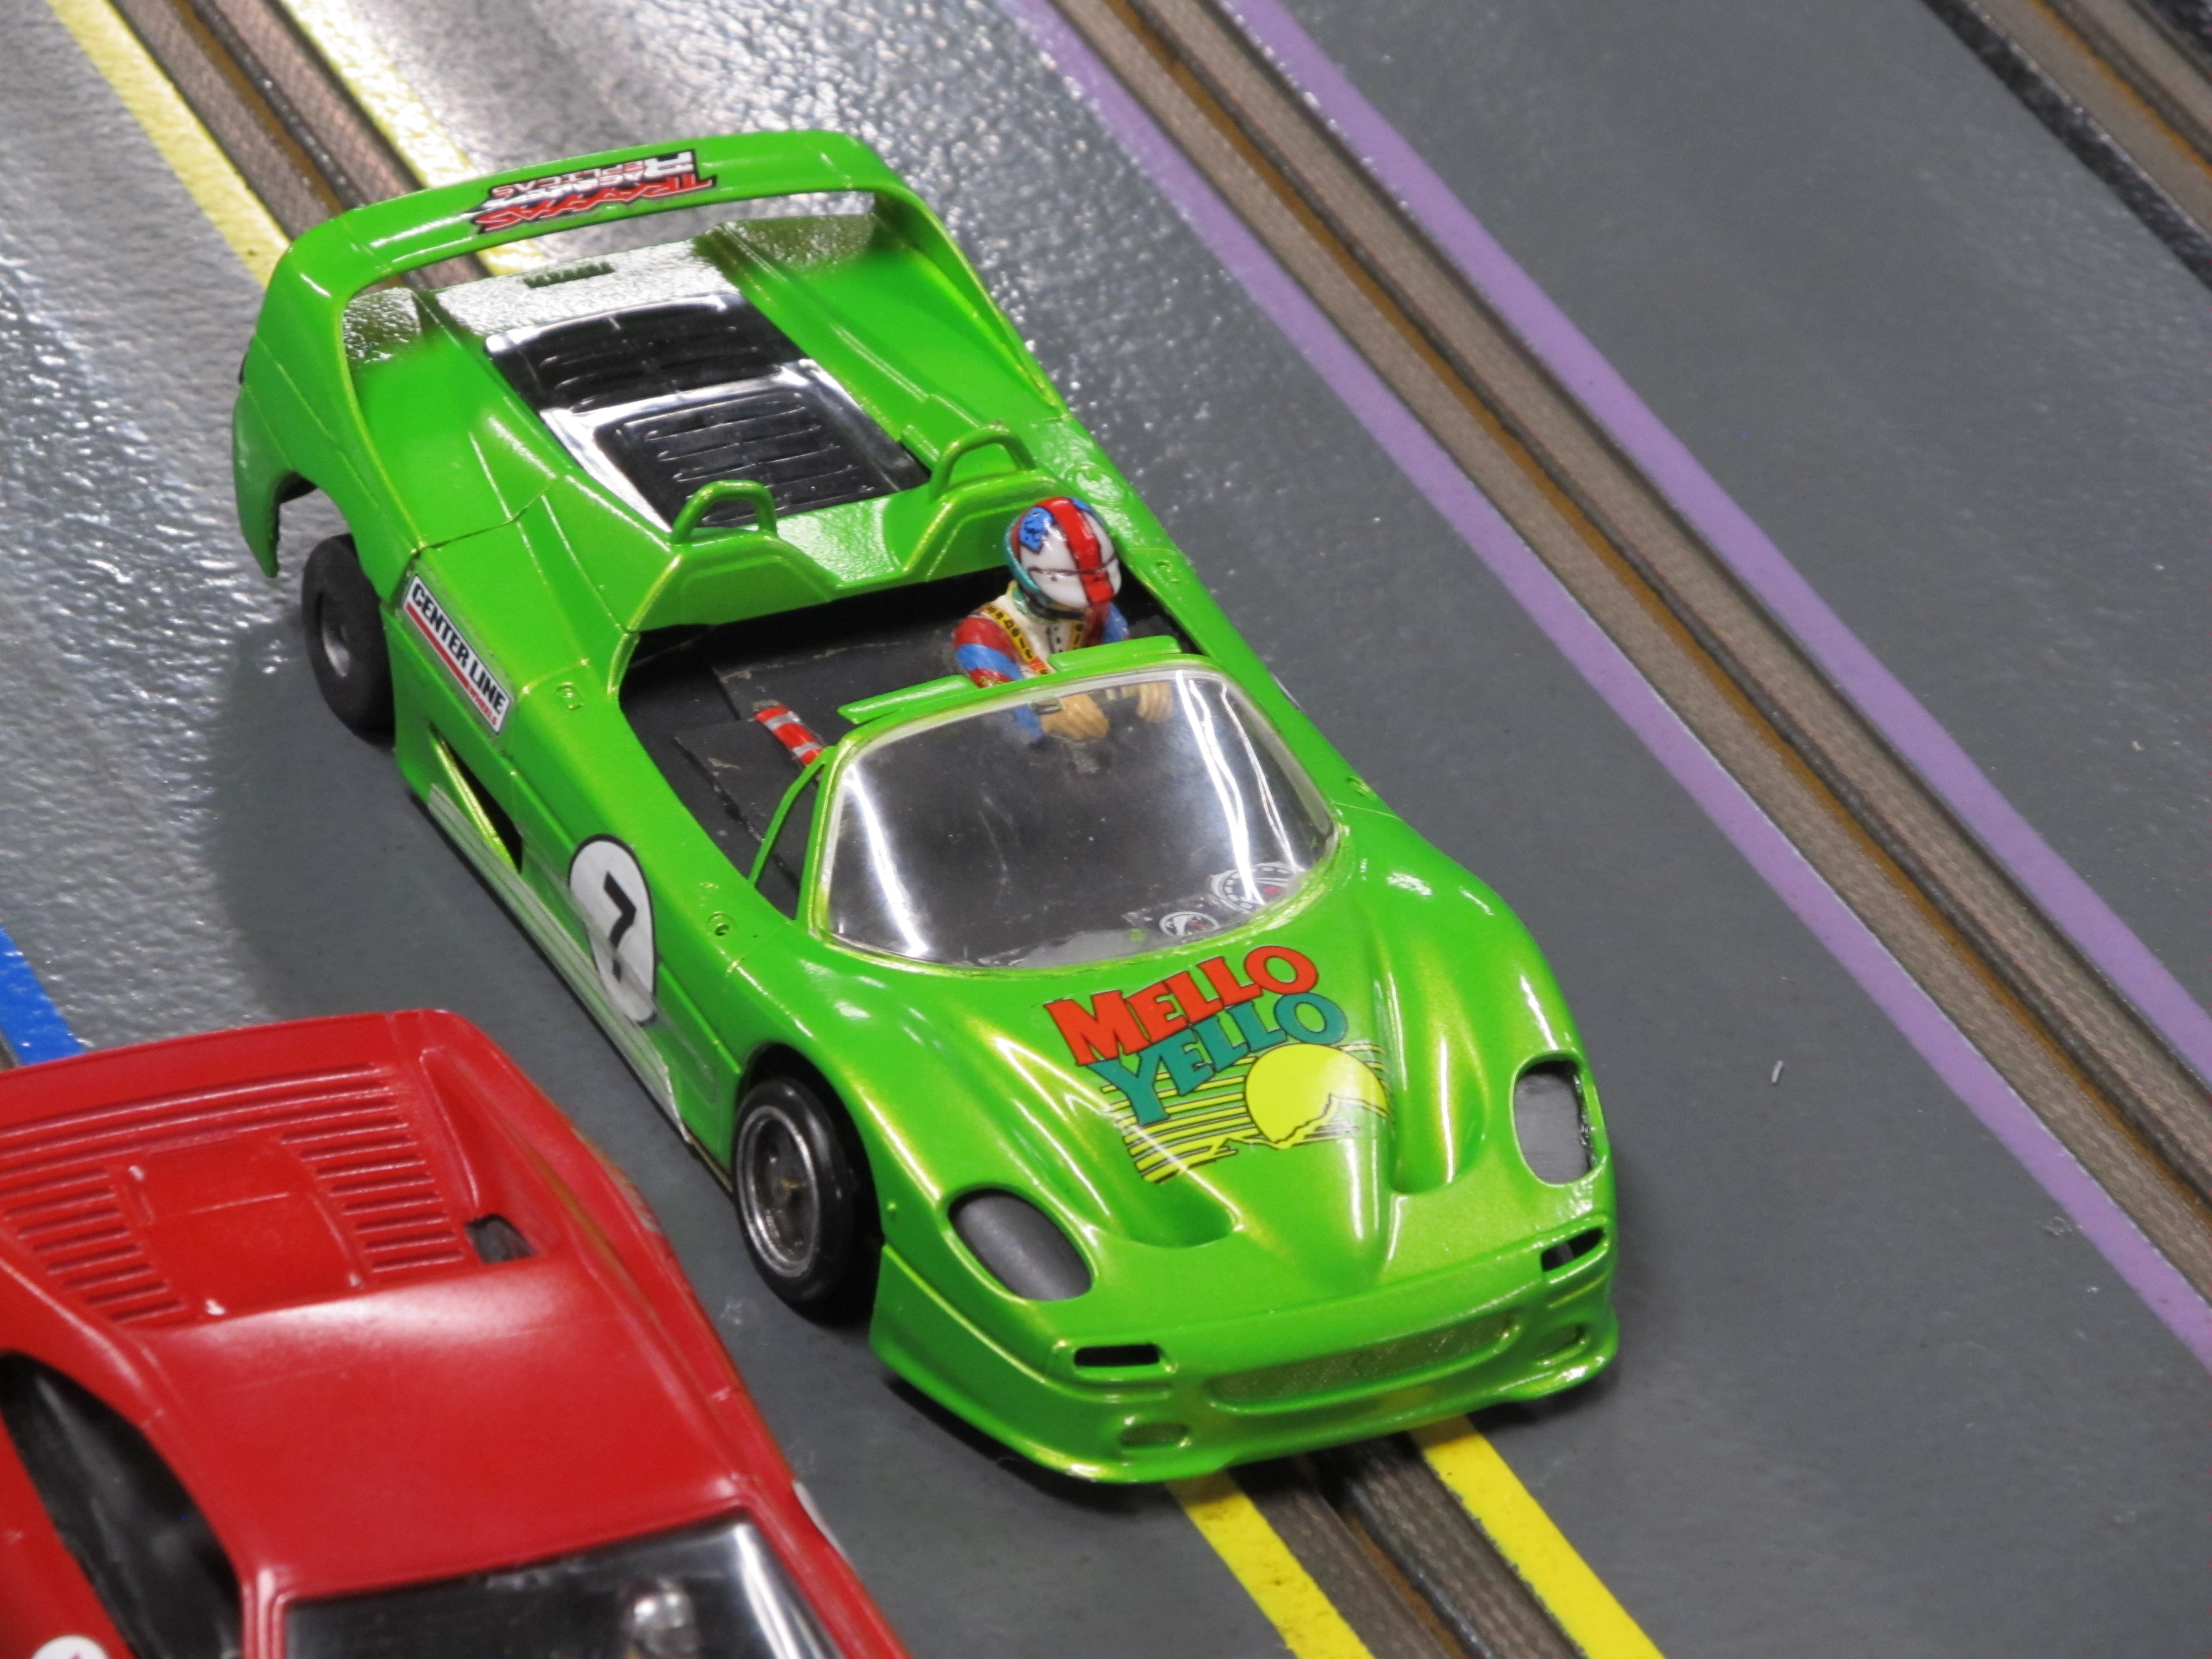
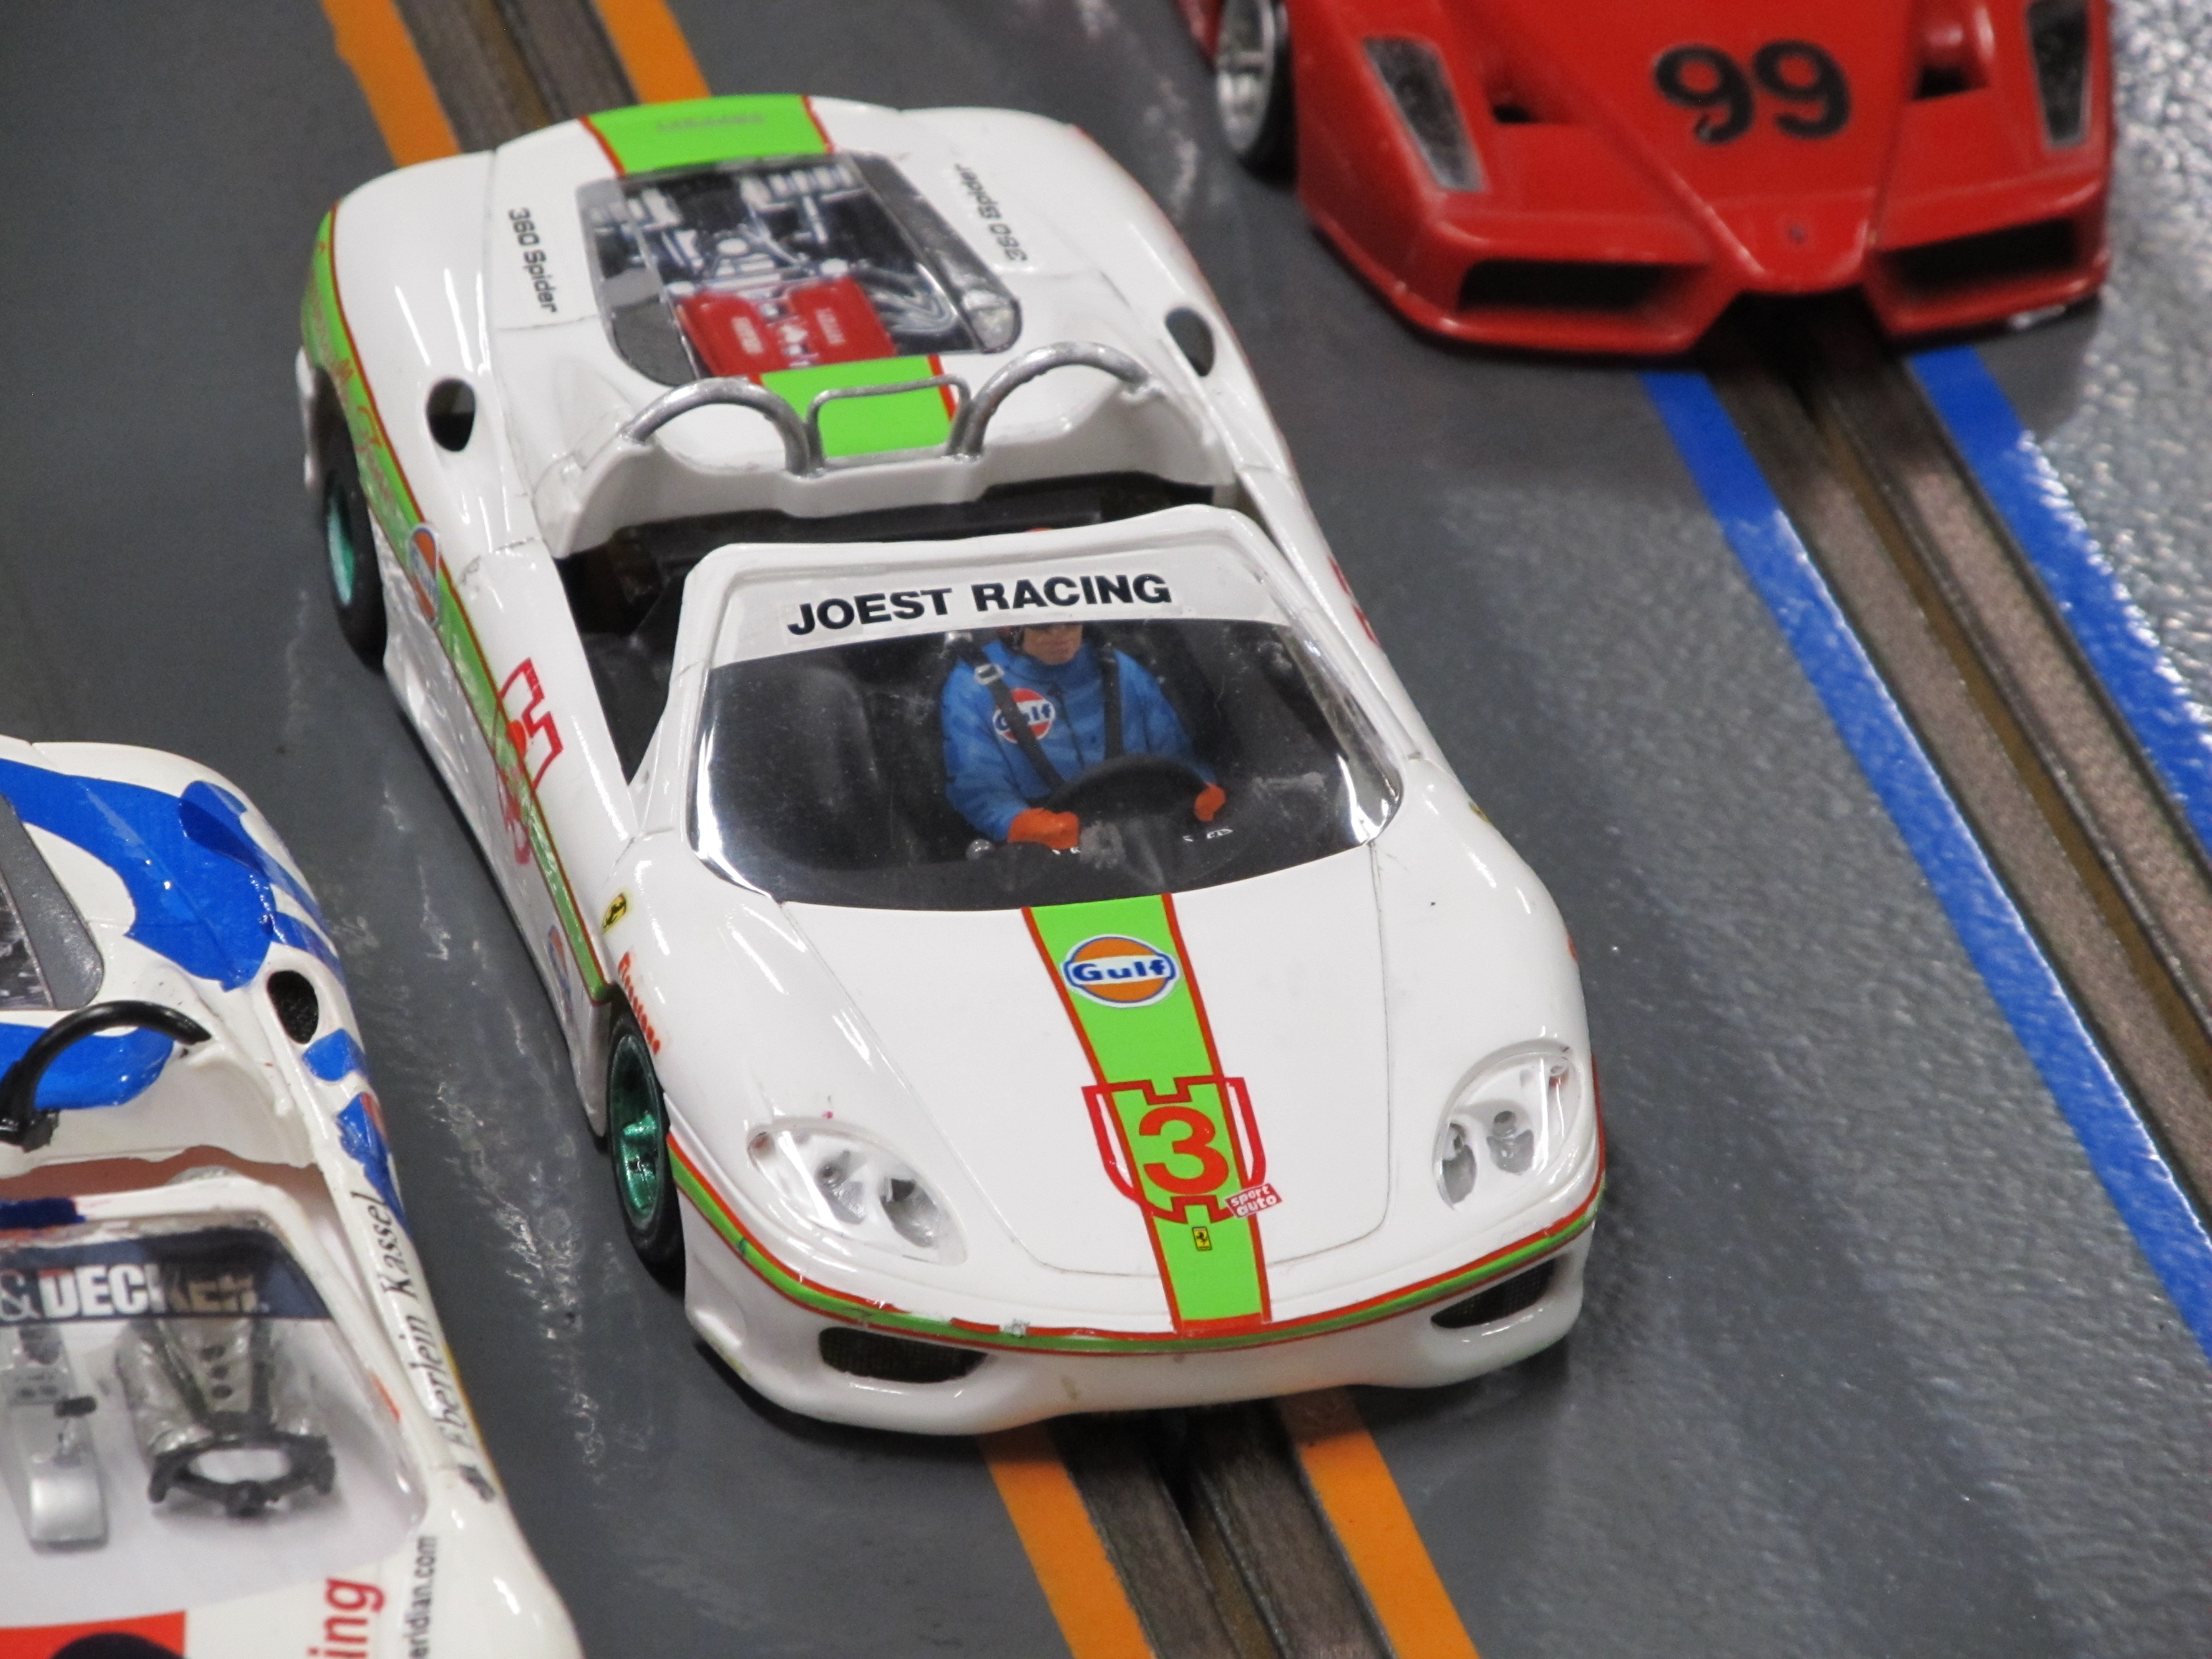
1,862 November 10, 2019 9:08 am
Re: OSCAR Sportscar race (21 replies, posted in Springwater Raceway)
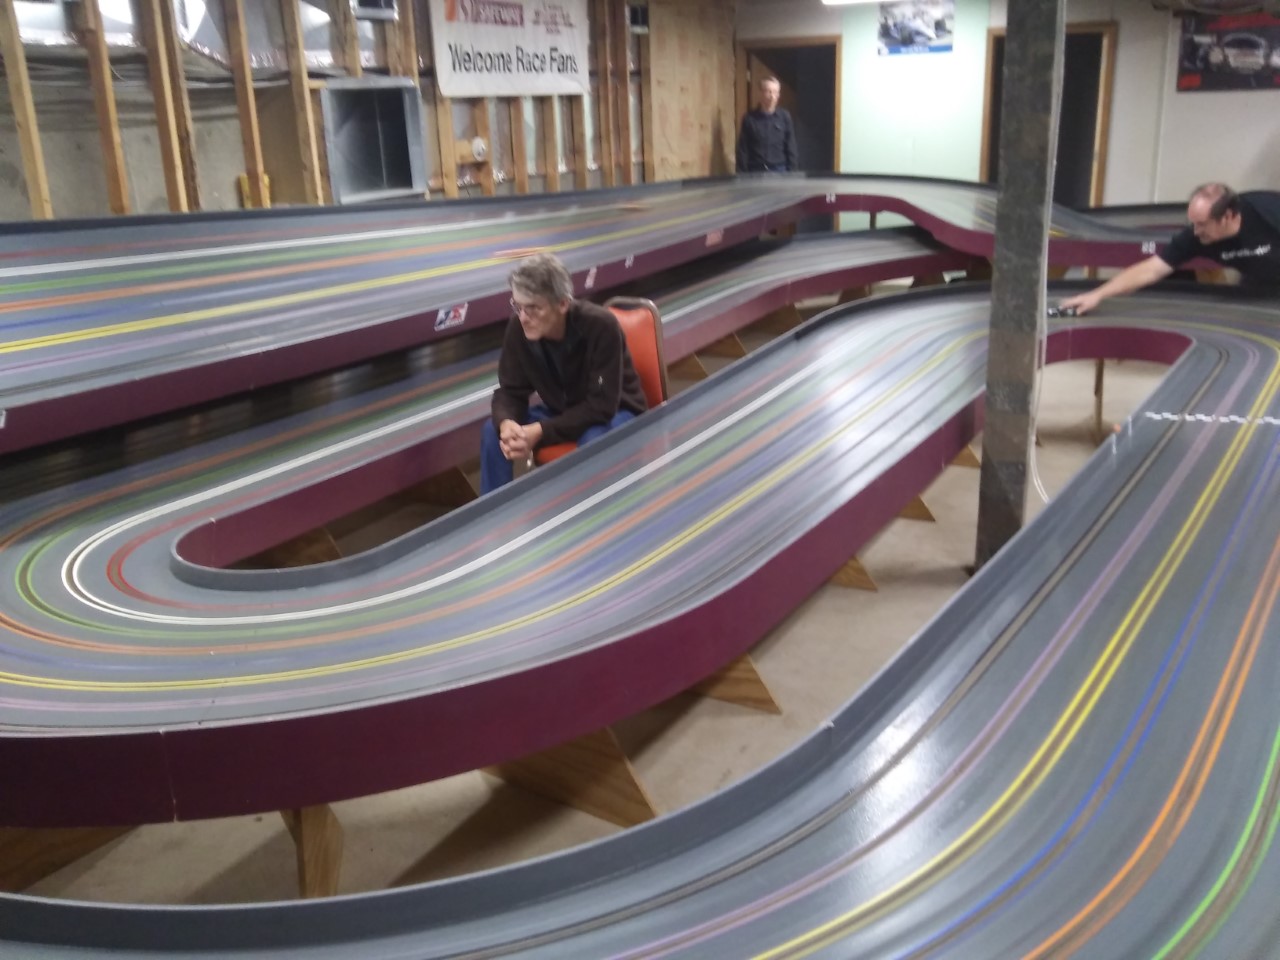
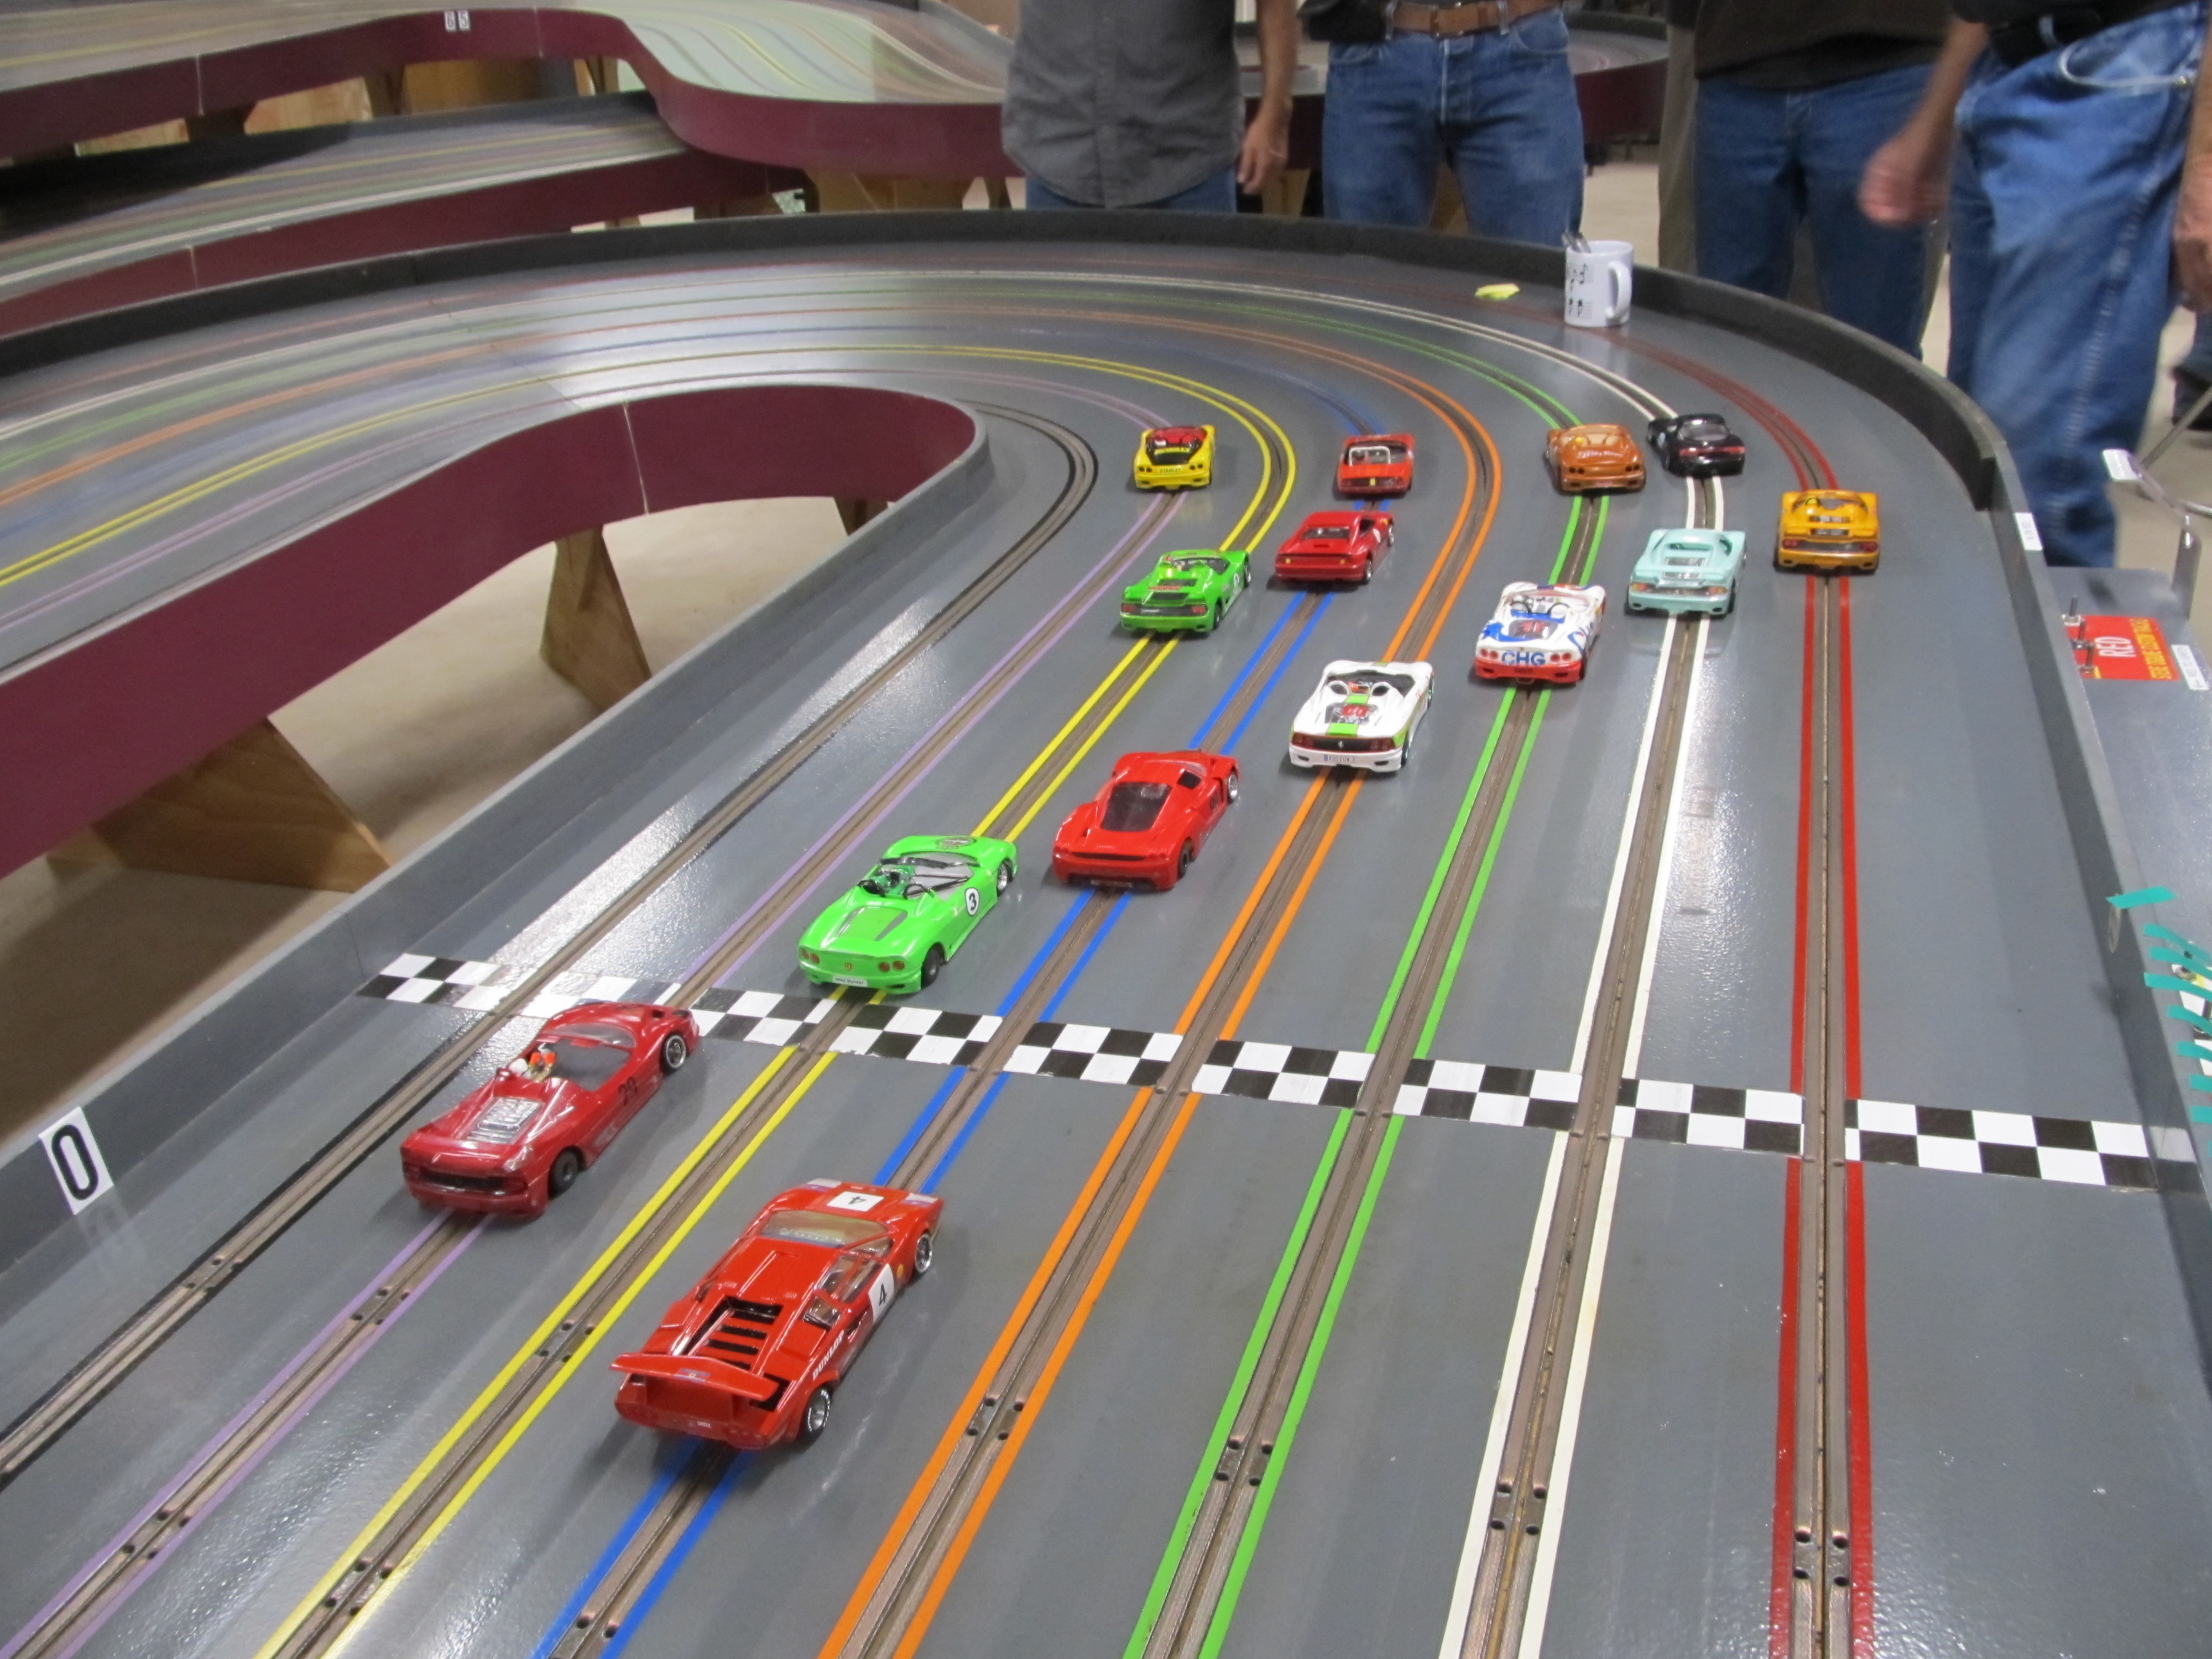
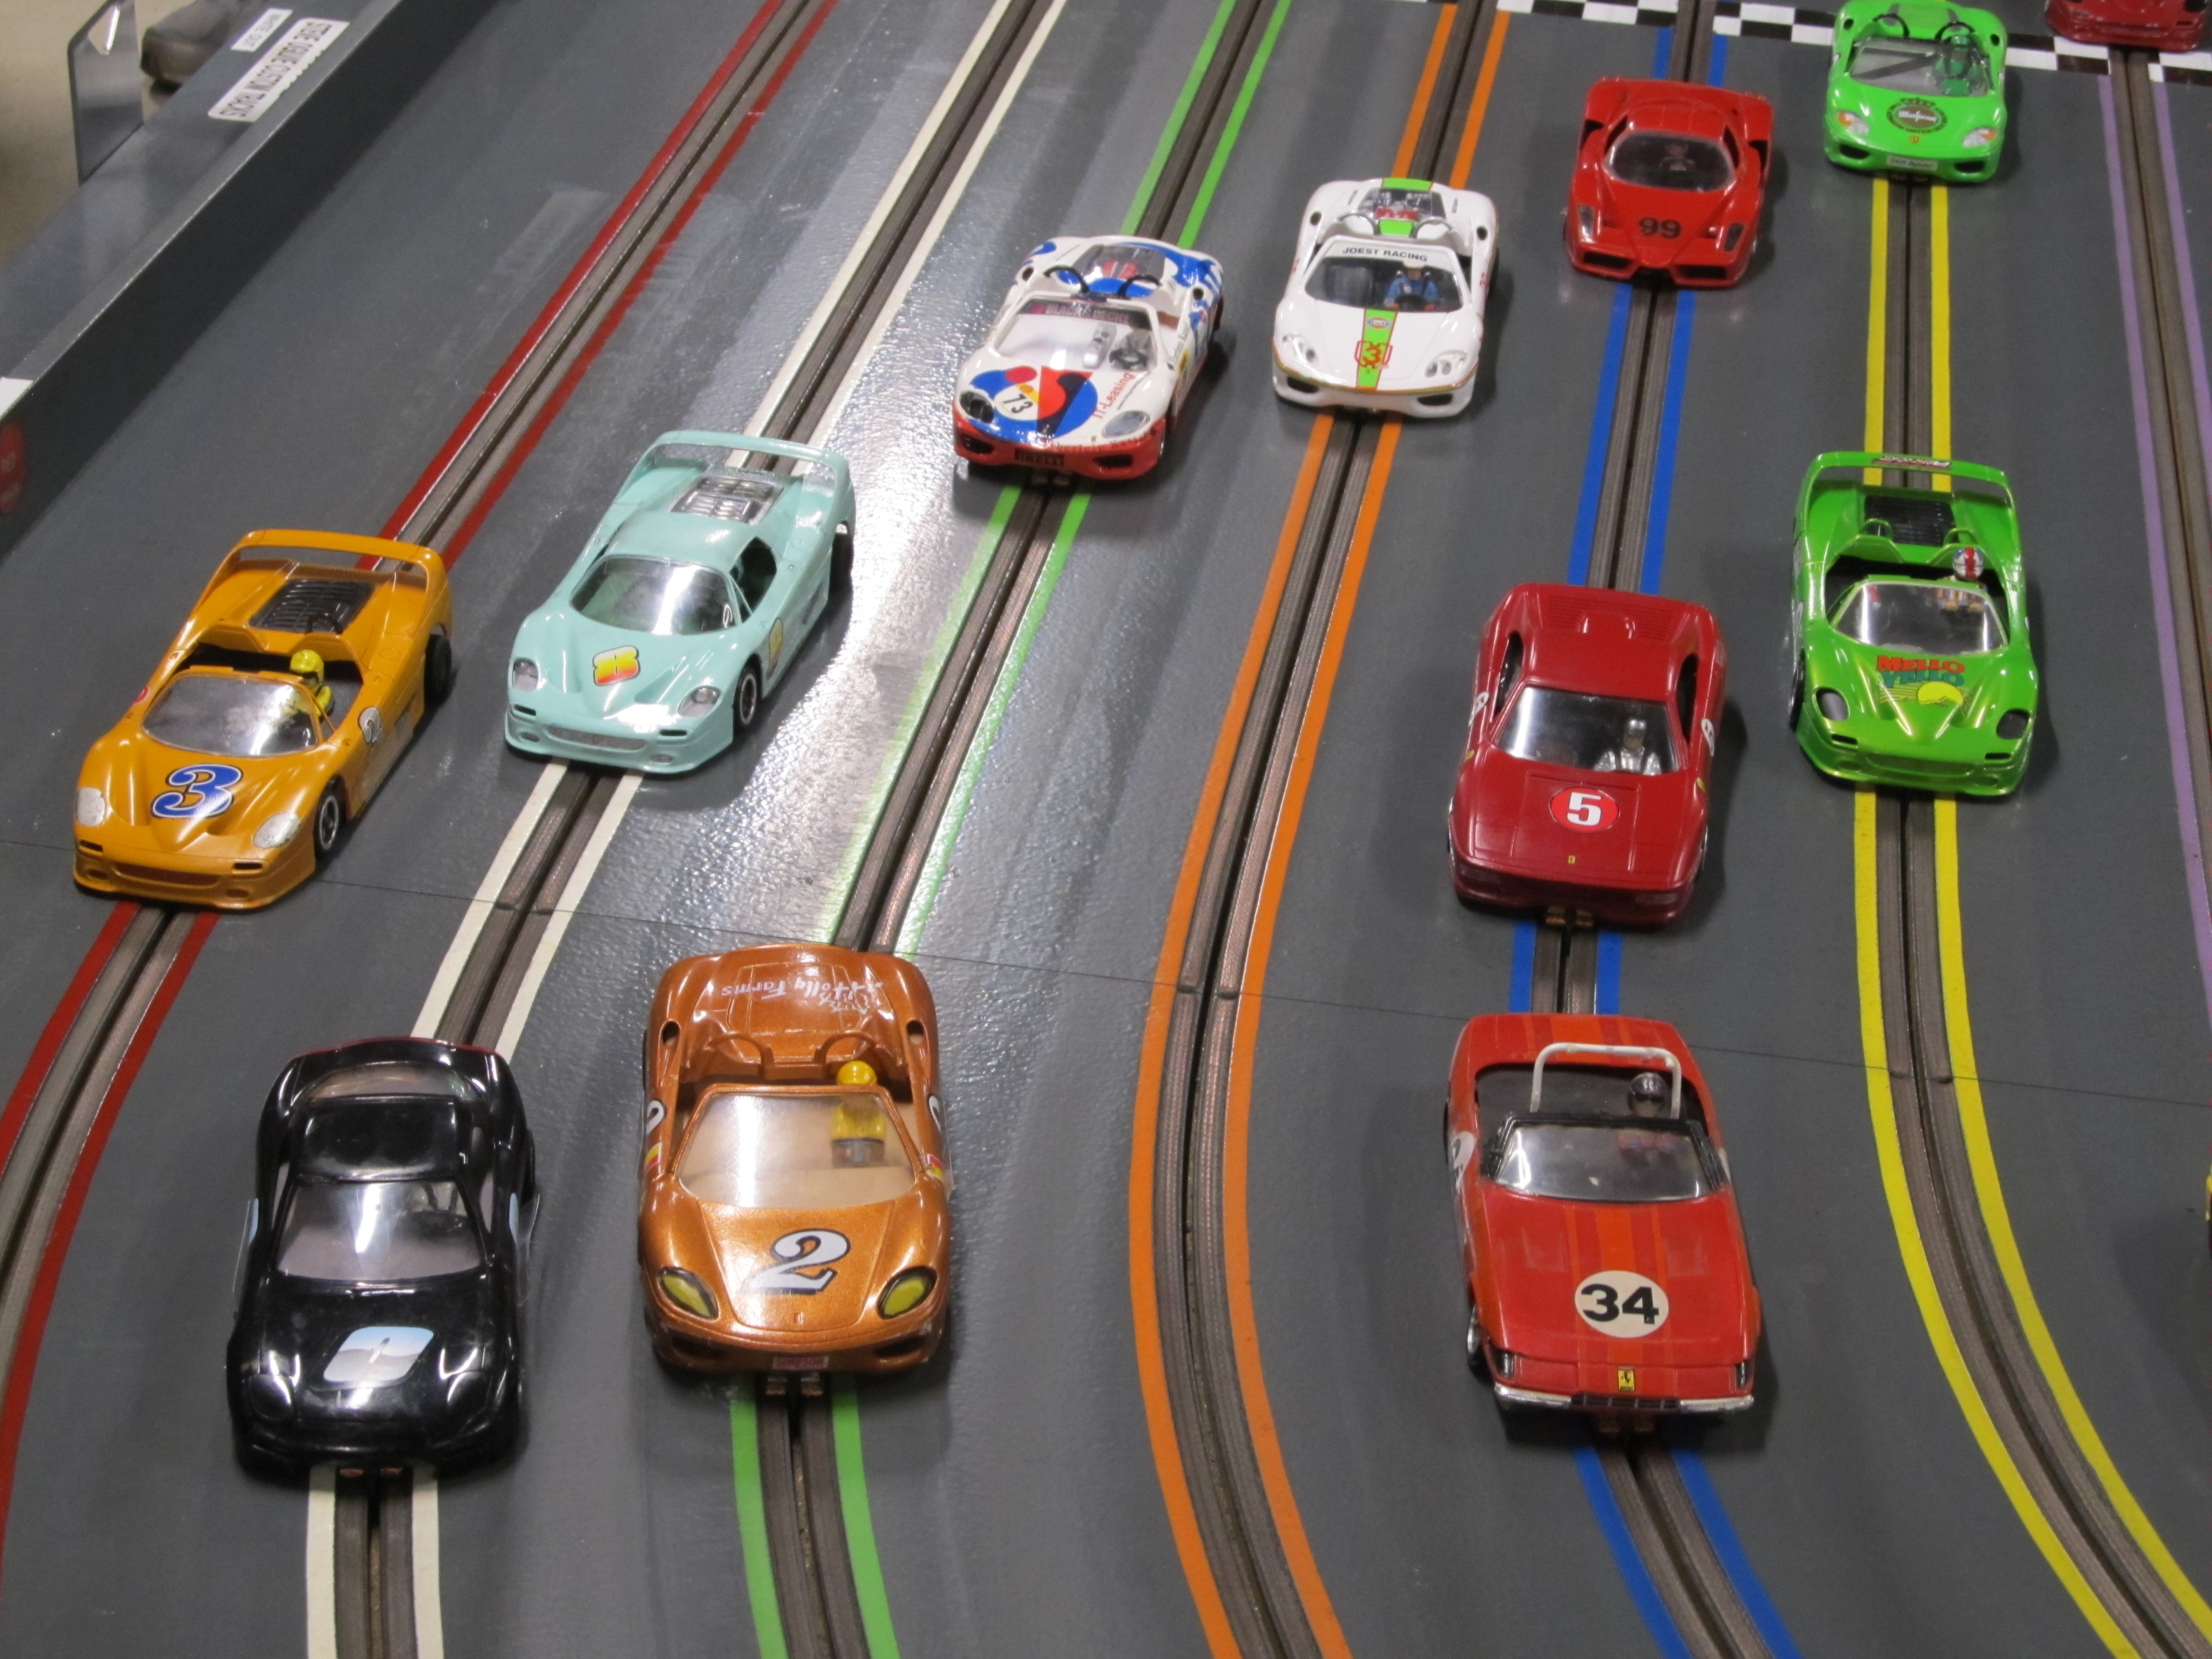
Here's some photos from the race:
OSCAR Sports Car Class starting grid.
1,863 November 10, 2019 8:44 am
Re: OSCAR Sportscar race (21 replies, posted in Springwater Raceway)
Check out this video of the cars going through the bank, tires squealing!
1,864 November 10, 2019 8:39 am
Re: OSCAR Sportscar race (21 replies, posted in Springwater Raceway)
Short videos from Mitch Brooks of the Springwater Raceway opening race:
1,865 November 10, 2019 8:38 am
Re: OSCAR Sportscar race (21 replies, posted in Springwater Raceway)
The opening of Springwater Raceway was a fantastic event! 14 racers showed up to race in the OSCAR Sports Car class. The race consisted of 4 minute heats, run on four of the tracks eight lanes, three times through the rotation, for a total of 48 minutes of on track race time for each driver.
The fast guys were running sub 5.5 second laps by the end of the race! The racing was extremely close with many on track battles between two or three cars running side by side. Each rotation was run as an individual race, with the driver rotation scrambled randomly for each start. After the three rotations were completed, lap totals were totalled for each driver to determine the winning. Tom Street from Bend was declared the winner, just edging out John Gill in second. Gary Tipton placed third and Bob Nakamura was fourth.
1,866 November 8, 2019 1:39 pm
Re: Items For Sale. (9 replies, posted in Rapid Raceway)
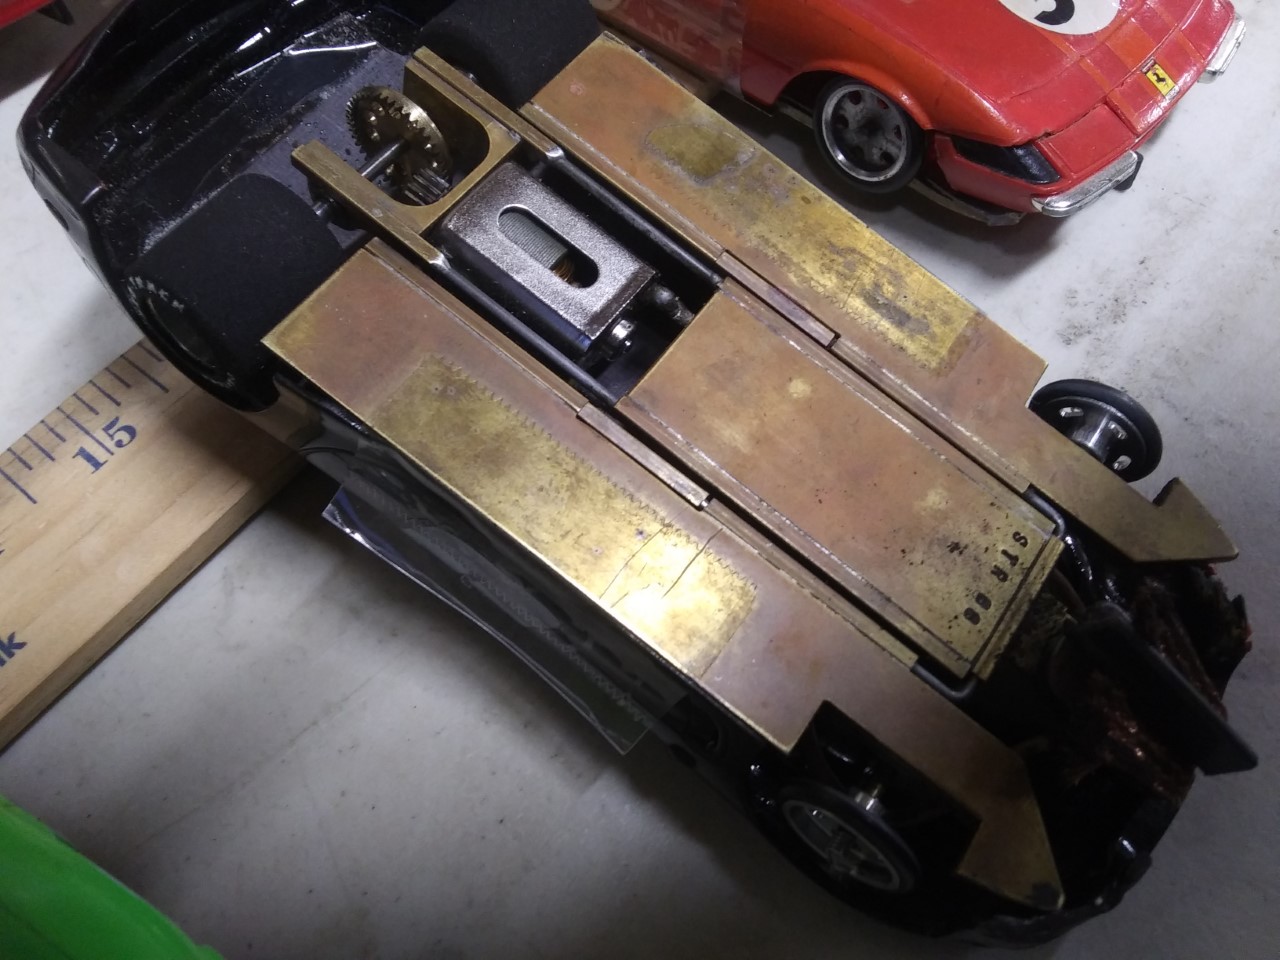
If anyone is interested in putting together a car for OSCAR or PASER's Late Model NASCAR Class, this is an AWESOME deal!
This chassis will also fit some sports car bodies.
==========Bill
1,867 November 8, 2019 9:18 am
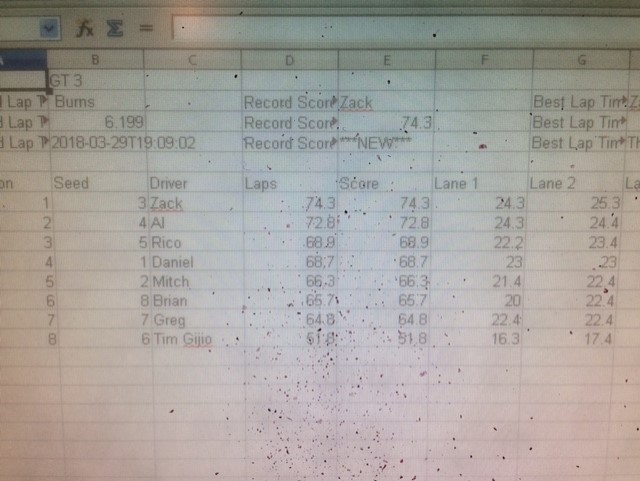
Re: NASTE 2020 Point Series Championship - Results & Standings (28 replies, posted in NASTE)
NASTE 2020 Point Series Championship Race No.3 @ Rippin' Ridin' Raceway November 7, 2019
Race Results - Le Mans Classics Class:
1 Daniel 76.7 Laps - 8 points
2 Zack 74.5 - 7 pts.
3 Al 73.7 - 6 pts.
4 Mitch 69.7 - 5 pts.
5 Rico 69.5 - 4 pts.
6 Bryan 67.6 - 3 pts.
7 Tim Gijio 64.3 - 2 pts.
8 Greg 62.6 - 1 pt.
Current Standings for the 2020 NASTE Point Series Championship After 3 Races:
1st Zack - 23 points
2nd Daniel - 21 pts.
3rd Al - 19 pts.
4th Rico - 9 pts.
5th tie Monte - 7 pts.
5th tie Greg - 7 pts.
5th tie Mitch - 7pts.
8th Bryan D. - 6 pts.
9th Chris - 5 pts.
10th Fernando - 4 pts.
11th tie Bill - 2 pts.
11th tie Tim Gijio - 2 pts.
1,868 November 8, 2019 9:00 am
Re: NASTE Odd Thursday Night Racing Rules & Current Thread (2,201 replies, posted in NASTE)
Race Results from November 7, 2019

1,869 November 7, 2019 2:45 pm
Re: 16d motor Blueprinting. (4 replies, posted in Modifications)
Thank you! =======Bill
1,870 November 7, 2019 1:02 pm
Re: 16d motor Blueprinting. (4 replies, posted in Modifications)
Oooooooooooooohhhhhhhhhhhh..................I knew this was going to happen!!!!!!!!!!!!!
1,871 November 5, 2019 8:08 am
Topic: PASER RULES (24 replies, posted in PASER)
General Rules:
Date Last Modified: 1/8/2025
Bodies: All cars must be “color” painted (clear coat only is not acceptable), Include a painted/detailed vacuum formed/resin cast driver to scale, Interior cockpit tray that completely conceals the whole chassis, Numbers ½” tall located in three places, and must begin a race fully Intact/Complete, with no missing parts.
Unless otherwise specified for a specific class, bodies Must have both Stock front & rear windows installed.
Bodies may Not be stretched, have any material removed or be modified to fit a chassis, unless otherwise specified within the Body Modifications/Required section of a class.
*Note: Lane stickers to be put on windshield or a close proximity to, so Corner Marshall can see it.
Chassis: Scratch Built chassis May be constructed using any material, and are Required to have beveled pan edges to protect the track surface from any damage. The chassis must Not be visible, or protrude past the body perimeter when viewed from above, or through the Drivers Compartment. Guide flags must Not extend past beyond the foremost part of any body when viewed from above.
Gears: Crown gears will have no less than (.040”) ground clearance. This rule is written to preserve and protect the track surface, as these gears can cause severe damage.
Motors: Group “Open” Only Super 16D Setups are allowed. Note: This motor group “allows” the use of both Chinese* & American* made Armatures. American made armatures “must” retain their original identification label. No outlaw arms of any kind are allowed. Blueprinting, Ball bearings/Bushings (both ends of motor) Armature and magnet replacement are allowed. Shunted brushes, Cobalt/Neo Magnets, Magnet Shimming, Rewinding/Dewinding of armatures are Not allowed.
Motors: Group “Standard” 16D & Super 16D motors (i.e. Super 16D Parma #502, ProSlot 2001, 2003, 2101). Note: This motor group “requires” the use of stock Chinese* made Armatures only. Motor brushes/springs may be adjusted/replaced as needed. Armatures may be shimmed/coms trued/Ball Bearings are allowed. Shunted brushes/magnet shimming not allowed.
*Note:The term "Chinese arm" refers to the factory made stock armatures fitted to the "stock" motors. "American arm refers to the premium or upgrade armatures of higher quality which are generally manufactured in the U.S.A.
Motors: Group Hawk 7/FK (unserviceable motors) may be allowed in specific classes. Ball bearings (both ends of motor) are allowed.
Tires: No Tire will be less than ¾” (.750”) in Diameter, excluding the 4.0 Flexi Class, or otherwise specified elsewhere.
Adding traction compound to your tires (ie gluing) is not allowed. Cleaning tires with solvents & softeners Are allowed however, they must be Completely Dry before placing the car on the track.
All four tires Must touch/roll on the track surface, and are Required to have Black sidewalls
Unless otherwise specified for a specific class, when viewed from above, all four tires must Not extend beyond the widest part of the wheel opening, when the chassis is at the center of lateral movement.
Front tires must Not be partially hidden by the front or rear of the stock/modified wheel well opening, (this does Not include the “top” of the wheel well opening).
Track/Venue
Track gluing/preparation will only be performed by the track owner, unless otherwise requested.
Can Am
Date Last Modified: 7/25/25
(To be used in conjunction with the General Rules)
Scale: 1/24, 1/25
Years: Open
Body Group: Only Can Am cars that actually raced in the Can Am series, using Lexan Bodies to Scale with a minimum thickness of .010”. (After the Can Am race on April 15, 2026 the minimum body thickness of .030” will be observed requiring the use of Team Bluegroove bodies). Wheel inserts, roll bars, injection stacks, exhaust pipes and paint schemes that reflect the period are encouraged. If a full wing was used on the rear of the car, you may add one if it resembles the original in scale and proportion, but is “not” required.
Body Height, Minimum: Stock height at the factory reference cut line.
Body Modifications/Required: N/A
Interior/Required: Interior tray that includes a driver figure (head/arms). (See General Rules).
Chassis: Scratch built.
Chassis Modifications/Required: Open.
Configuration (Motor): Inline only.
Axles: 3/32”, 1/8”, Wire
Bearings/Bushings: Axle Ball Bearings, Oilite Bushings Are allowed in both front & rear.
Gears: 48, 64 pitch. Note: Gears must have a minimum of (.040”) ground clearance, See General Rules.
Ground Clearance, Minimum: Front (.047”) Rear (.055”)
Motors: Group Hawk 7/FK Only (See General Rules)
Tire/Dimension: Minimum diameter Front (Any Tire Including O-Ring) (.750”) and May be coated for hardness. Minimum diameter Rear (.750”).
Tire/Wheel Maximum Track Width: Maximum track width will be determined by the selected body used. (See General Rules).
NASCAR (Late Model)
Date Last Modified: 6/6/24
(To be used in conjunction with the General Rules)
Scale: 1/24, 1/25
Year: 1980 to present.
Body Group: Replica of an American made NASCAR Sedan Note: ASA cars are Not Eligible.
Body Height, Minimum: 1/24 scale 1-7/8” (1.875”) Measured from the bottom of the chassis to (1/2”) behind the windshield. (Air dams excluded). 1/25 scale: Excluded from this rule however, must remain at the (Factory Kit) height.
Body Modifications/Required: Bodies May be trimmed to remove part of the front spoiler and side air dams (to the stock valence height for proper track clearance).
Interior/Required: See General Rules.
Chassis: Scratch Built.
Chassis Modifications/Required: Open.
Configuration (Motor): Inline only.
Axles: 3/32”, 1/8”, Wire
Bushings/Bearings: Ball Bearings, Oilite Bushings Are allowed in both Front & Rear.
Gears: 48, 64 Pitch. Note: Gears must have a minimum of (.040”) ground clearance, See General Rules.
Ground Clearance, Minimum: Front (.055”) Rear (.055”)
Motors: “Standard”/ “Open”, (See General rules).
Tire/Dimension: No less than ¾” (.750) Must still meet the minimum (.055”) Ground Clearance.
Tire/Wheel Maximum Track Width: Width Will be determined by the selected body used (See General Rules).
Sports Car (Production)
Date Last Modified: 7/27/25
(To be used in conjunction with the General Rules)
Scale: 1/24, 1/25
Years: Open
Body Group: Any production sports car body. Note: Rollbars Are required in roadsters.
Body Height, Minimum: Configuration and roofline Must remain unaltered however, bodies may be lowered by trimming the bottom edge as long as the body still meets these requirements: 1. The line between the bottom of the door and the rocker panel is evident/clearly visible. 2. The front grill opening is fully intact/unmodified.
Body Modifications/Required: Trimming of the lower valence Is allowed for proper guide flag clearance. At least 1/16” (.062”) Must be left in place at the bottom of the air intakes. Custom windshields May be constructed using Lexan/plastics however, Will require Tech approval.
Interior/Required: (See General Rules).
Chassis: Scratch built Only.
Chassis Modifications/Required: Open
Configuration (Motor): Inline Only
Axles: 3/32", 1/8" Wire.
Bushings/Bearings: Axle Ball Bearings, Oilite Bushings Are allowed in both Front & Rea
Gears: 48, 64 Pitch. Note: Gears must have a mi.nimum of (.040”) ground clearance, See General Rules.
Ground Clearance, Minimum: Front (.055”) Rear (.055”).
Motors: “Standard”/ “Open” (See General Rules).
Tire/Dimension: No less than ¾” (.750) Must still meet the minimum (.055”) Ground Clearance.
Tire/Wheel Maximum Track Width: Front (3.25”) Rear (3.25”)
Sportsman
Date Last Modified: 6/6/24
(To be used in conjunction with the General Rules)
Scale: 1/24, 1/25
Years: 1958 - 1979
Body Group: American full/midsize make of cars Only. (Bodies Not Eligible: Pony cars, Mustang, i.e. Camaro, Cuda, Challenger, AMX, Javelin)
Body Height, Minimum: (1.800”) Measured from the bottom of the chassis to the highest center point of the roof line.
Bodies may Not be trimmed to meet the specified minimum height, and must remain at the Stock Kit Height.
Body Modifications/Required: Front & Rear wheel wells May be radiused to allow tire clearance. Windshields (see General Rules) May be replaced by a custom mesh or realistic looking screen. Note: Rear windows are not required.
Interior/Required: See General Rules.
Chassis: Rattle Style consisting of “Two” main components (1 Center Pan (Guide tongue & Motor bracket included and mounted solidly as one unit) and 1 each, Right & Left side Pan). Side Pans Must be attached together using tubing/wire etc. and not move independently of each other, when attached to the center pan assembly. The Side Pans May move together in a side to side, front to back and up & down motion. Hinges of any kind throughout the entire chassis that allow a hinged swinging type motion are Not allowed. Side Pan assemblies may extend forward past/beyond the center pan section, and or the front axle position.
Chassis Modifications/Required: Open, Without Hinging of any kind.
Configuration (Motor): Inline Only.
Axles: Front (1/8”, 3/32”, Wire) Rear (1/8” or 3/32").
Bearings/Bushings: Oilite Bushings or ball bearings allowed. Both front and rear.
Gears: 48 or 64 Pitch. Note: Gears must have a minimum of (.040”) ground clearance, See general rules.
Ground Clearance, Minimum: Front (.055”) Rear (.055)
Motors: “Standard” (See General Rules)
Tire/Dimension: Minimum Diameter Front 7/8” (.875”) Any Tire including O-Ring, May be coated with polish/Super Glue. Minimum diameter Rear (.900”) May be narrowed.
Tire/Wheel Maximum Track Width: Front (3.250”) Rear (3.250).
1,872 November 3, 2019 10:41 am
Re: This is the Sportsman page. (146 replies, posted in Rapid Raceway)
Howie, That was some great and really close racing last night!
Thank you!
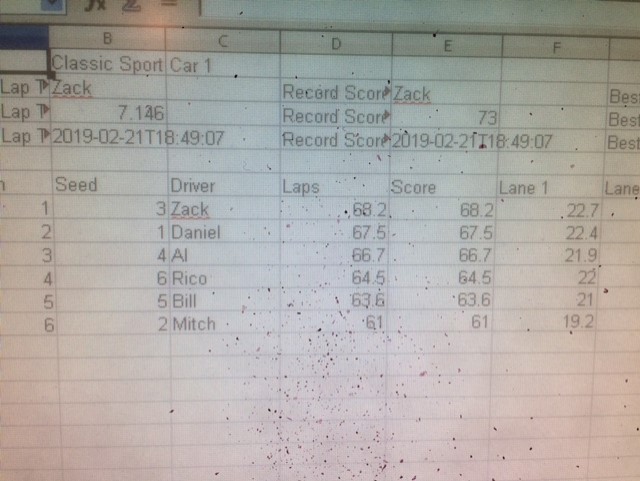
1,873 November 2, 2019 1:03 pm
Re: NASTE 2020 Point Series Championship - Results & Standings (28 replies, posted in NASTE)
NASTE 2020 Point Series Championship Race No.2 @ Rippin' Ridin' Raceway October 31, 2019
Race Results - Classic Sports Car Division I Class:
1 Zack 68.2 Laps - 6 points
2 Daniel 67.5 - 5 pts.
3 Al 66.7 - 4 pts.
4 Rico 64.5 - 3 pts.
5 Bill 63.6 - 2 pts.
6 Mitch 61.0 - 1 pt.
Current Standings for the 2020 NASTE Point Series Championship After 2 Races:
1st Zack - 16 points
2nd tie Al - 13 pts.
2nd tie Daniel - 13 pts.
4th Monte - 7 pts.
5th Greg - 6 pts.
6th tie Chris - 5 pts.
6th tie Rico - 5 pts.
8th Fernando - 4 pts.
9th Bryan D. - 3 pts.
10th tie Mitch - 2pts.
10th tie Bill - 2 pts.
1,874 November 2, 2019 12:43 pm
Re: NASTE Odd Thursday Night Racing Rules & Current Thread (2,201 replies, posted in NASTE)
Here's the results from the October 31st race:
GFX Class with a three way tie! Tie goes to the racer that turned the fastest lap - Dan 6.291, Zack 6.468, Al 6.601
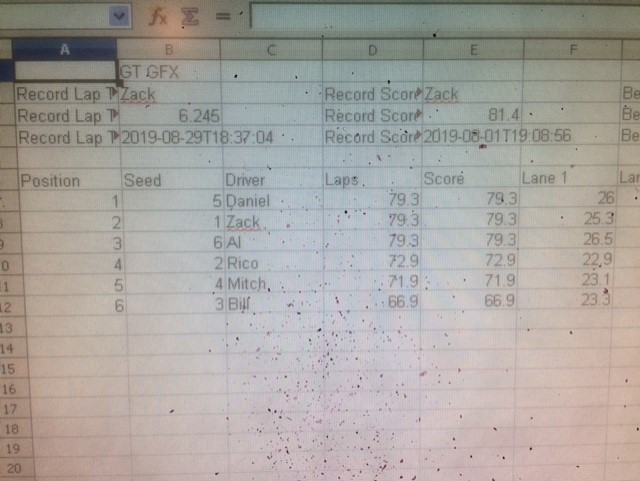
The second point series race of the 2020 season! Classic Sports Car Division I Class:
1,875 October 29, 2019 5:40 am
Re: OSCAR Race at Tom's World in Bend Oregon on Oct. 19, 2019 (11 replies, posted in OSCAR)
That's what she does best..........LOOK........
She didn't win at Tom's either...........