by howie » Sun Mar 31, 2013 10:02 am
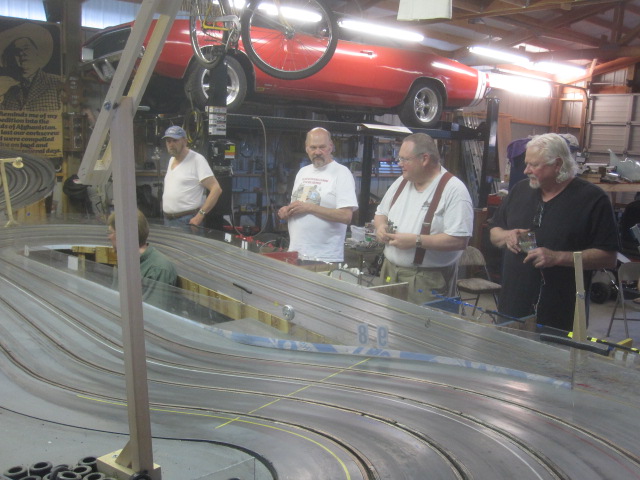
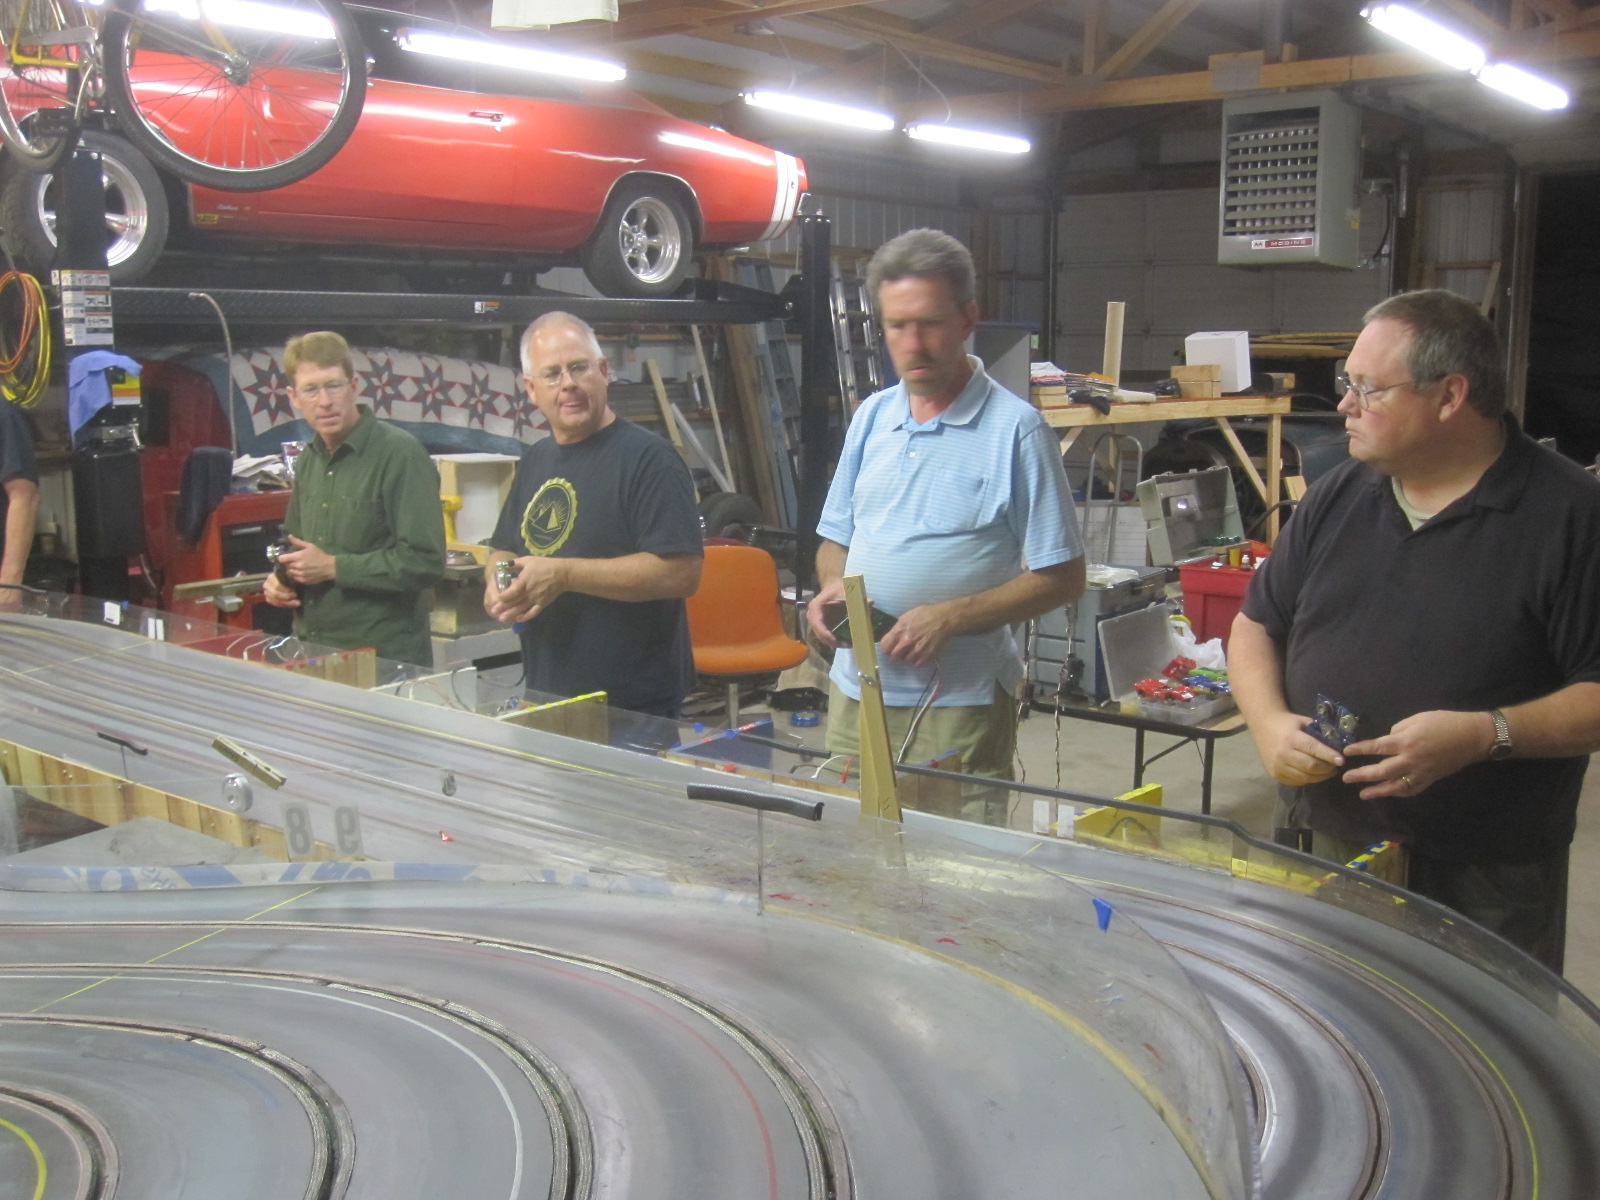
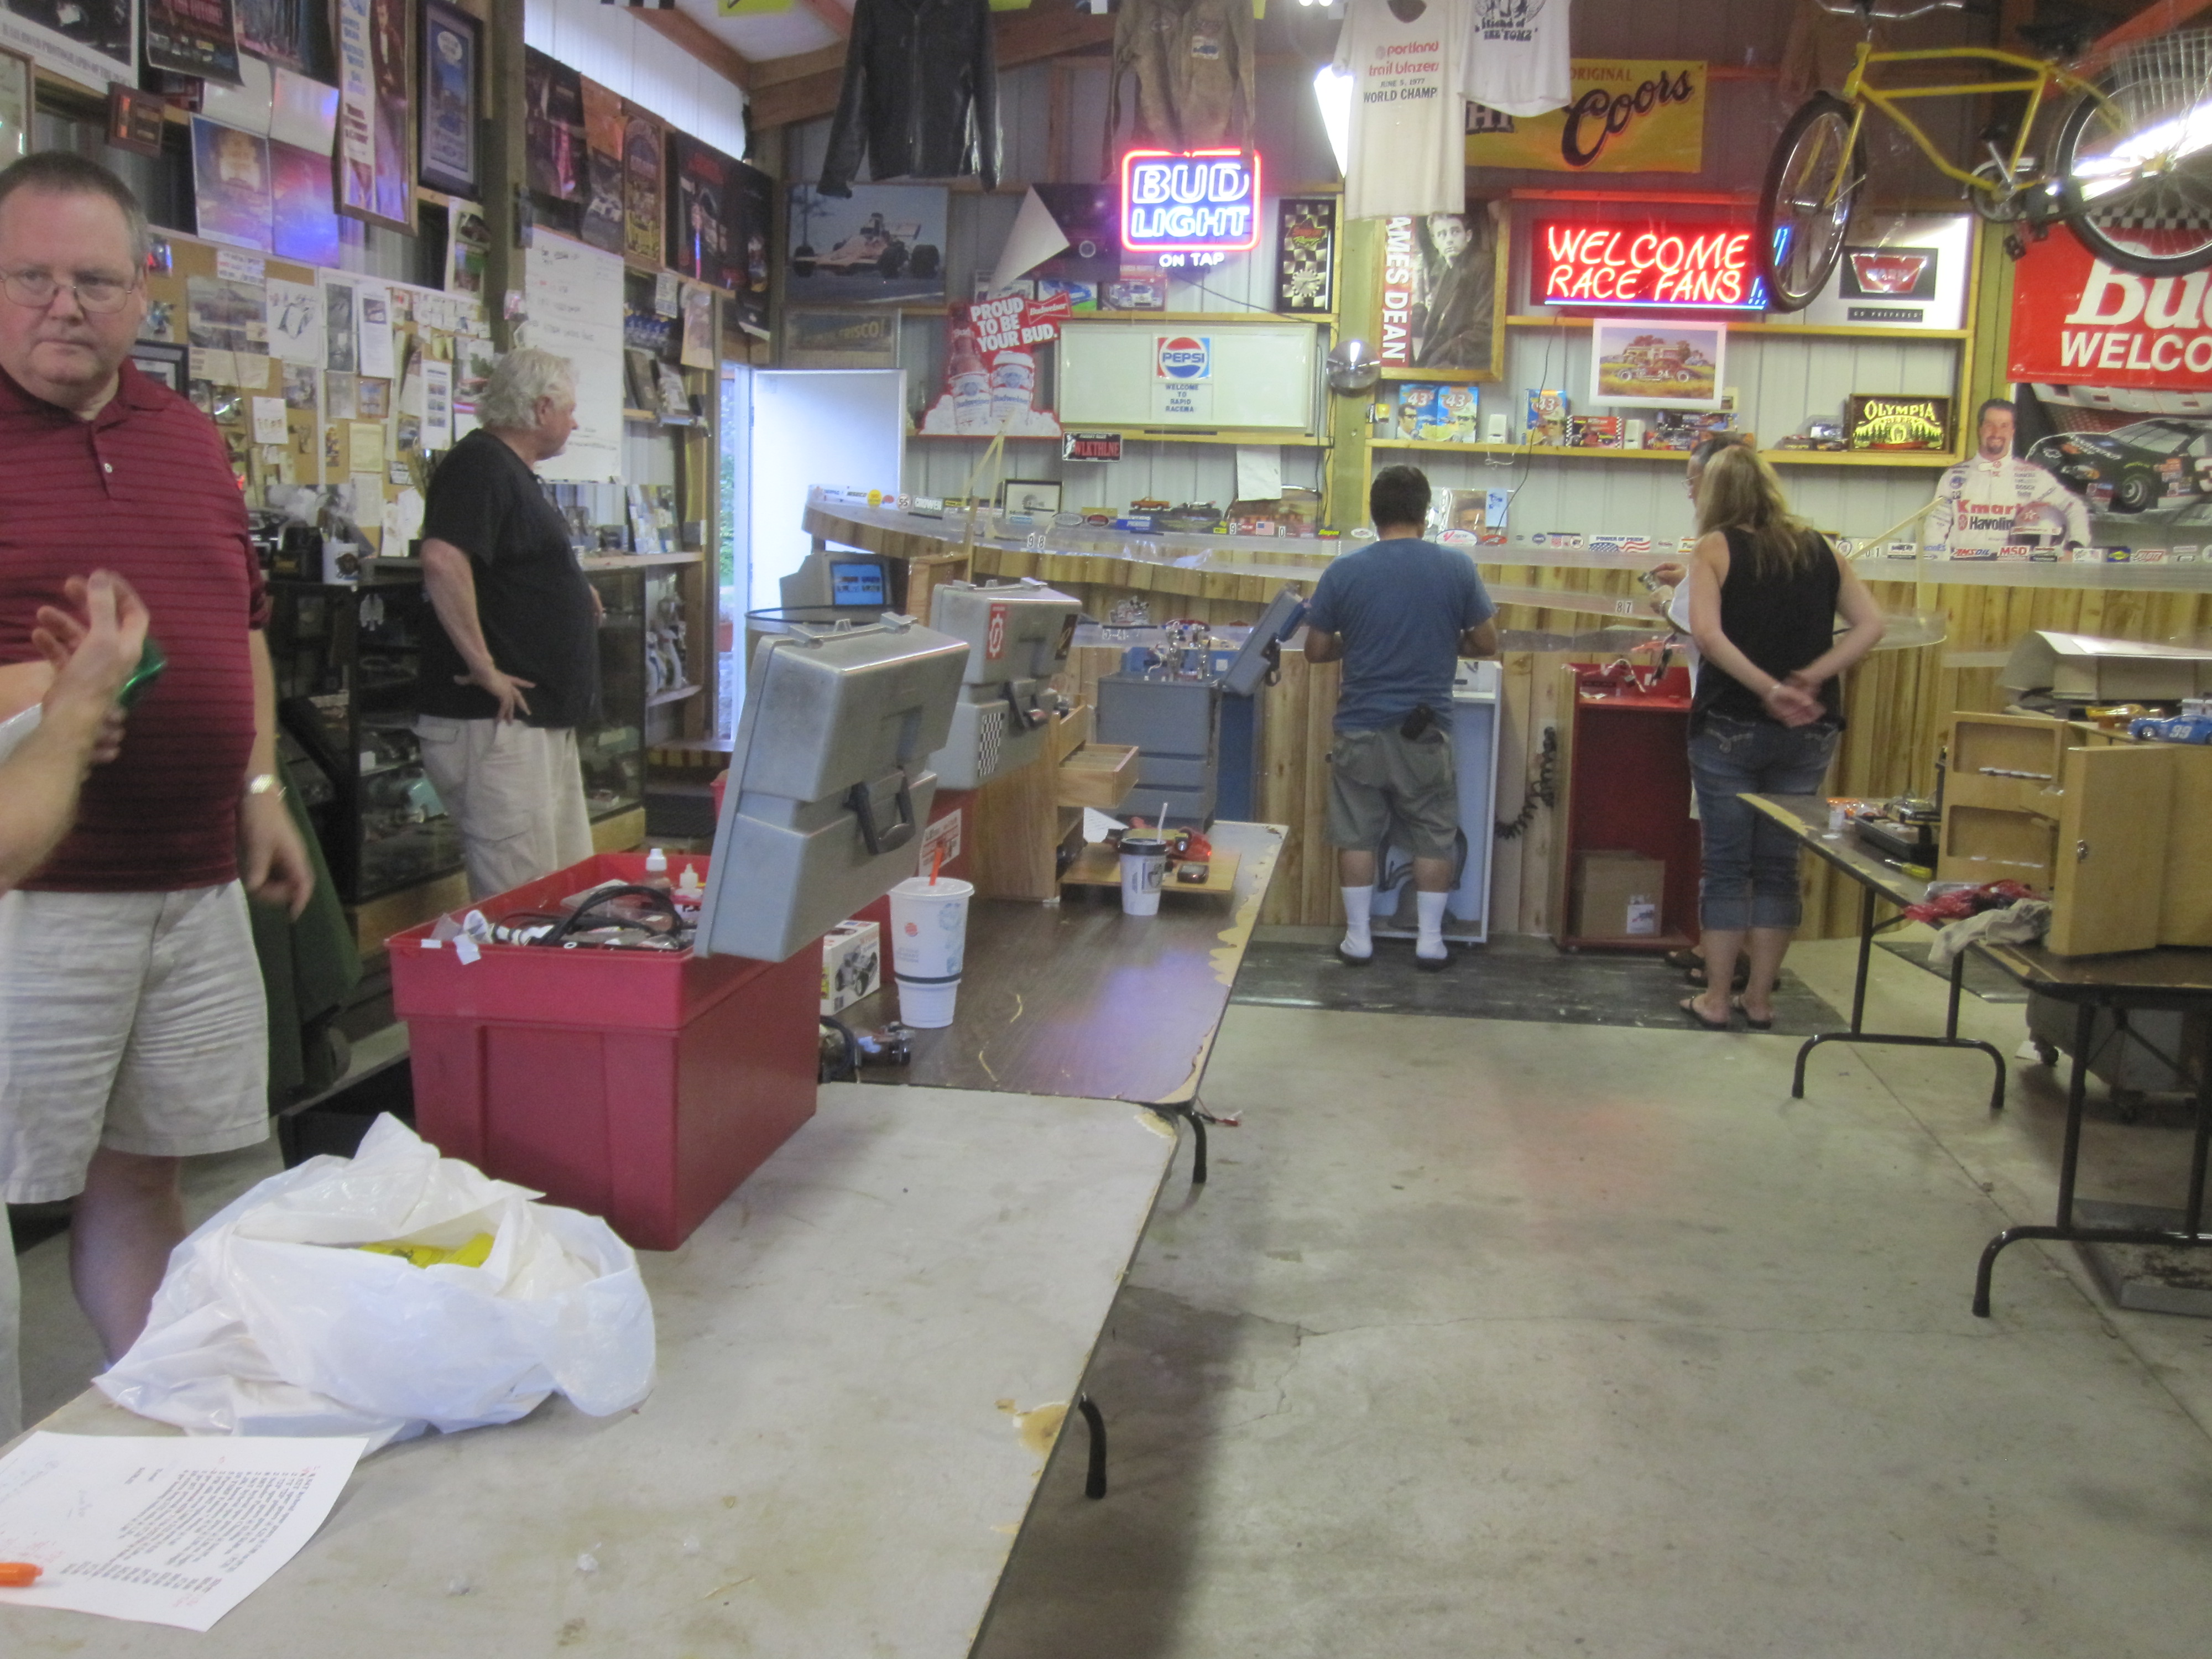
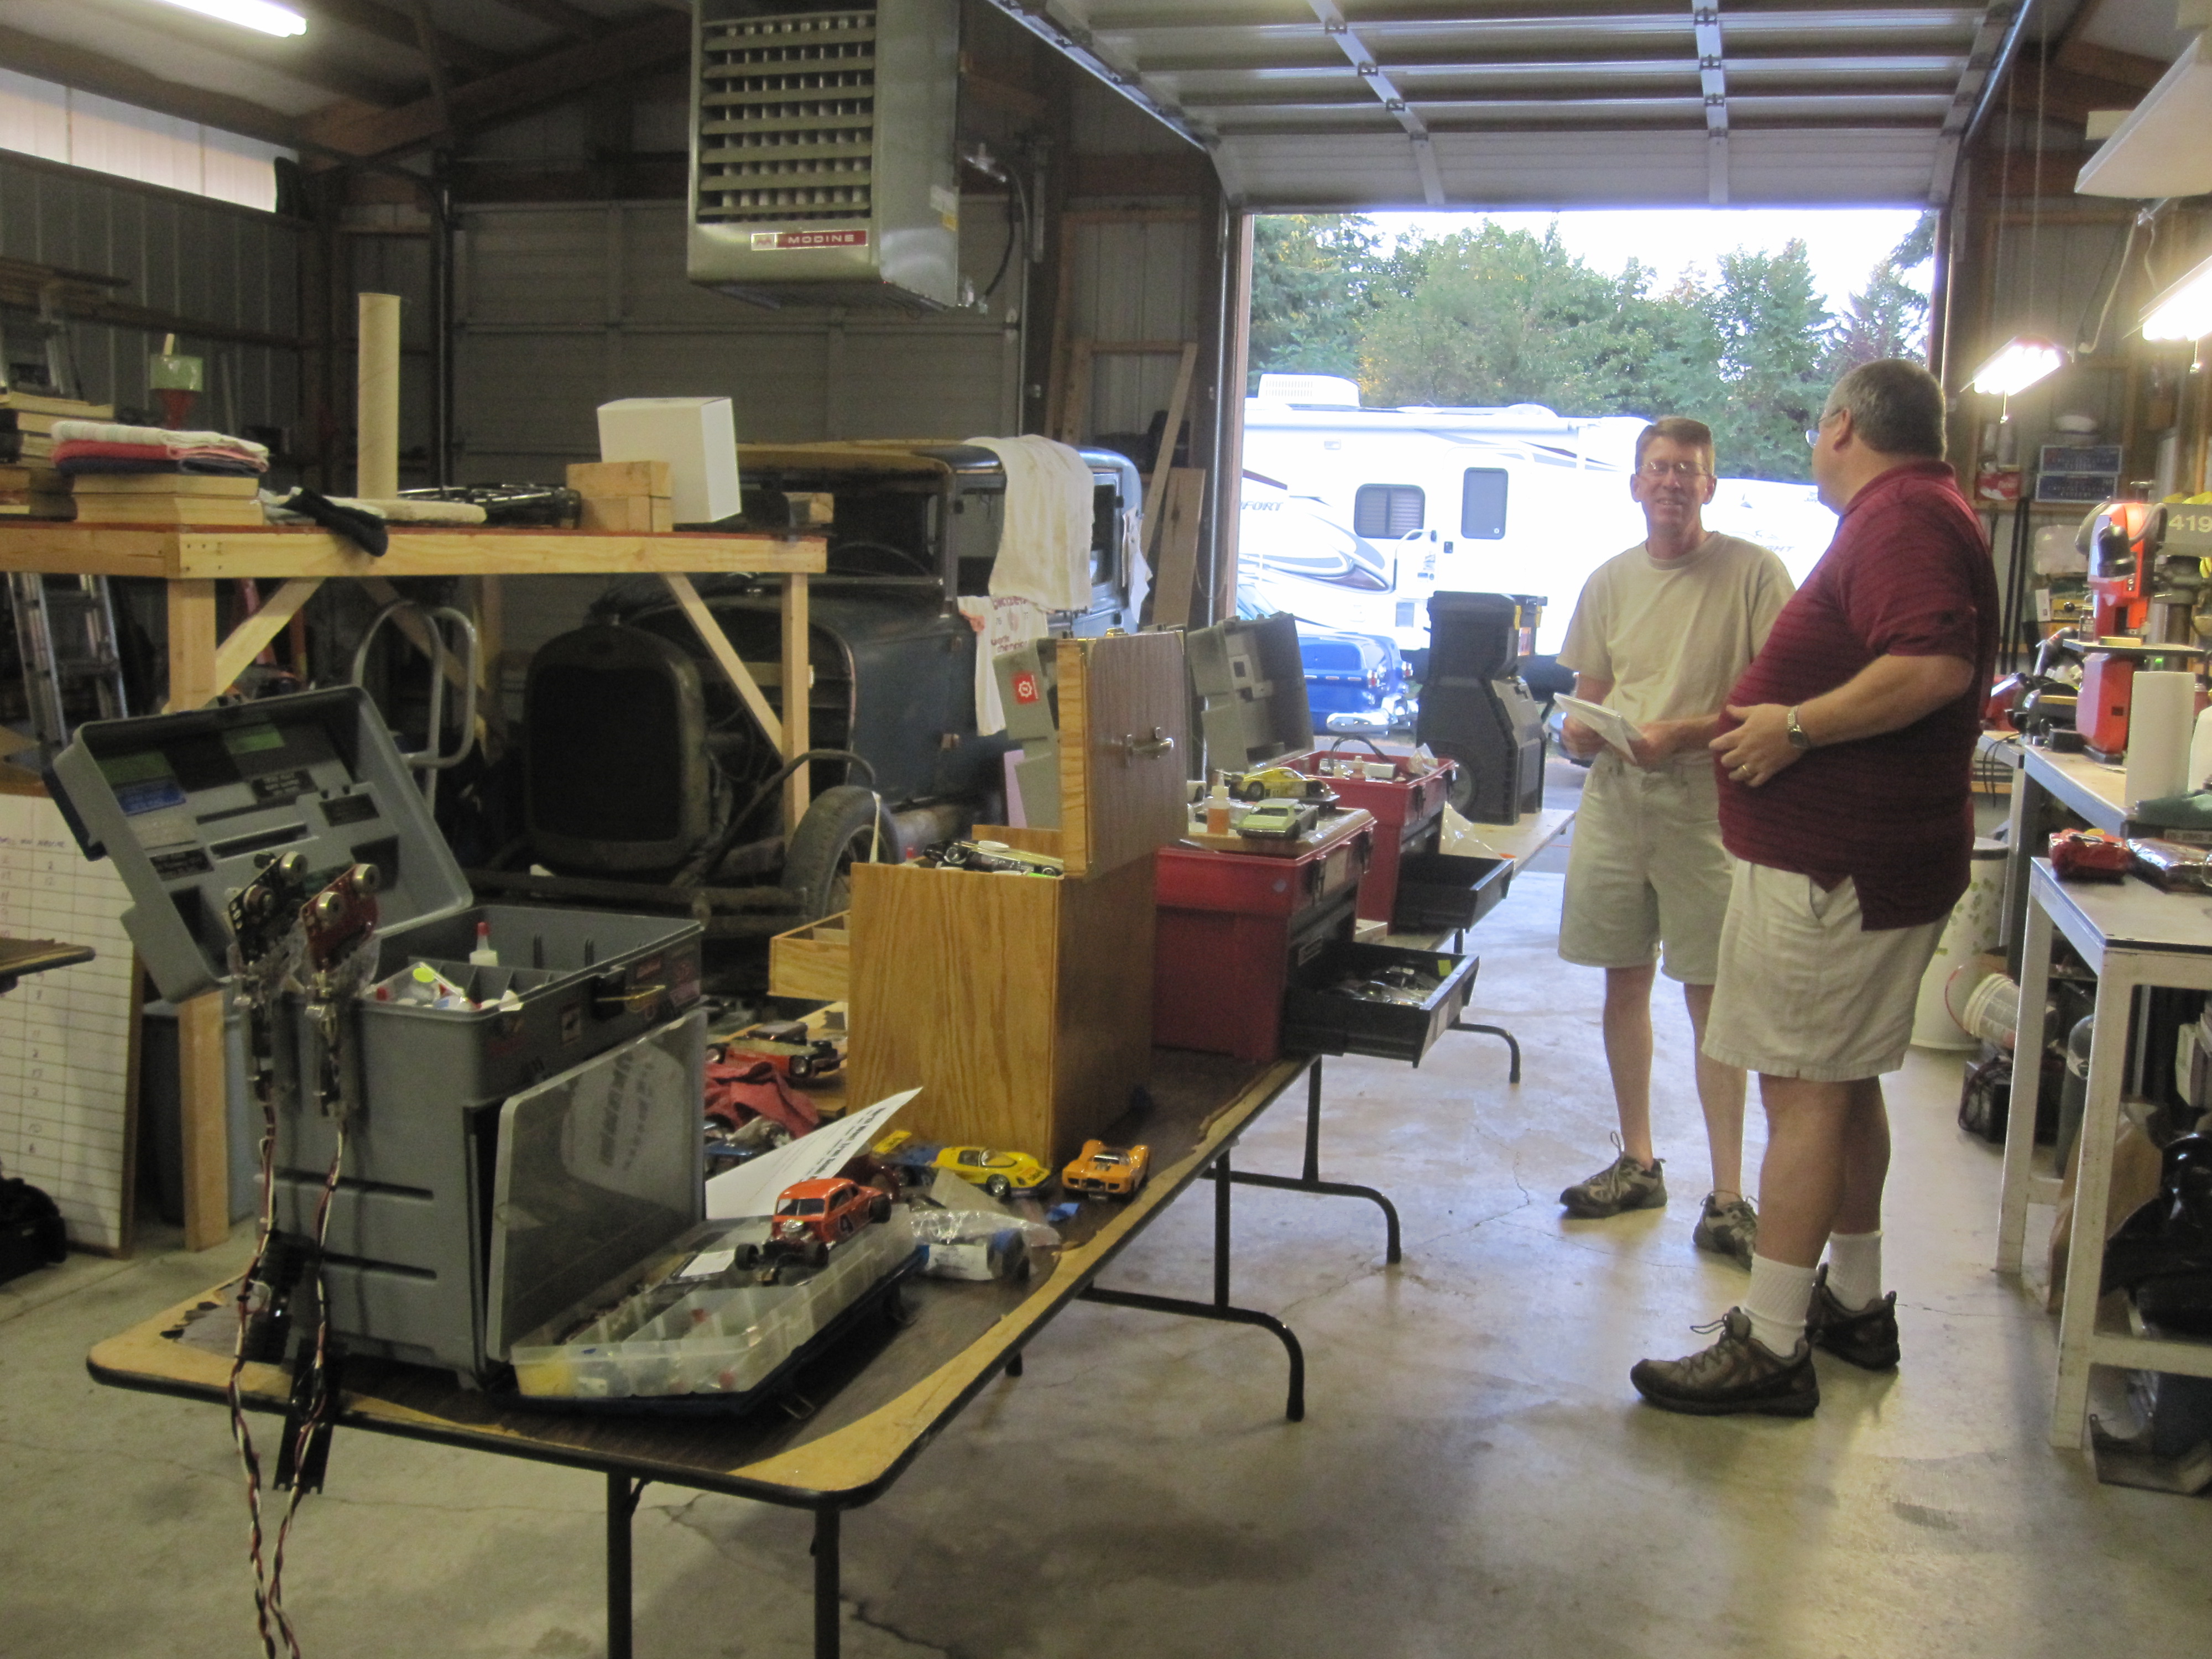
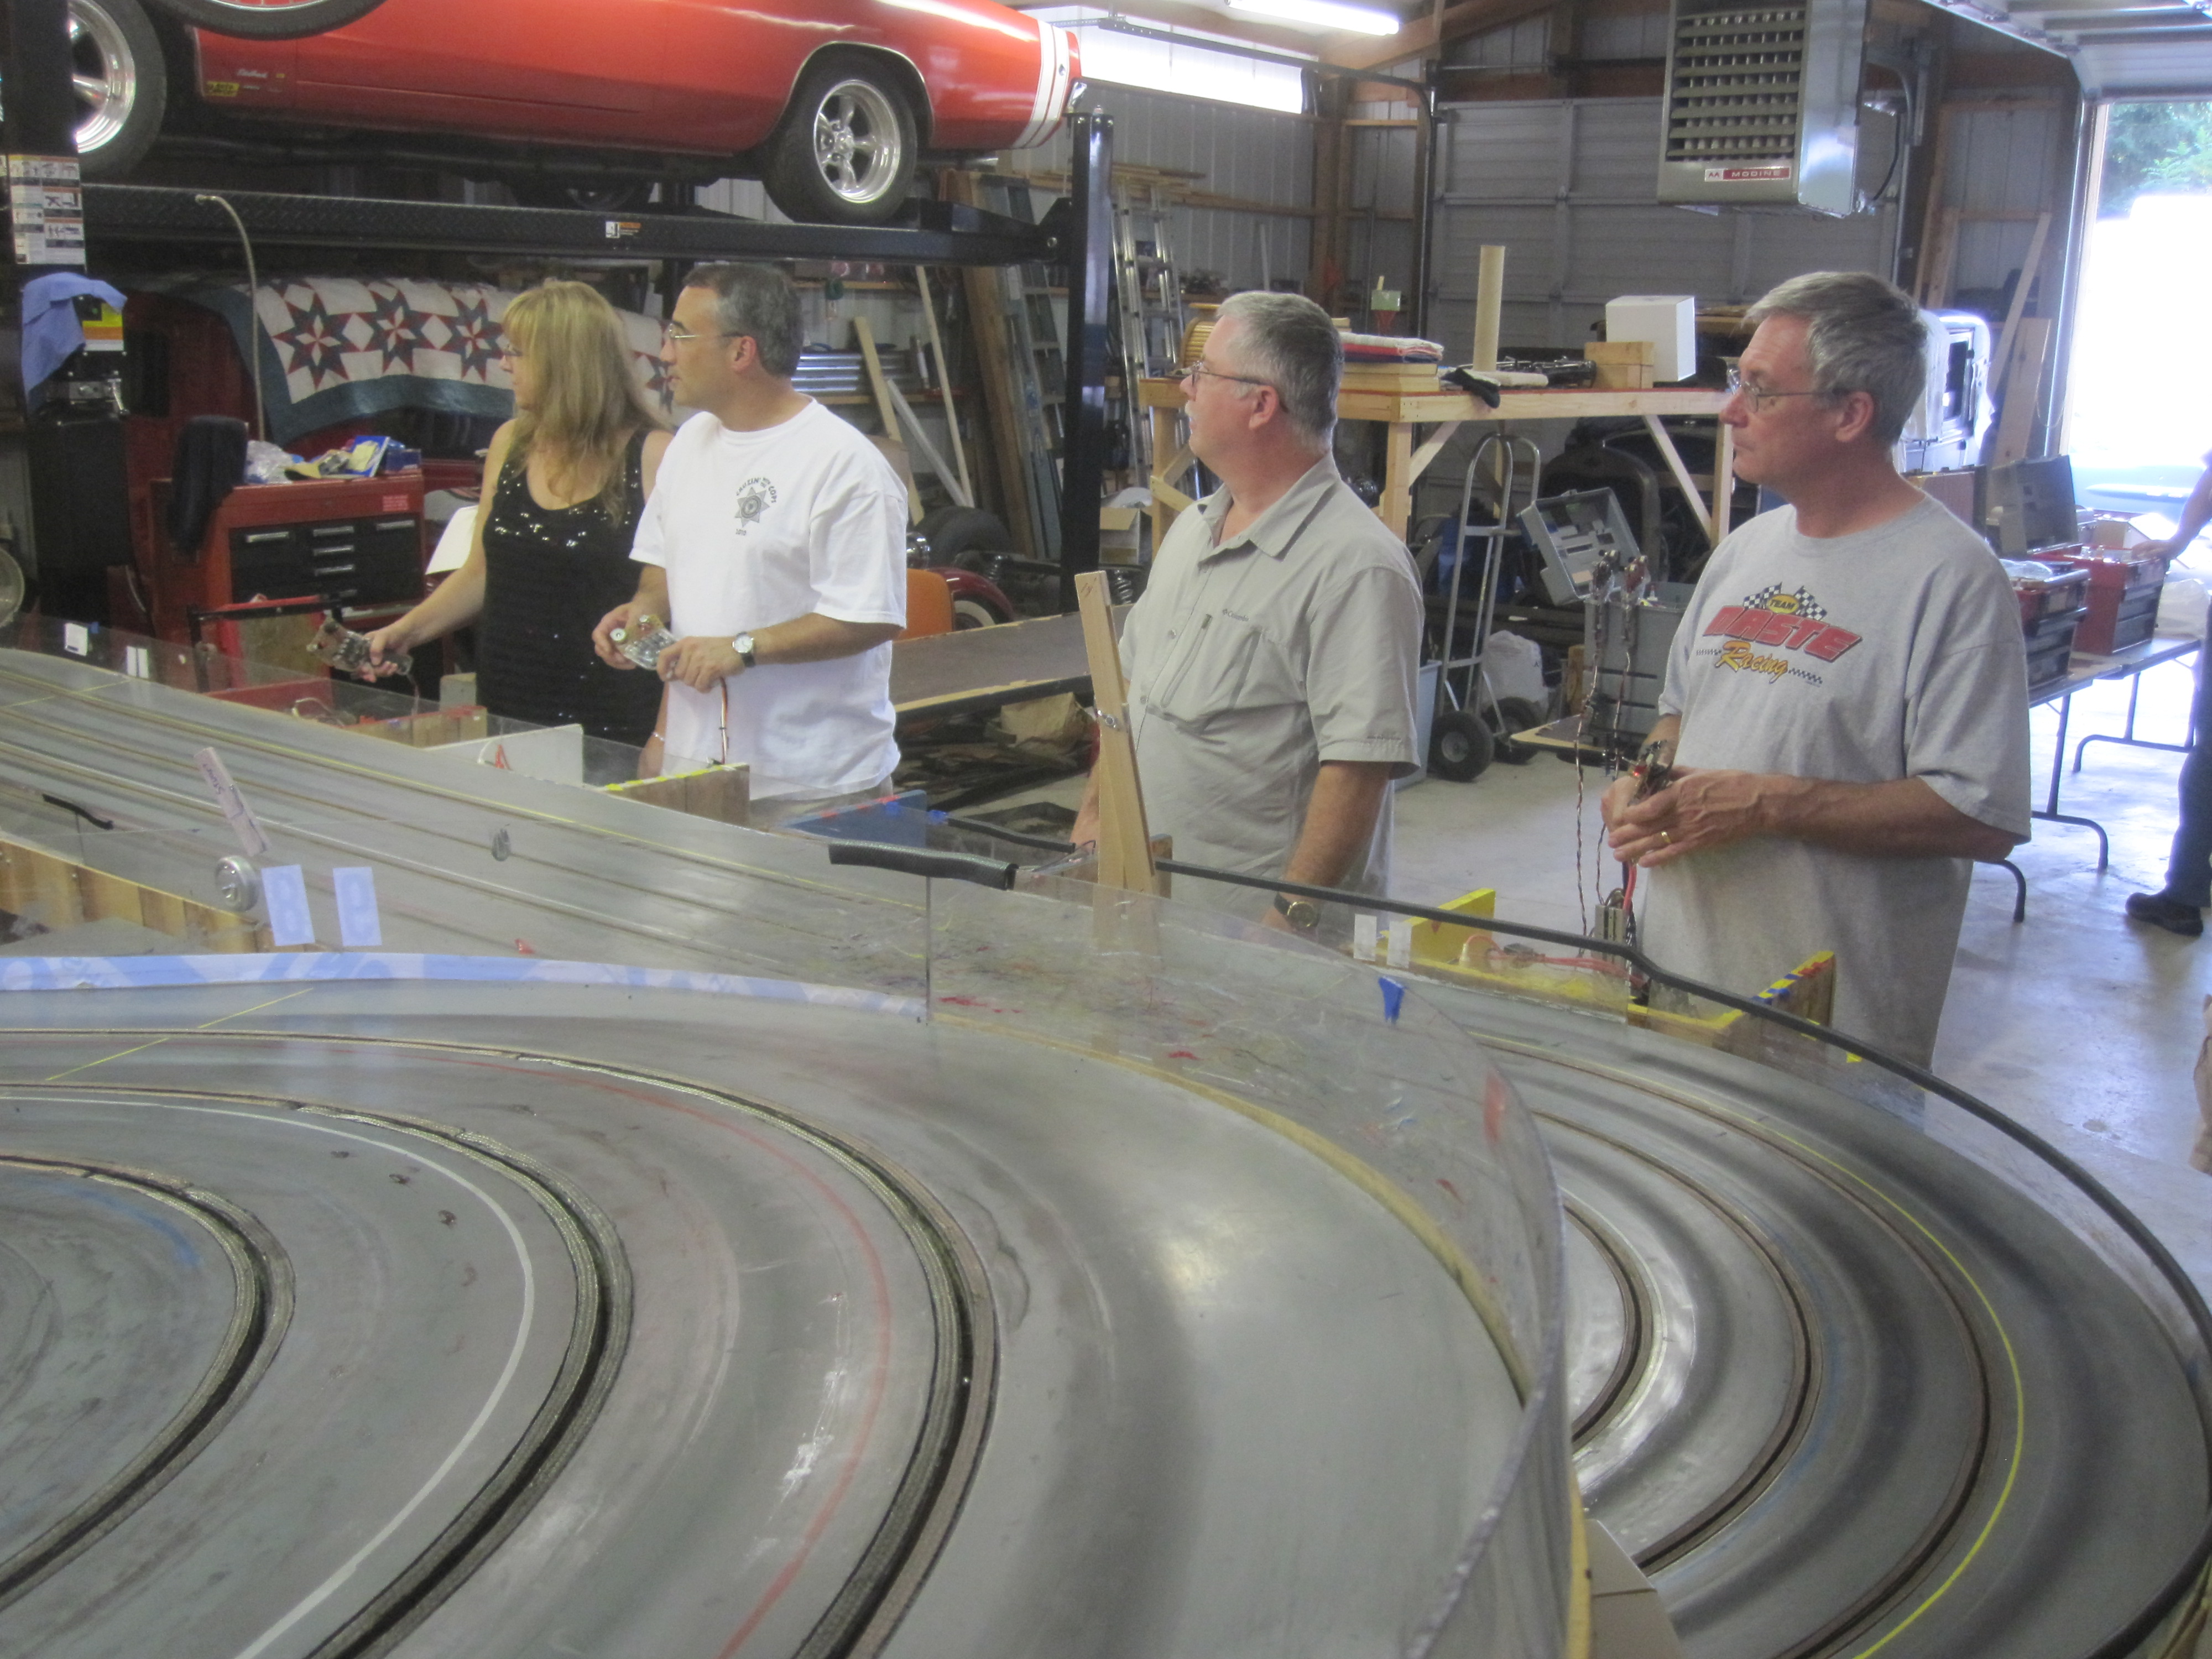
Race of March 30th. 2013. A good turnout for such a beautiful day.

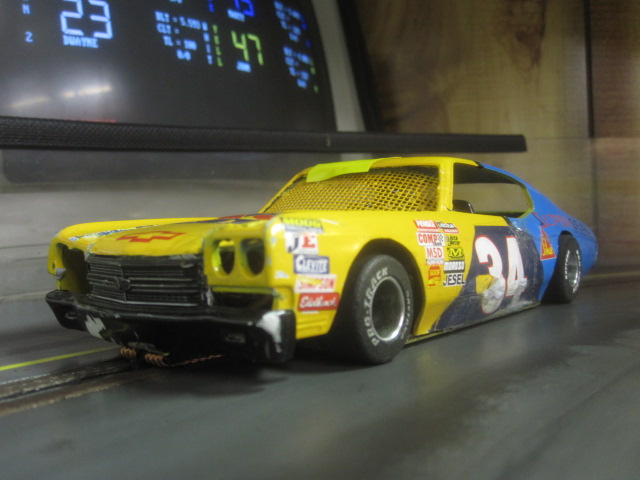
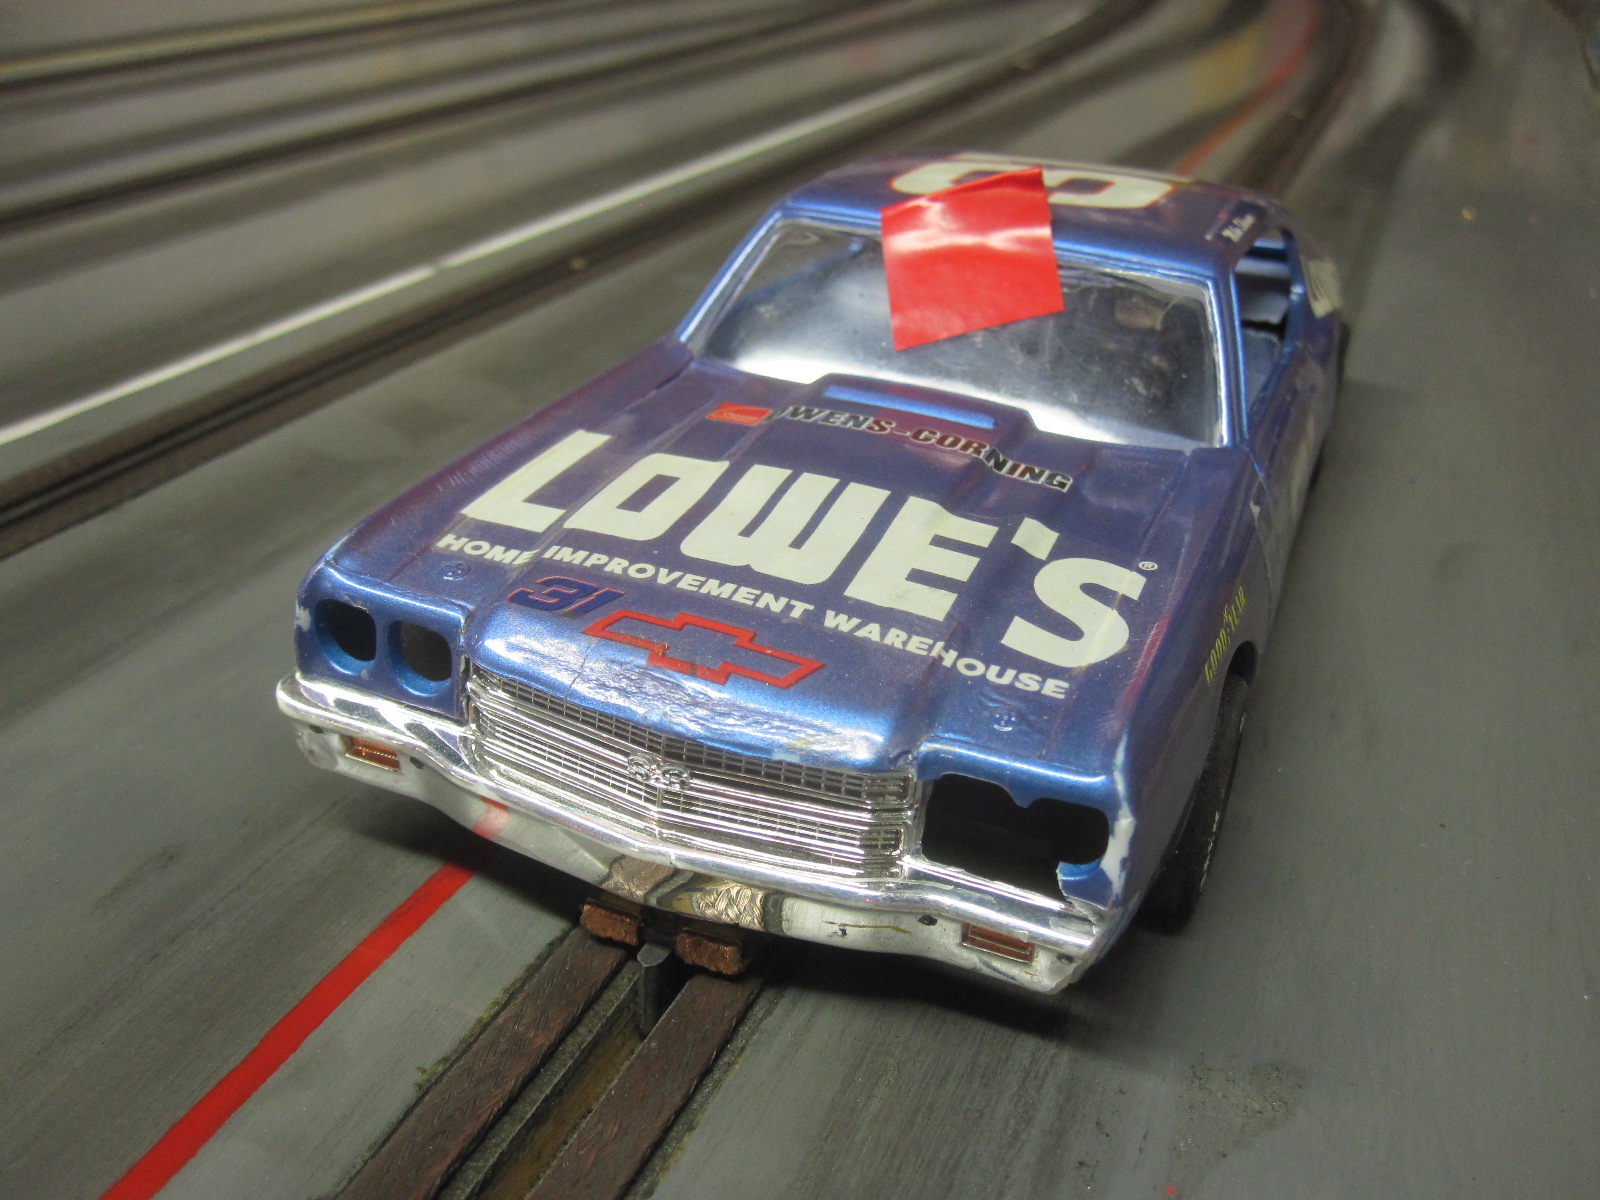
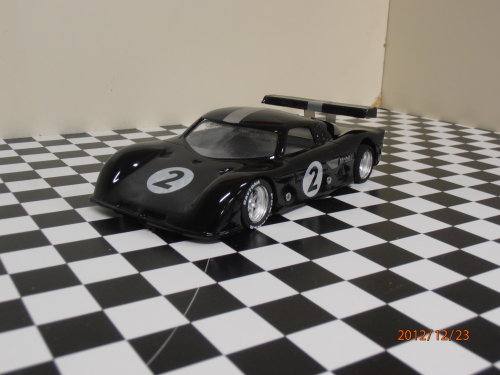
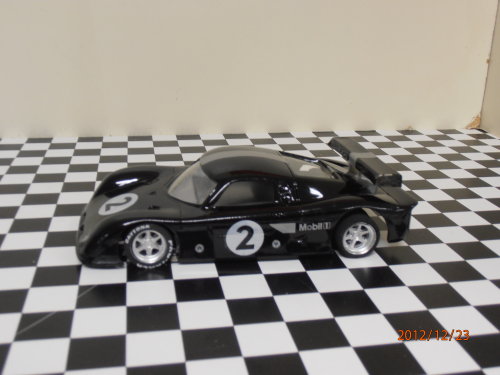
John's winning Chevy.
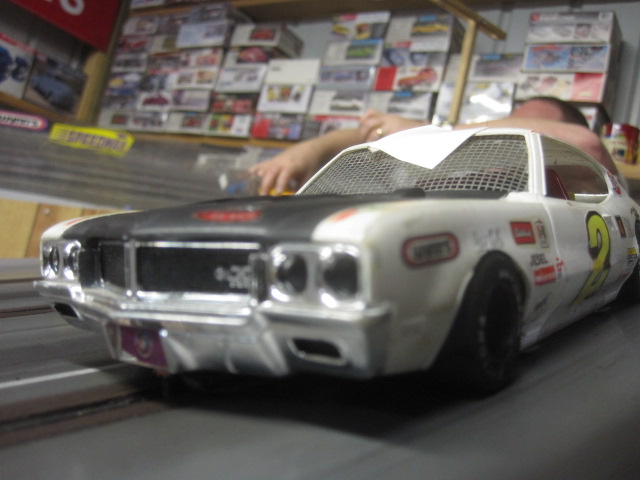
A Buick that Dayle drives.
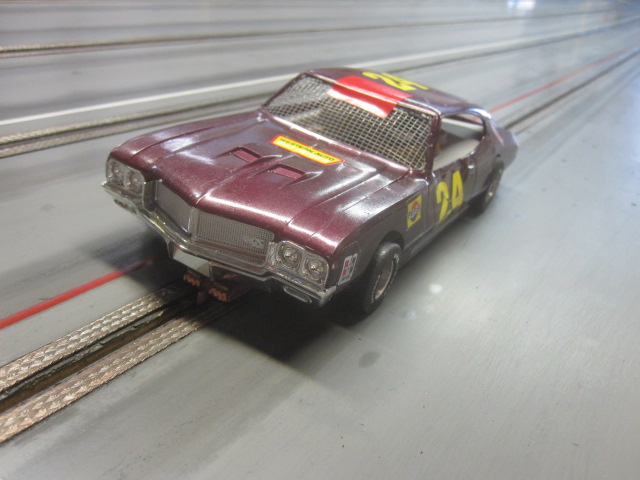
A Buick that Hughie drives
You are not logged in. Please login or register.
The NASTE Forum → Posts by wb0s
by howie » Sun Mar 31, 2013 10:02 am
Race of March 30th. 2013. A good turnout for such a beautiful day.
John's winning Chevy.
A Buick that Dayle drives.
A Buick that Hughie drives
by howie » Sun Jan 27, 2013 11:25 am
Race of Jan. 26th. 2013. These cars are still popular and fun to race and fun to look at after all these years.
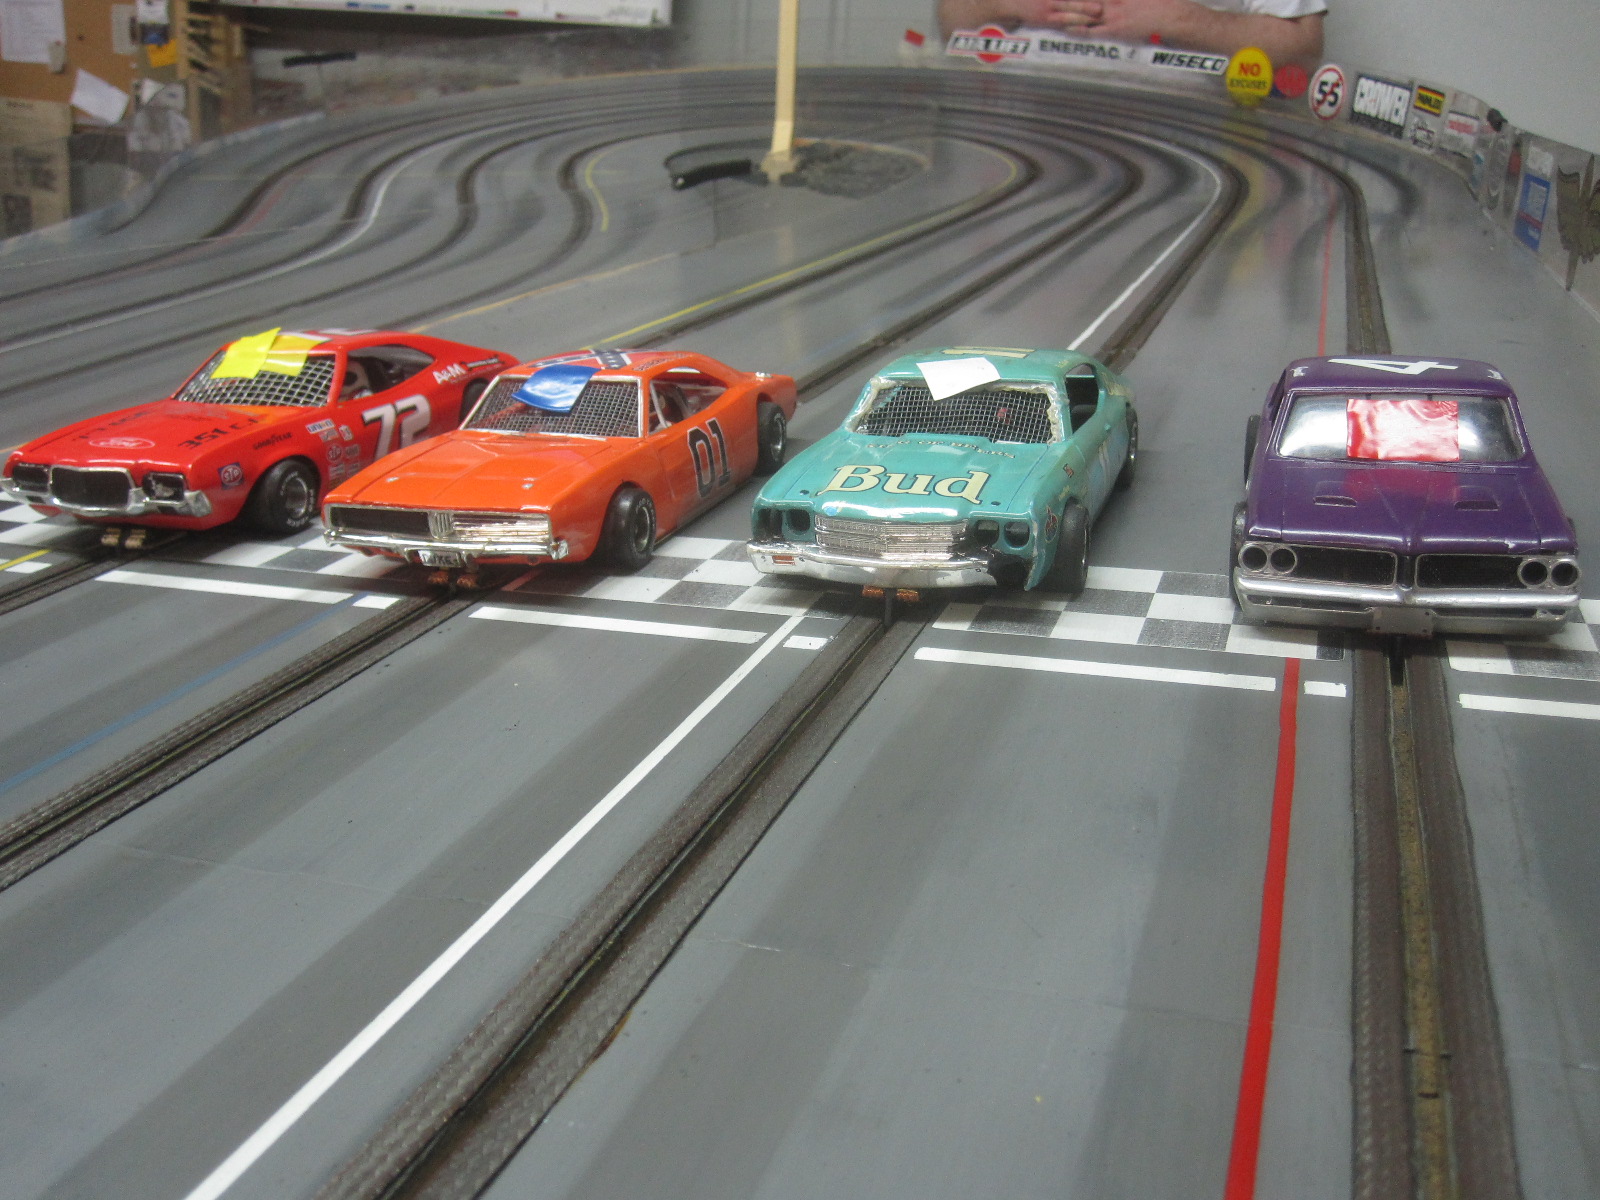
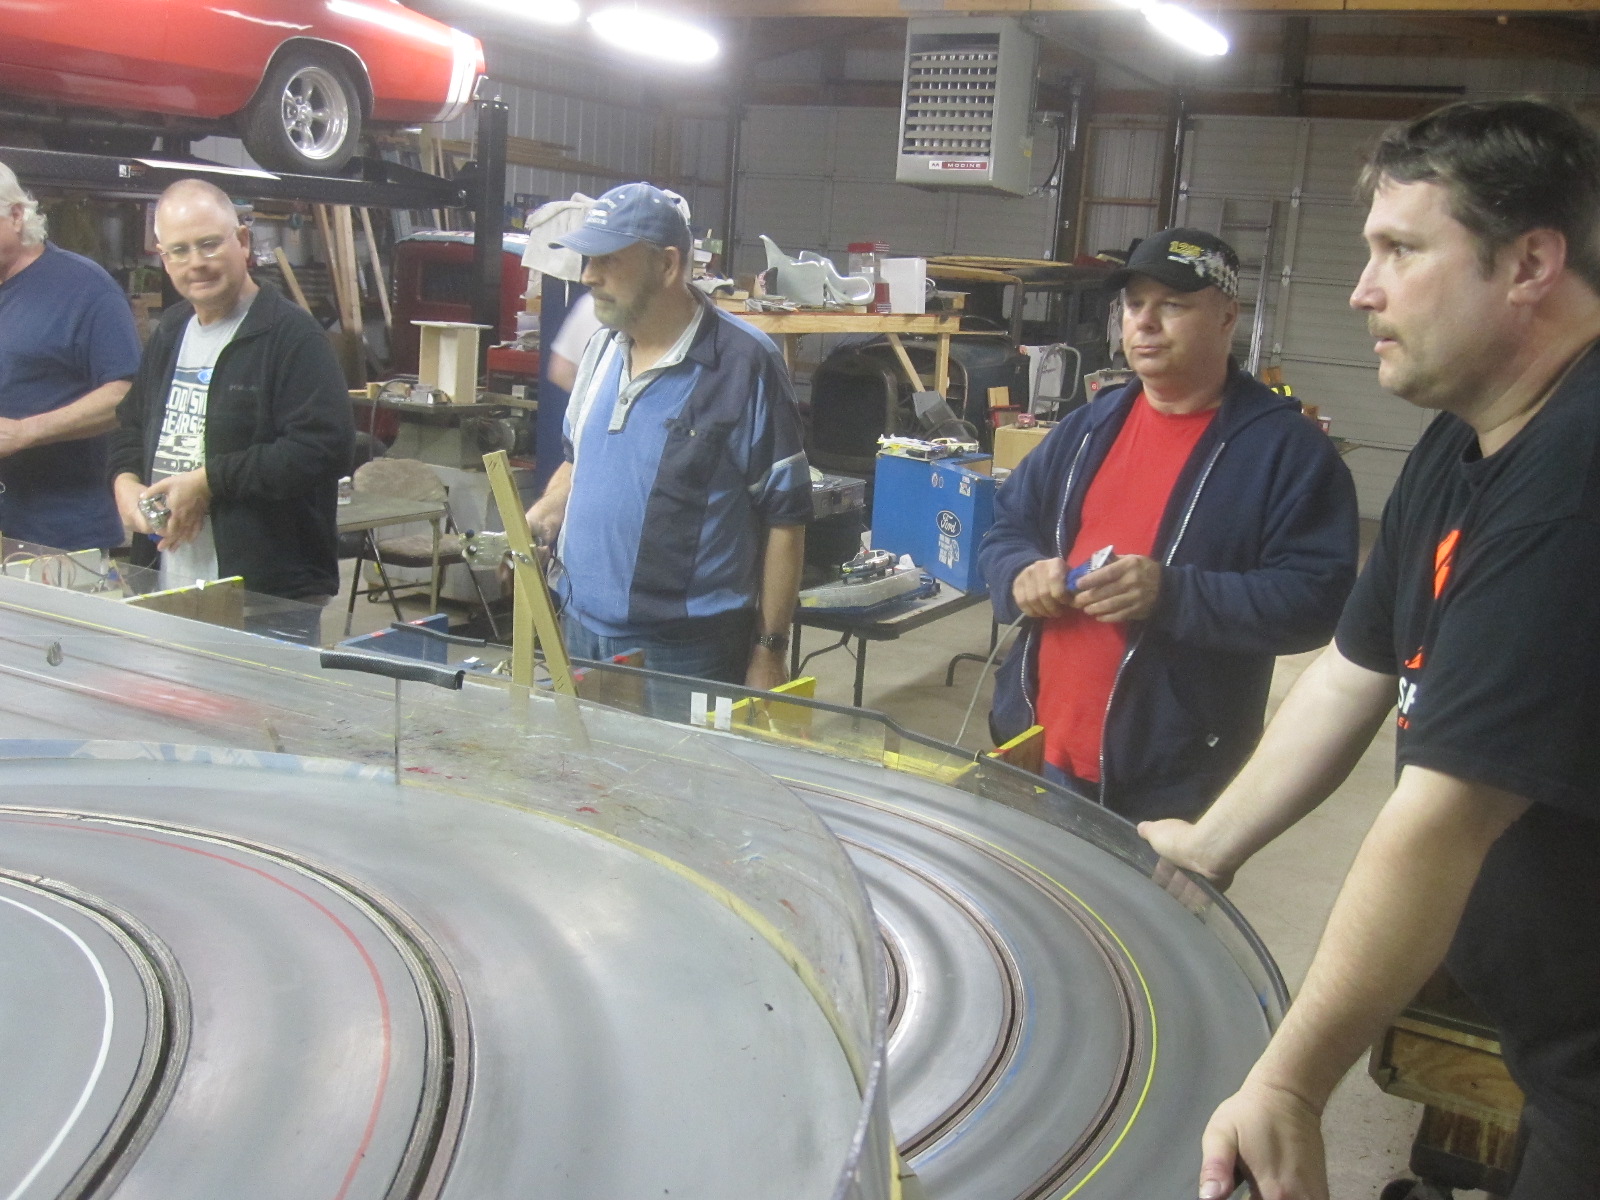
Usual suspects.
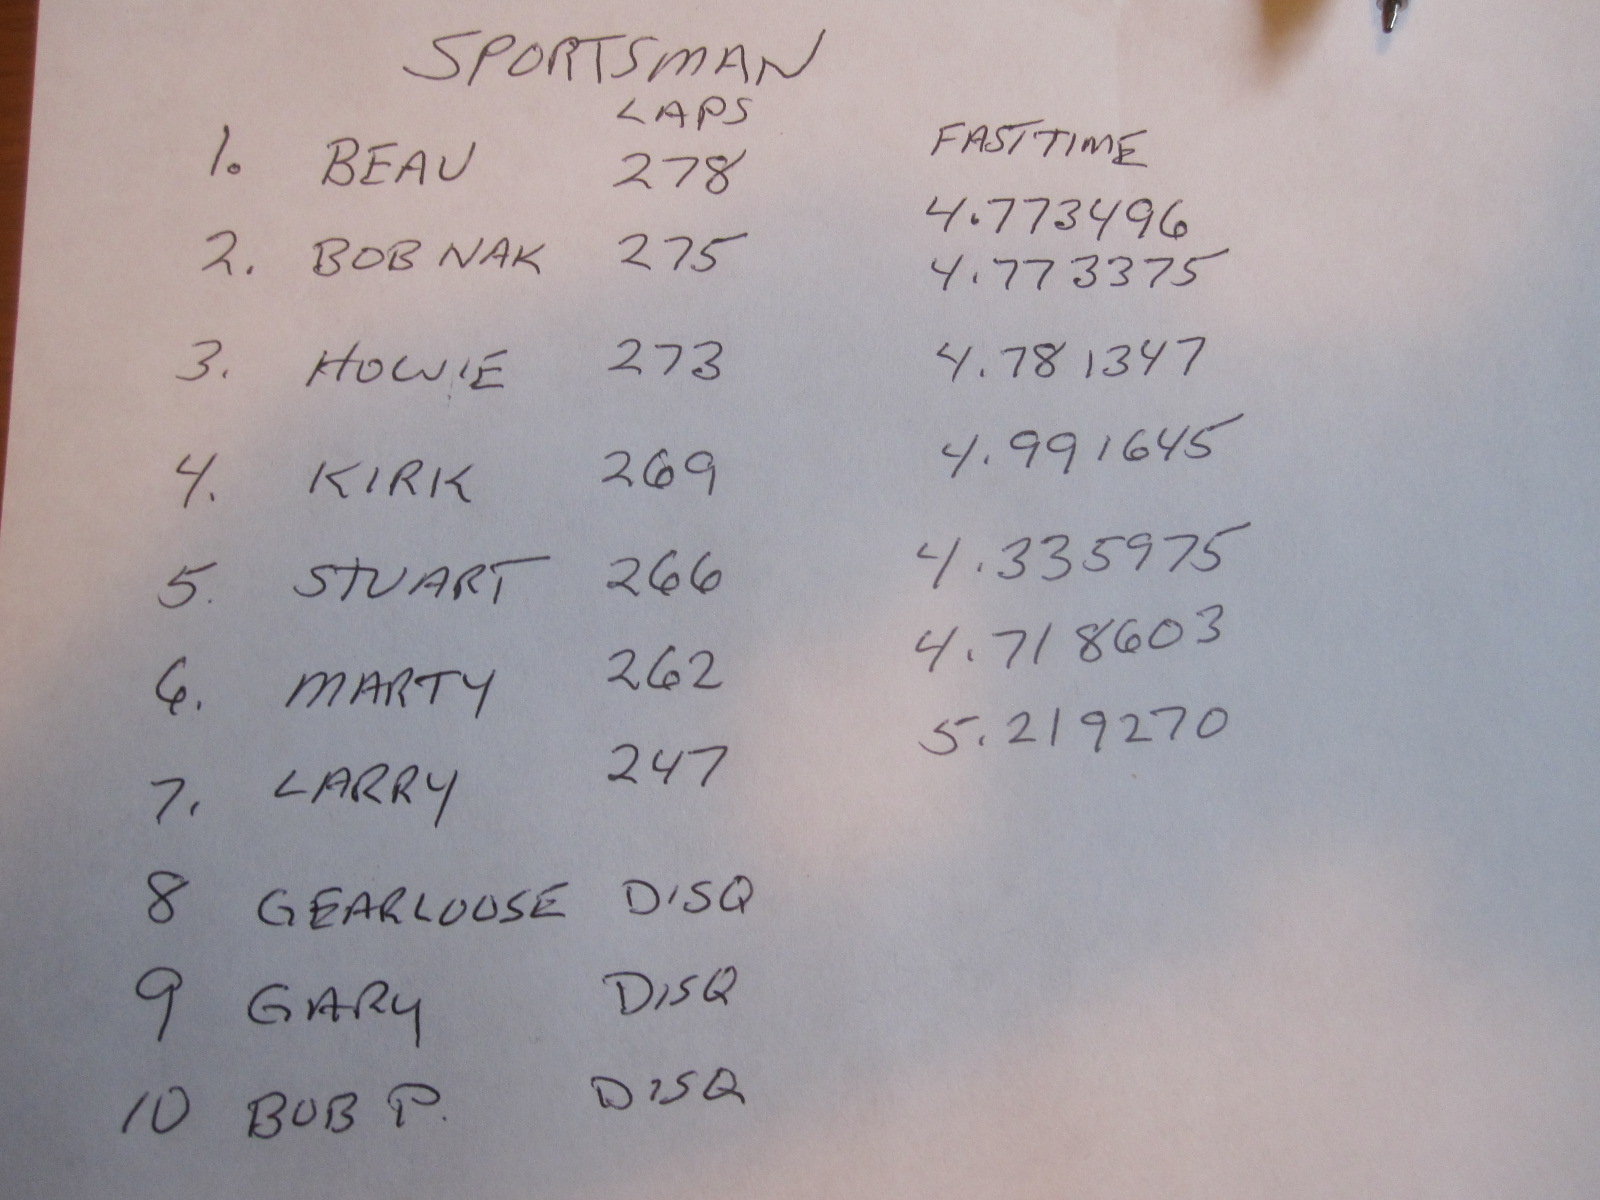
results.
by howie » Thu Oct 04, 2012 8:39 am
More from the Sept. 22 race.
by howie » Mon Sep 24, 2012 9:49 am
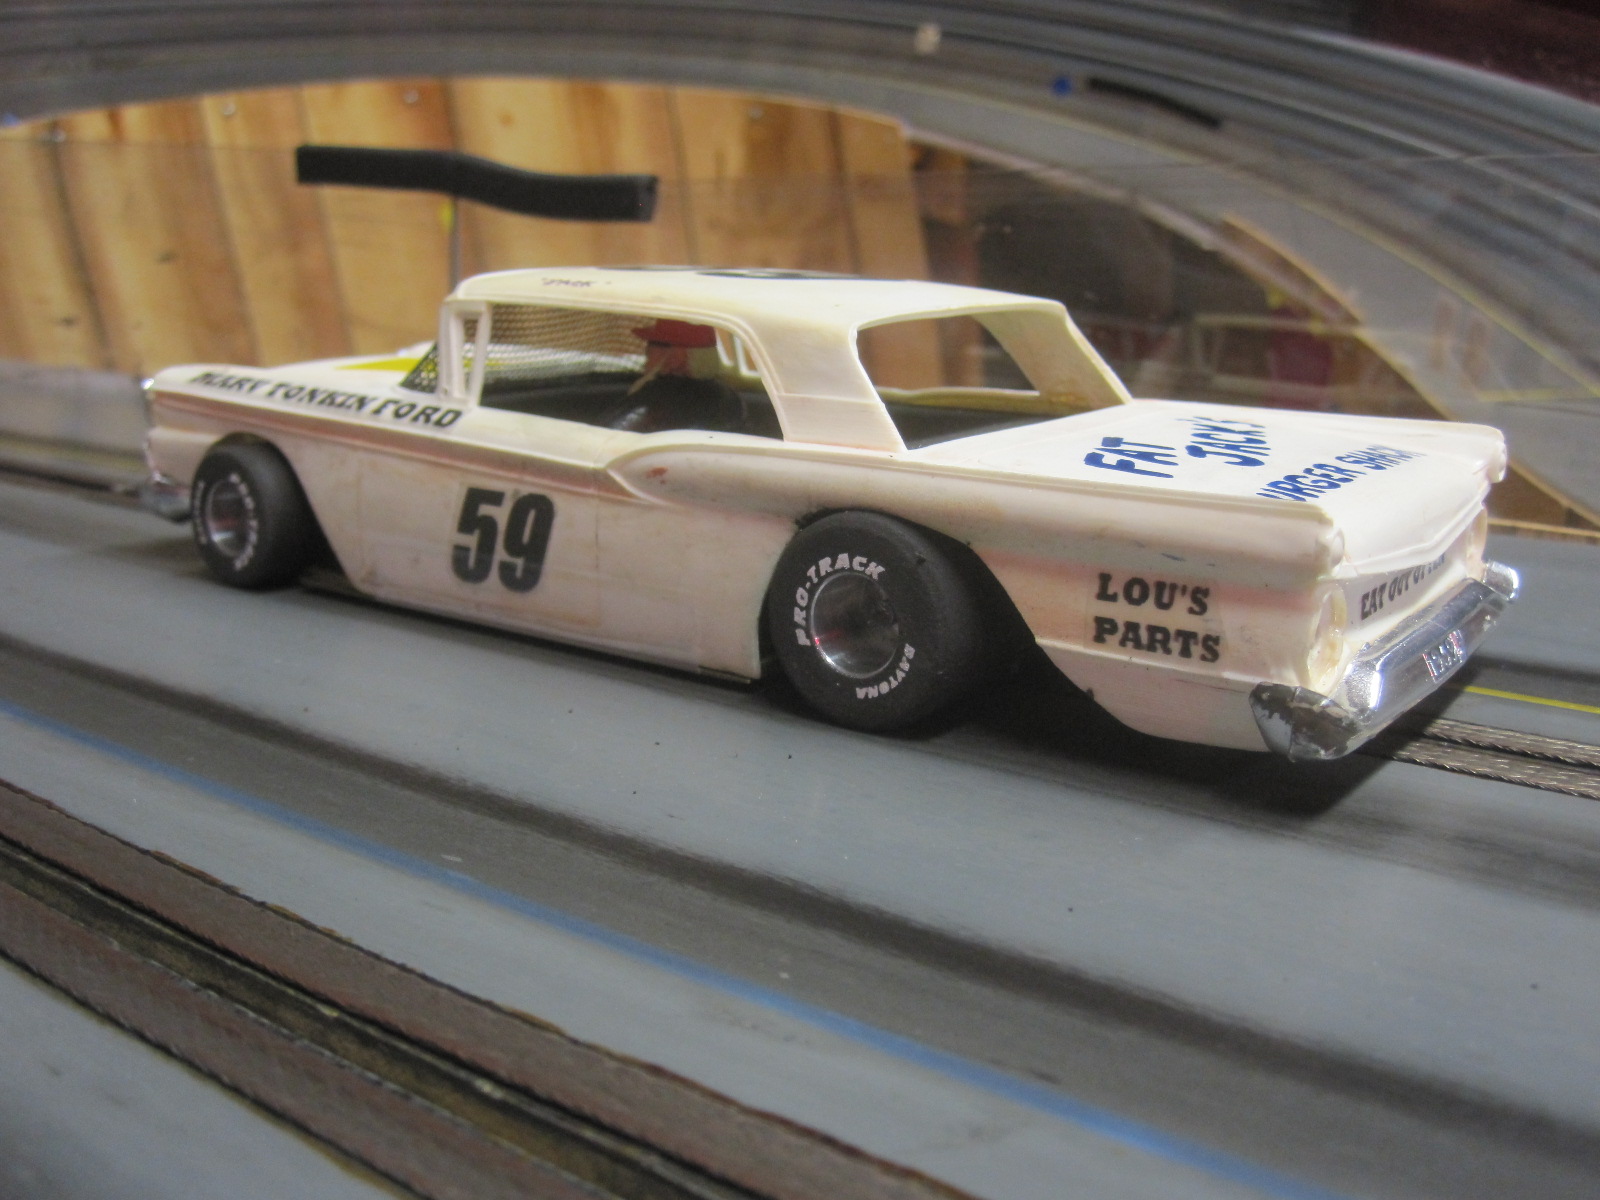
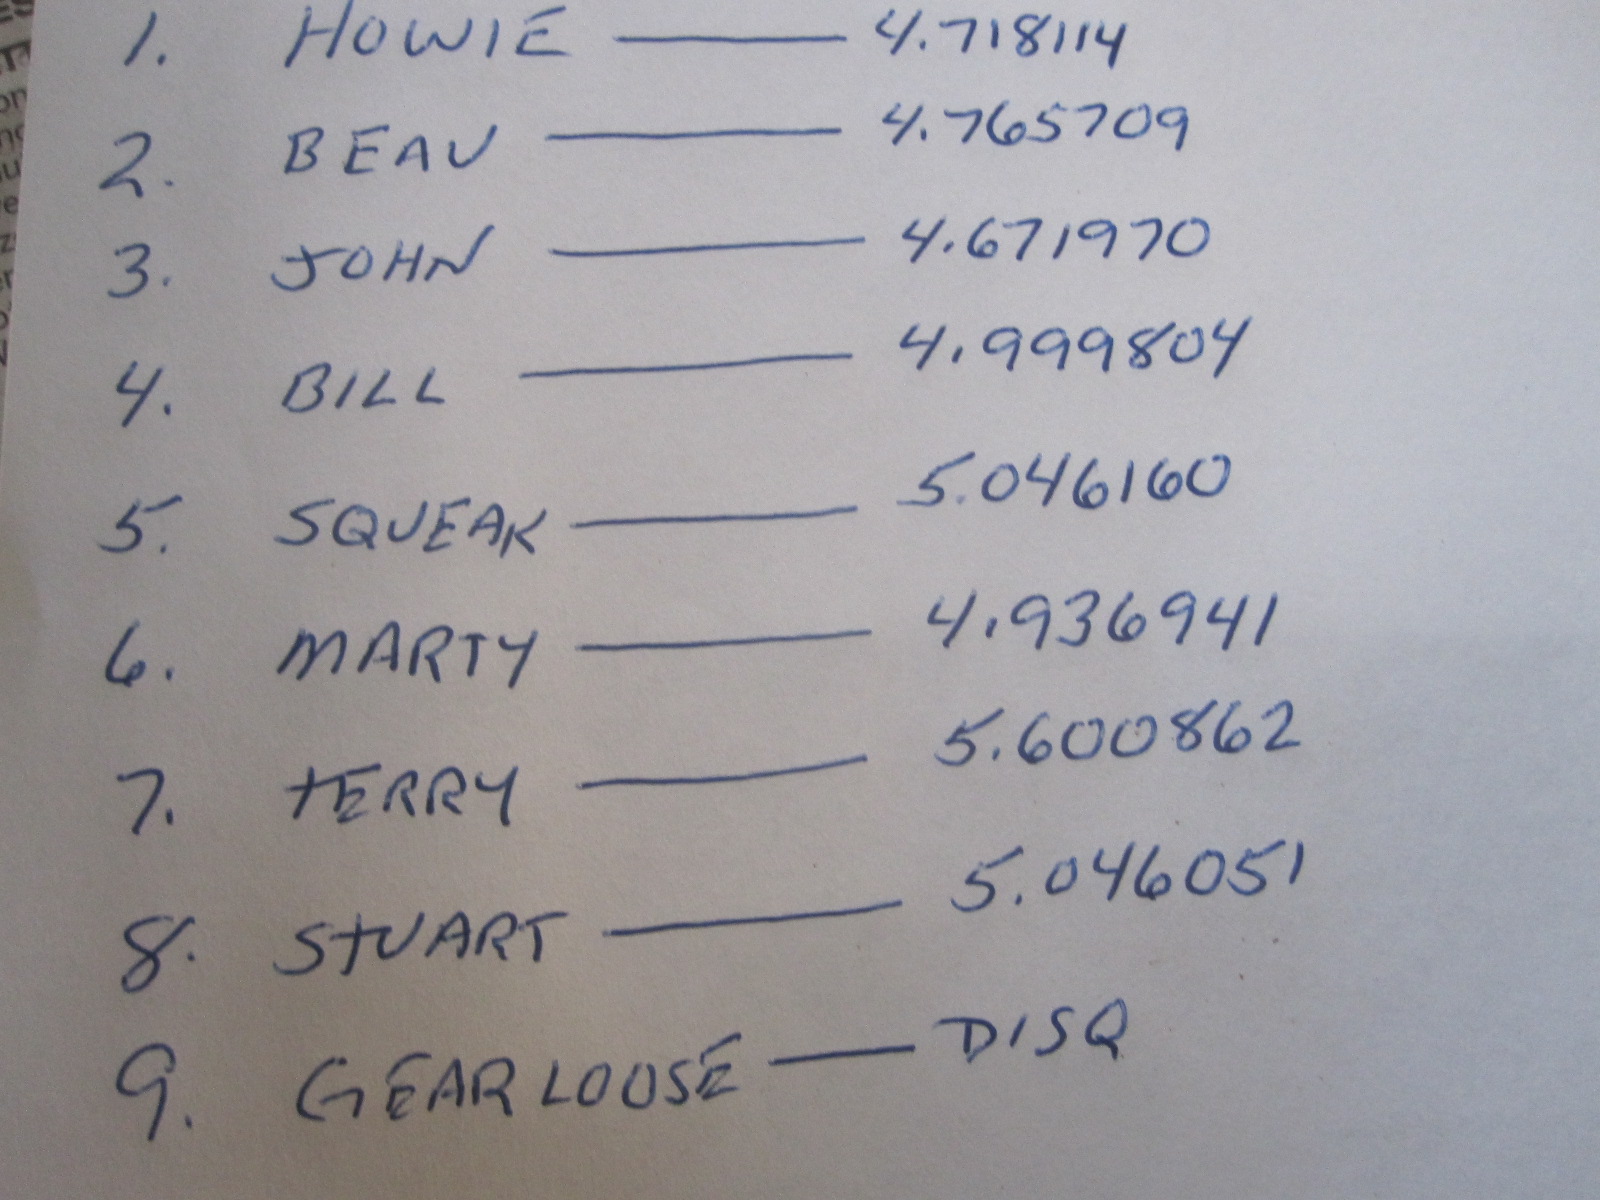
The race of Sept. 22, 2012.
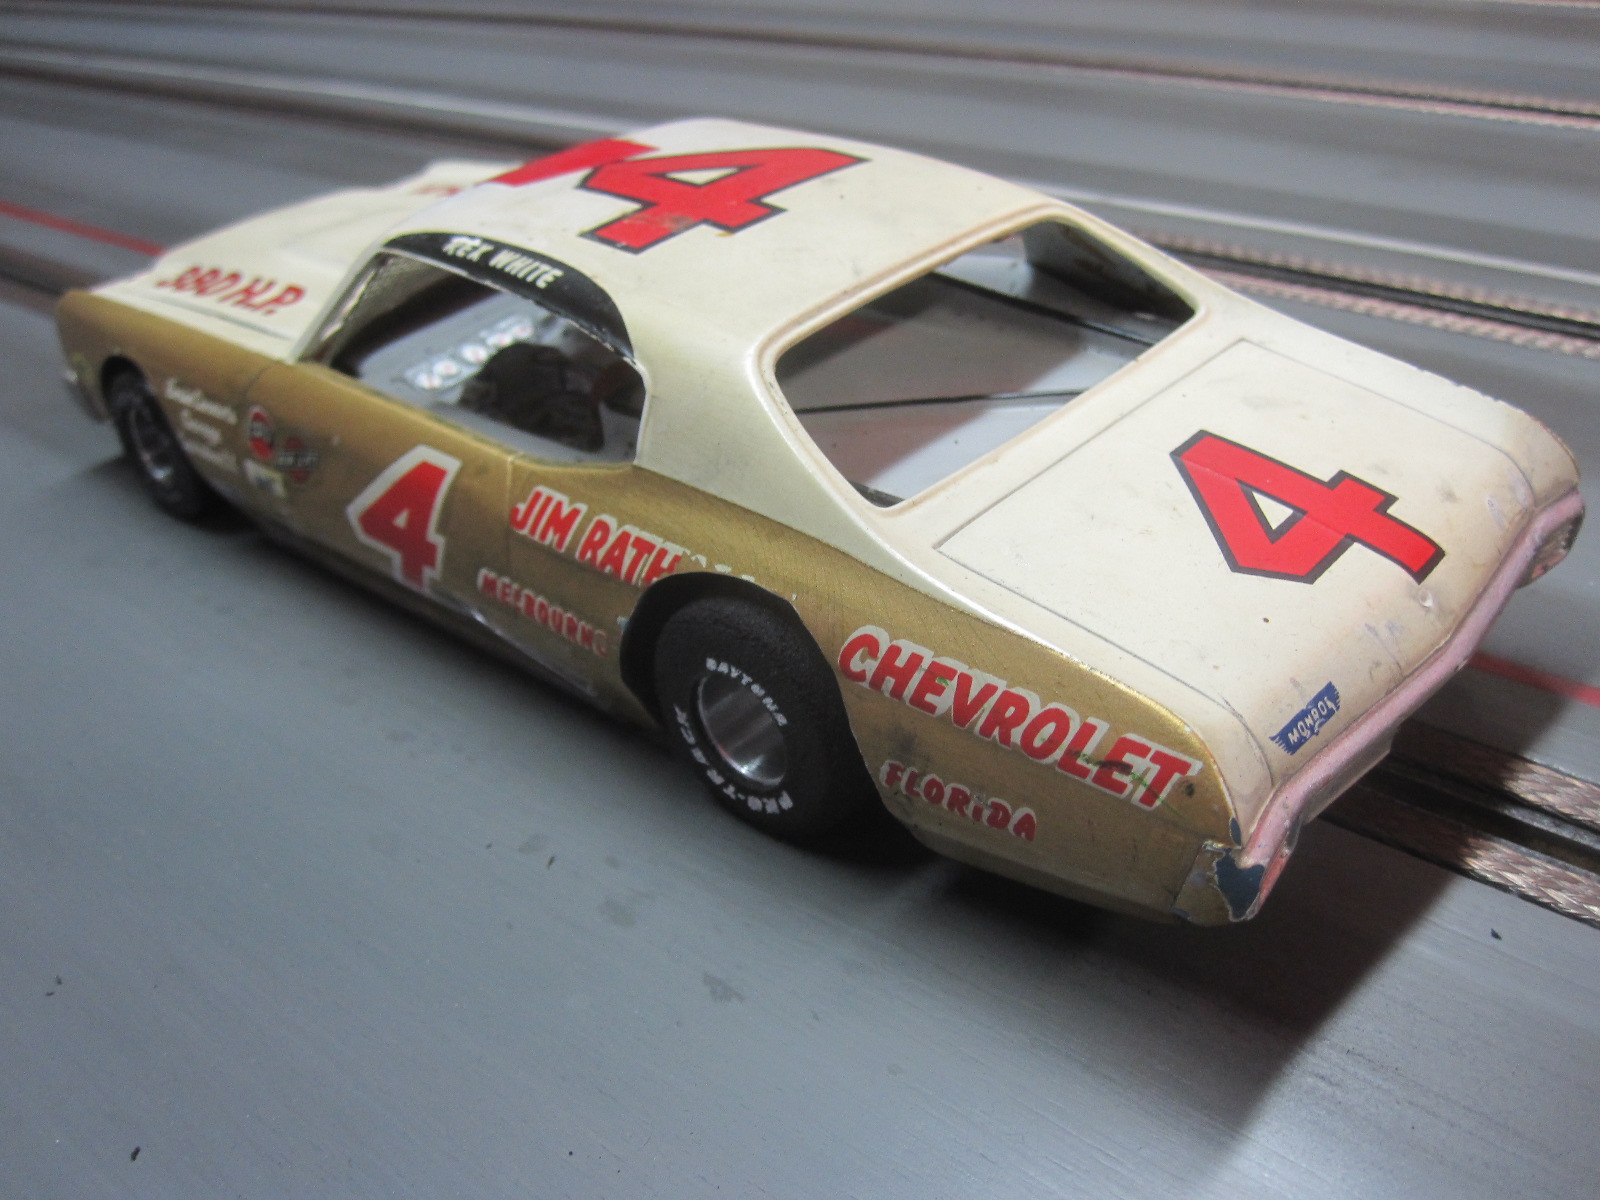
A 1959 1/24th Ford. Rare!! This is Terry's car.
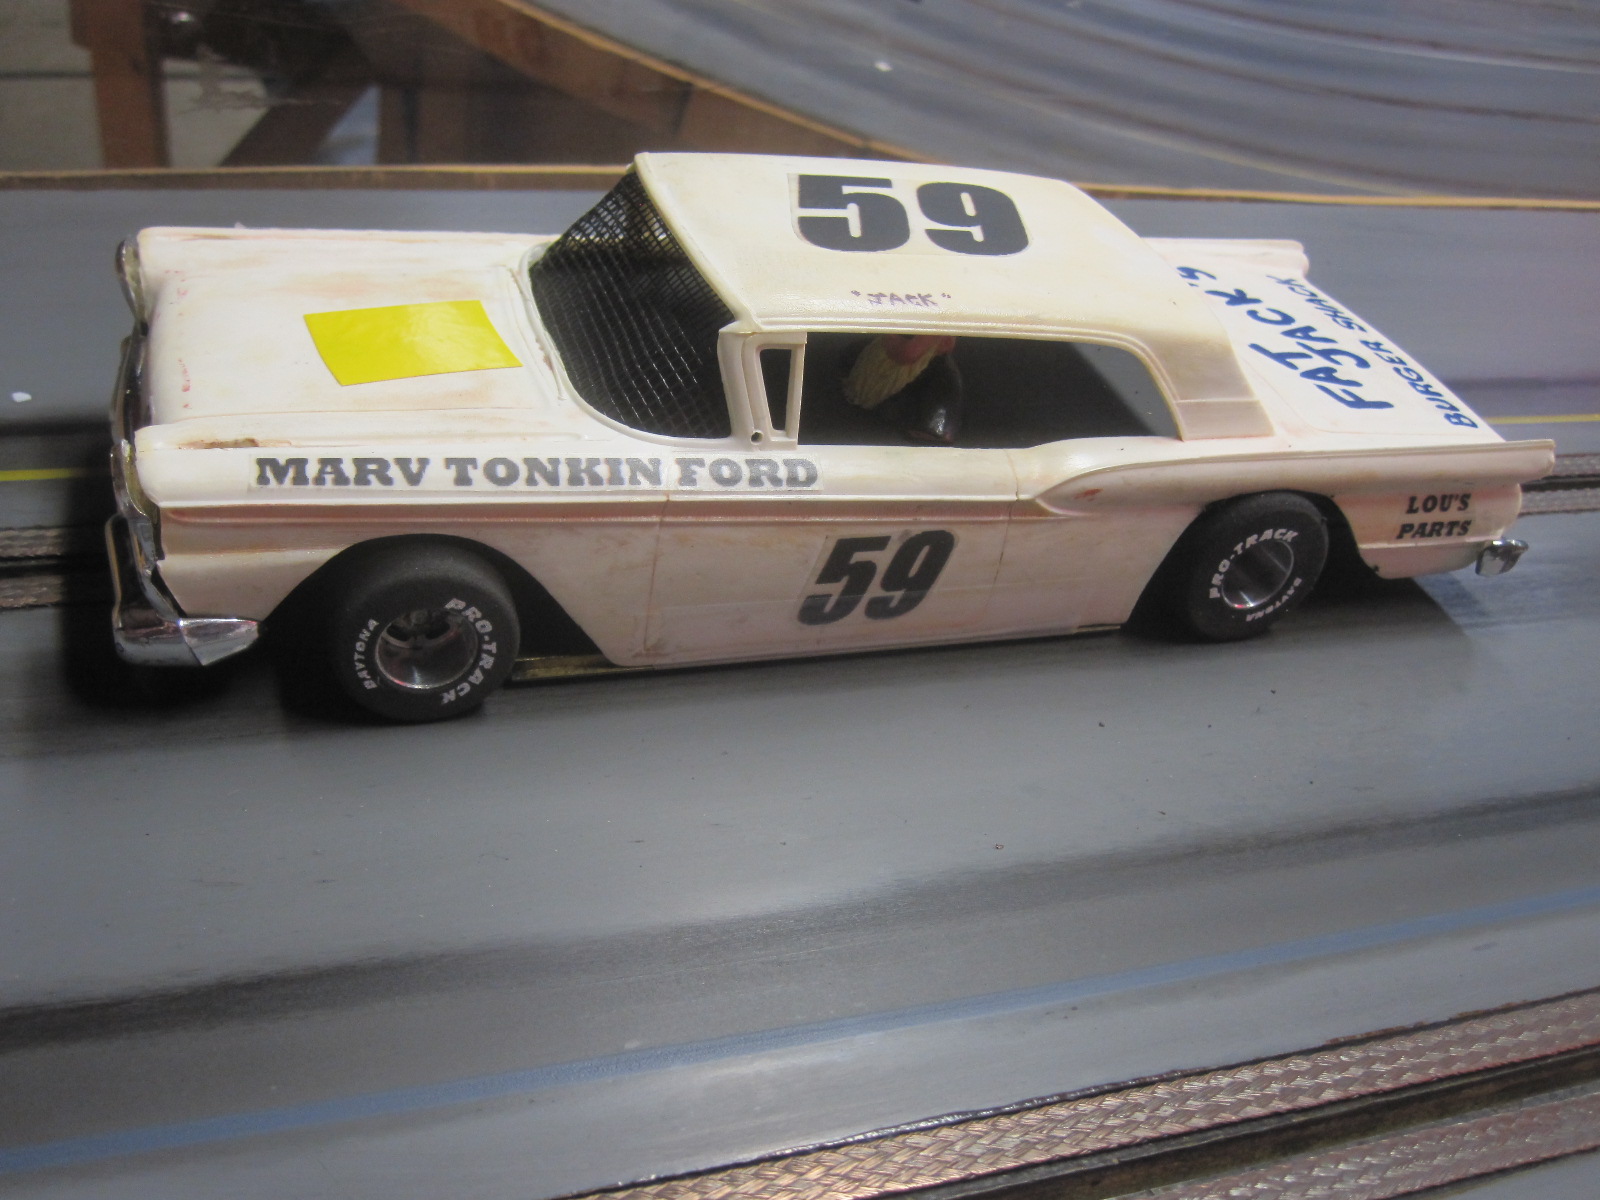
results.
by howie » Mon Sep 24, 2012 9:38 am
News and race reports pertaining to the Sportsman cars will be on this page.
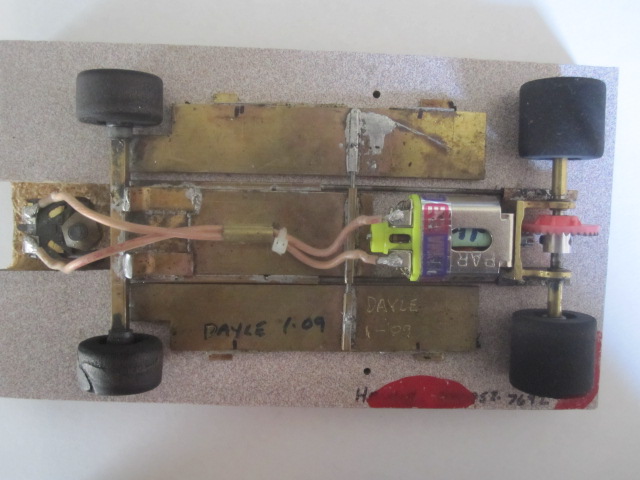
This is a chassis designed from a Bob Hanna Econo chassis.
The previous posts to this topic were copied over from the Northwest True Scale Racers site with Howie's permission. The NTSR site is scheduled to close down at the end of this year. I will be copying over as much of the great information posted there as possible in the next few months. =====Bill
by howie » Sun Dec 18, 2016 10:48 am
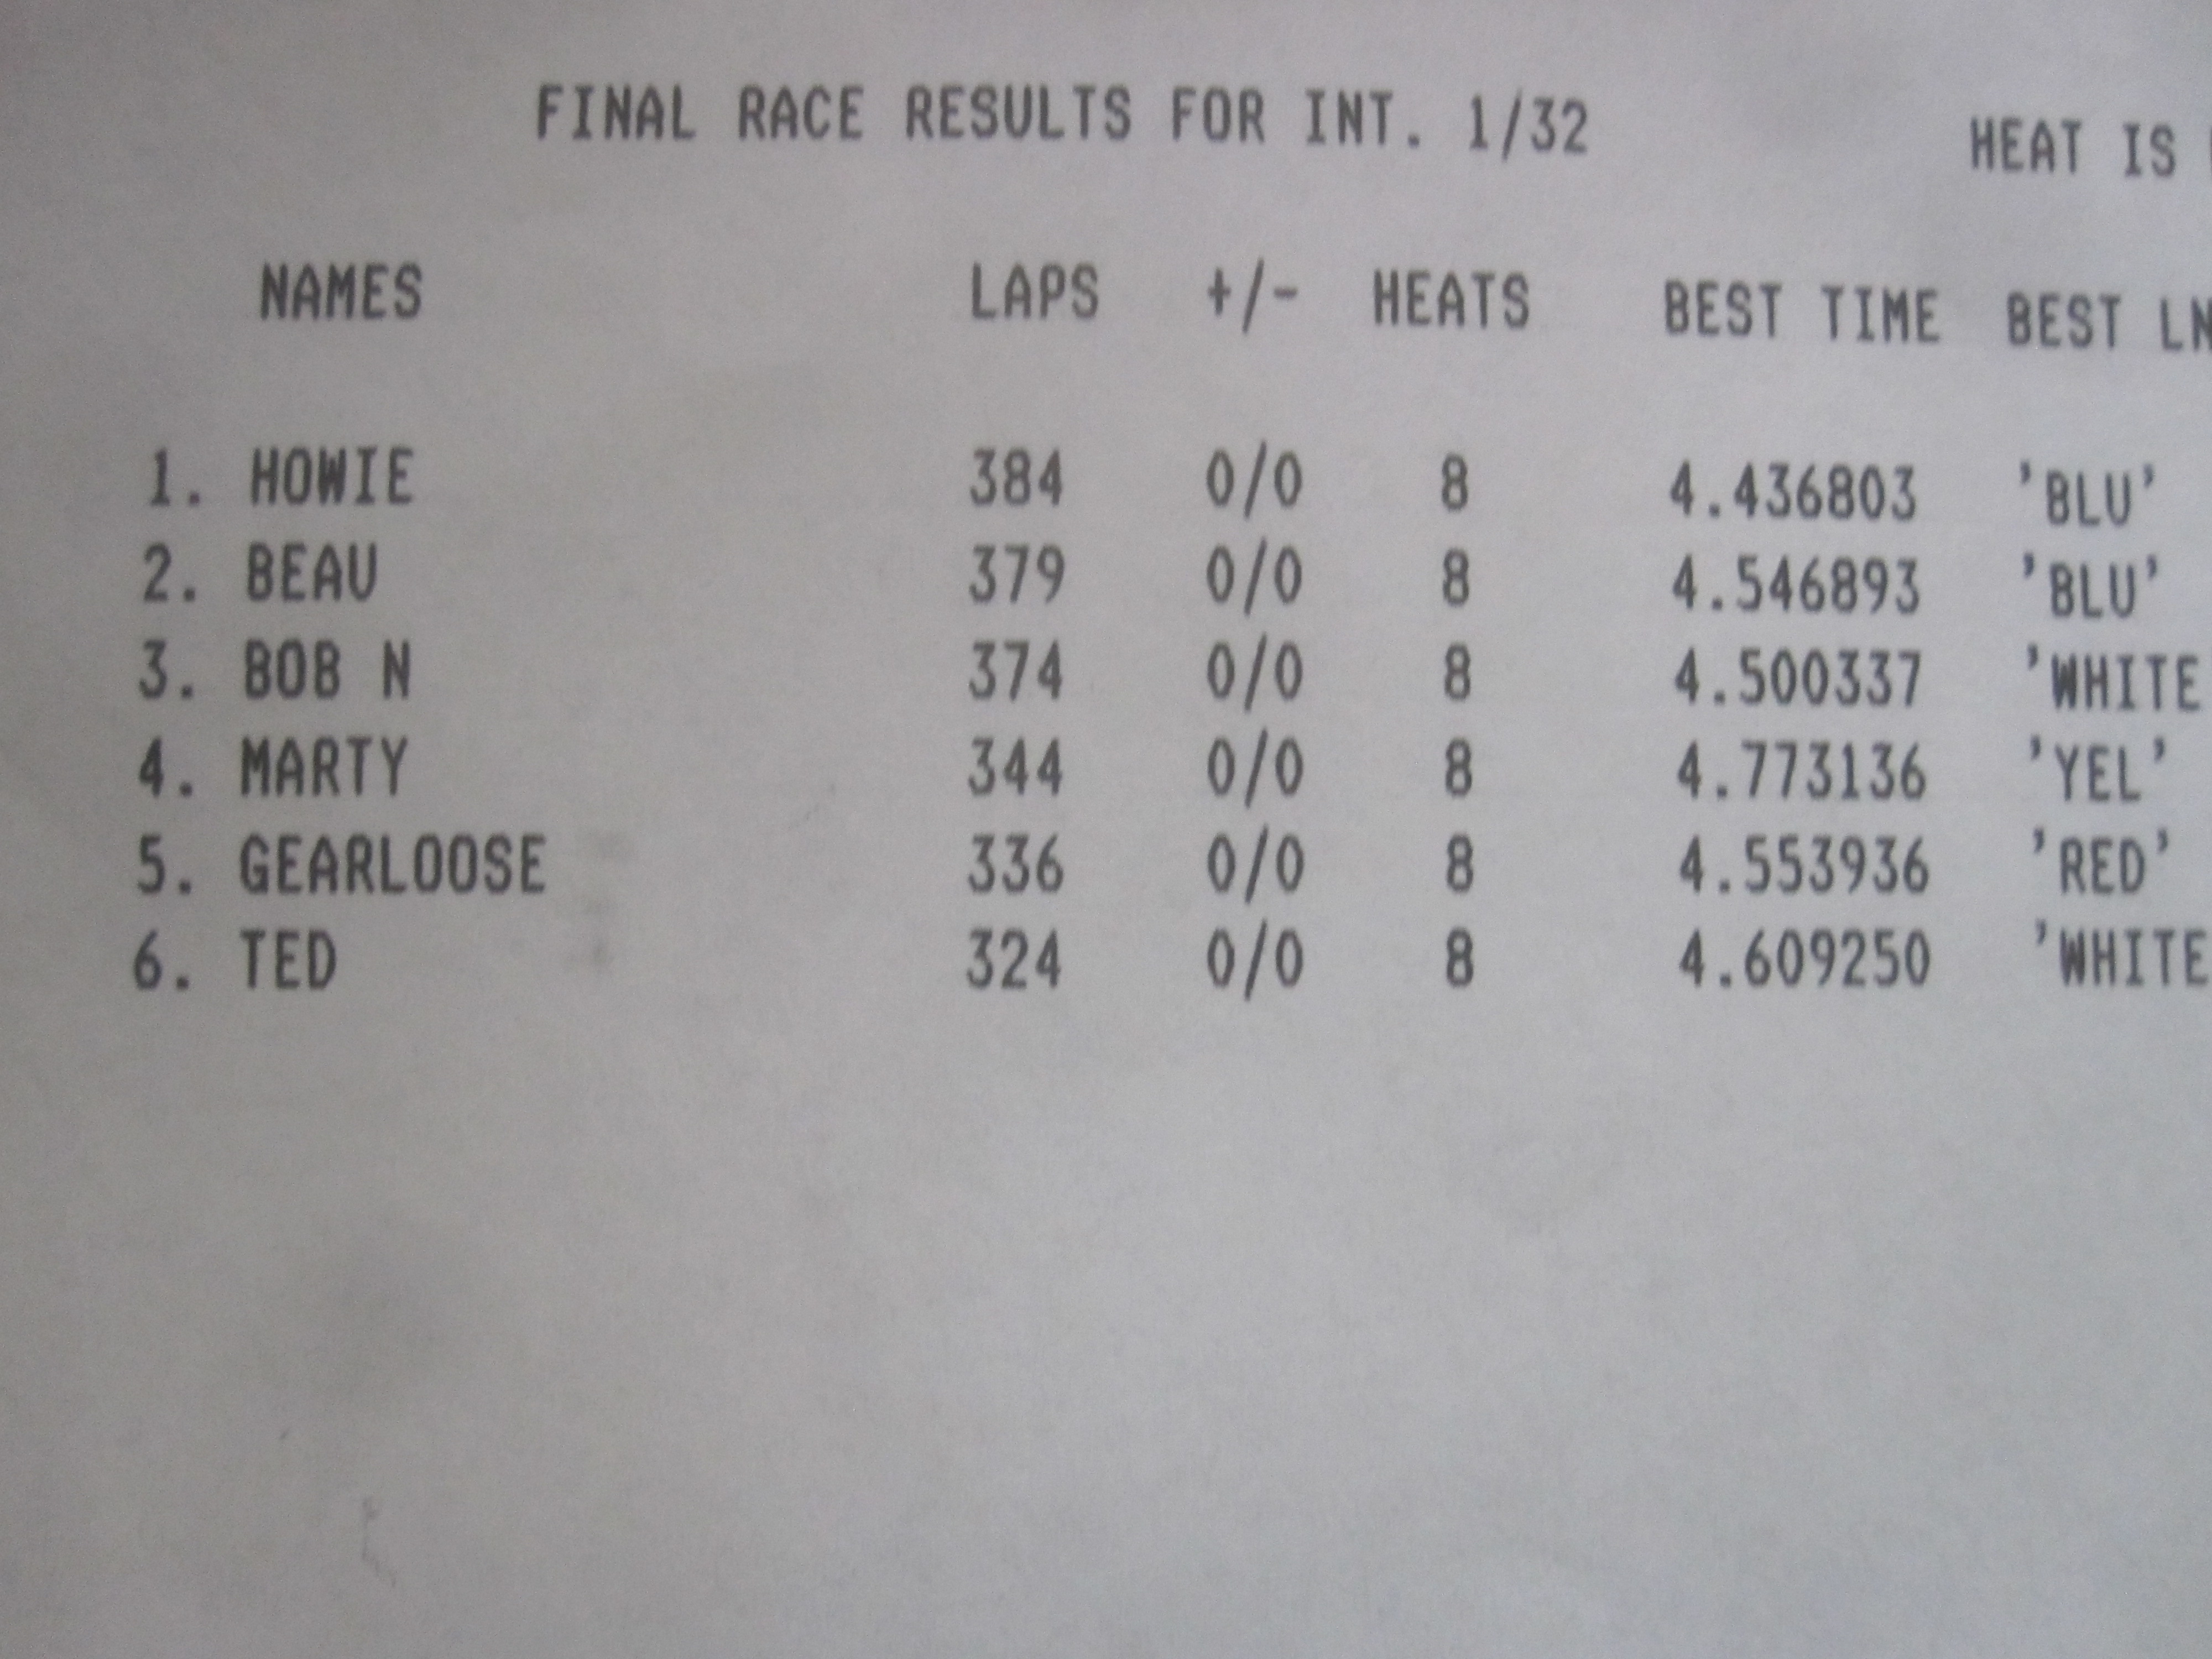
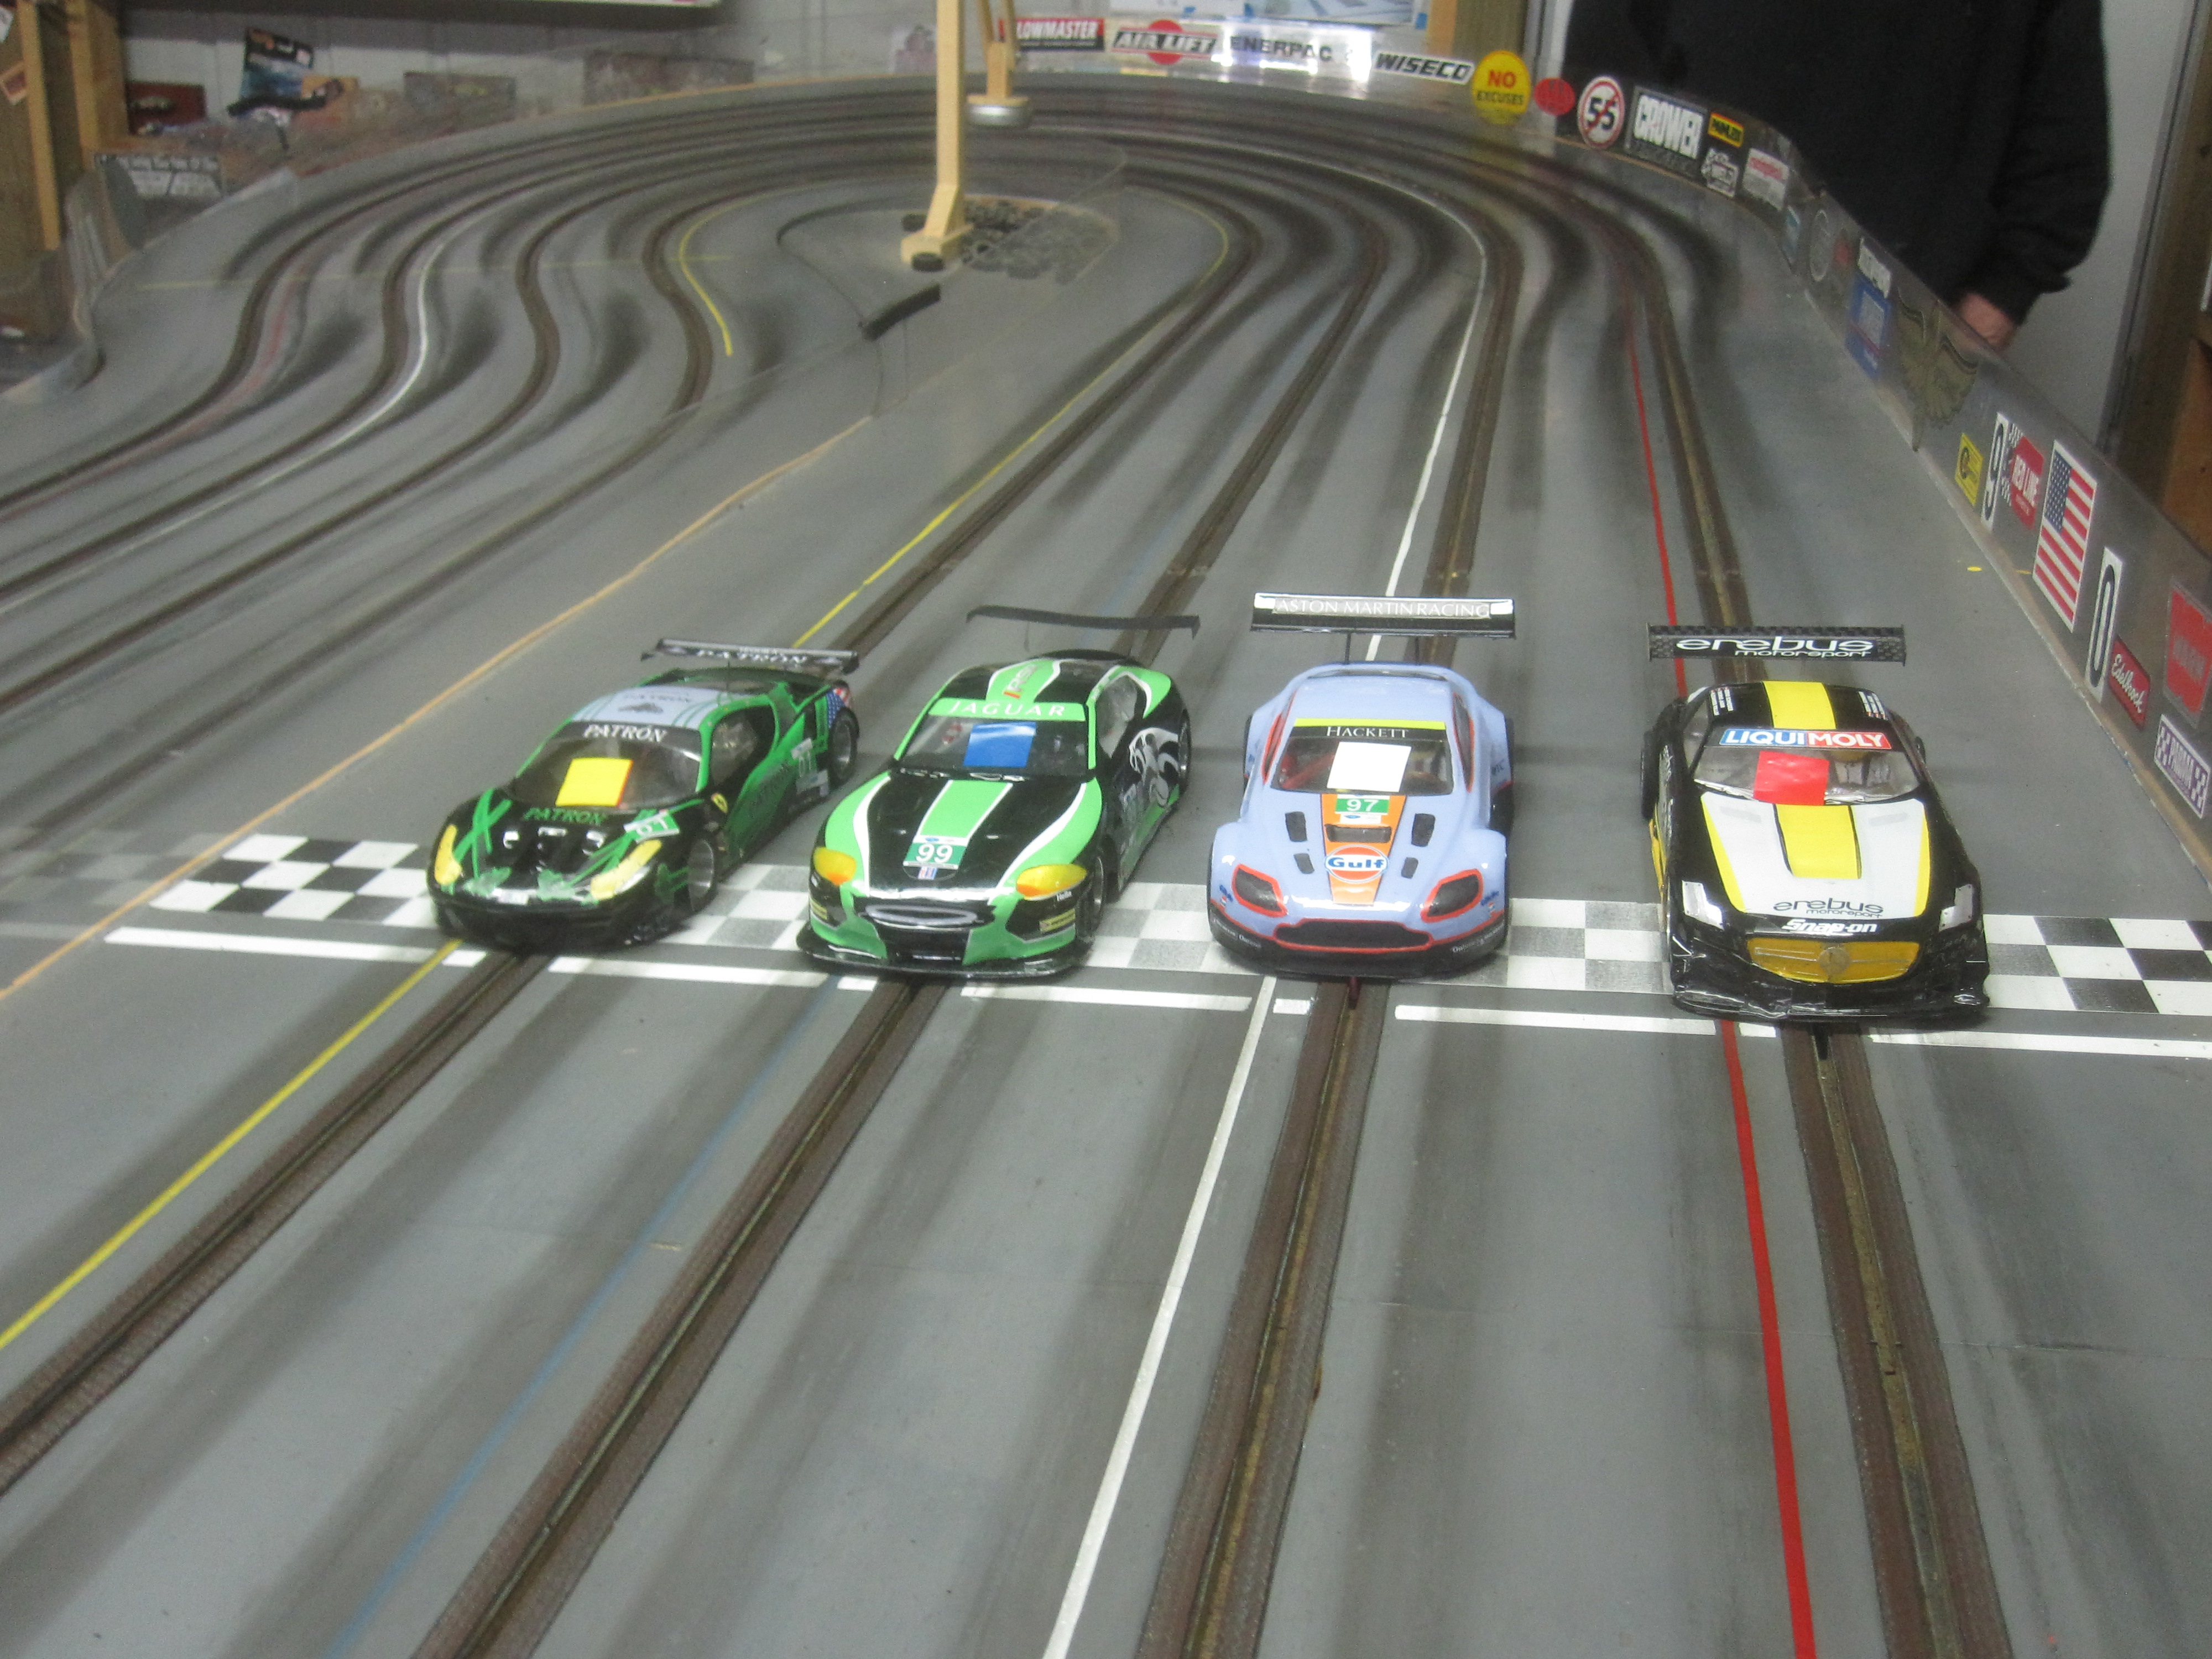
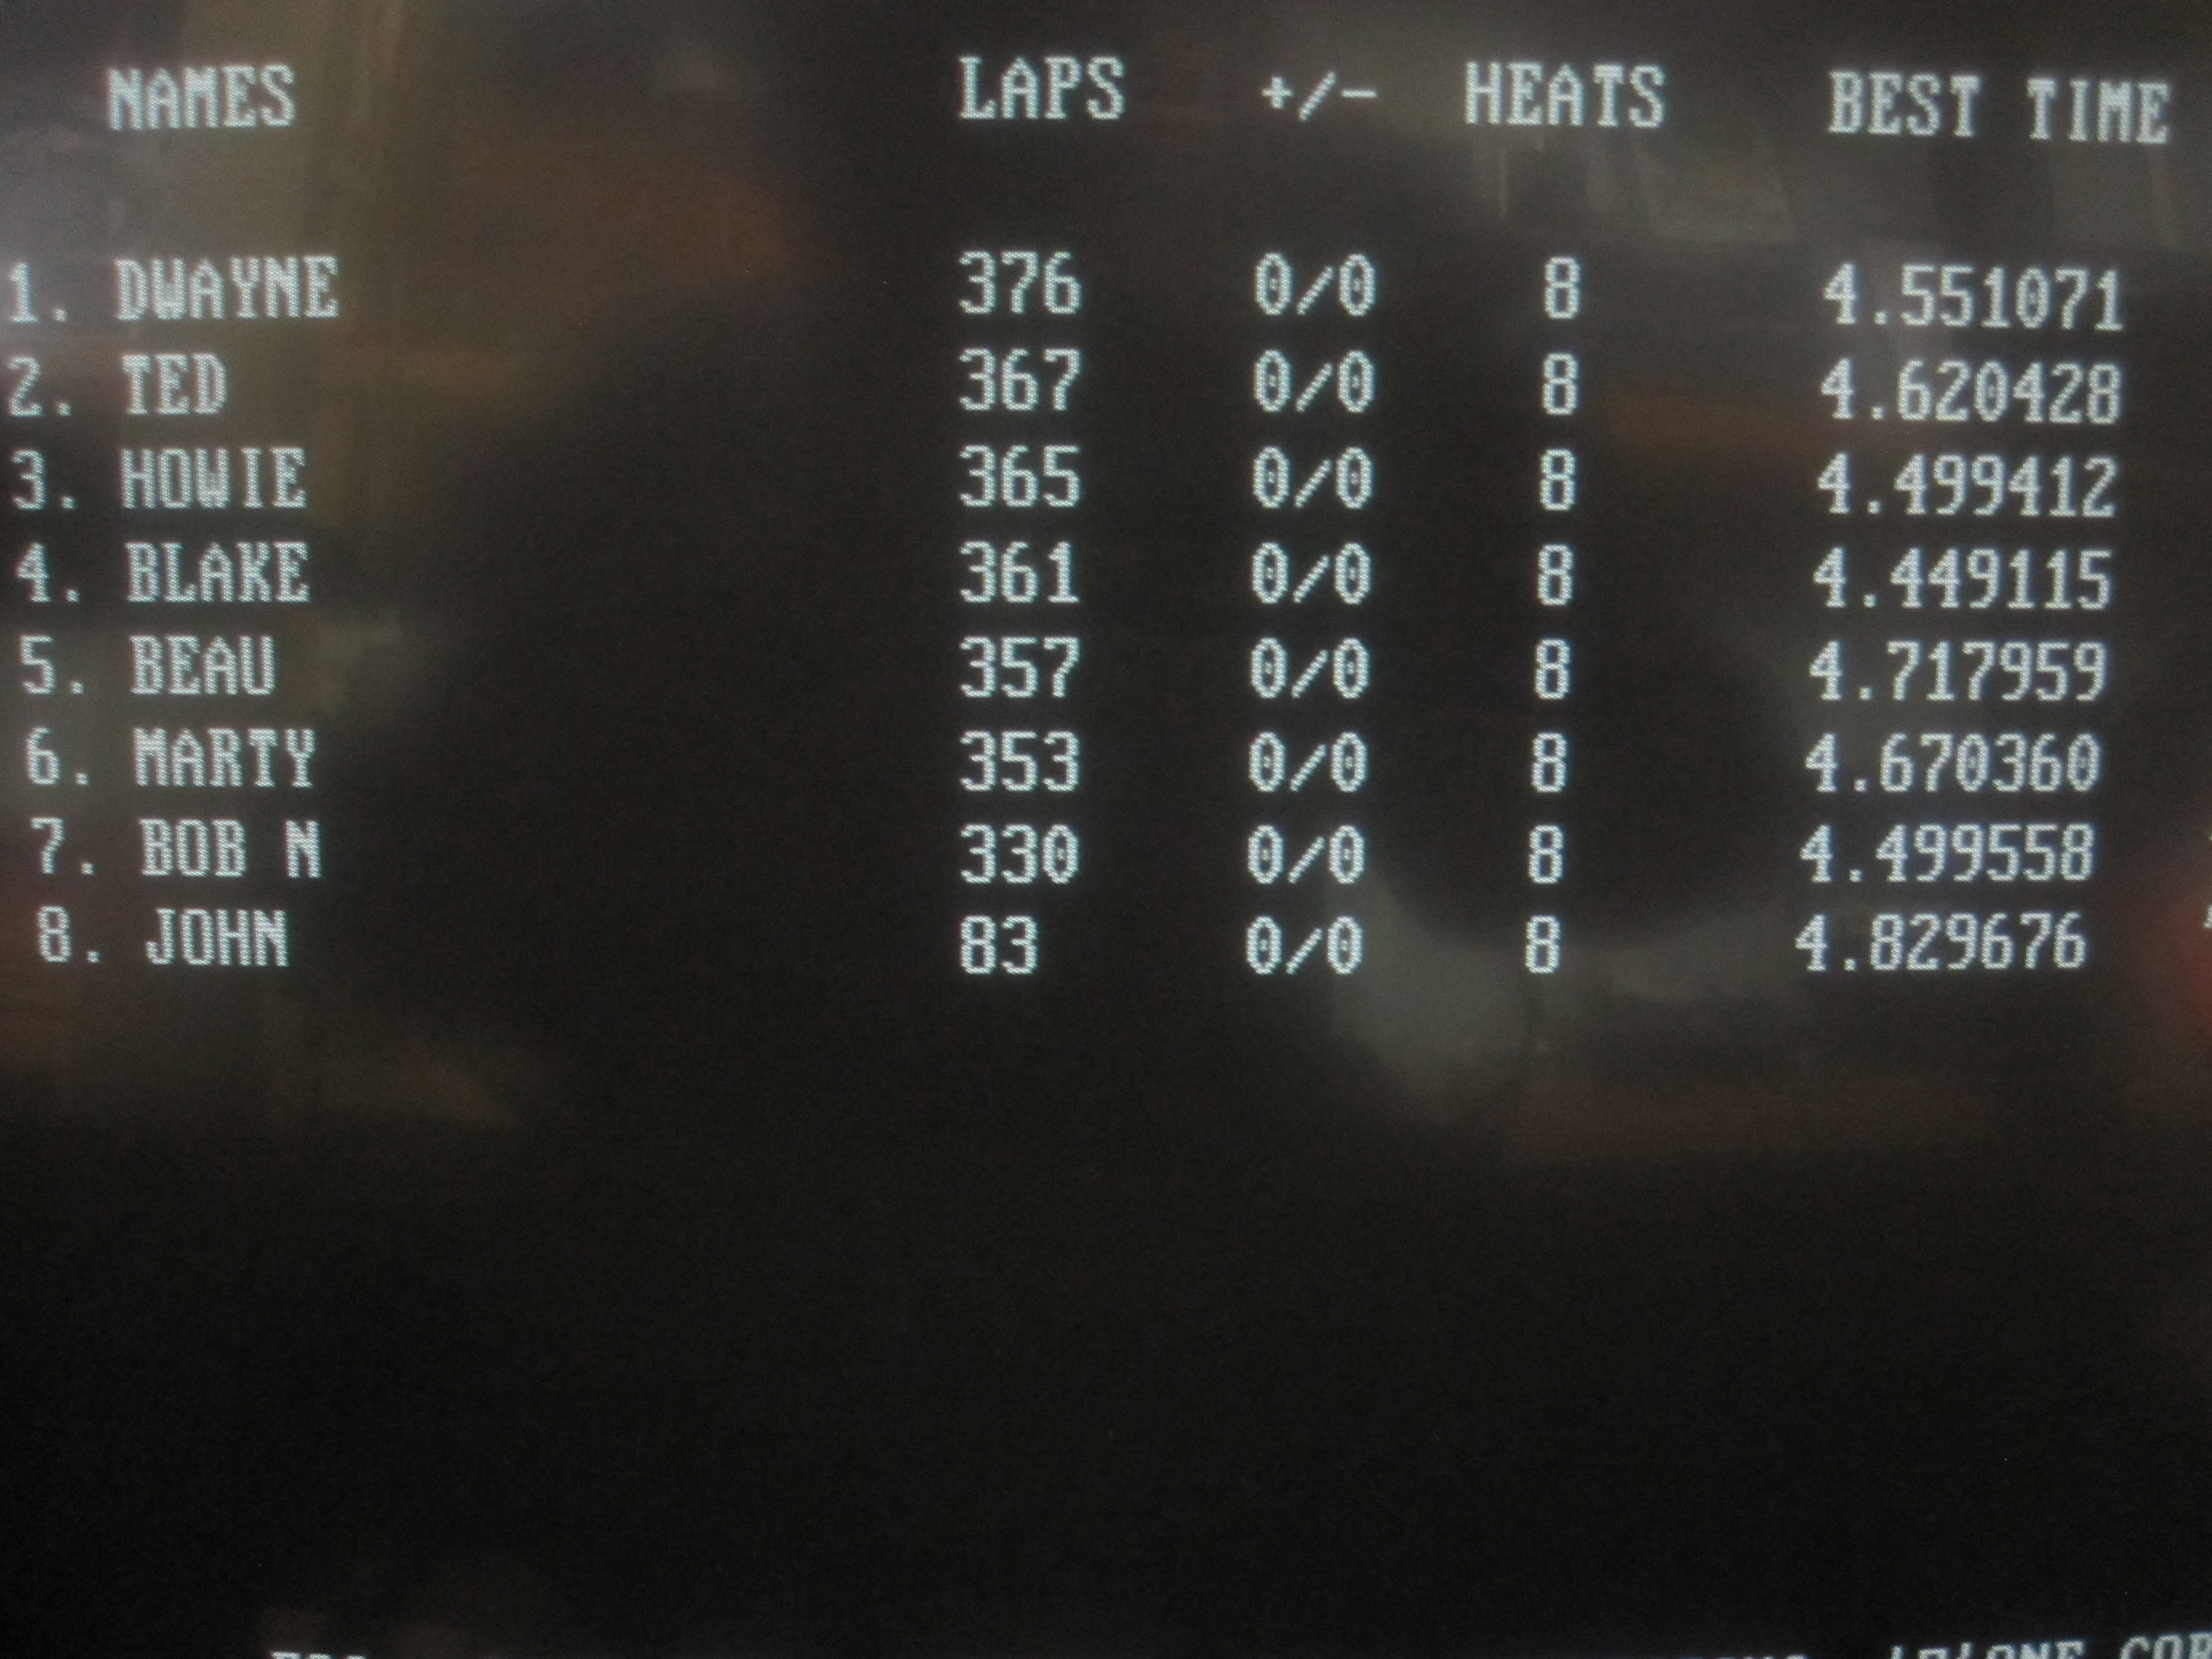
Another good race out of the GT3 class. What is up with the Pro Slot motors? Bob N. has burned up two or three of them even though they were new, I had a new motor in this race and toward the last 5 laps, it slowed considerably. It was a new motor and very fast, it never smoked or smelled like it was burning up. It never stopped running, just slowed to kind of a crawl! I'll have to tear it apart to see what happened as I couldn't see where the damage was with the motor still in the car.
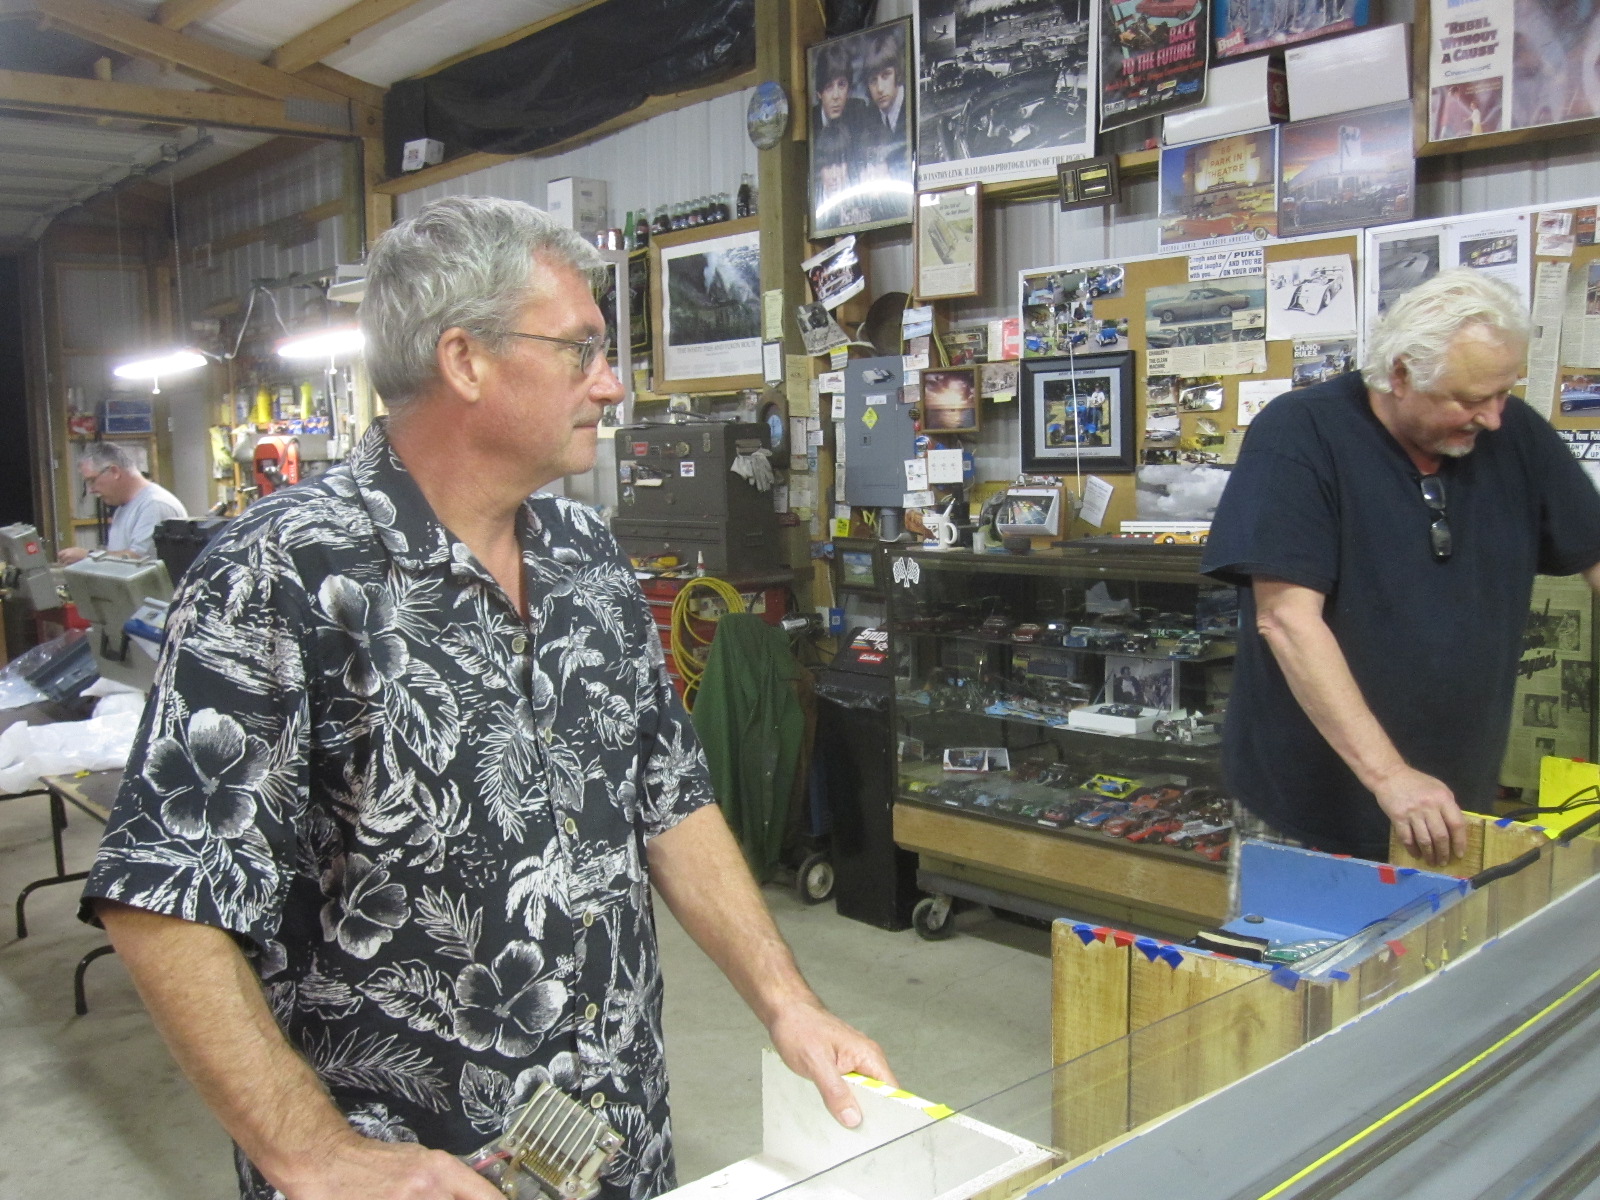
L-R:Ted, Howie, Beau, Marty.
by howie » Sun Nov 20, 2016 10:38 am
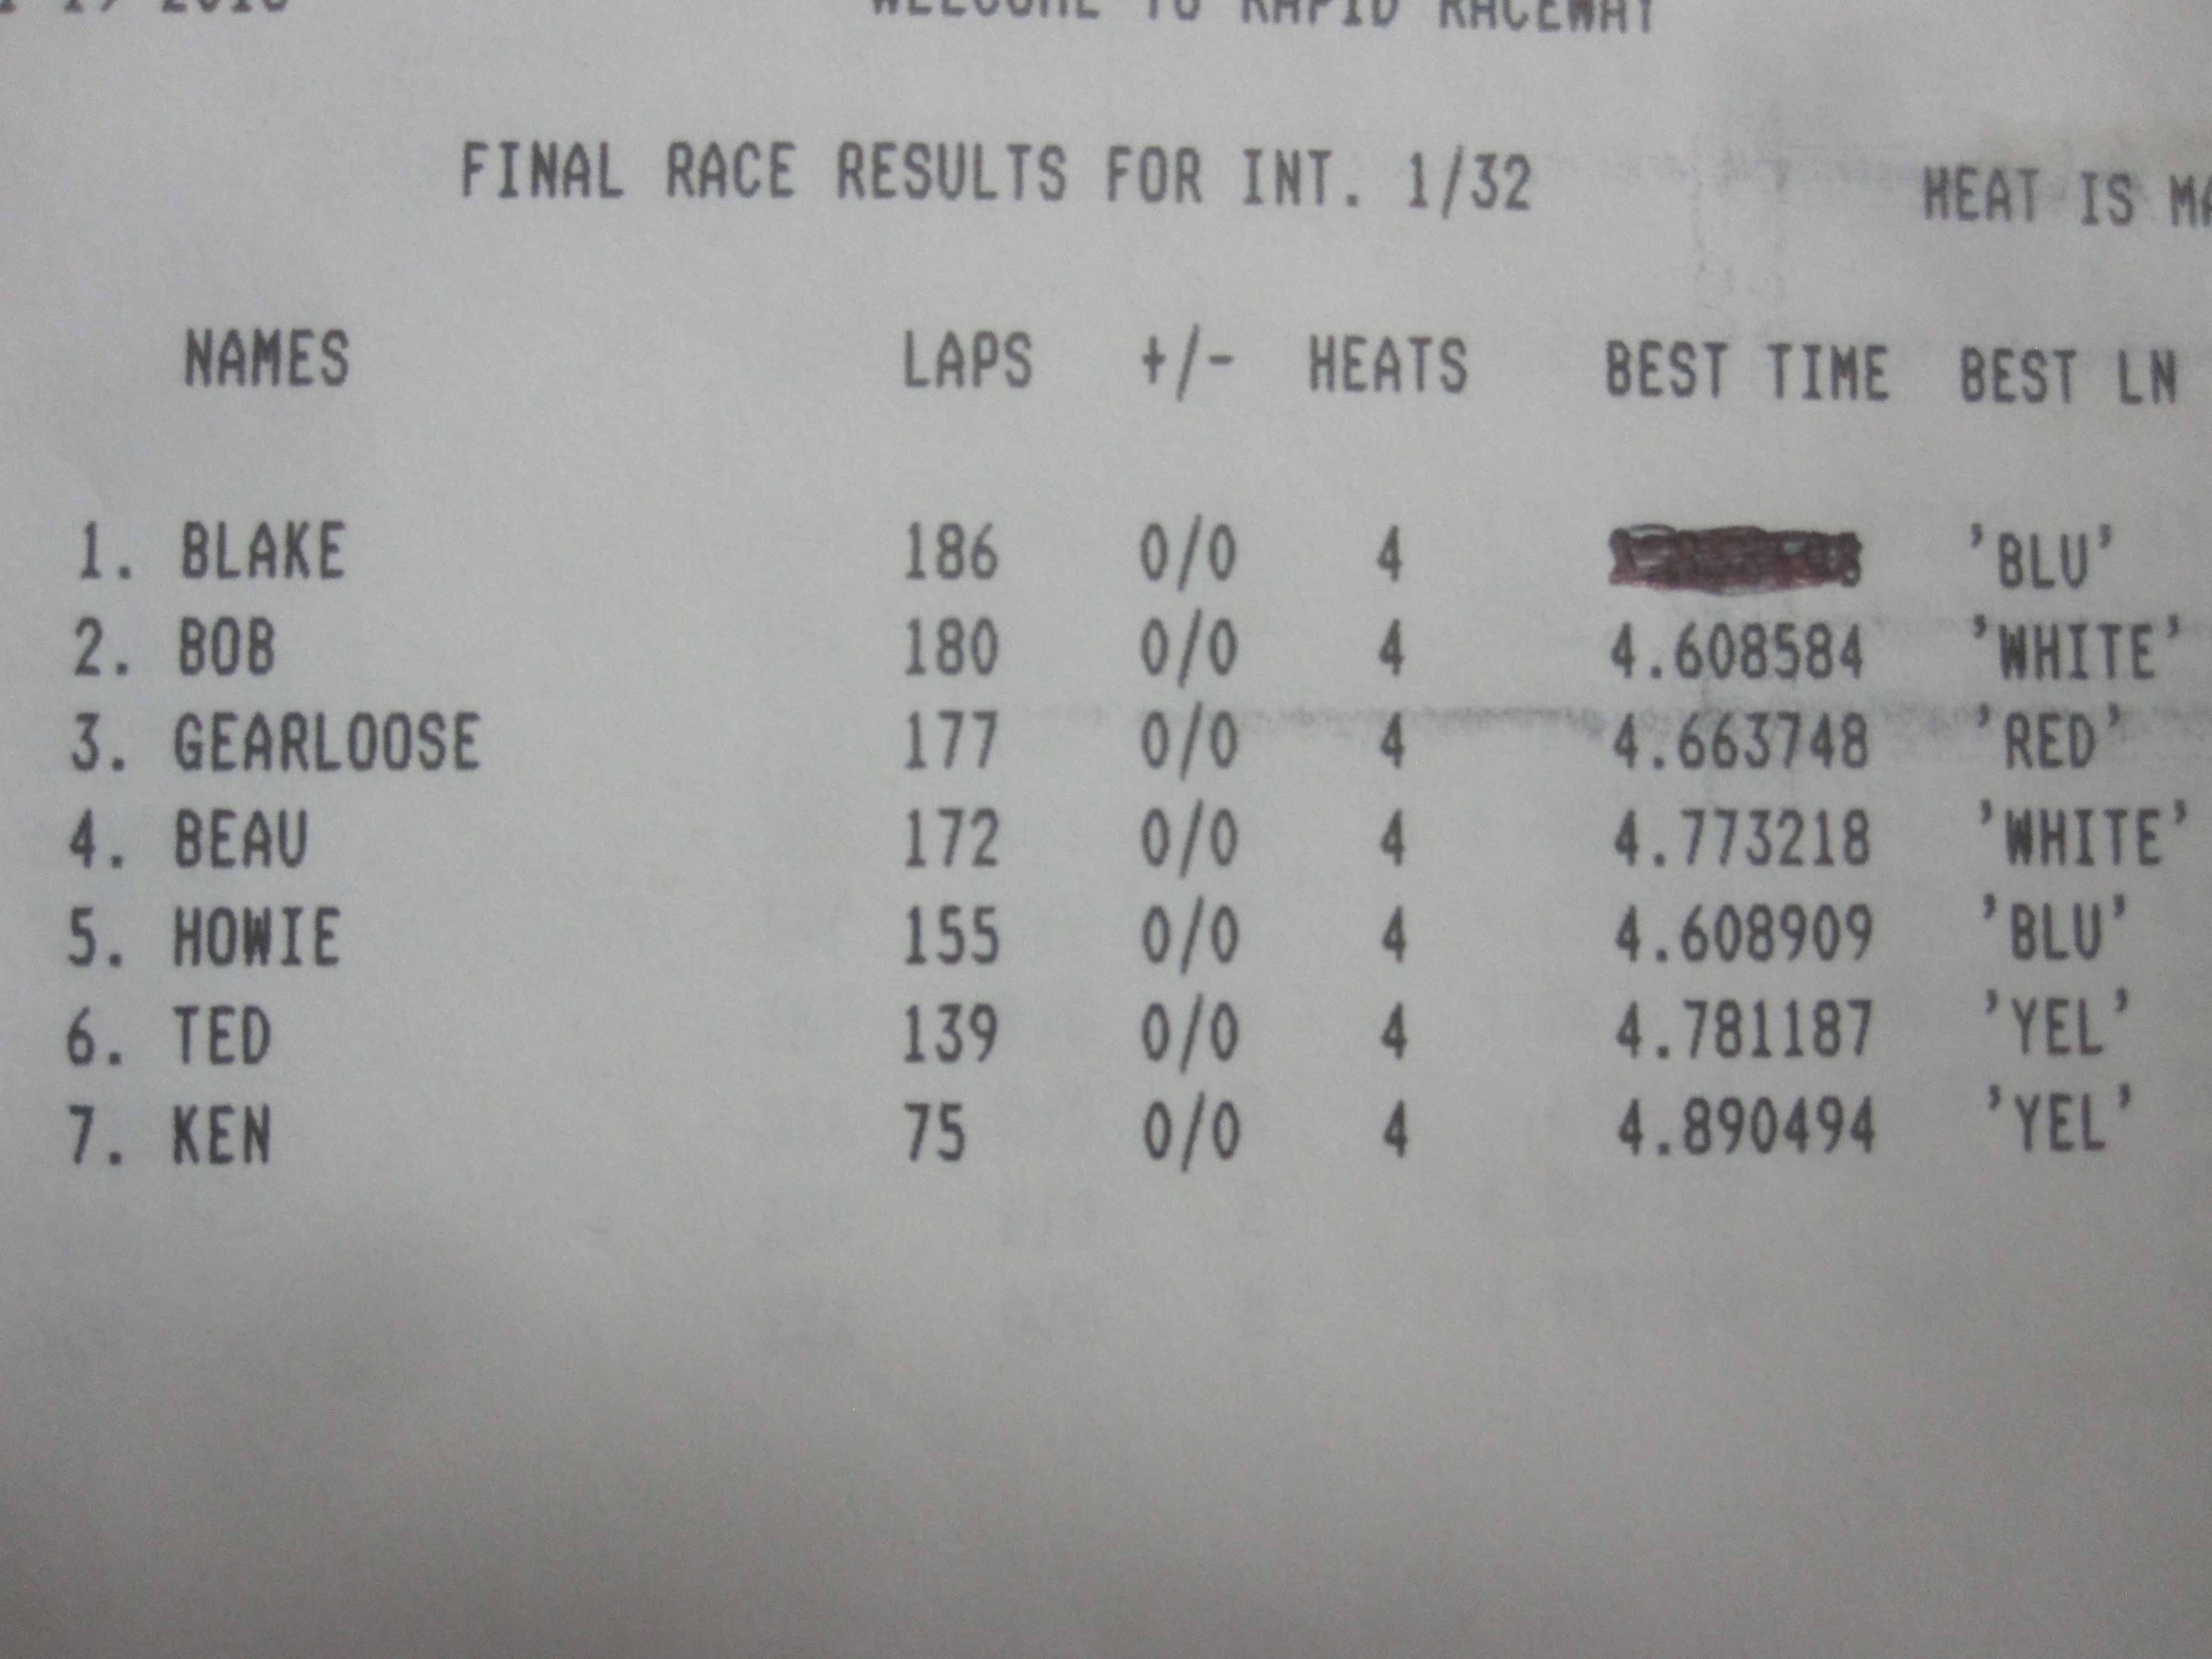
First GT3 race of the 2017 season. Congratulations to Blake for his first victory!
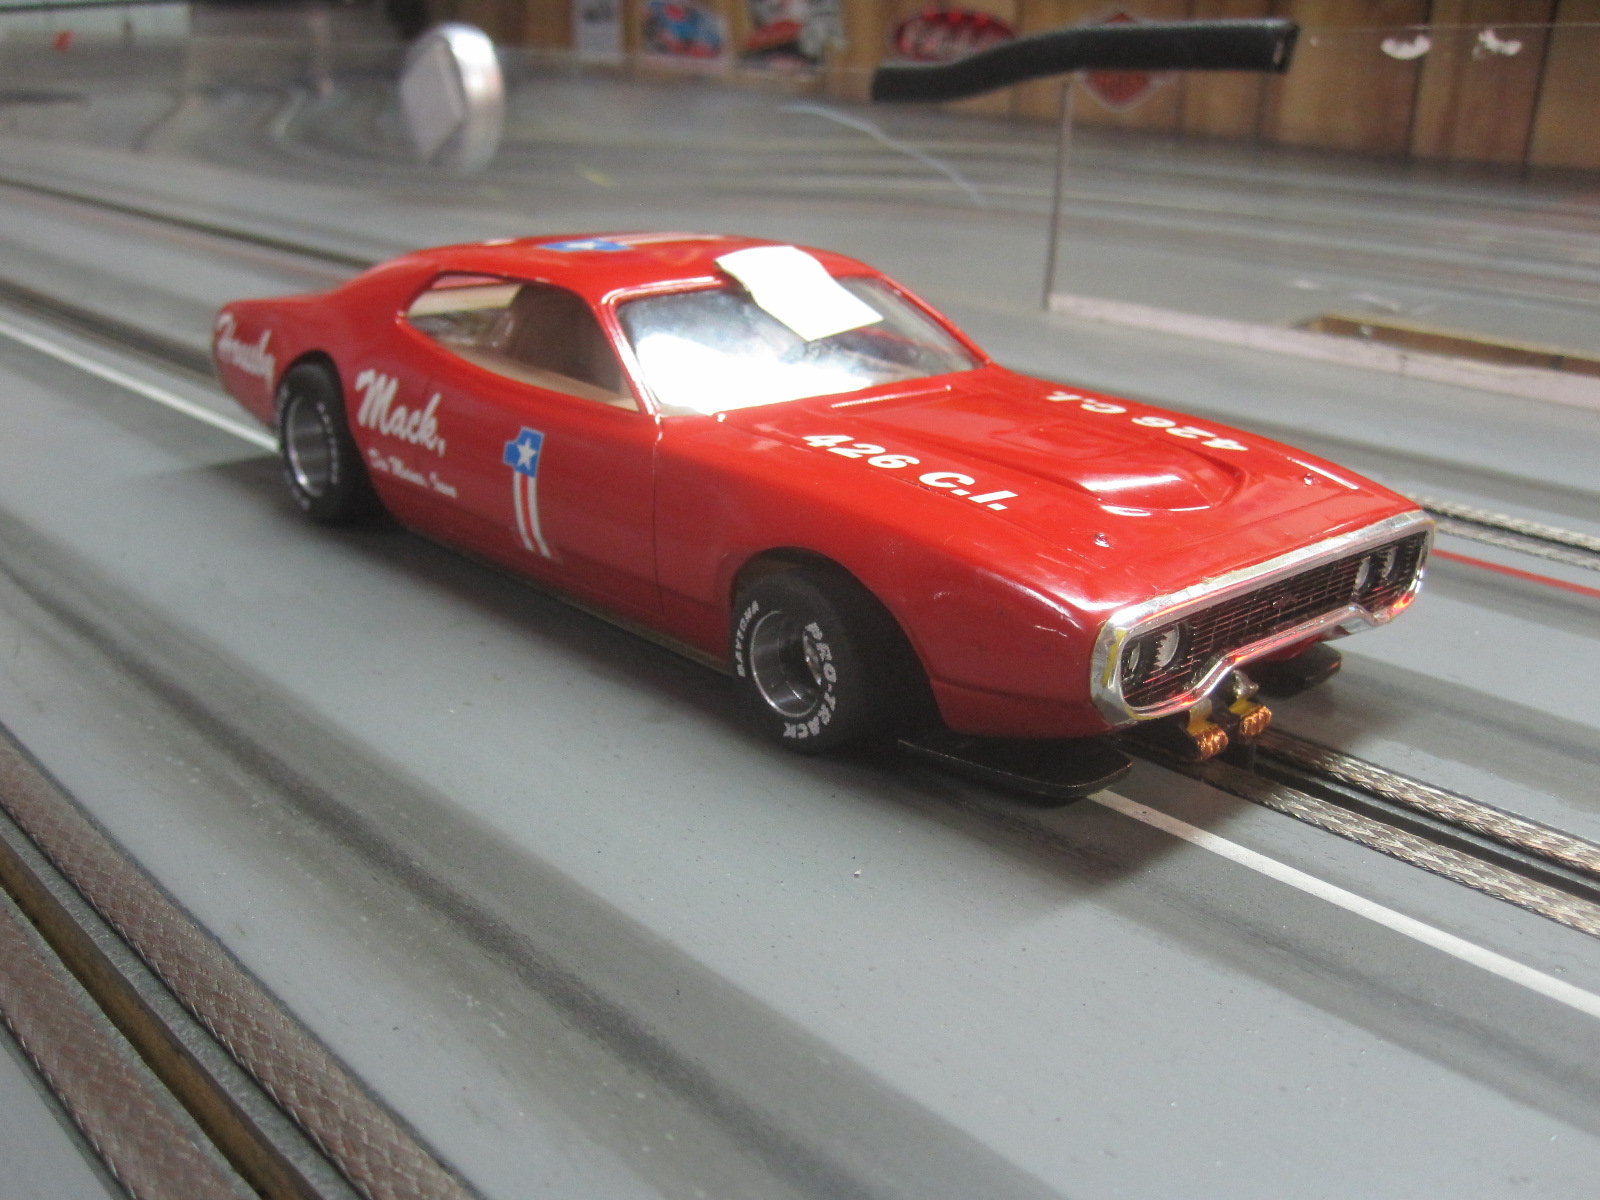
Bob Nak's new GT3.
by howie » Sun Mar 13, 2016 9:19 am
Race of March 12, '16. Eight racers showed up to race the GT3 cars.
by howie » Sun Feb 07, 2016 10:48 am
Race of Feb. 6th. '16. First race of the GT3 class. What fun these cars are, especially with the Pro Slot S16 motor which was introduced at this race.
A BIG congratulations to Blake for making the podium for the first time with a solid 3rd. place finish!
Looking forward to racing these cars again.
Left to right: Marty, Blake, Howie, Beau.
Ted's GT3 by Beau.

by howie » Wed May 27, 2015 5:45 pm
Of course there is not much to report until the 2016 season. But none the less here is the page. I almost have one complete except for paint, Beau is close to finishing one also.
Copied from NTSR site Jan. 8, 2017
Copied from NTSR site Jan. 8, 2017
Copied from NTSR site Jan. 8, 2017
Copied from NTSR site Jan. 9, 2017
The previous posts to this topic were copied over from the Northwest True Scale Racers site with Howie's permission. The NTSR site is scheduled to close down at the end of this year. I will be copying over as much of the great information posted there as possible in the next few months. =====Bill
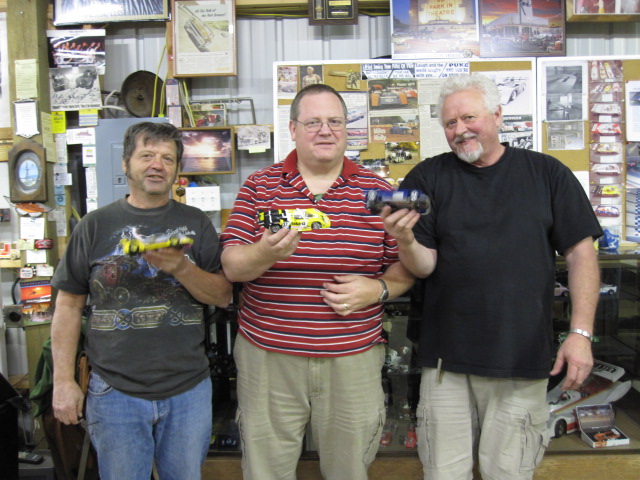
by beaufrazier » Sun Jul 29, 2012 2:27 pm
That's a "motley" looking crew! Looking forward to the new season and seeing all of you again....
by howie » Sat Jul 28, 2012 10:06 pm
Looking forward to next season.
myself, John and Beau
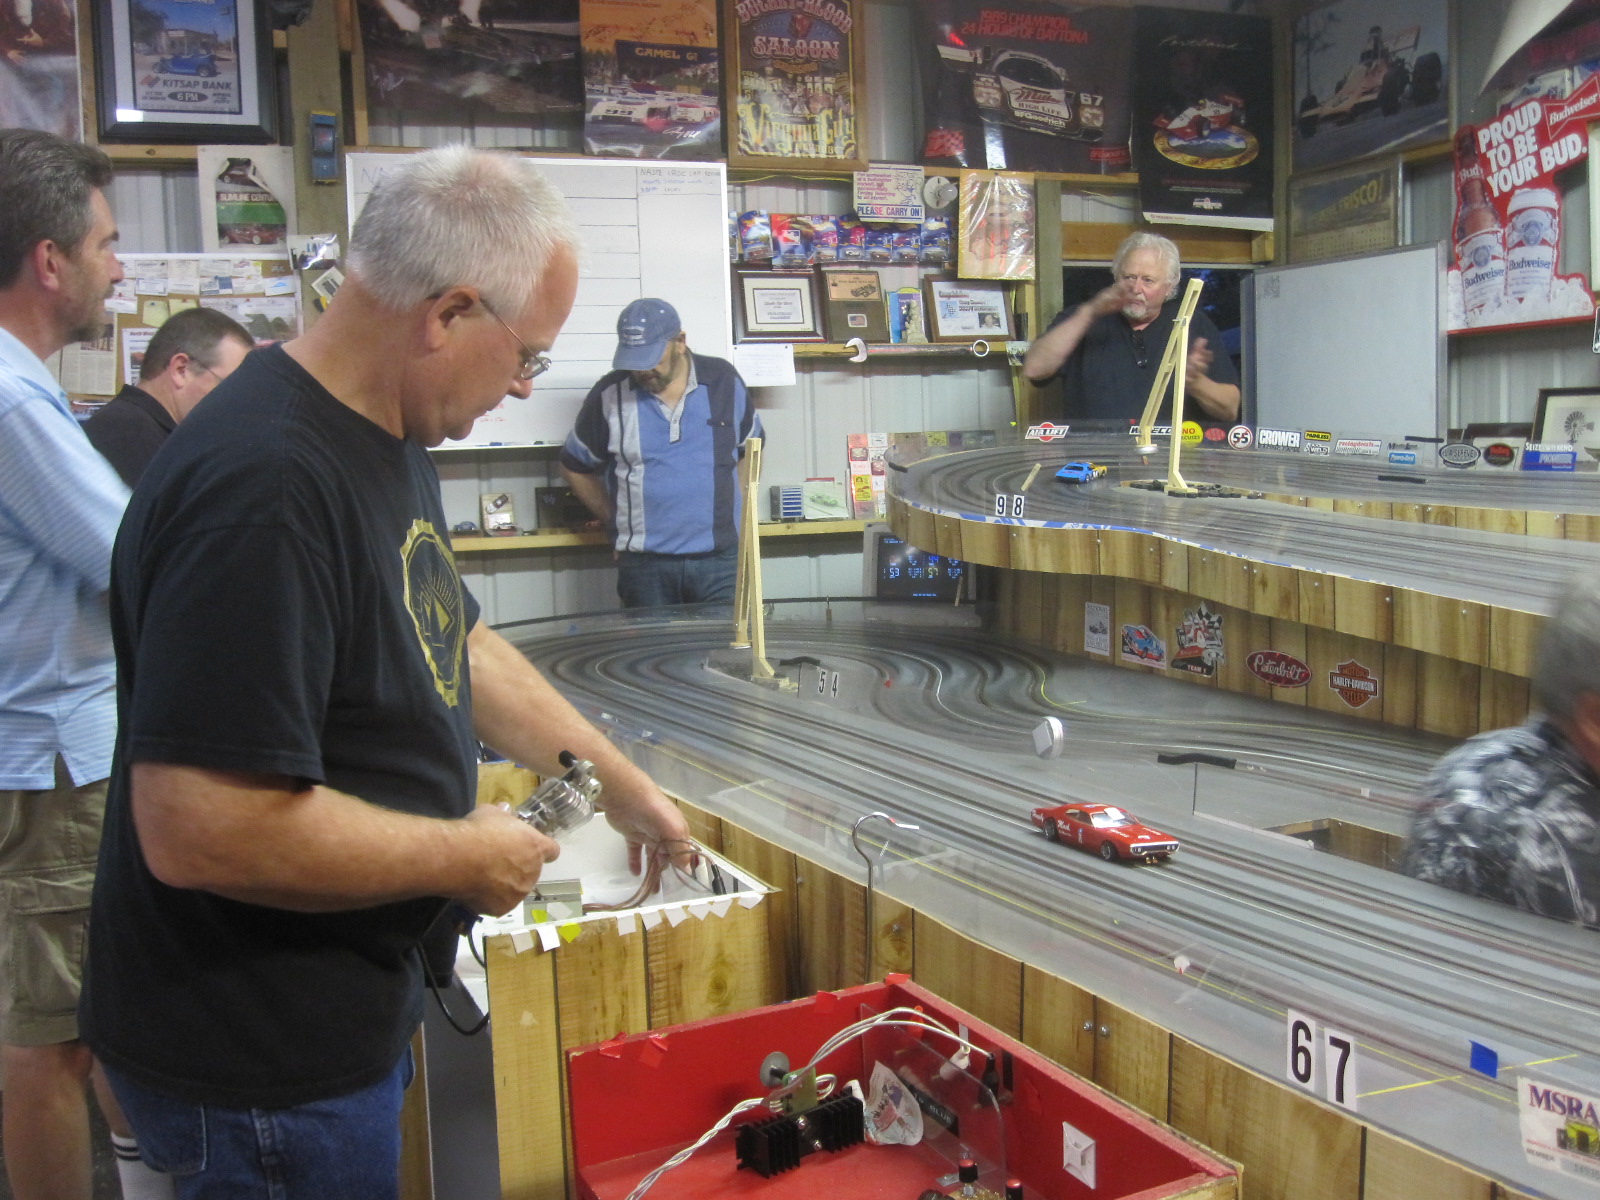
a night at the track
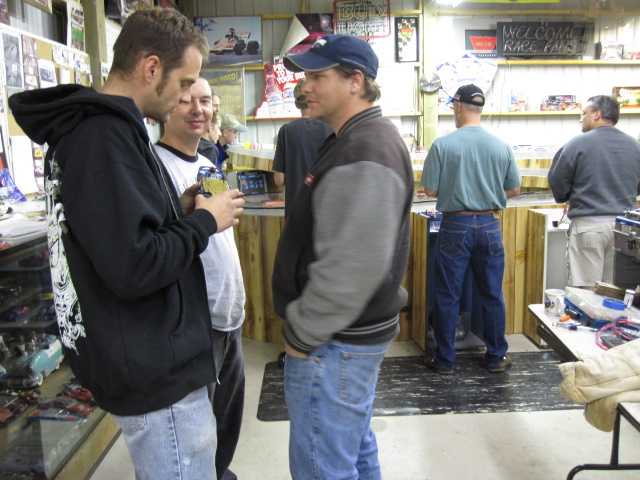
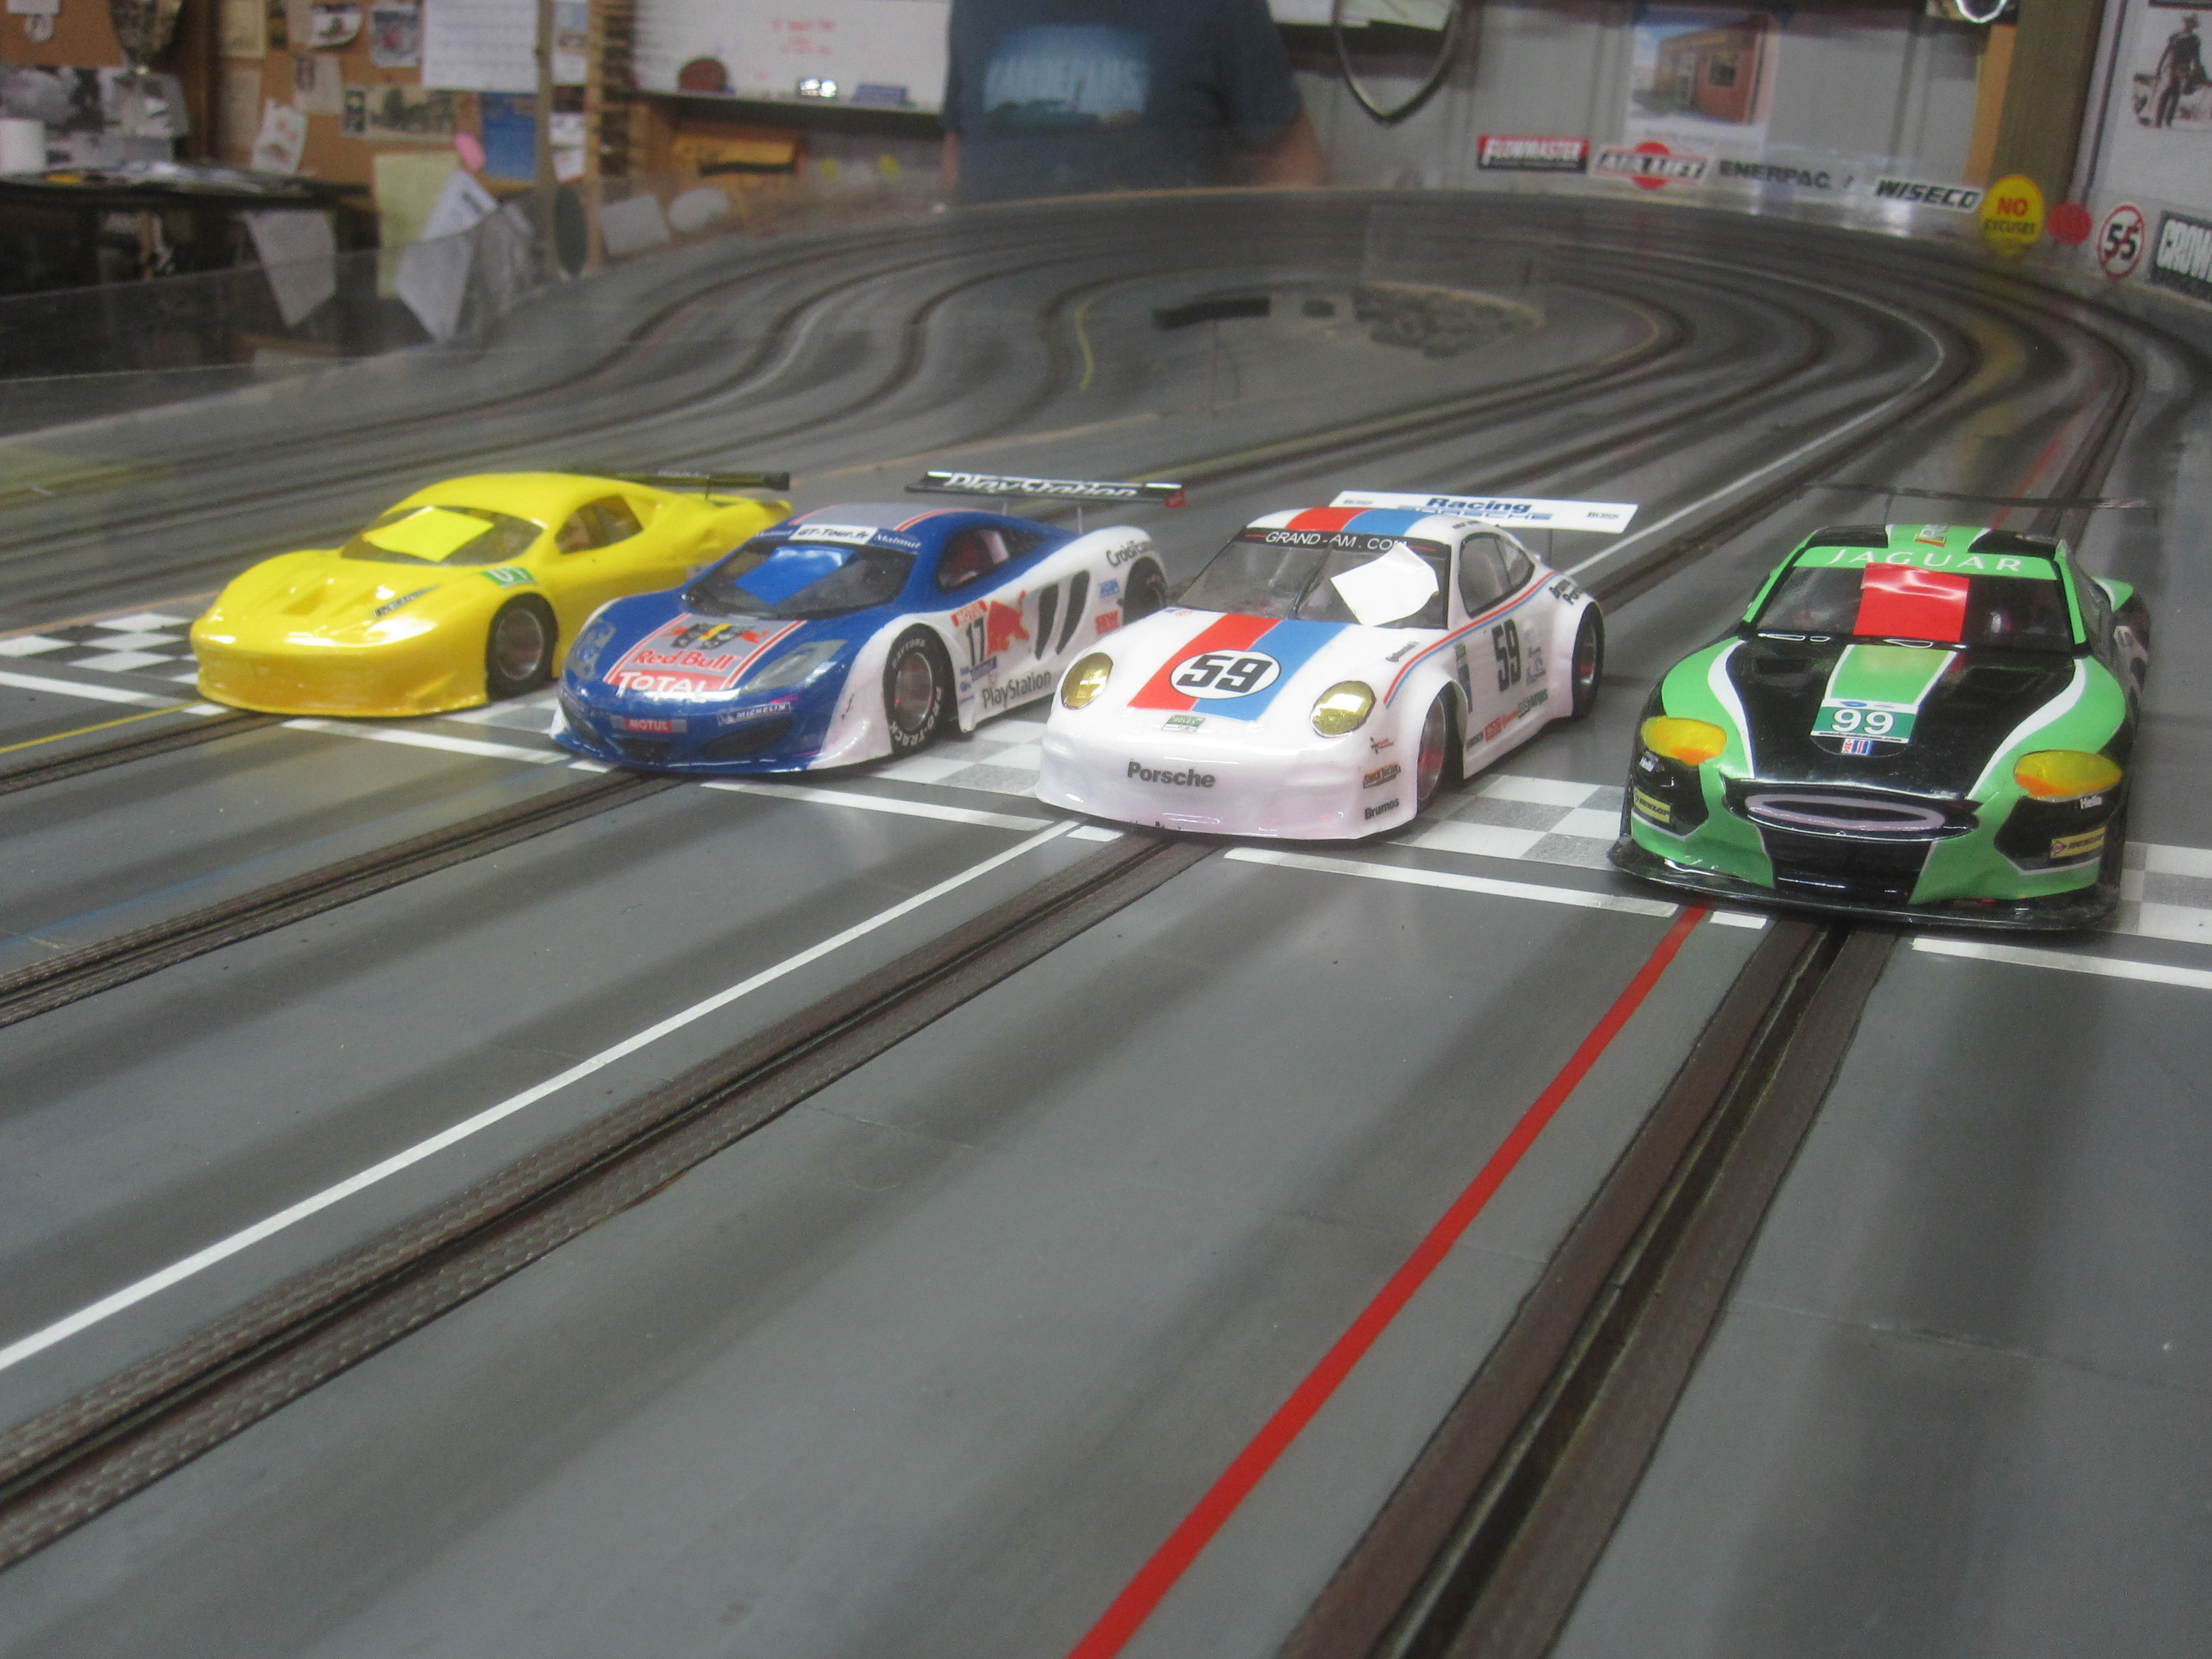
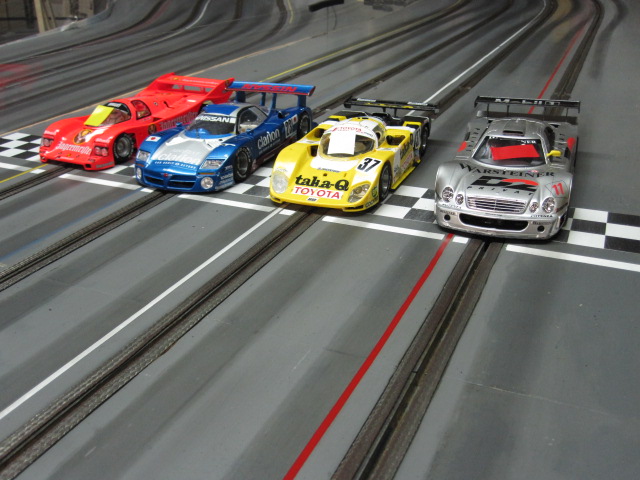
Lined up and ready to go
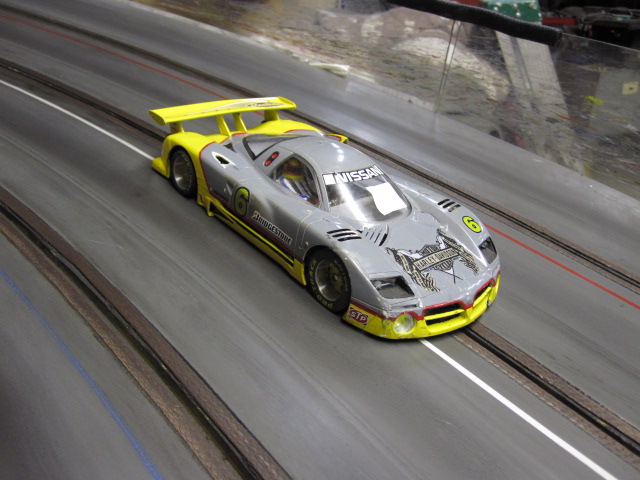
my old GT-1, a Nissan sponsored by Harley Davidson!!
The previous posts to this topic were copied over from the Northwest True Scale Racers site with Howie's permission. The NTSR site is scheduled to close down at the end of this year. I will be copying over as much of the great information posted there as possible in the next few months. =====Bill
by howie » Sun Sep 09, 2012 10:08 am
We had a pretty good turnout ( about 10 racers ) for a sunny day. Thanks to those who came and warmed up their cars and the track for the upcoming season.
The previous posts to this topic were copied over from the Northwest True Scale Racers site with Howie's permission. The NTSR site is scheduled to close down at the end of this year. I will be copying over as much of the great information posted there as possible in the next few months. =====Bill
by ftest821 » Mon Dec 24, 2012 6:49 am
This project sat on my bench for quite some time. The problem was that 1+inch rear wheels didn't fit well and the car ran poorly with them. After looking at the Tifosi chassis, I noticed that there were two sets shims that determined the wheel height. I removed one set of shims and viola - The wheels still look "scale" and the car looks and runs much better. Here are couple of images. To see more images click on the photo section of the Electron Raceway Group http://groups.yahoo.com/group/ElectronRaceway/ and then look at the album entitled Rich's Cars. (you must be a member to look at this section - it takes only a few minutes to join!)
The previous posts to this topic were copied over from the Northwest True Scale Racers site with Howie's permission. The NTSR site is scheduled to close down at the end of this year. I will be copying over as much of the great information posted there as possible in the next few months. =====Bill
by howie » Wed Dec 26, 2012 10:08 pm
The rules section covers Can-Am and all the classes that we run here at Rapid Raceway. Can-Am and NASCAR are open chassis, you can build it or buy it any way you want. angle winder, side winder, in line.
Through out this site are pictures of the Scholer chassis, and some home made chassis. The early Modified is a copy of the Bob Hanna Econo chassis.
We are trying to keep it simple and as inexpensive as possible.
by ftest821 » Sun Dec 23, 2012 7:55 am
Hi,
We have been running at Electron Raceway in Roseburg on a fairly regular basis for the past several months. My focus has been True Scale. Many of the other locals have built cars - GT1s. I've started a group on Yahoo that will have race announcements, results, Photos and more. I have posted nearly 150 images, some going back to the Slot Car Convention in 2005. I've also posted an article about the Trans Am written by Sam Posey in the Files section of the site. Here is the group address http://groups.yahoo.com/group/ElectronRaceway/ (you will have to become a member to view the images and files but you can look at messages and the home page even if you are not a member. It takes a few minutes to become a member and I encourage you to do so).
I'll be contributing to the threads here as appropriate.
BTW - We might be interested in your Can Am Class. Any images of chassis, building instructions, tuning tips etc. would be greatly appreciated. I'd like to see the Scholer, more detail on the Flexi Chassis and other alternatives.
Happy Slotting
Rich V
The NASTE Forum → Posts by wb0s
Powered by PunBB, supported by Informer Technologies, Inc.