Topic: How To Build A Chassis In Pictures part #1
How To Build A Chassis In Pictures part #1
This may take some time with all the step-by-step assembly, writing and pictures involved.
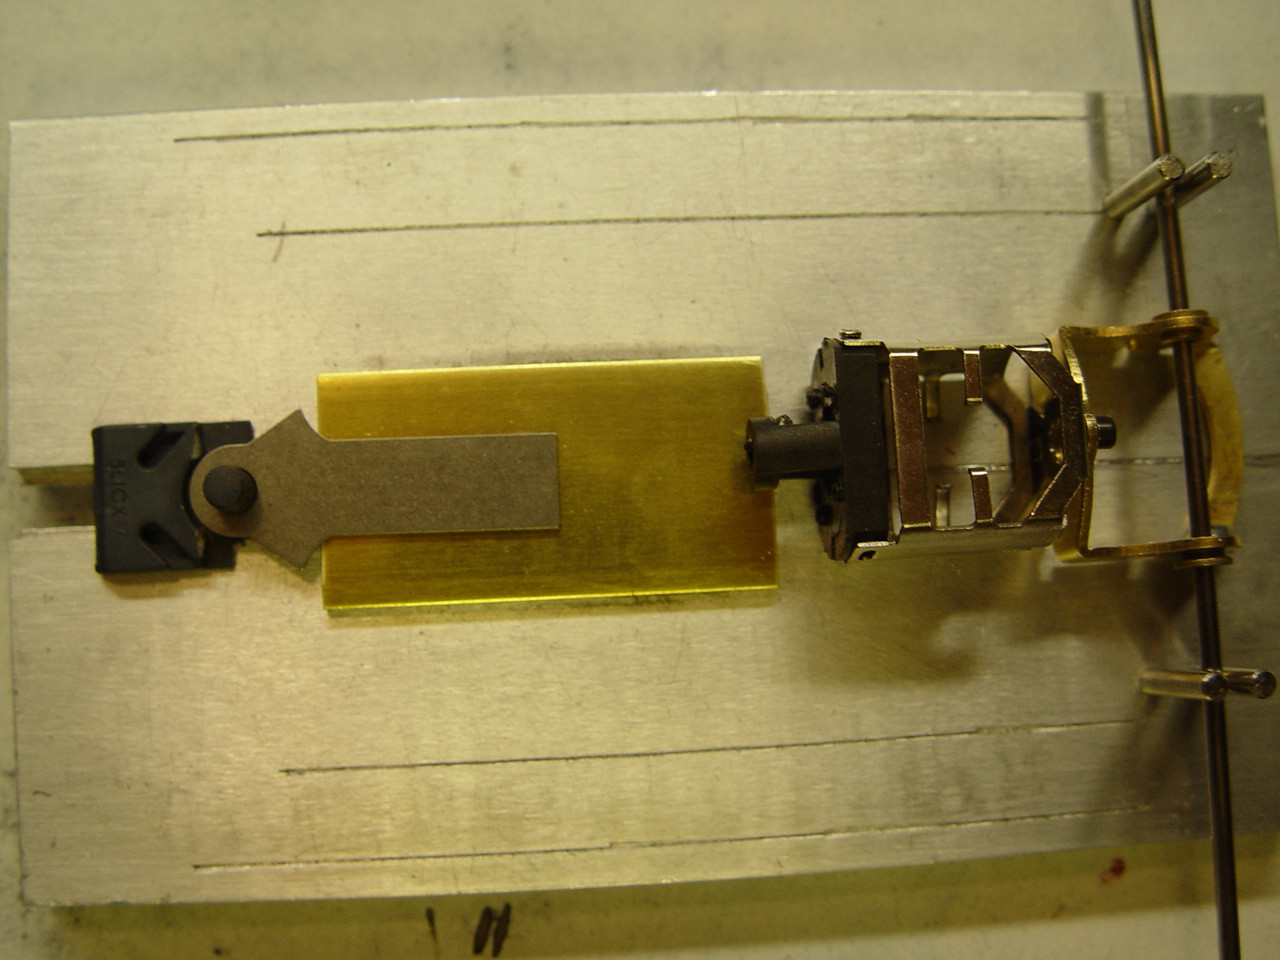
You will be able to go to any point of the build for reference. The build shown will be for a Mclaren M1 only. It is an easy build because it involves very little cutting of the brass parts. The build will be the same style for all 1/24 scale chassis, (the end outcome will be the size of the chassis) Clubman to a NASCAR, the different measurements ( length - width ) and your choice of a center section and motor bracket, 1" or a 3/4-inch center section and the 1" or 3/4" for the motor bracket. That will be the differences for all different body sizes.
Measure all measurements very carefully and Sand ALL brass parts thoroughly if you do not do this the chassis solder points Will fail and to make matters worse it will probably happen during a race.
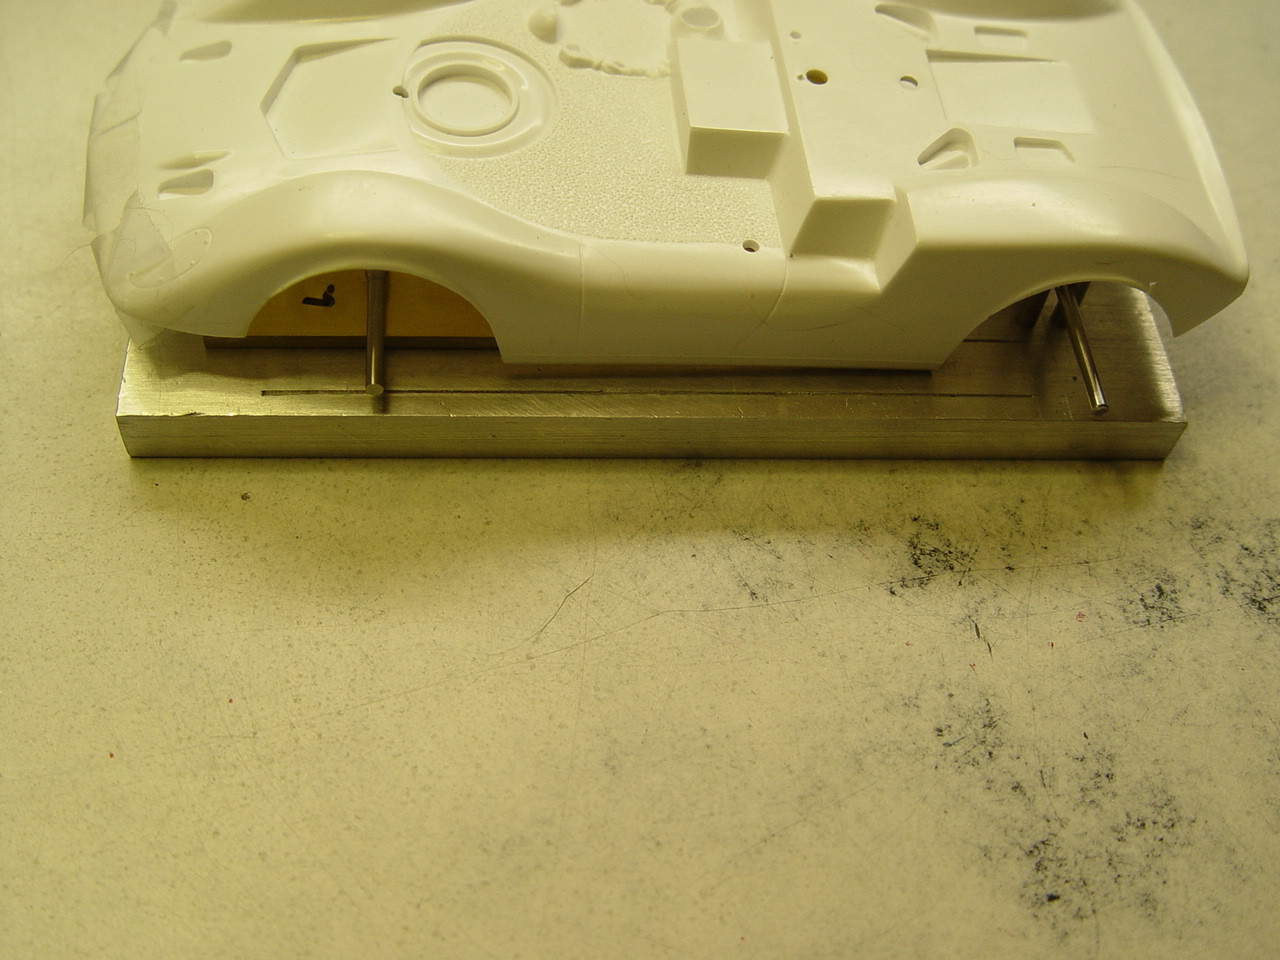
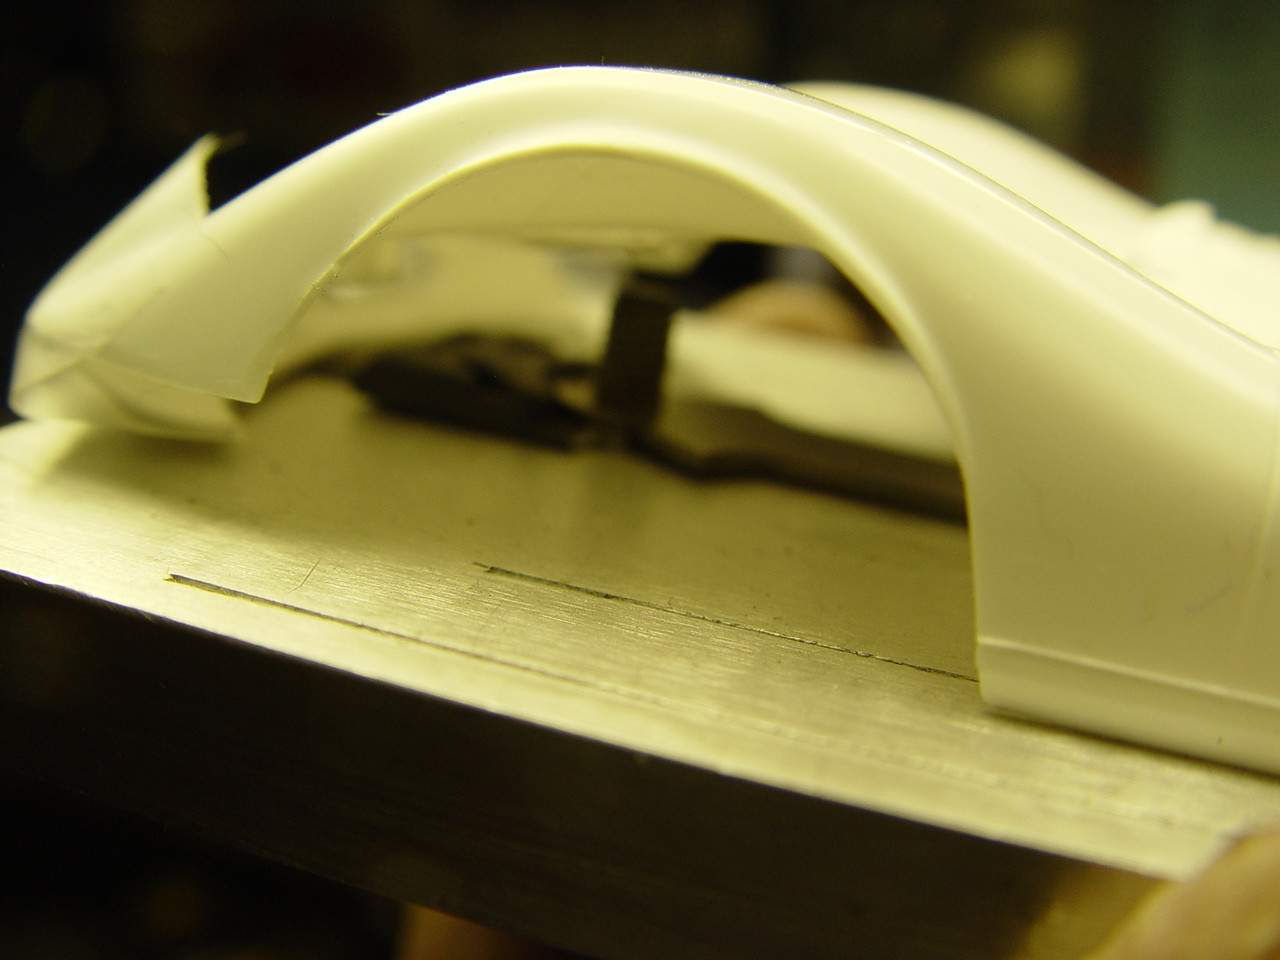
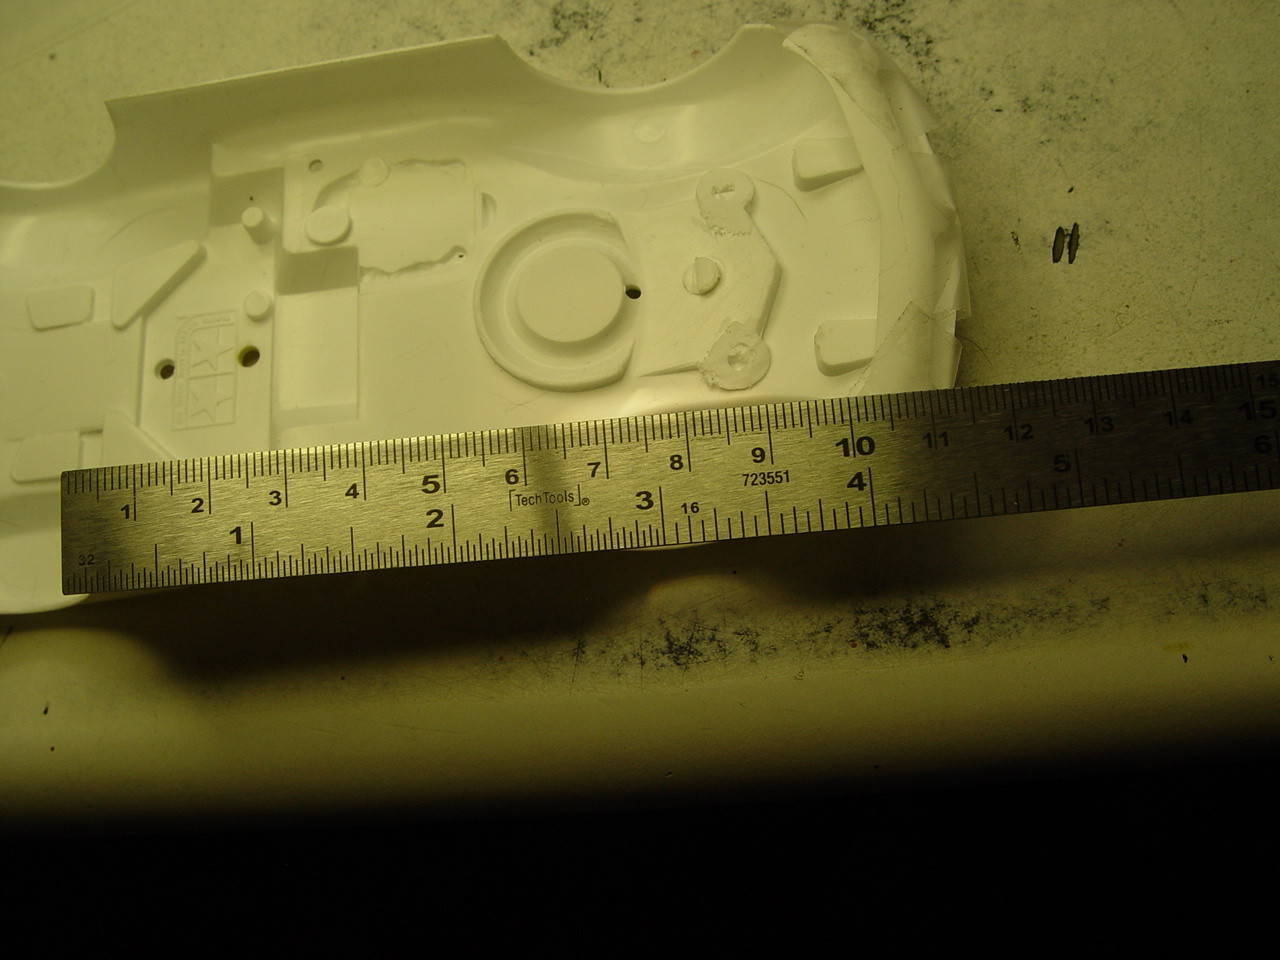
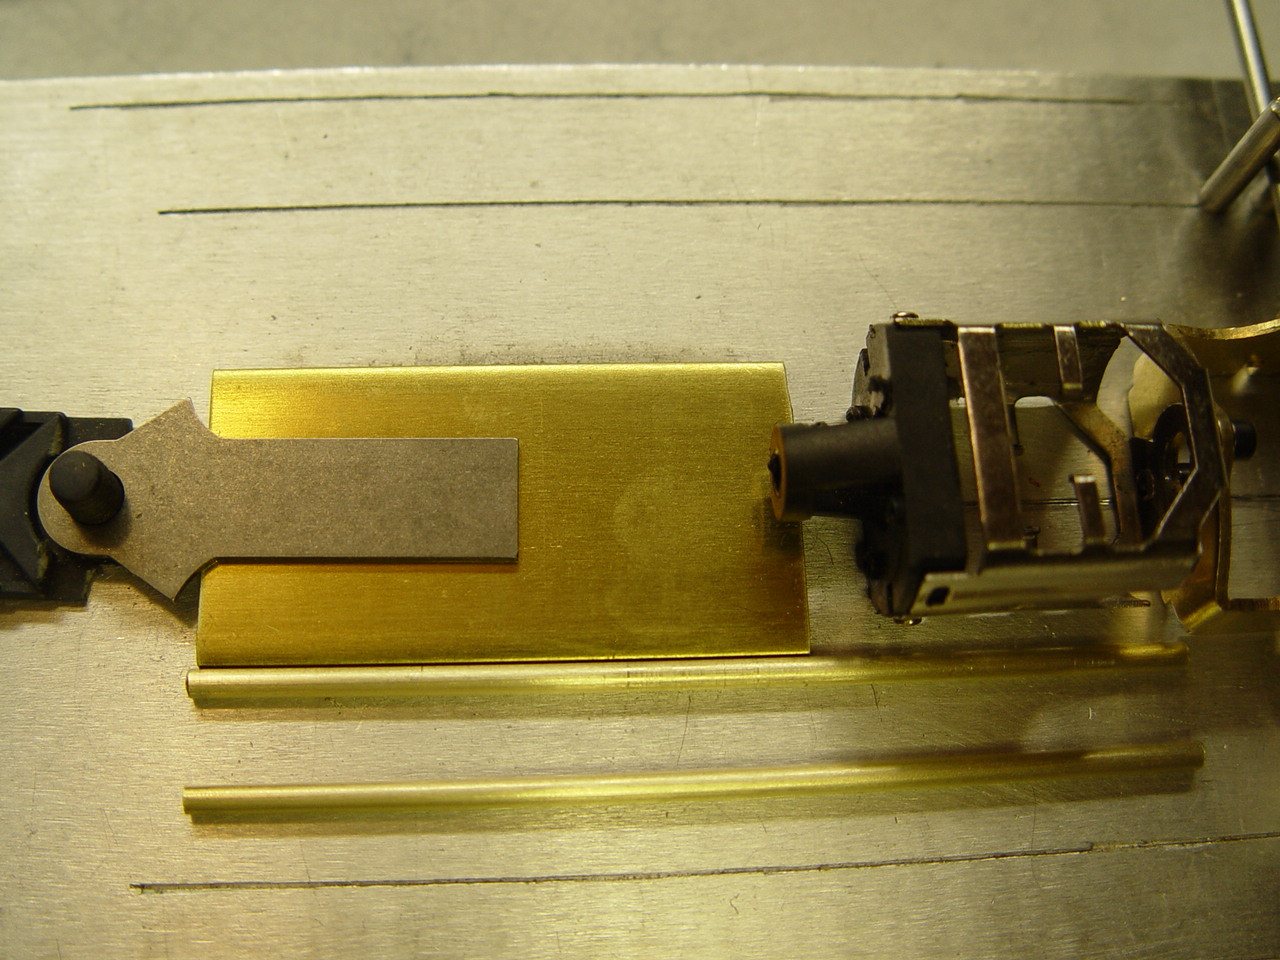
#1 Place the body on the jig and measure center to center of the wheel wells. Place your motor bracket on jig with an axle & bearings, so the axle measures up with the top of the rear wheel wells. #2 Measure the distance from the rear of the valance of the car to the guide flag, you should have 5mm distance. Place the guide flag on the build jig along with the body to check clearance. This is the total distance you will have to work with. #3 The 1" .090 thick center section measured at 48mm long, place this under the endbell nose at the fat round circle as pictured. There are no brush housings to get in the way & no magnets in my motor housing to stick to anything. This will be your center of the chassis. Do not solder anything yet... #4 The brass you will need to cut is .090" thick 3/4" right at 104mm long measure from the front of the wheel well to the rear edge of the lower front of the body valance. This is for the side panels (bat wings). #5 cut two pieces of 3/32" round tube equal length at 78mm. From the front of the motor mount to the front edge of the 1" brass center section. The guide tongue will kind-of keep the guide flag in position. Do NOT solder anything... I will let you know when to solder. Jim