Topic: Chassis Blocks & Jigs for Scratch Building
I just want to say up front; I am not a good chassis building. I have been working on my skills for YEARS, but have made little progress.....I know one thing for sure, I don't do it enough!
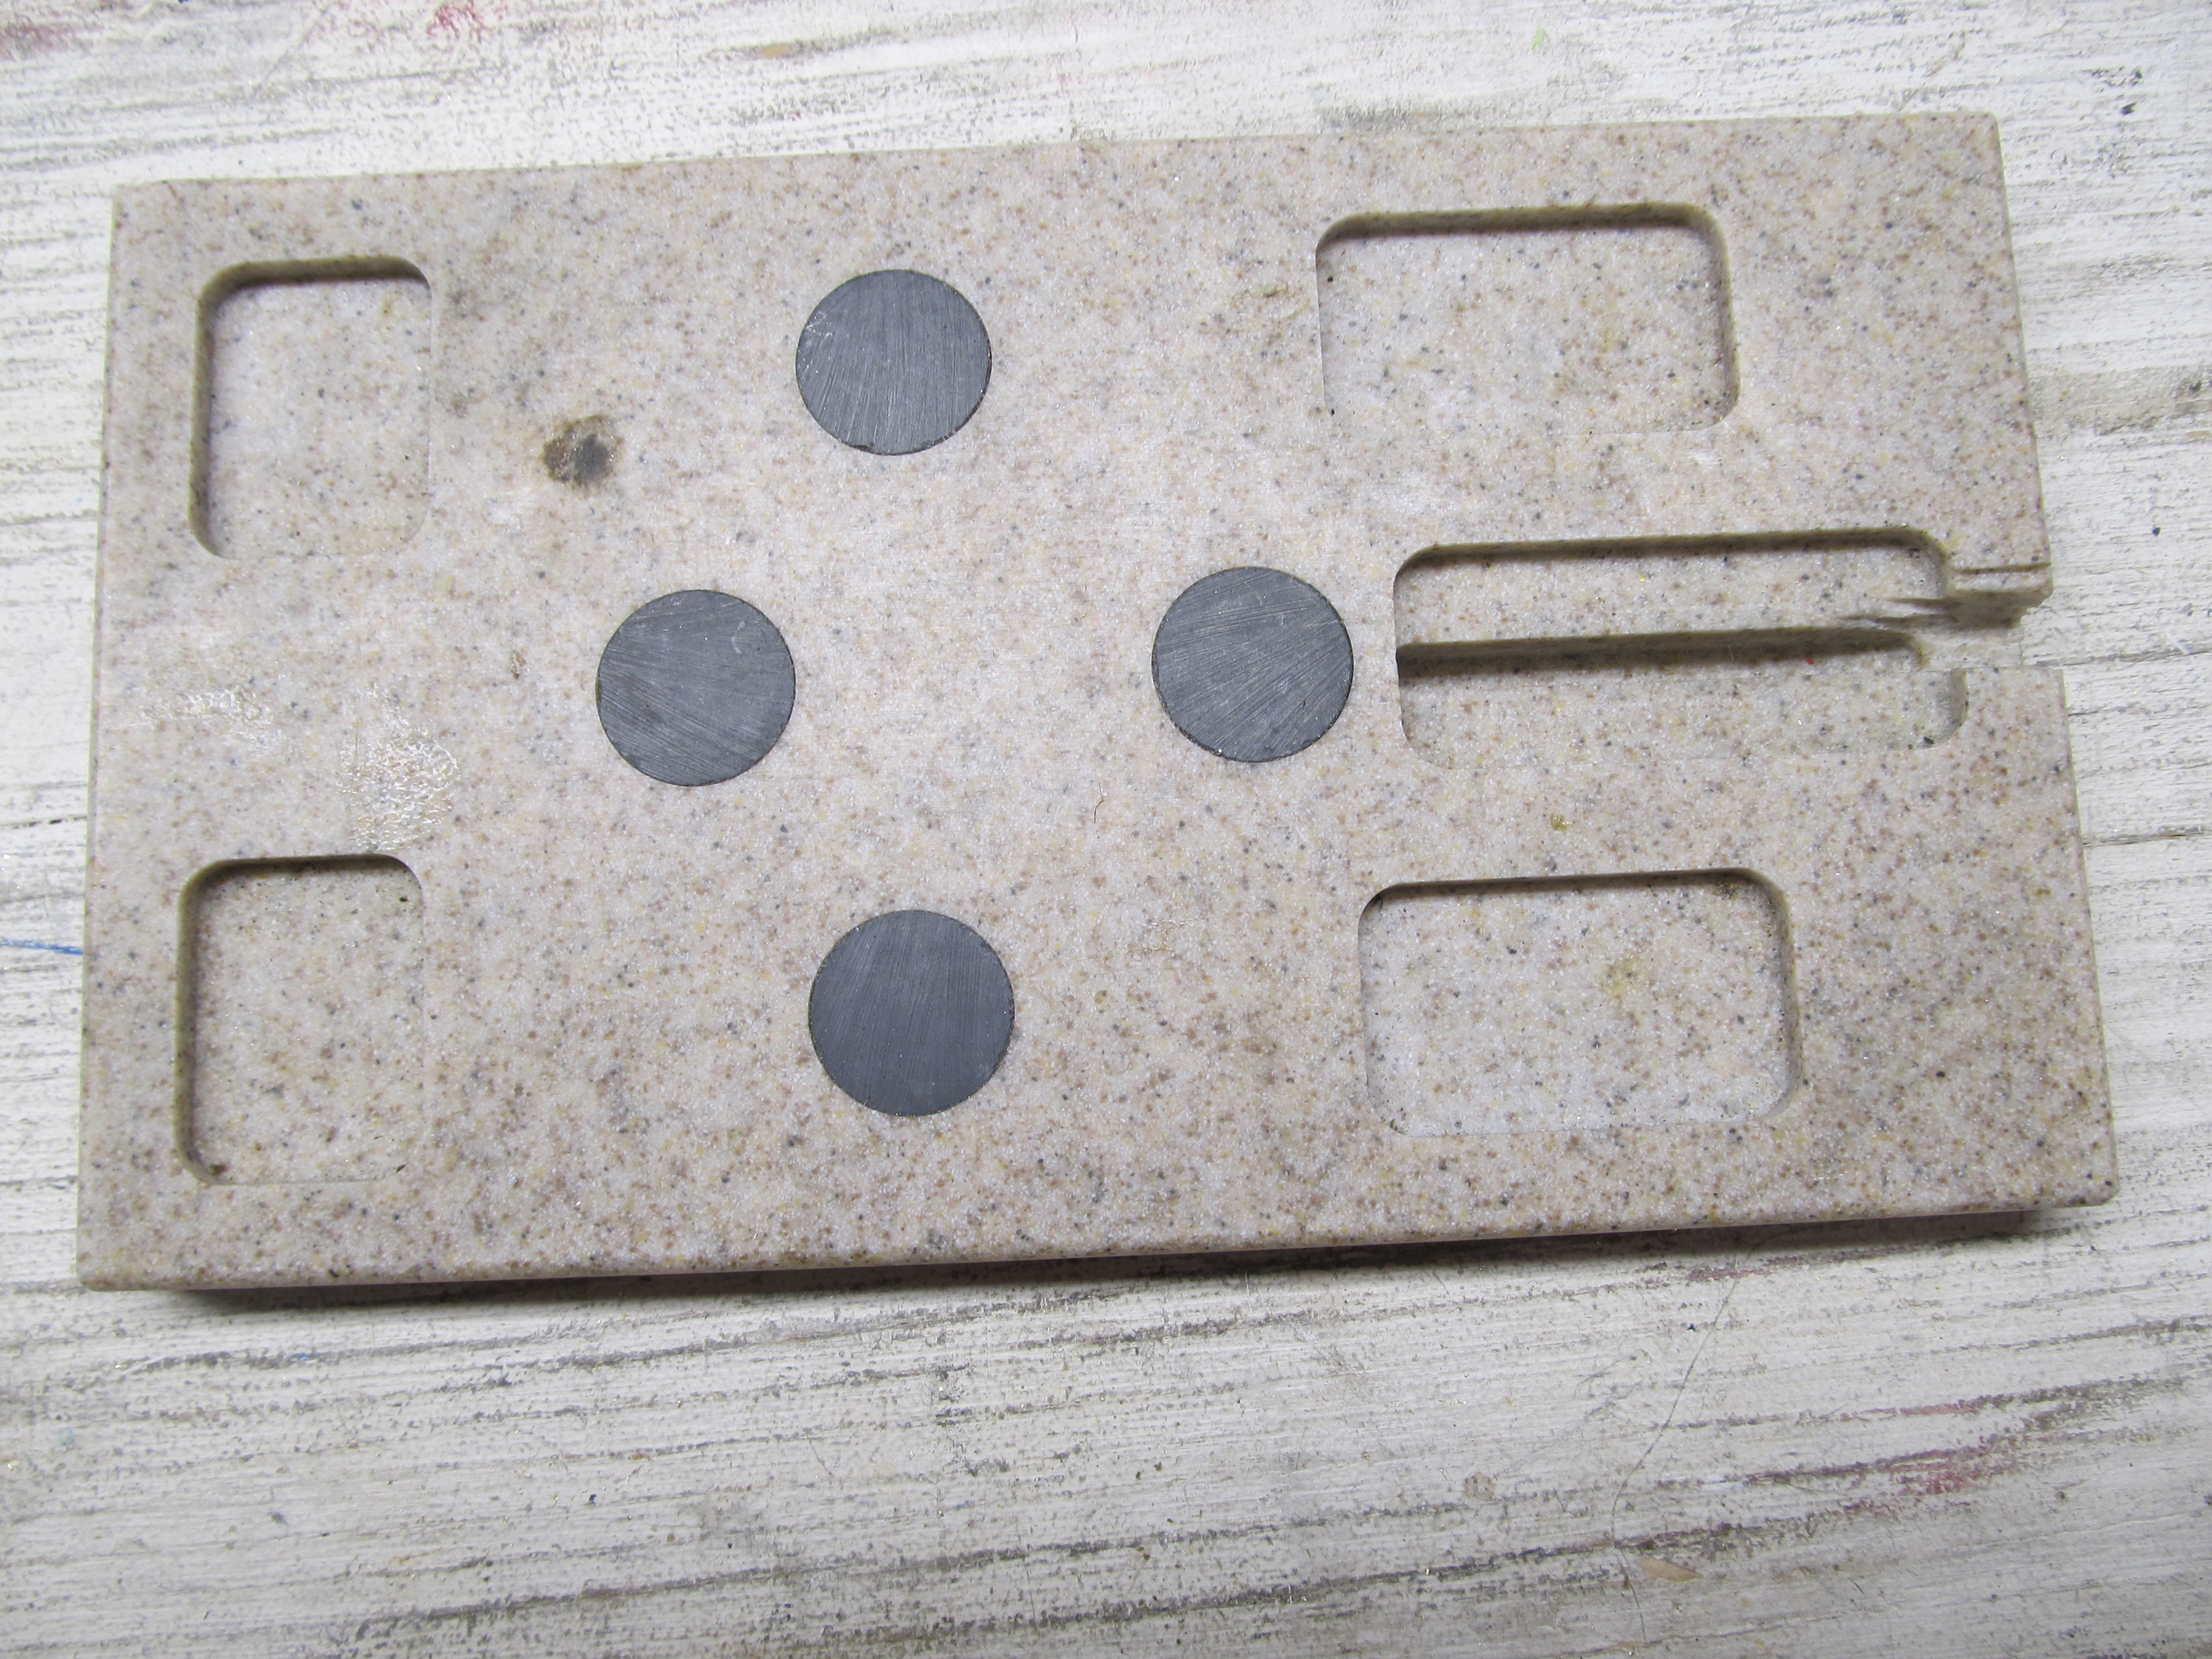
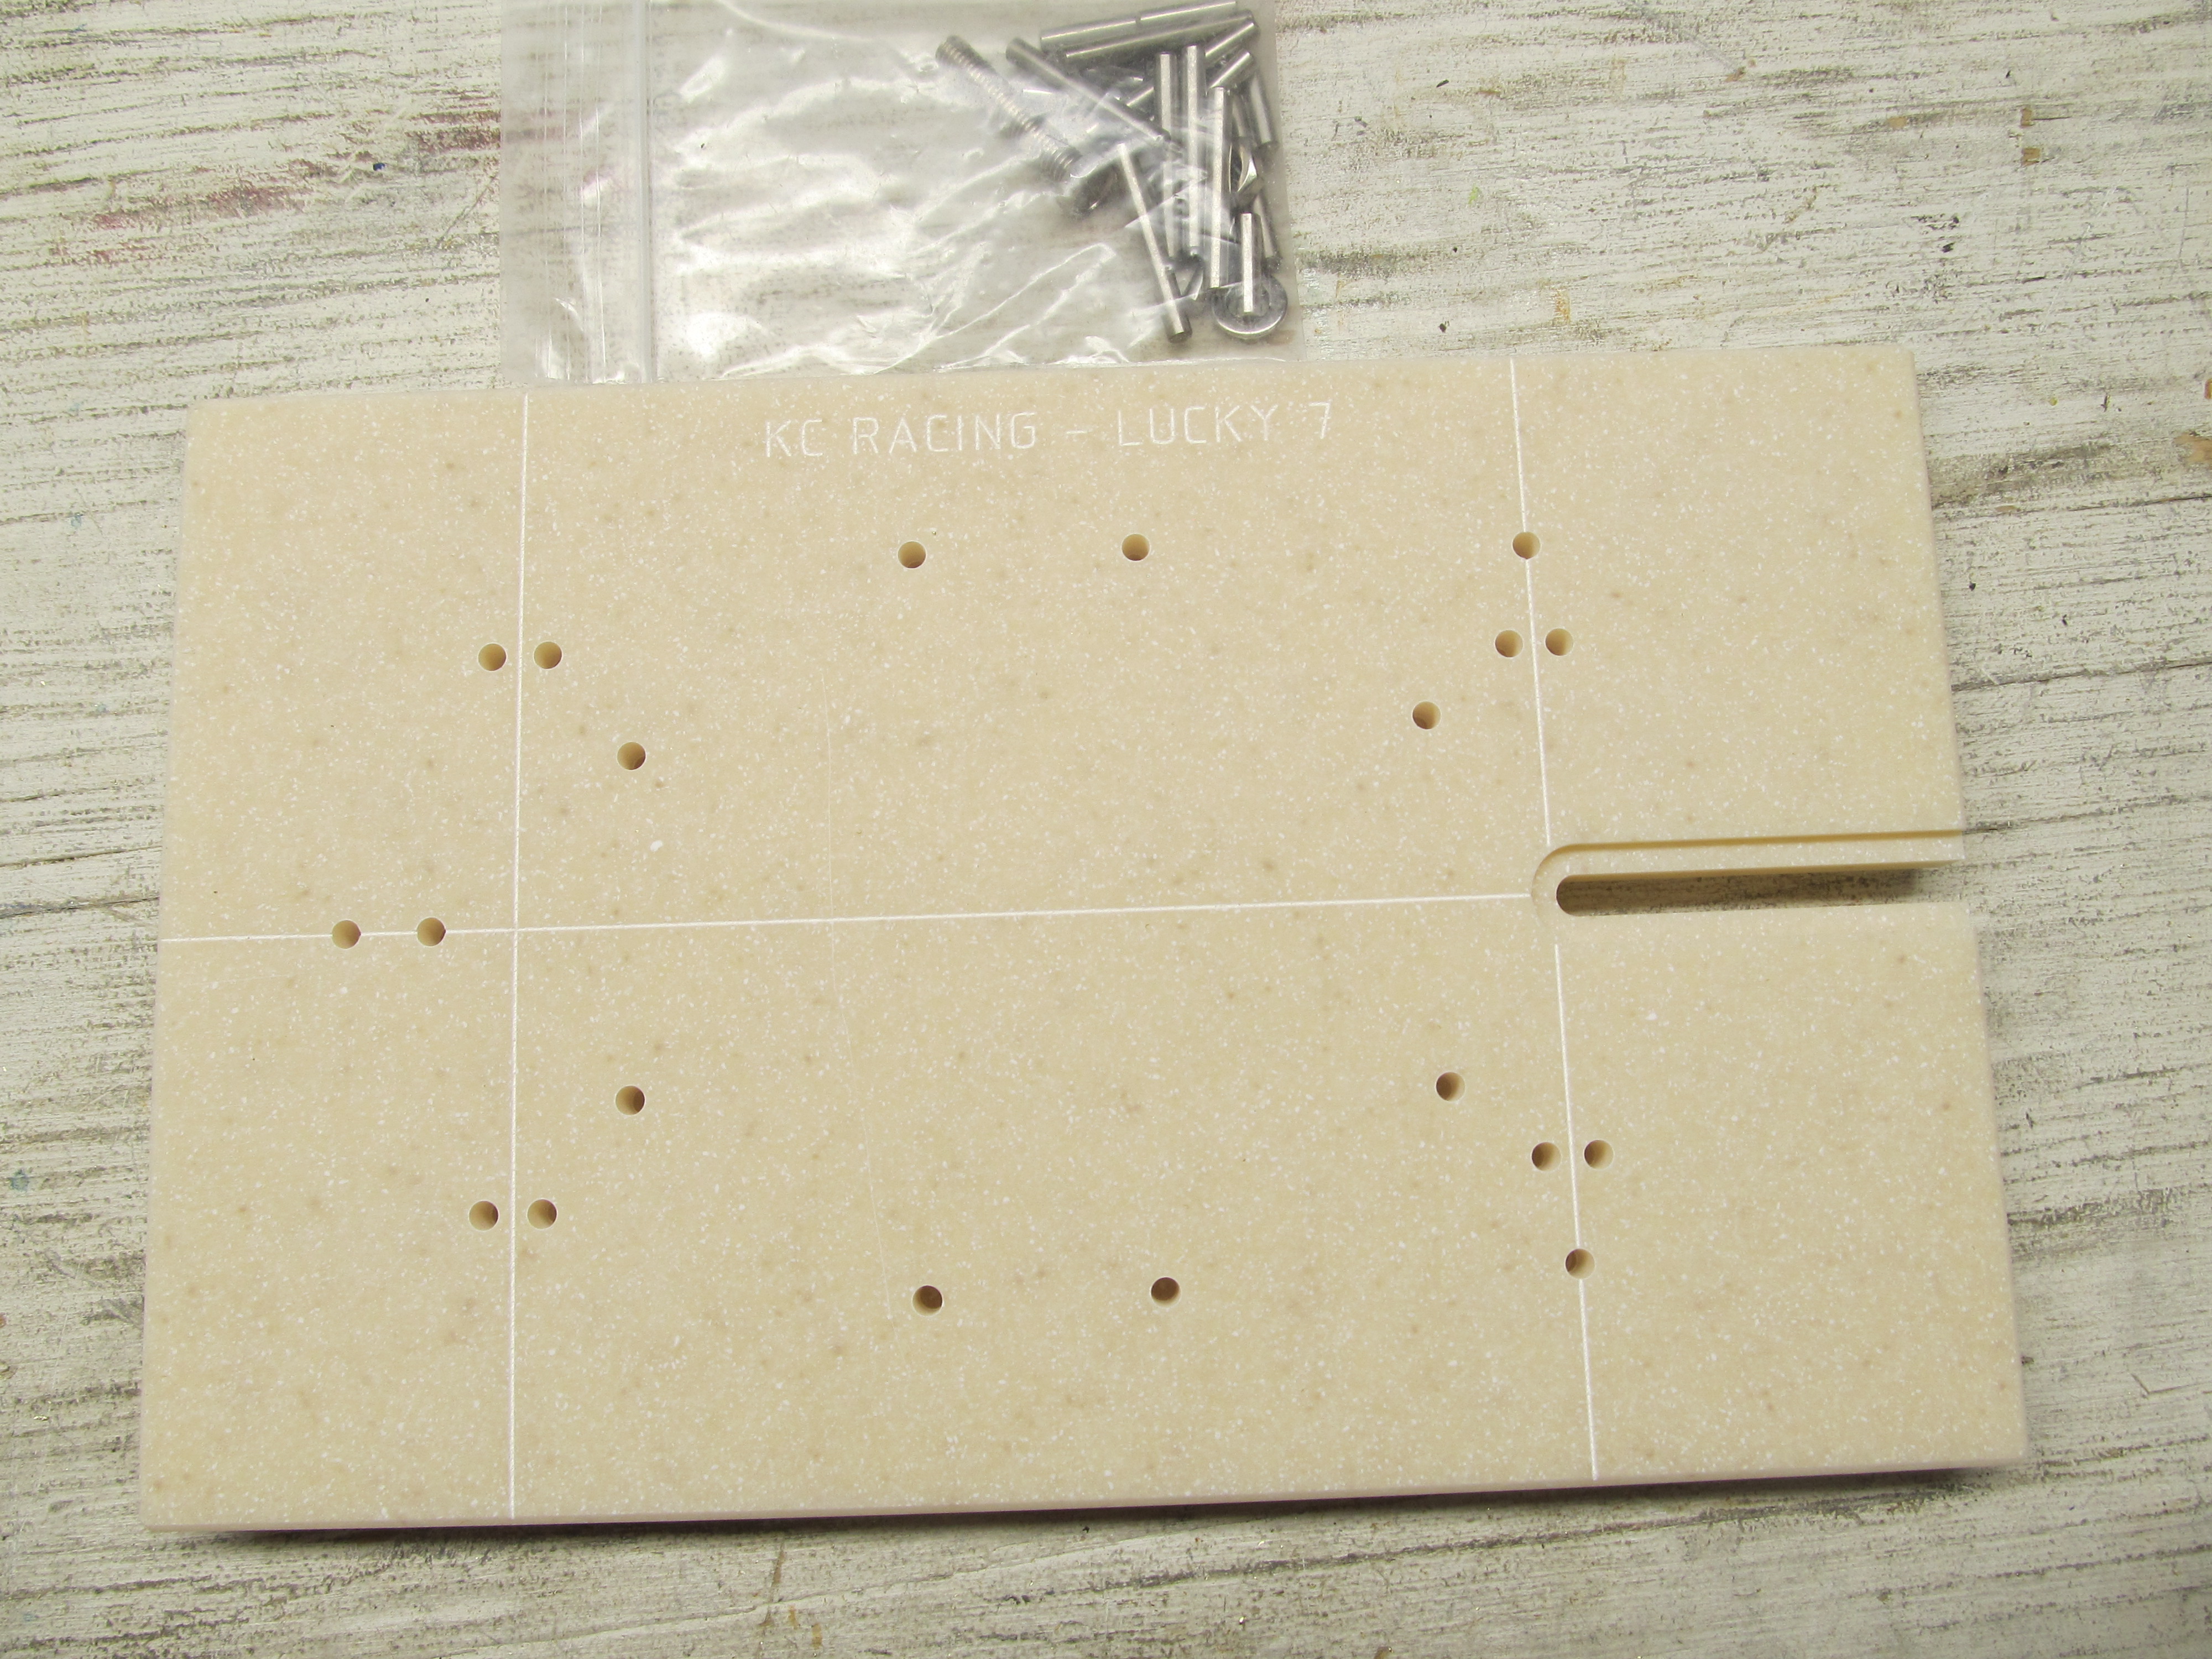
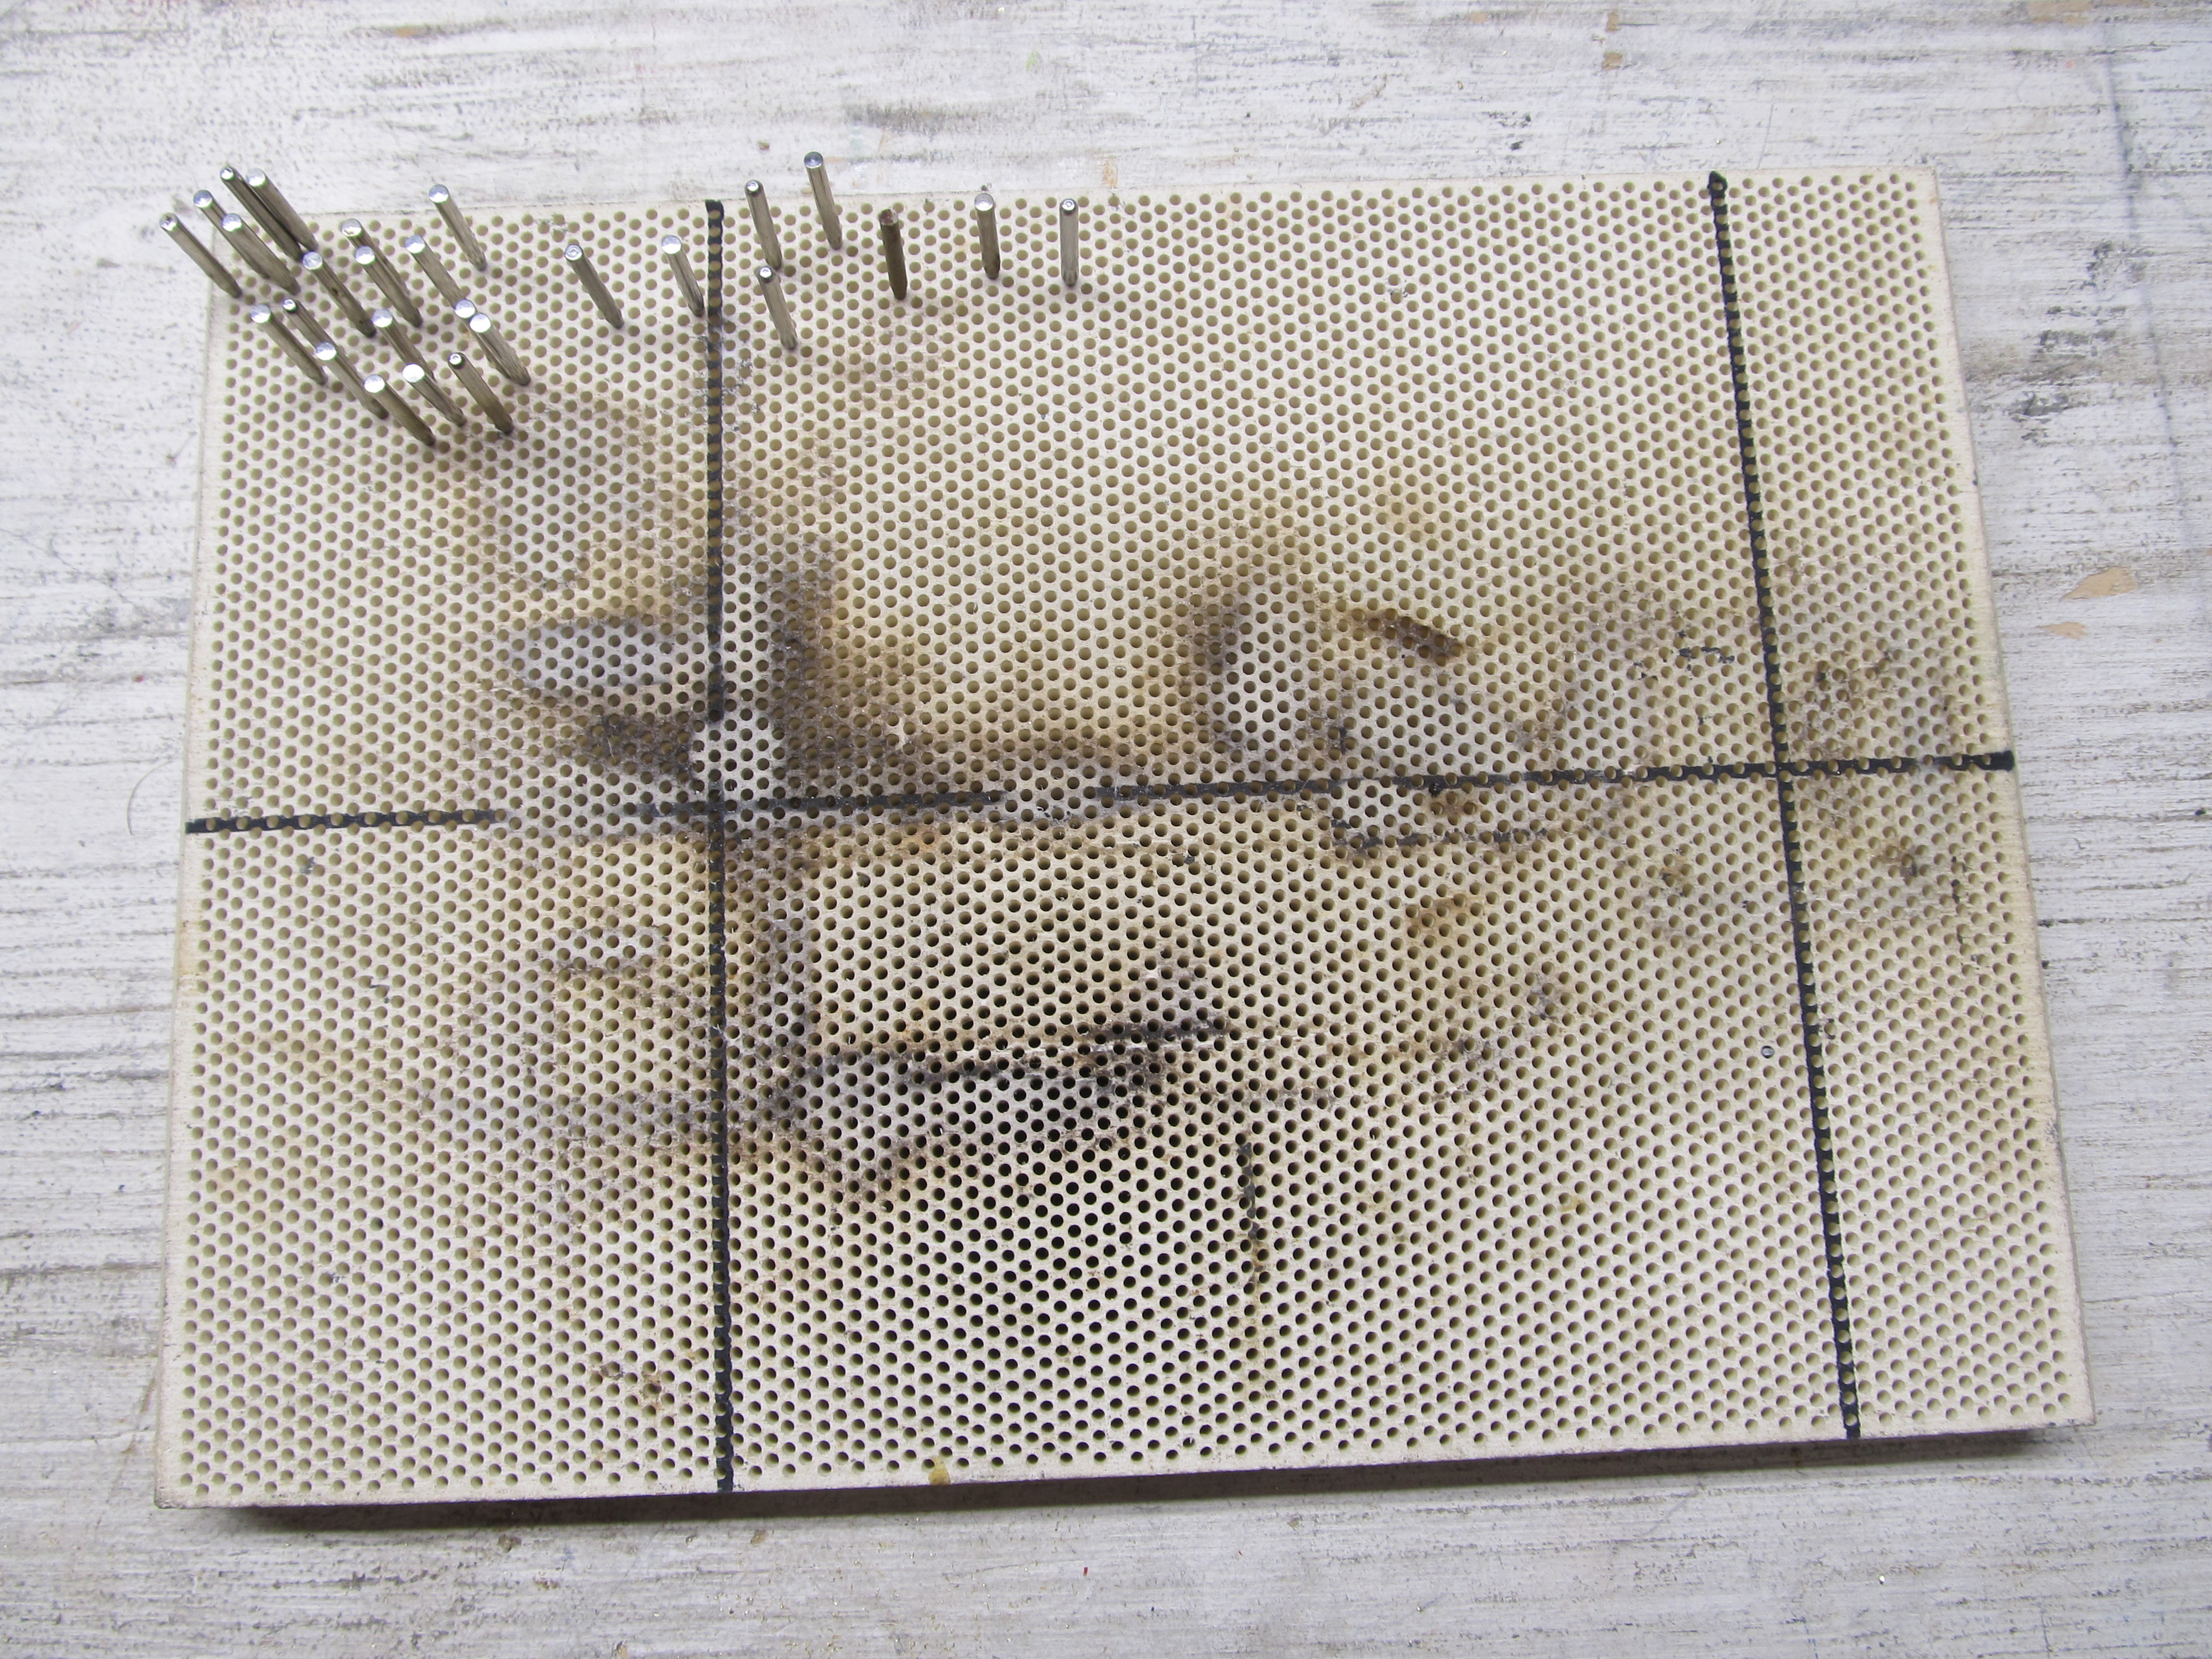
I went out to the shop this morning to work on an Early Modified chassis I started the other day. I thought I would solder together some of the parts I had prepped. Here in the Pacific Northwest where we race "Hardbody" (model car injection molded bodies) cars, we use .090" flat brass (sometimes .062") for pieces of the chassis construction such as center pans and side pans in particular. Soldering these thicker pieces of brass (especially .090") can be challenging! Having a flat surface is a must, and having a way to secure the pieces to that flat surface really helps! So the first thing I did was go searching for my chassis jig (or more applicable; jigs).
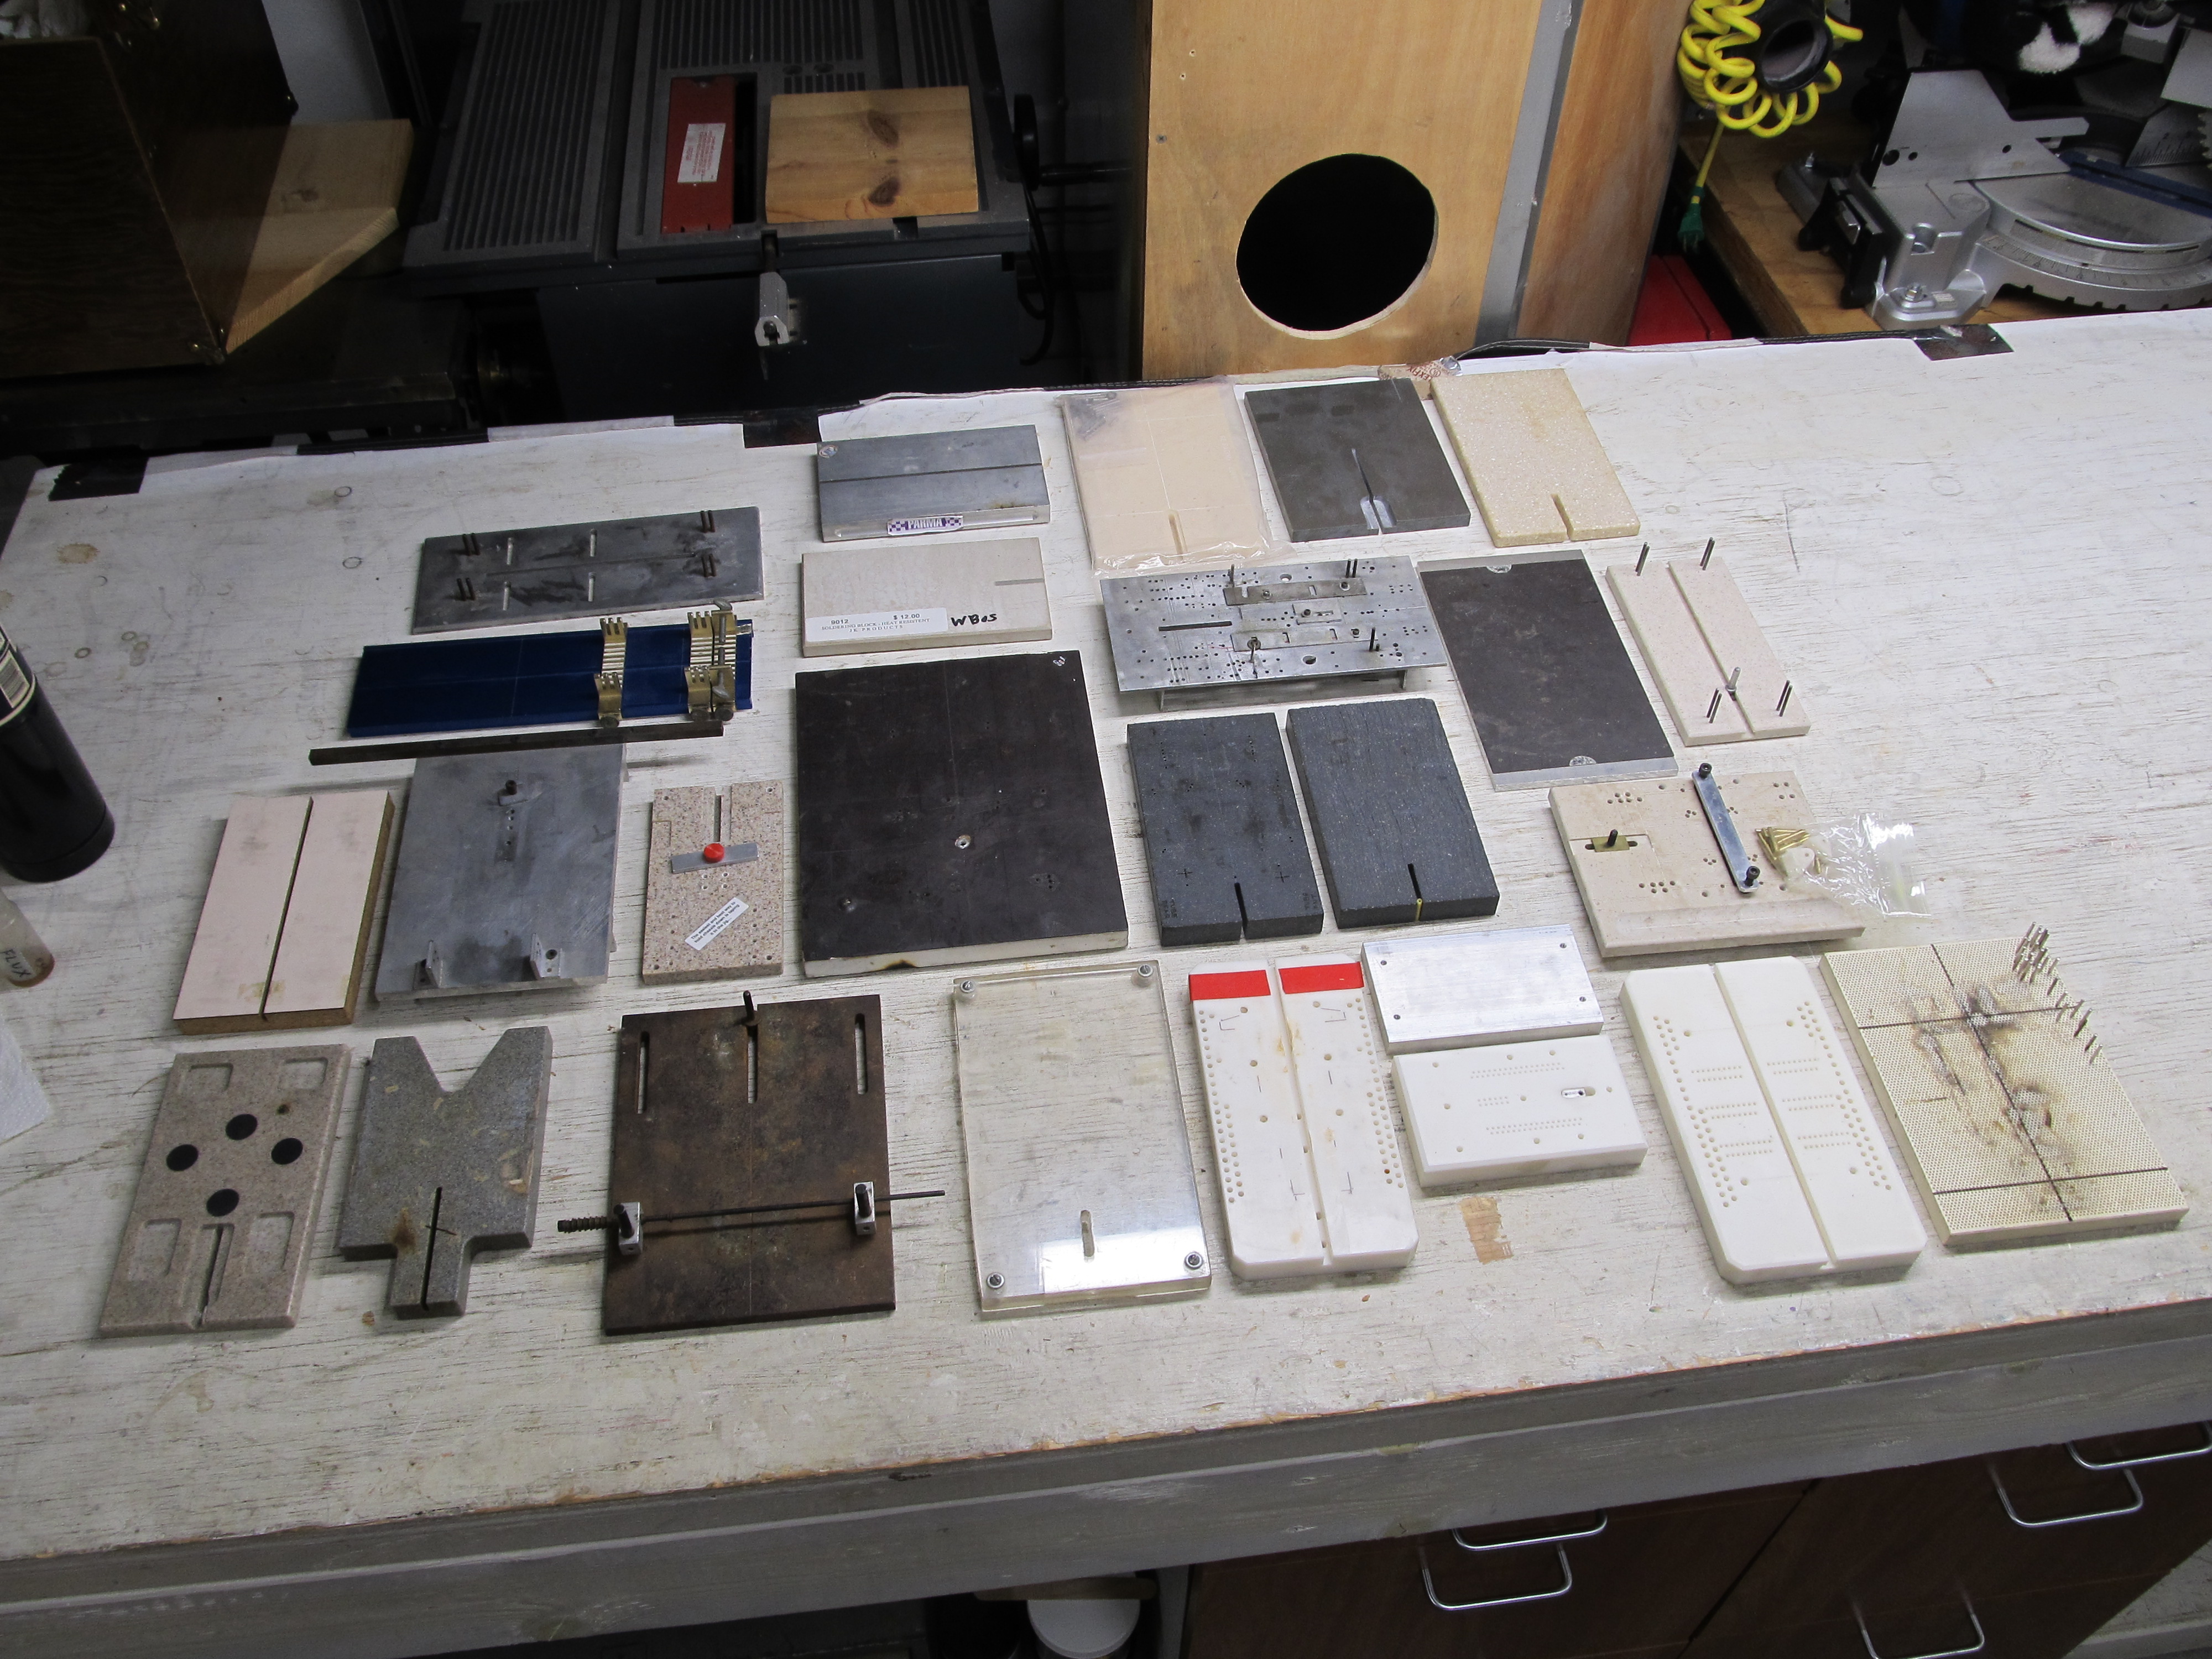
I'm probably not much good for information on "how to" solder chassis, but maybe I can guide some of the new guys when it comes to picking up a good chassis jig to fit their needs. So here are my chassis jigs and what needs they fit for me.
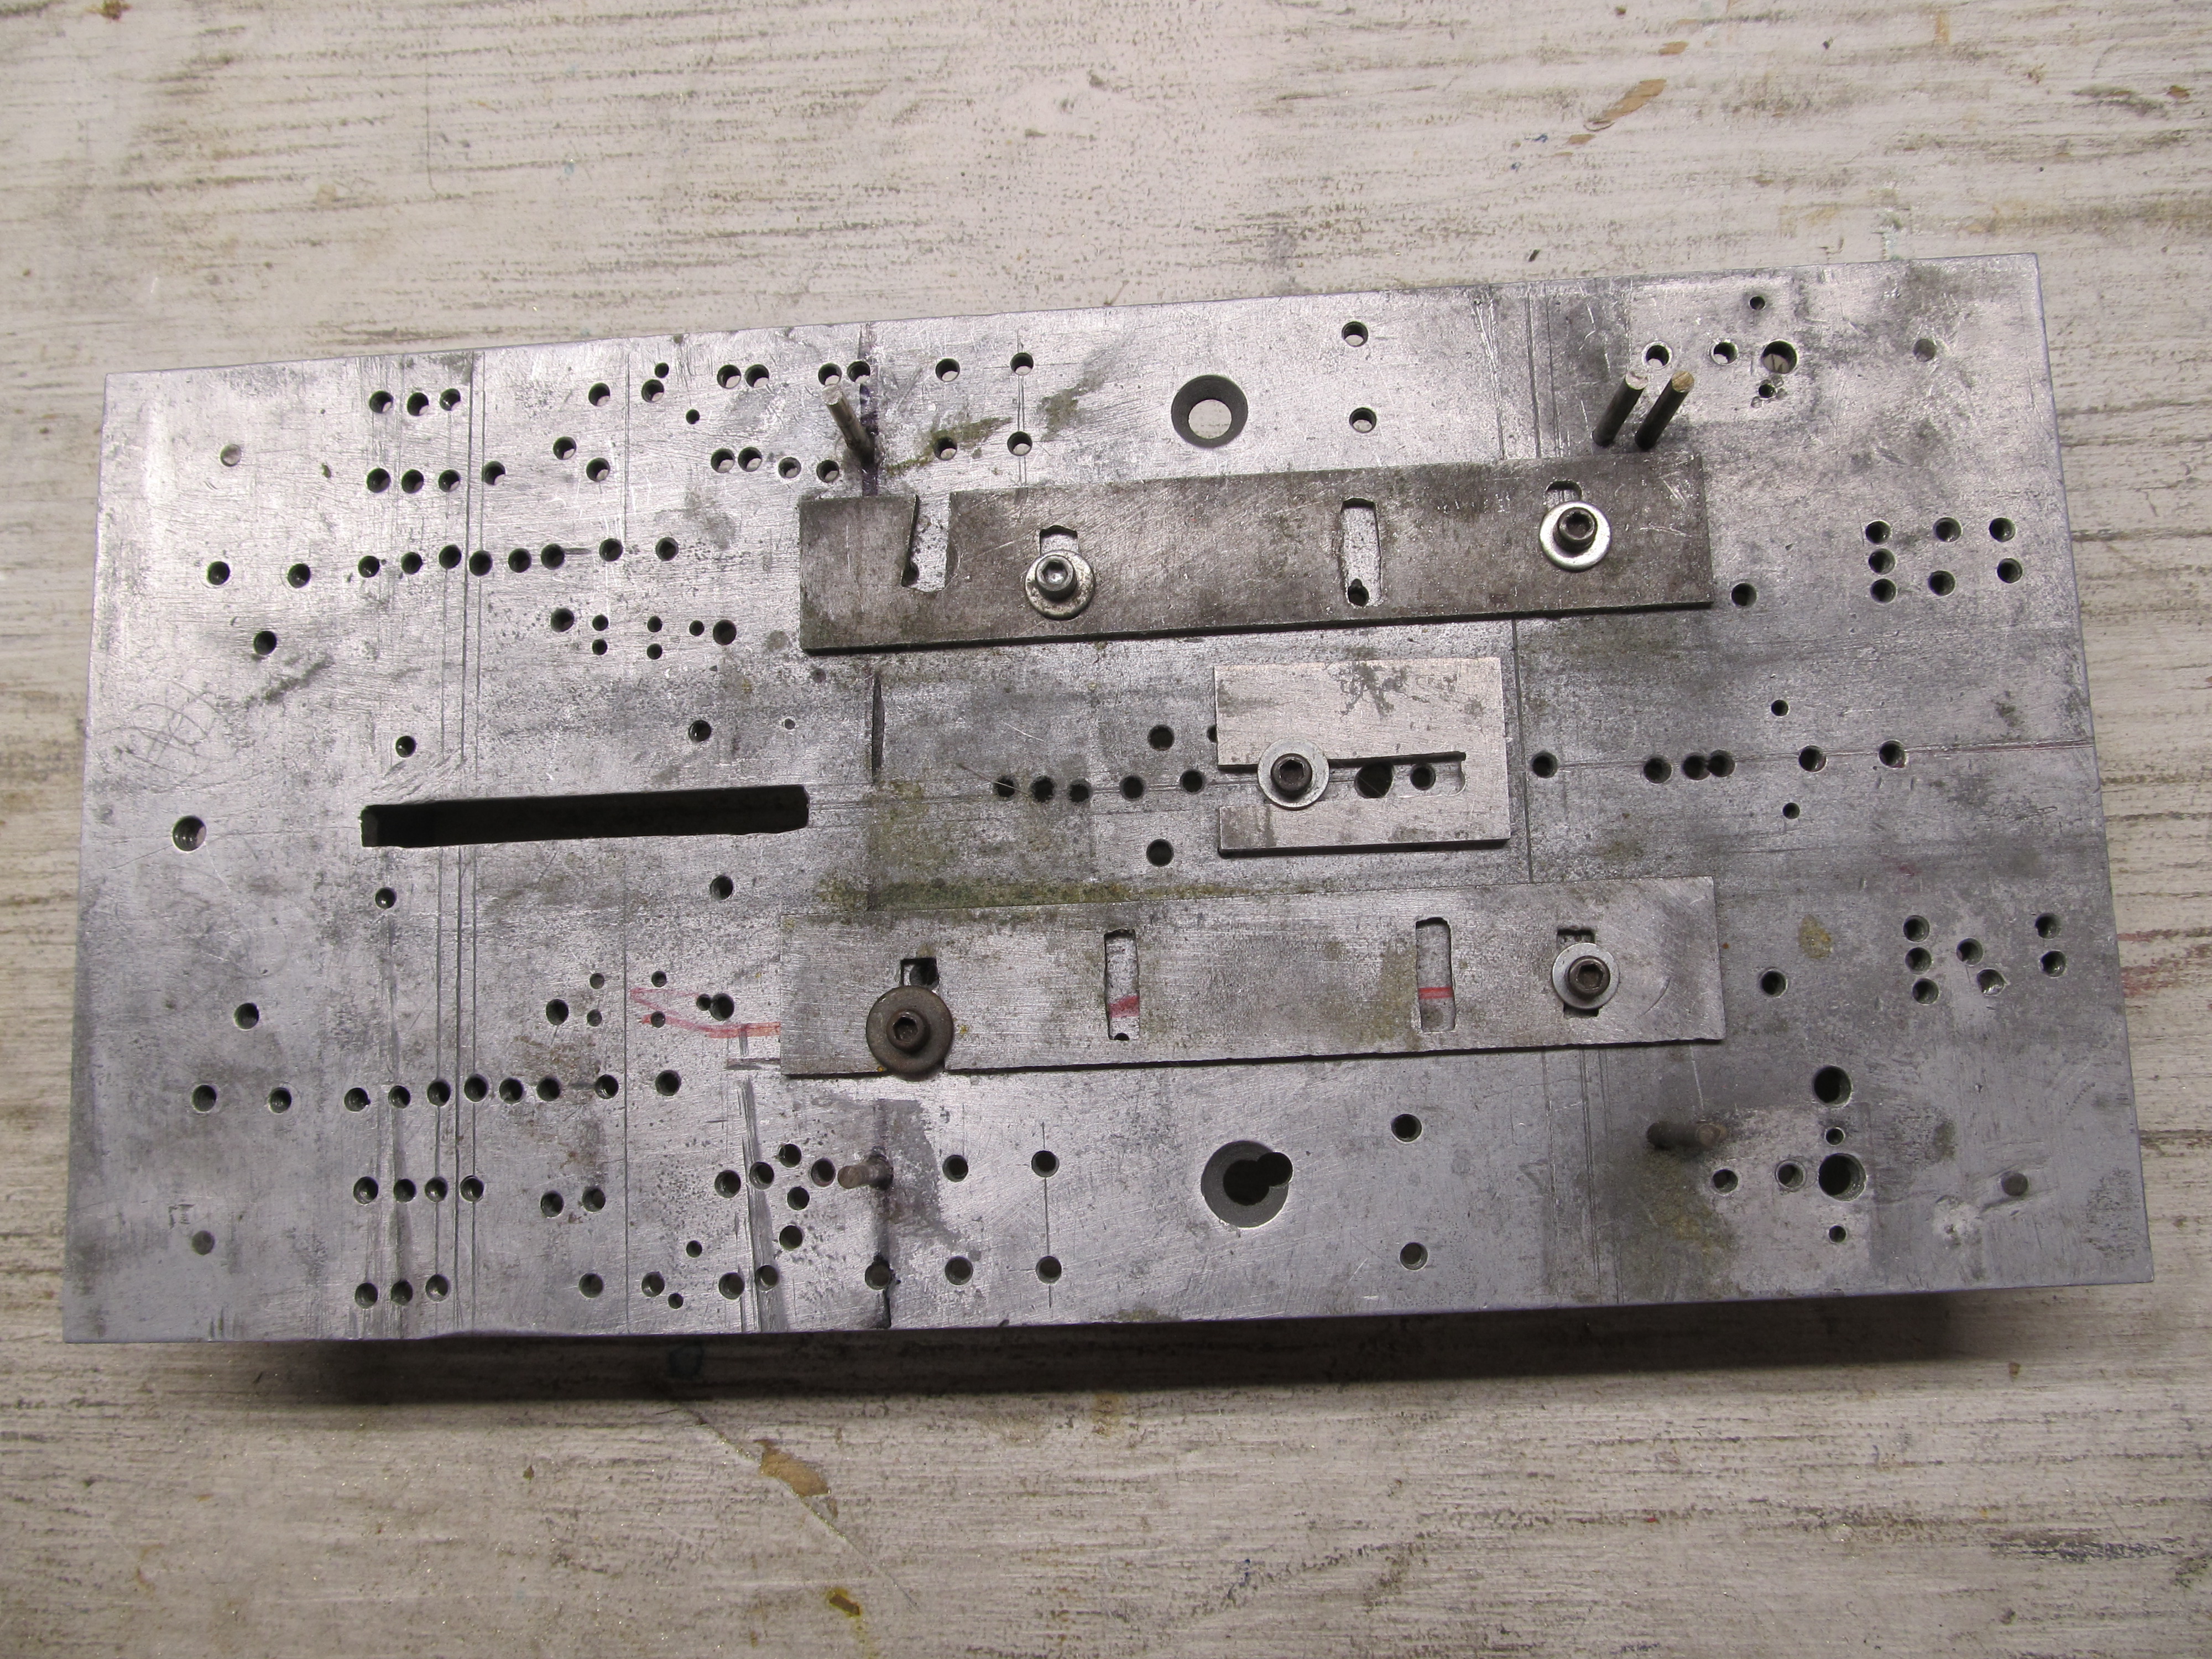
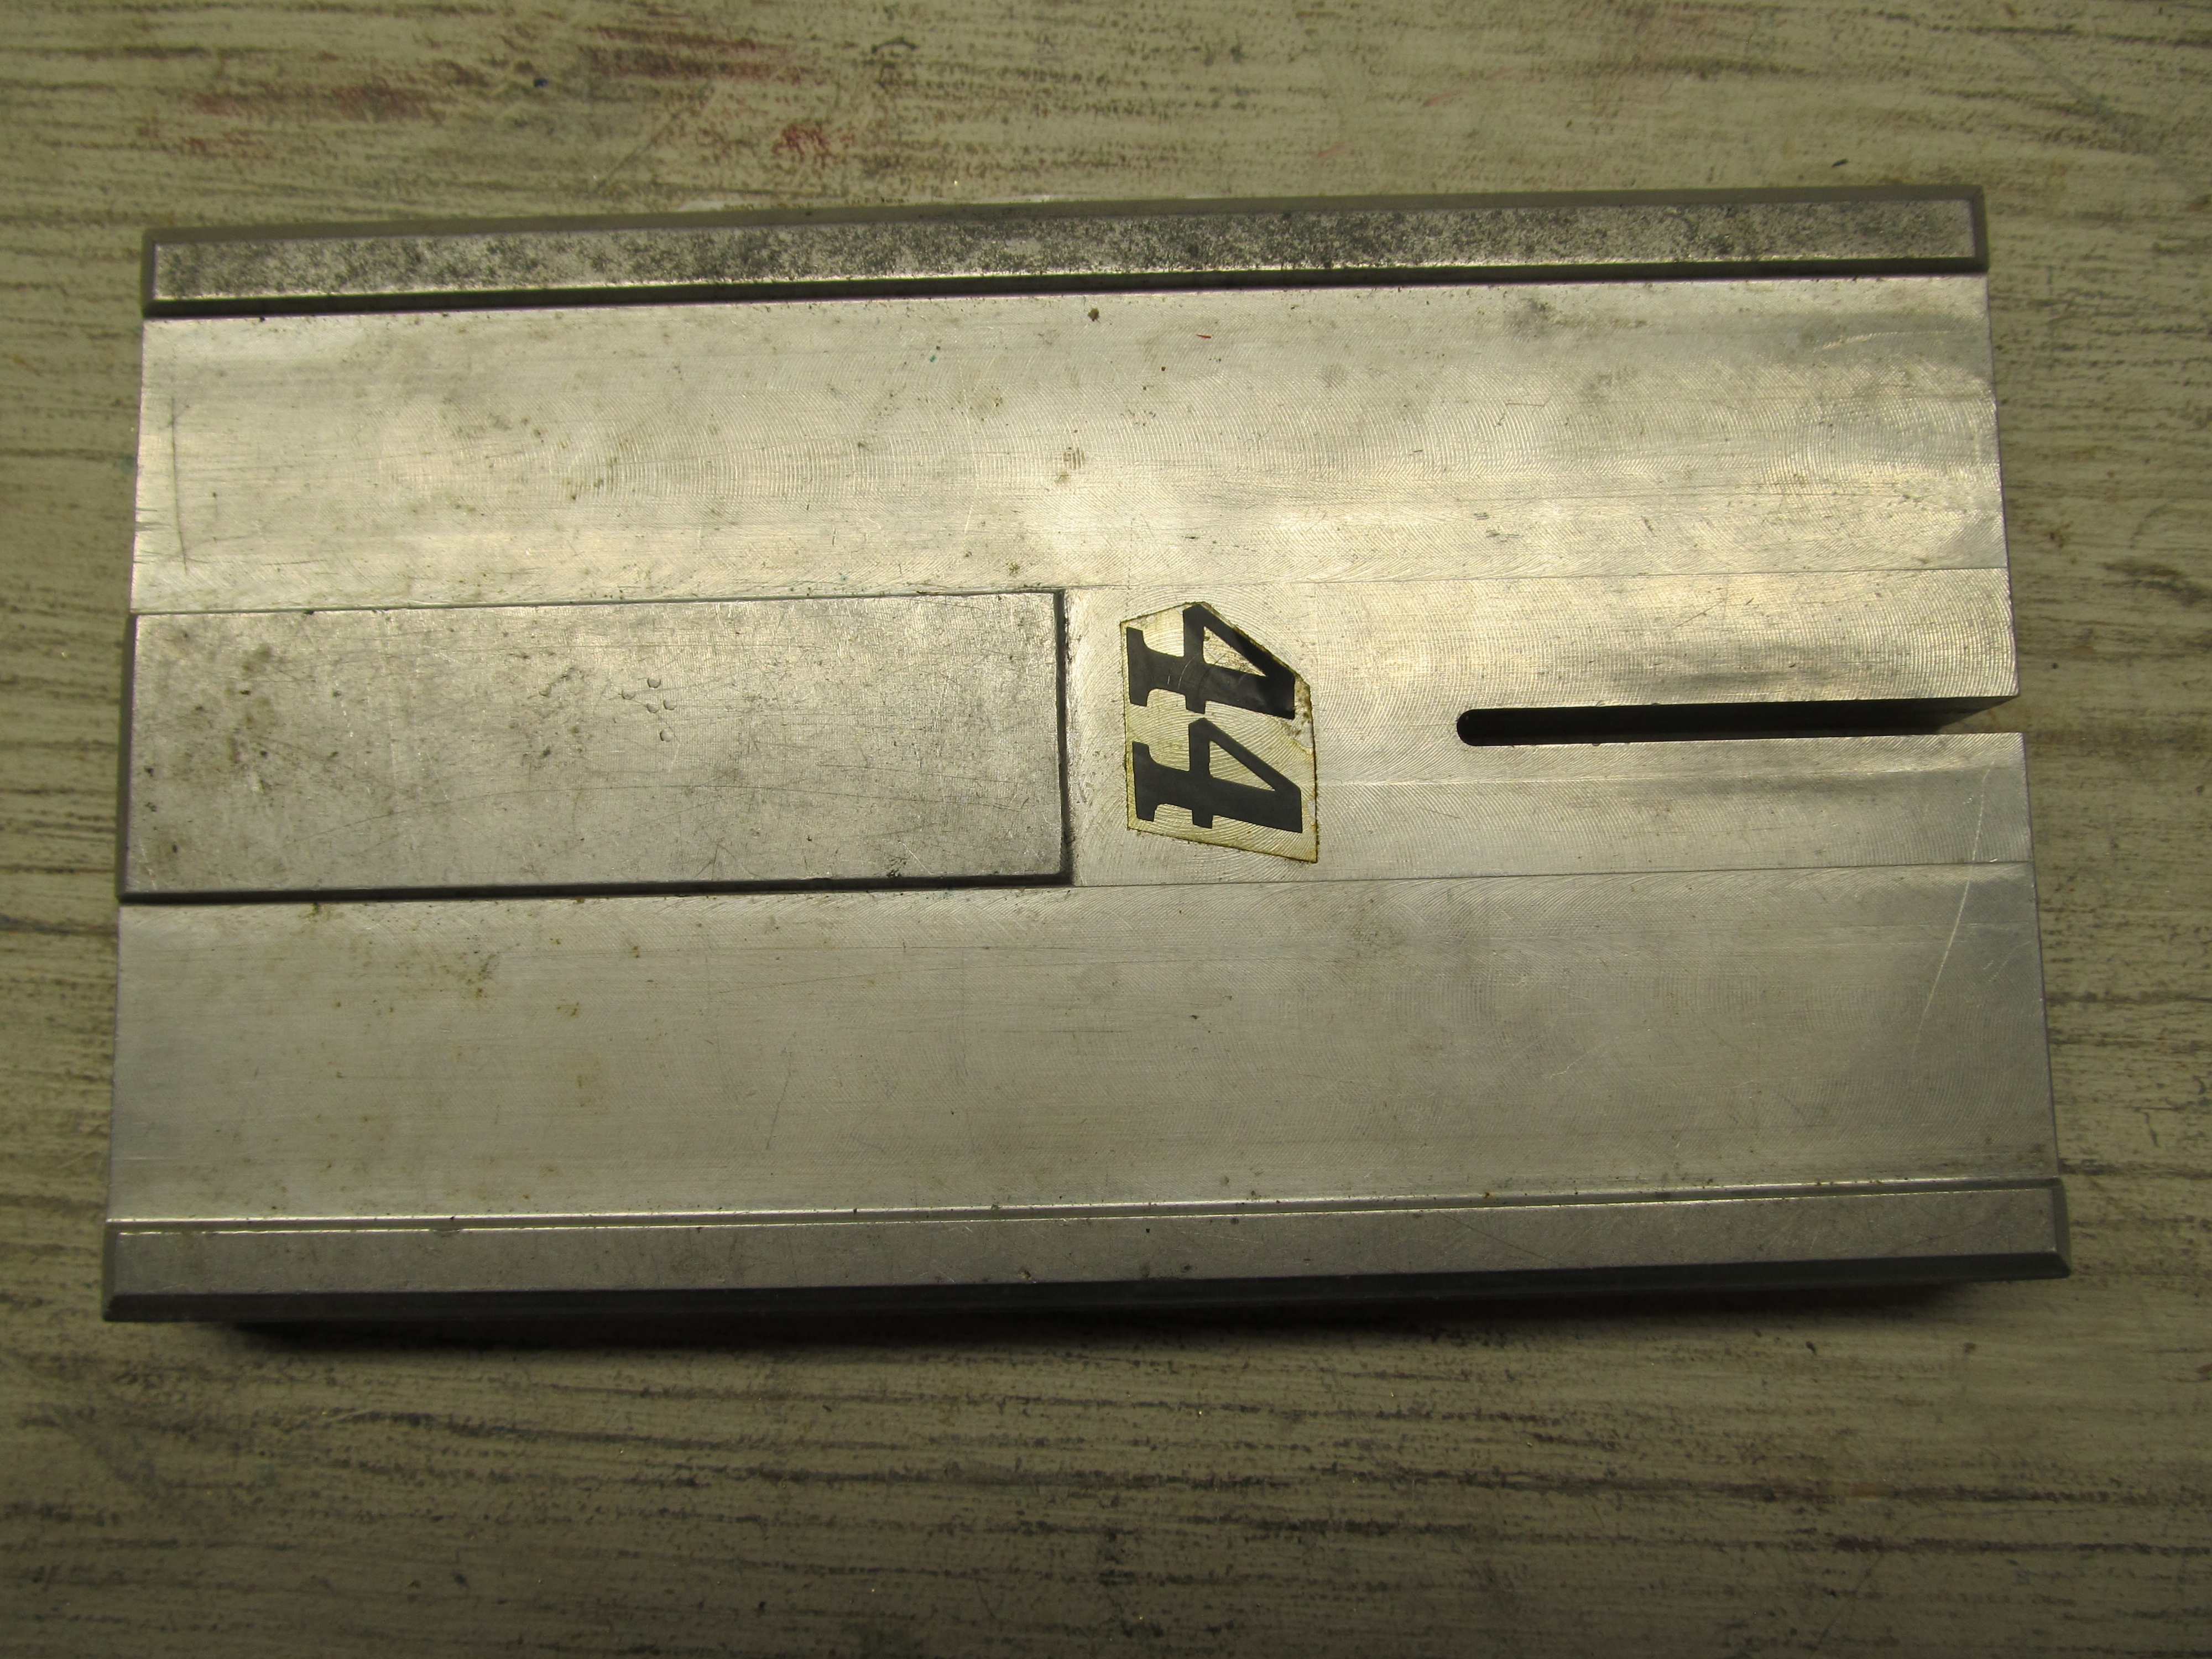
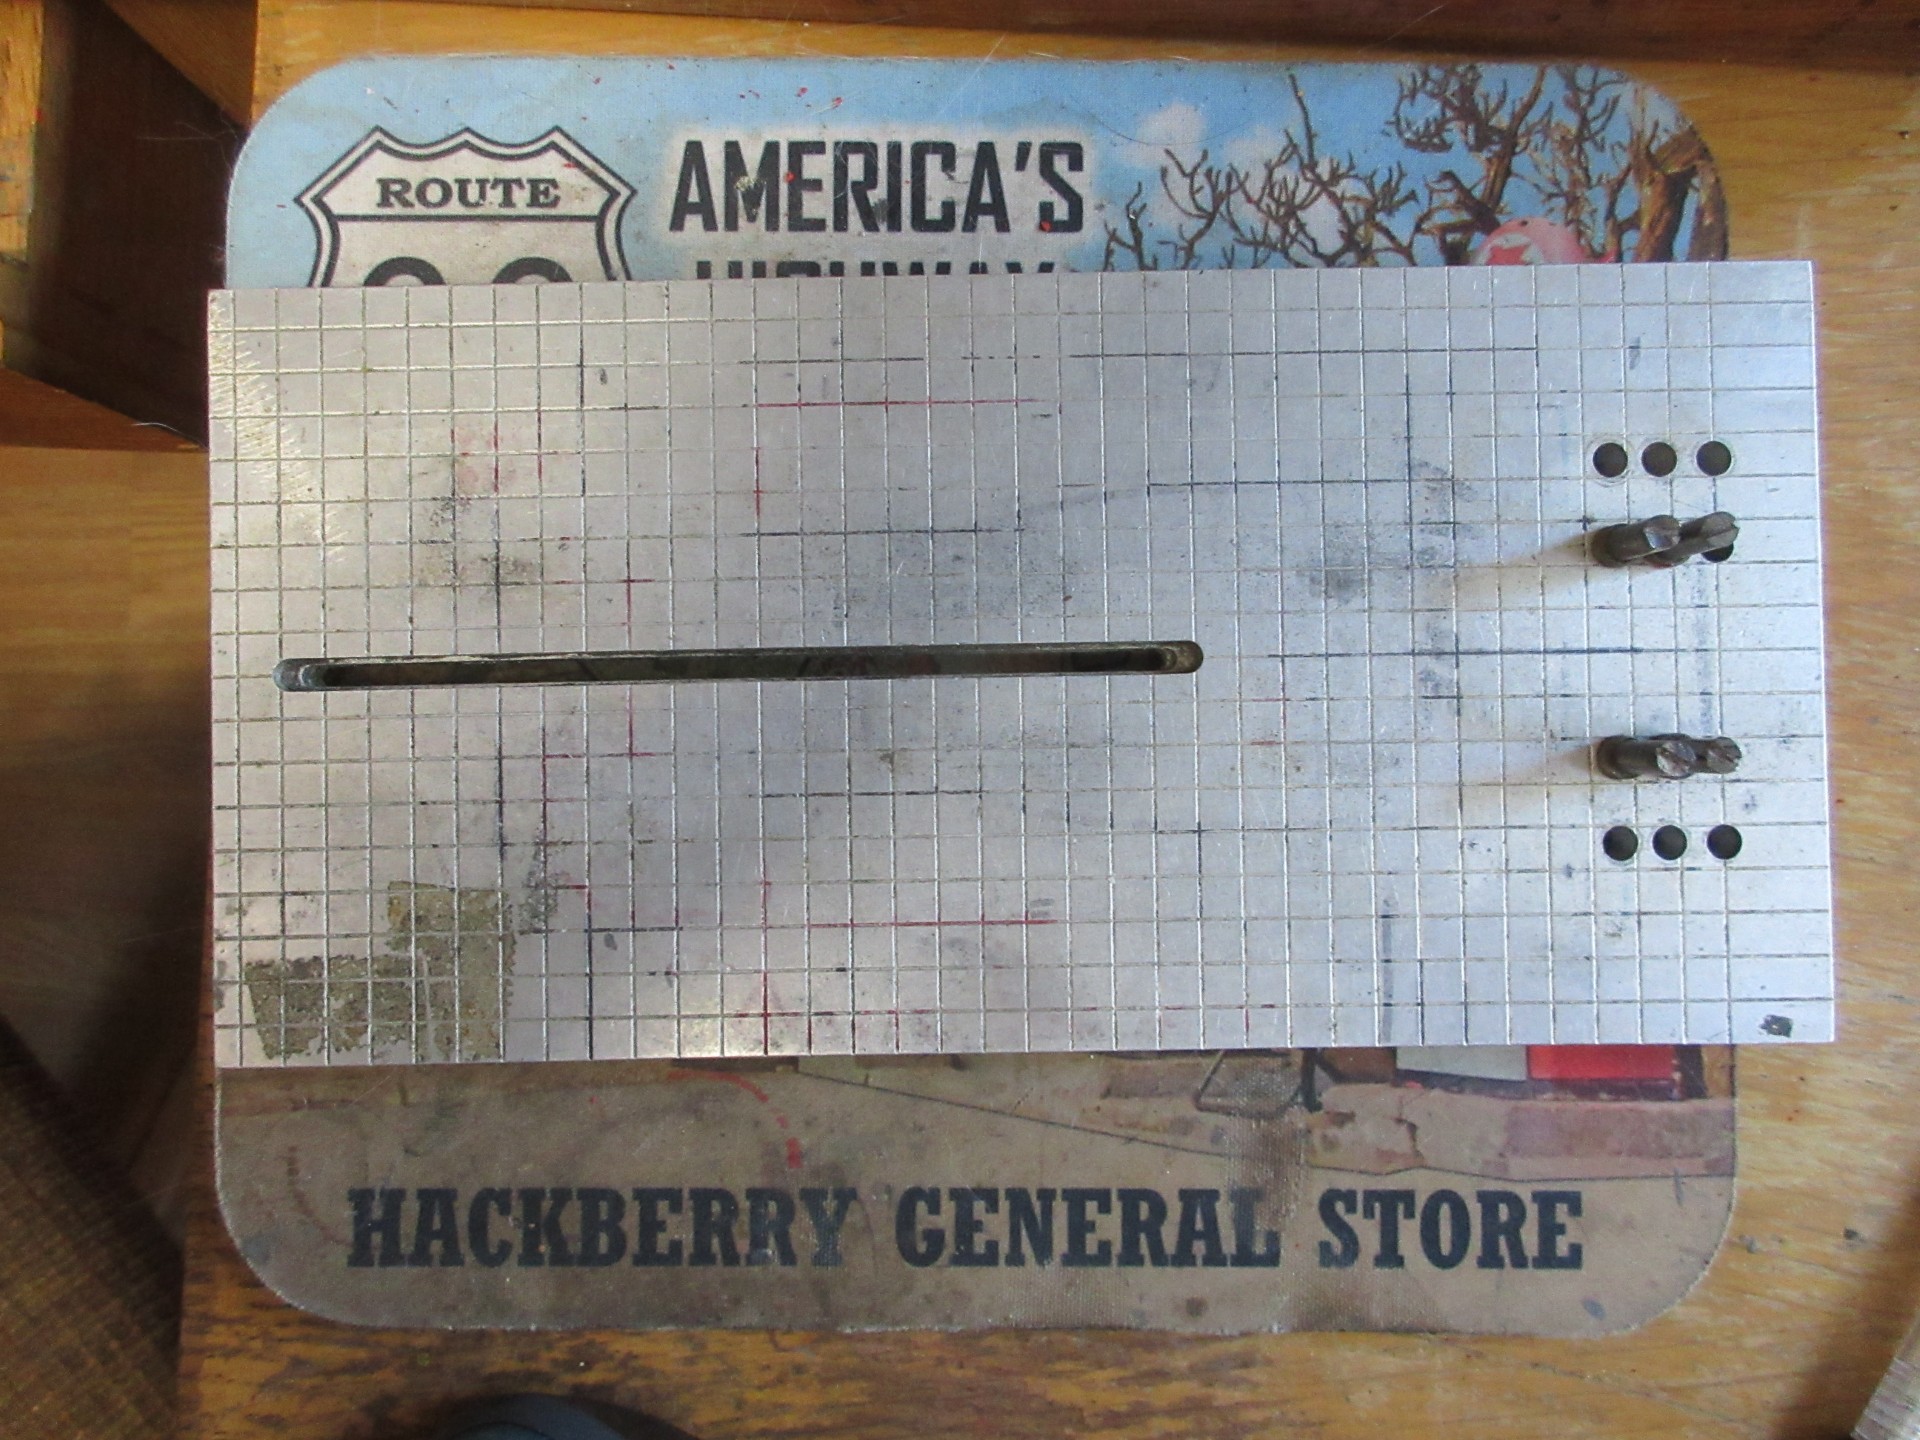
My initial exposure to "scratchbuilding" came when I met the guys in the PASER Club for the first time in the early 1980's. Man, those model car bodied slot cars with the home made chassis were so cool! I had to have one! I had no idea how to go about building a chassis, or even what tools I needed. I had many failed attempts when I first started. After awhile Glenn Heath and I started getting more serious about trying to build chassis. Most of the "old" guys were using a piece of some hardwood as a flat soldering block. It was a particular kind of hardwood, but exactly what escapes me right now. There was no internet and Glenn and I knew of no commercially available blocks we could buy. So we decided to build something. Here is what I ended up with:
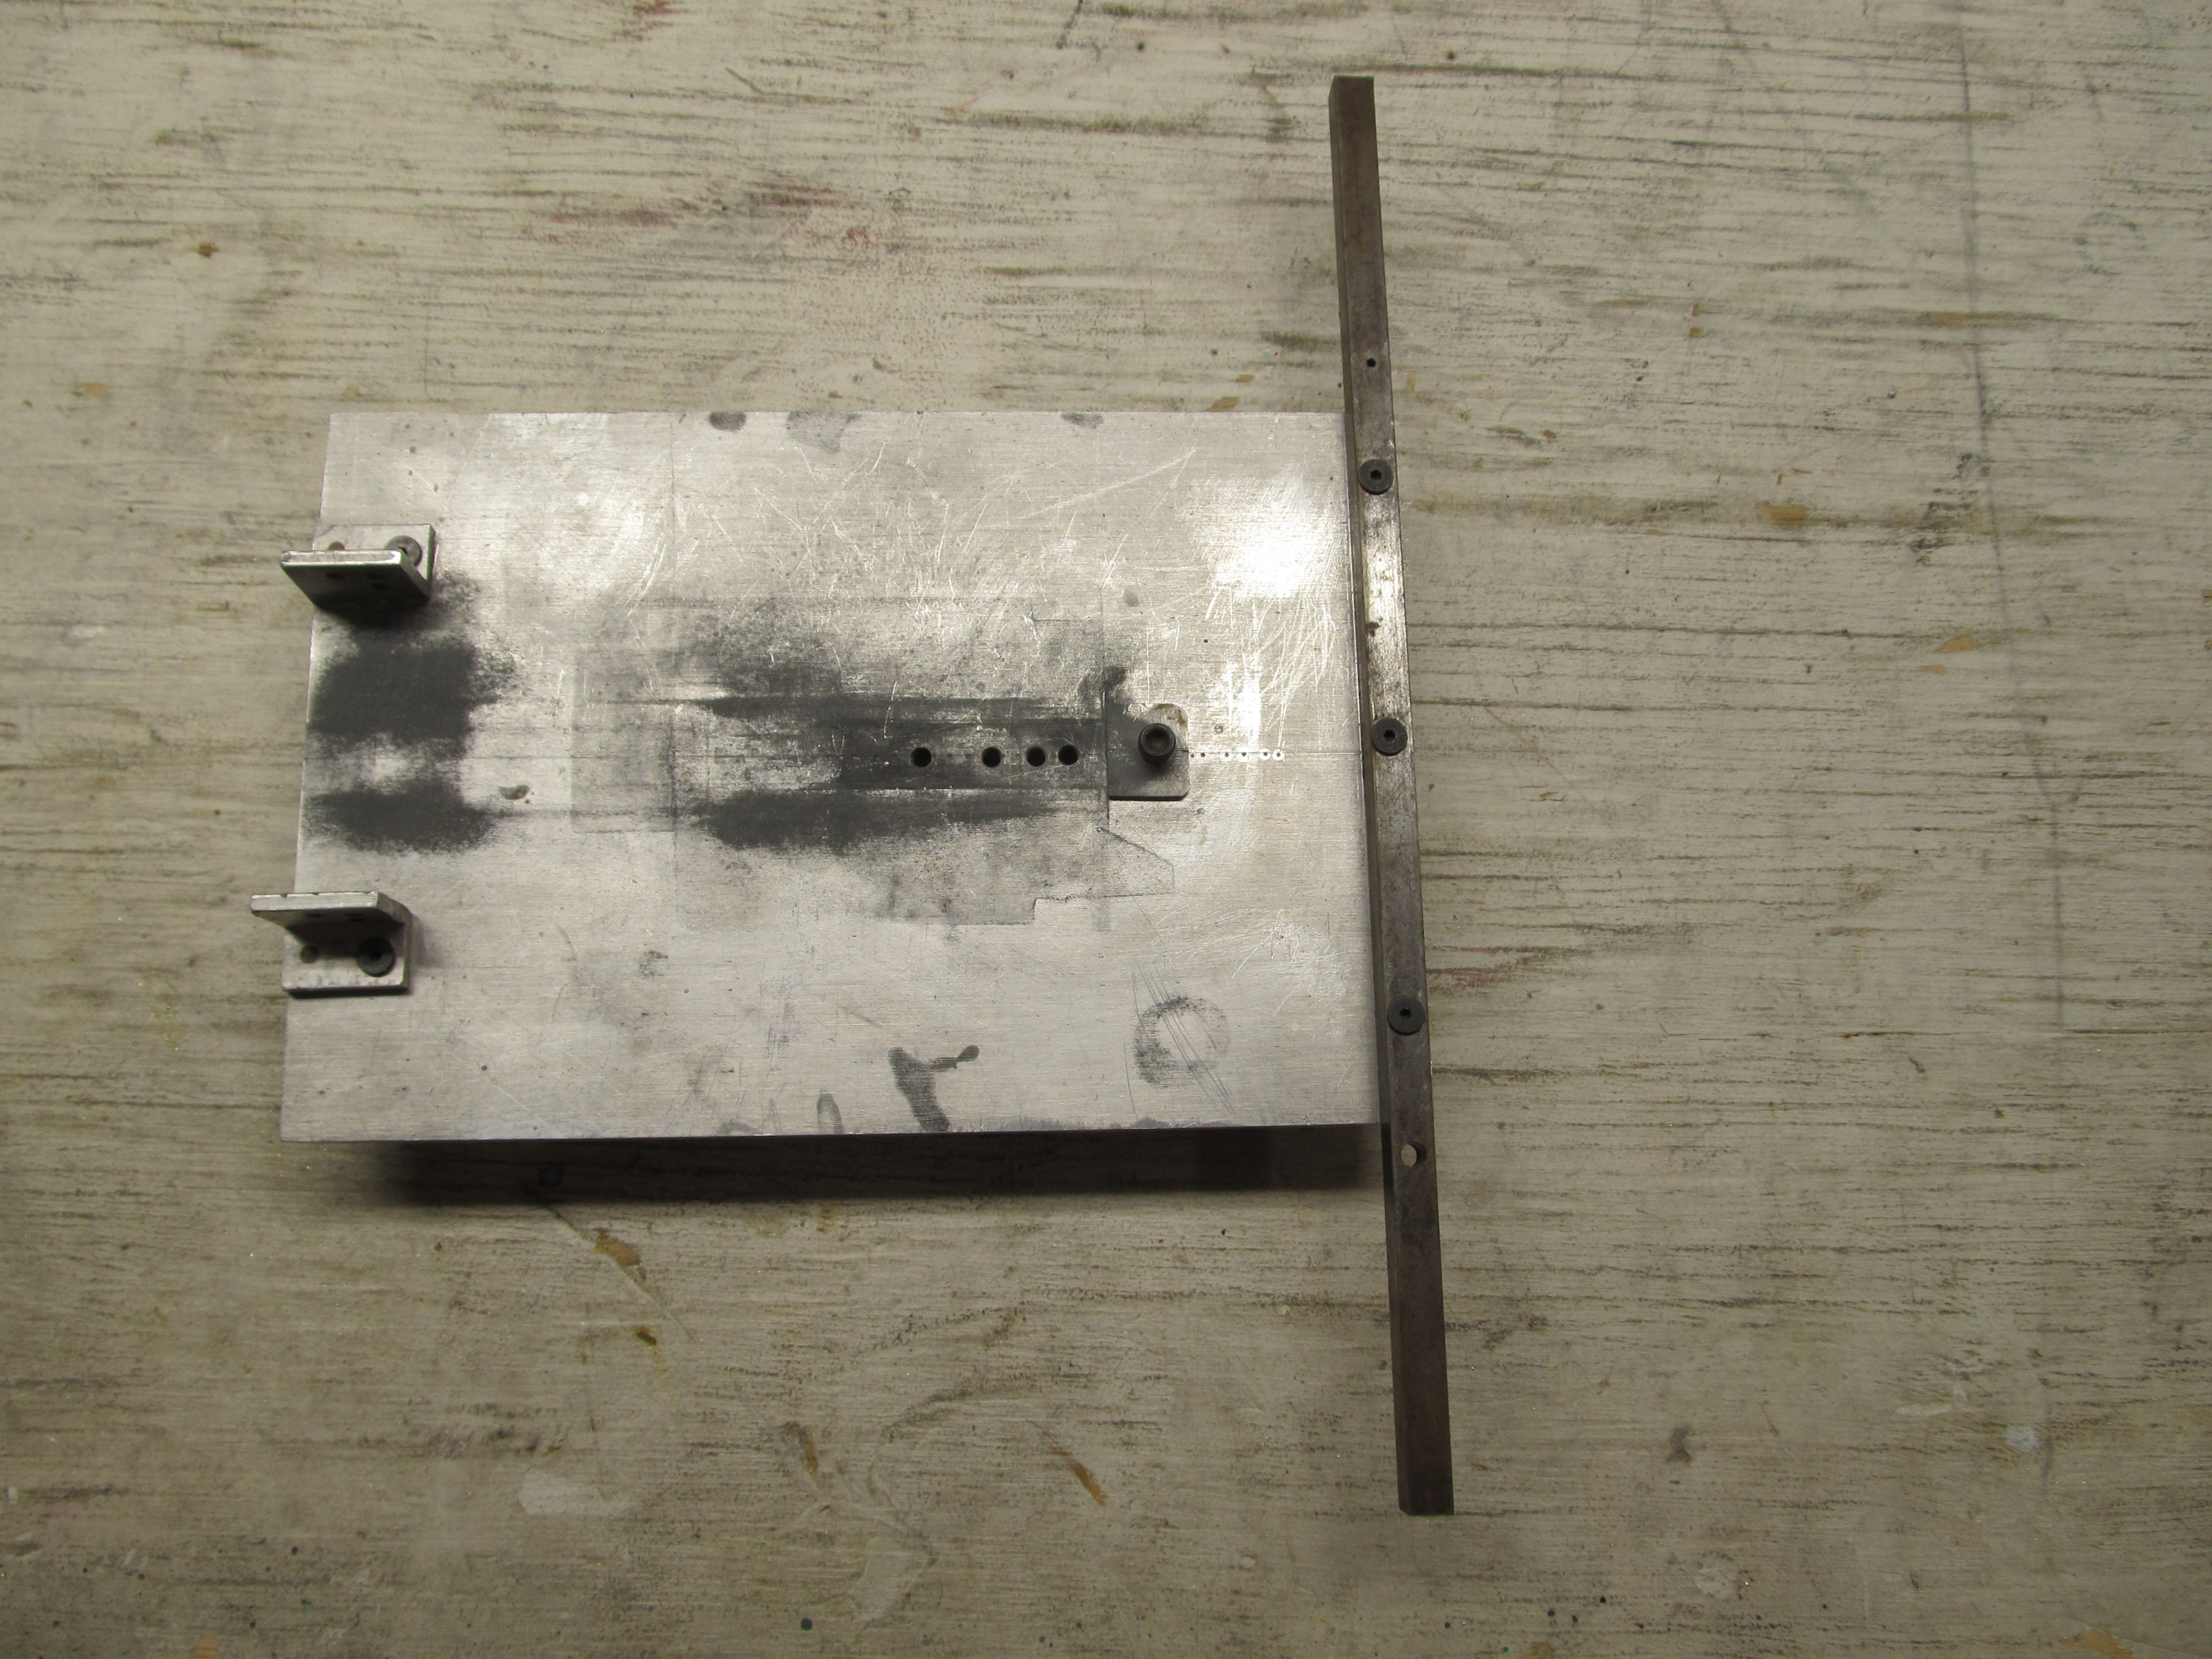
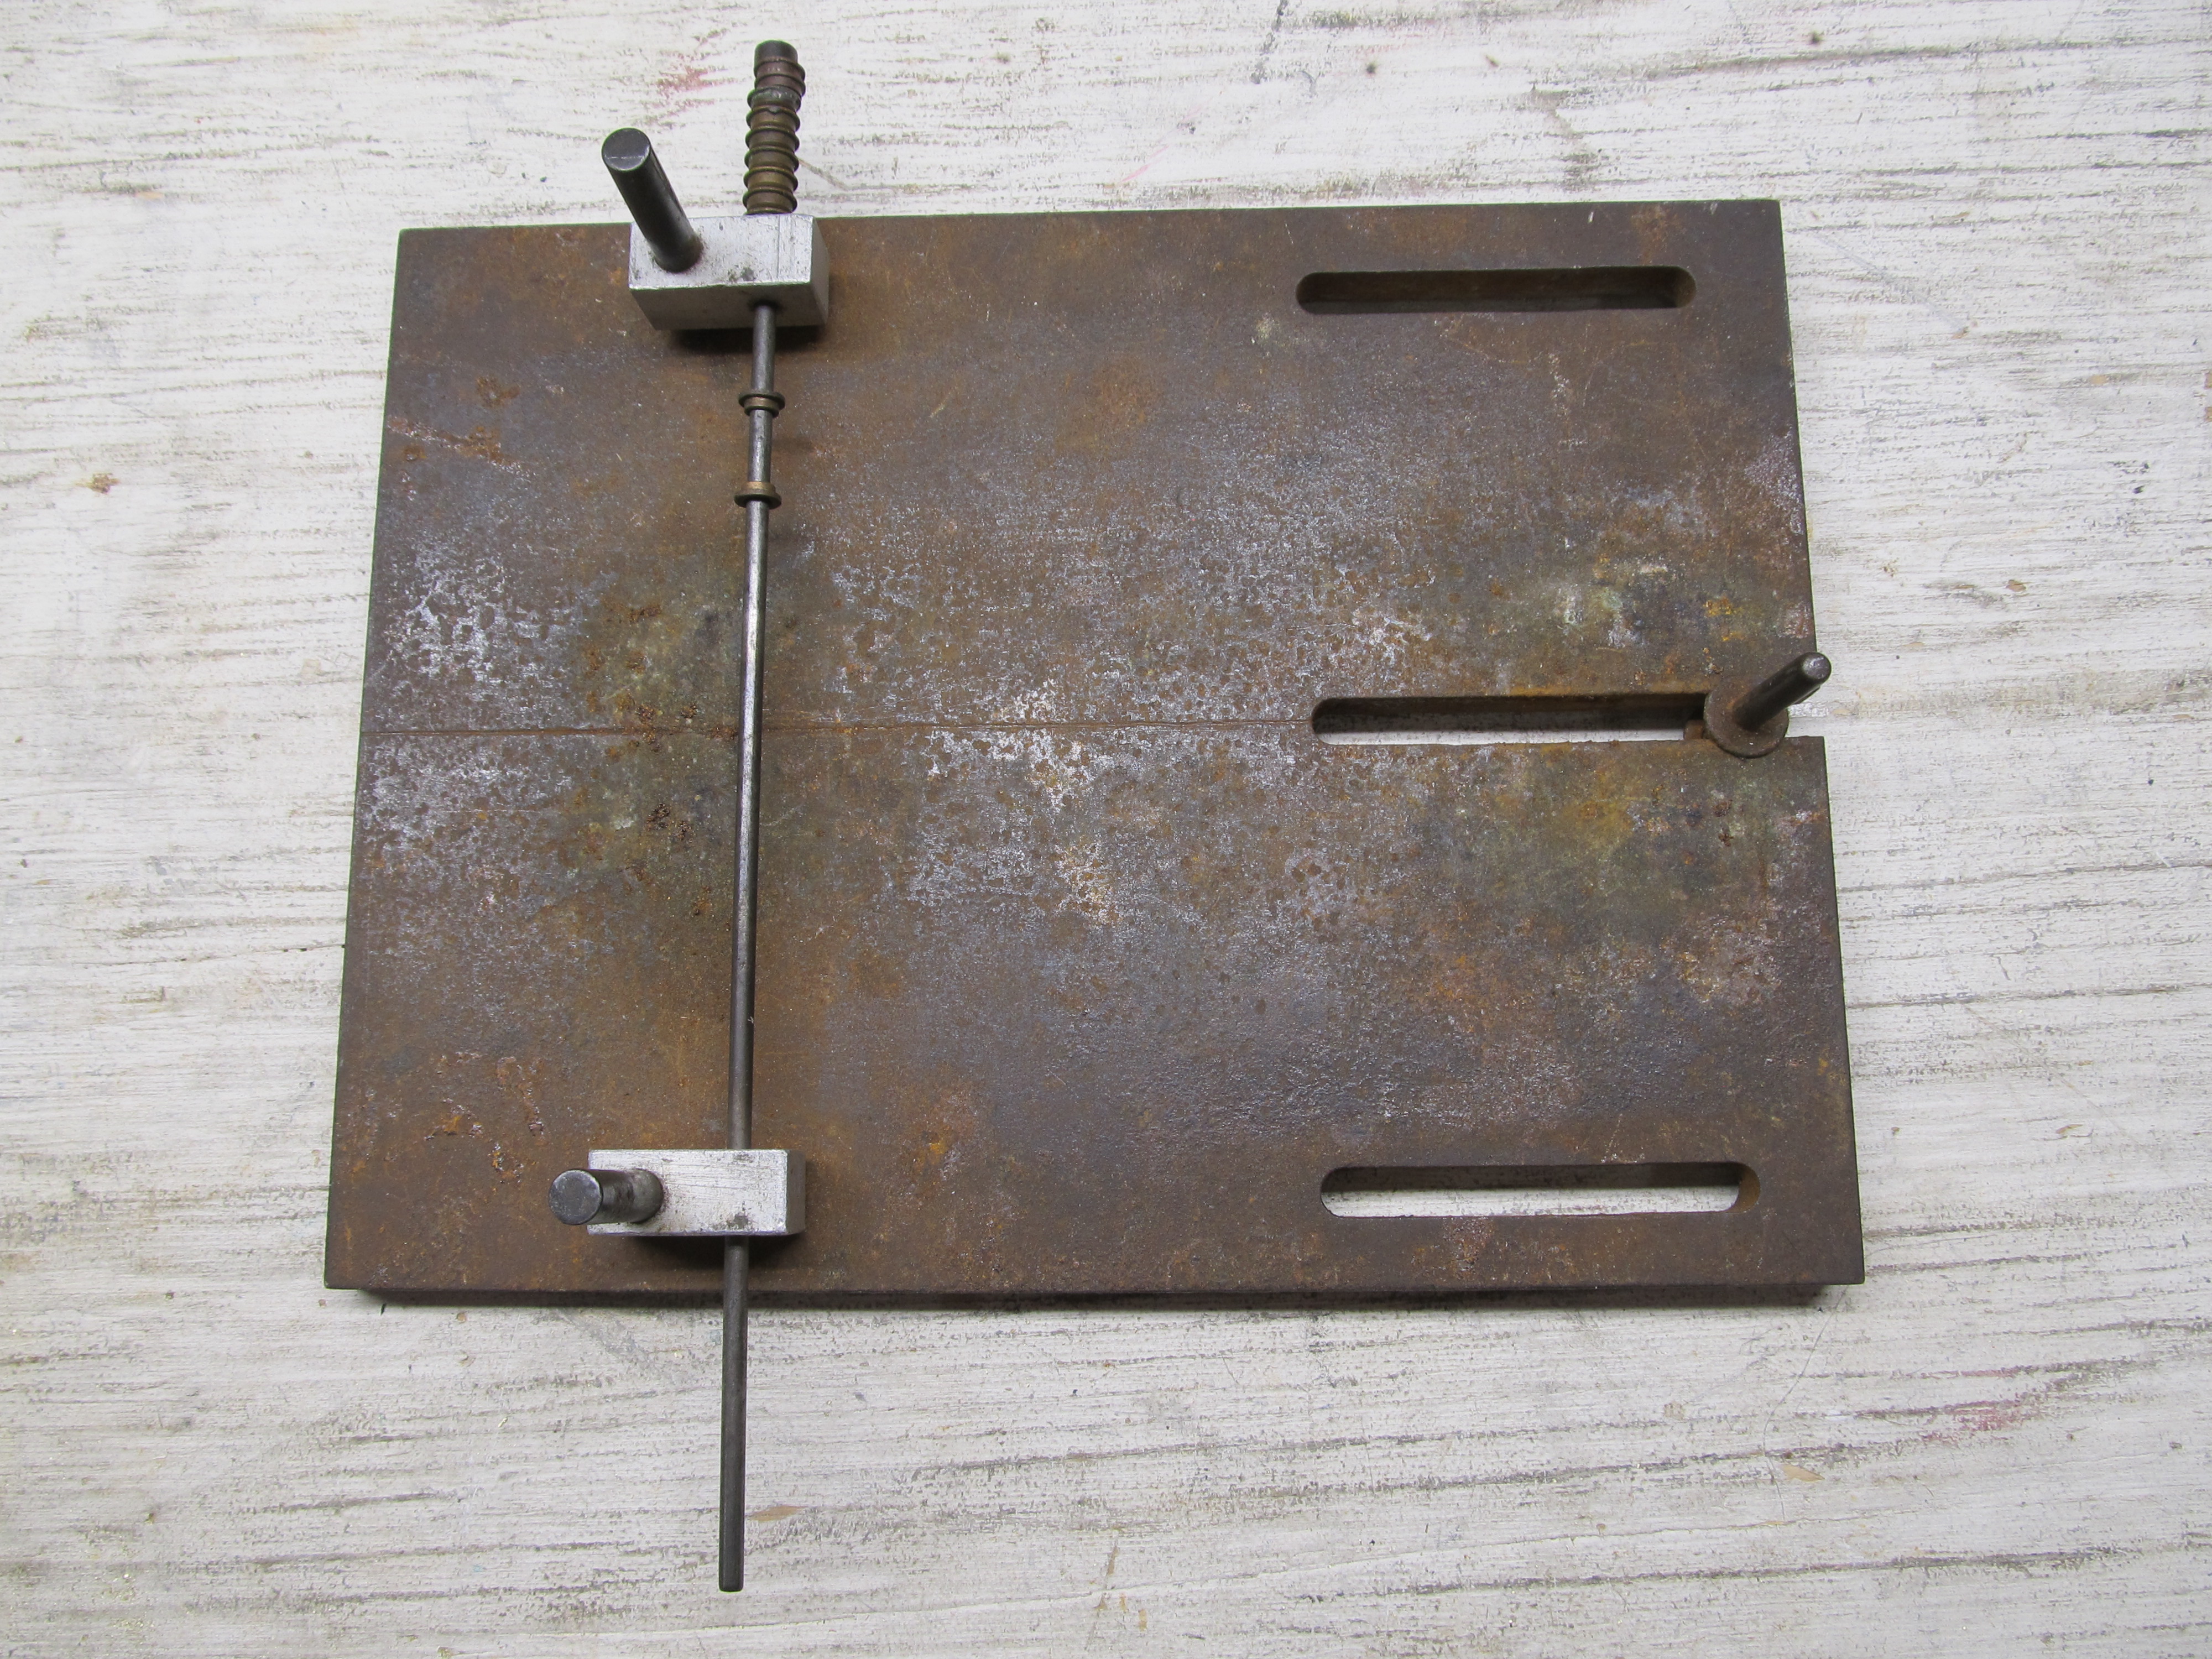
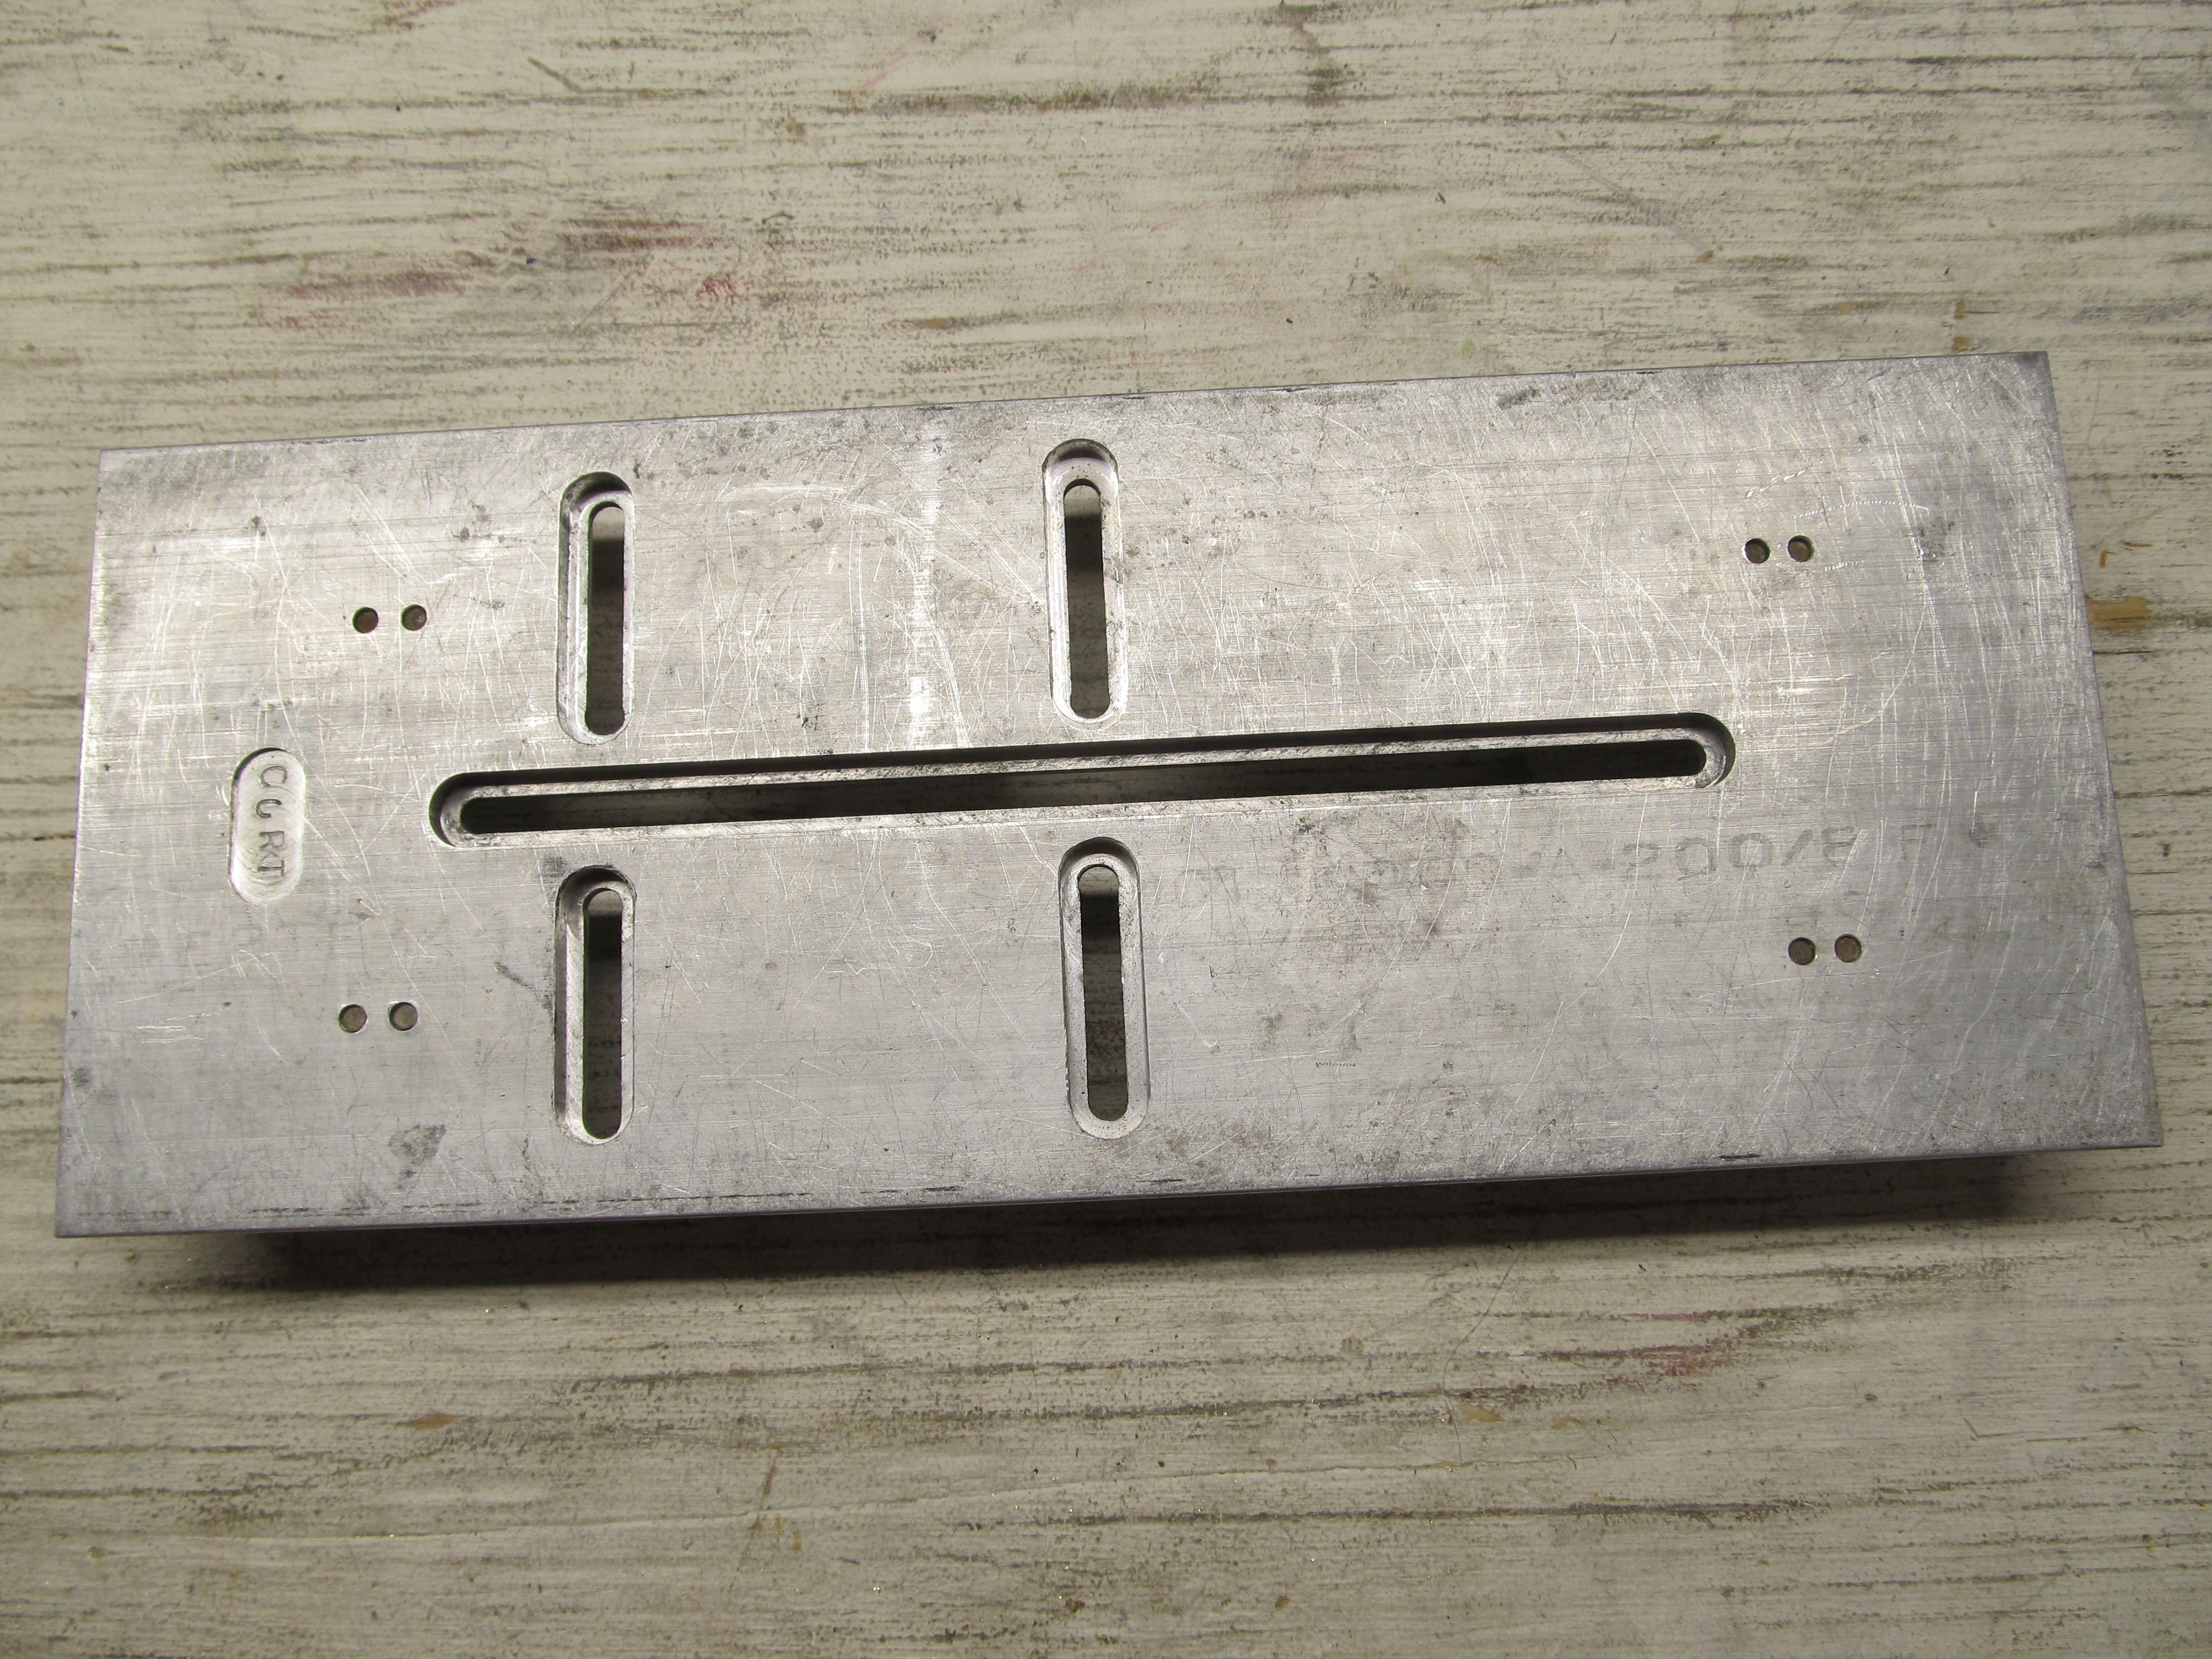
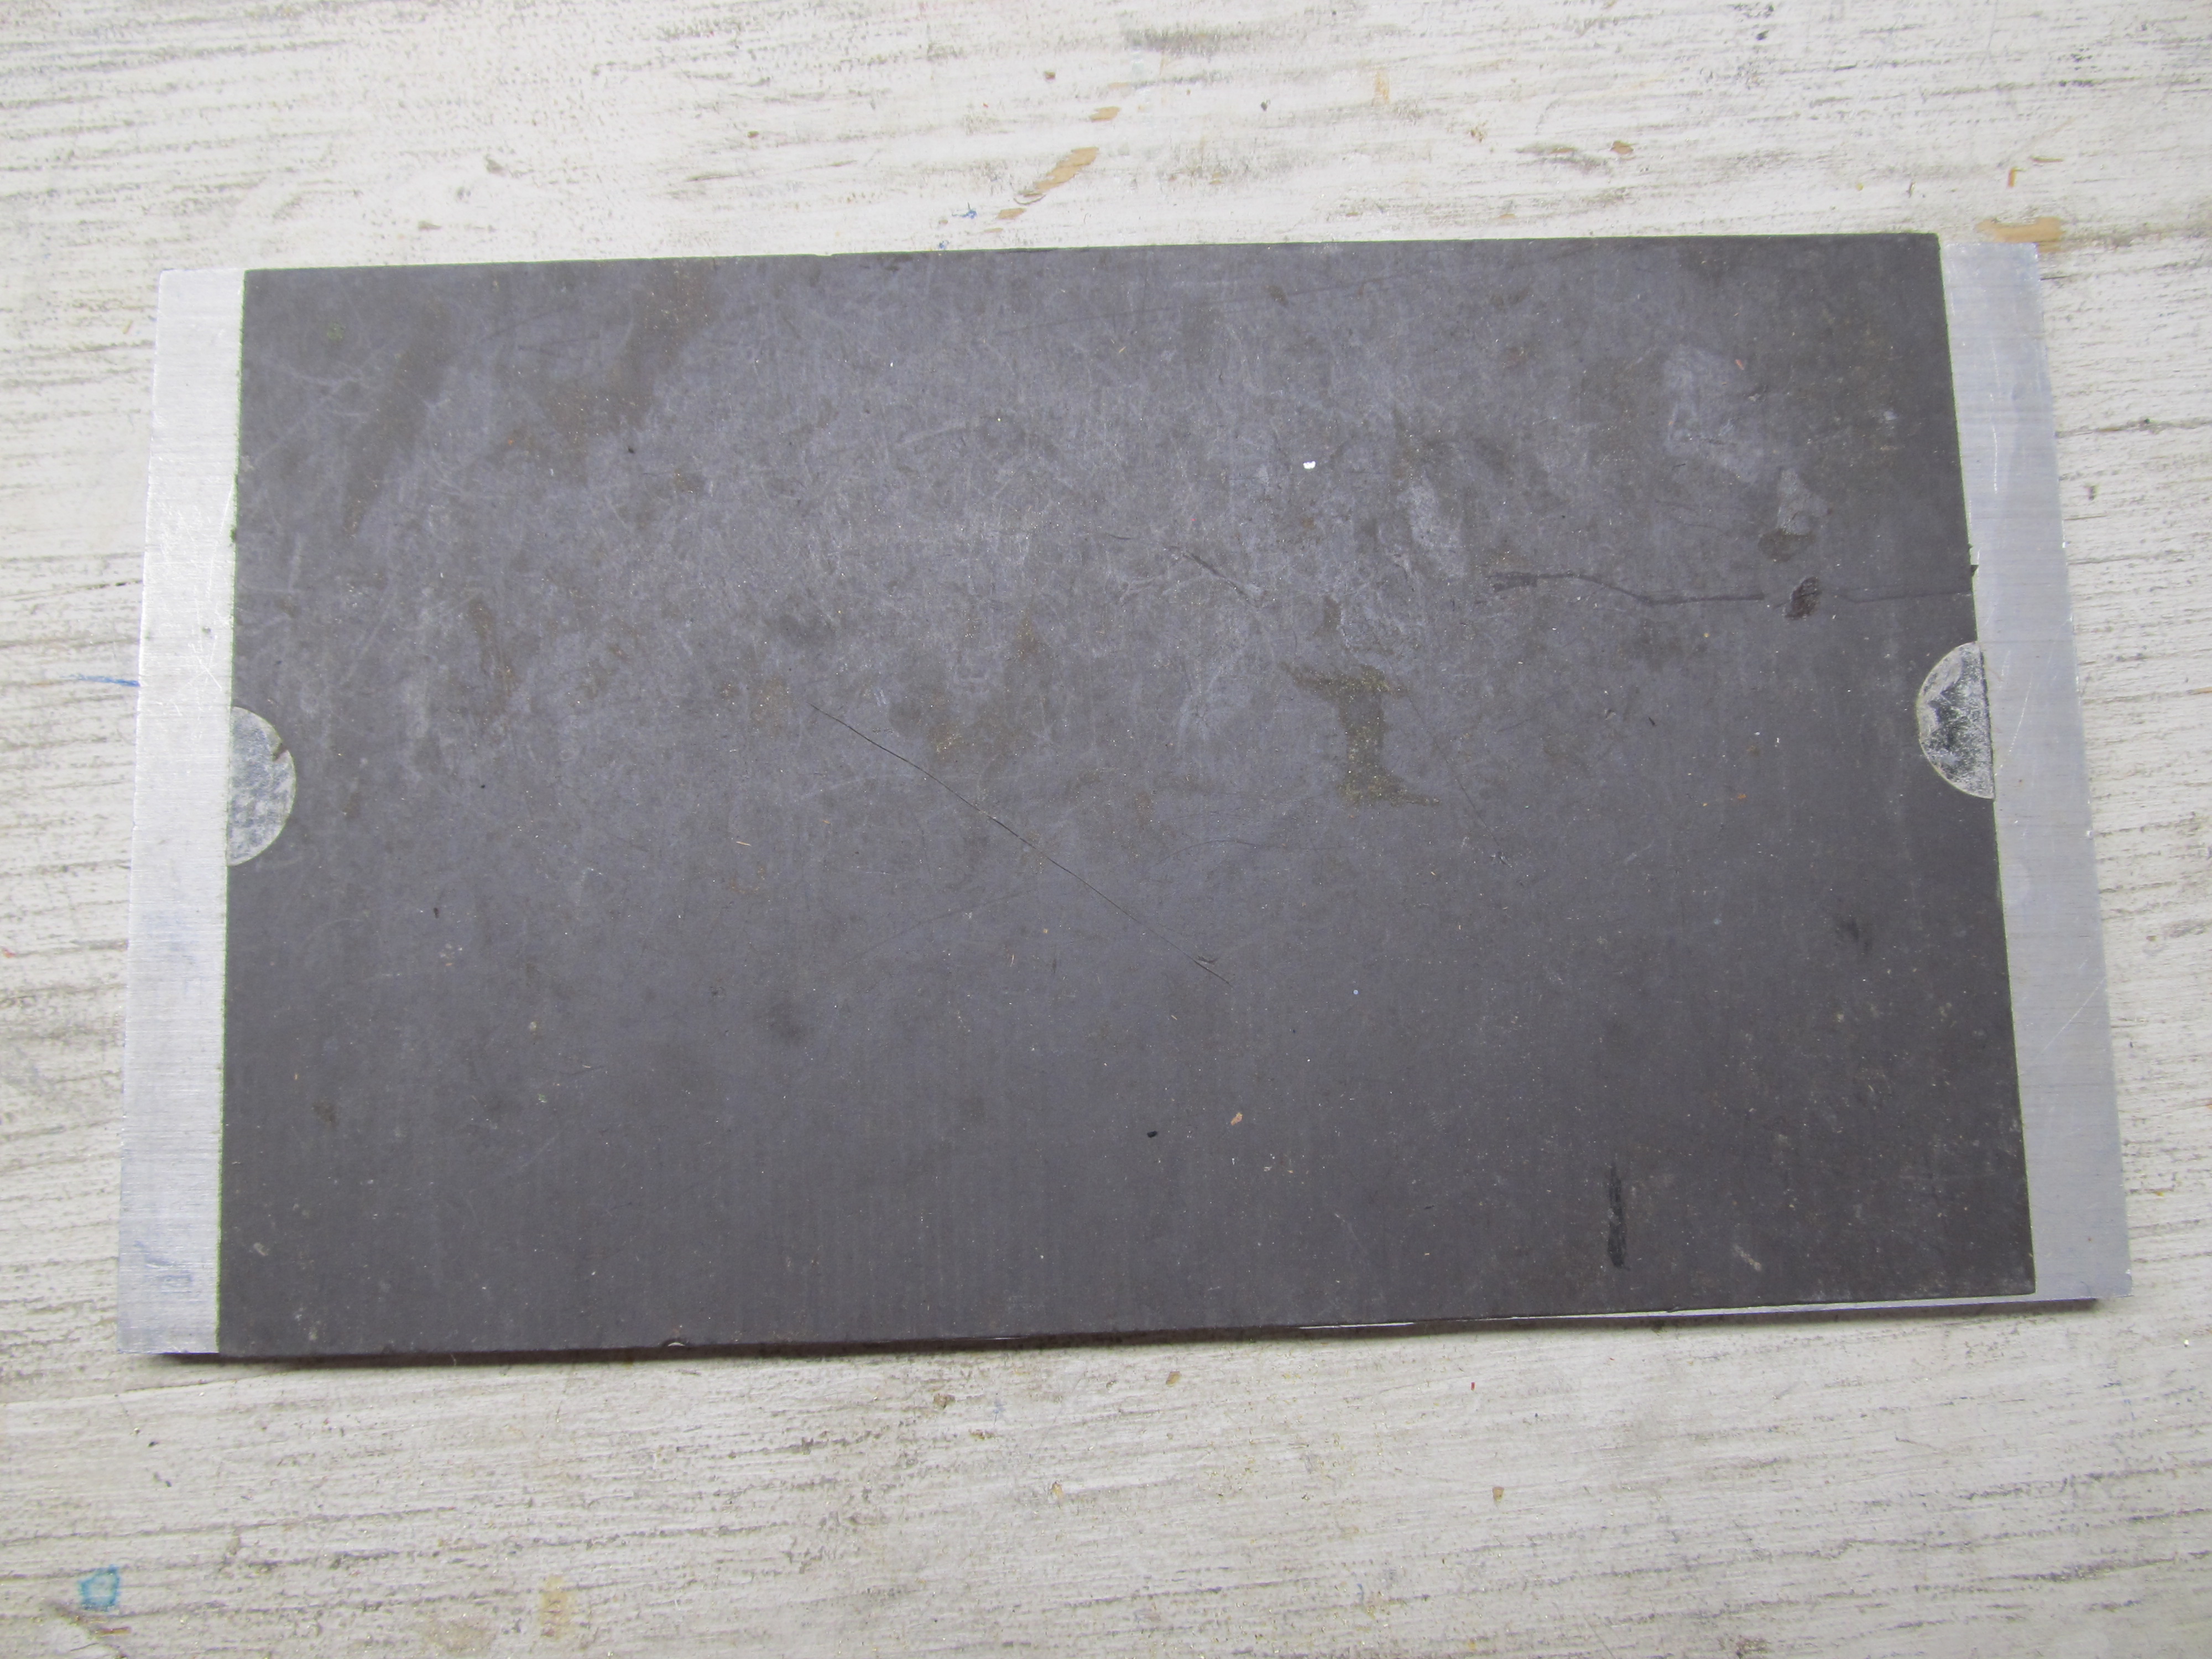
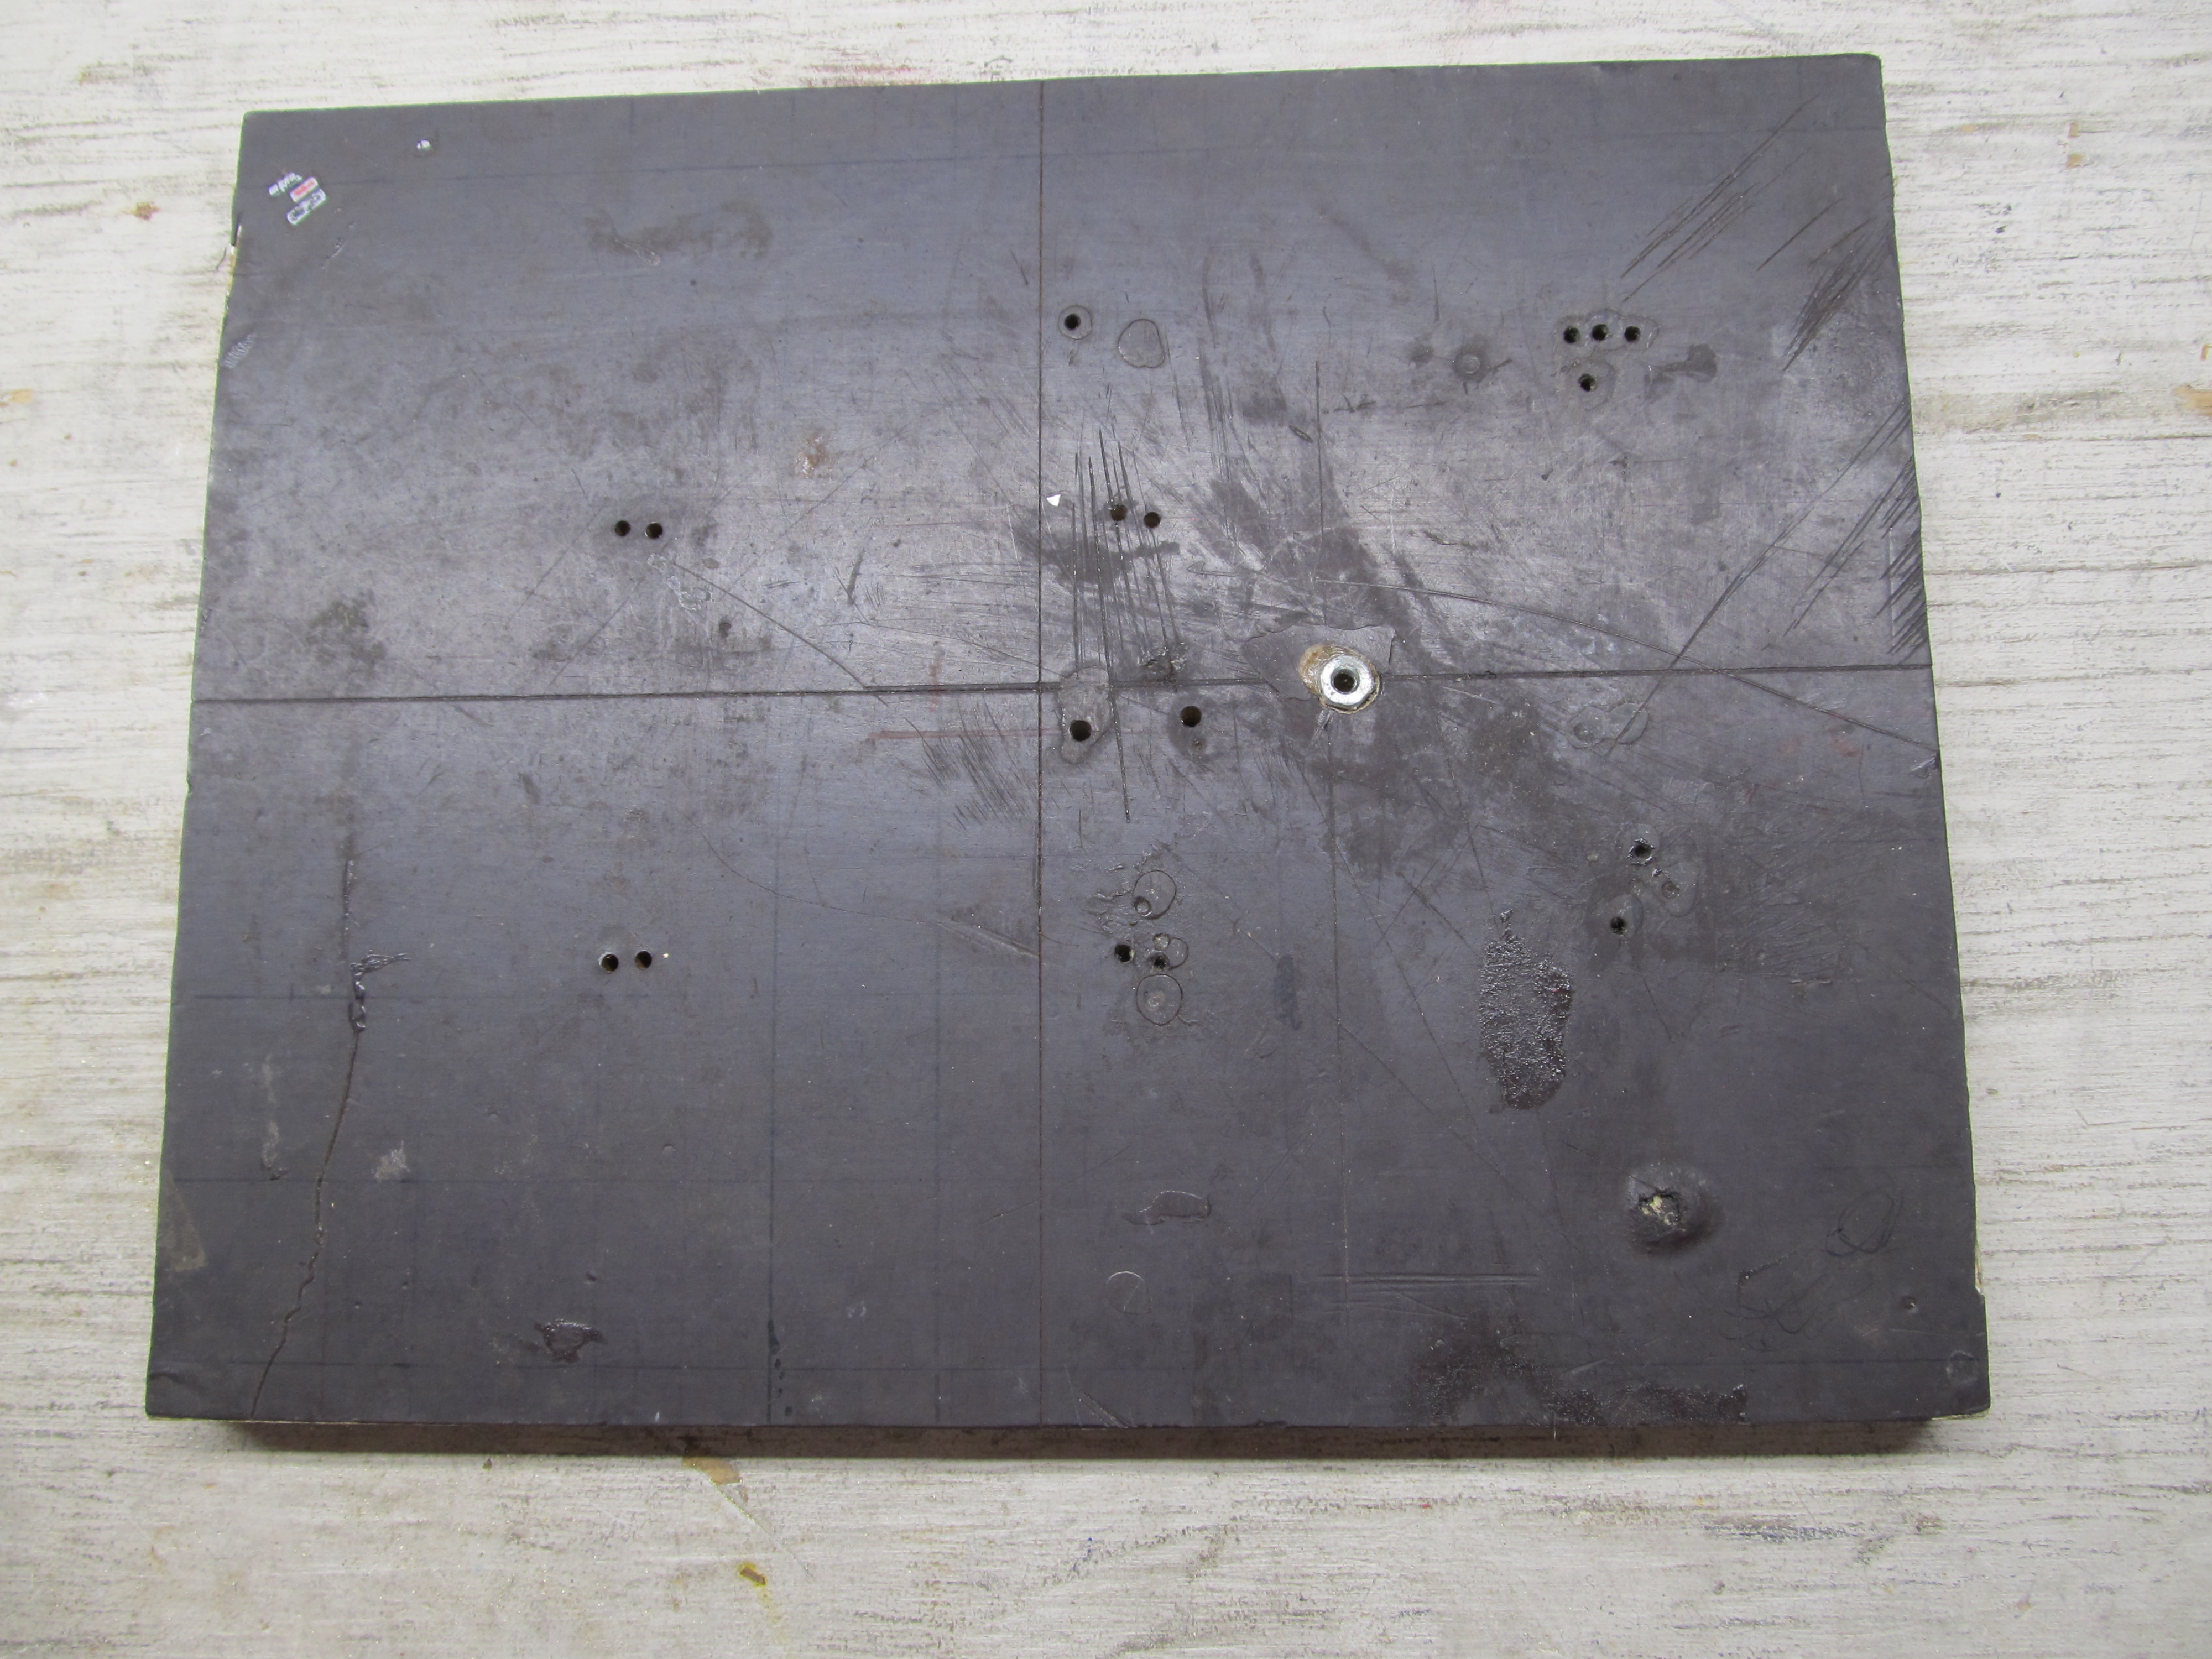
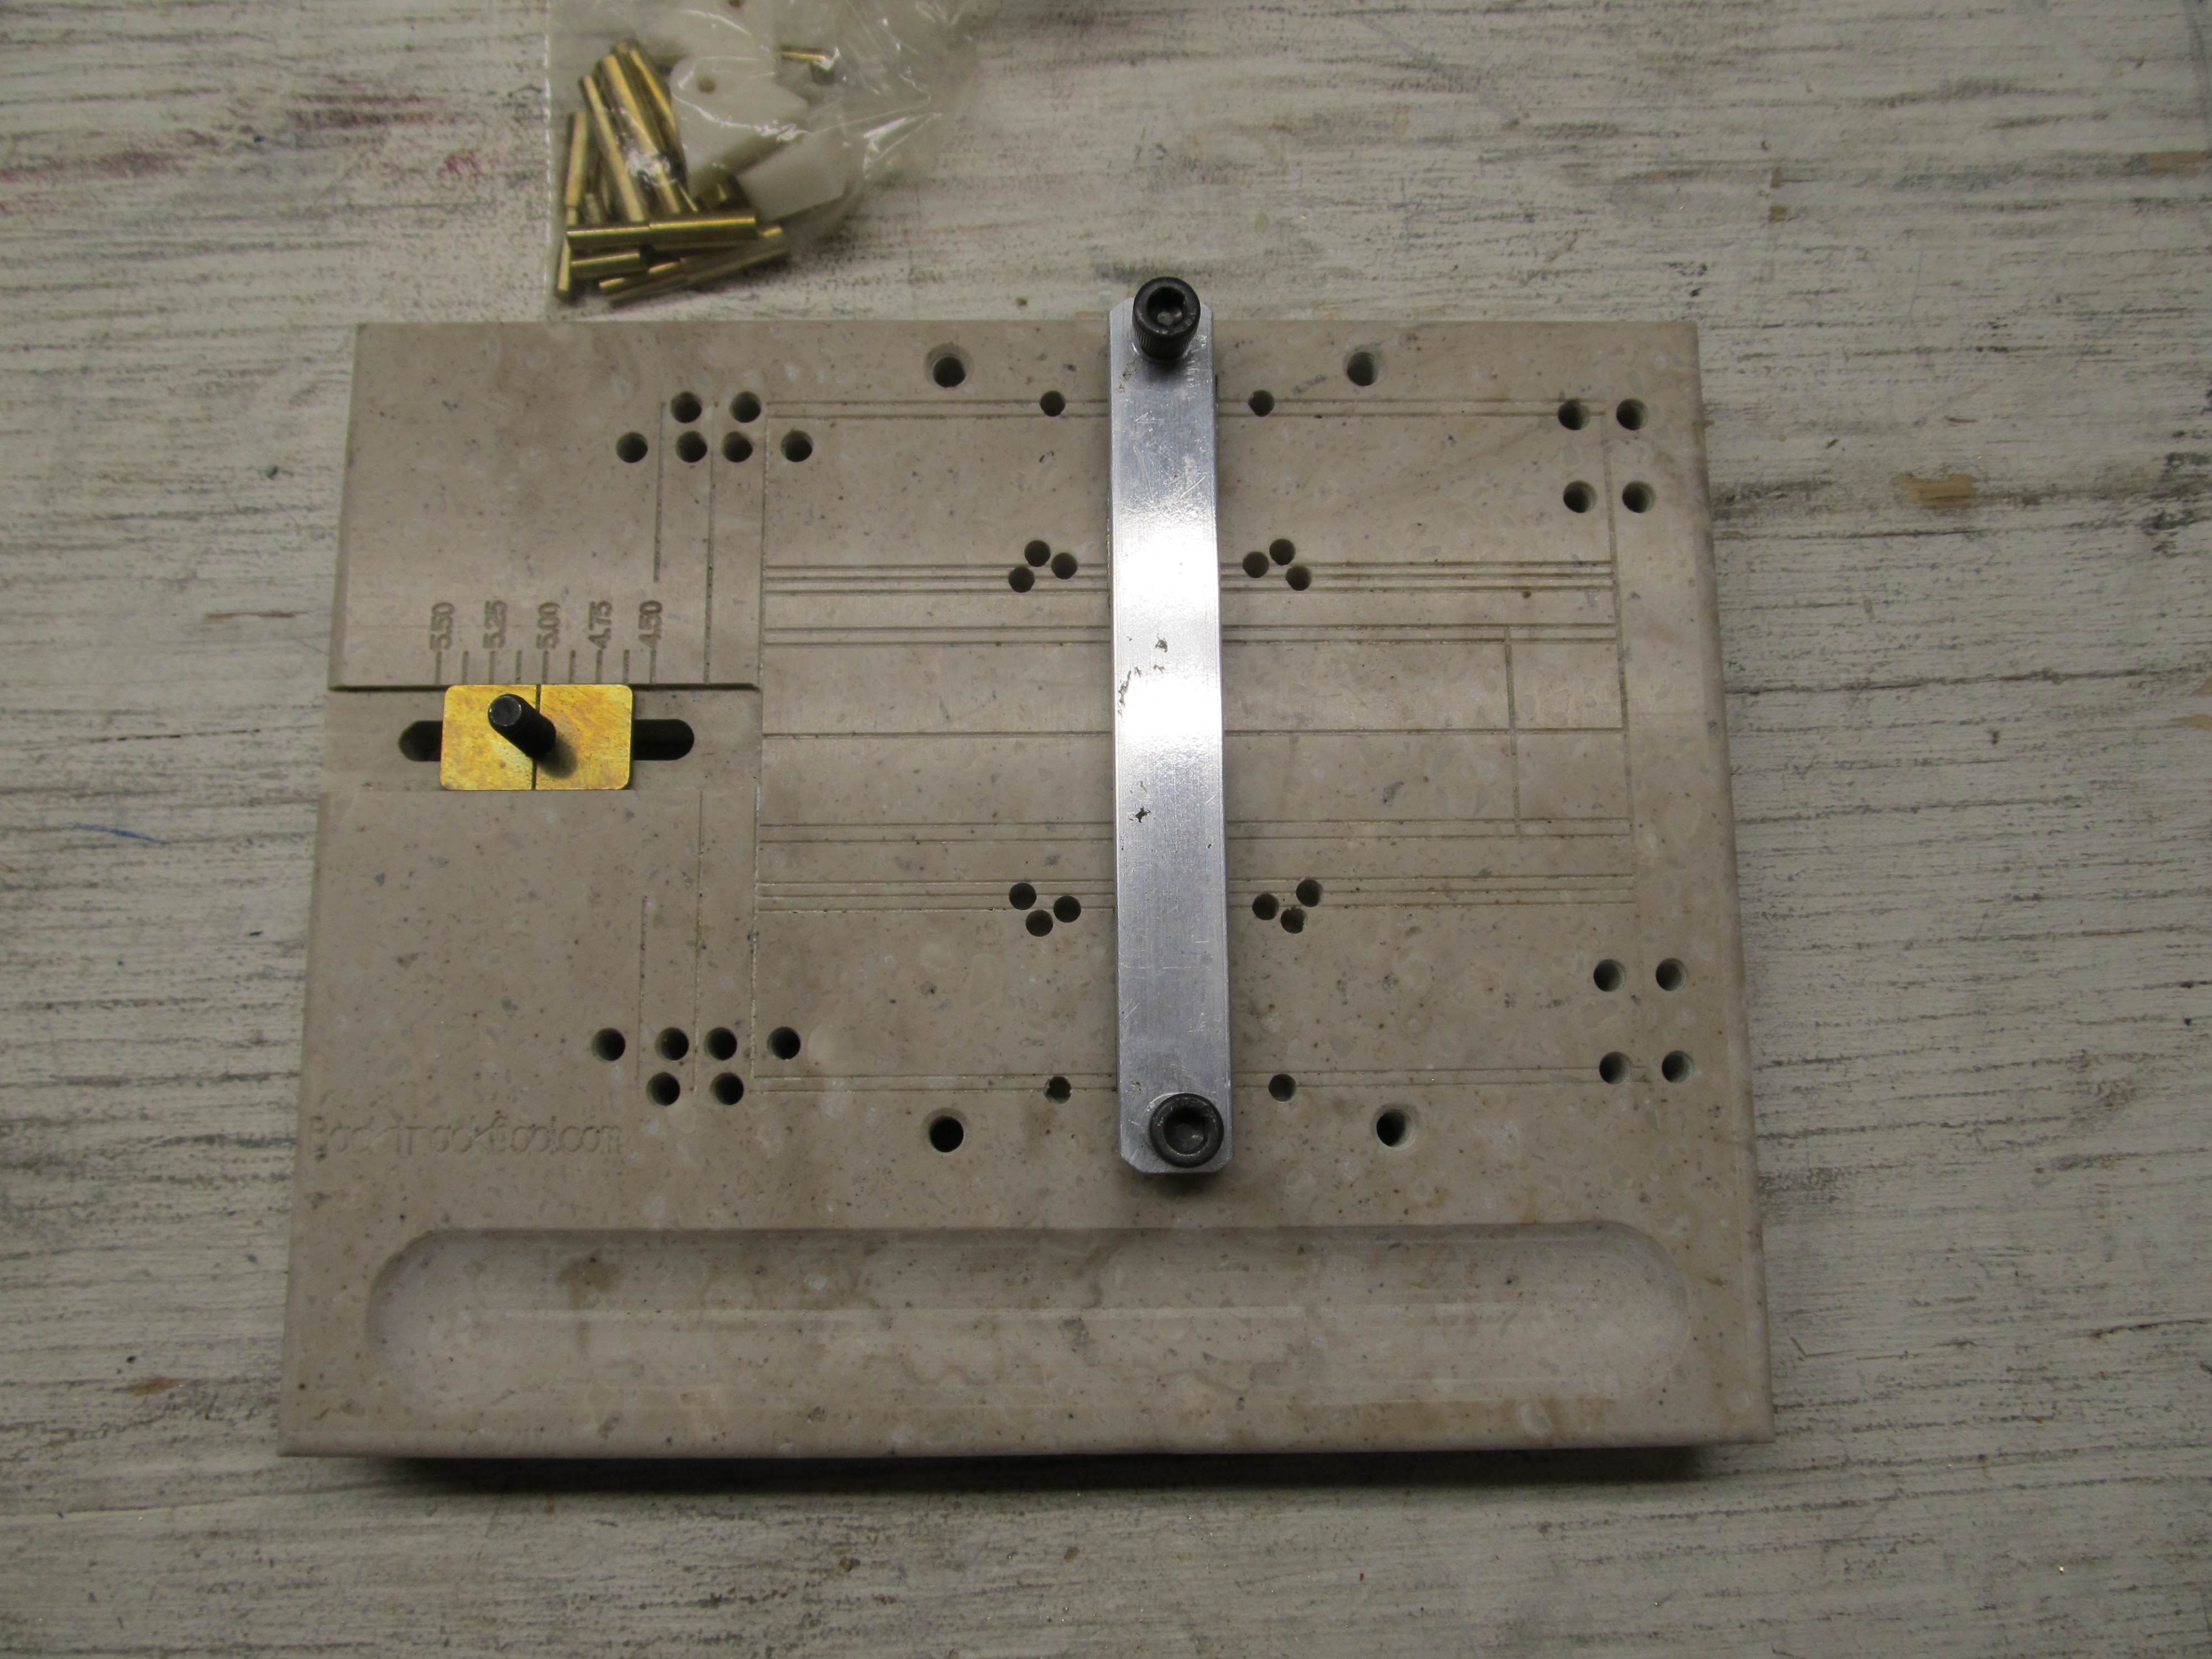
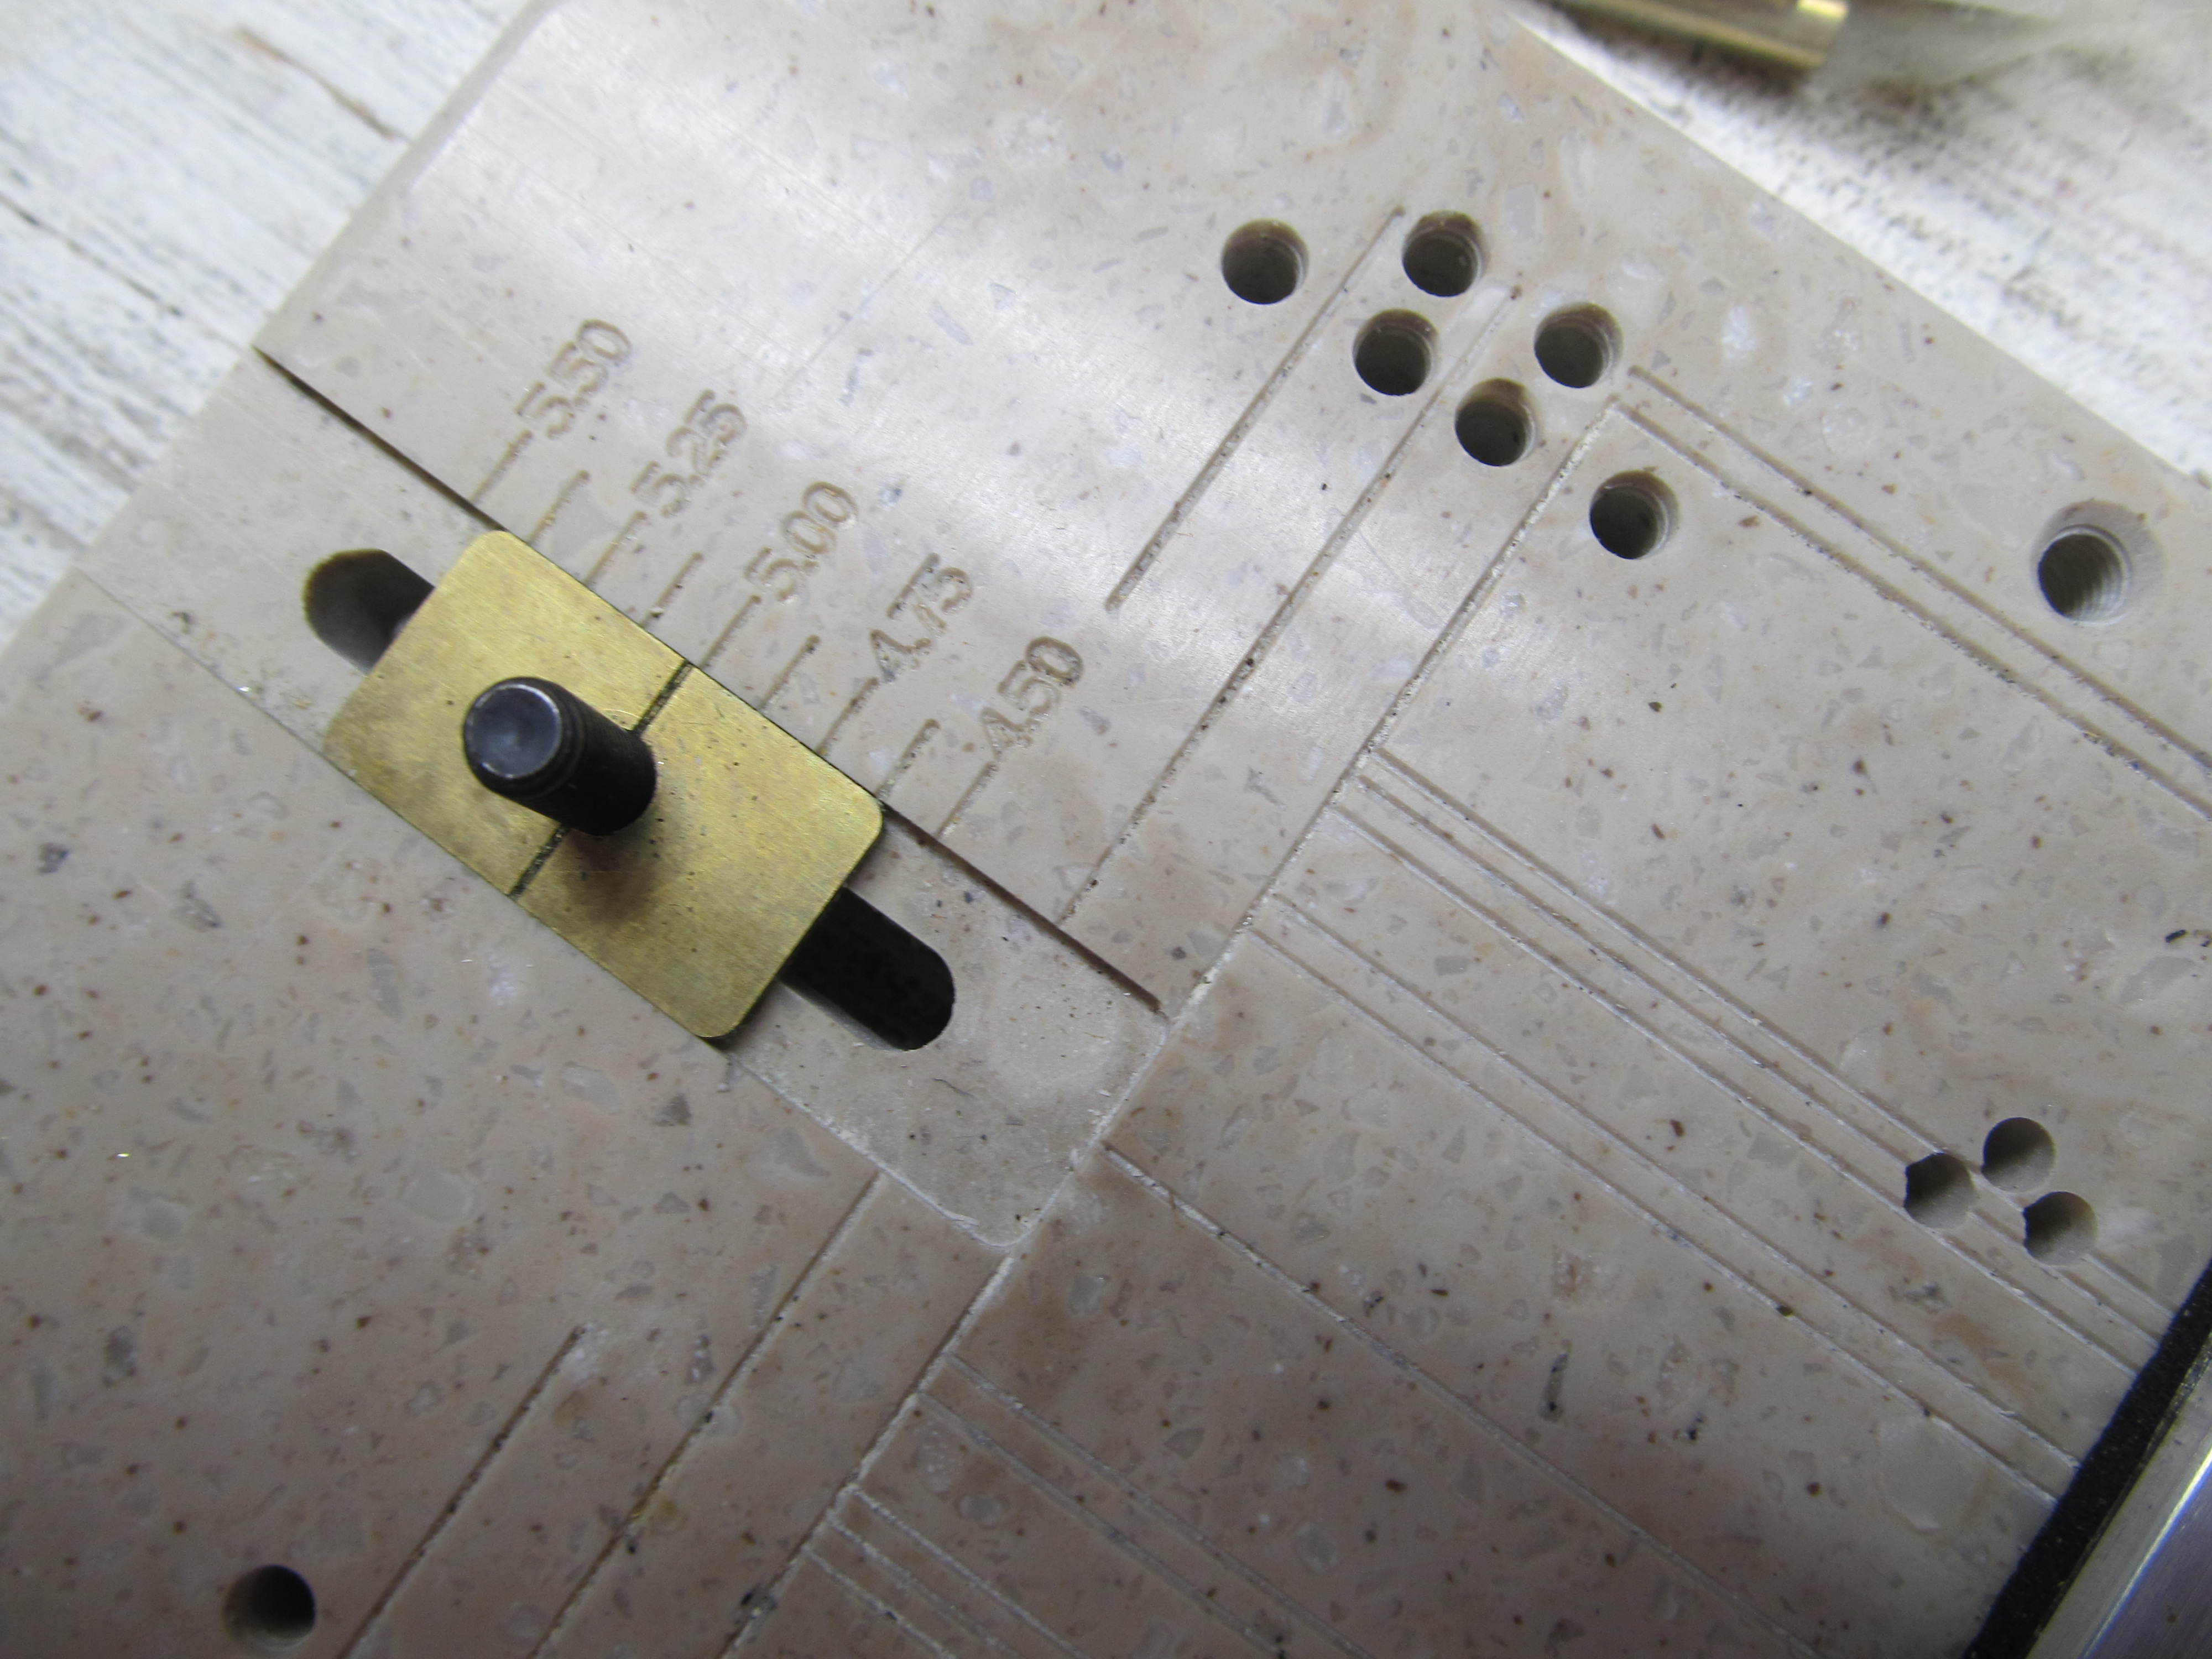
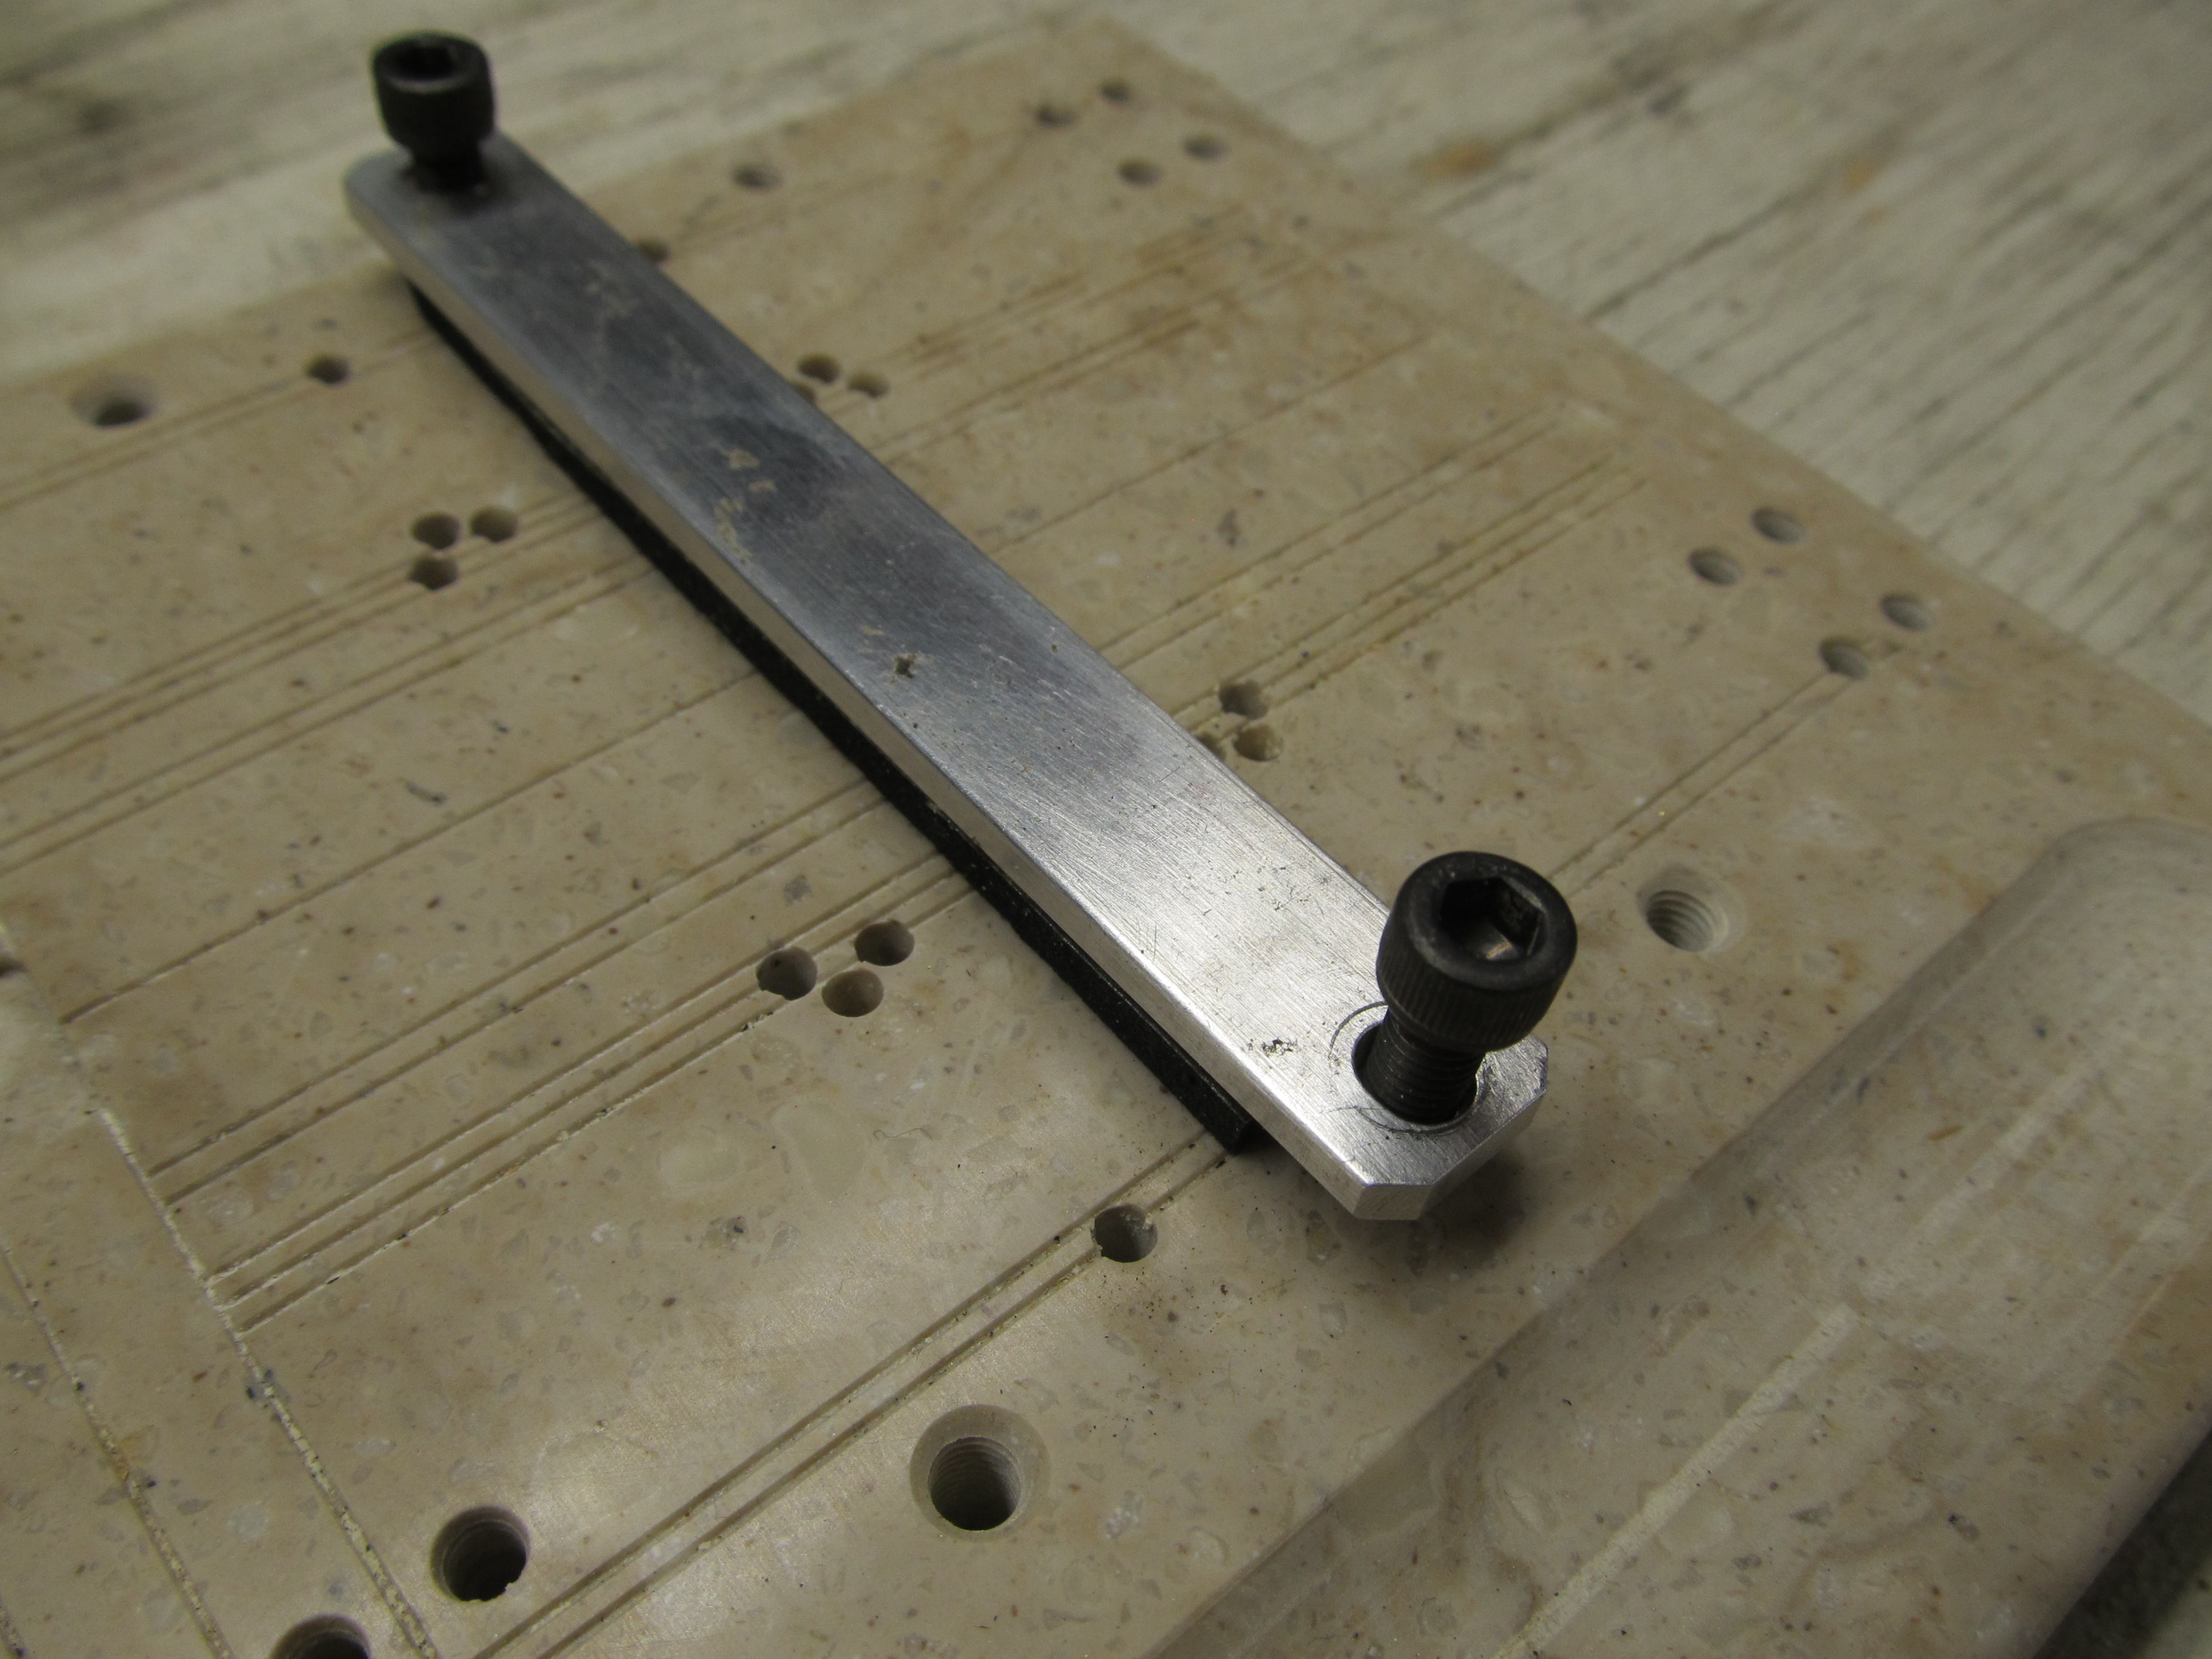
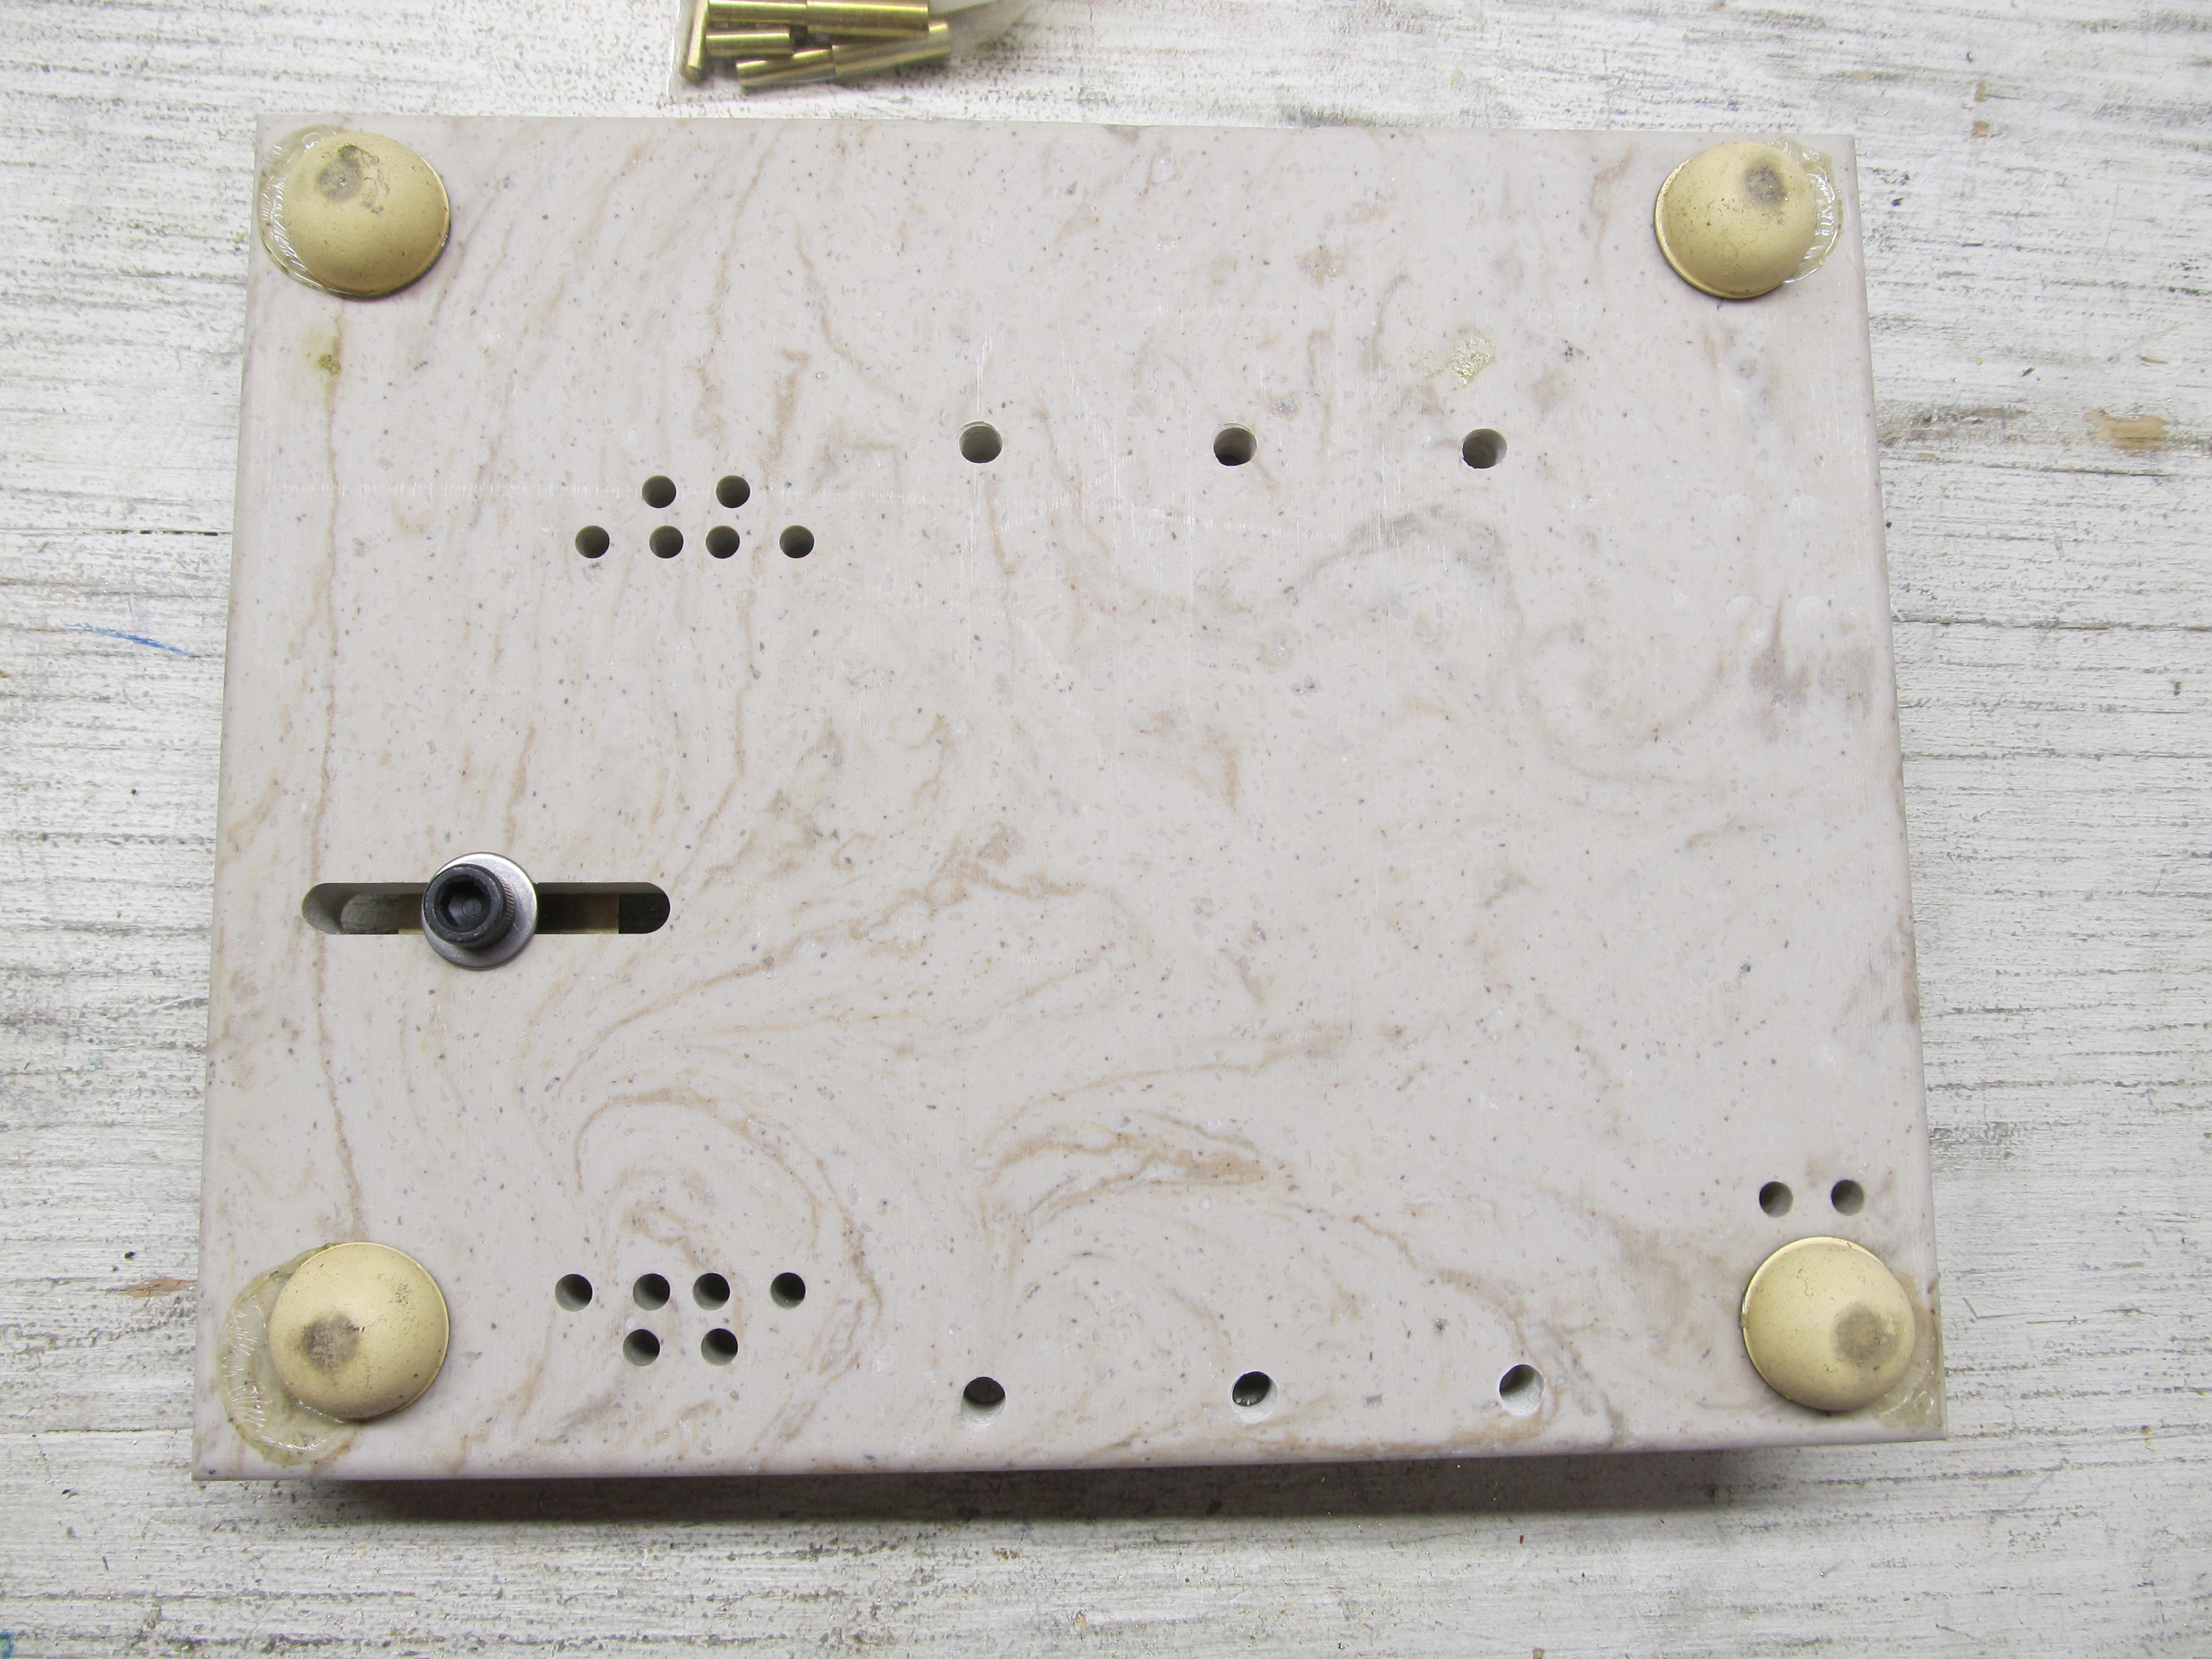
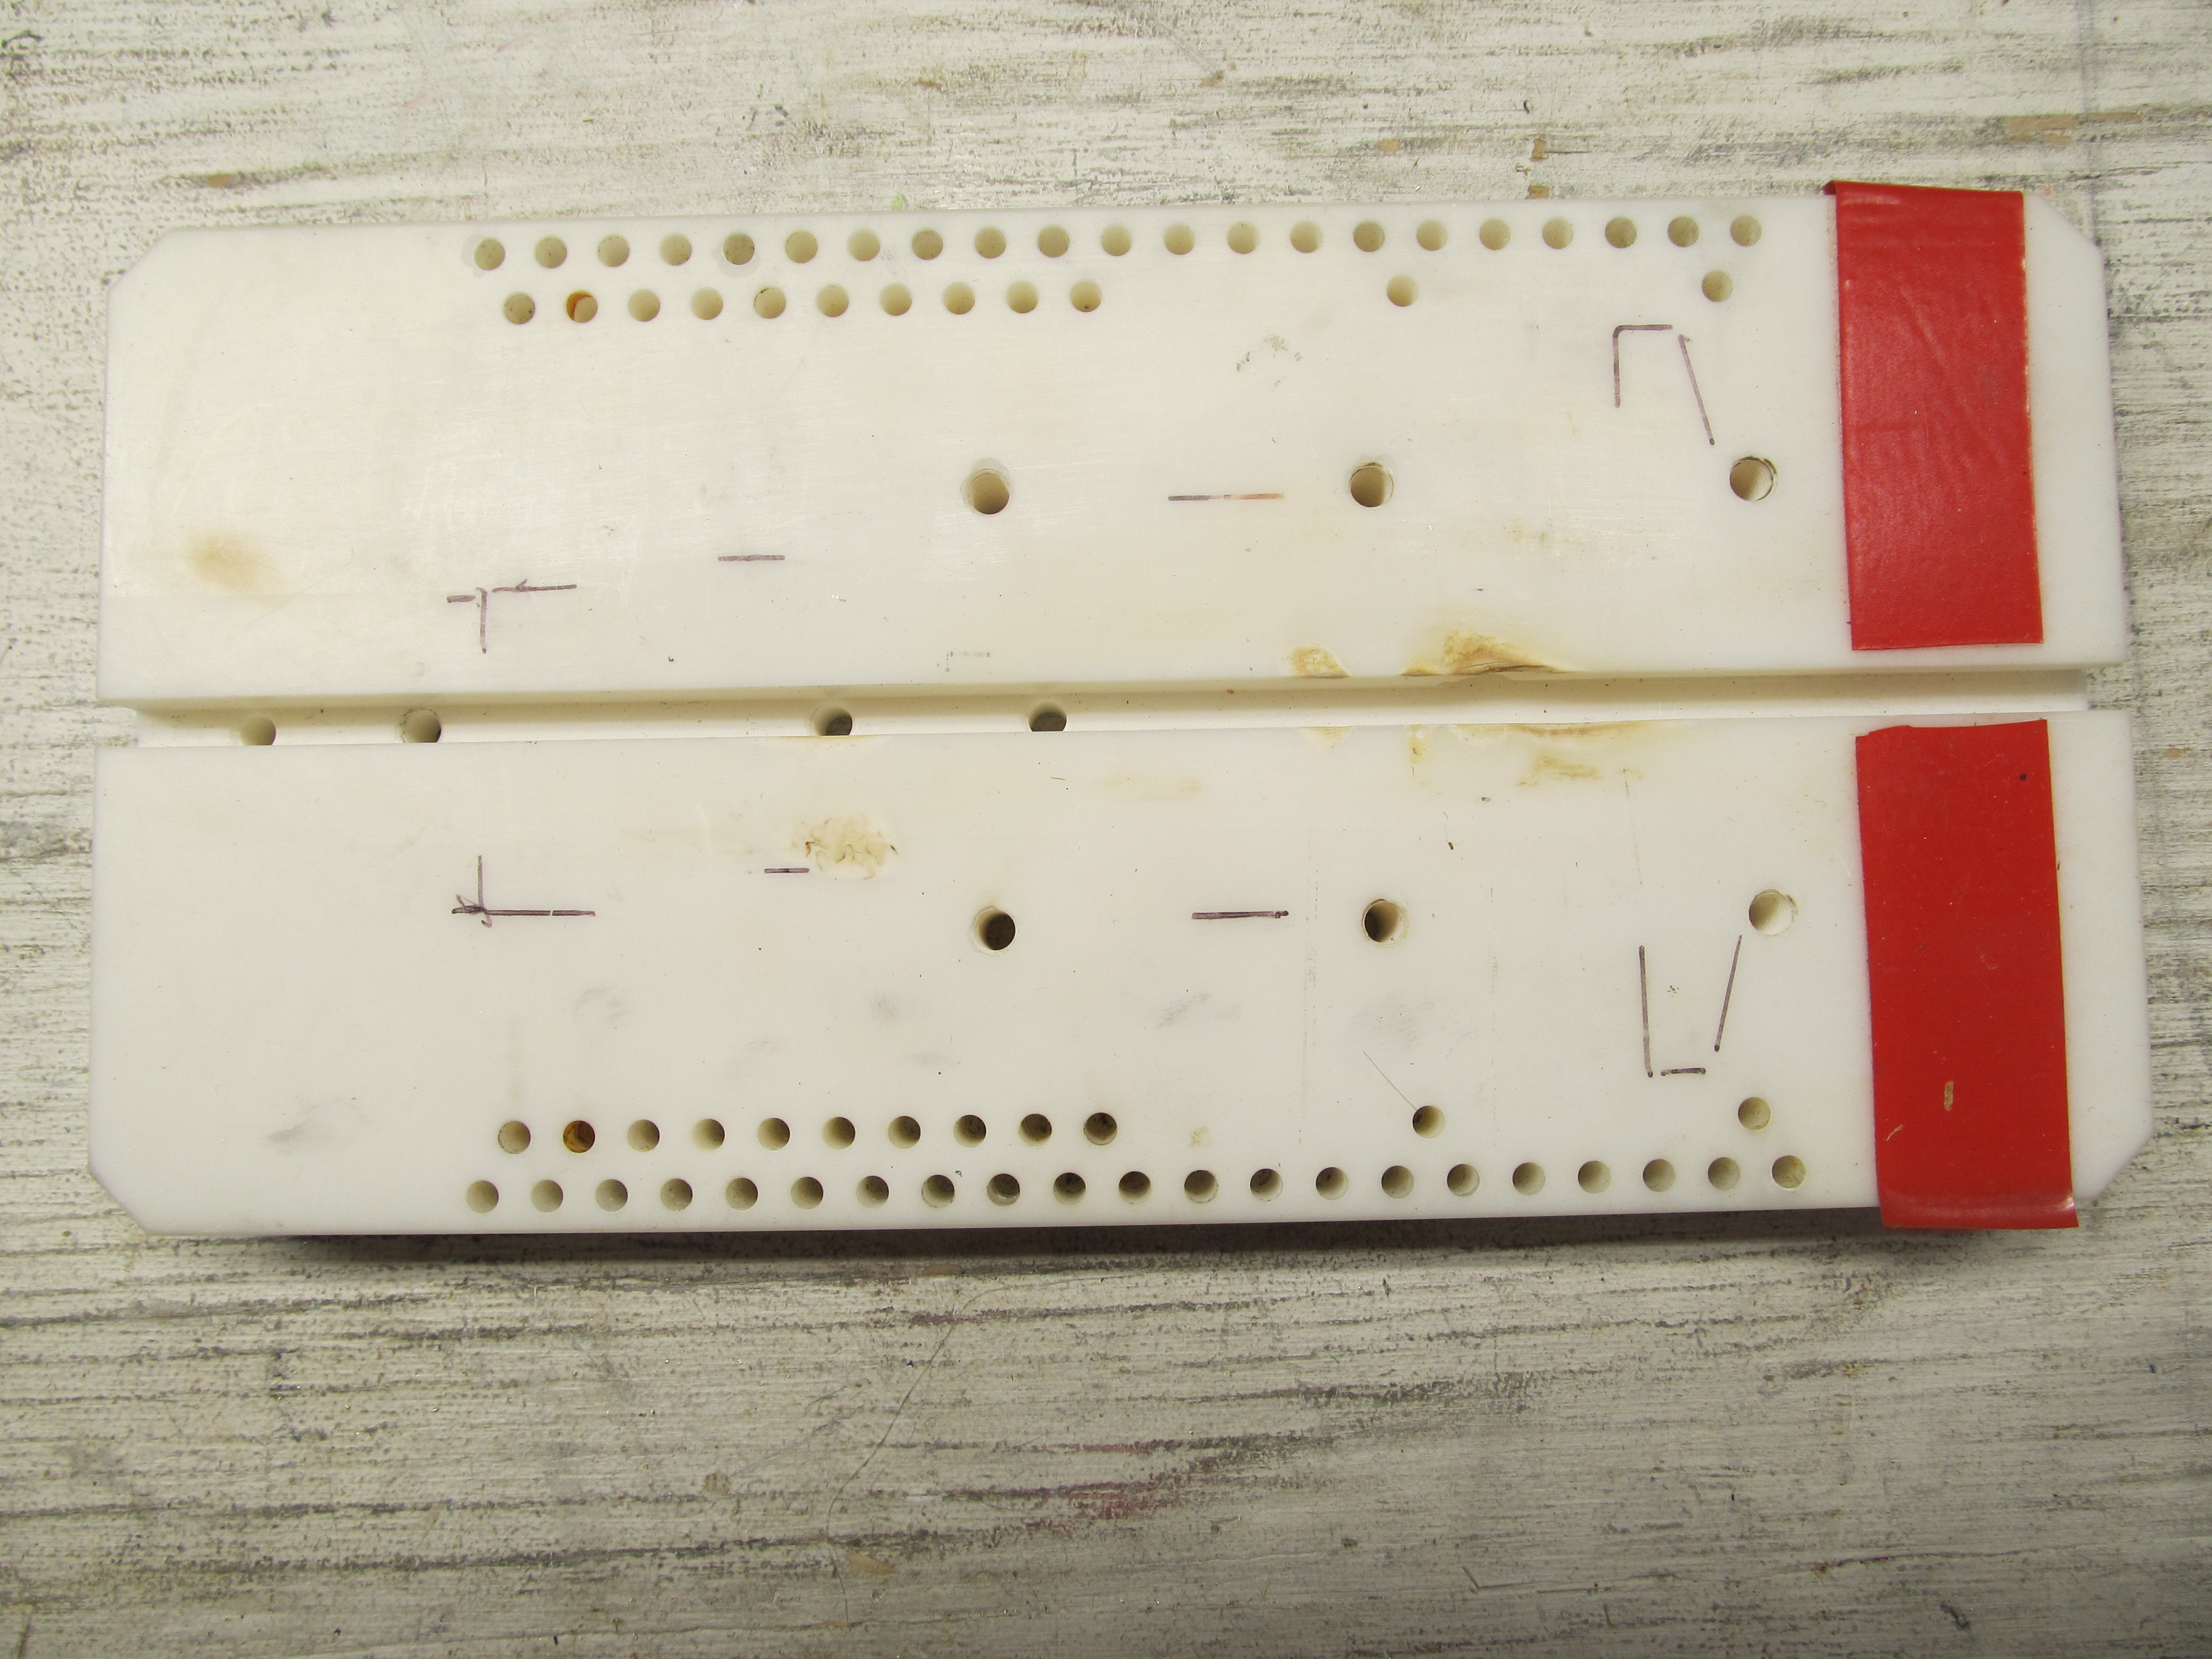
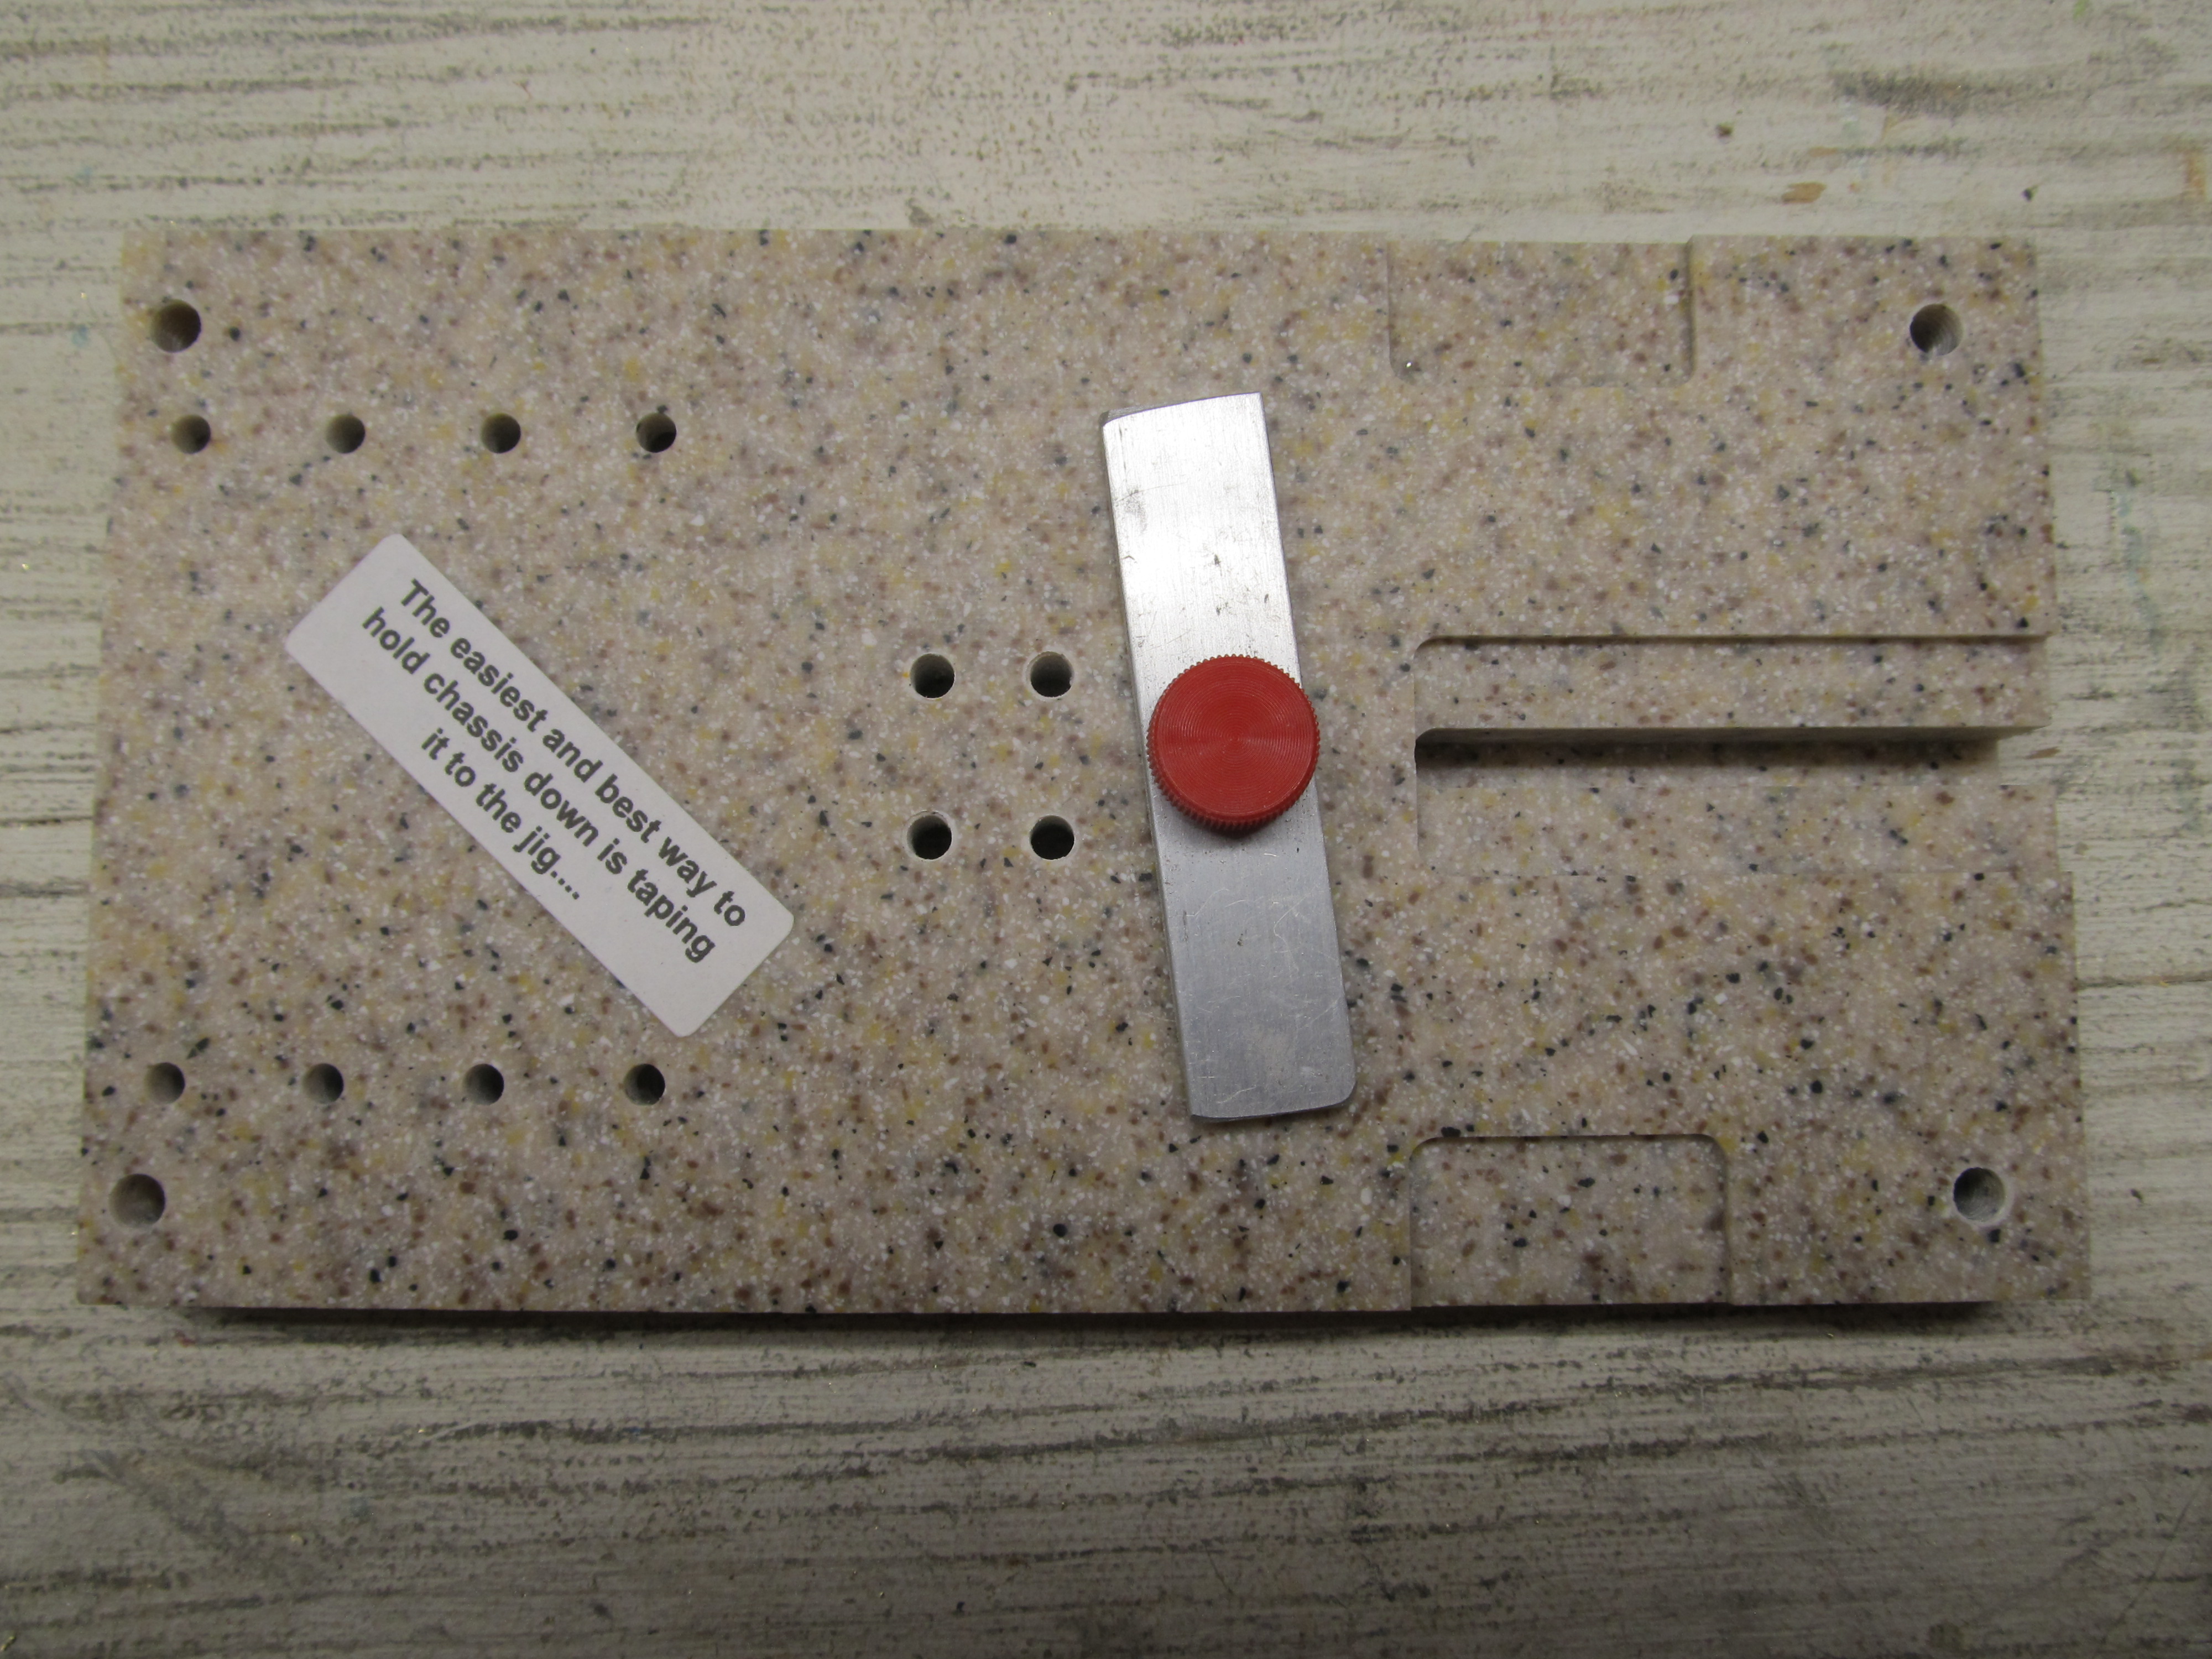
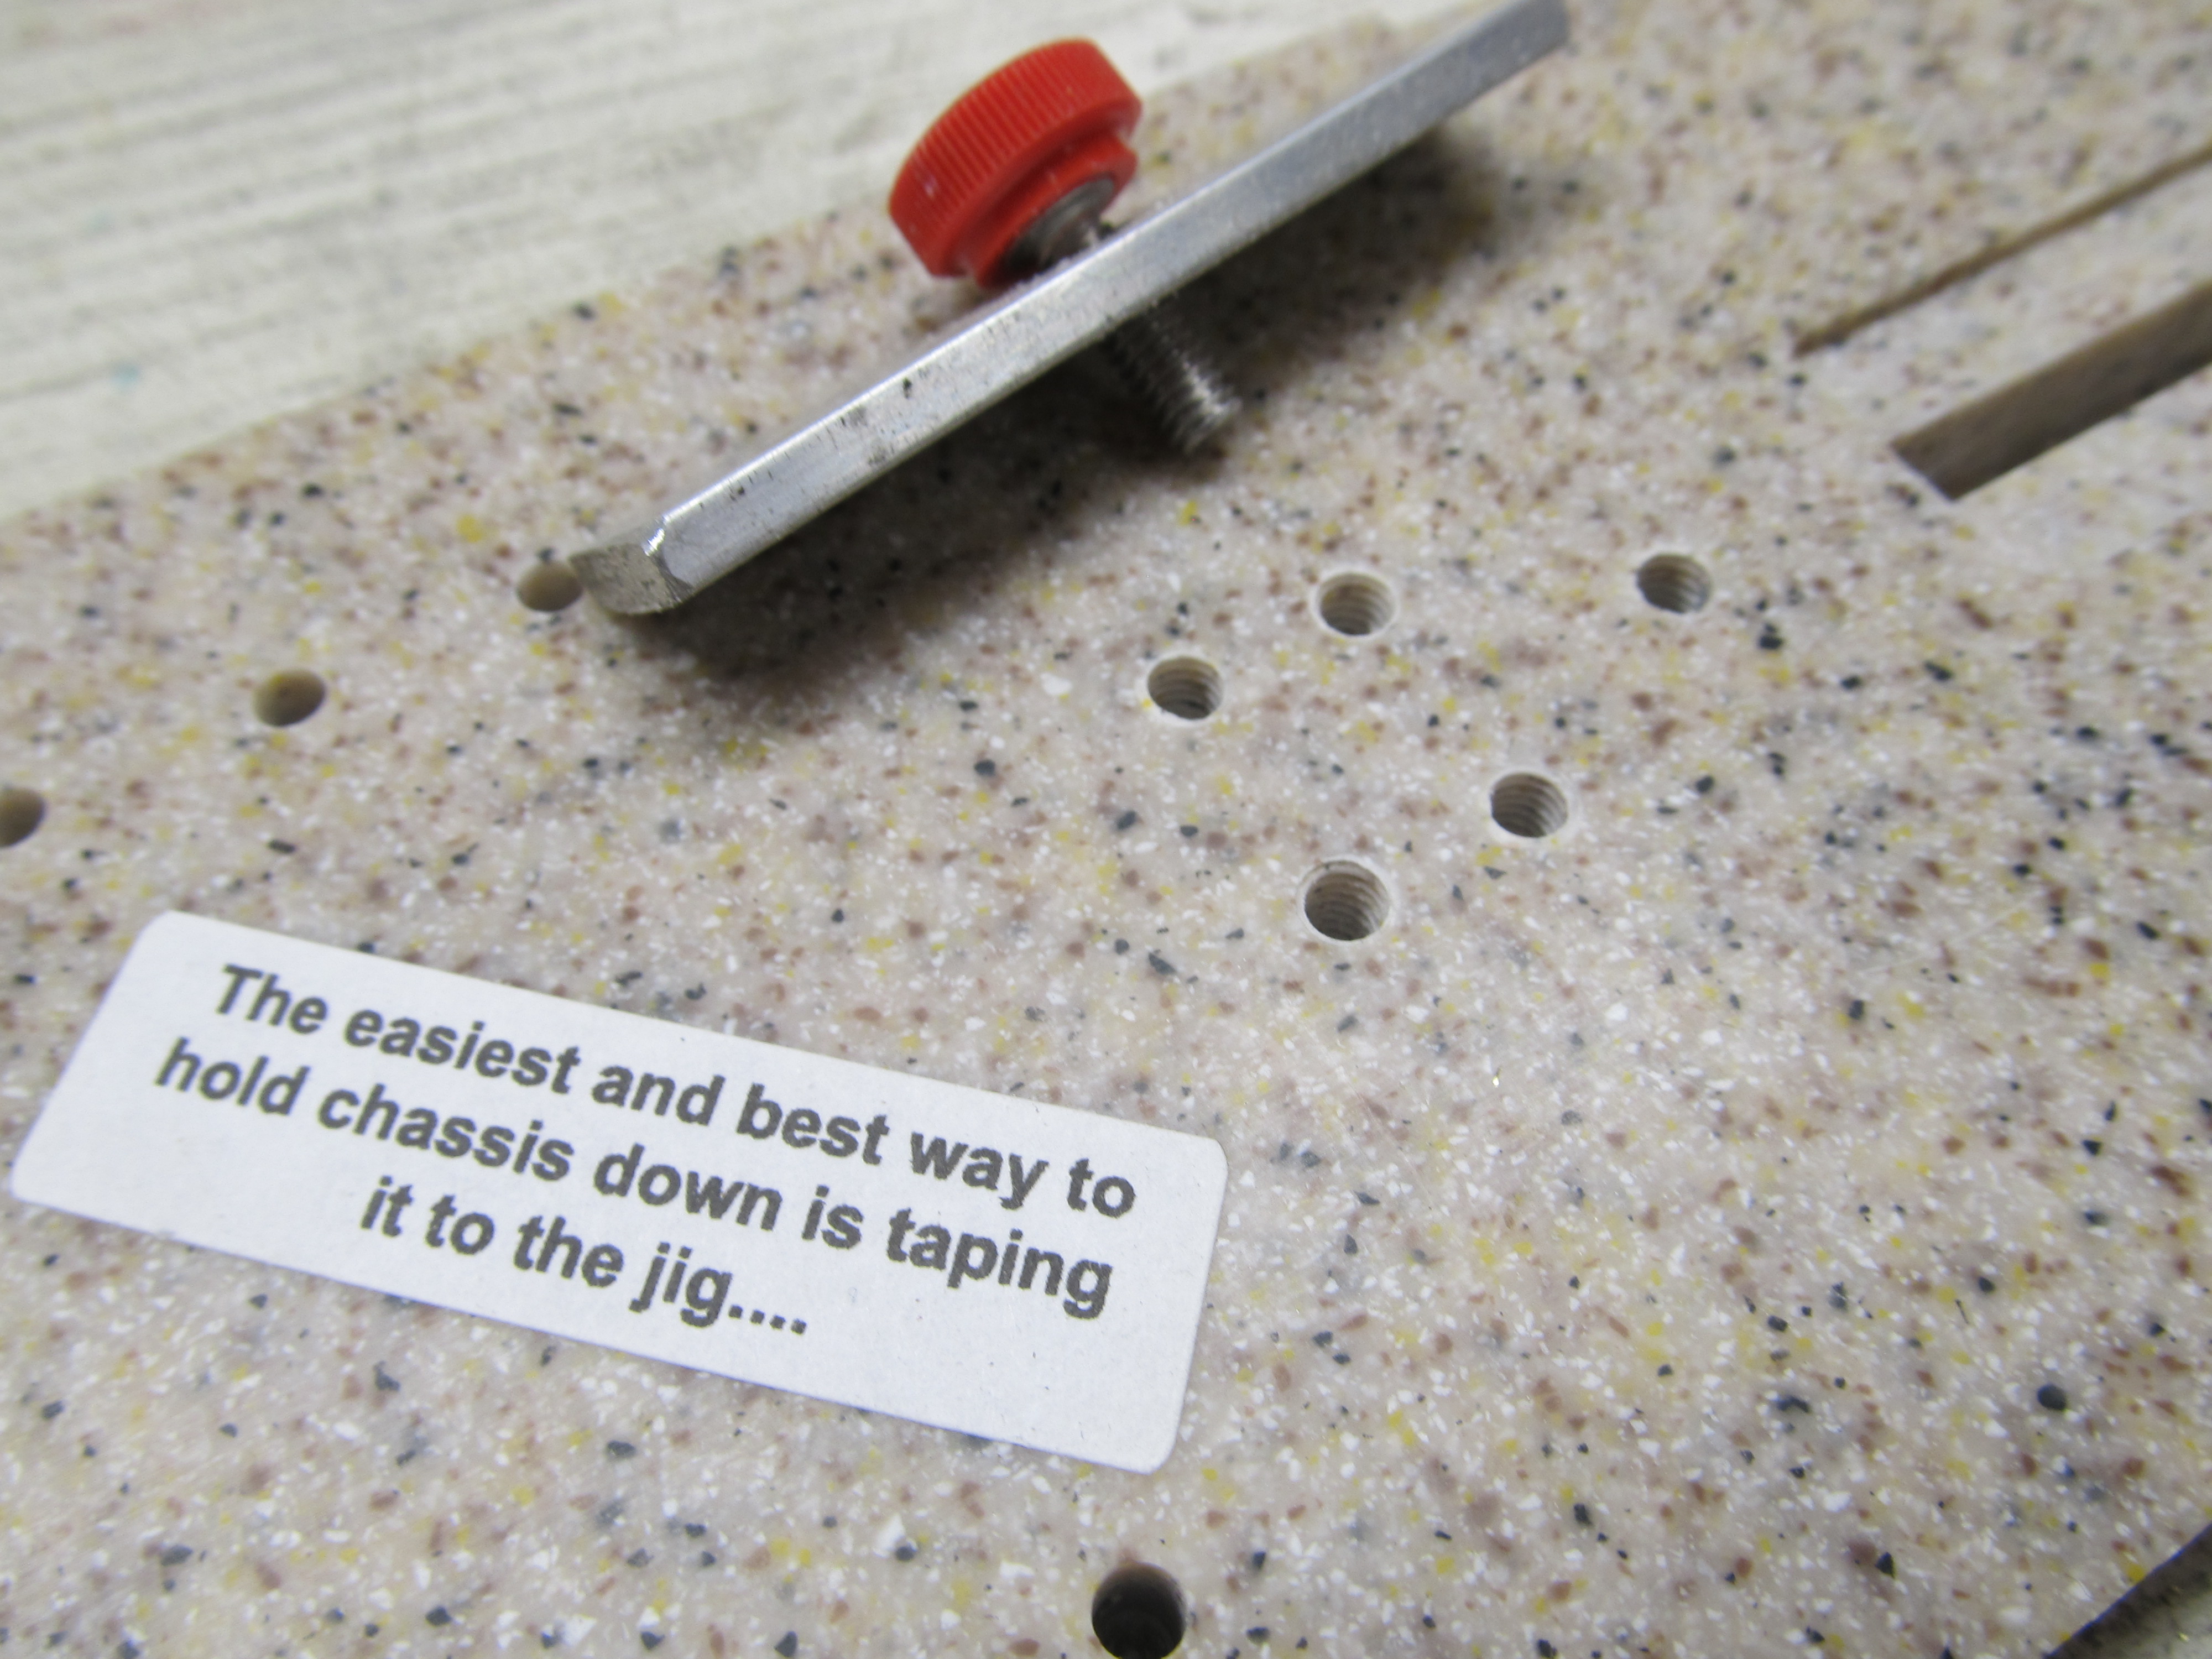
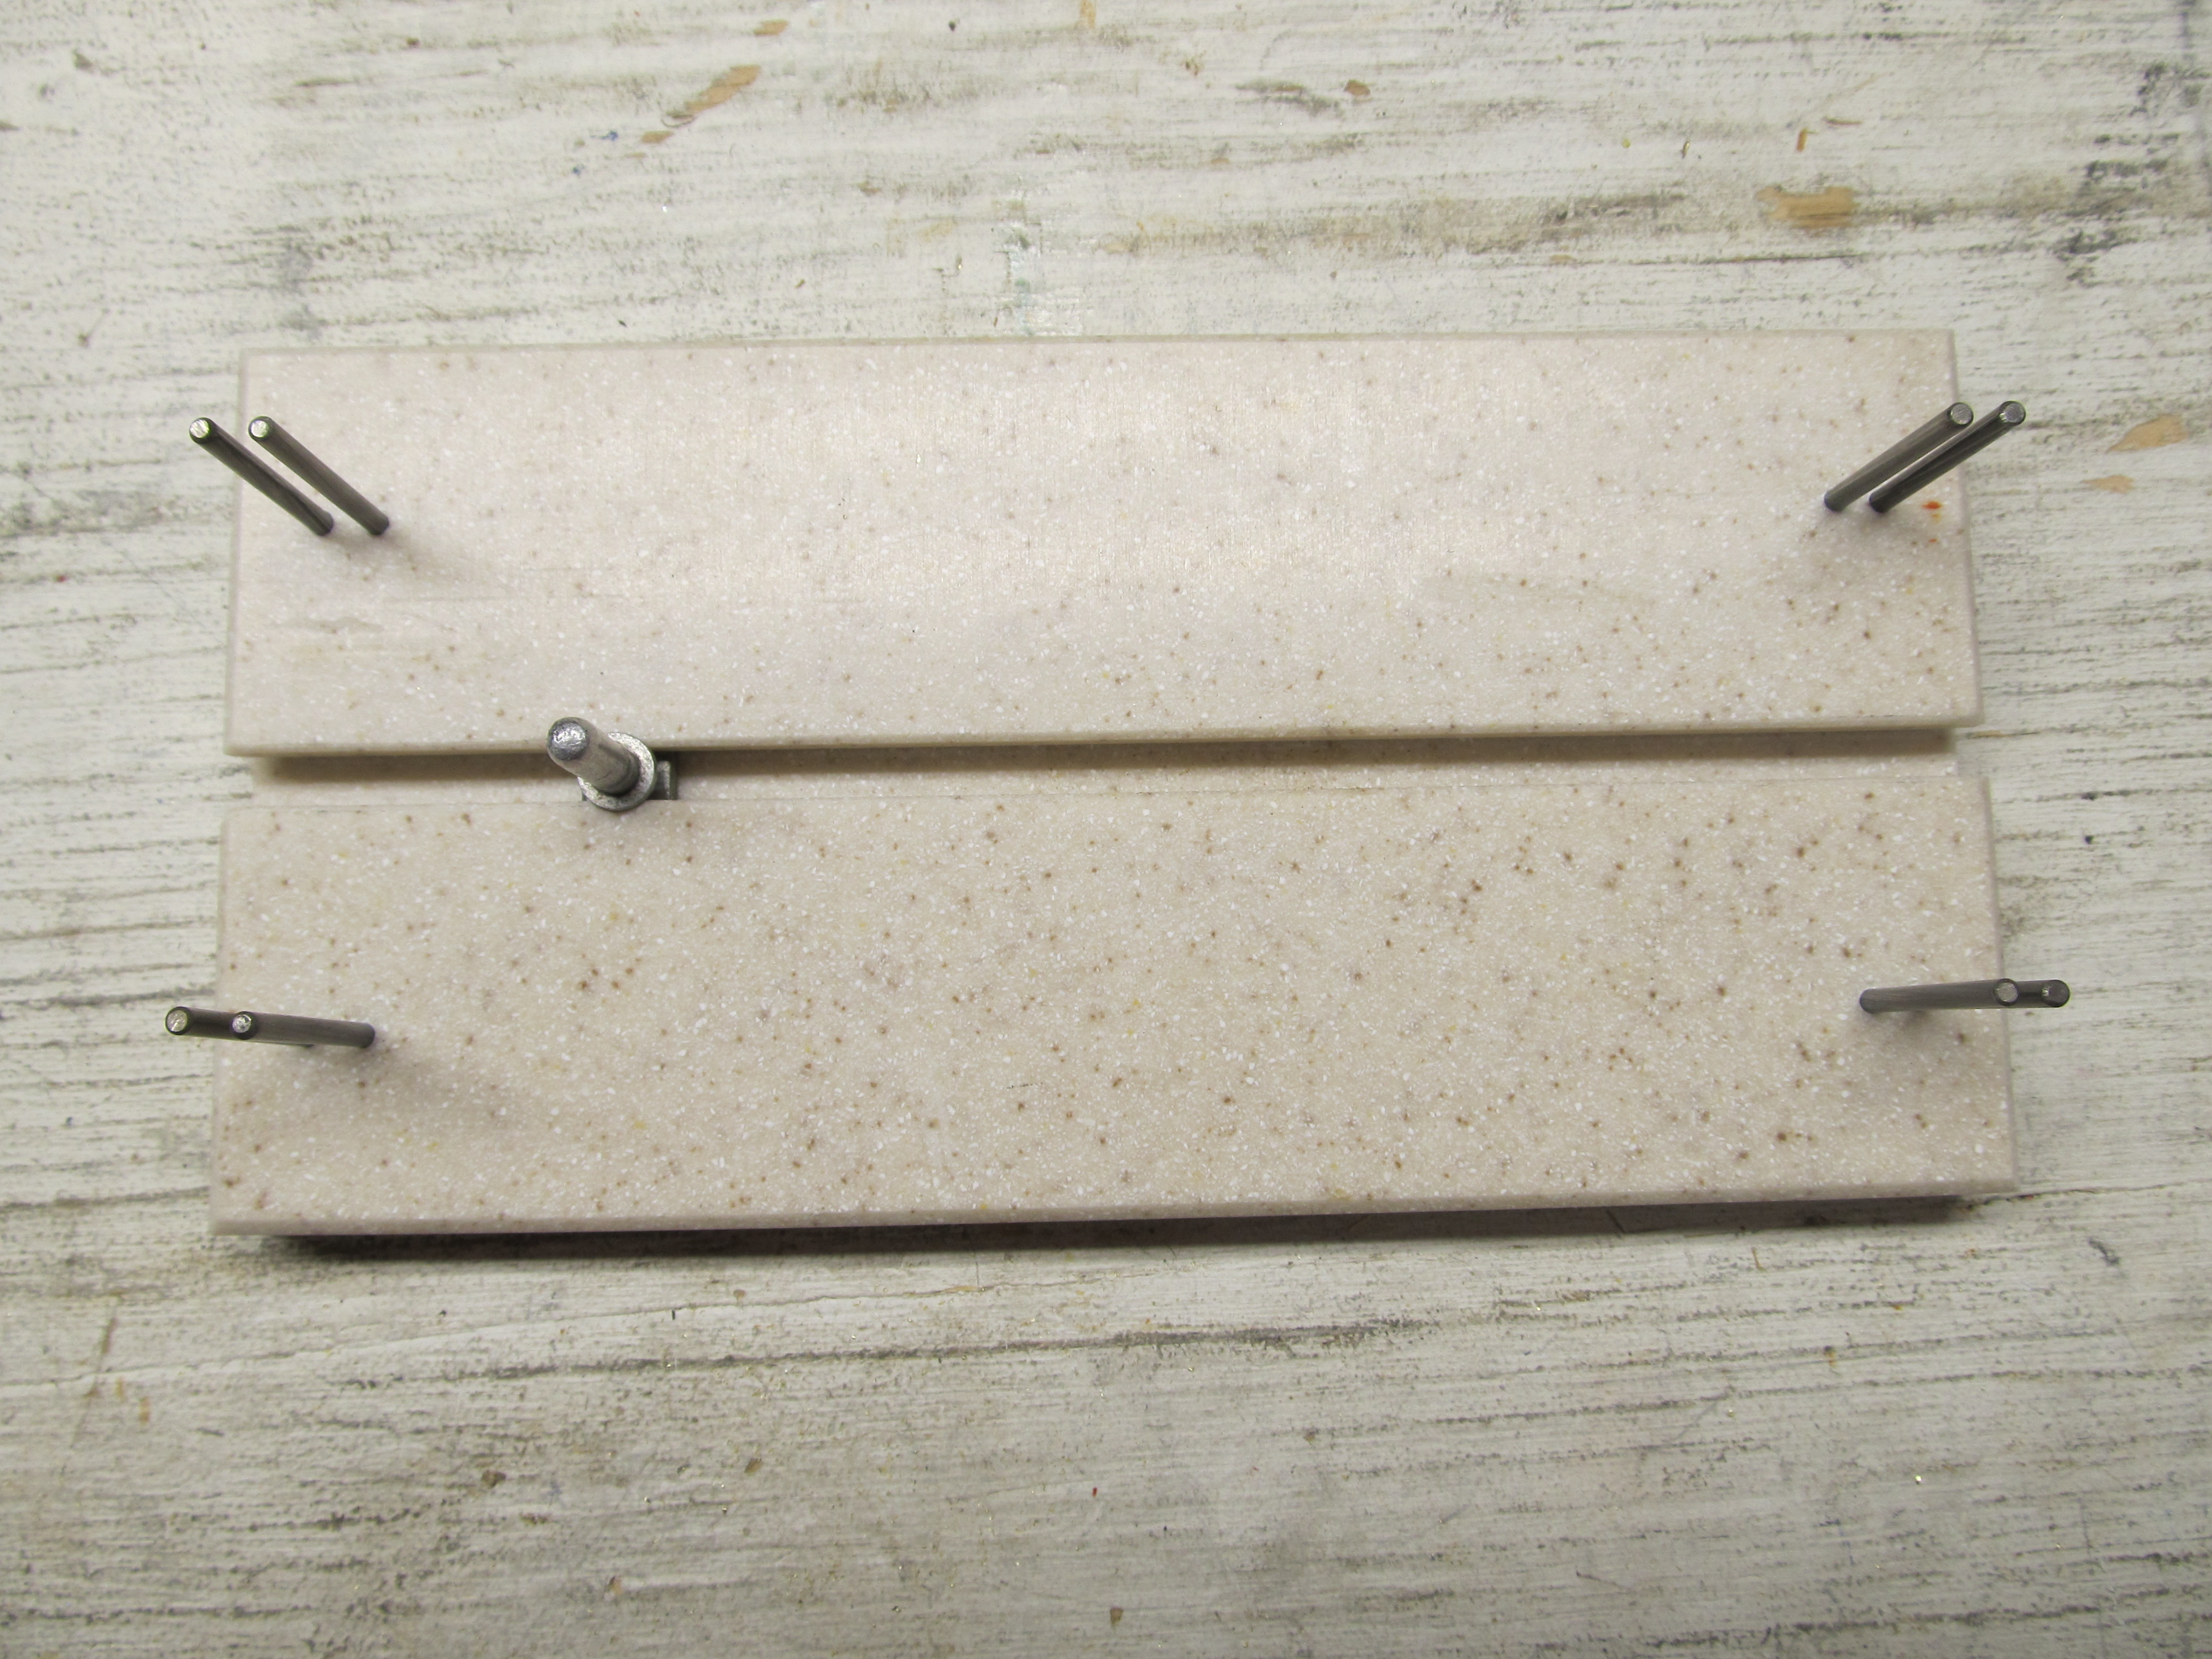
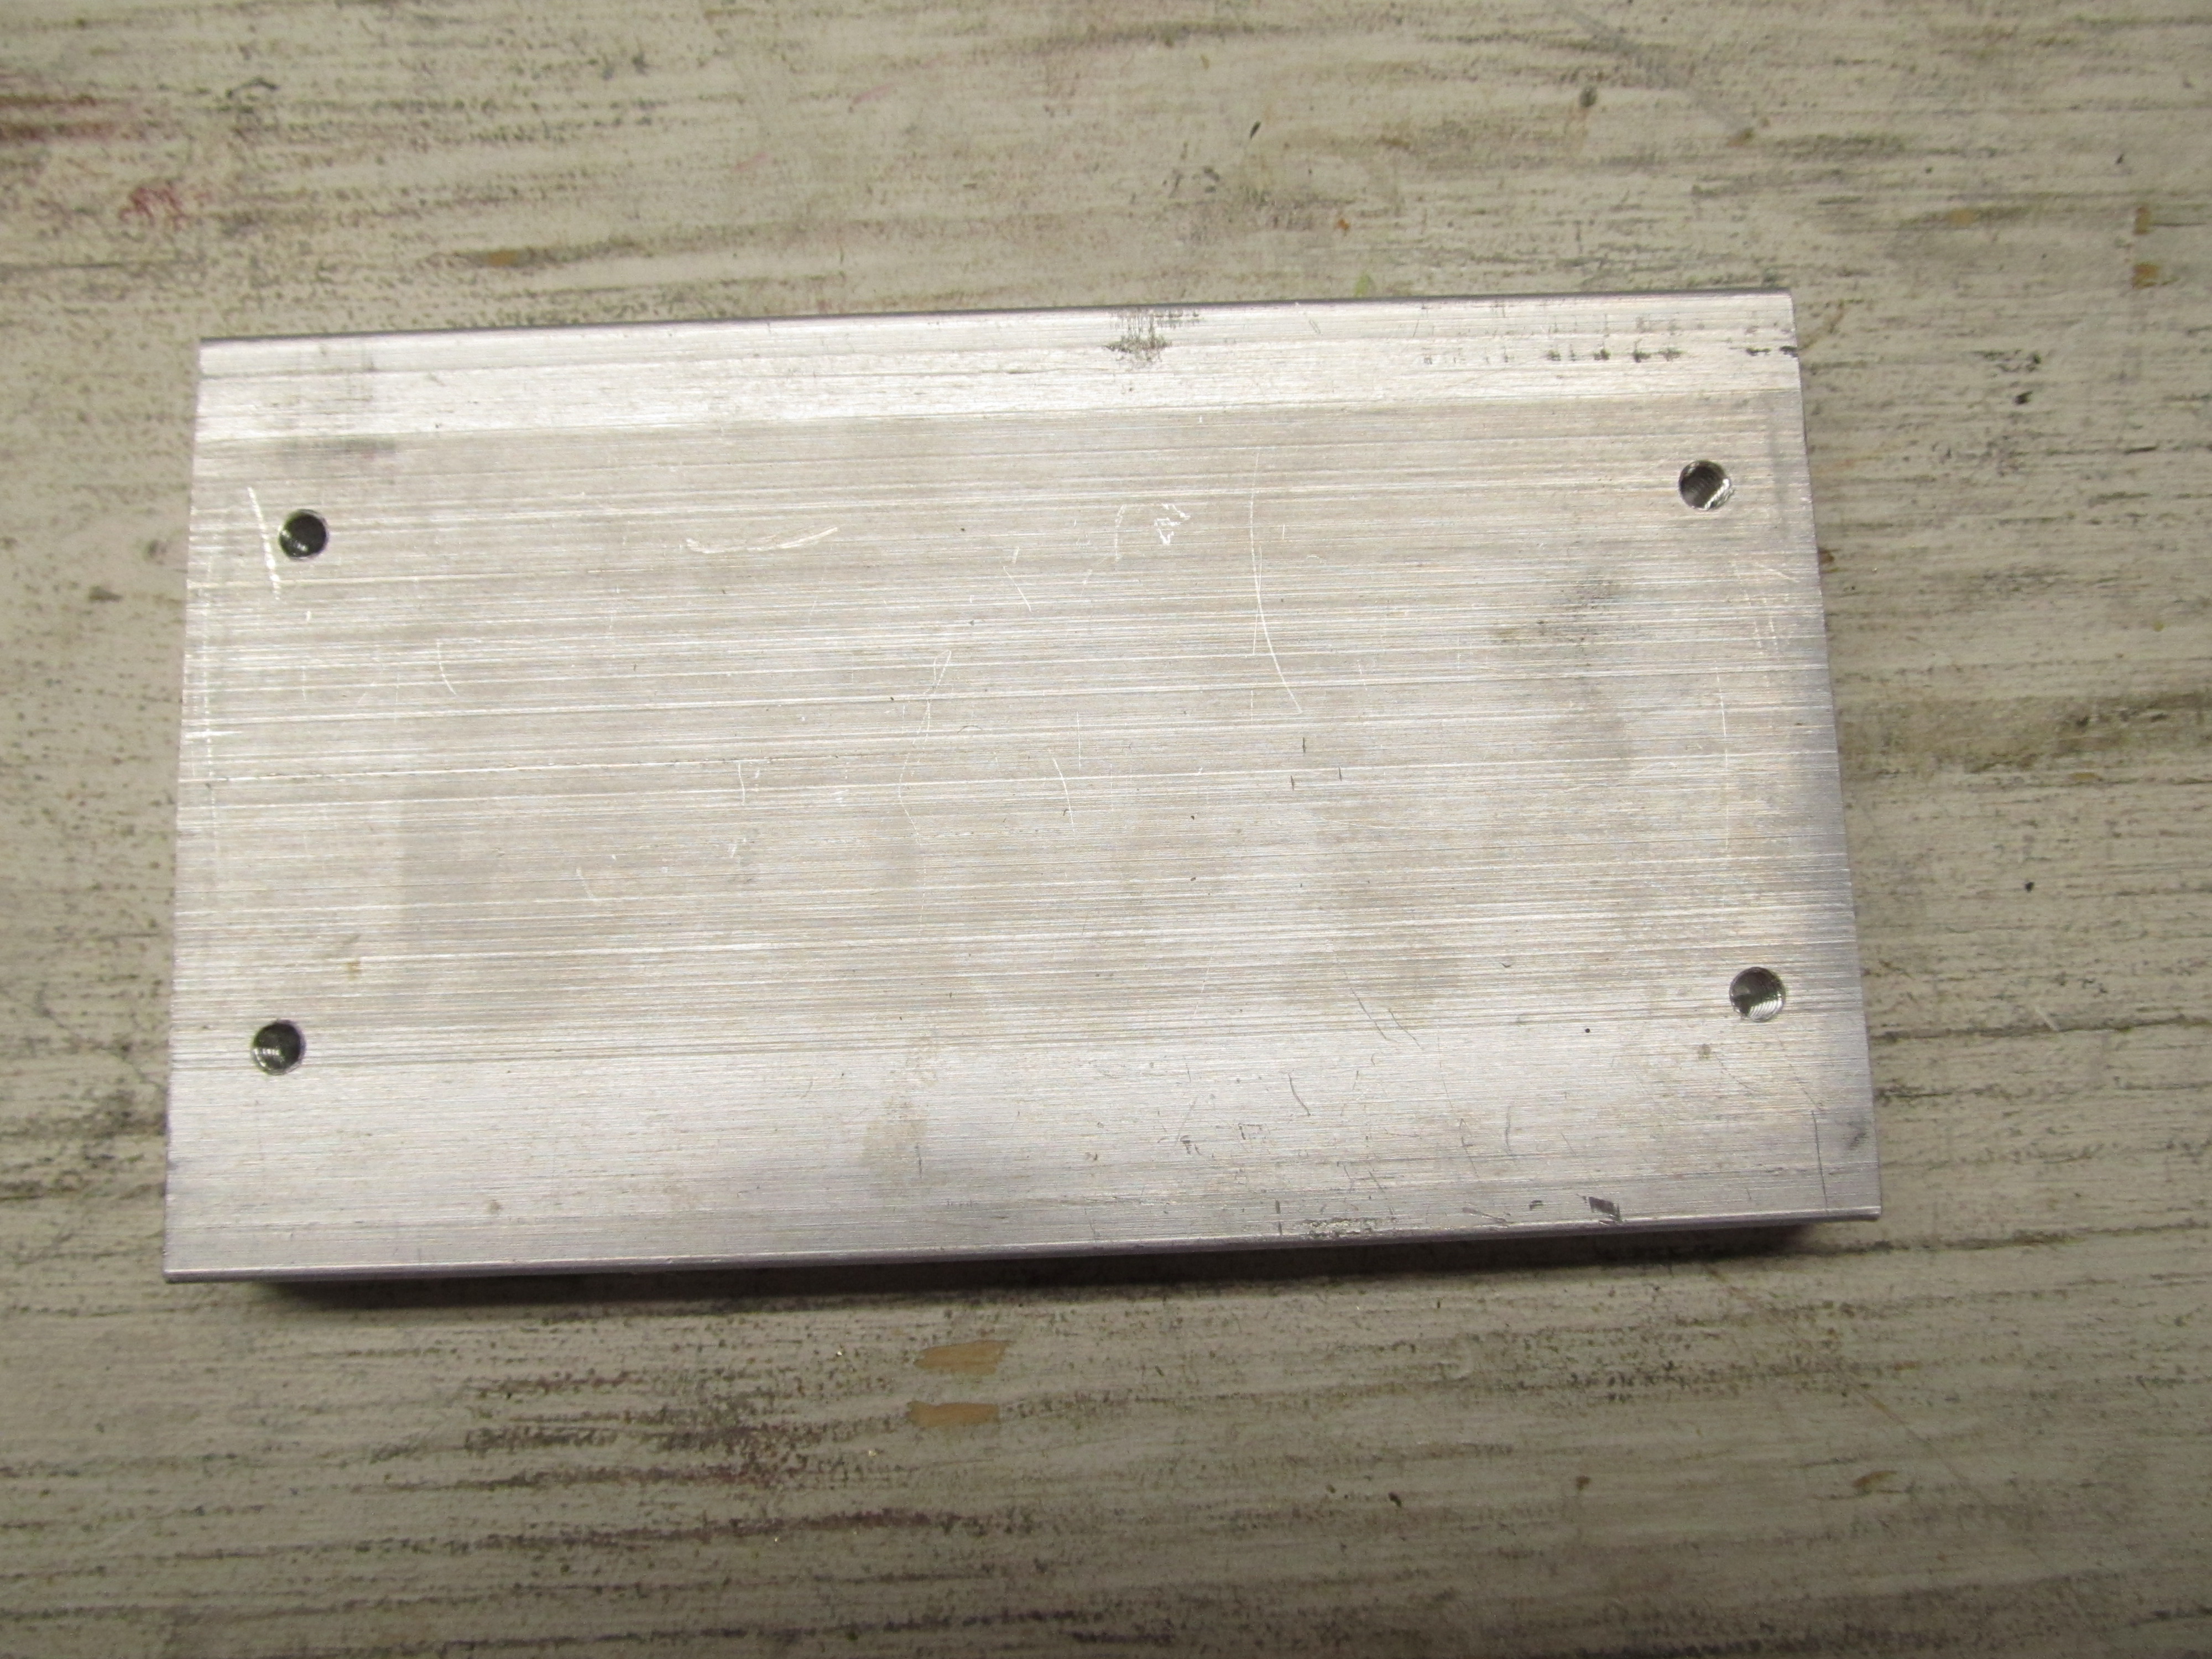
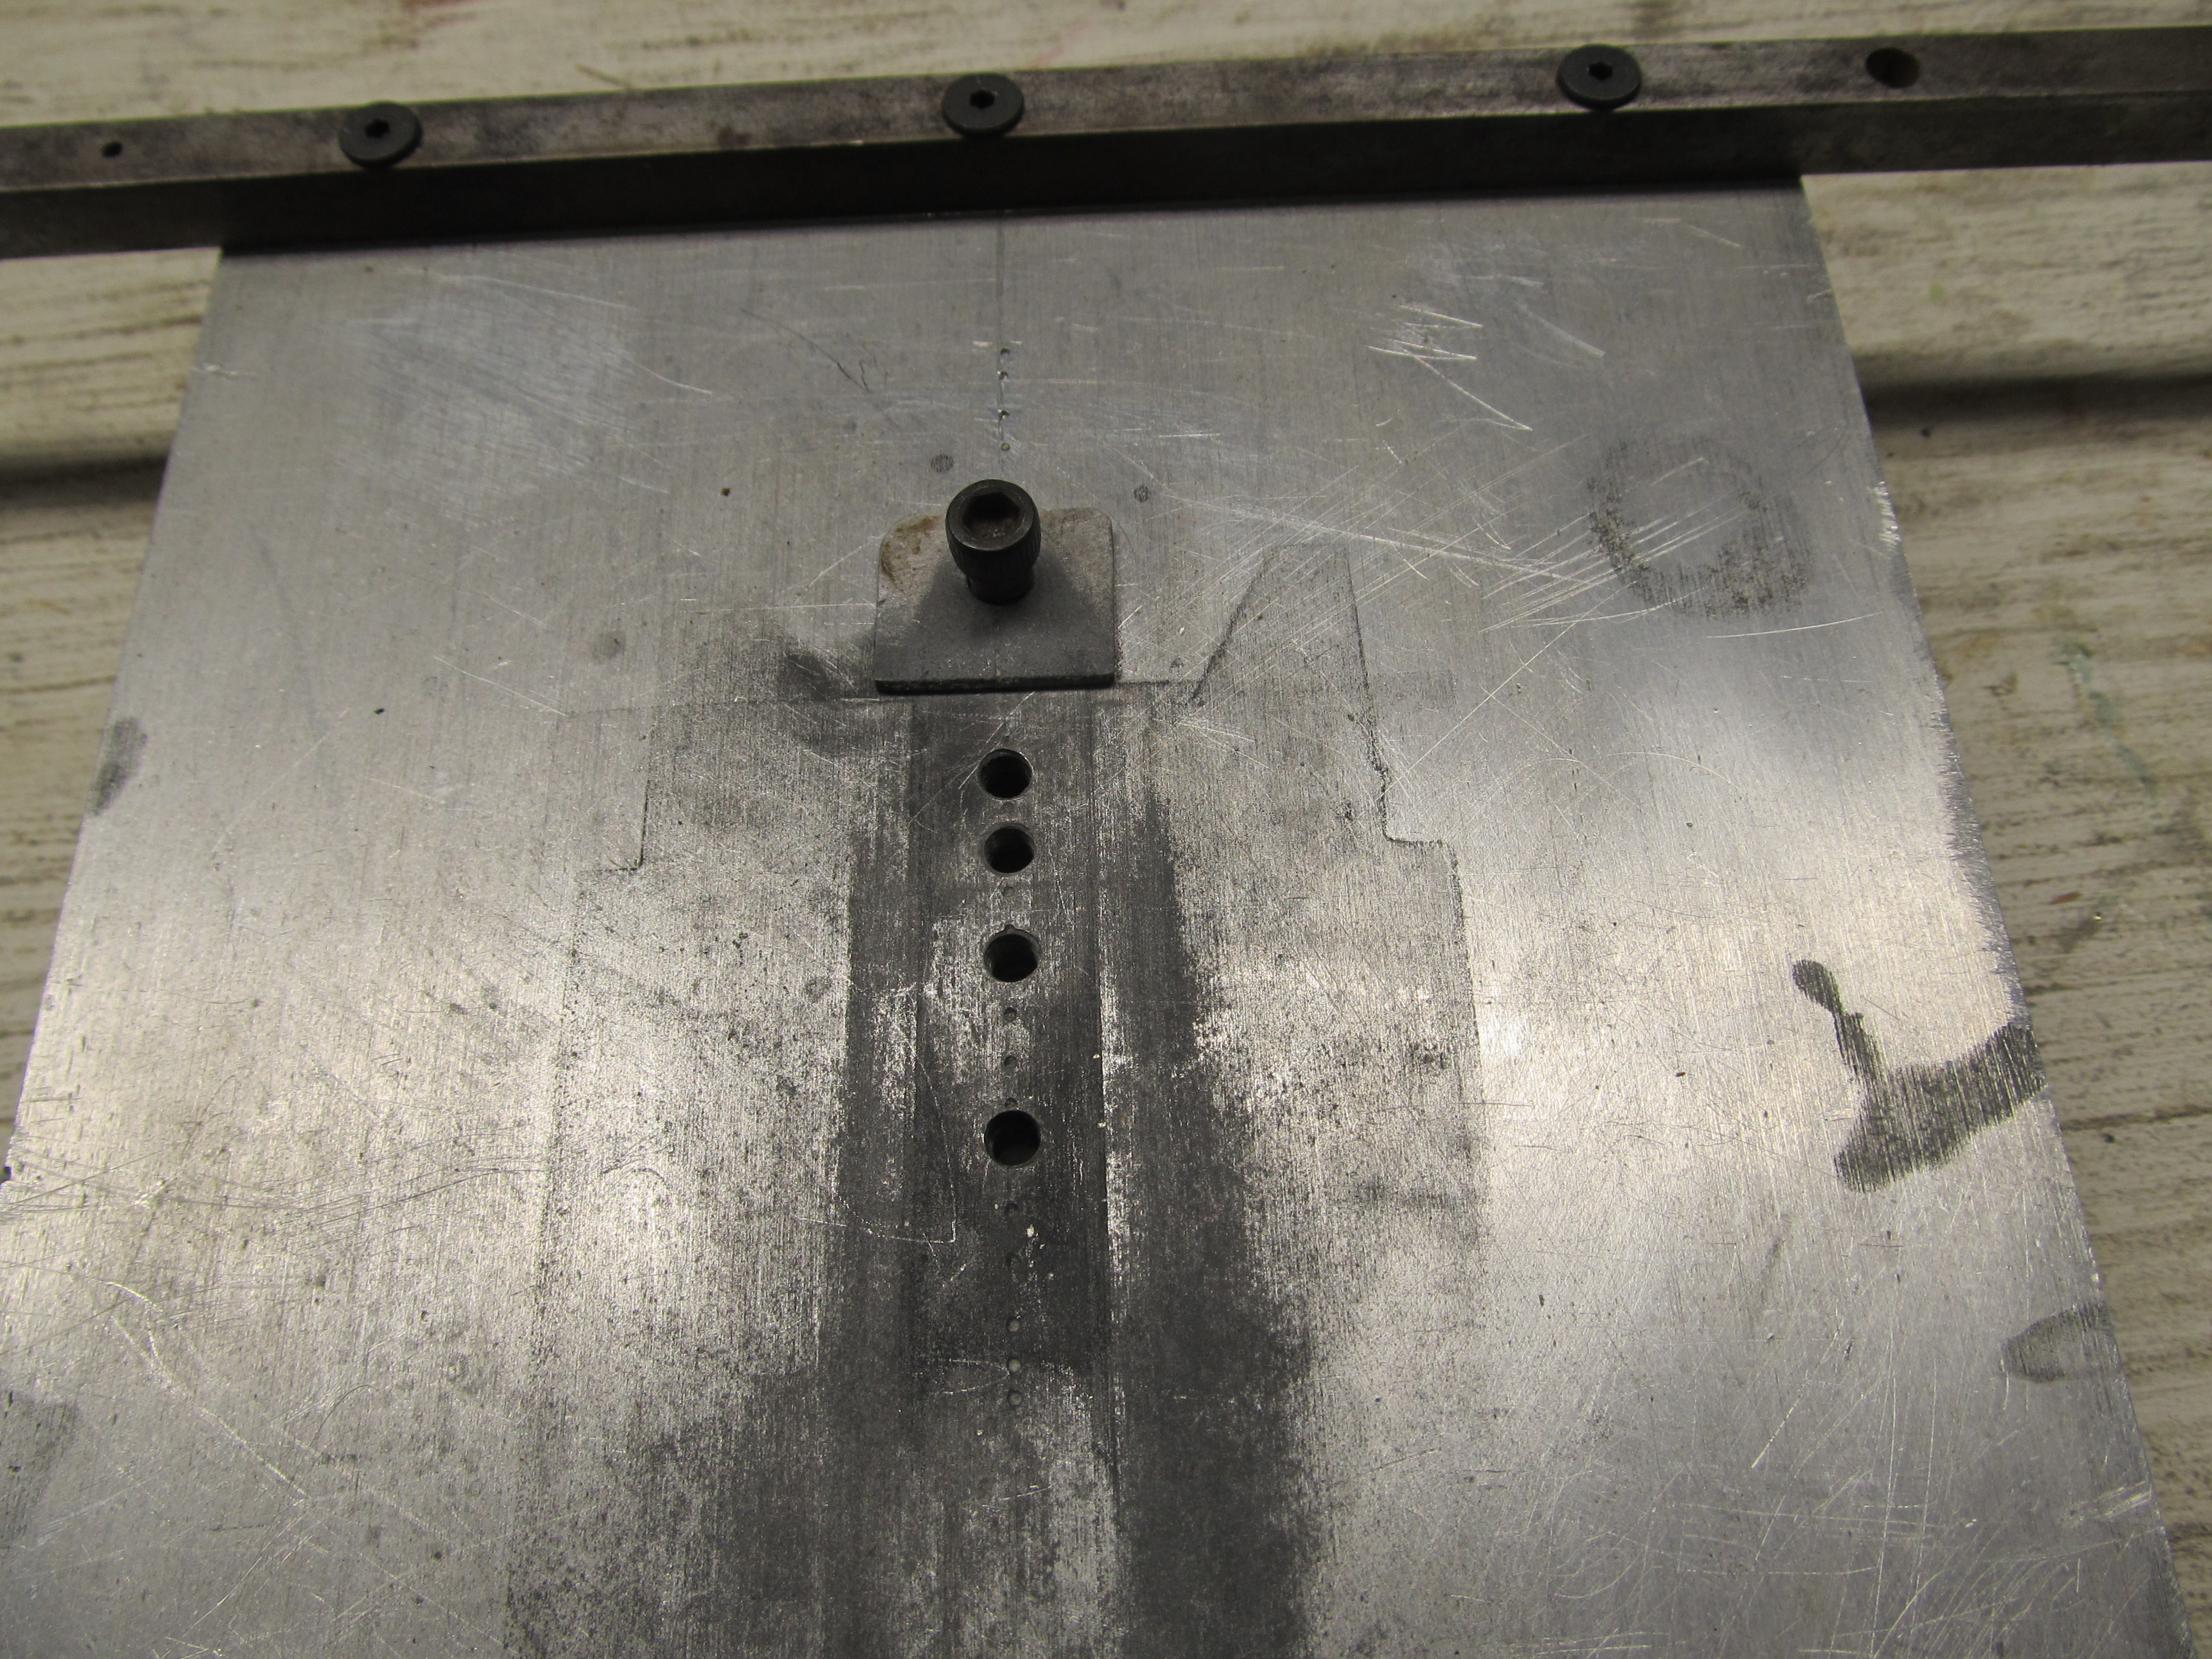
I used a piece of thick aluminum as the flat block to build on. As I build more chassis I would add other pieces to hold parts in place and keep them aligned. The piece of square steel bar across the front of the jig acted as a square for alignment to keep the chassis and parts square to the chassis centerline. The row of holes on the jig's centerline were threaded and used for soldering the guide tongue to the chassis. Various lengths could be used by using different threaded holes. The set screw held the guide tongue in place, and the spacer kept the tongue parallel to the center section.
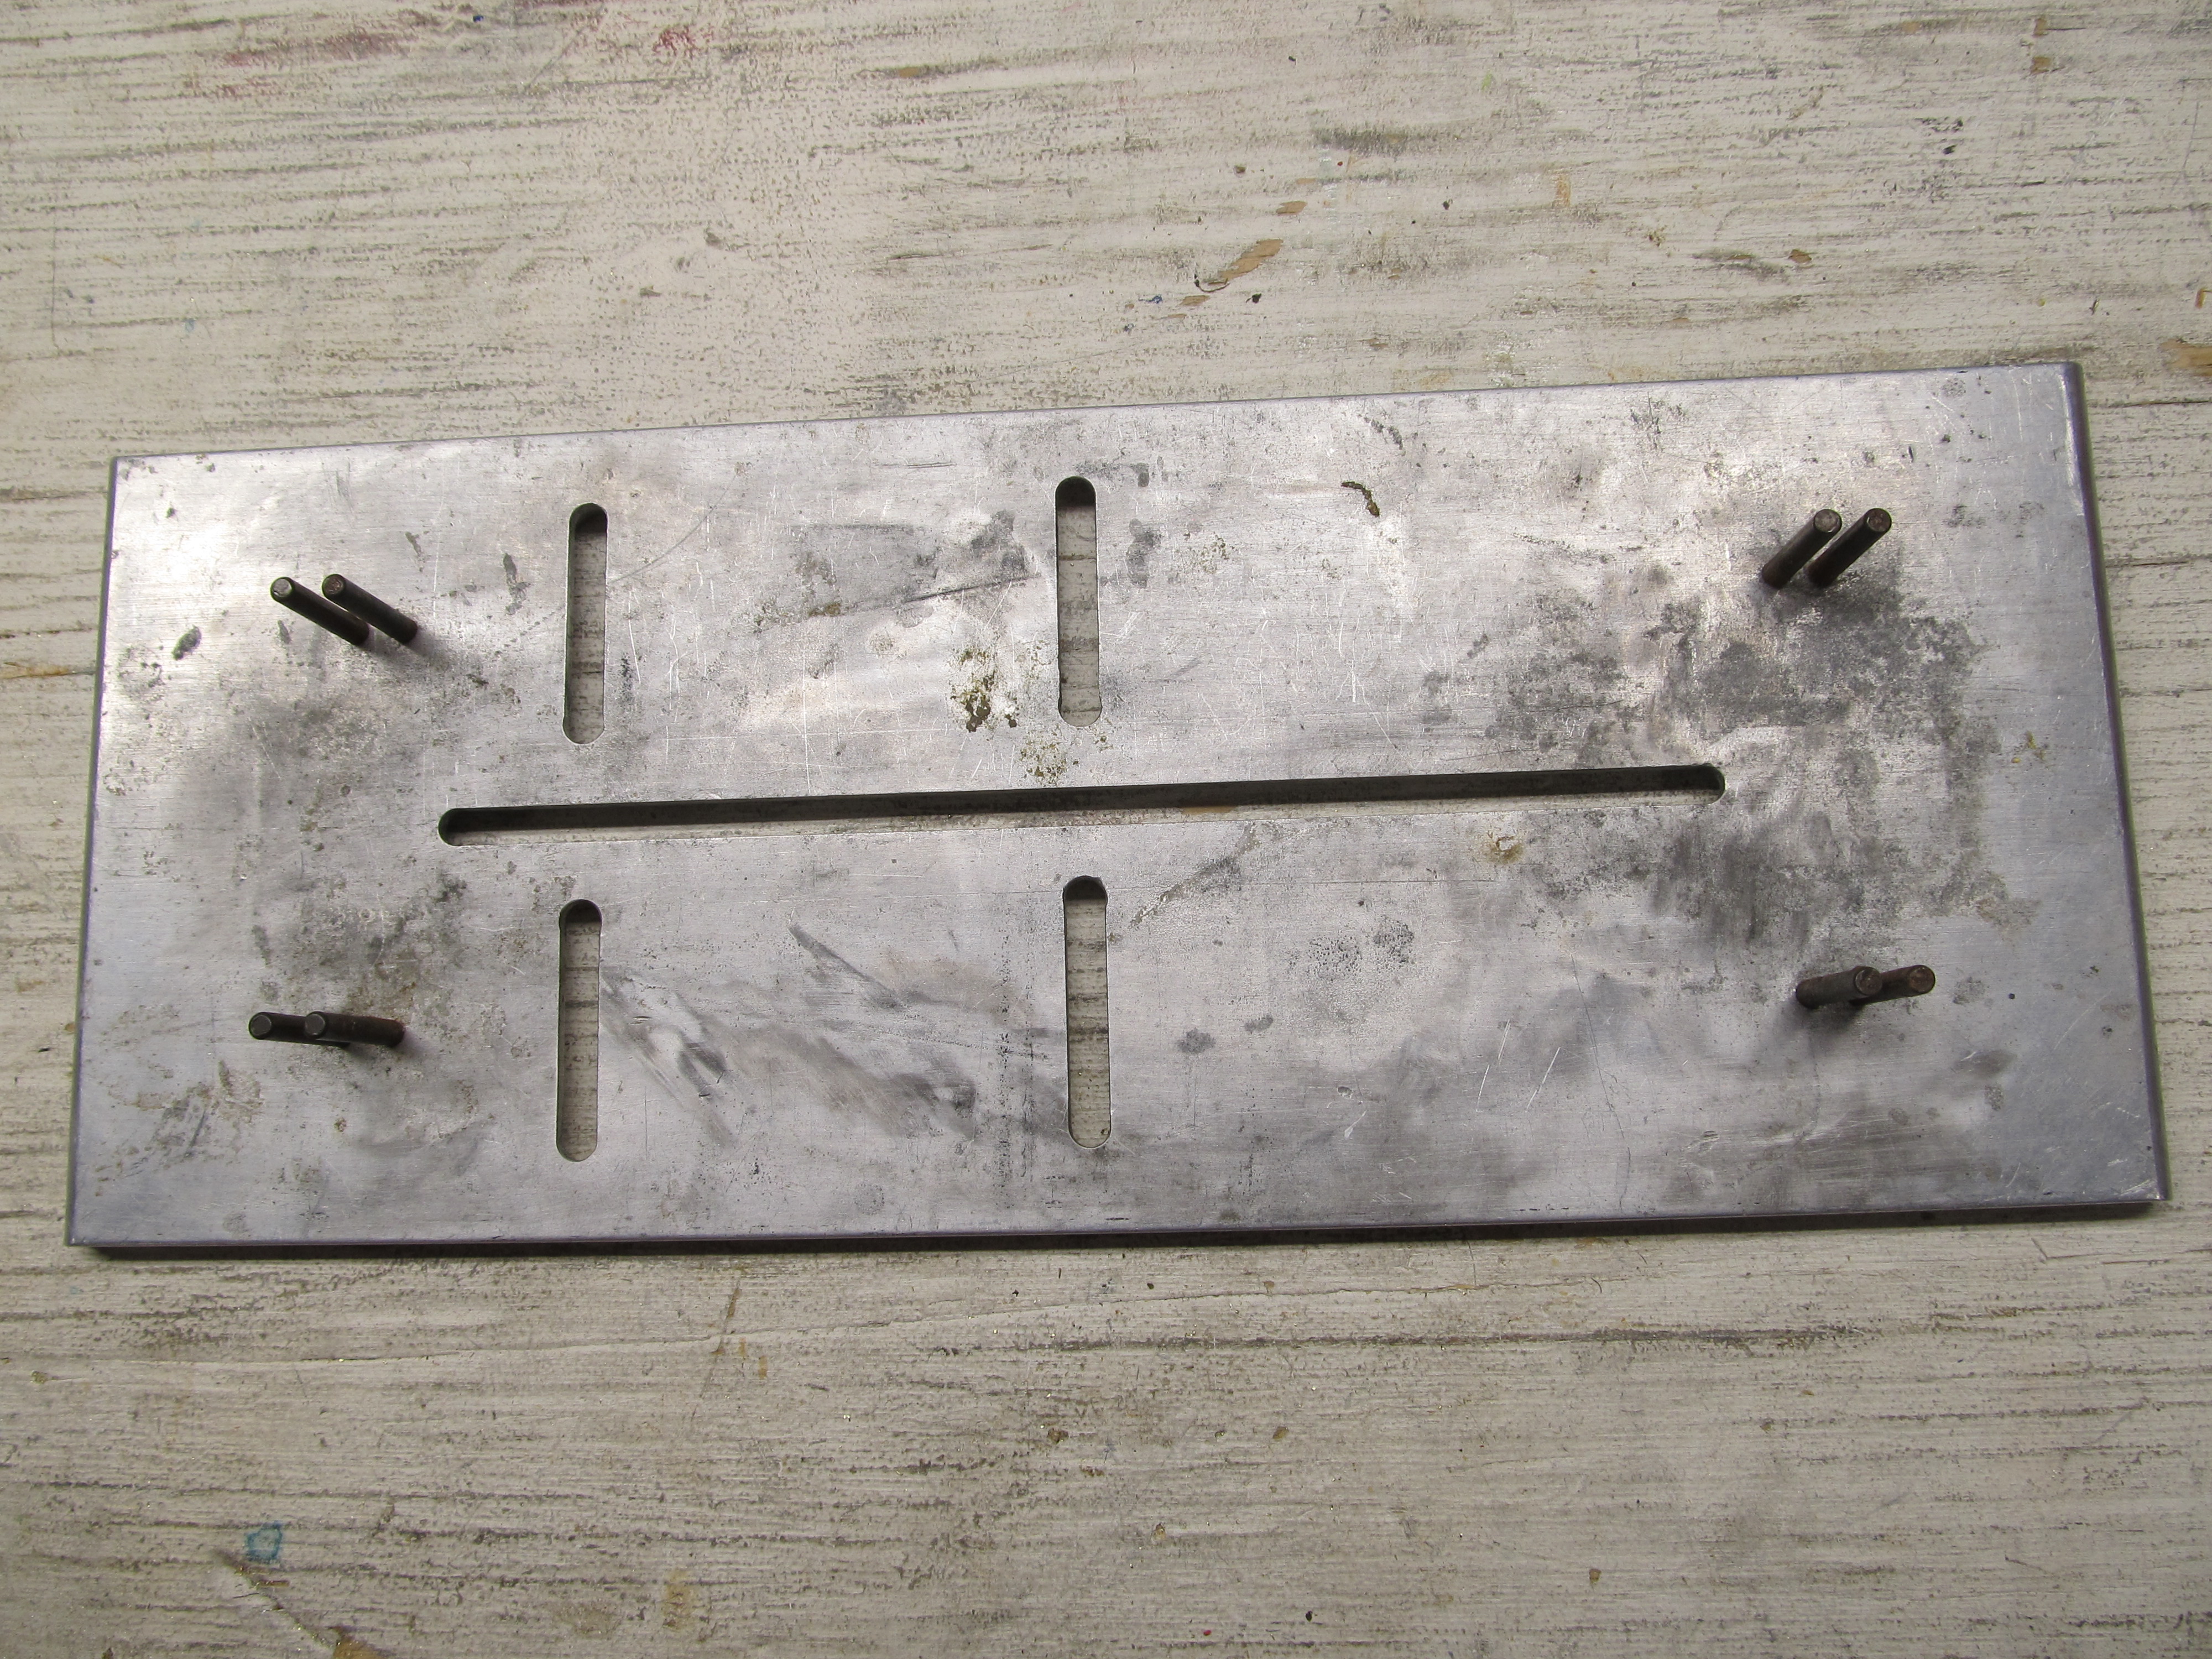
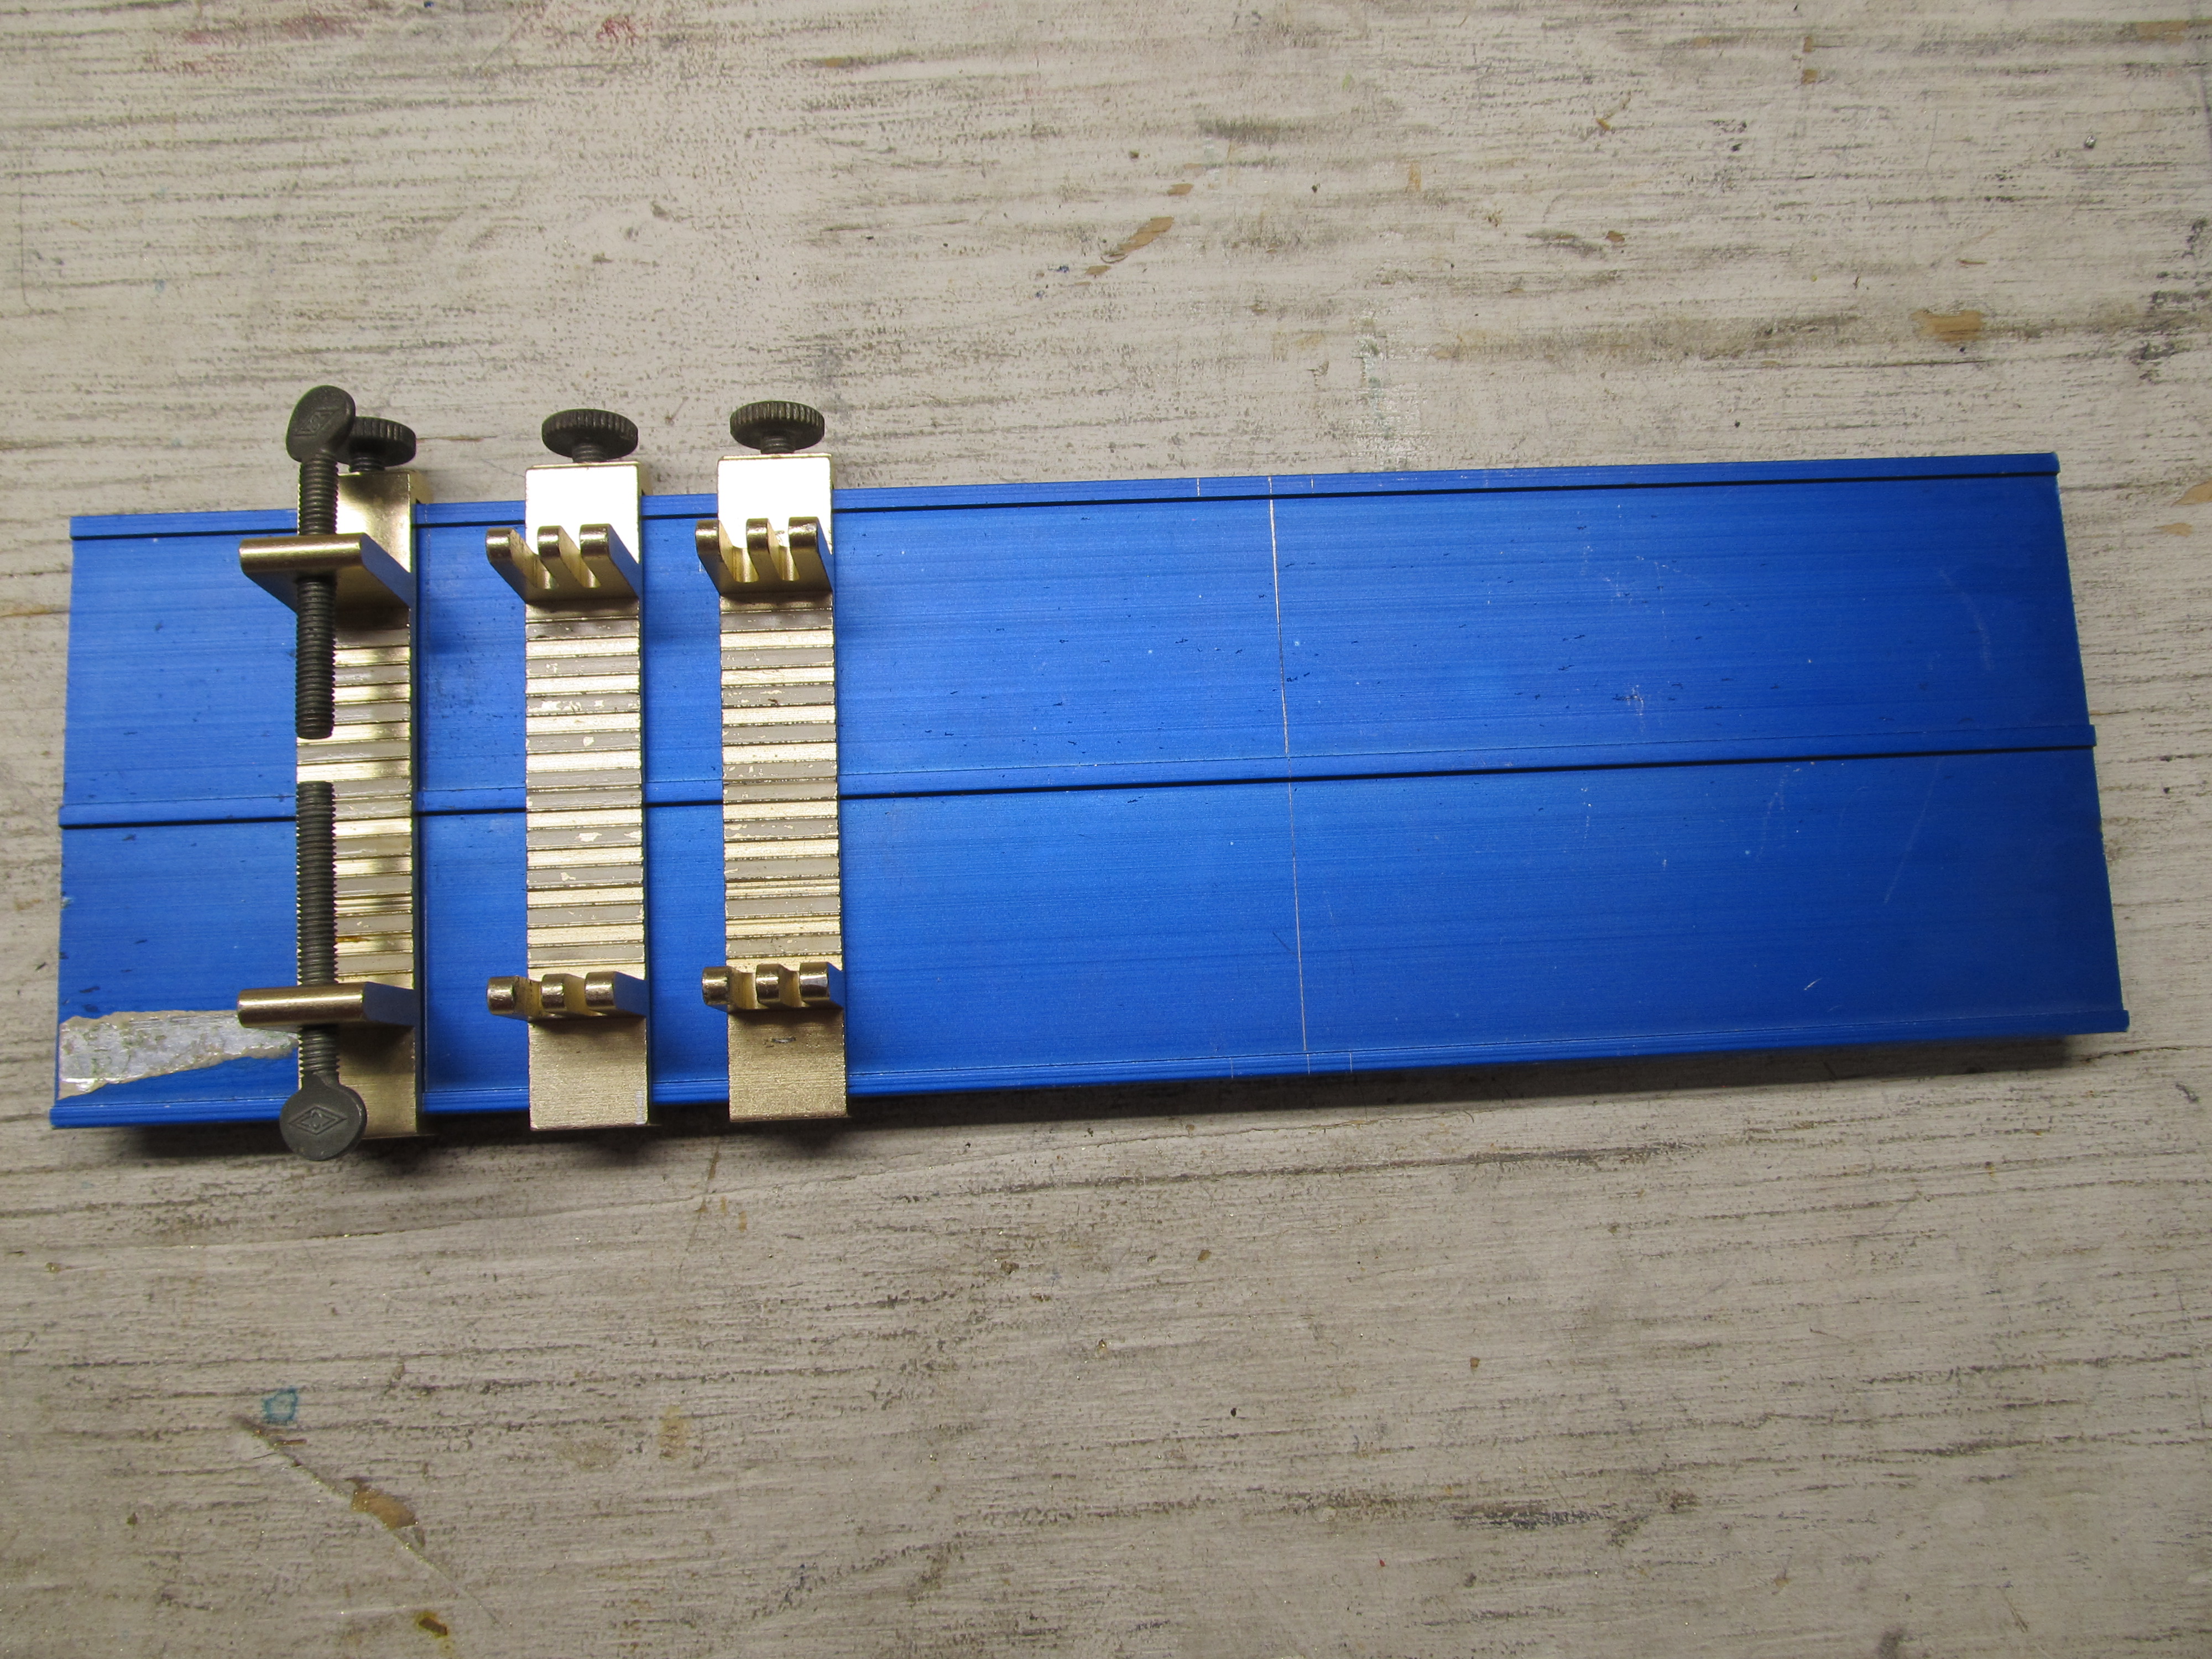
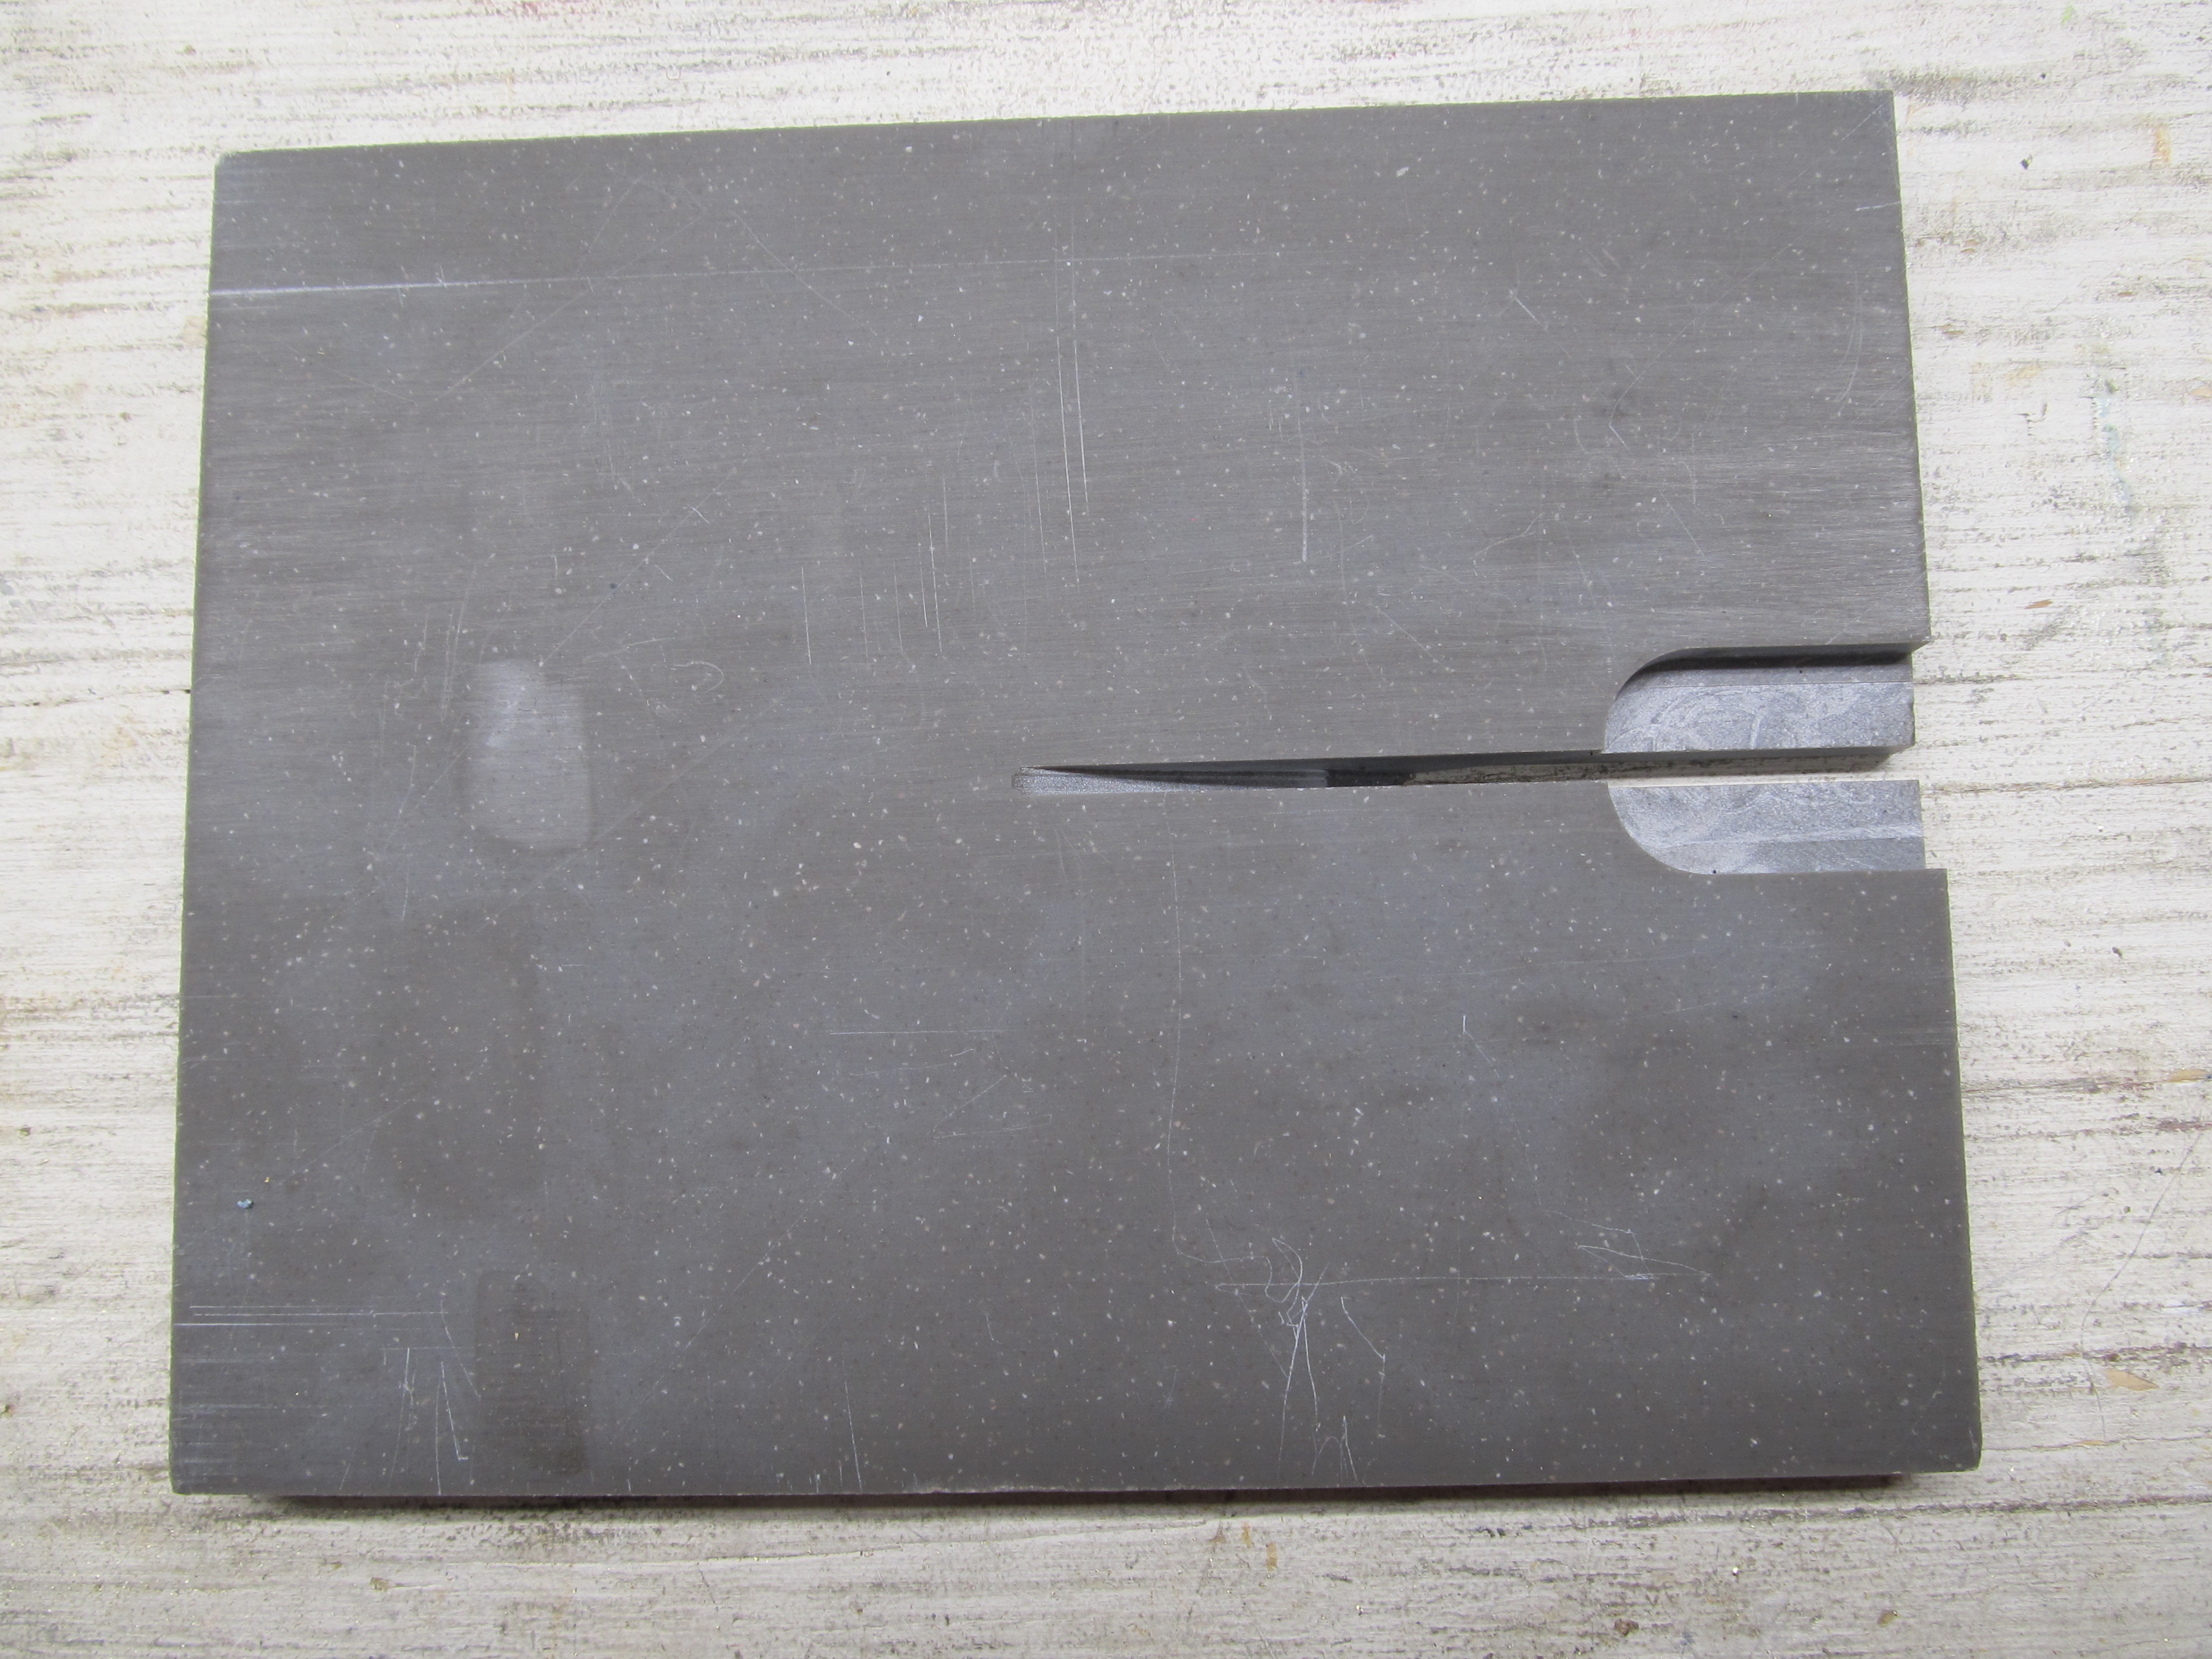
I added two pieces of aluminum angle I built to use as rear axle jigs. The pieces screwed to the jig. I abandoned their use after building the first chassis with this set up. I found that rear axle alignment was critical, and the jig needed to be exact. This one was not!
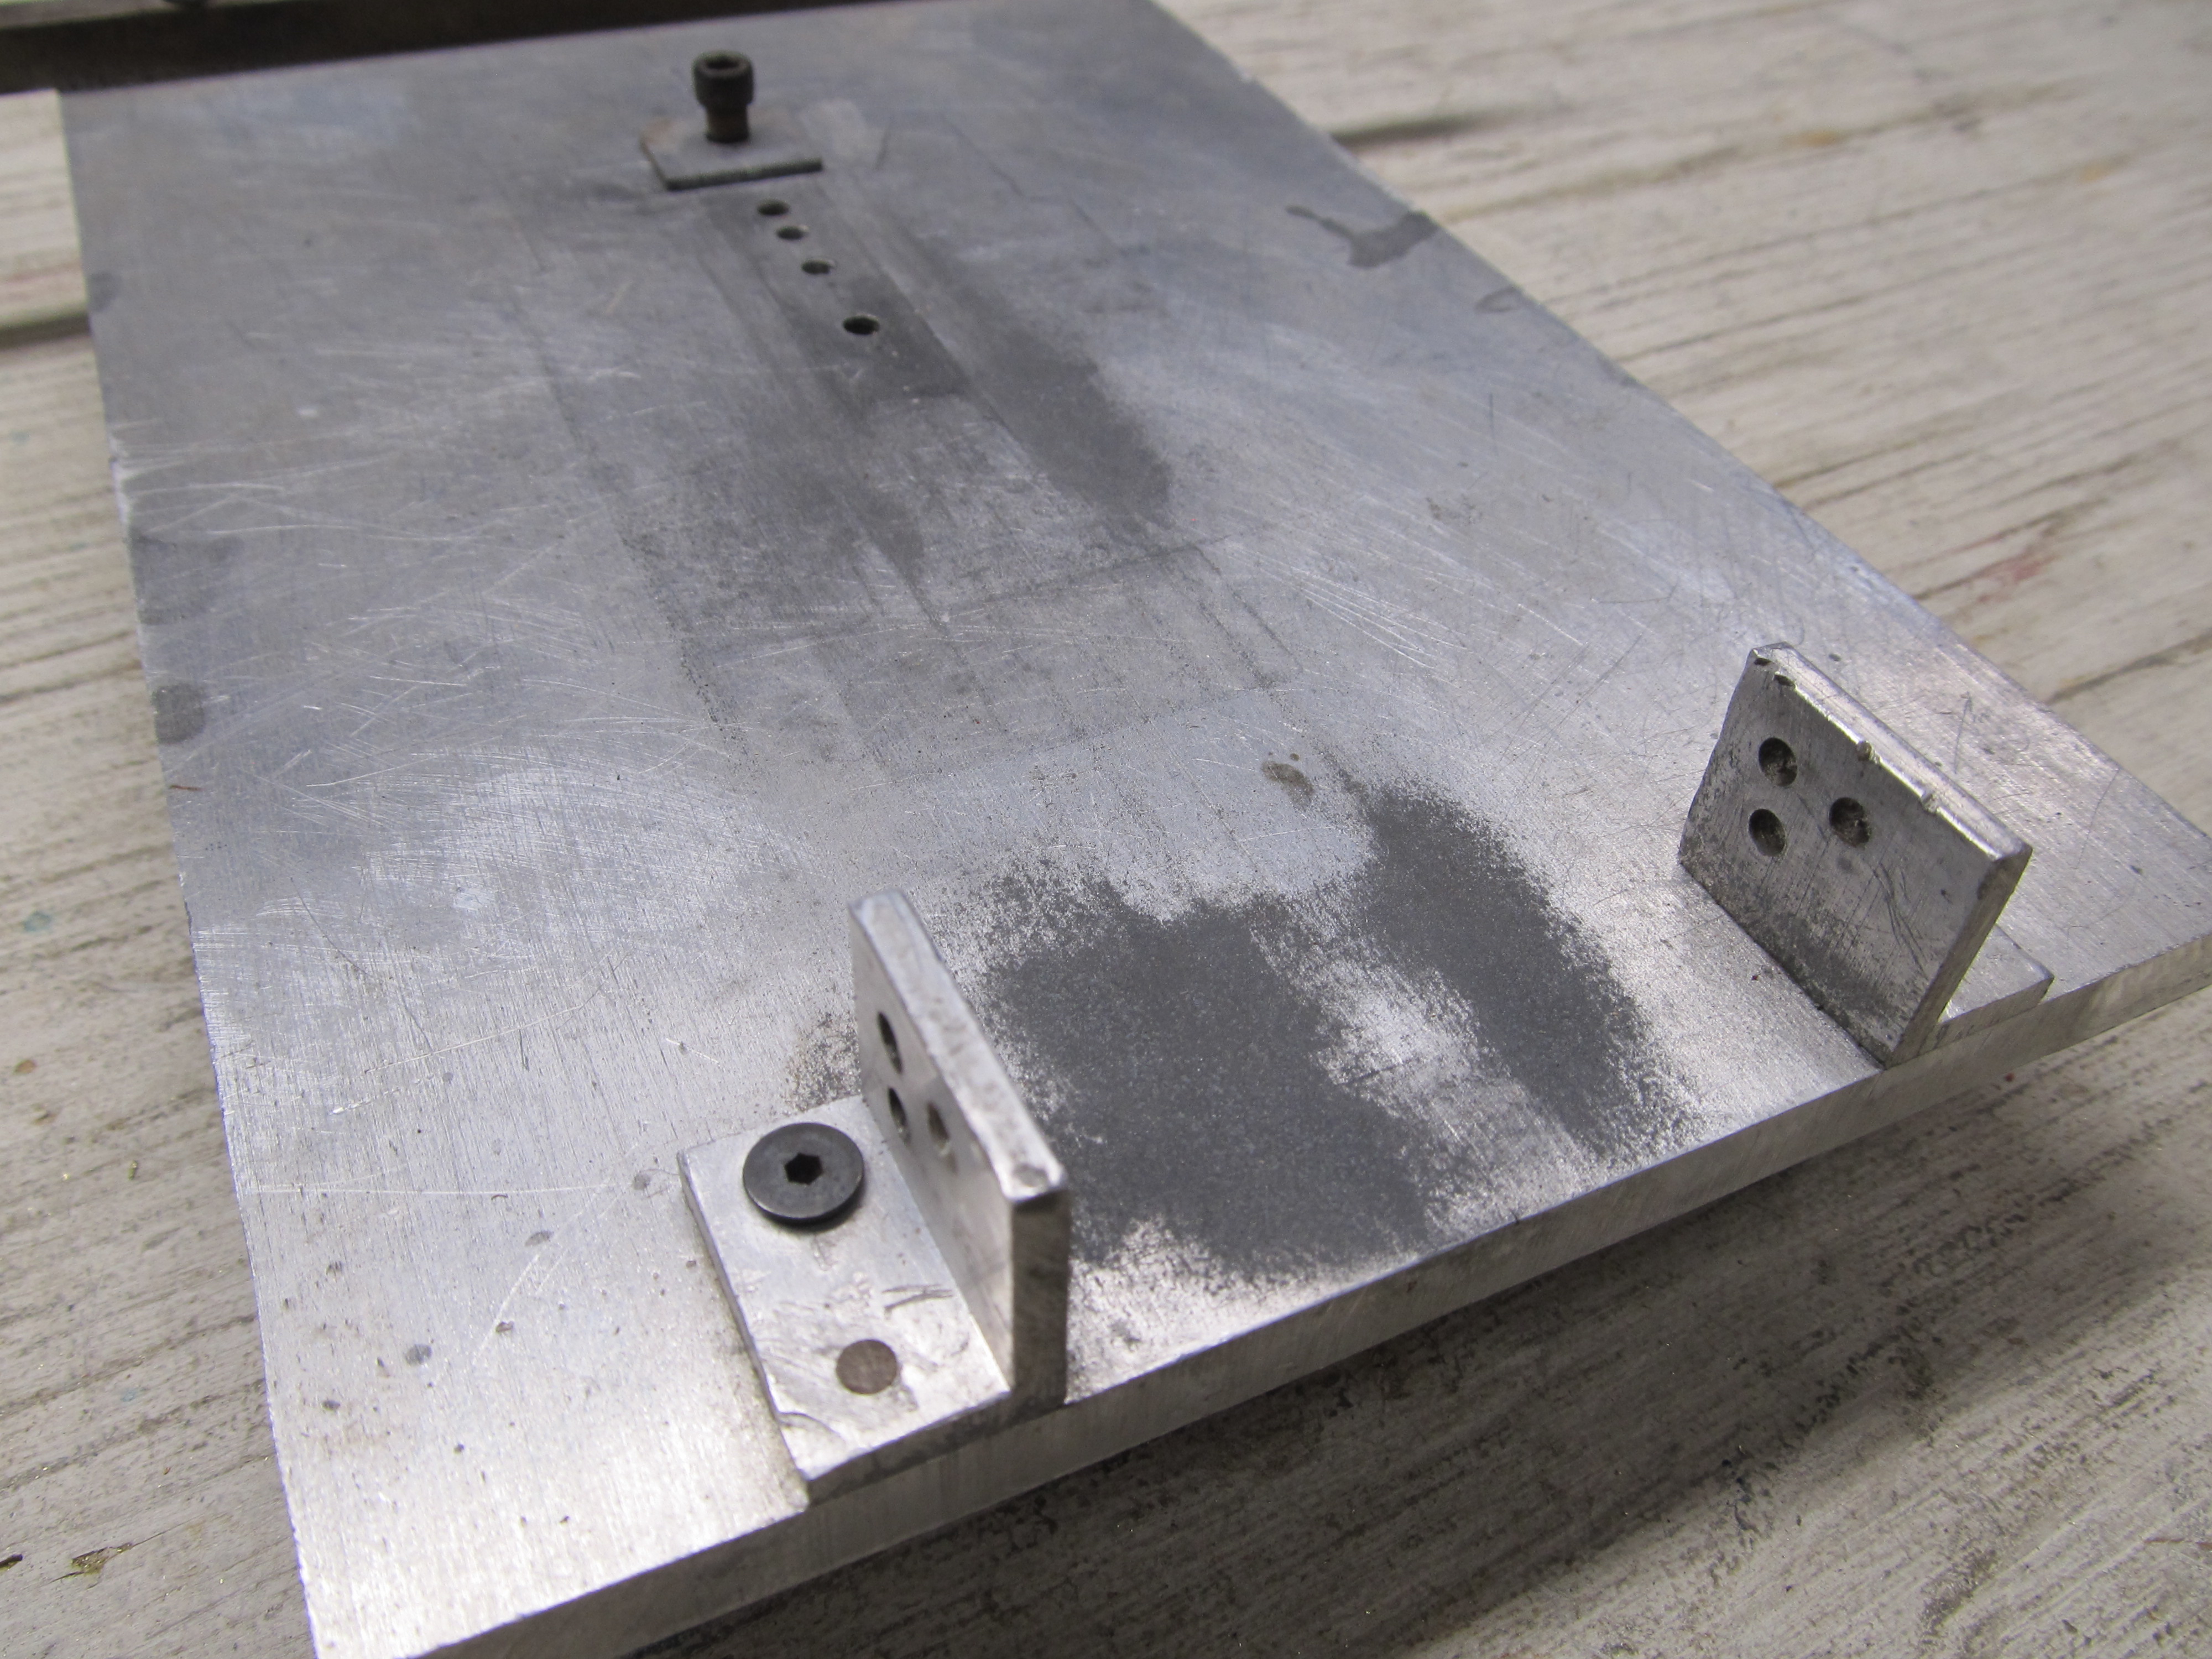
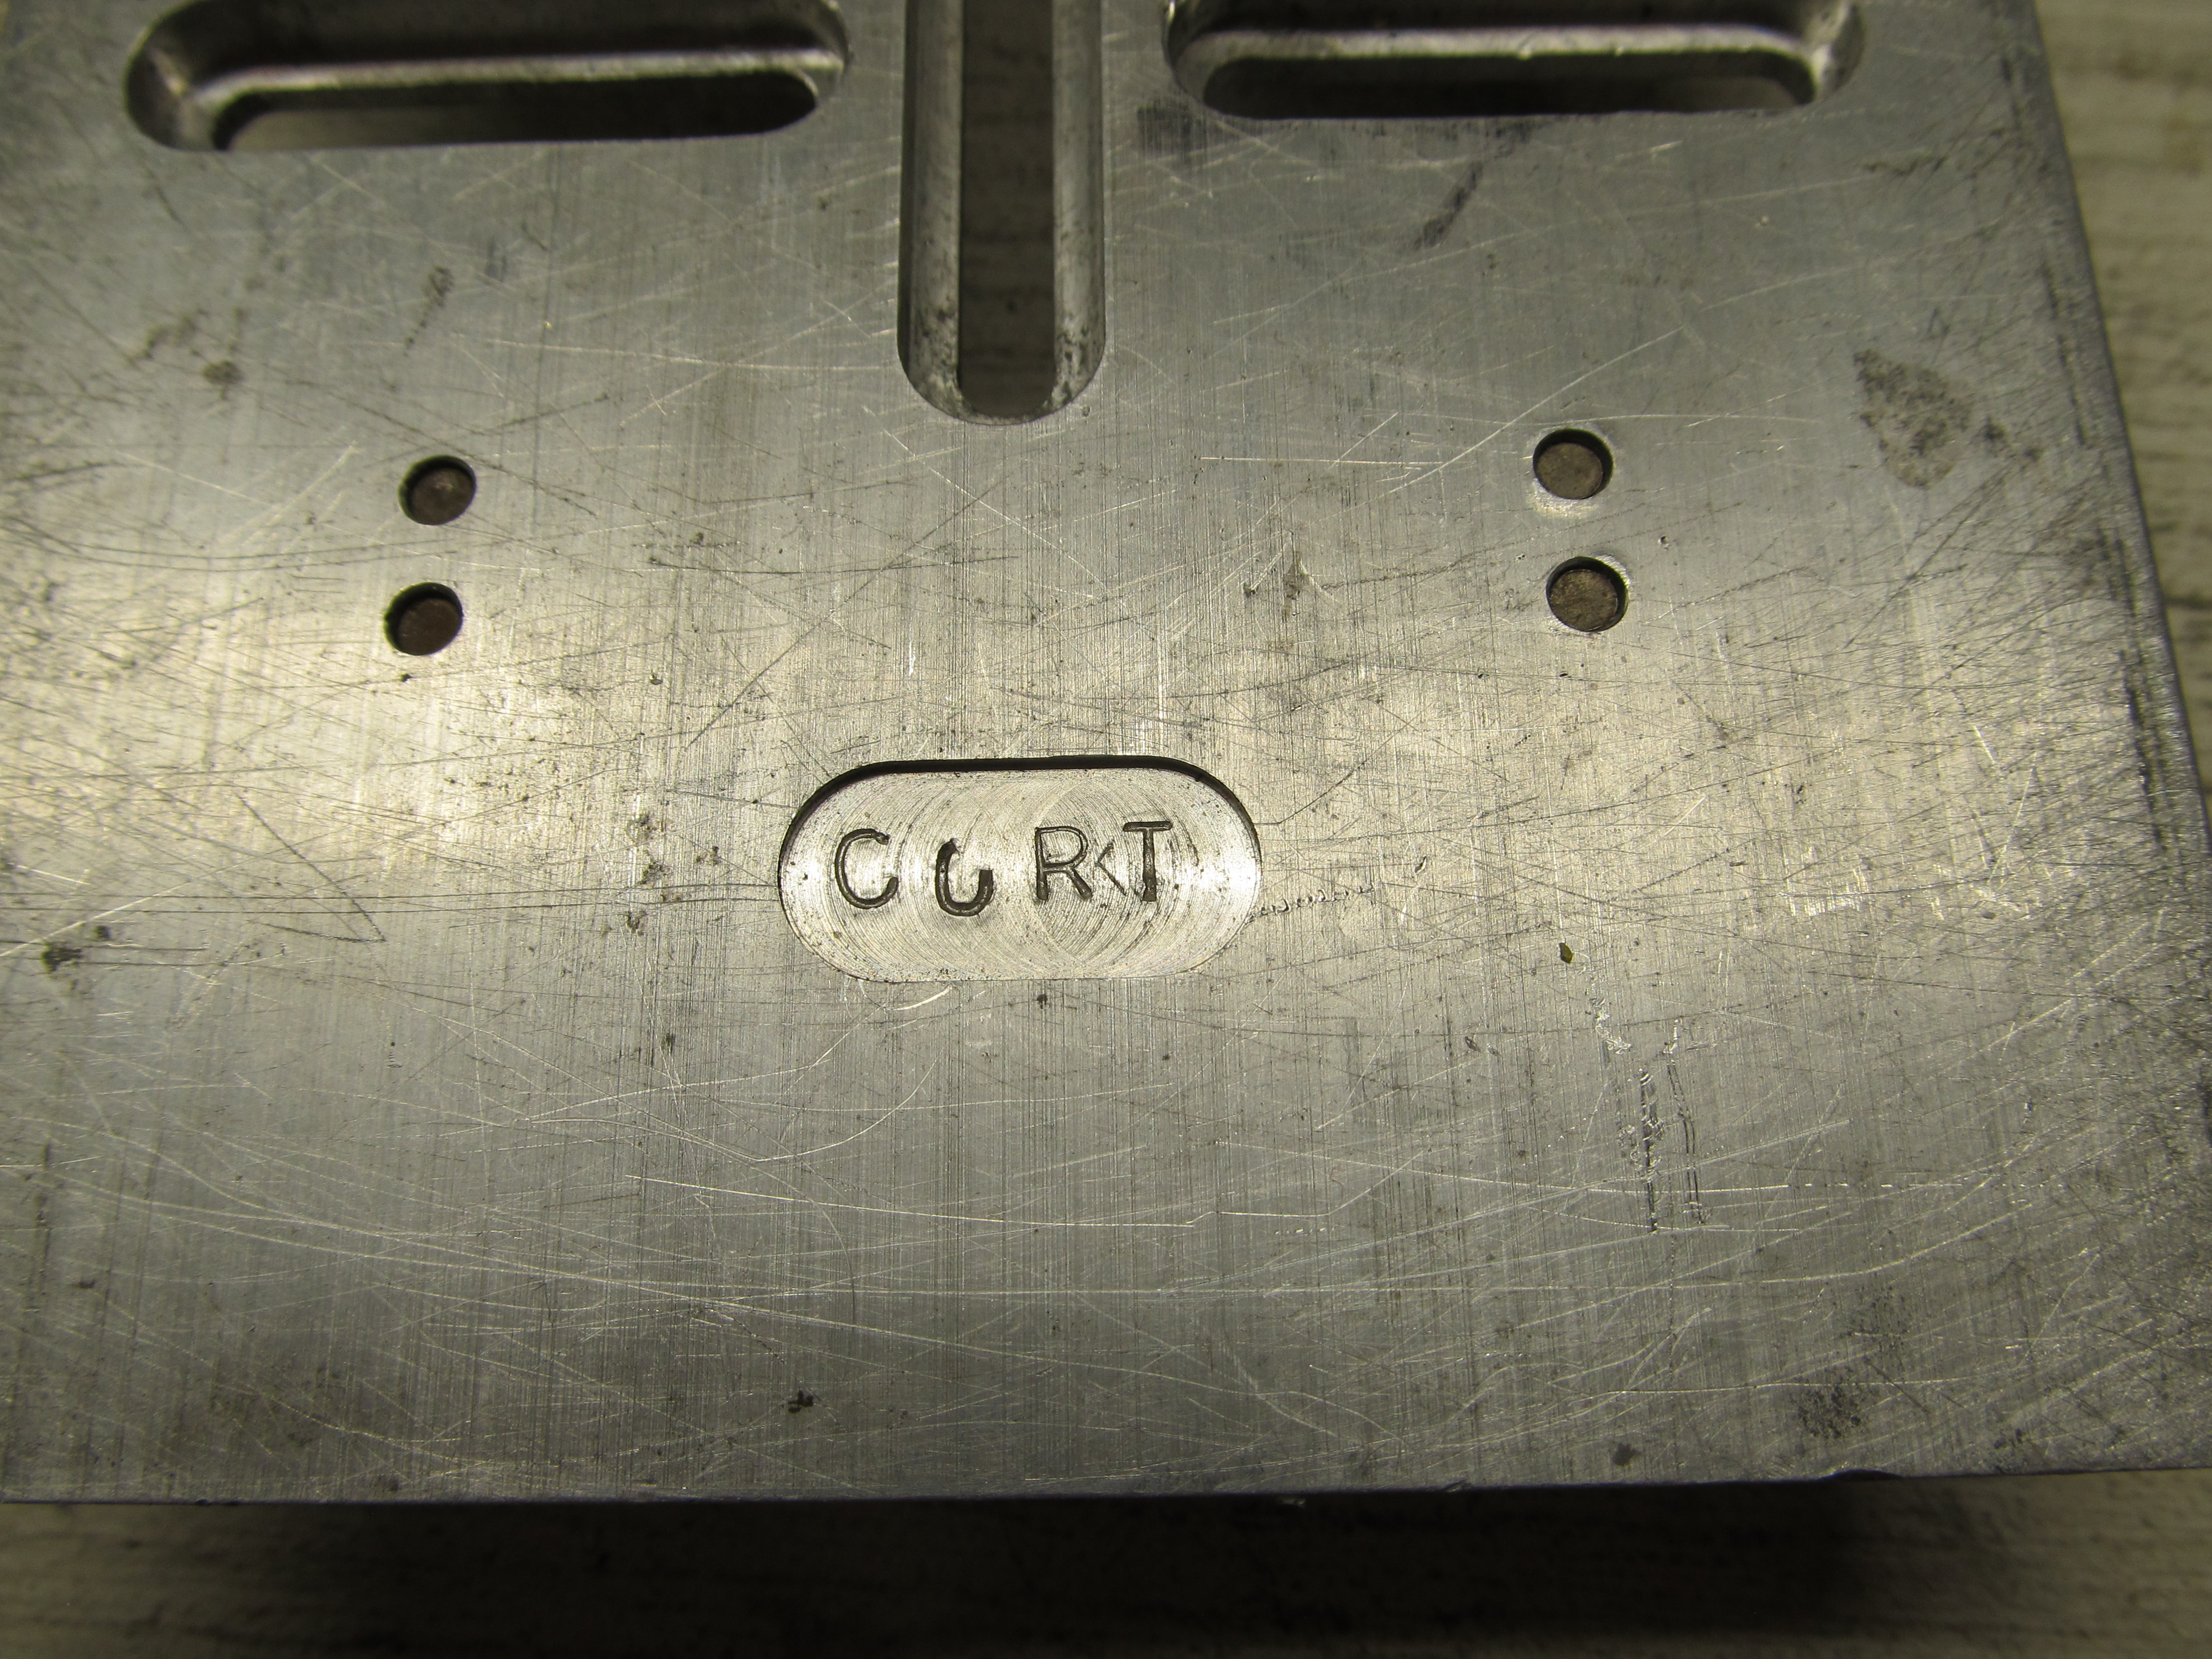
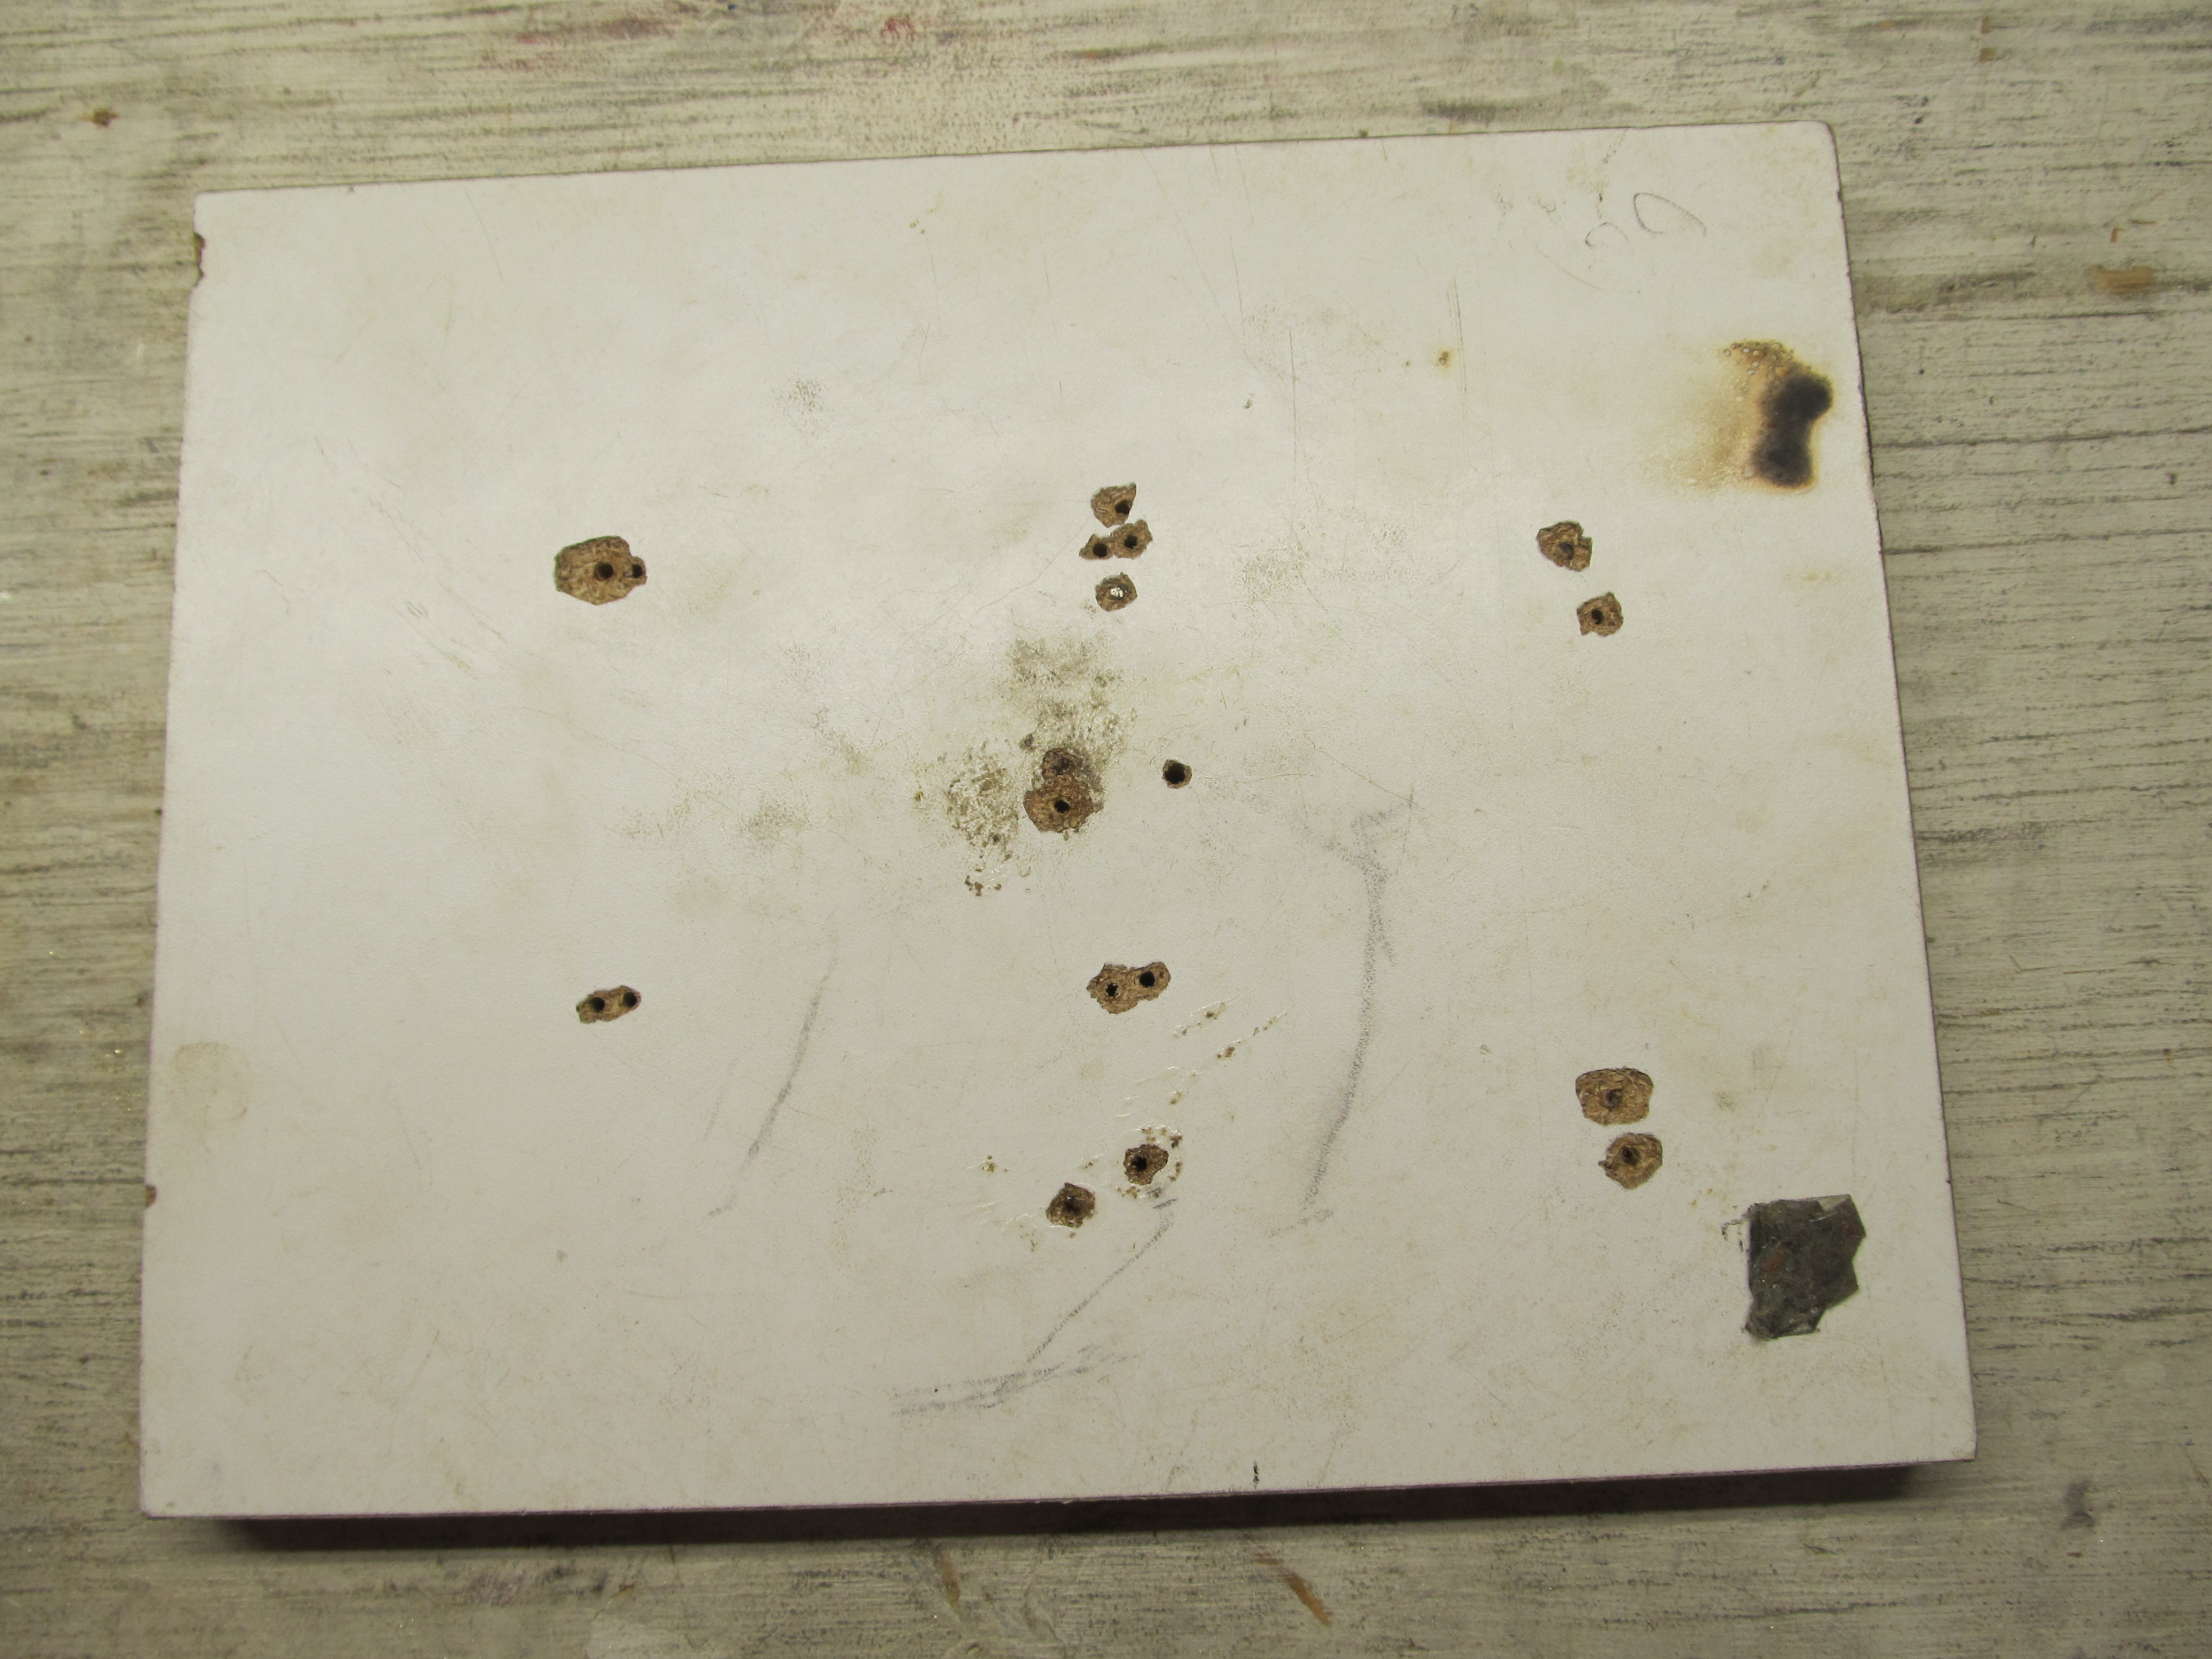
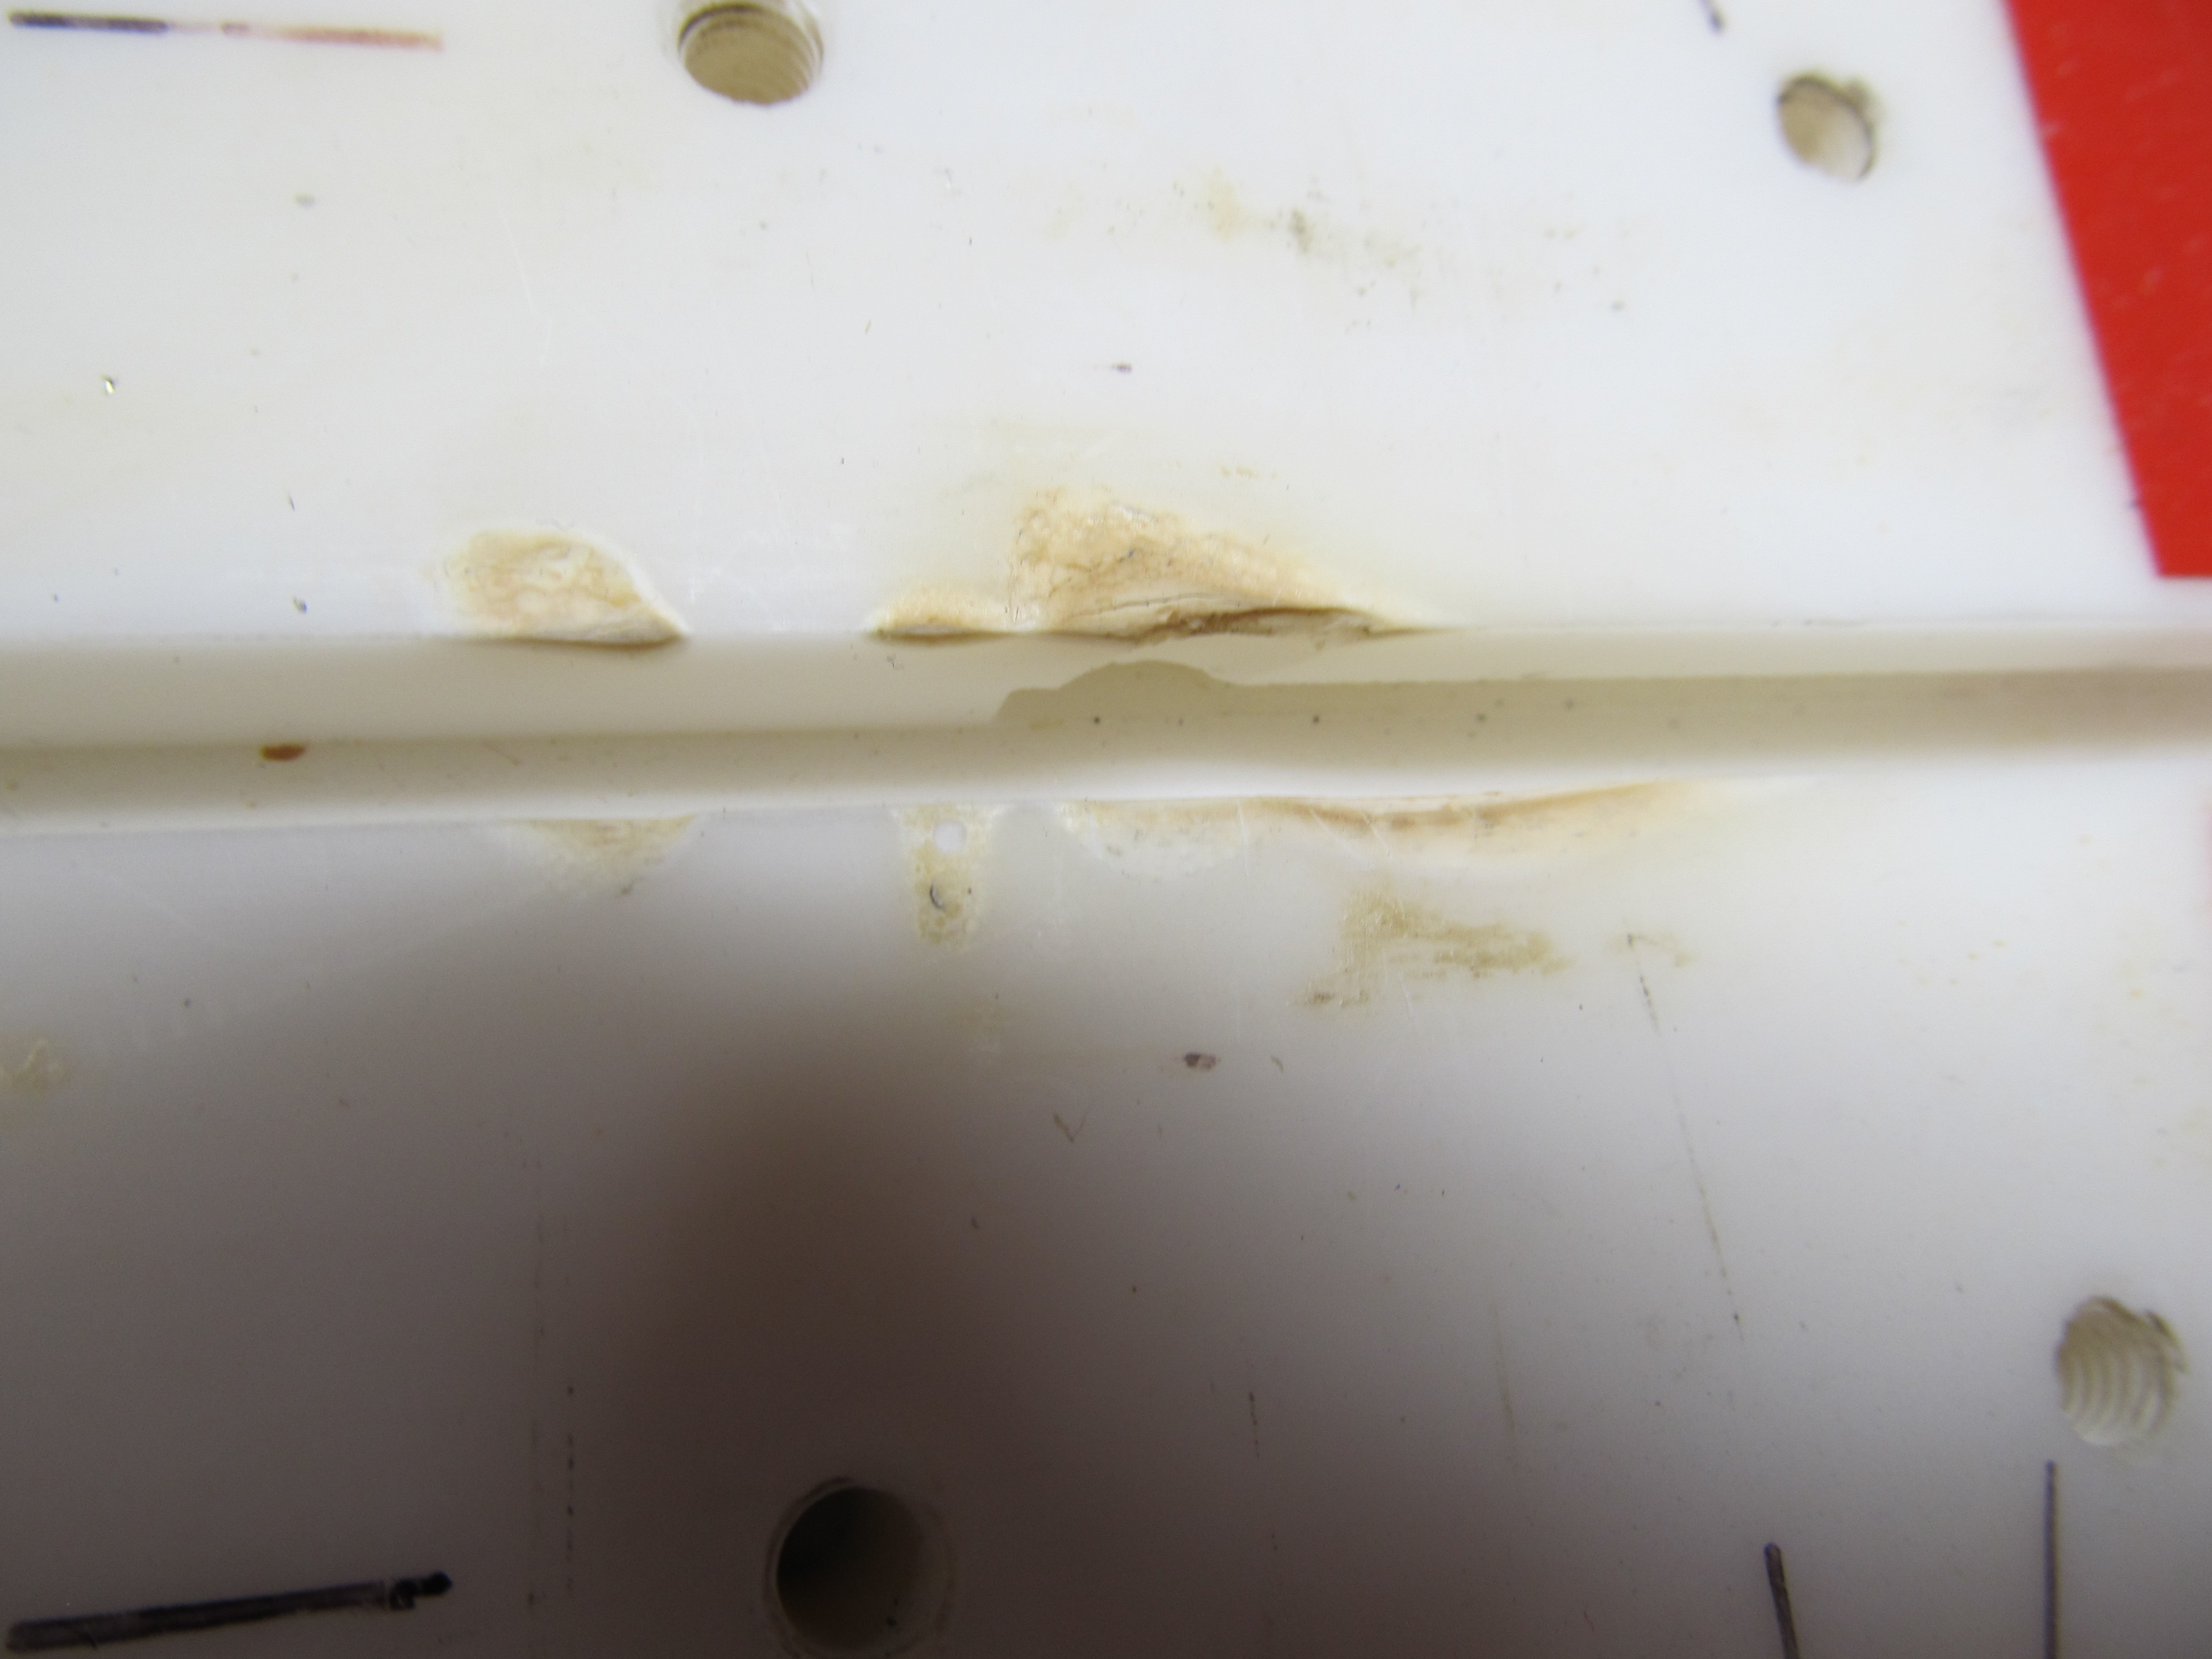
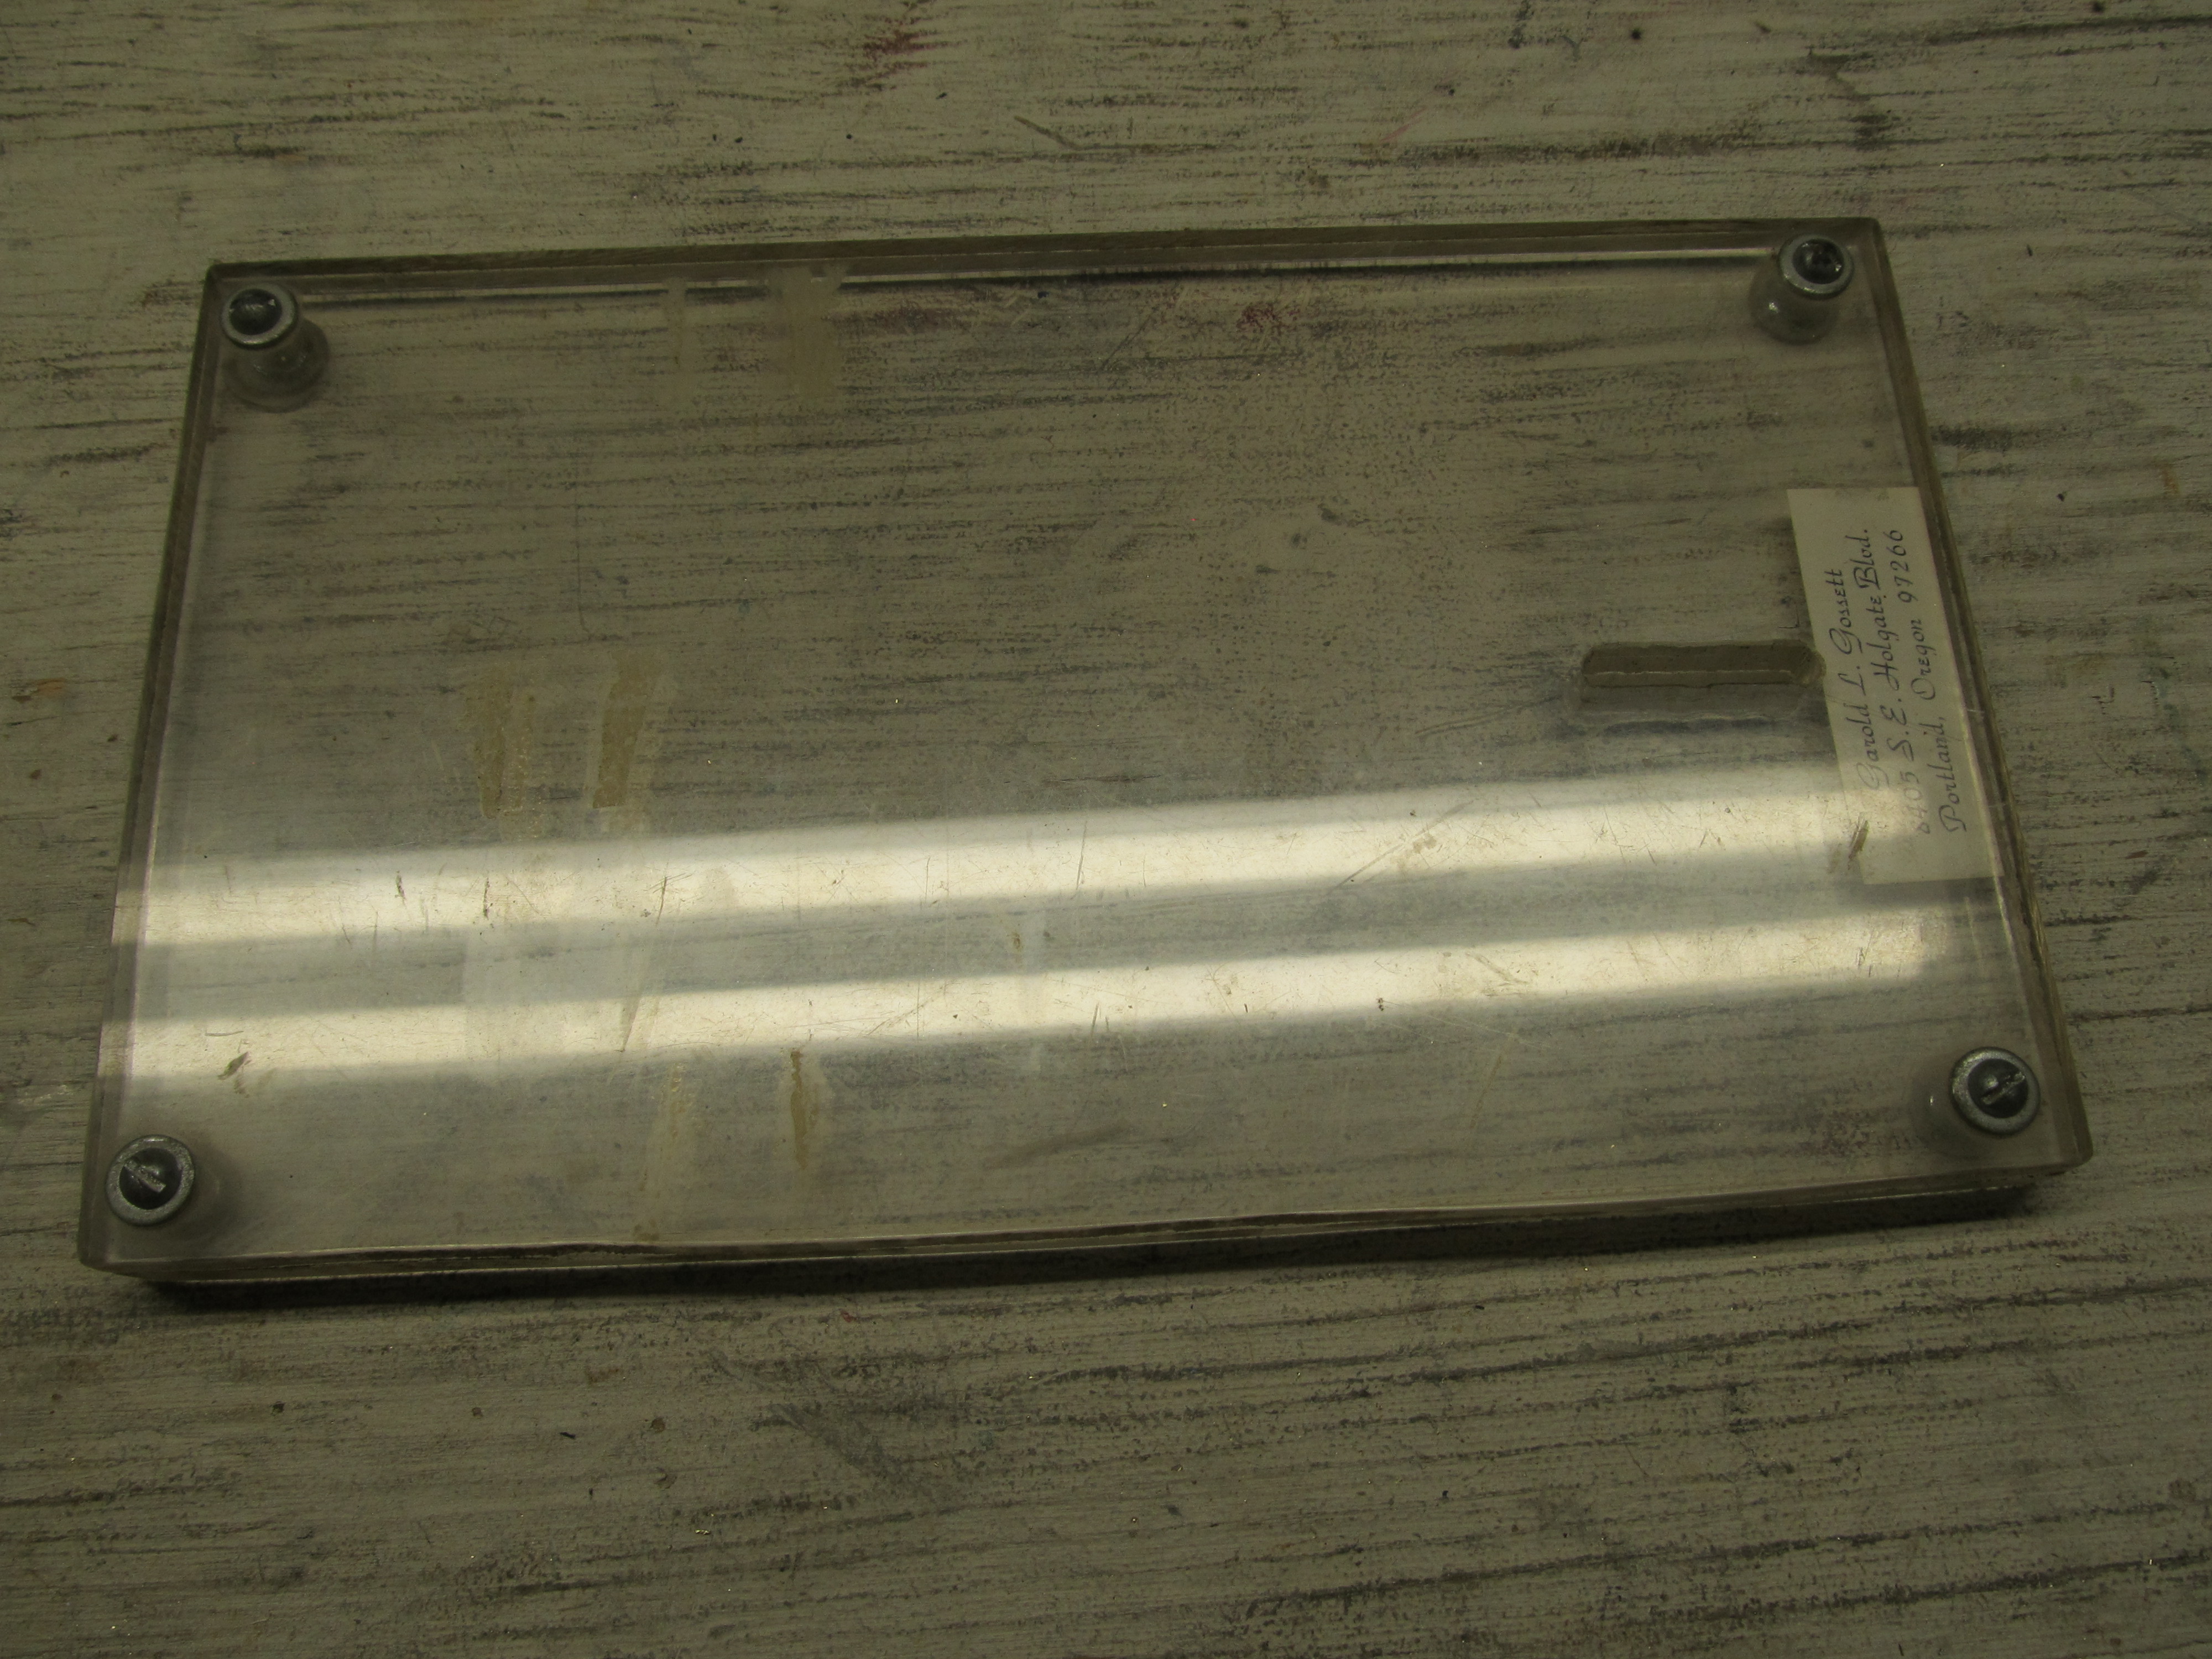
I used this jig a lot, building more than 20 chassis on it. I built all of the original NASTE (Radio shack motor) chassis on this jig. The biggest draw back of this chassis jig is its aluminum construction. The aluminum flat plate sucks so much heat out of the brass, it makes soldering more difficult. The upside was it is very durable!