Re: Projects: Done/Not So Done
by wb0s » Sun Jan 11, 2015 10:49 am
Man, that thing is SWEET!
Nice job Beau!!!
You are not logged in. Please login or register.
The NASTE Forum → Rapid Raceway → Projects: Done/Not So Done

by wb0s » Sun Jan 11, 2015 10:49 am
Man, that thing is SWEET!
Nice job Beau!!!
by howie » Sun Jan 18, 2015 6:21 pm
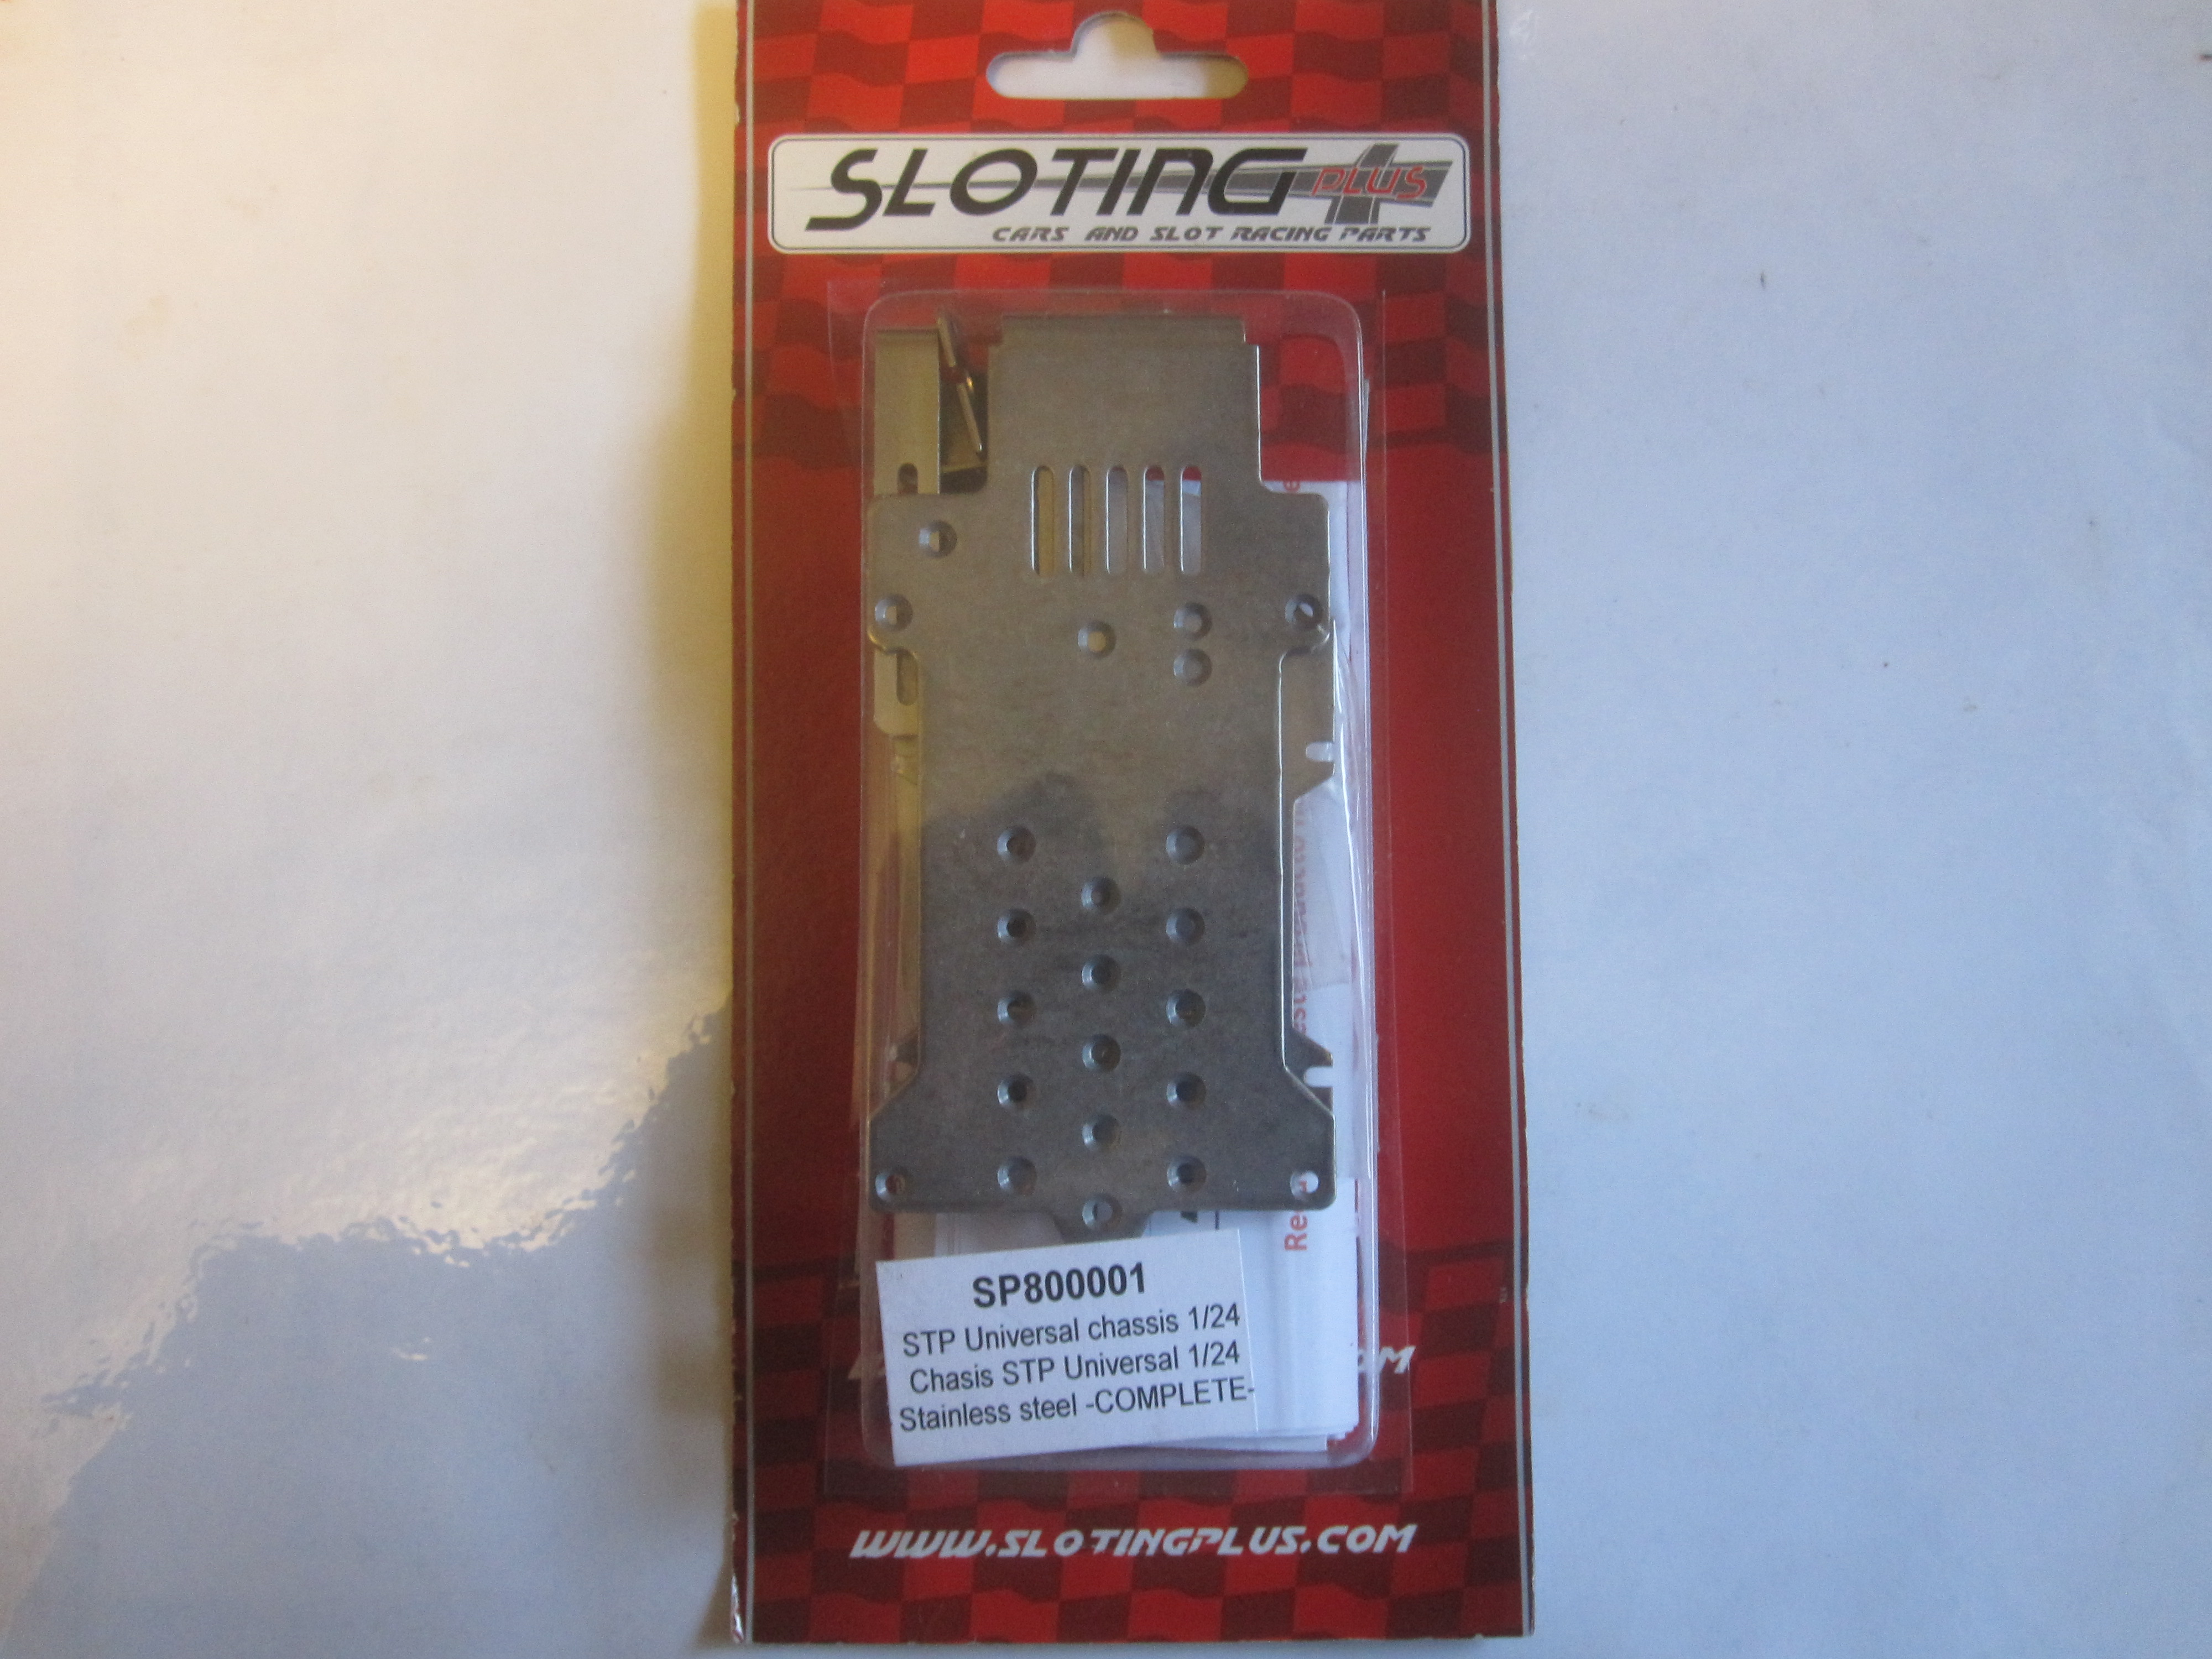
I am going to put together a complete ready to go car ( body installed, no paint ) using the Sloting Plus SP800001 chassis. I will post pictures and keep track of the cost as I go. I am not sure yet if it is going to be a Nationwide NASCAR or TA2. I may add it to the parts rack when completed, at cost for parts as I paid for them.
Comes in a nice package, screws etc. come in a little zip lock bag. $49.95.
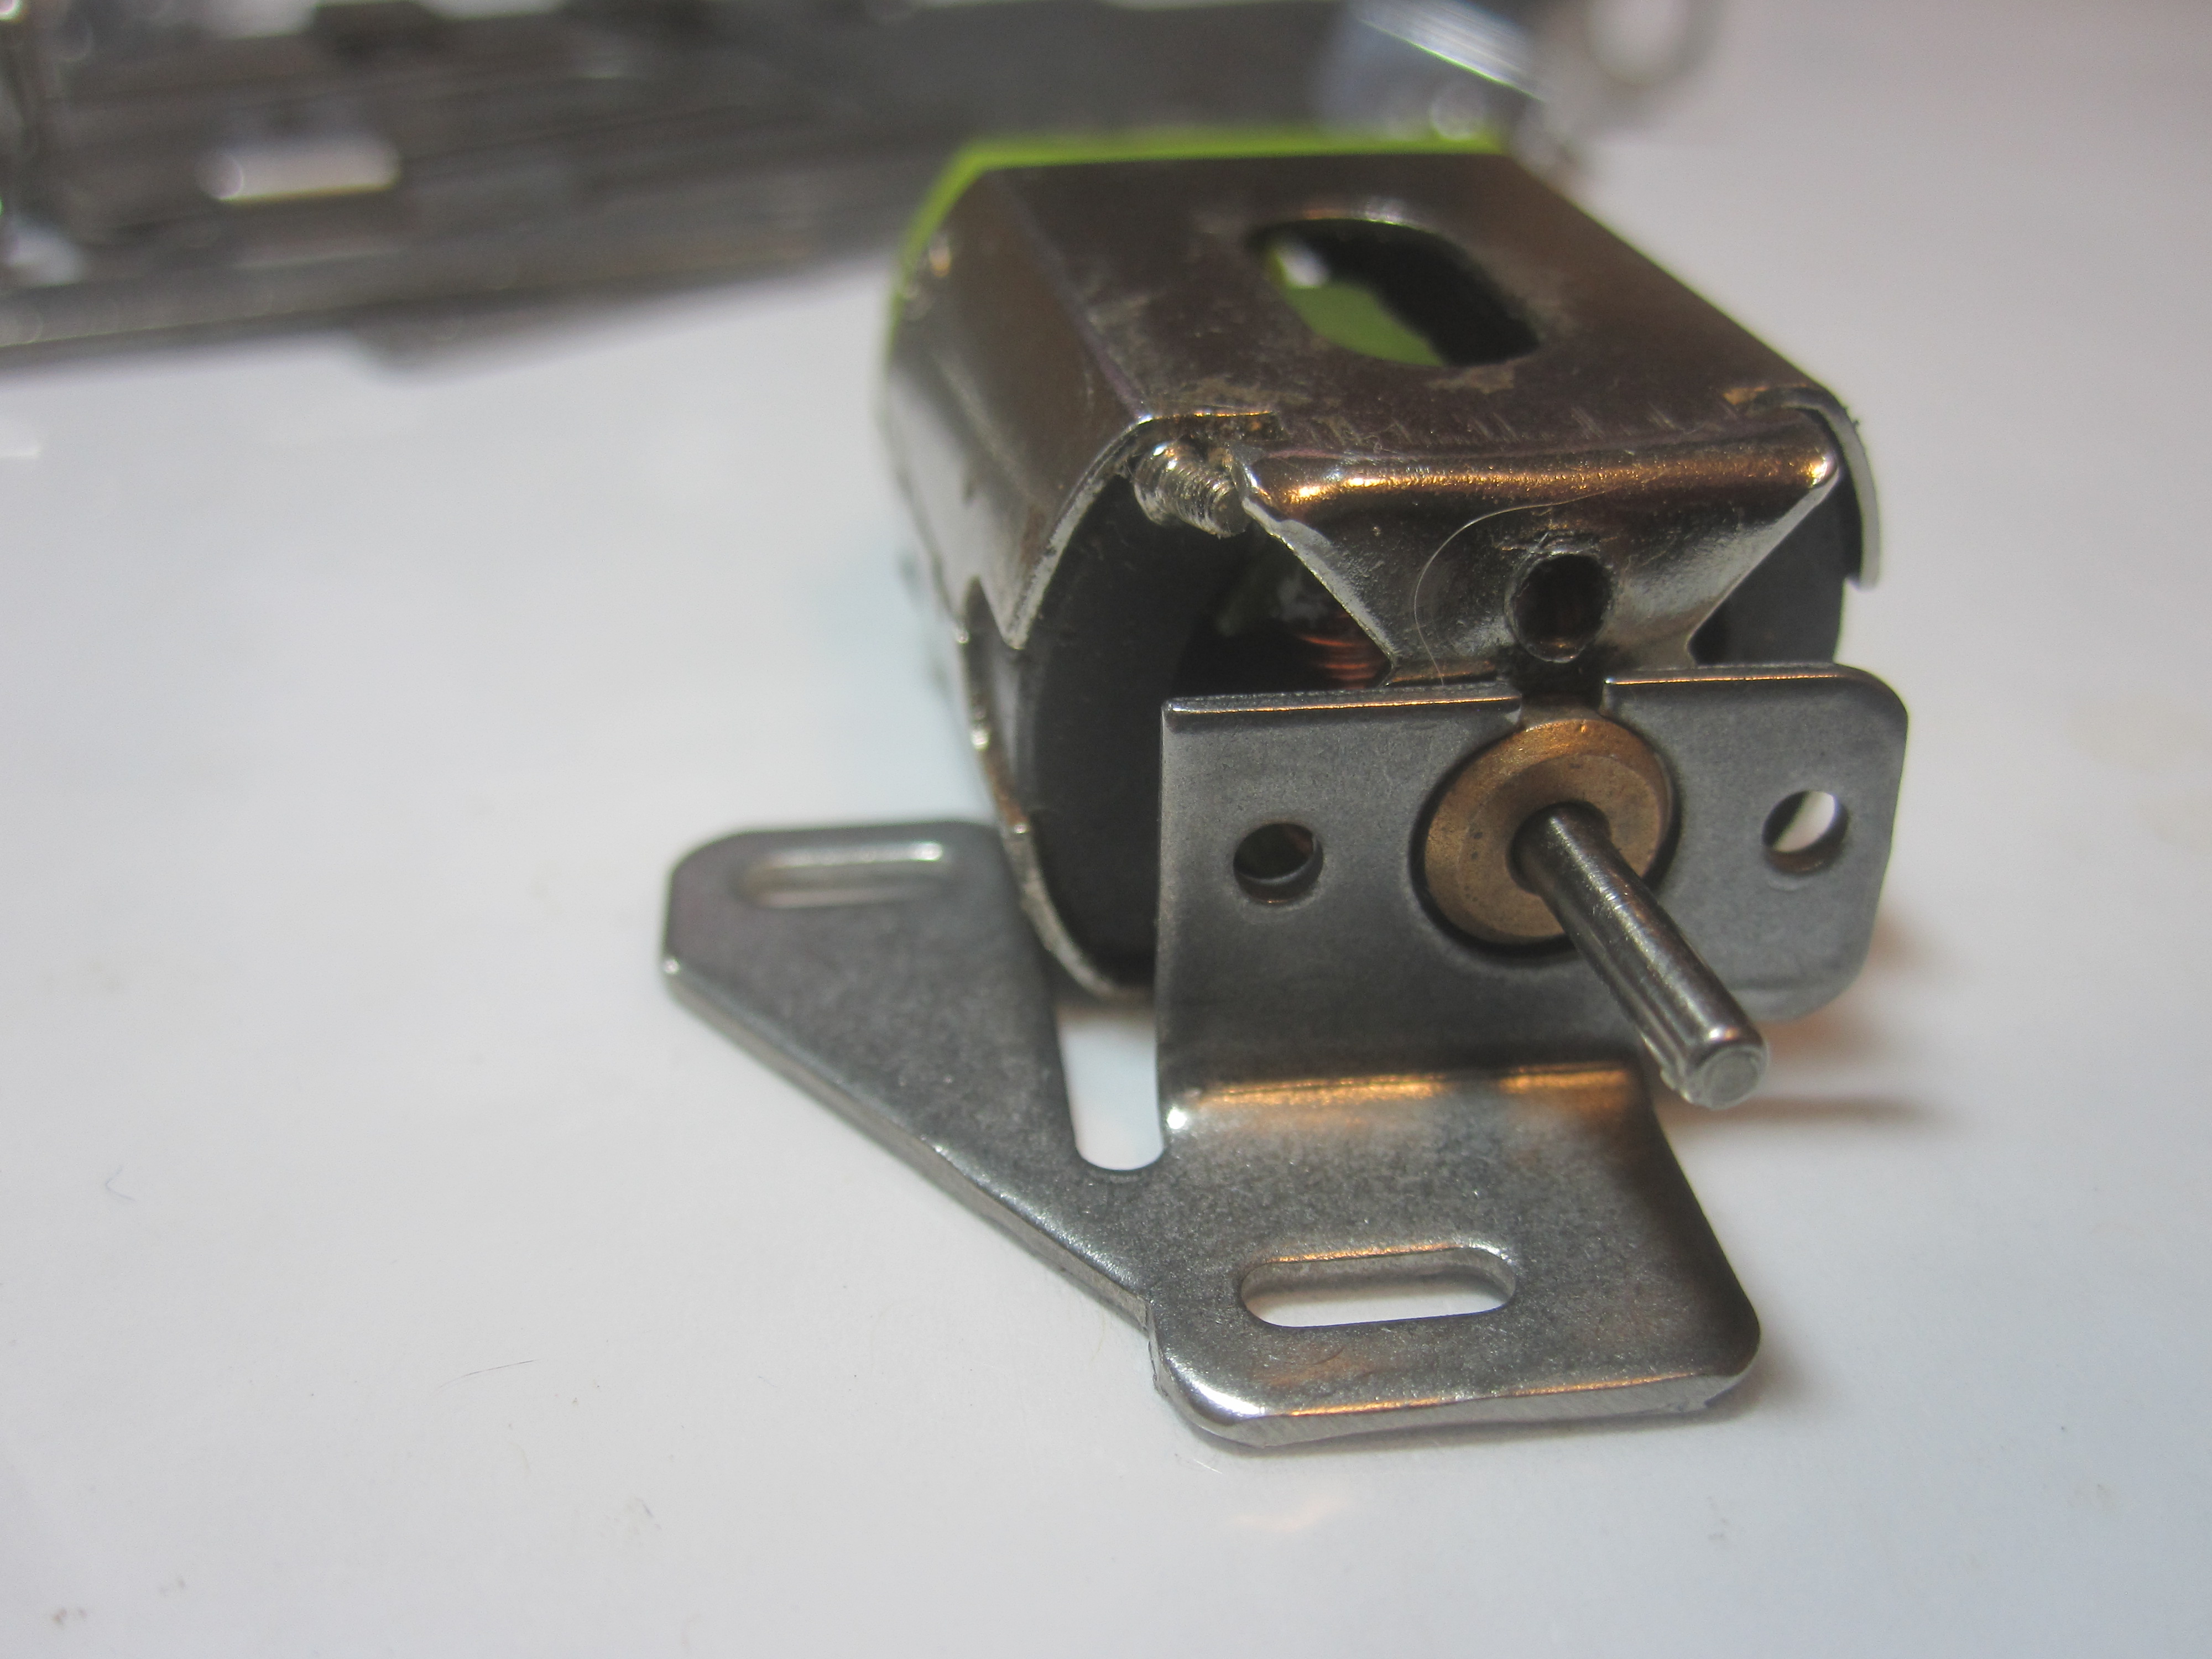
First problem: the motor bracket does not fit any motor as advertised on Professor Motor. I have another mount that will work and fit the D can. About $4.00.
by howie » Sun Jan 18, 2015 9:51 pm
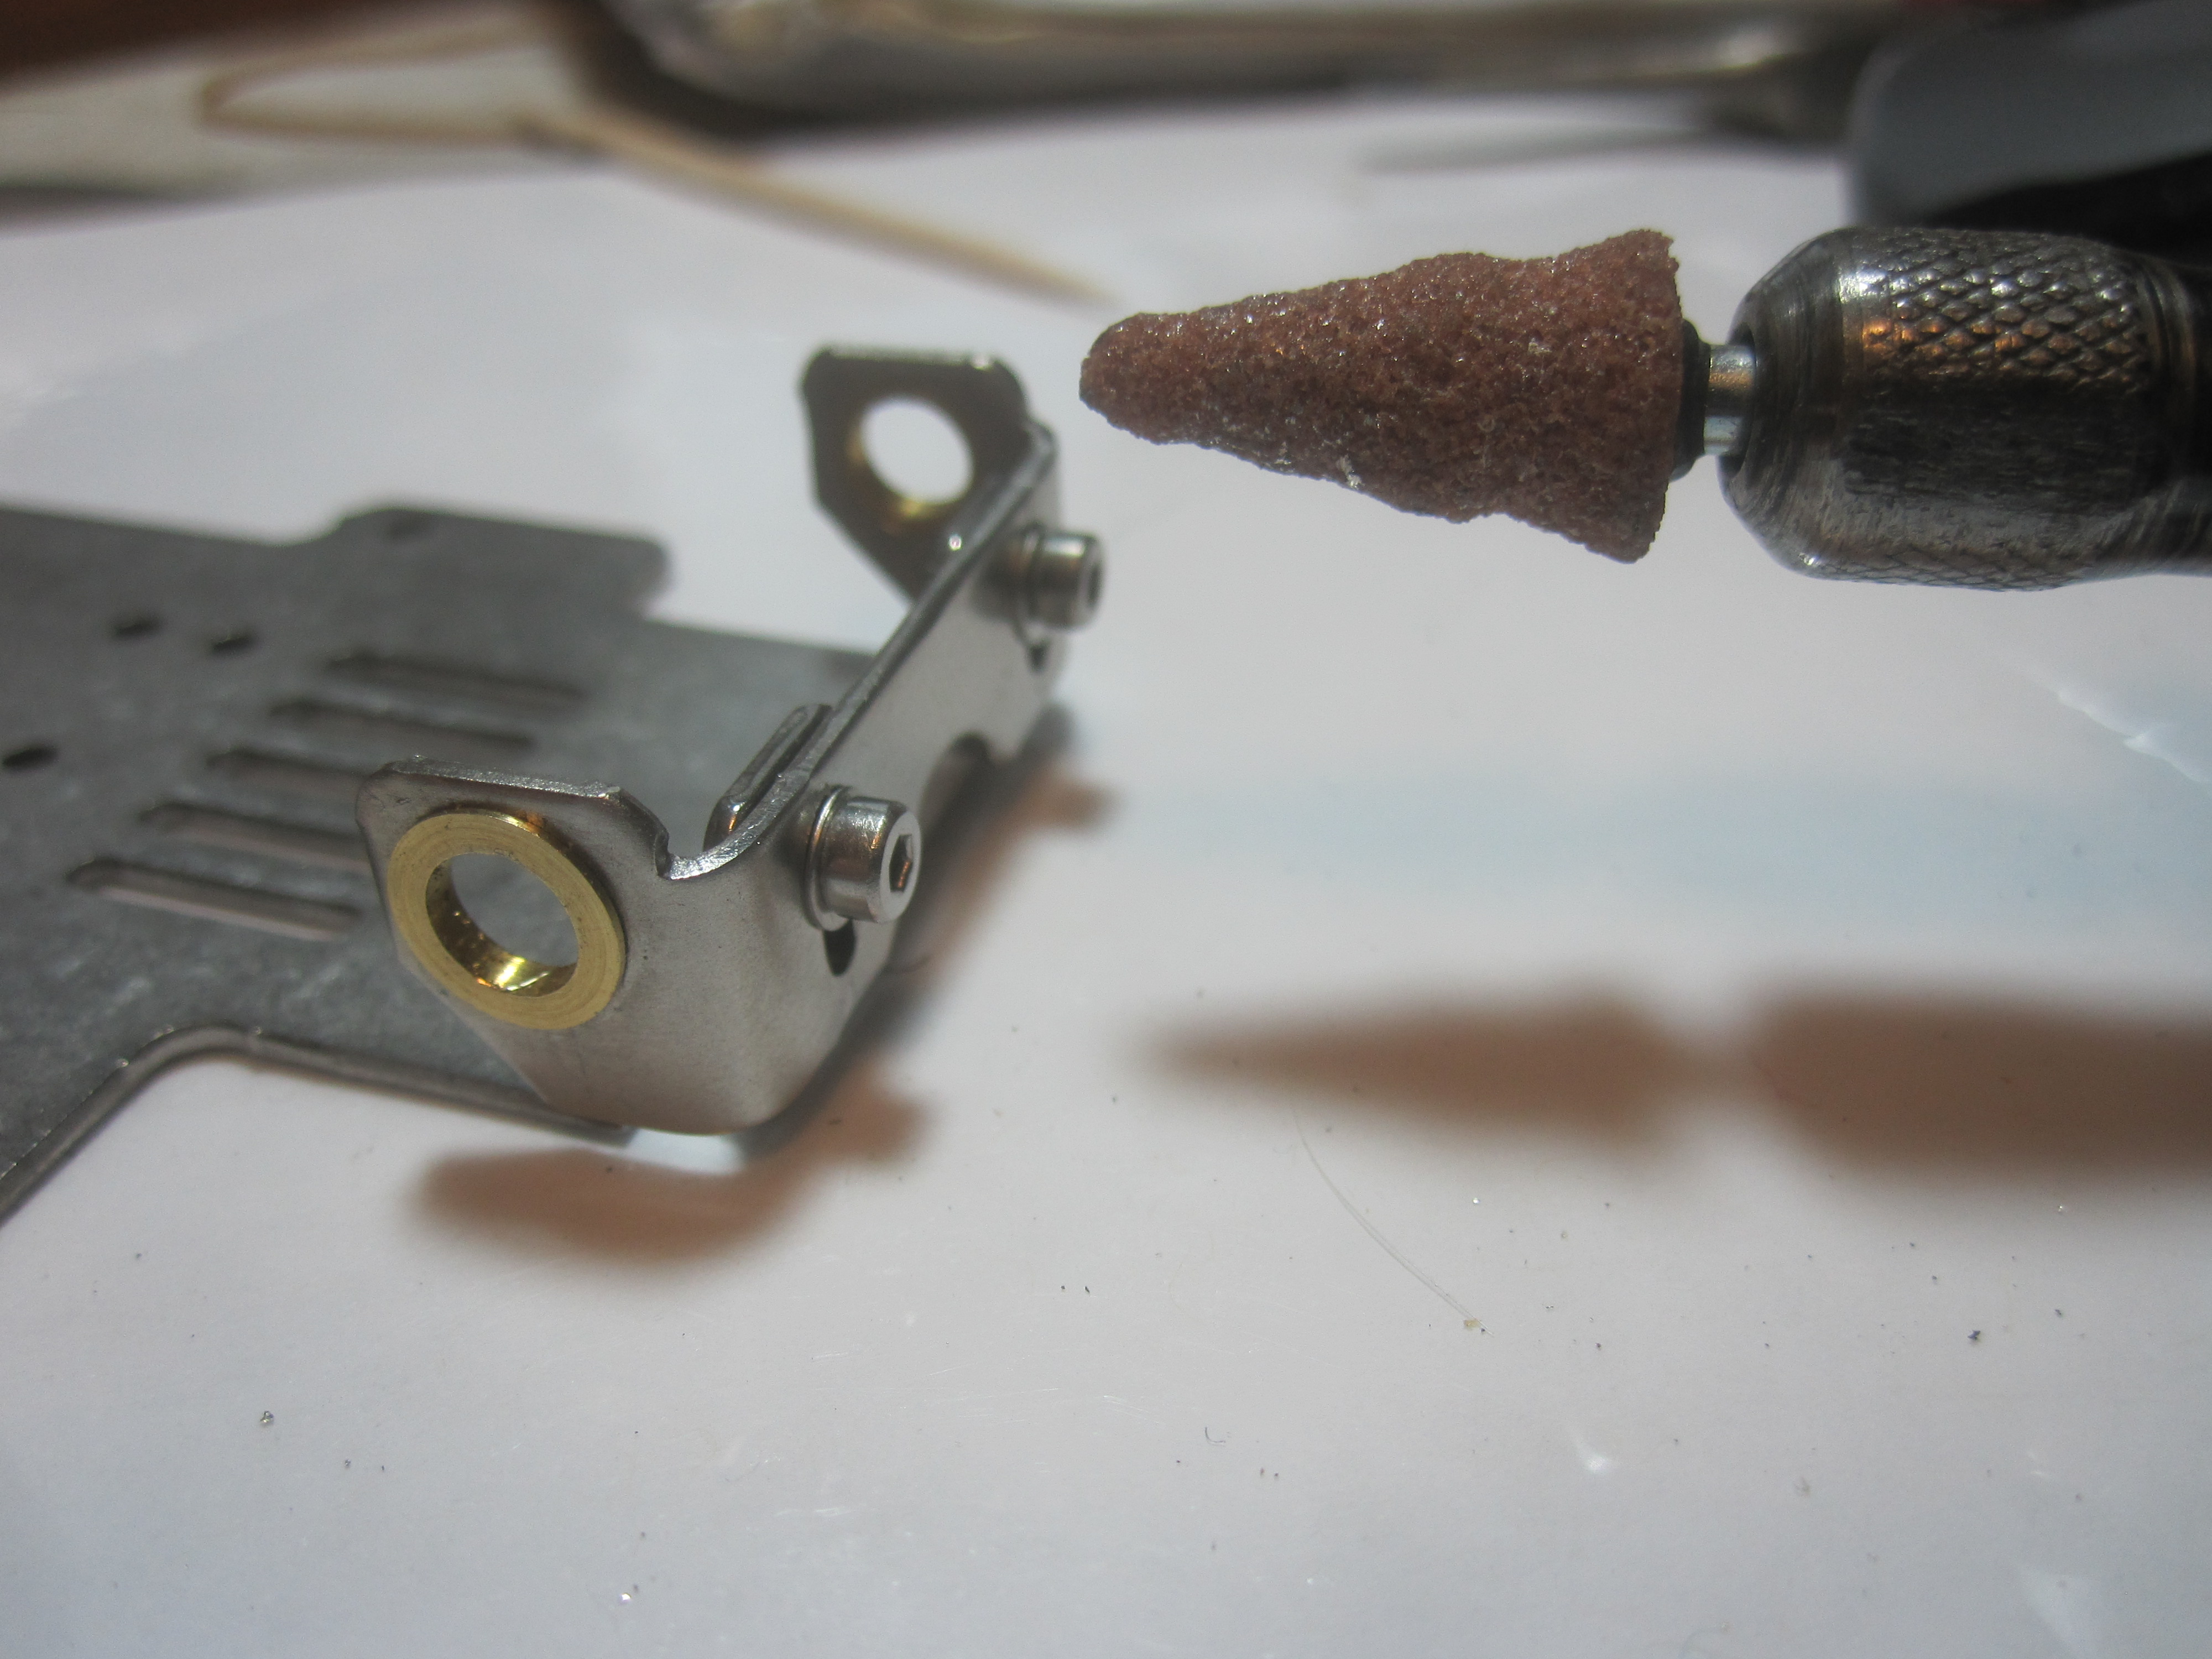
SP800001 continued. The axle brackets need to be honed about .007" if you want to use 3/32nd. axles. It doesn't take much time especially if using a Dremel! I made the opening tight, so tight I needed a pair of needle nose pliers to squeeze the reducers in place. No need to solder these like I usually do.
Reducer bushings: $1.60 a pair X 2 = $3.20.
by howie » Tue Jan 20, 2015 2:25 pm
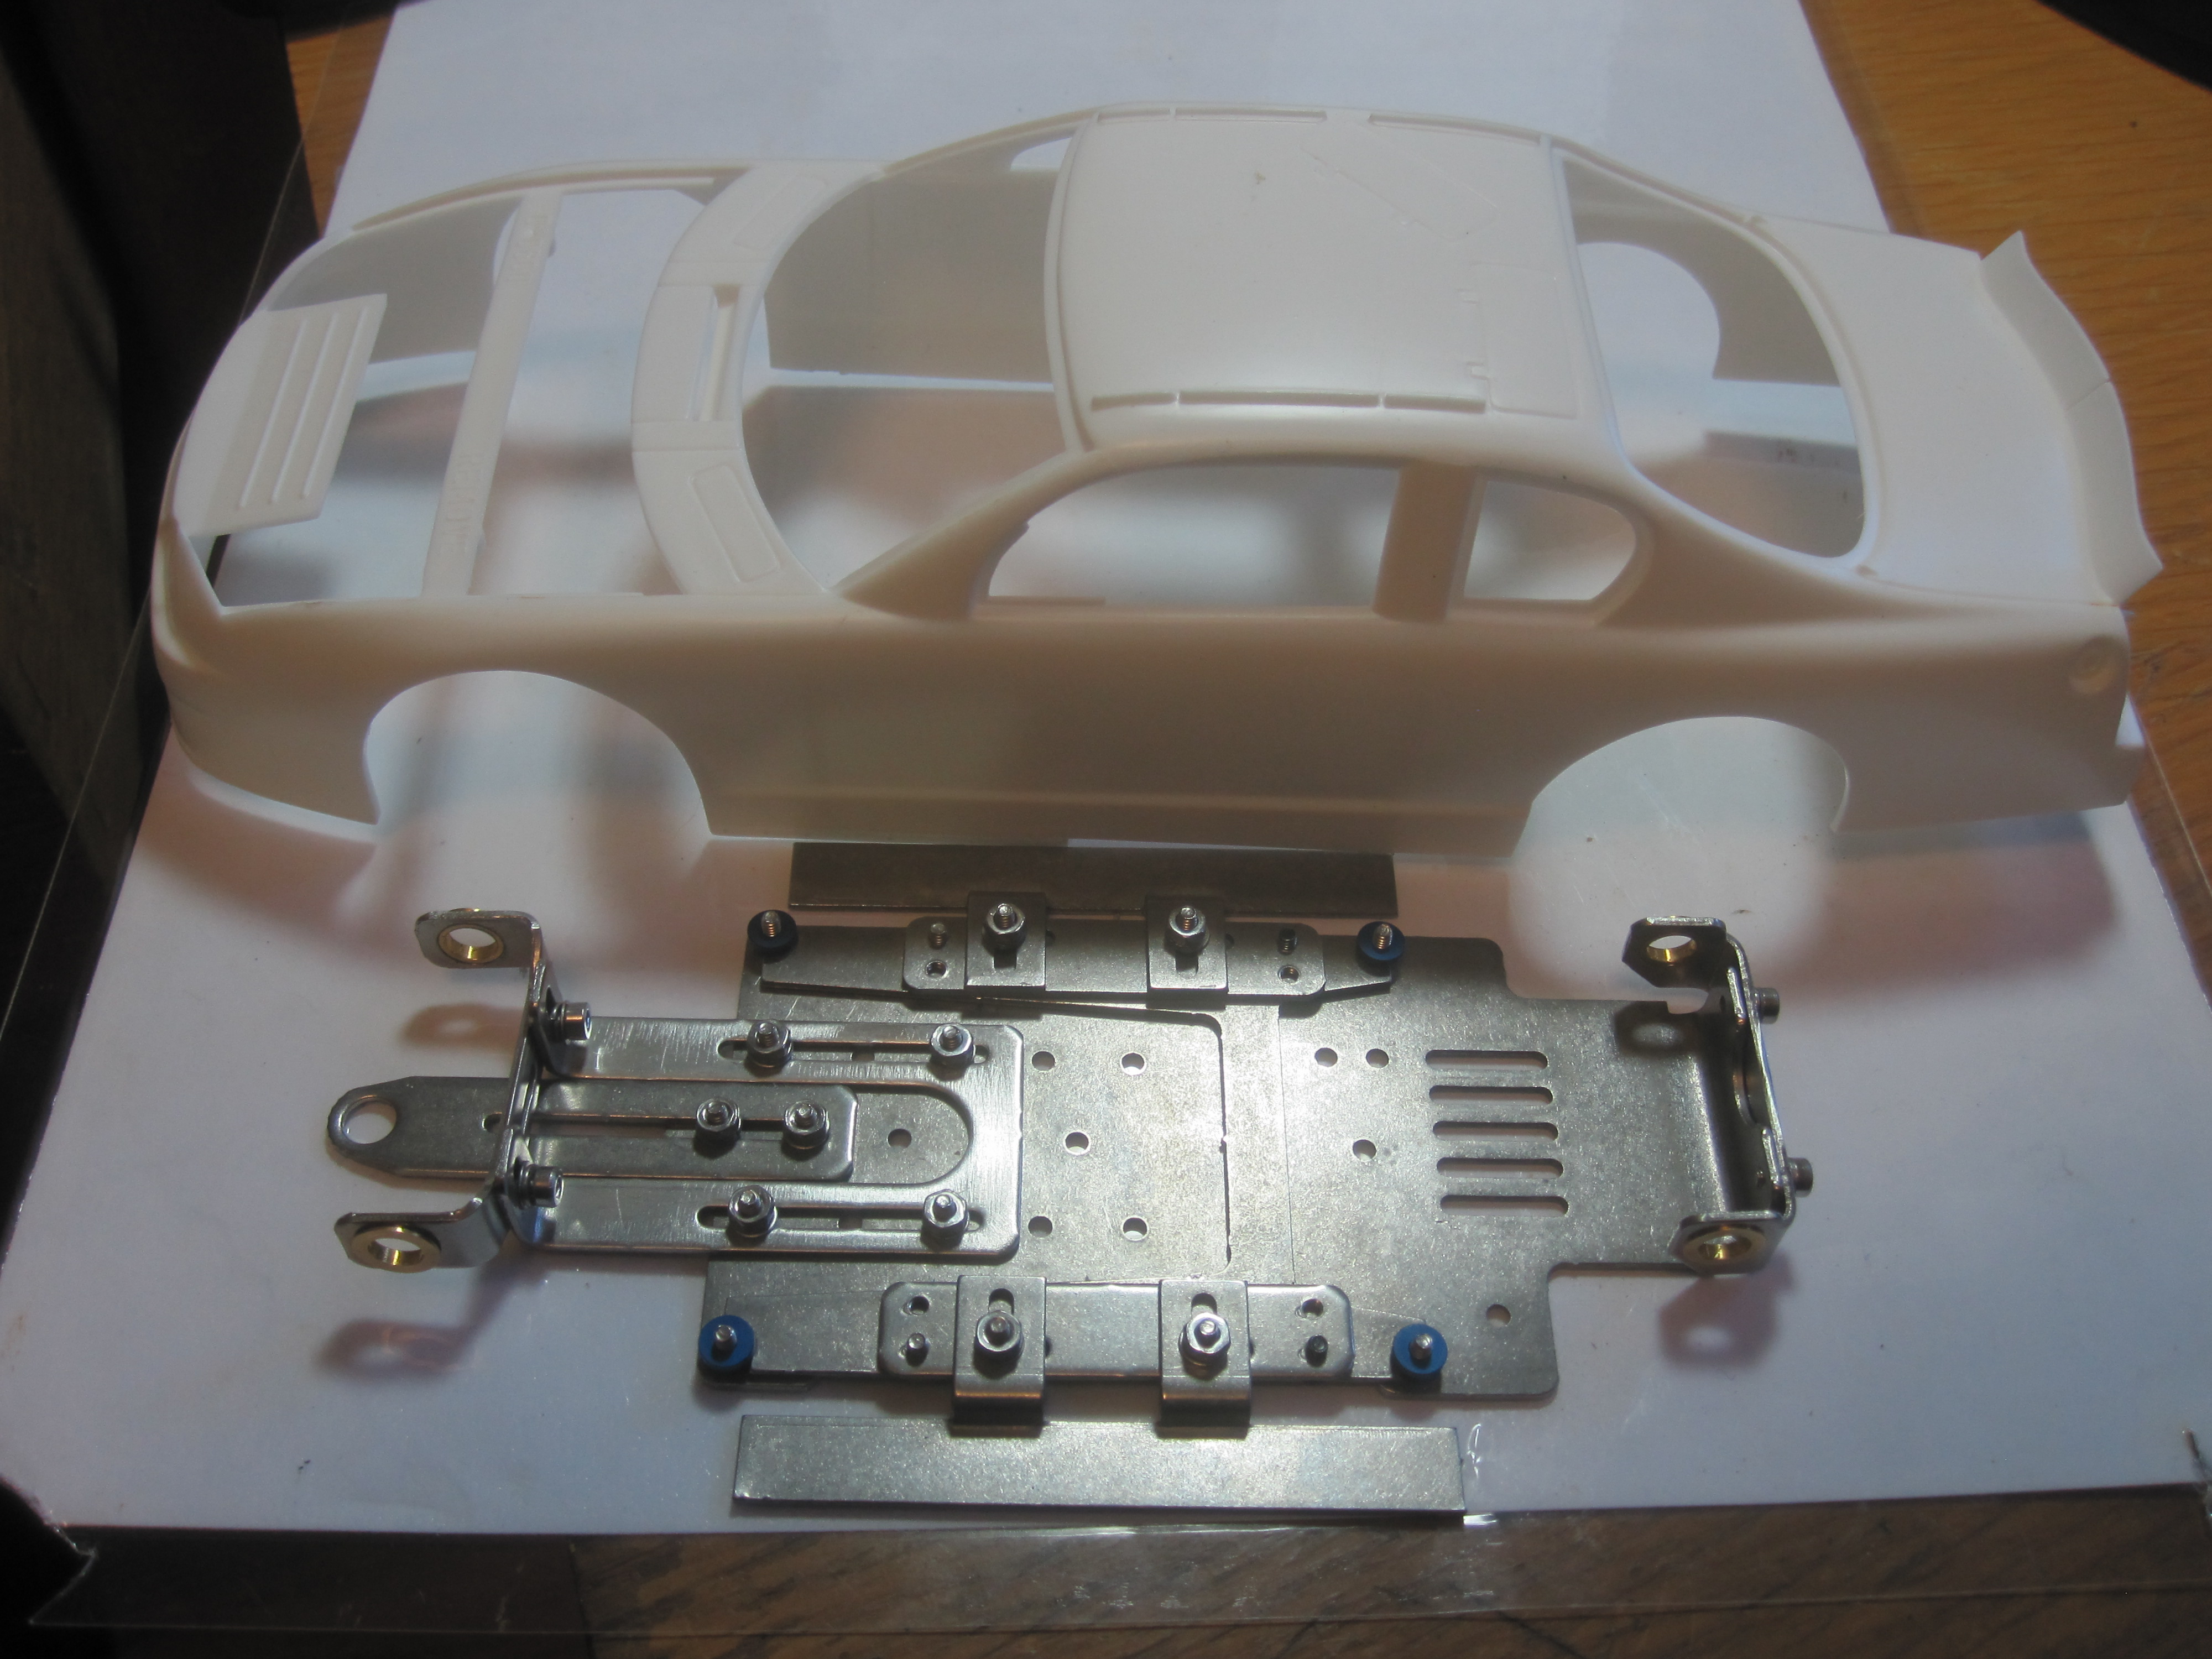
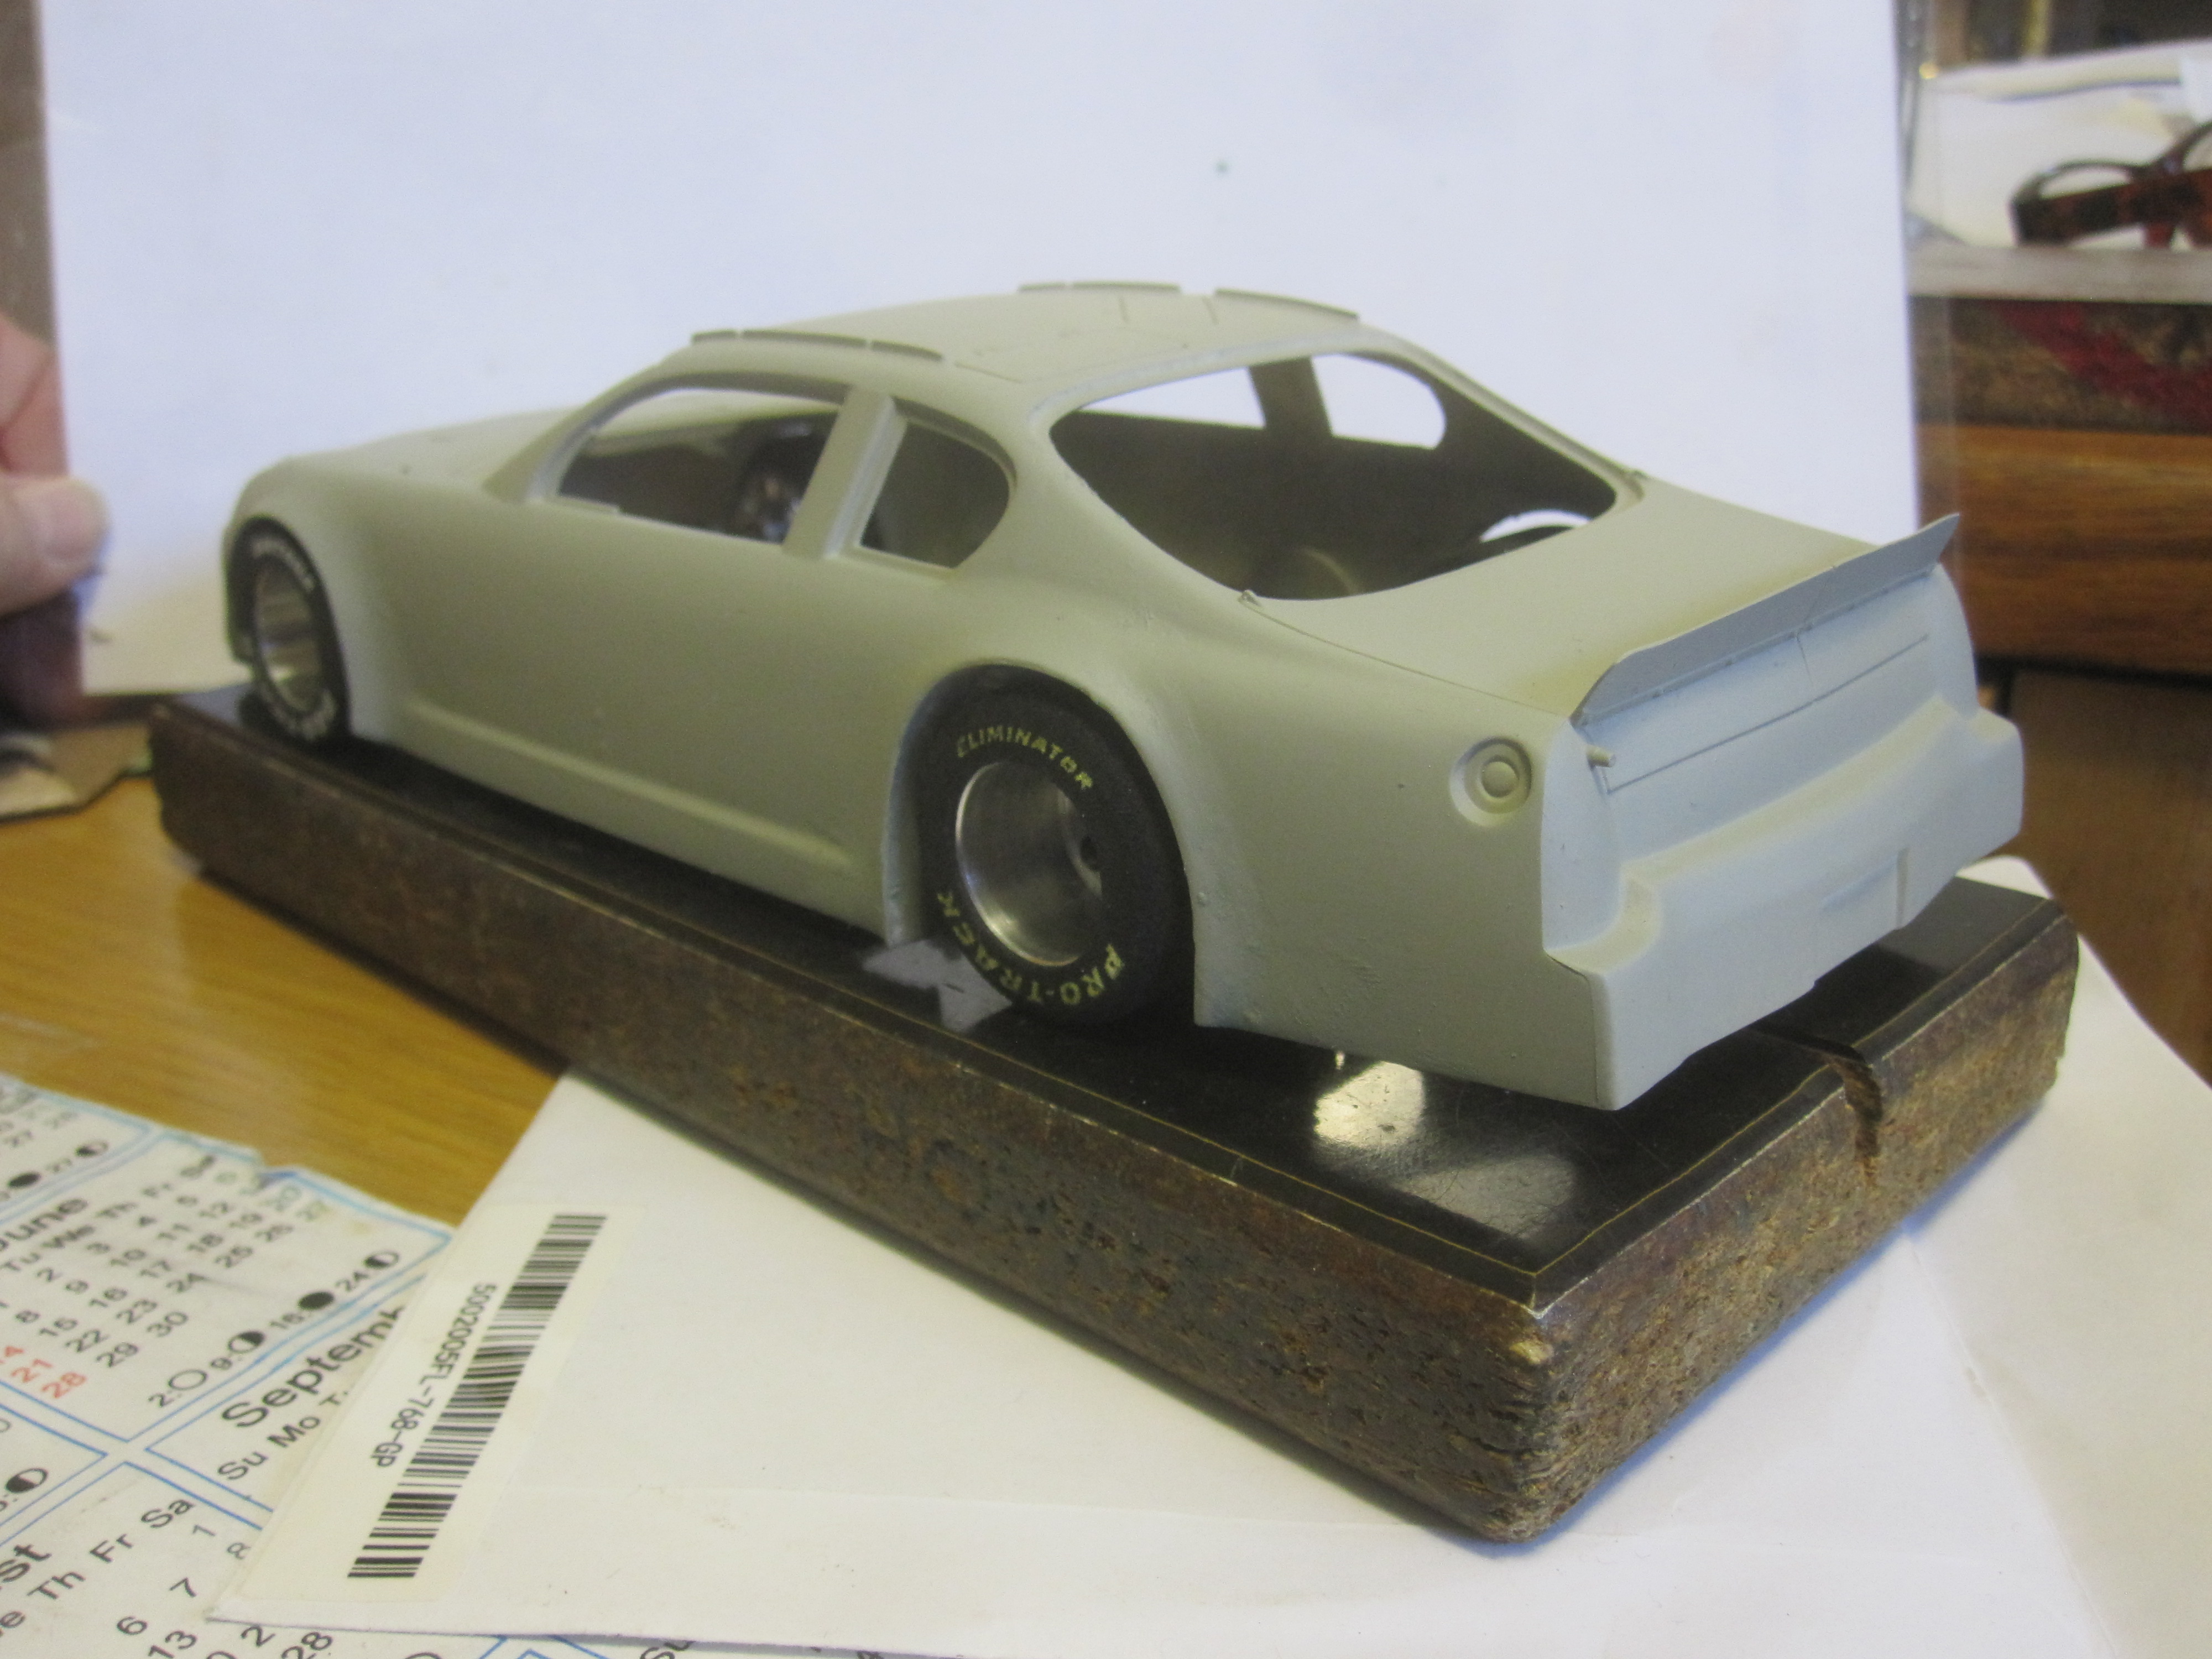
SP800001 continues. I put the chassis together as the directions are good and no need to take pictures of the process. I will say as you put this chassis together, at least snug up the bolts etc. or you may find yourself as I did picking them up off the floor as they do unscrew themselves! I also was short a couple special screws, I replaced them with another type screw and made it work. I also had extra nuts, washers and screws. I have decided to make a Nationwide NASCAR out of this chassis. I would have to trim the side pans if I was to do a TA2, and I wanted to get a car done asap. I chose a 2002 Chevy of Dale Earnhardt Jr. I don't remember where I got this kit and it is open and the decals and directions are gone. The parts are still in an unopened bag.
Next I will get into the axles and Motor mount.
This is the Chevy Monte Carlo that will be used for this build.
With another SP800001 chassis I will build this snap kit 2015 Mustang for the TA2 class.
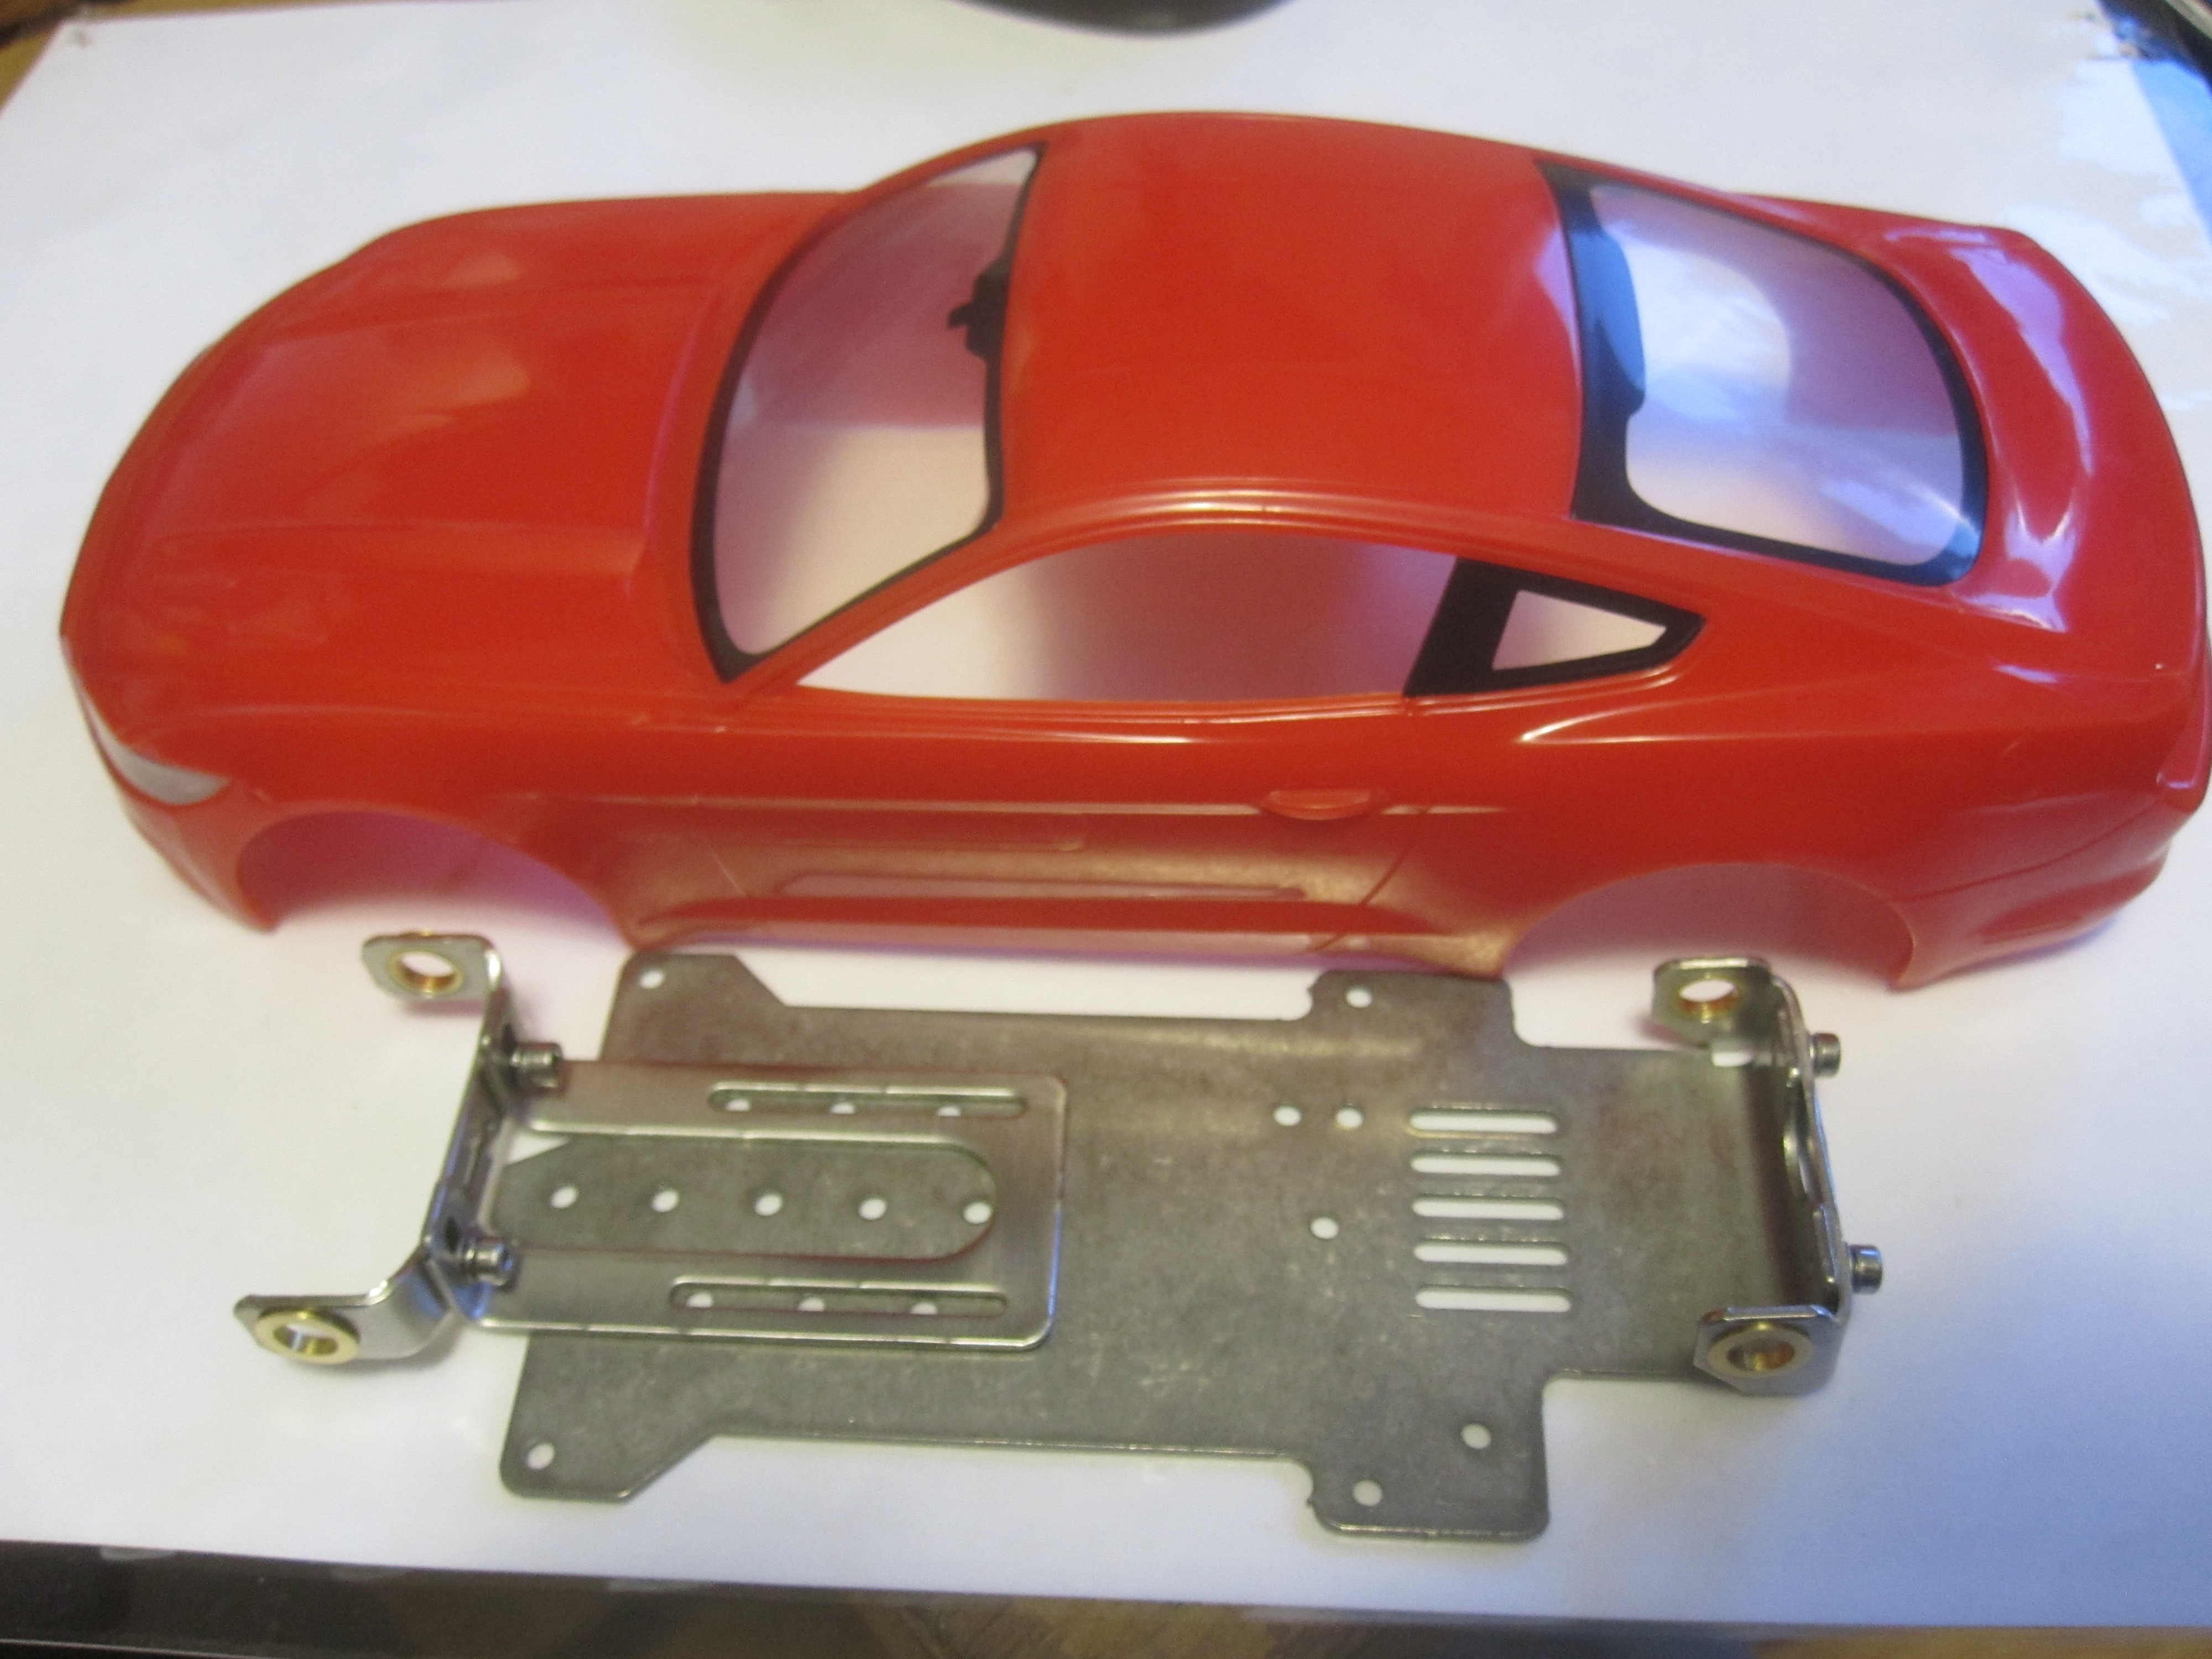
by howie » Wed Jan 21, 2015 3:44 pm
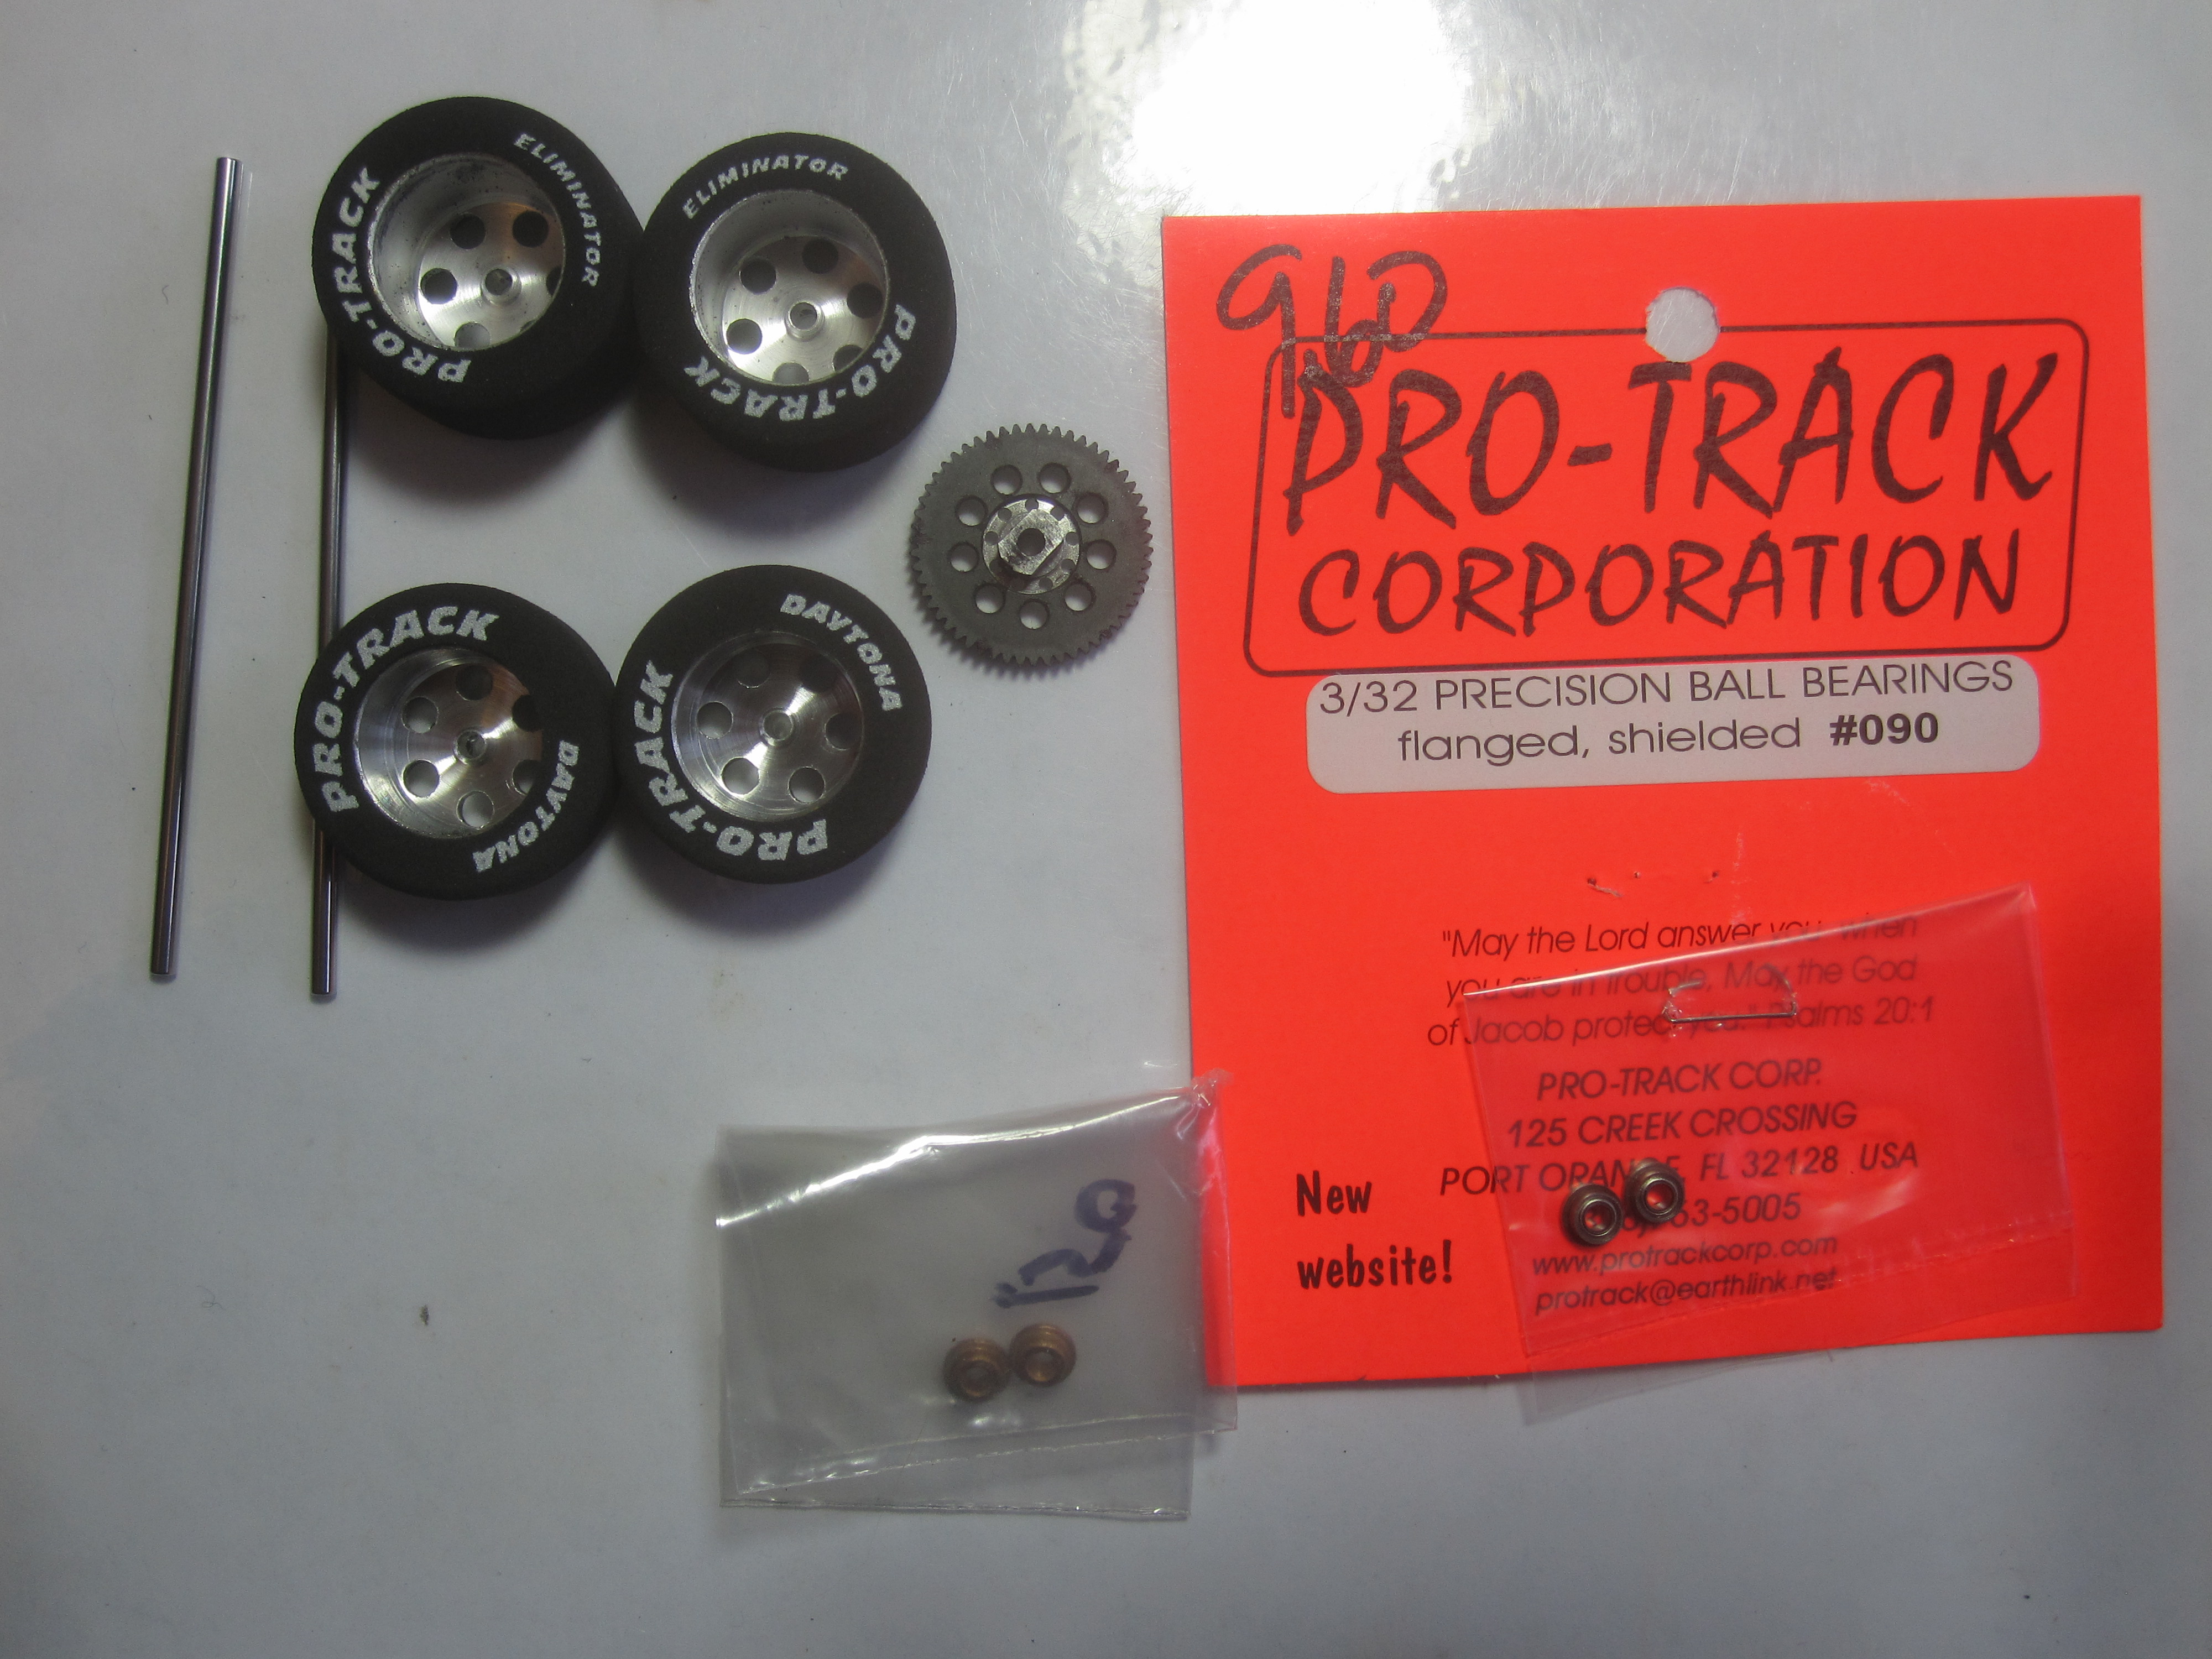
SP800001 continues. Today I set the tracking of the front and back tires. I used brass tubing
( .095" ID and .125" OD) for the spacers. Front track is set at 3.170" and rear is 3.190", that is the maximum that the rules allow.
This car is going to need small flairs front and rear. Body has yet to be cut down to the rules.
Parts: front tiires $8.00. Rear tires $10.40. 3/32nd long axles $2.25 each X2 =$4.50. bushings for front $1.50. 54t gear $3.50 rear bearings $9.60.
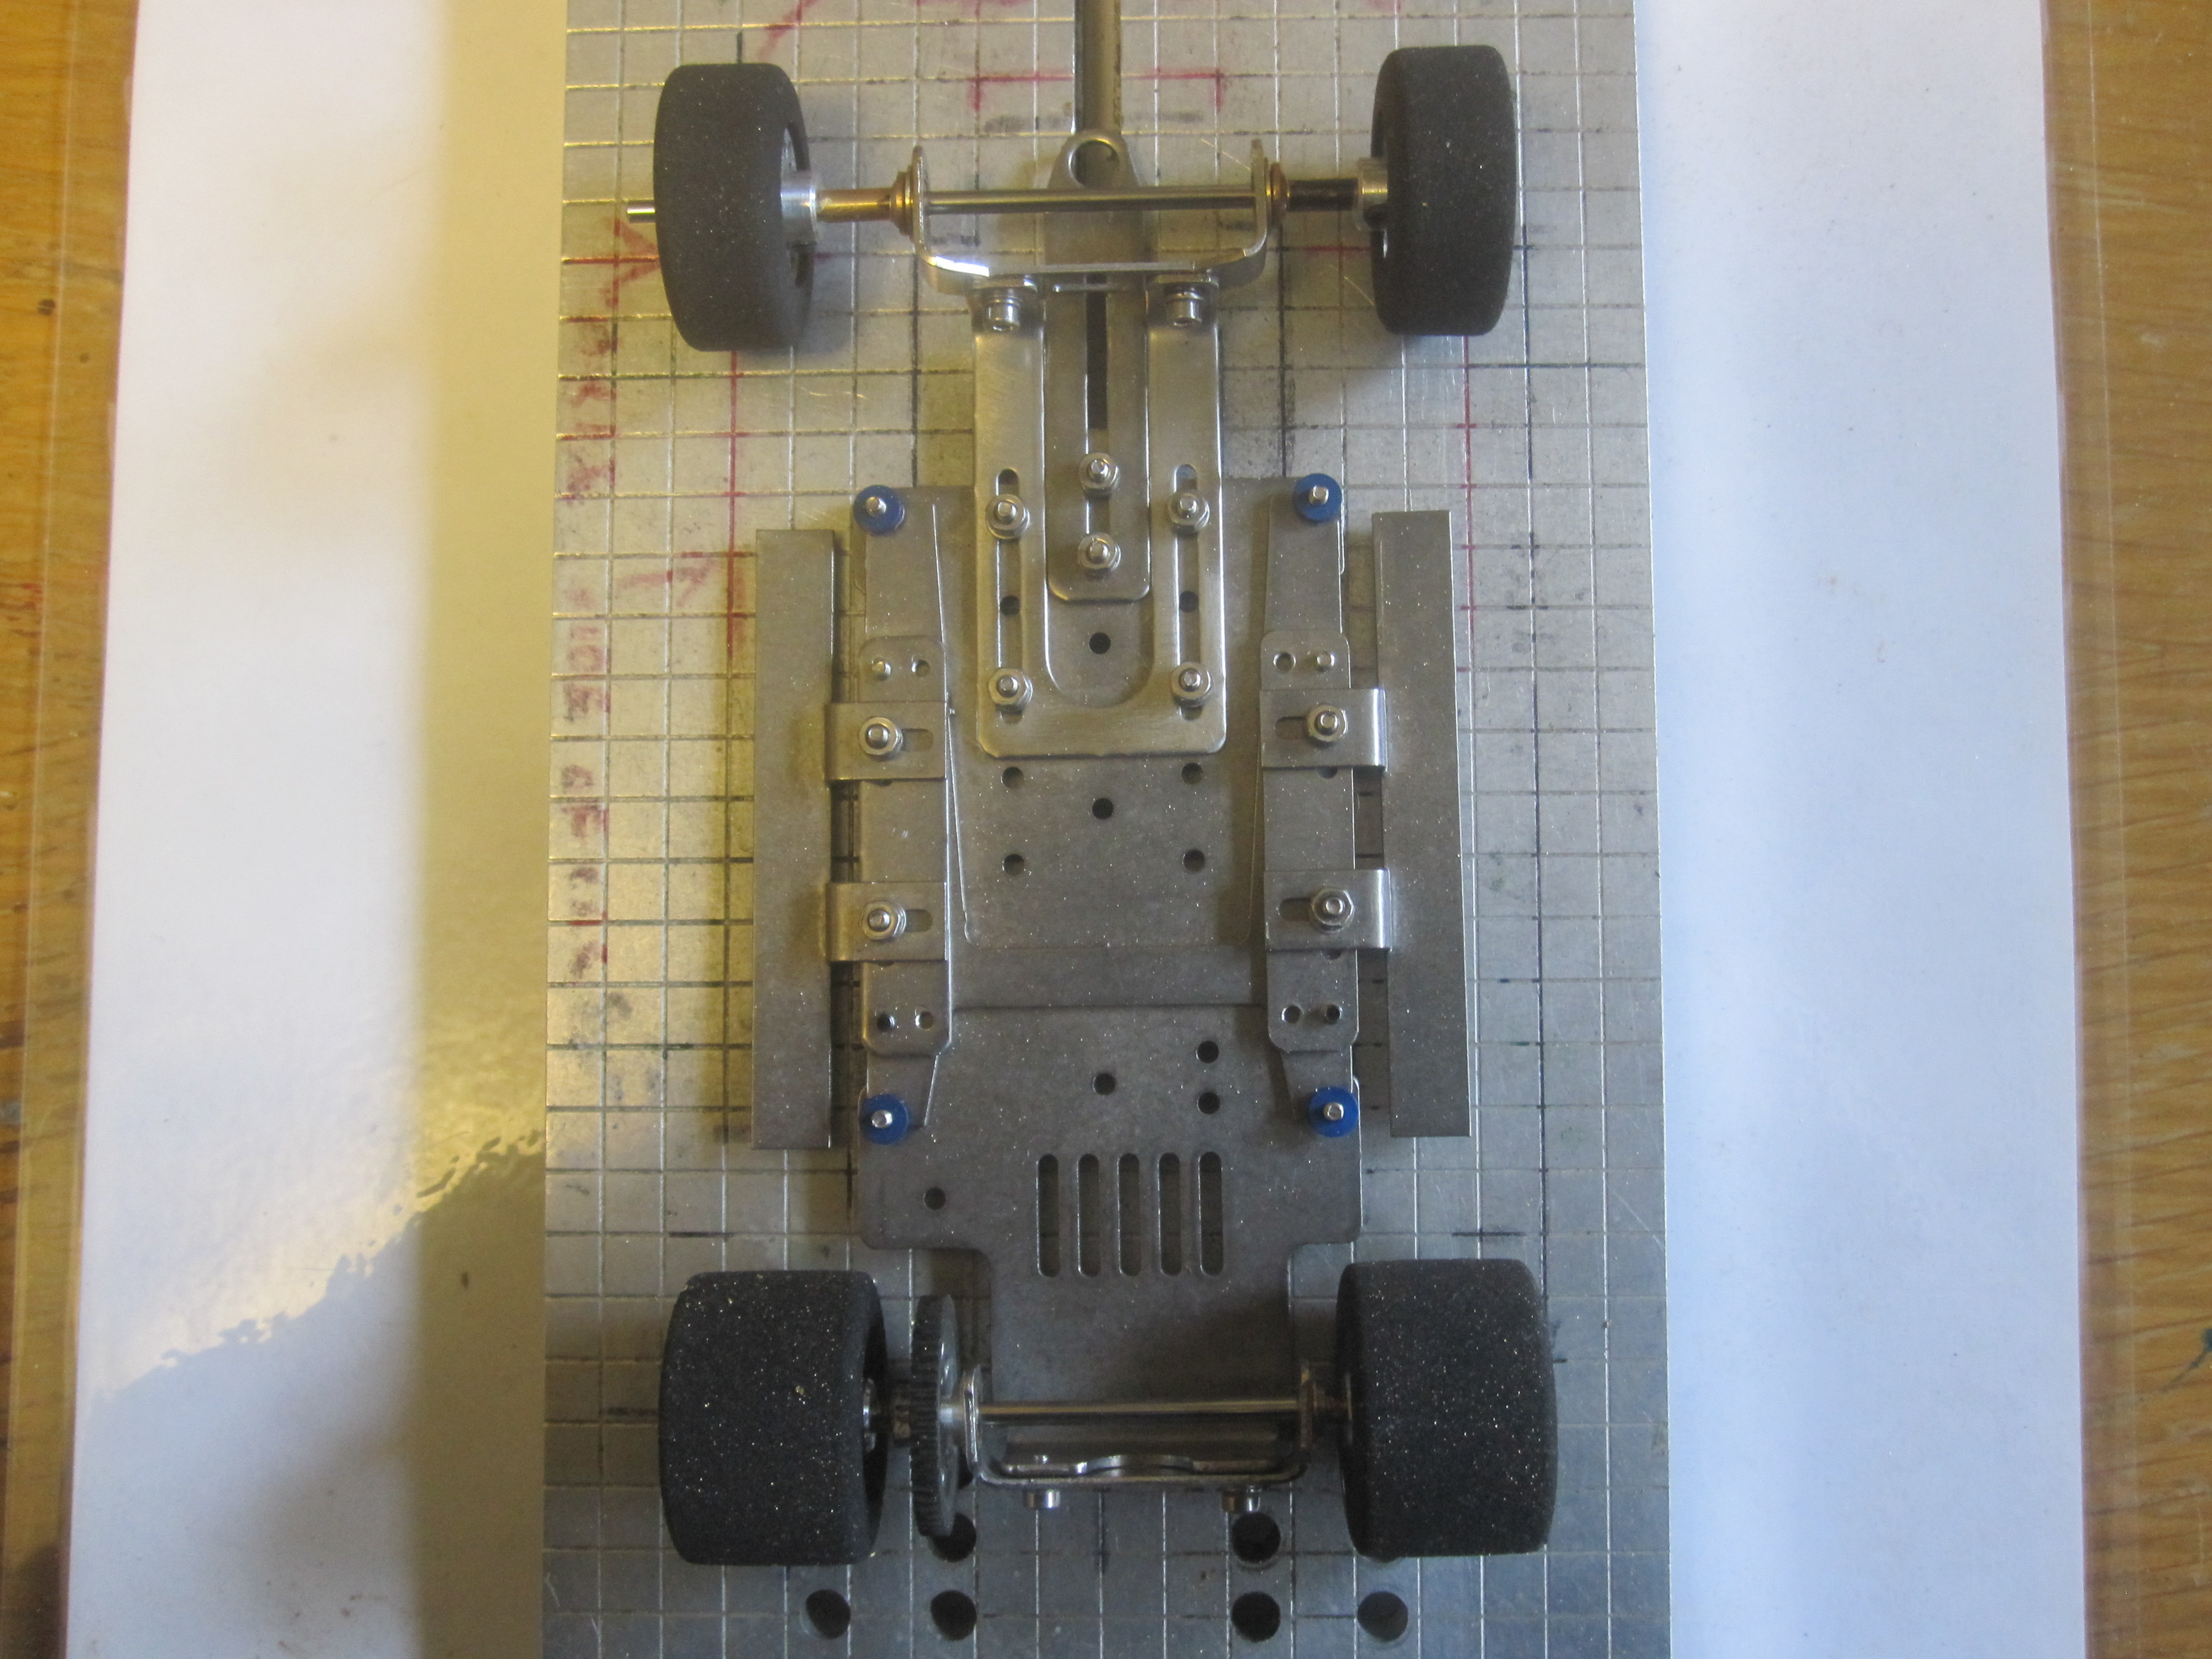
by howie » Mon Jan 26, 2015 11:19 am
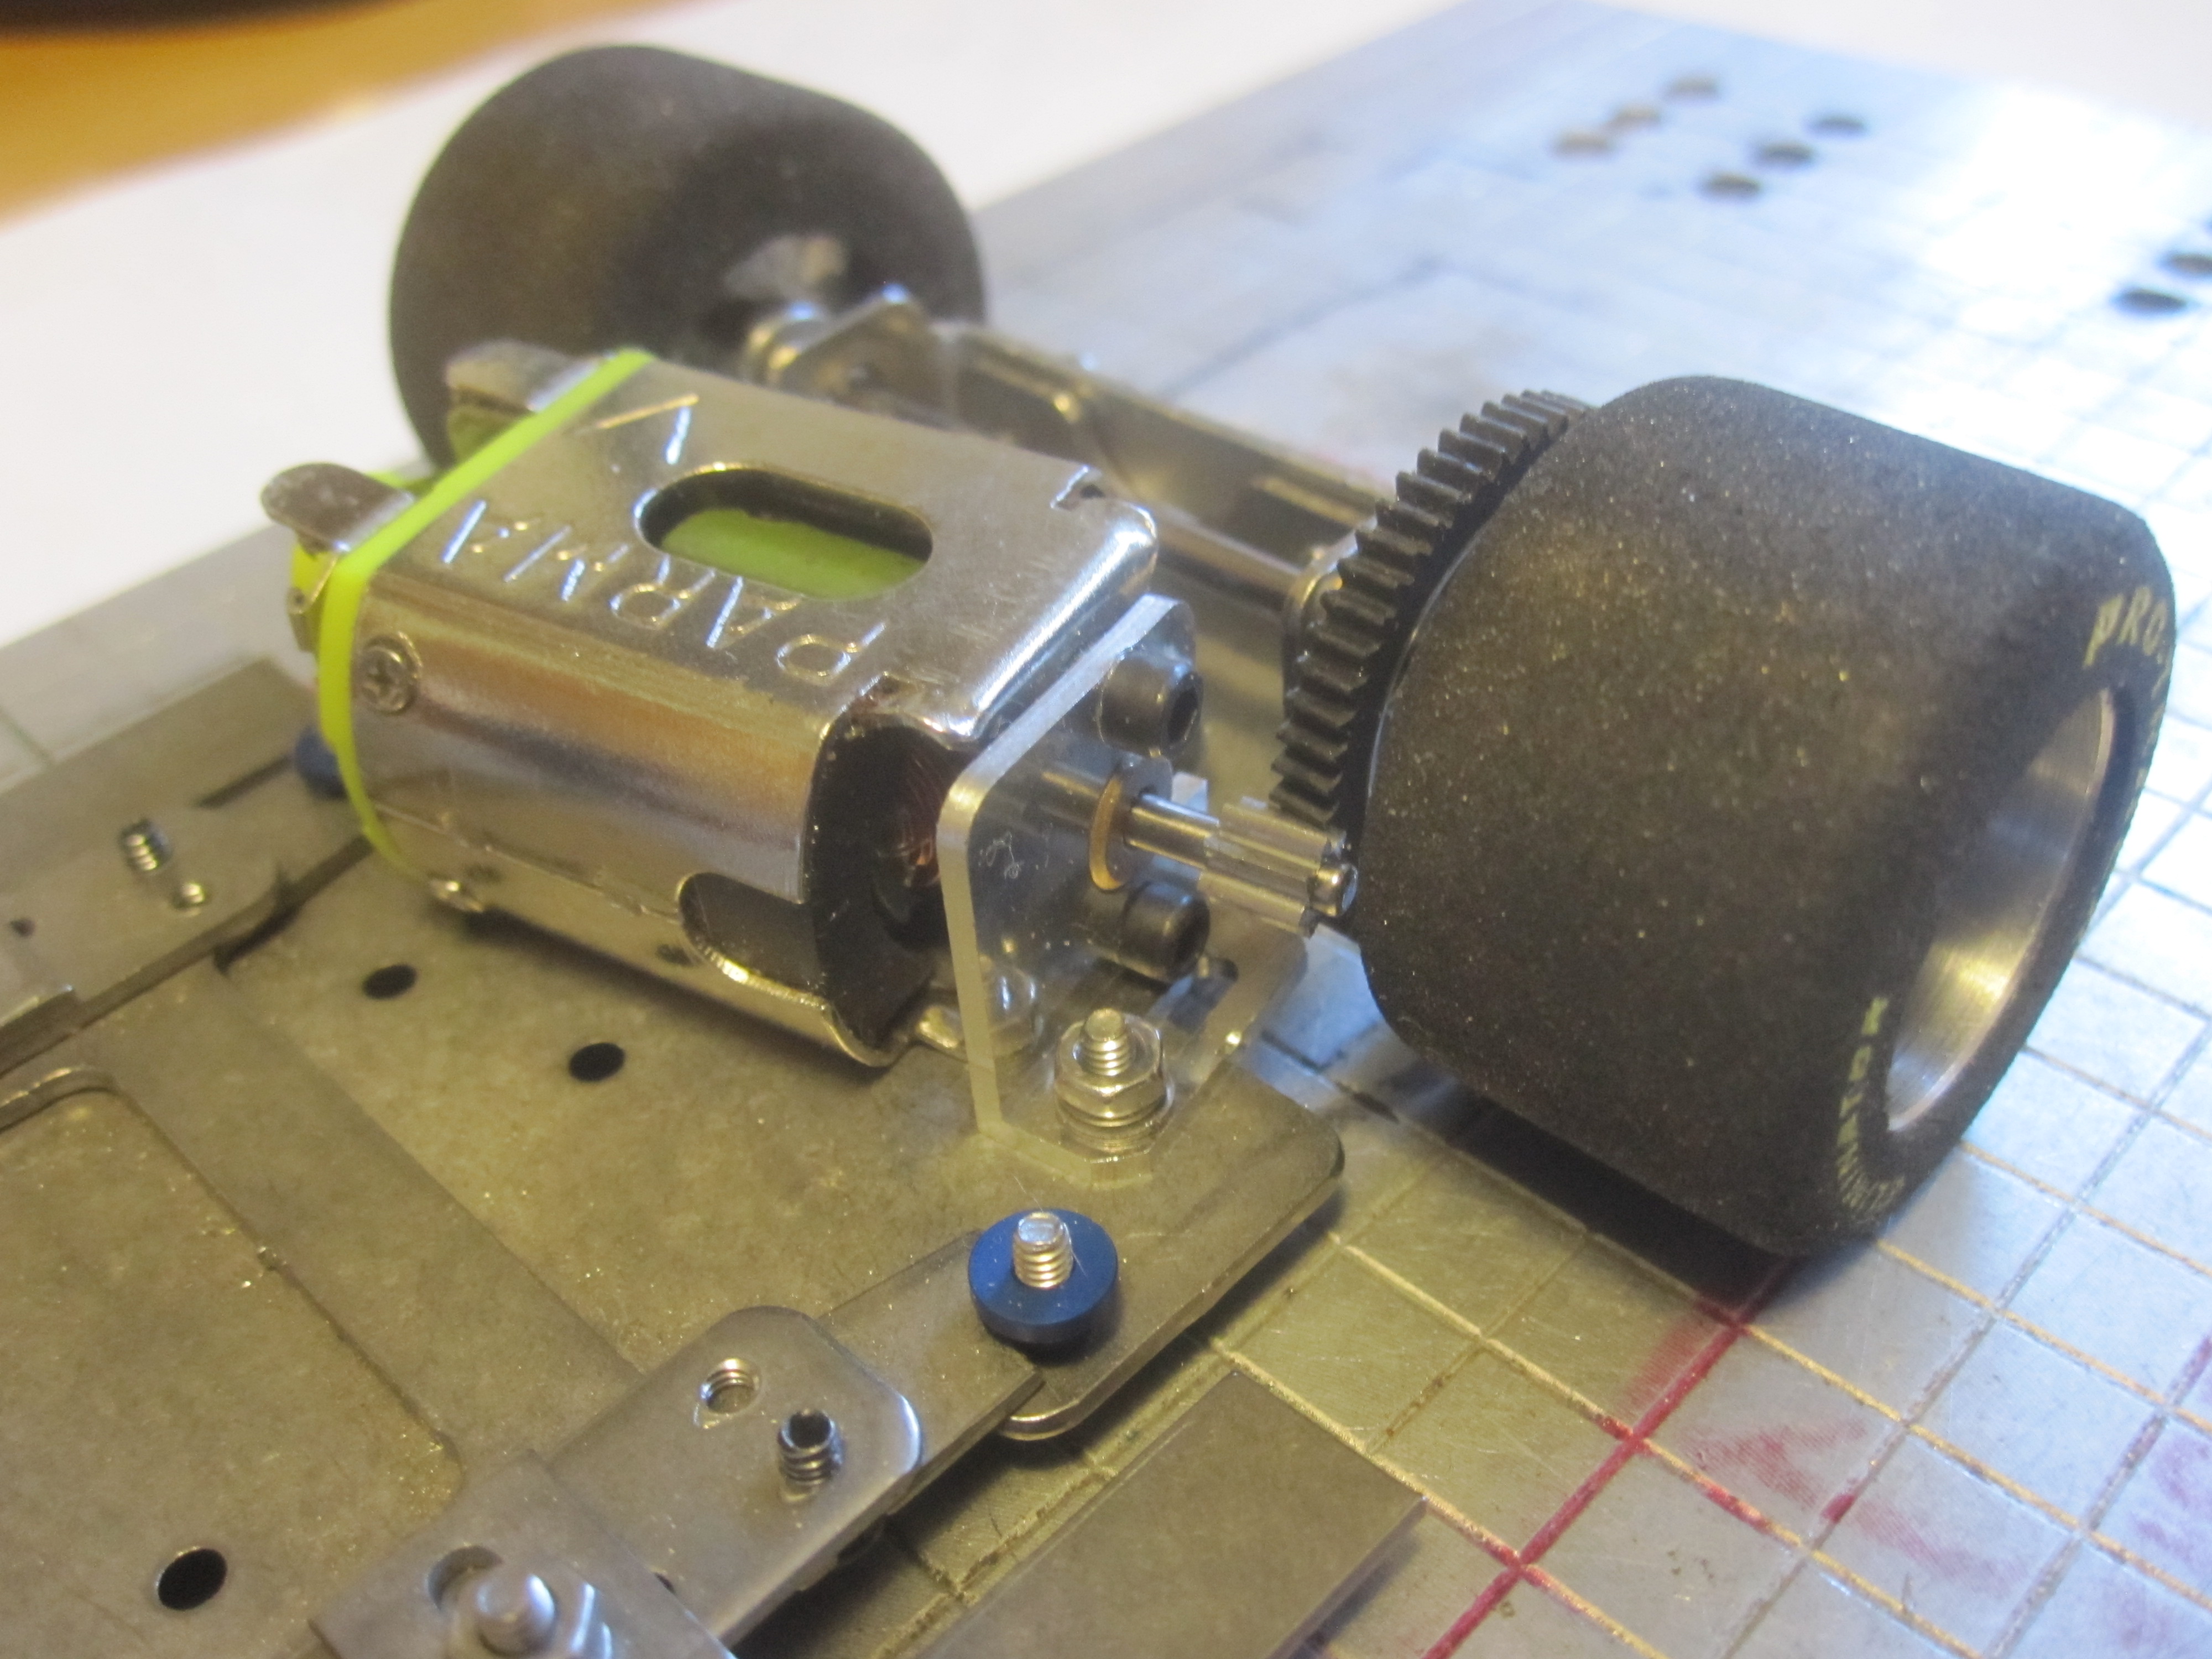
SP800001 continues. The motor is mocked up in these pictures. This is the way I set up the motor, with the gear toward the end of the shaft so as to not let the 54t. gear hit the mount. This motor mount is from Professor Motor and is out of stock, but Beau has one that he used on his SP800001 that is very similar to this mount. This is a 7t. pinion and is almost not tight enough against the gear so I think before I run this chassis I may have to lengthen the slot in the mount slightly or go to an 8t. gear, we will see. This is the right angle for this motor so it does not interfere with the rattle pan and stays clear of the right rear tire. This as you may have noticed is not a NASCAR open 16D, but the mounting is the same.
by howie » Tue Jan 27, 2015 10:30 am
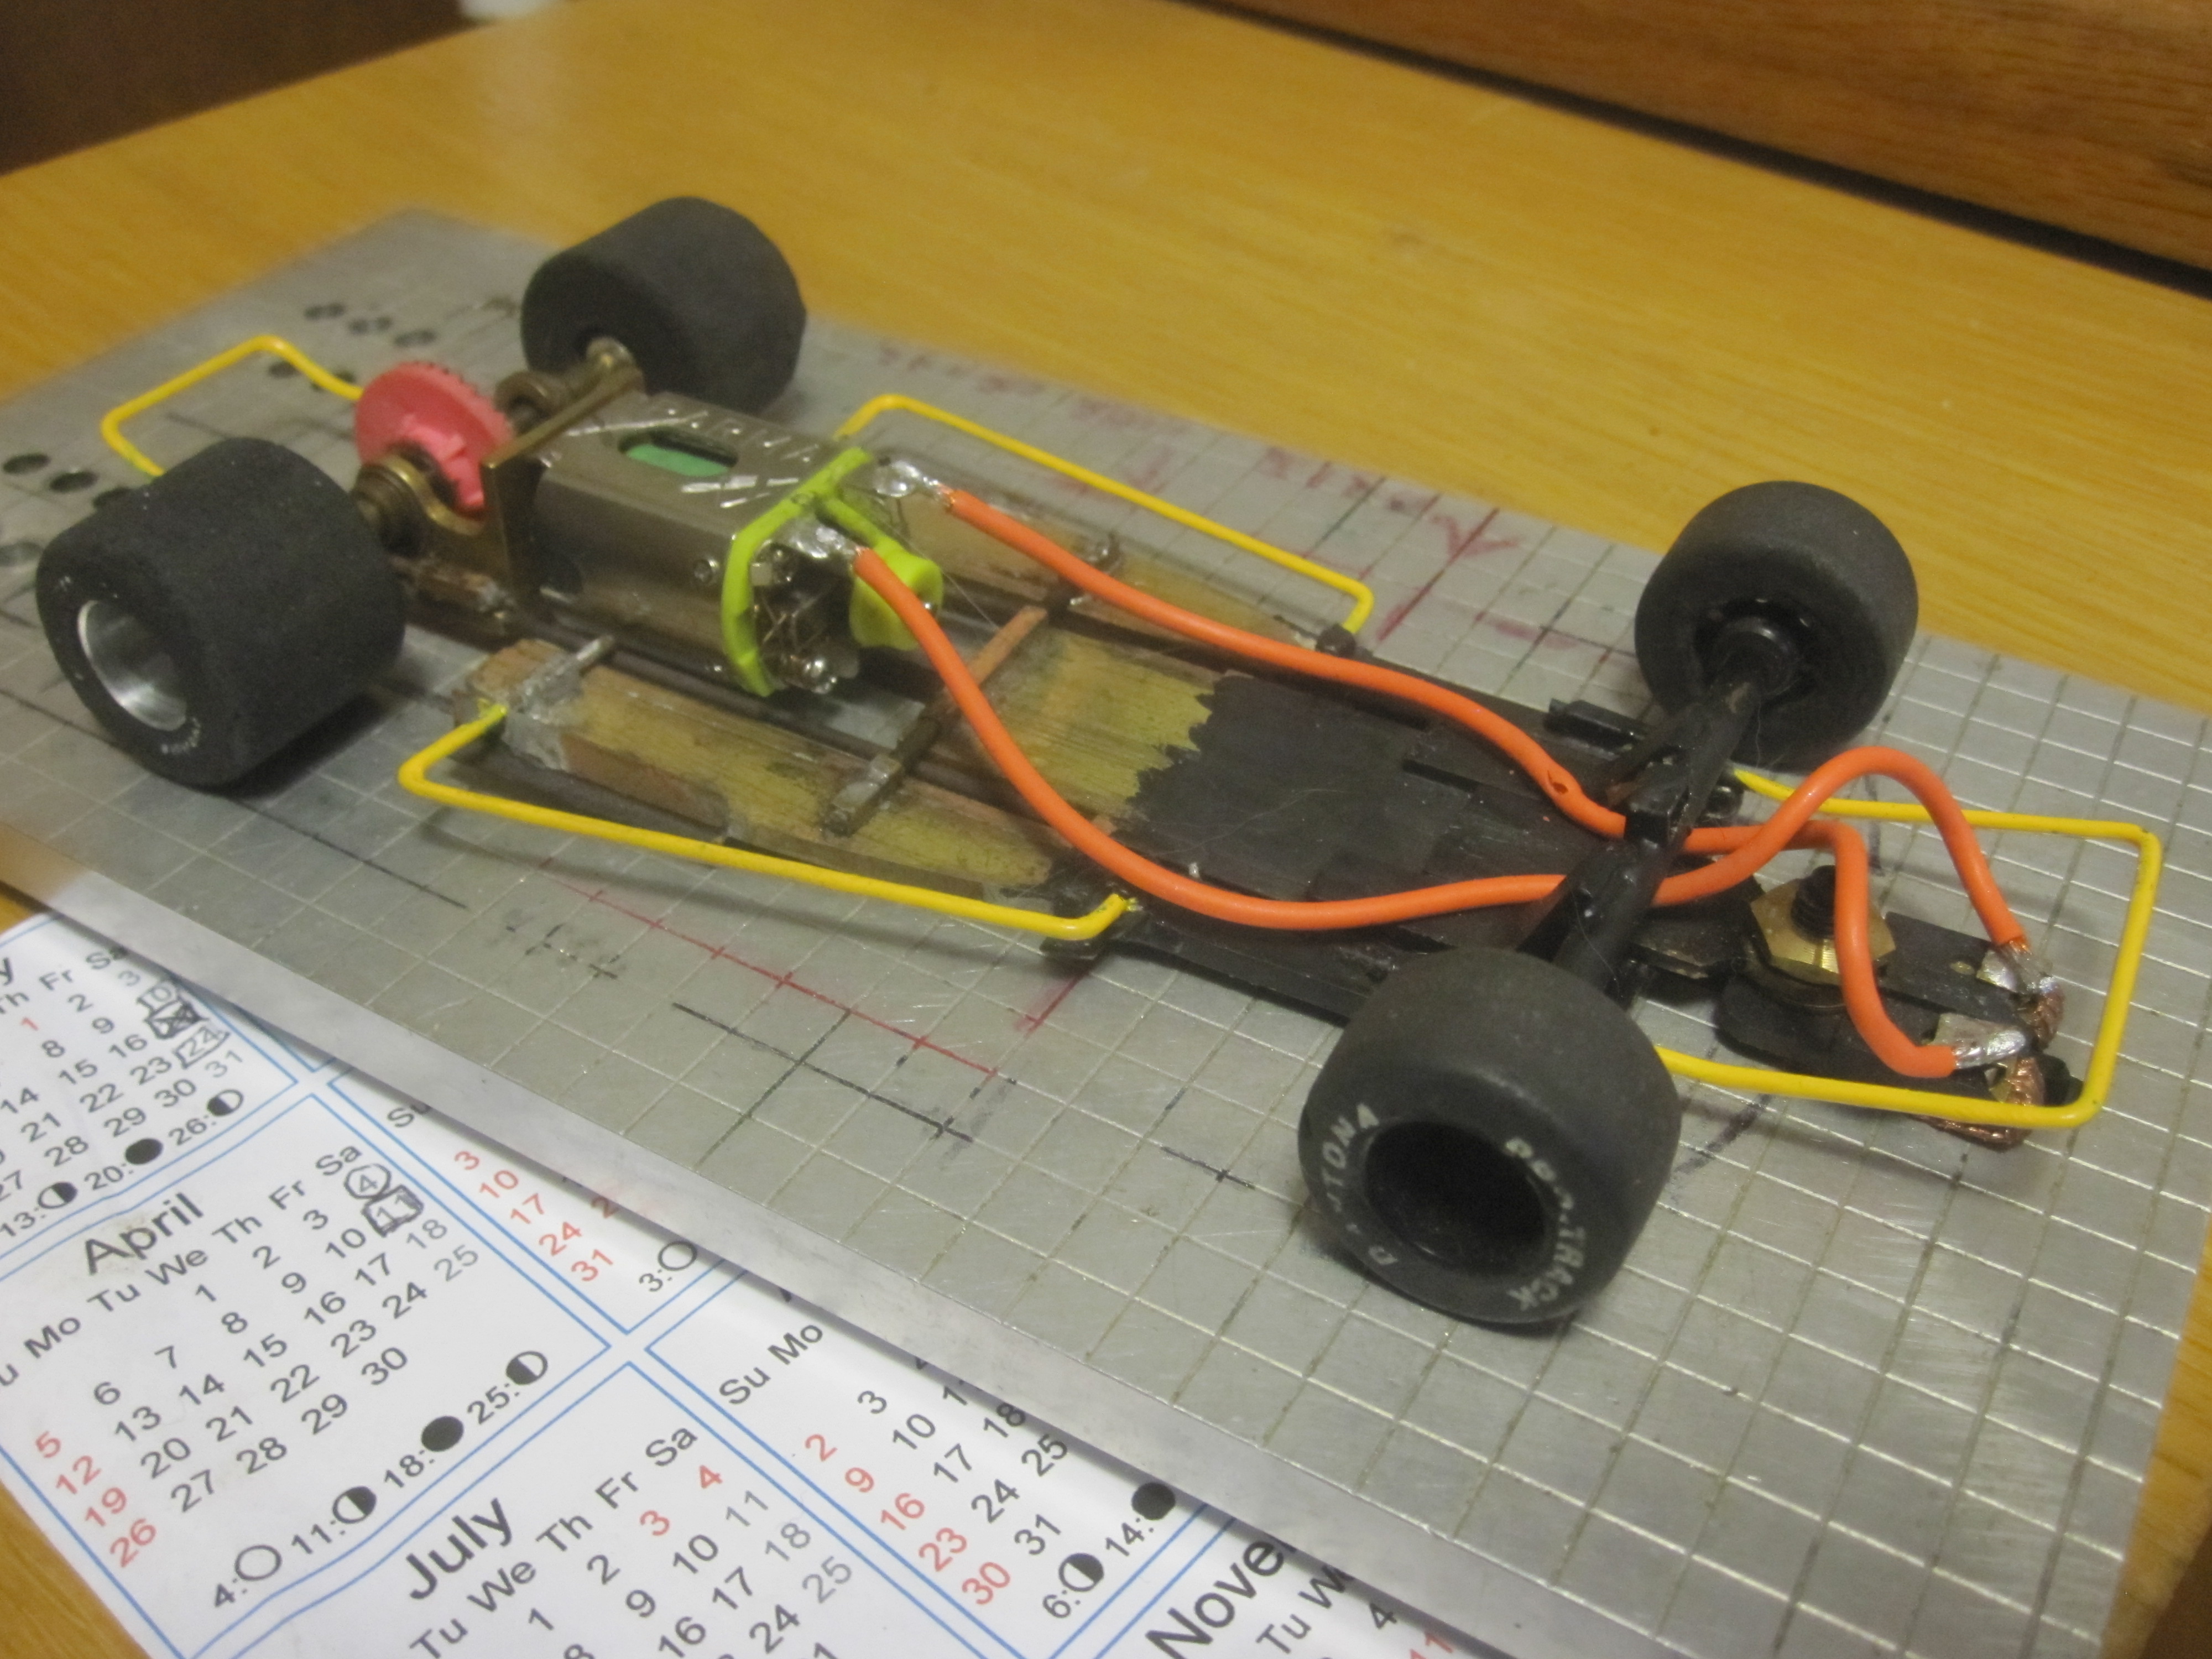
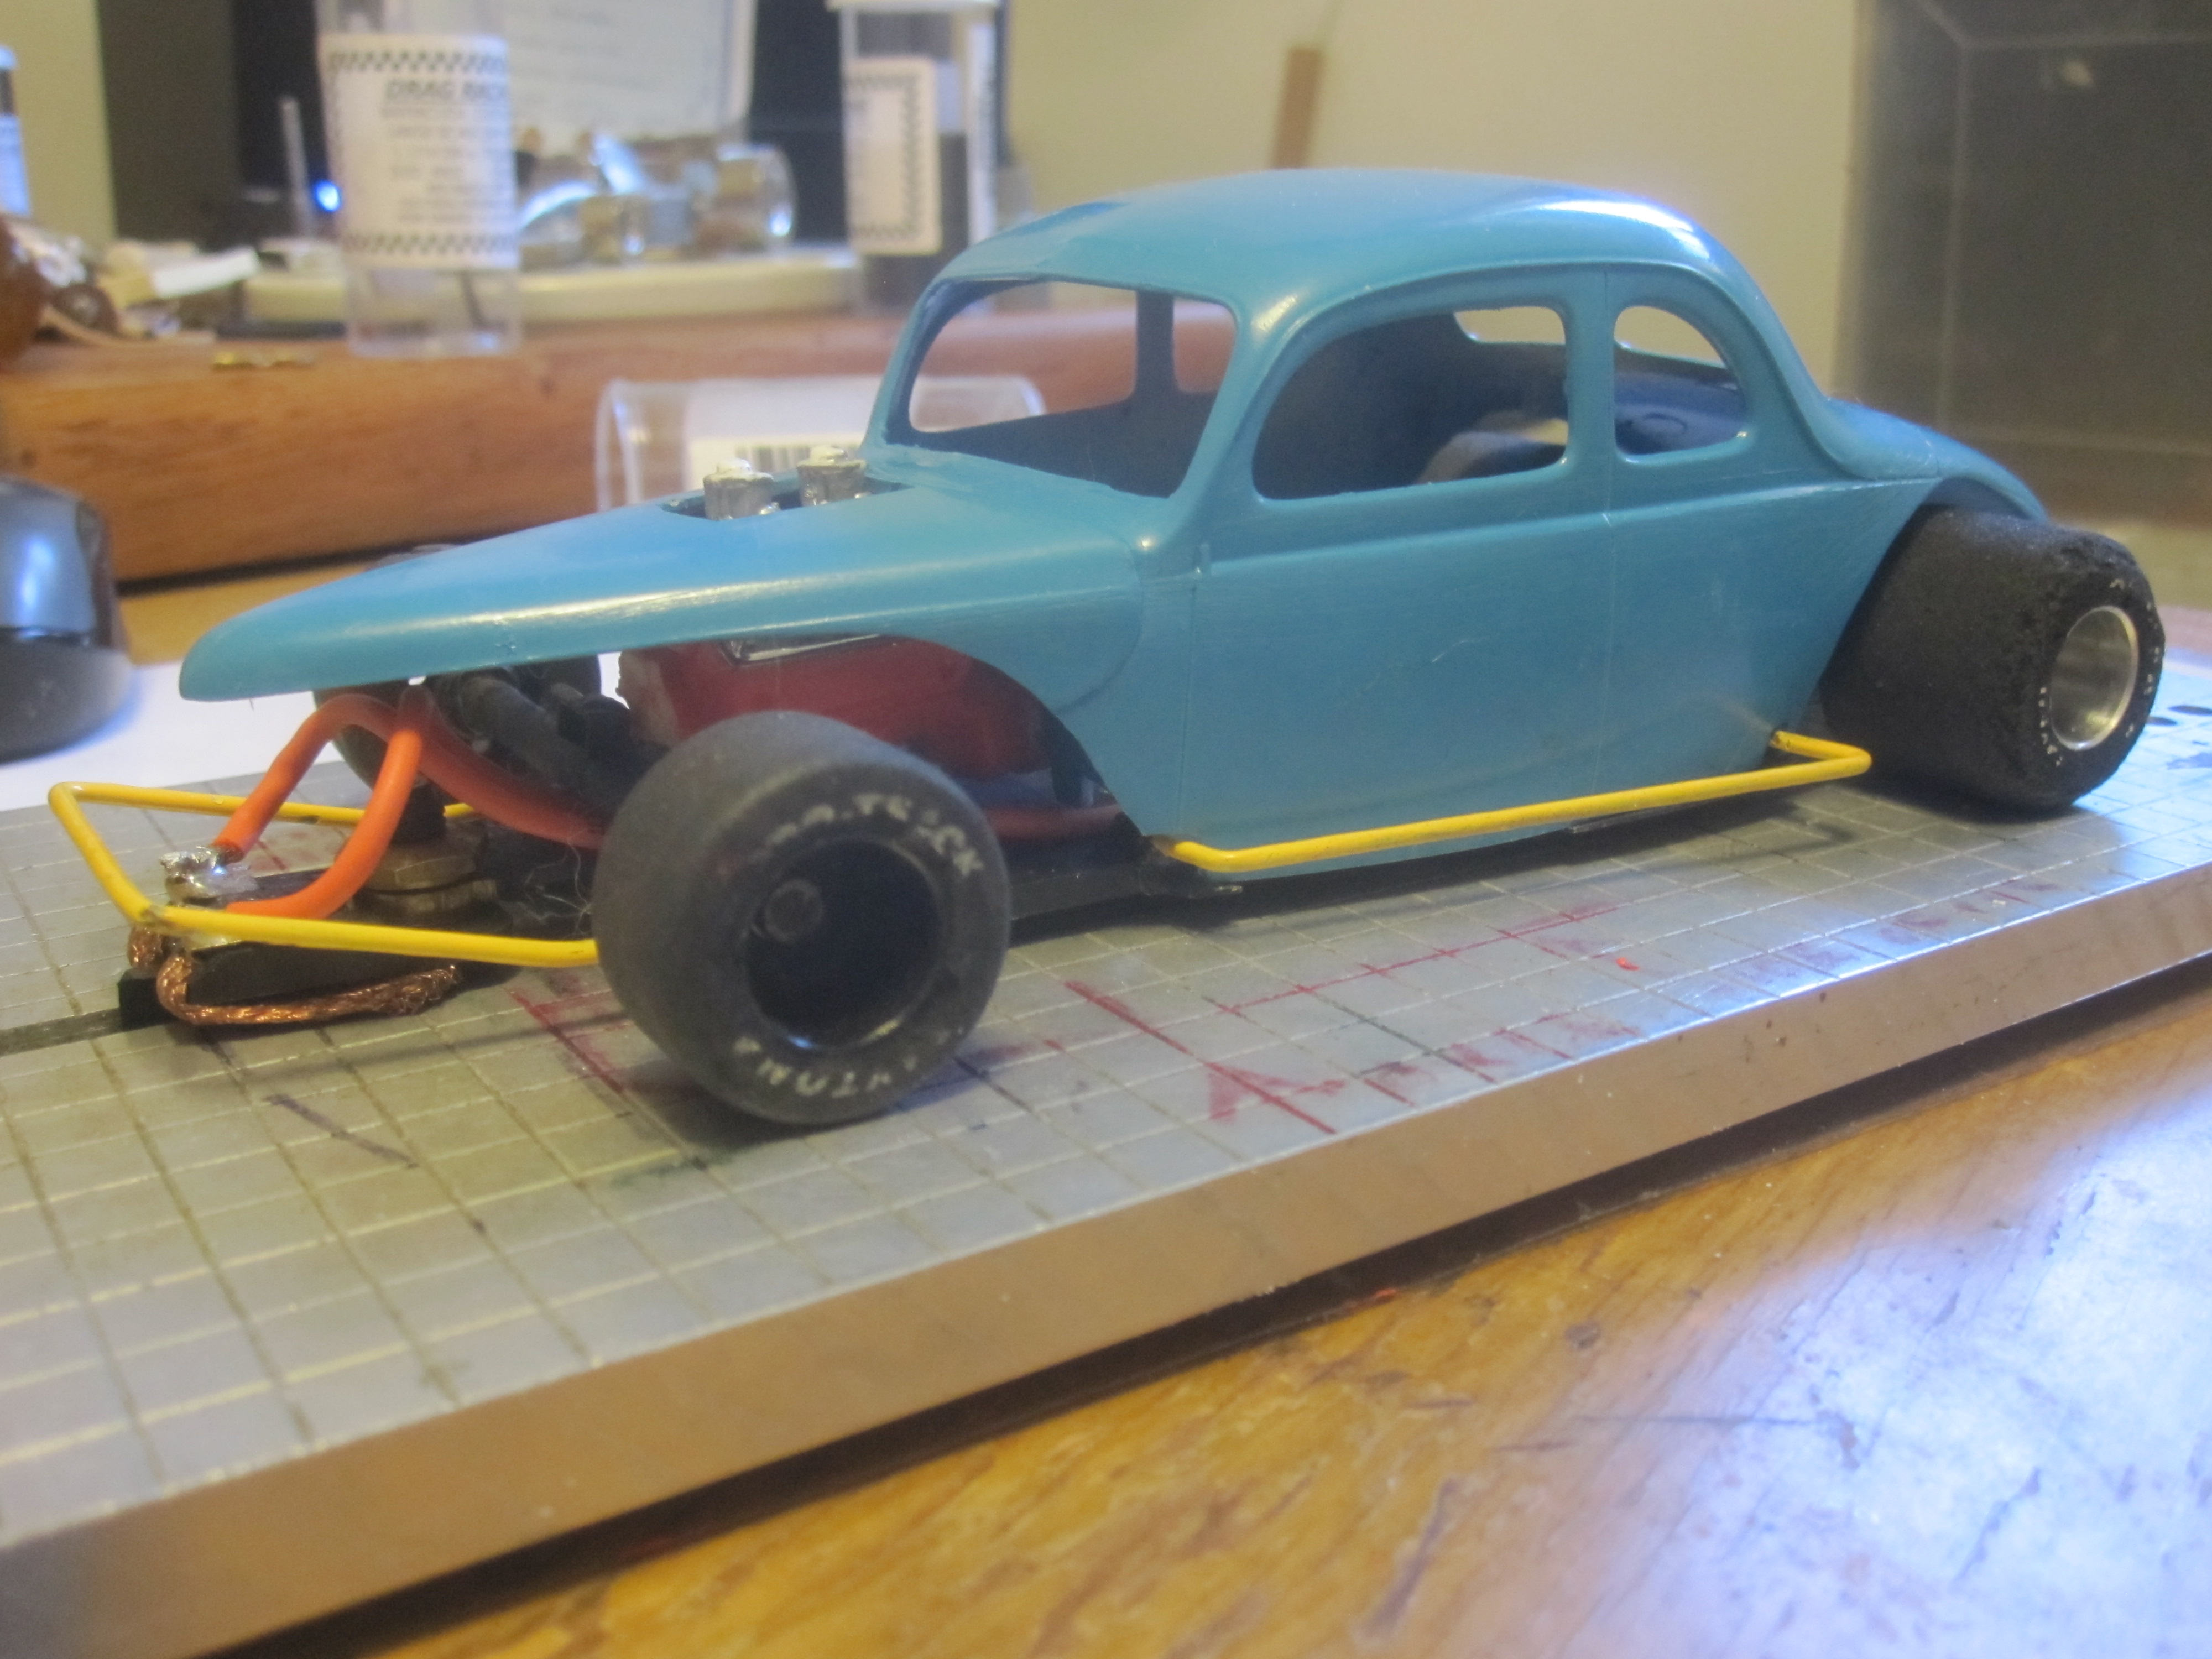
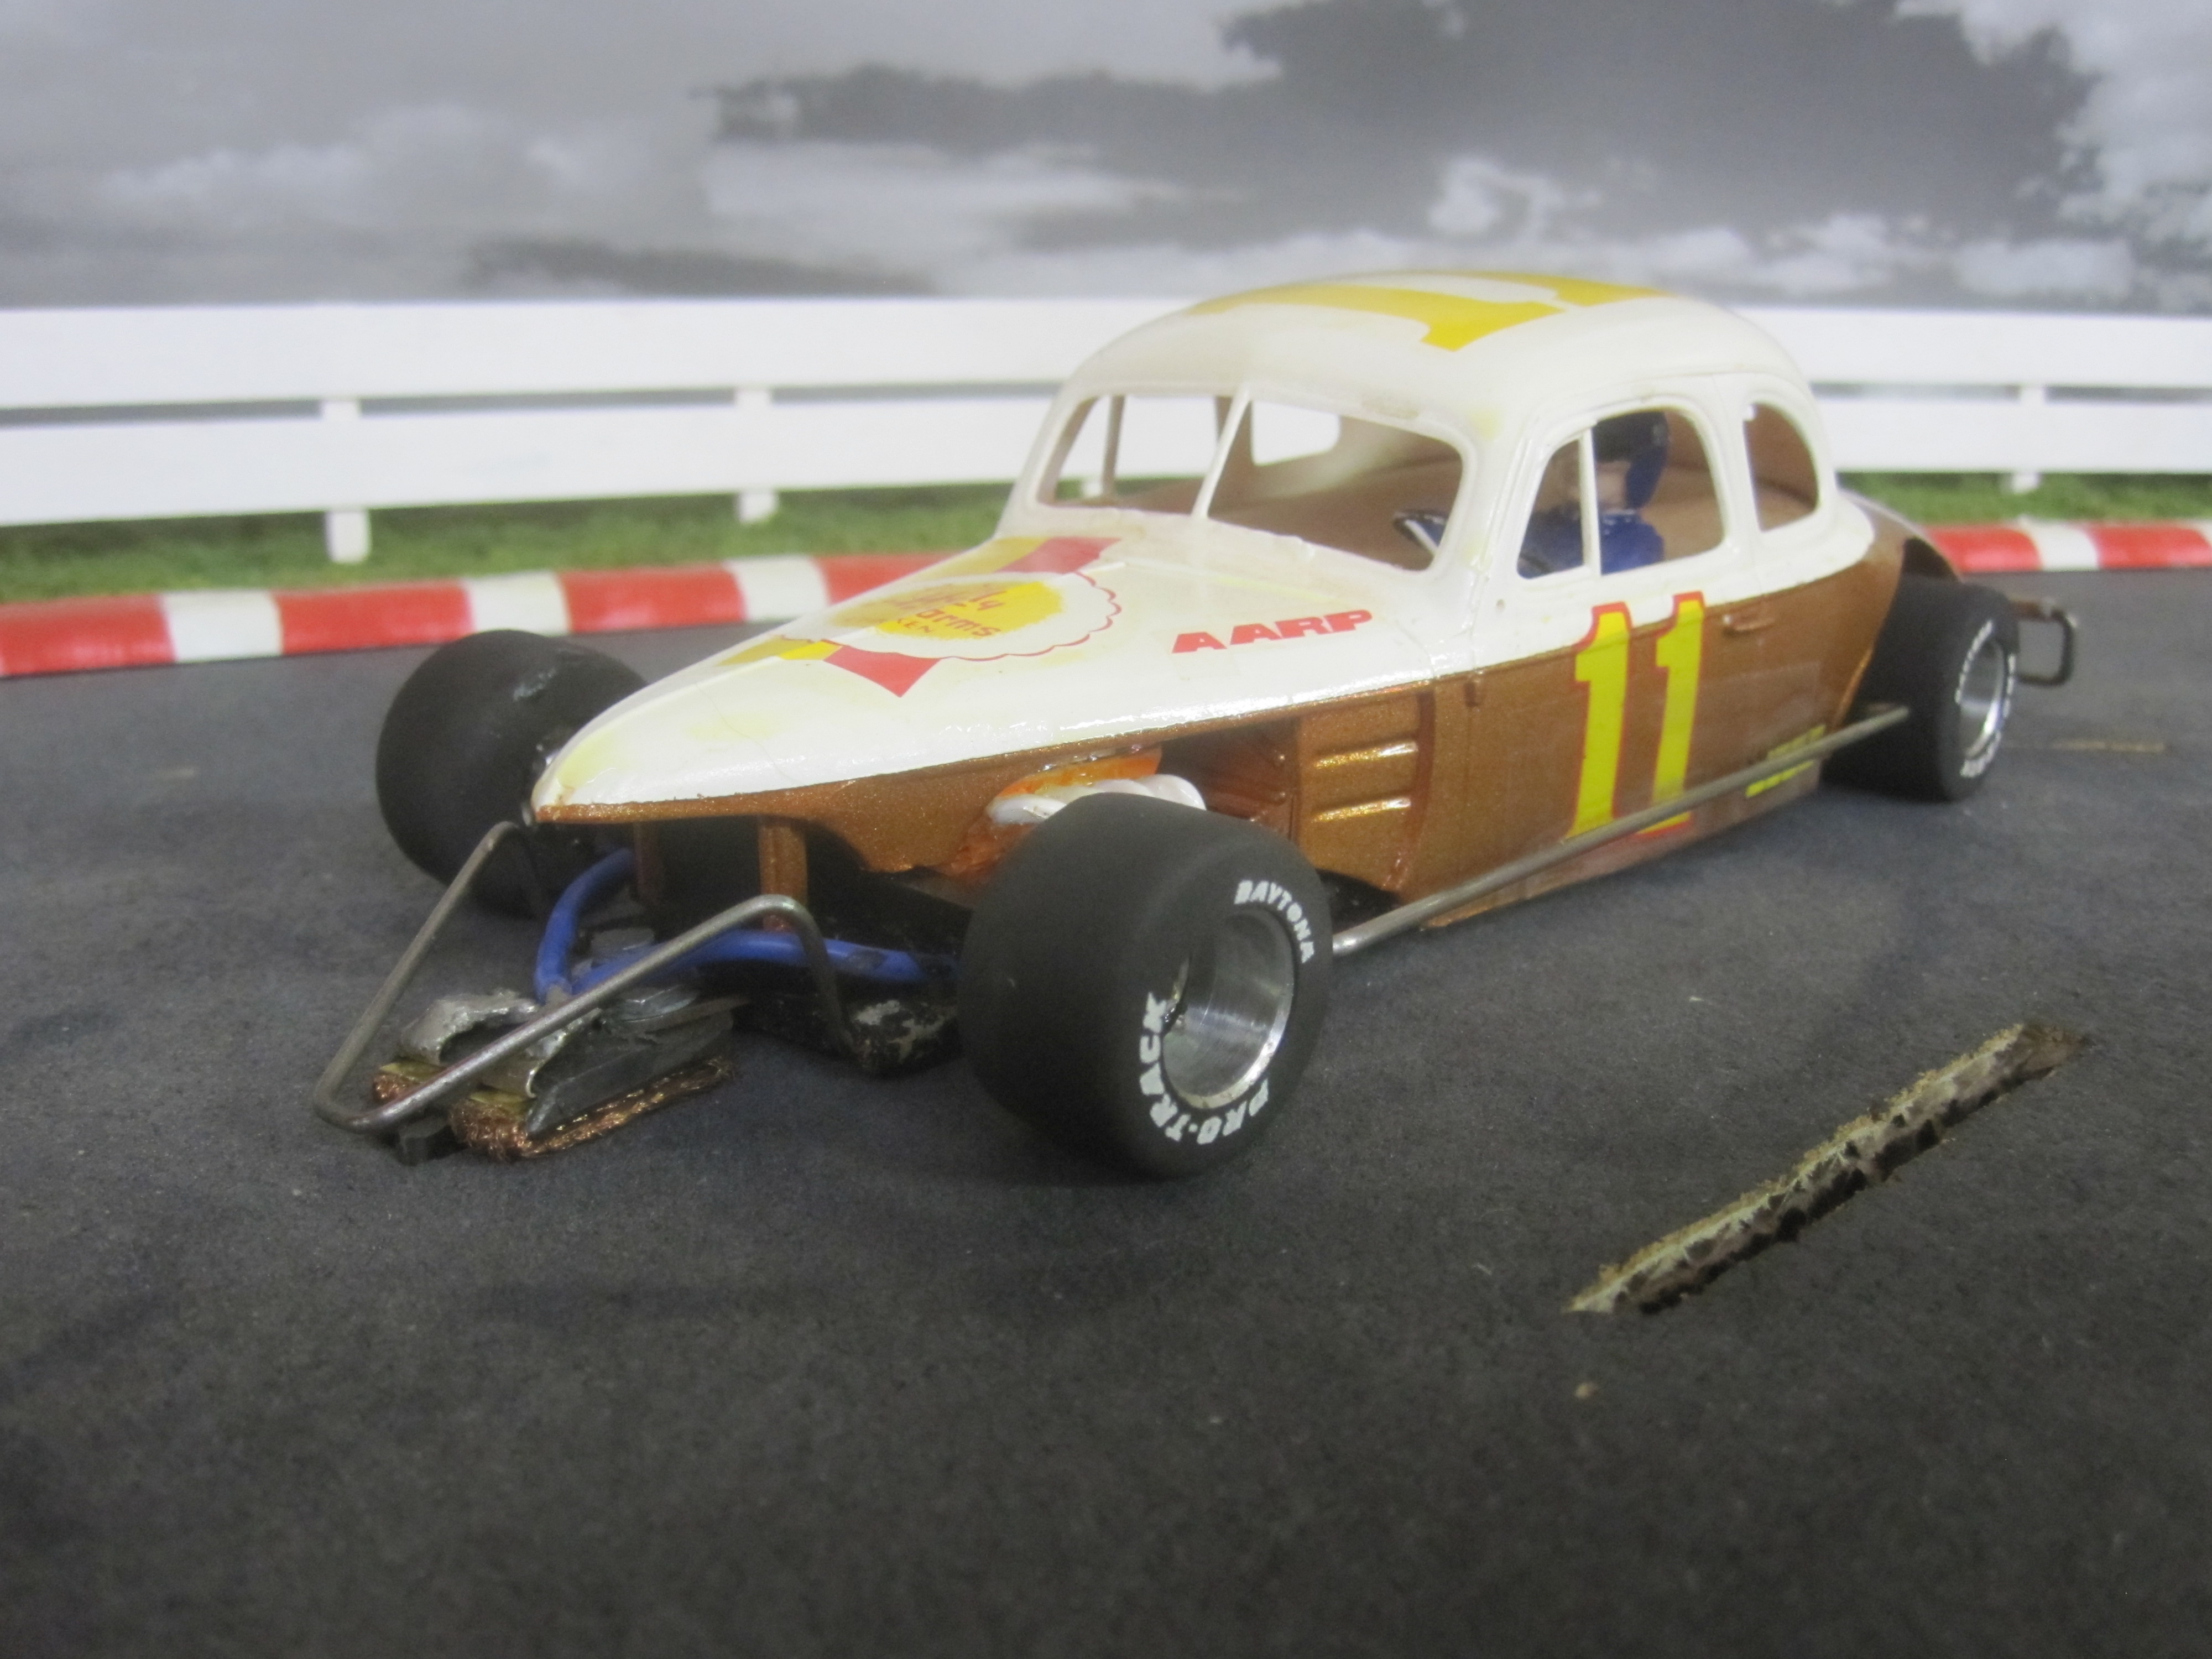
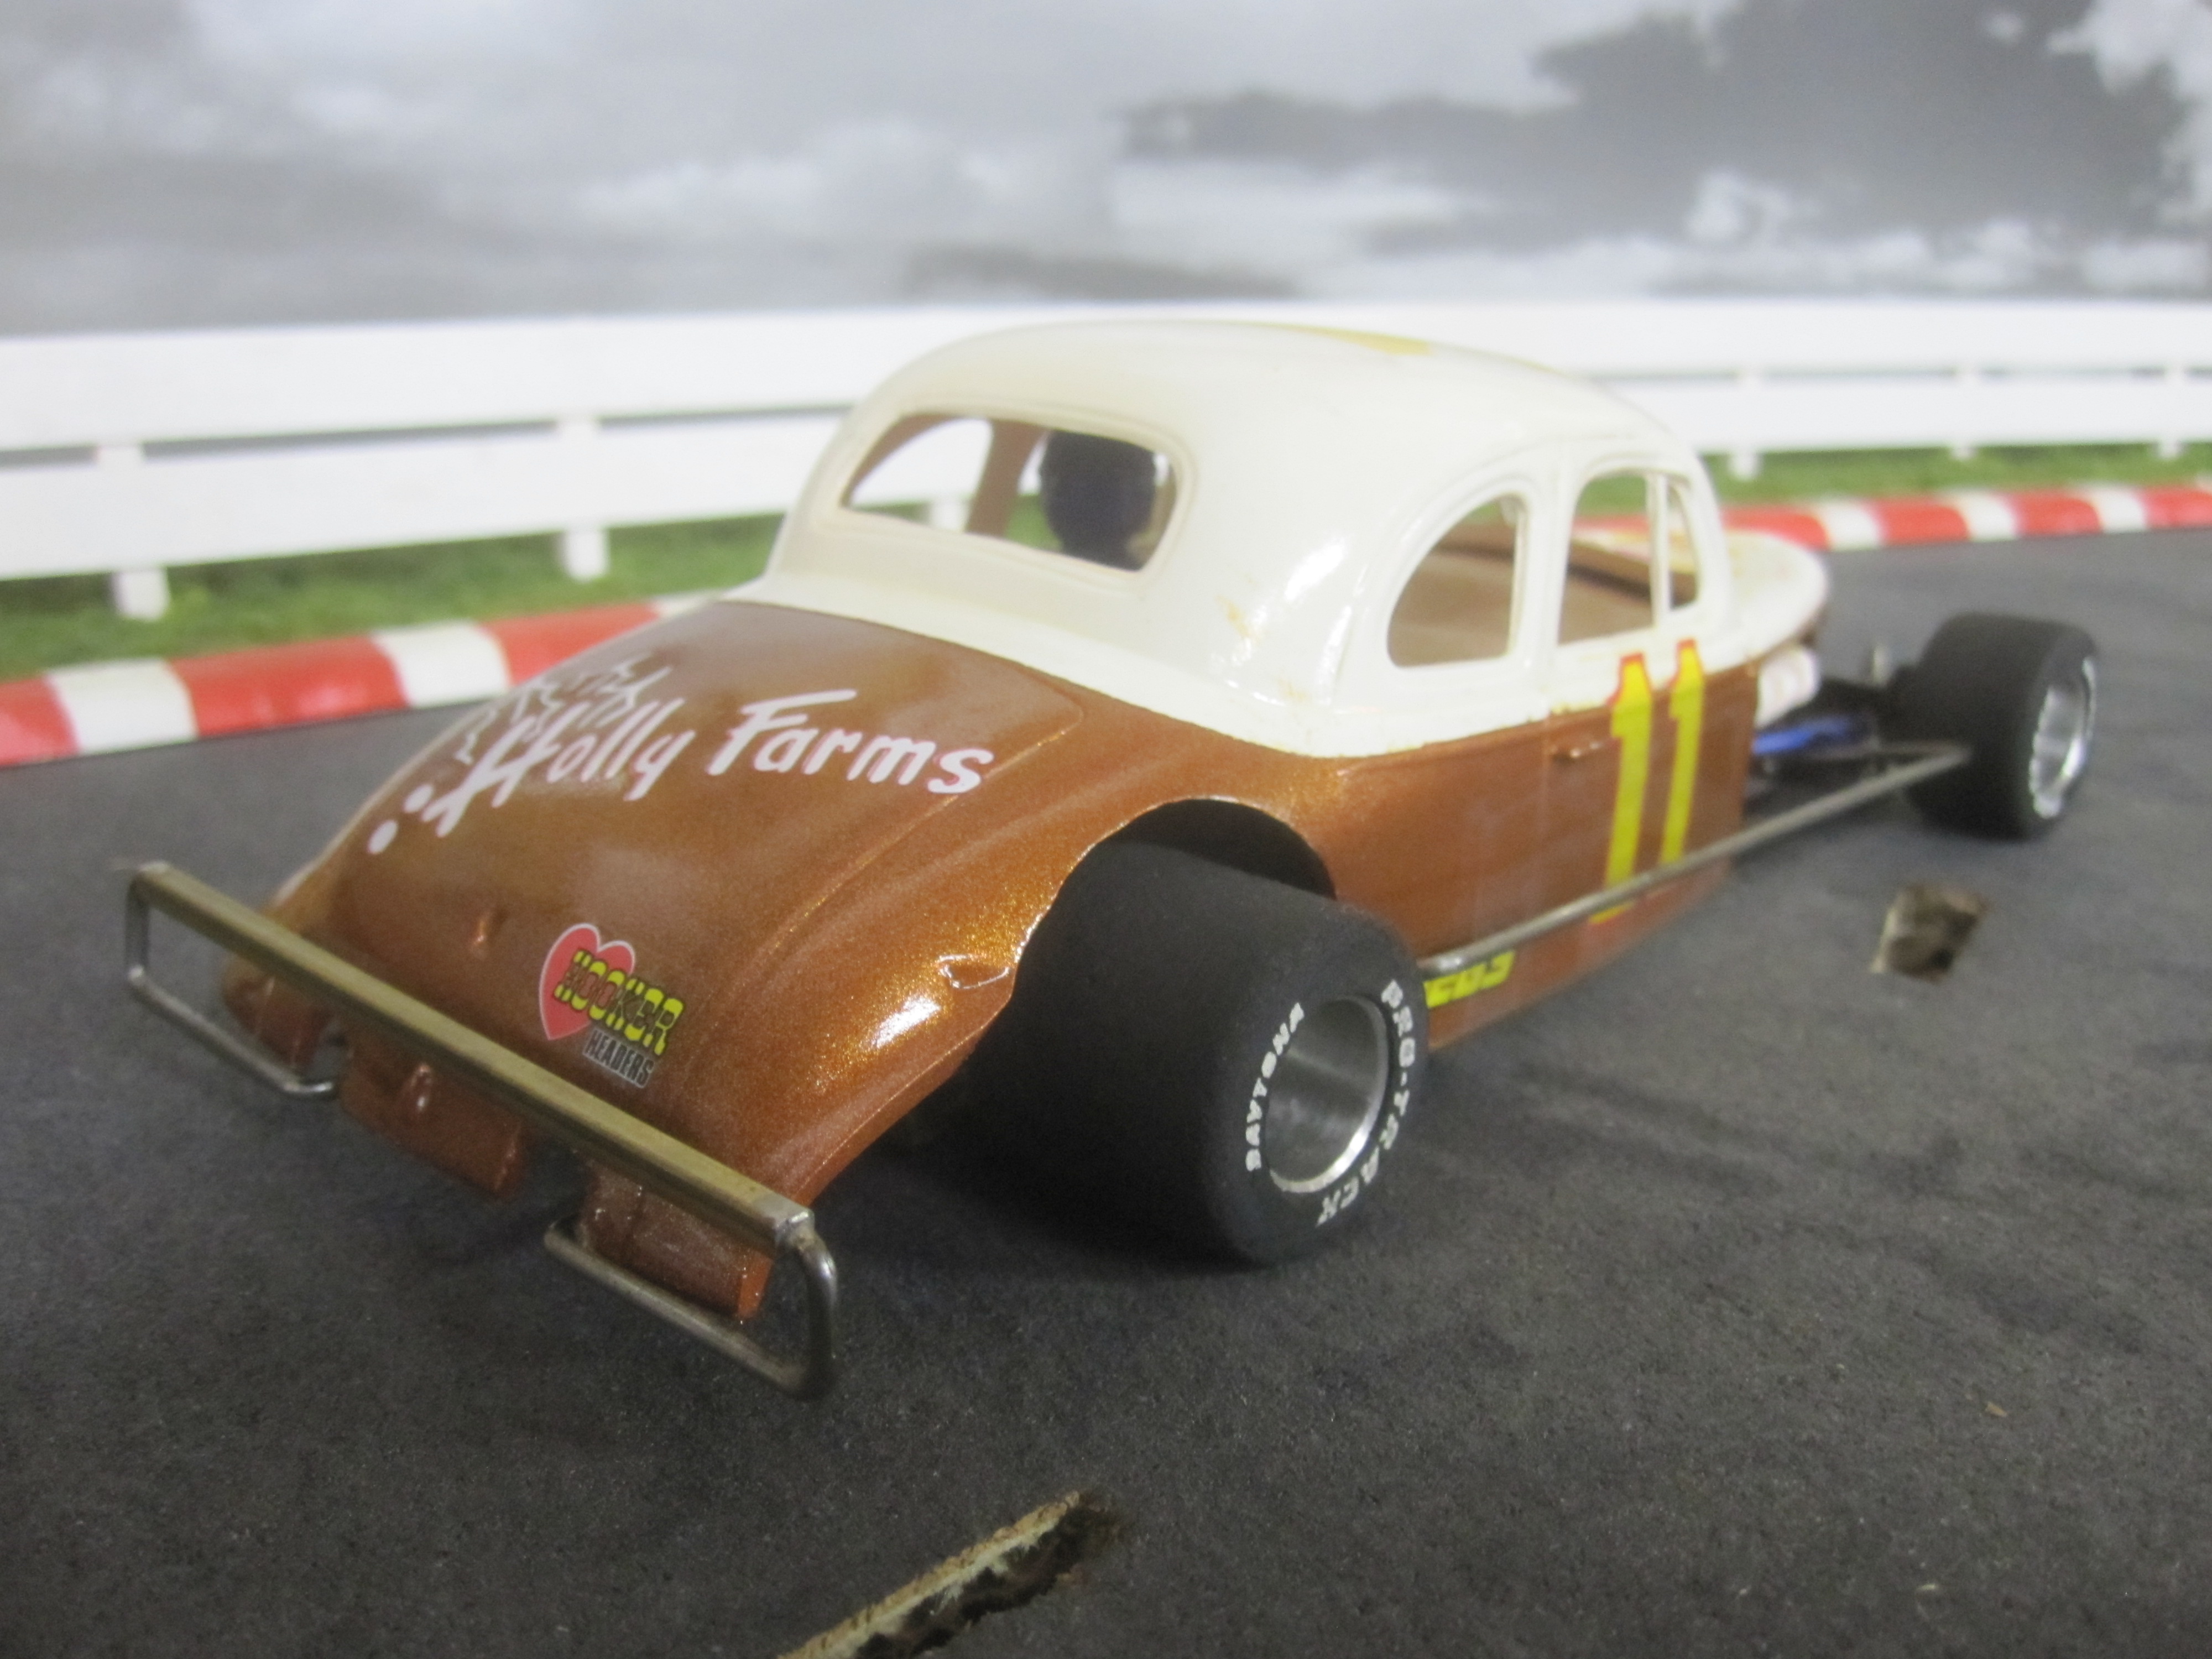
Finally getting back to the Early Modified '40 Ford project ( refer to the first picture on page one ). The mechanics are pretty much done. The body has been painted but not detailed yet.
by howie » Wed Jan 28, 2015 10:34 am
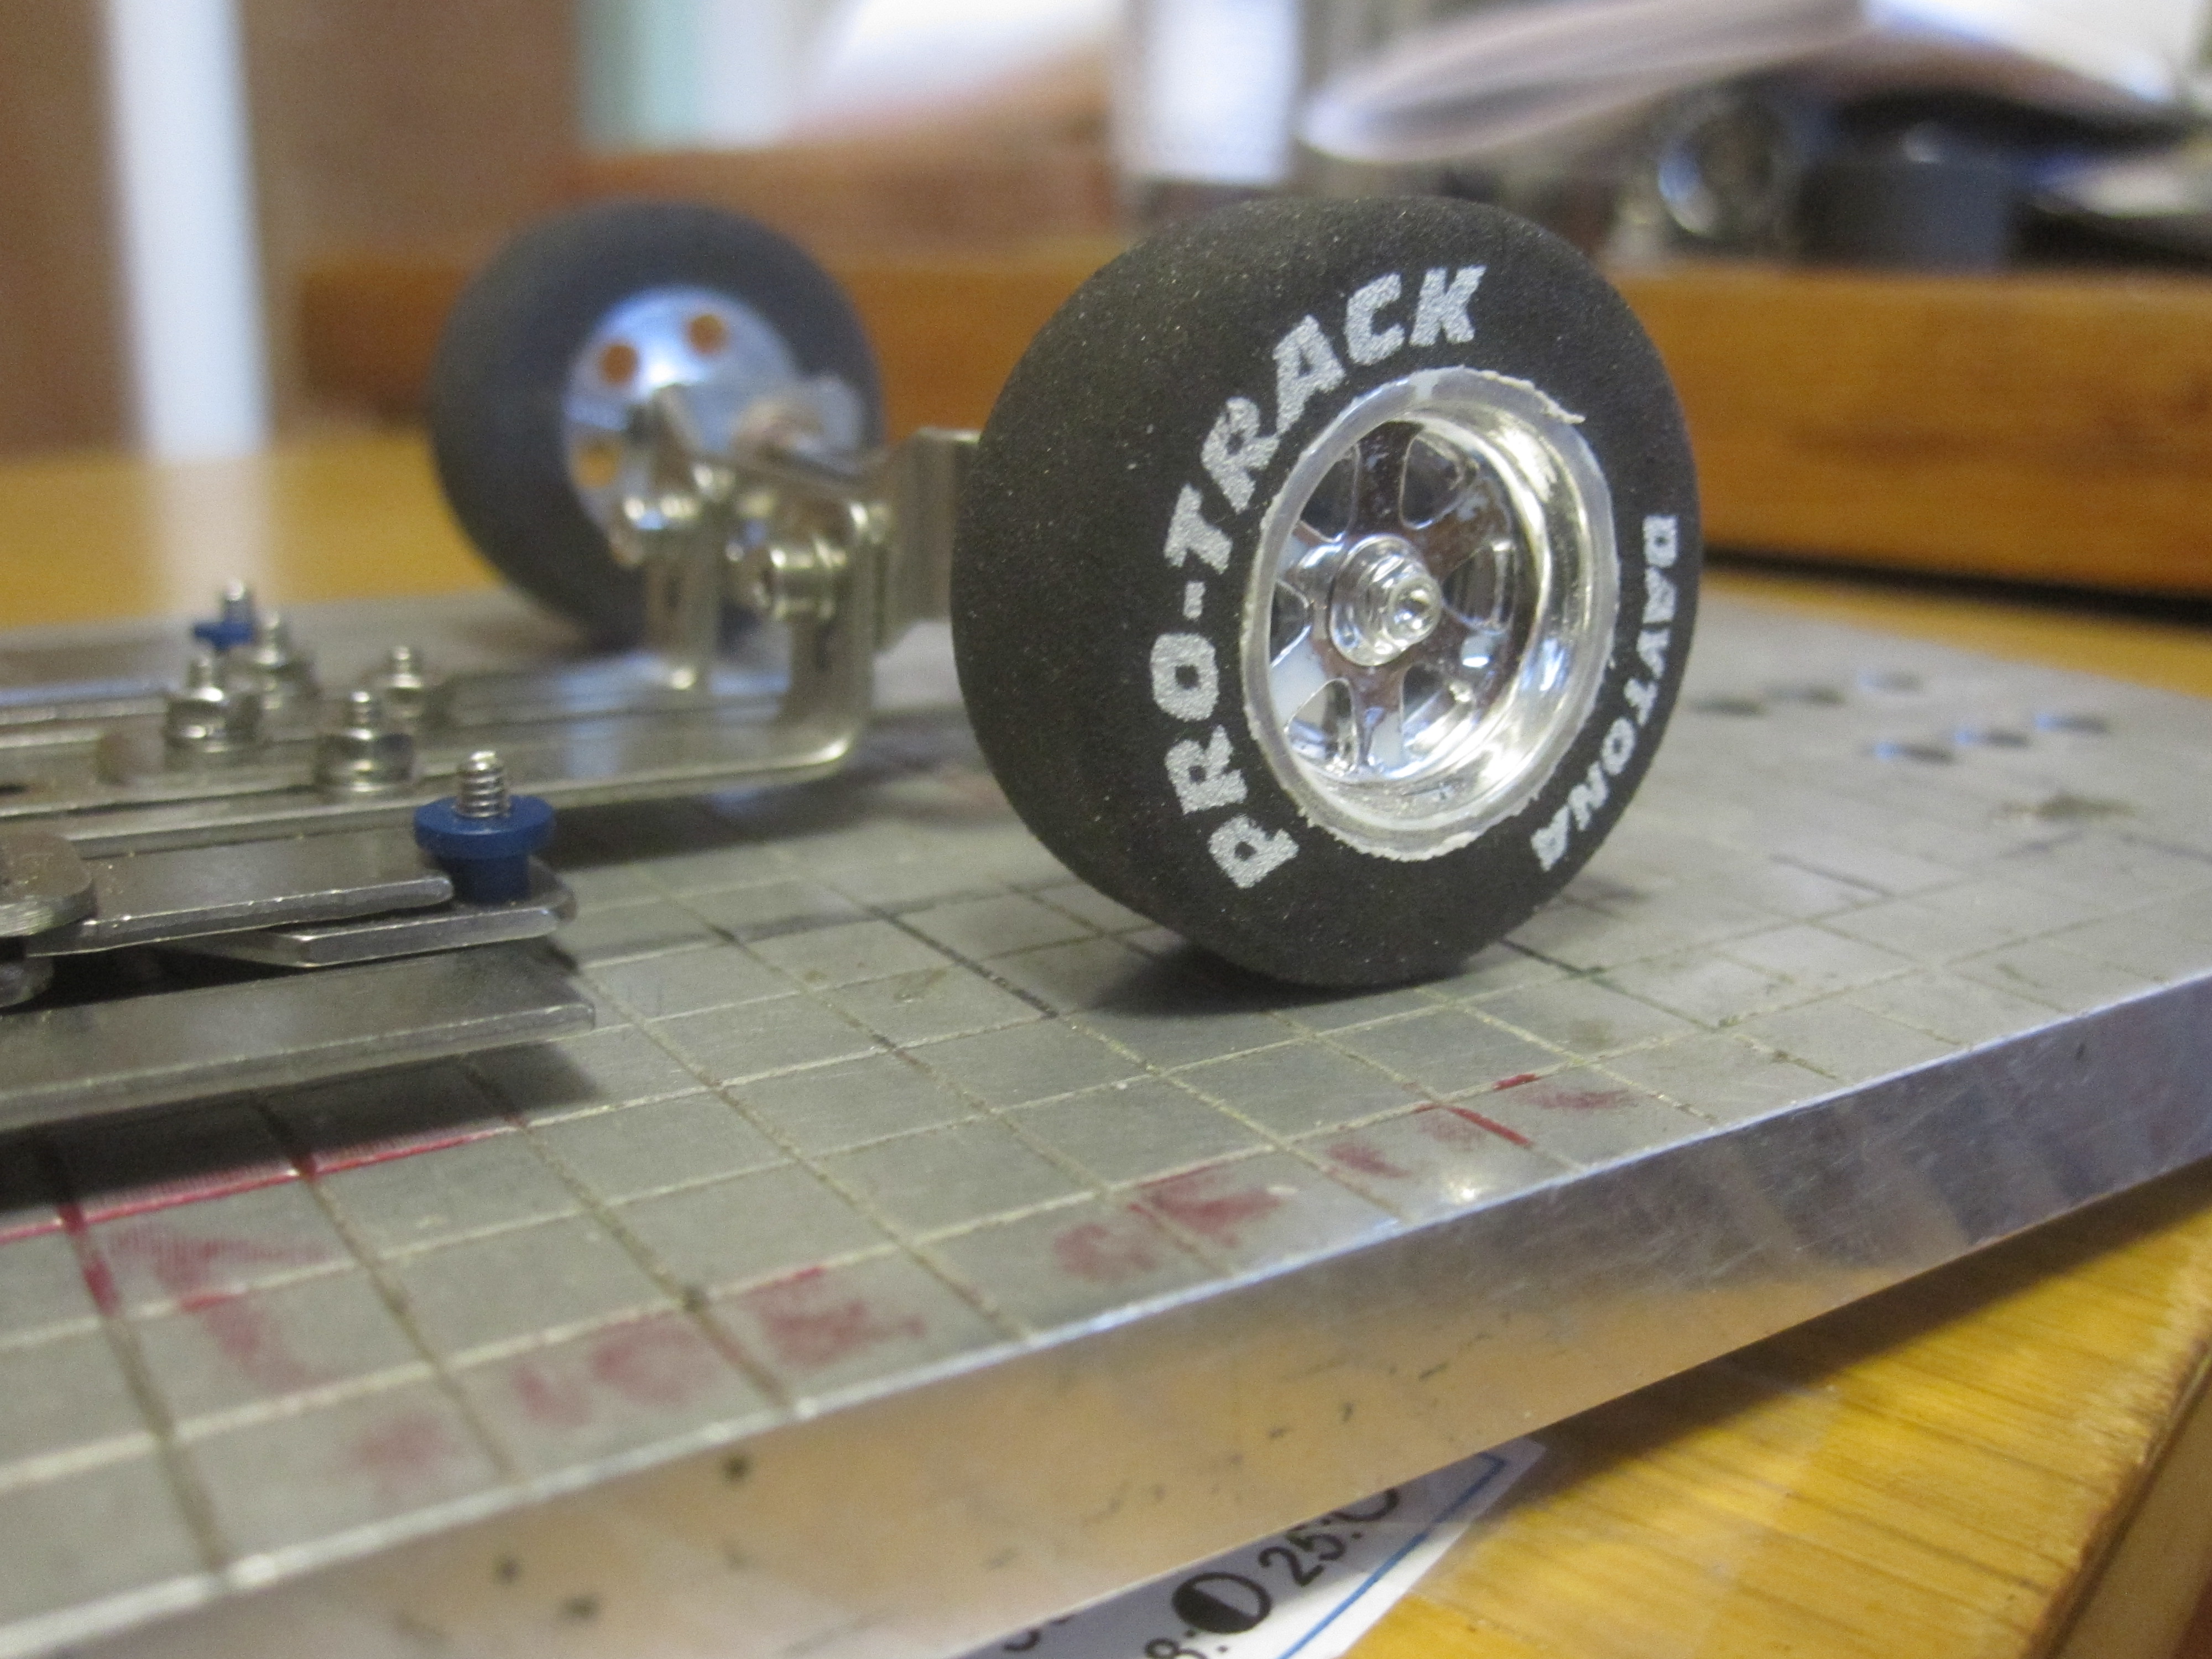
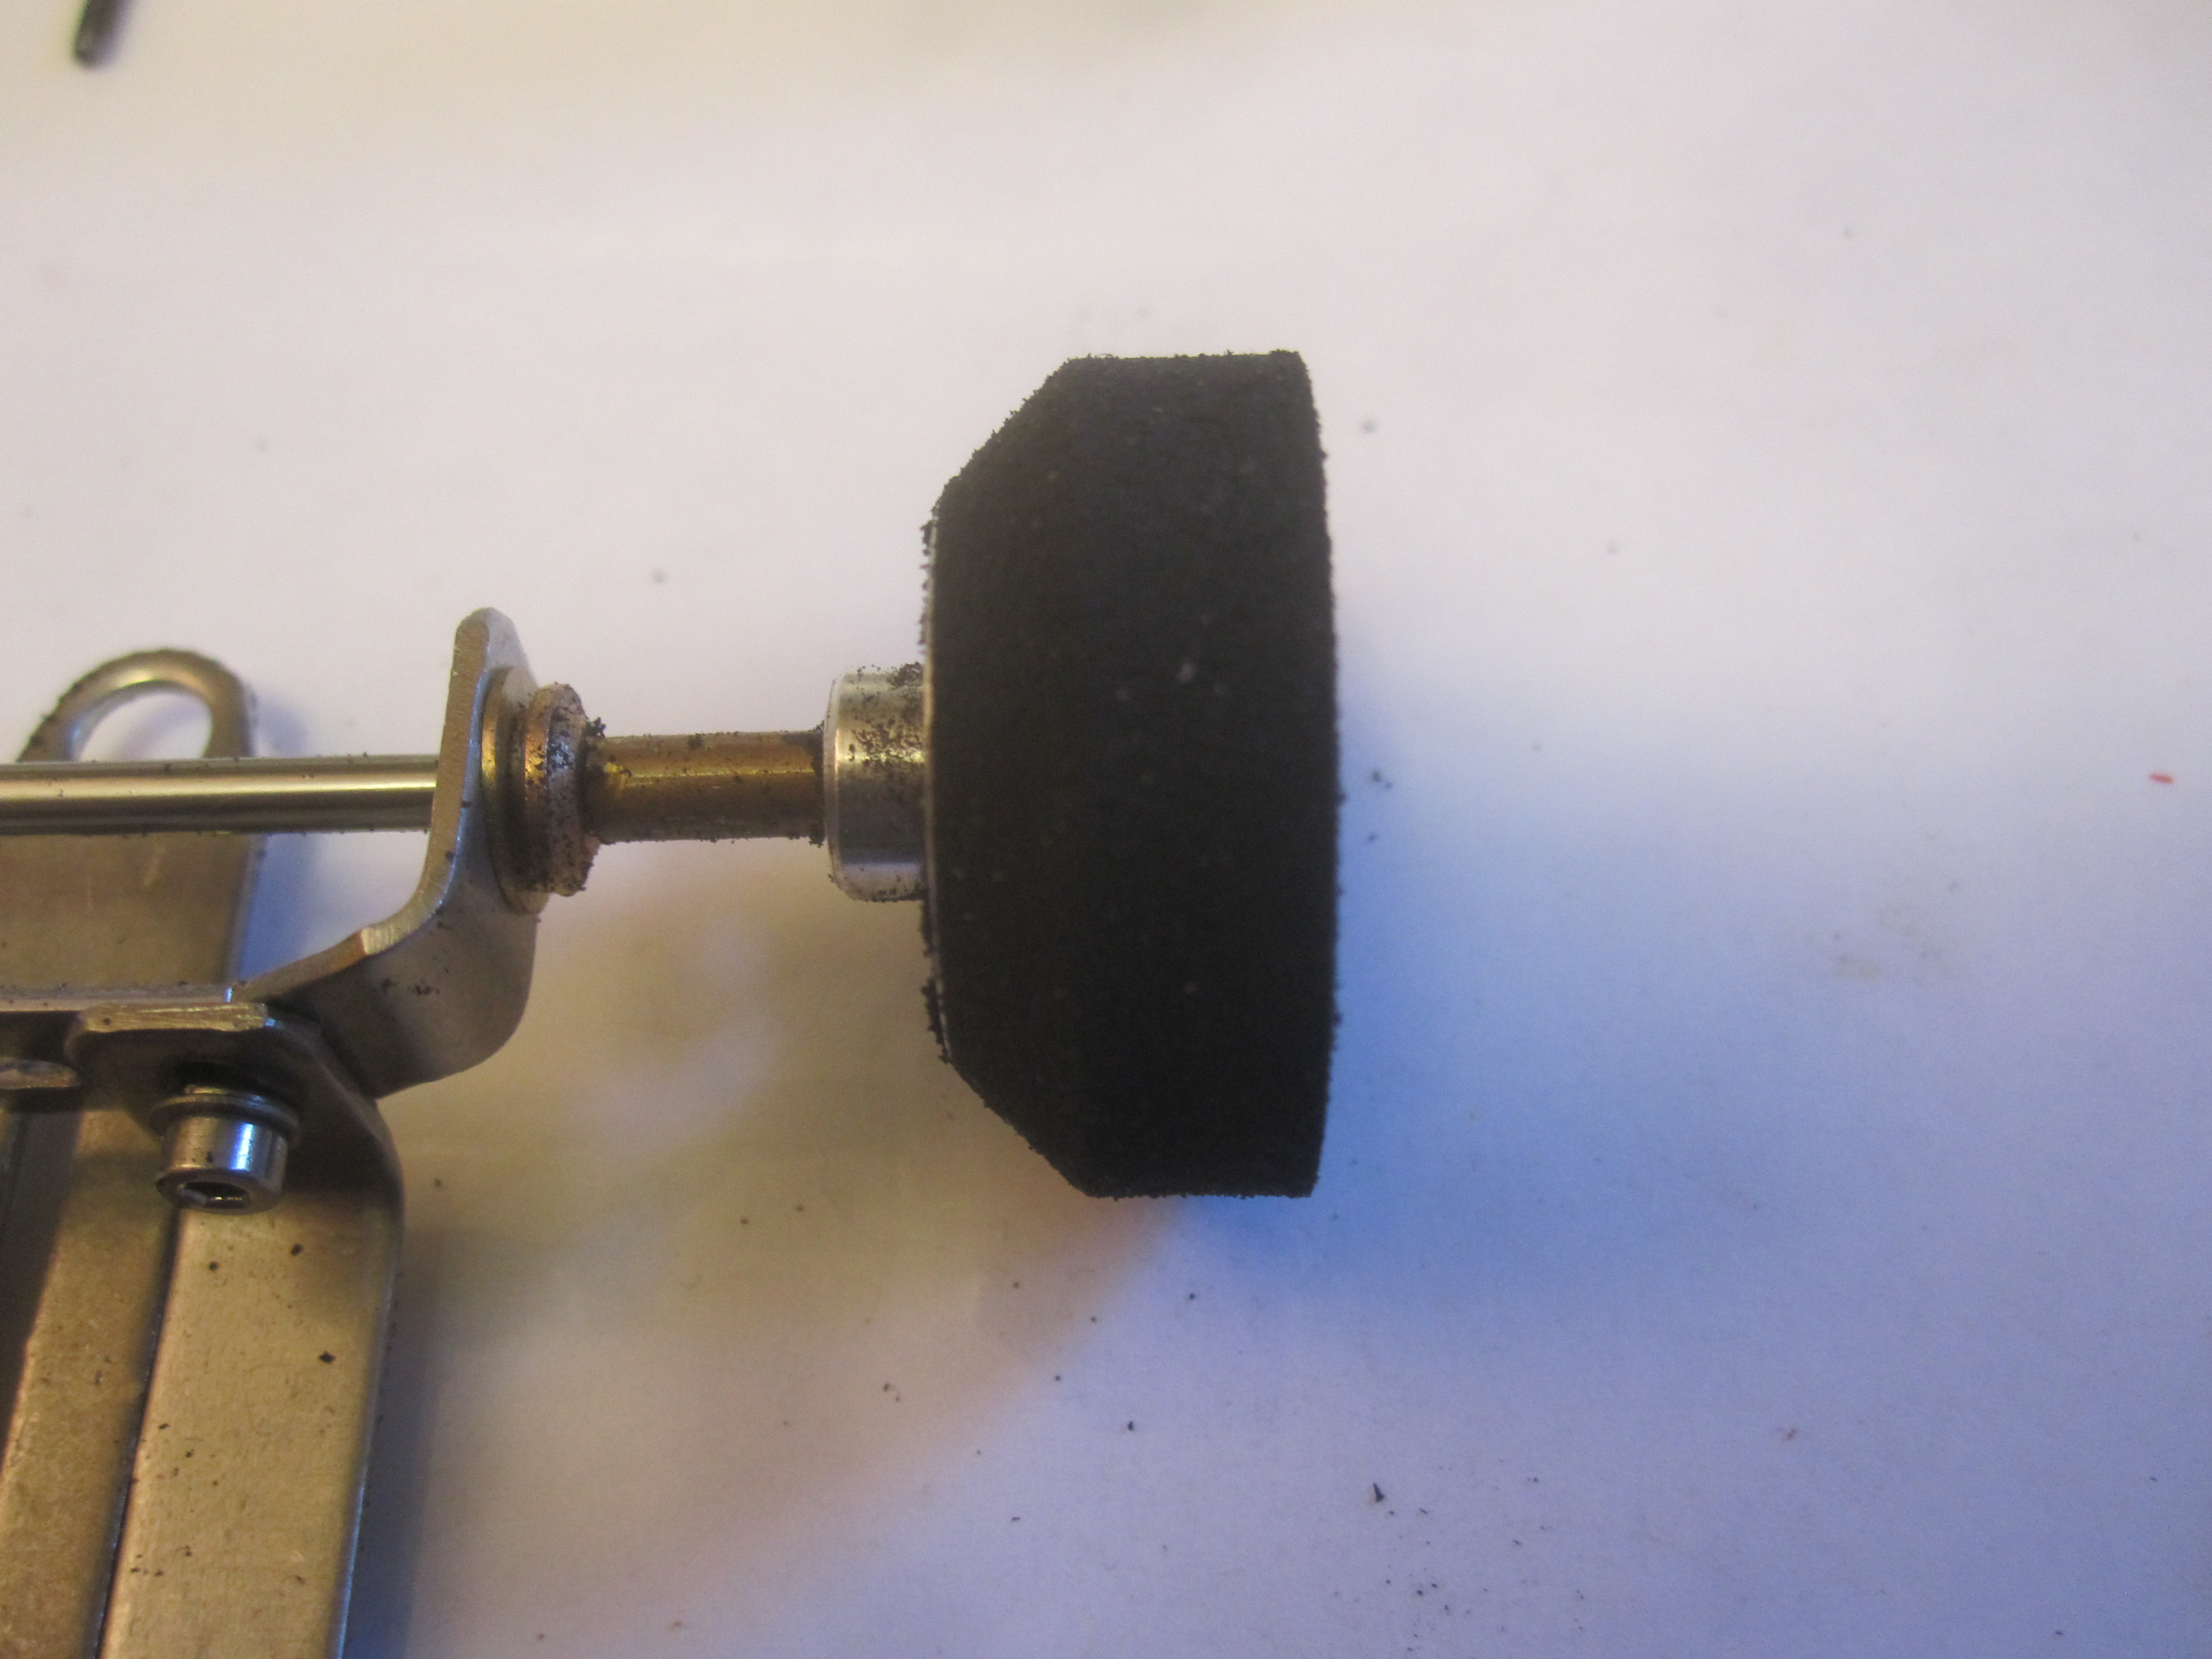
SP800001 continues. The making of independent rolling front wheels. I like to make the front tires roll independent of one another. First step is to cut the axle to proper length. Next solder a washer on one end of the axle, then remove the set screw of the wheel next to the washer. Install axle, spacers wheels and only use the set screw in the wheel on the opposite end of the washer and tighten. To maintain the washer on the axle while soldering, turn the wheel around and lay the washer against it, solder won't stick to aluminum. After soldering, you may have to take some sandpaper or a file and clean up the axle where the wheel is going to roll.
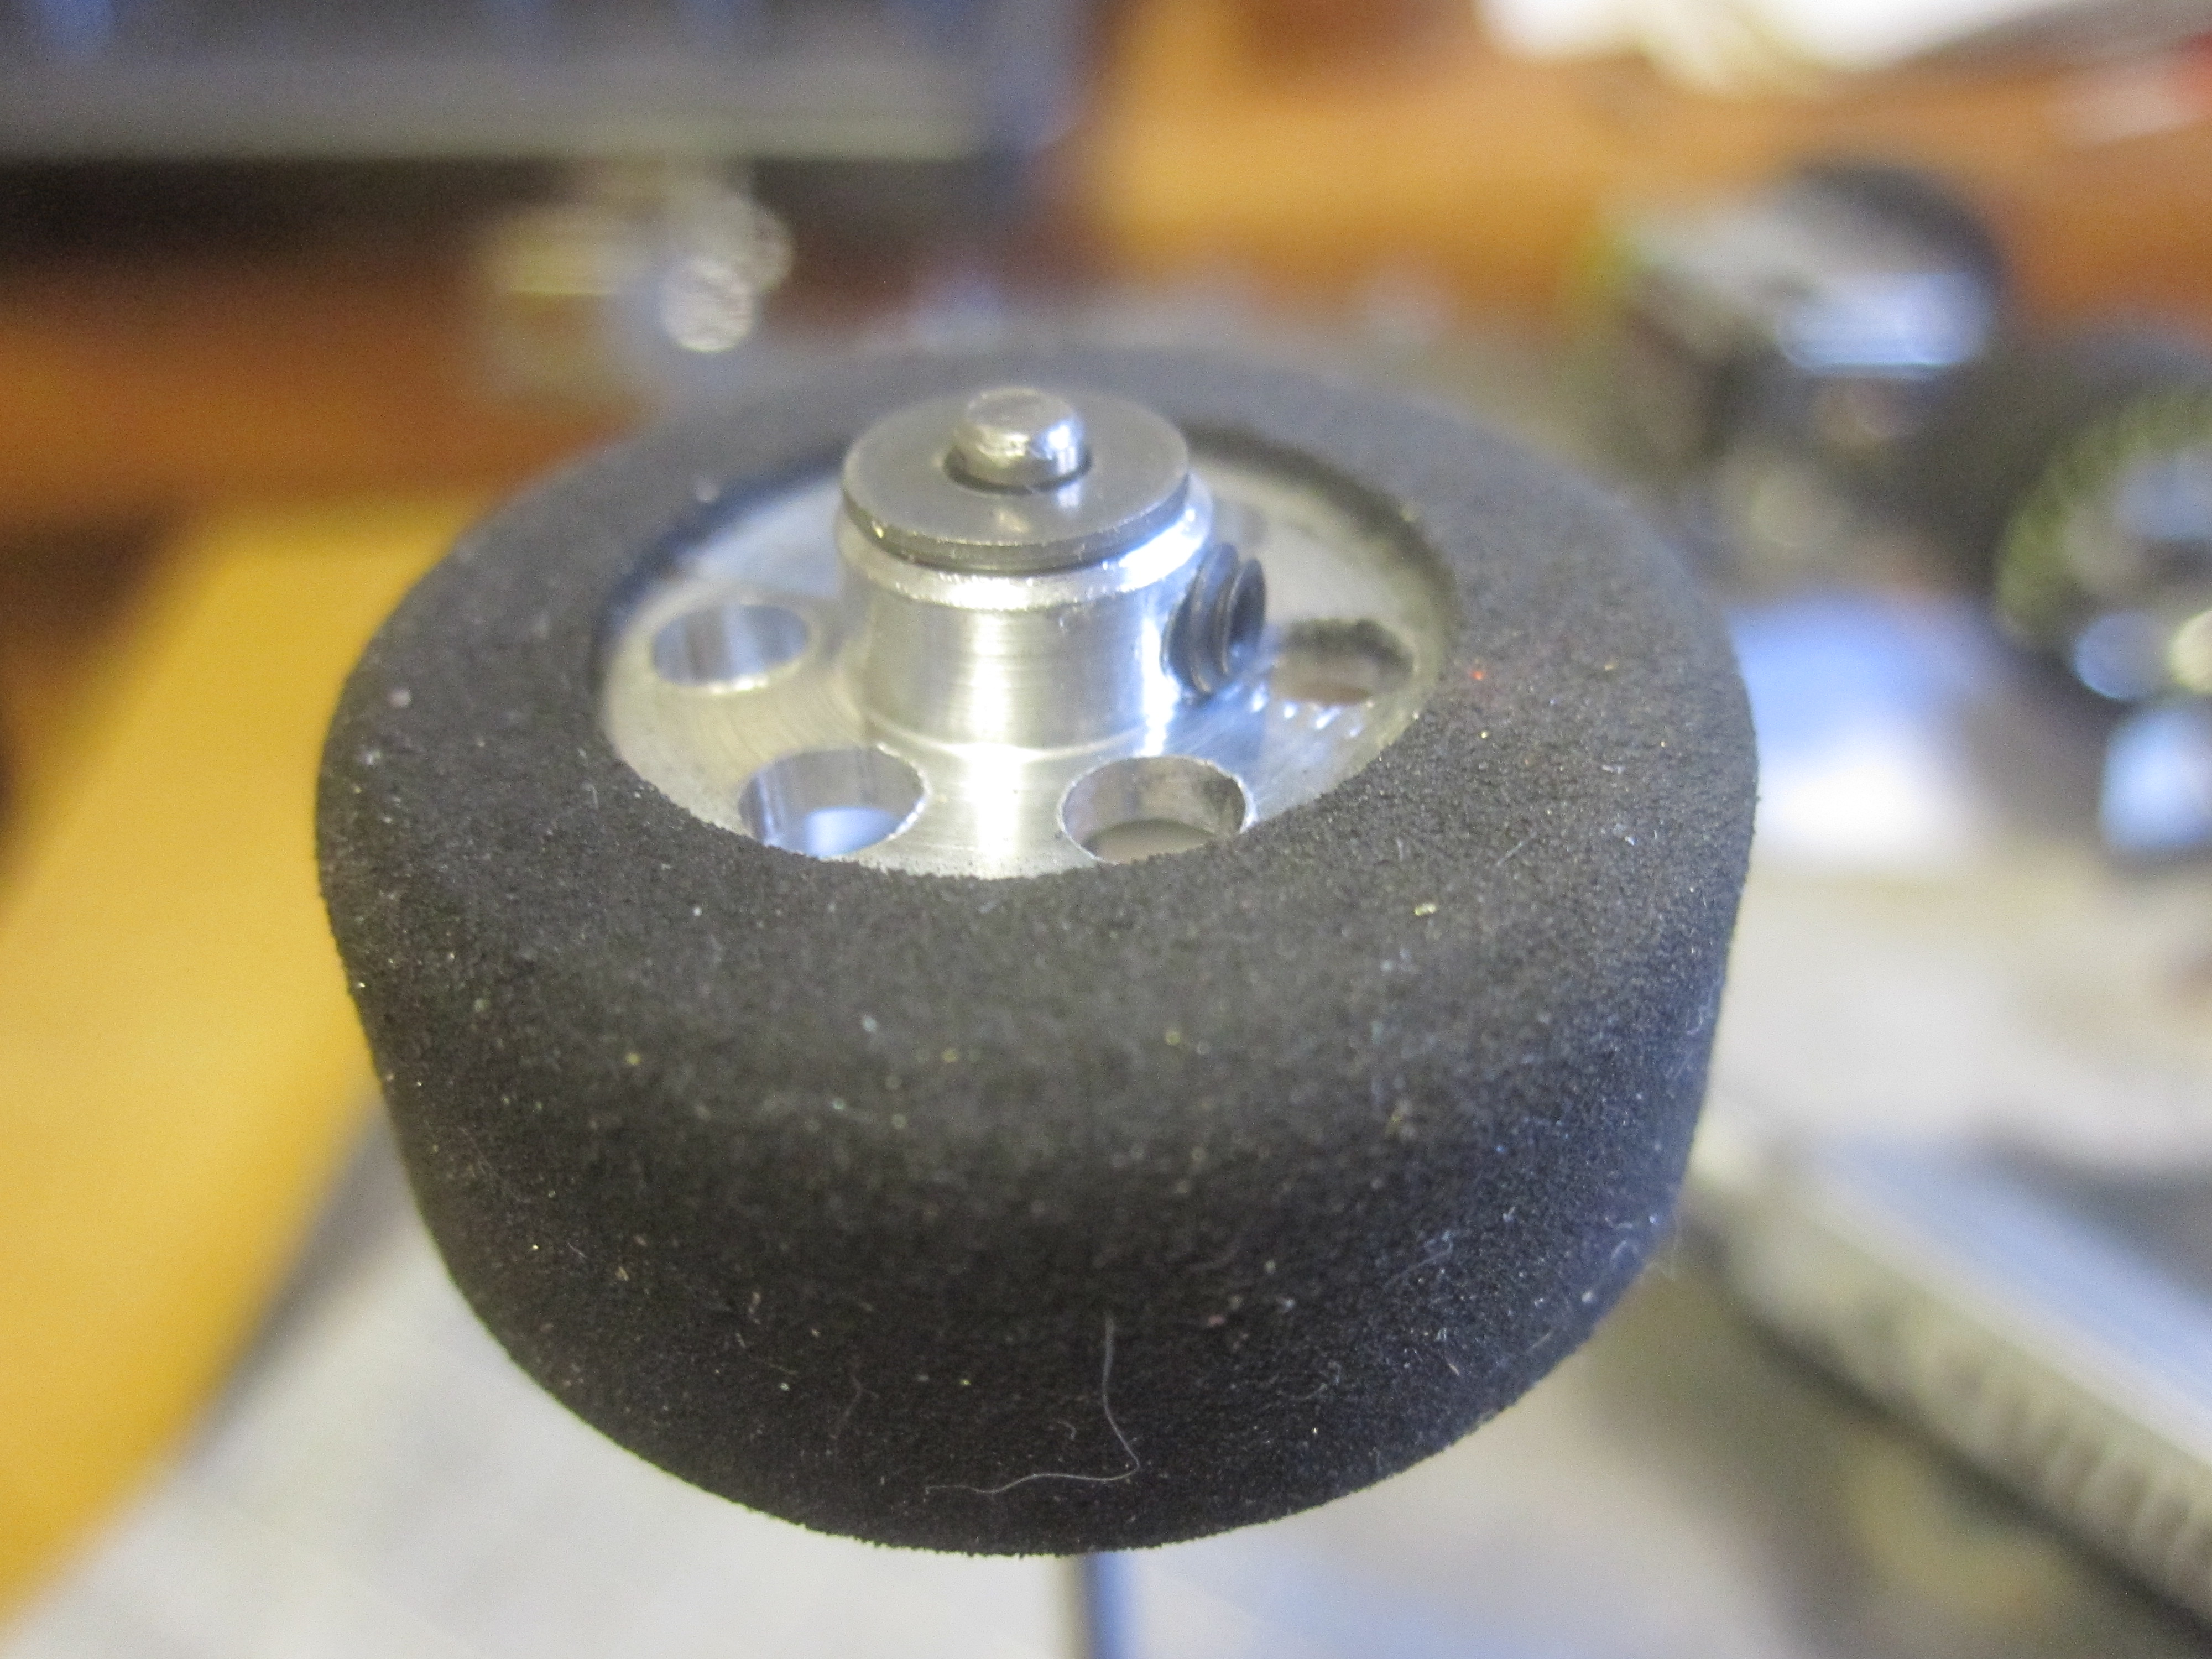
Kind of an ugly soldering job, but an insert will hide it!
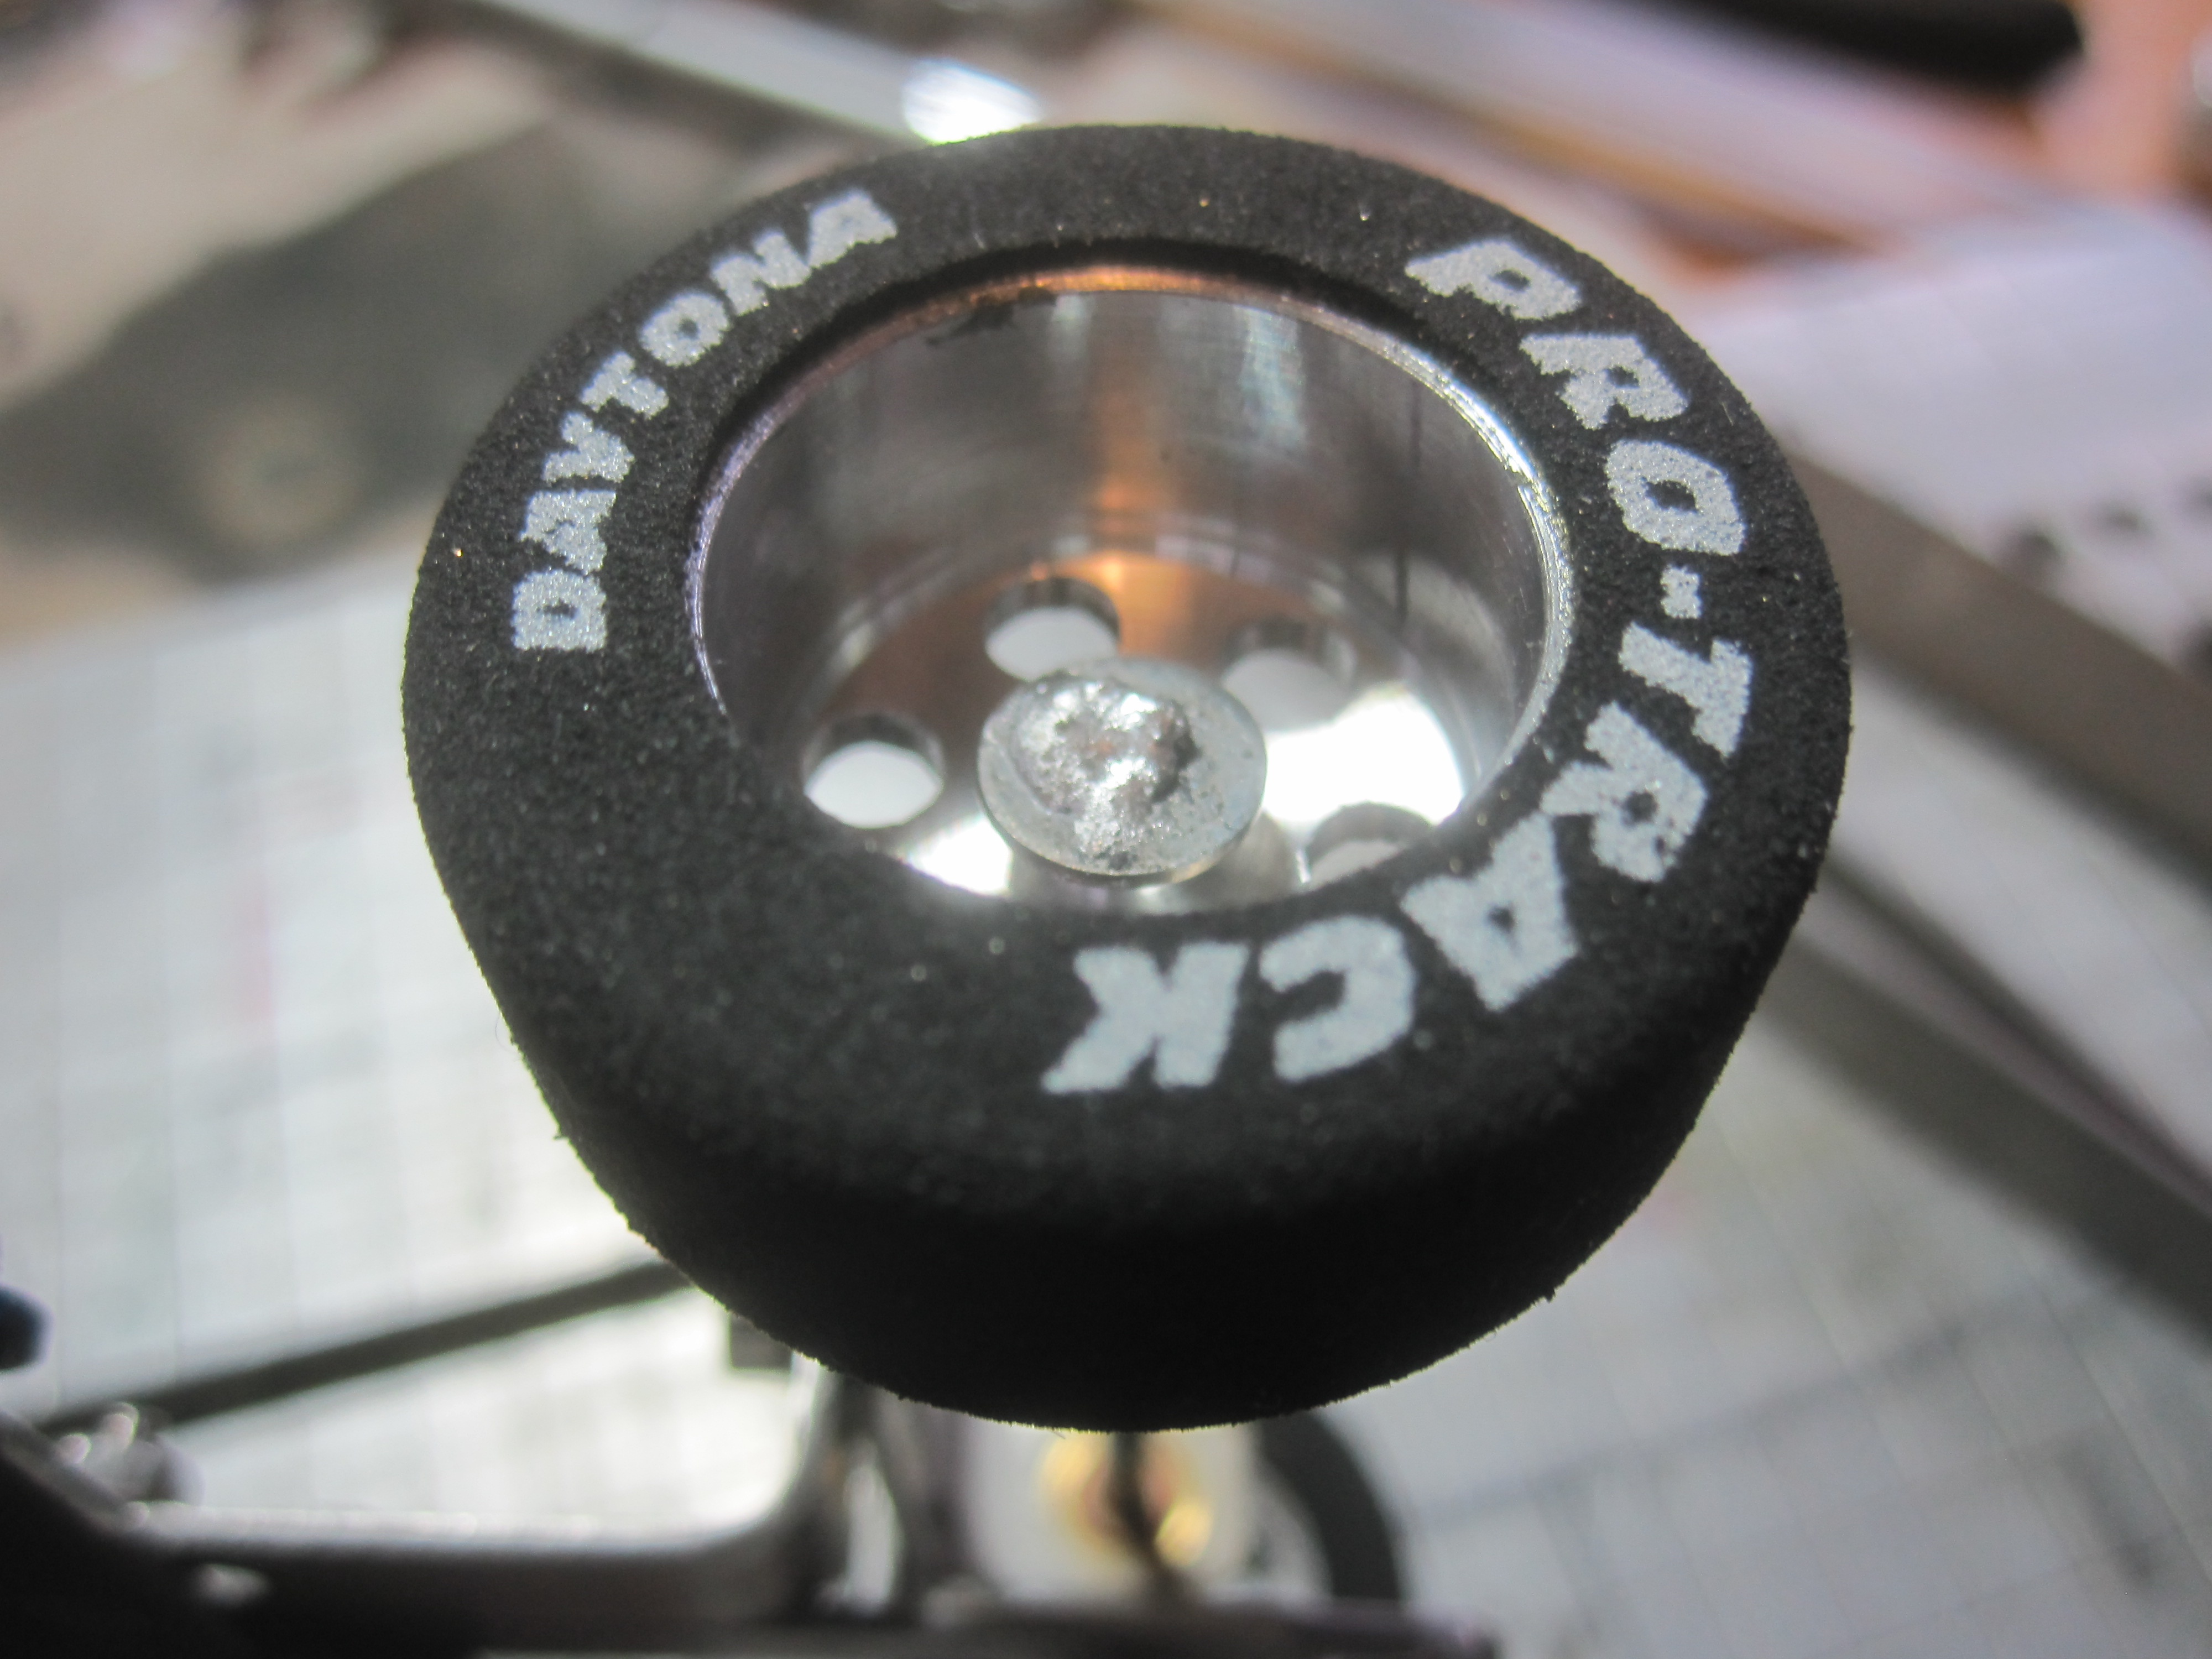
Much better, no?
by howie » Thu Jan 29, 2015 2:15 pm
Early Modified is closer to the finish.
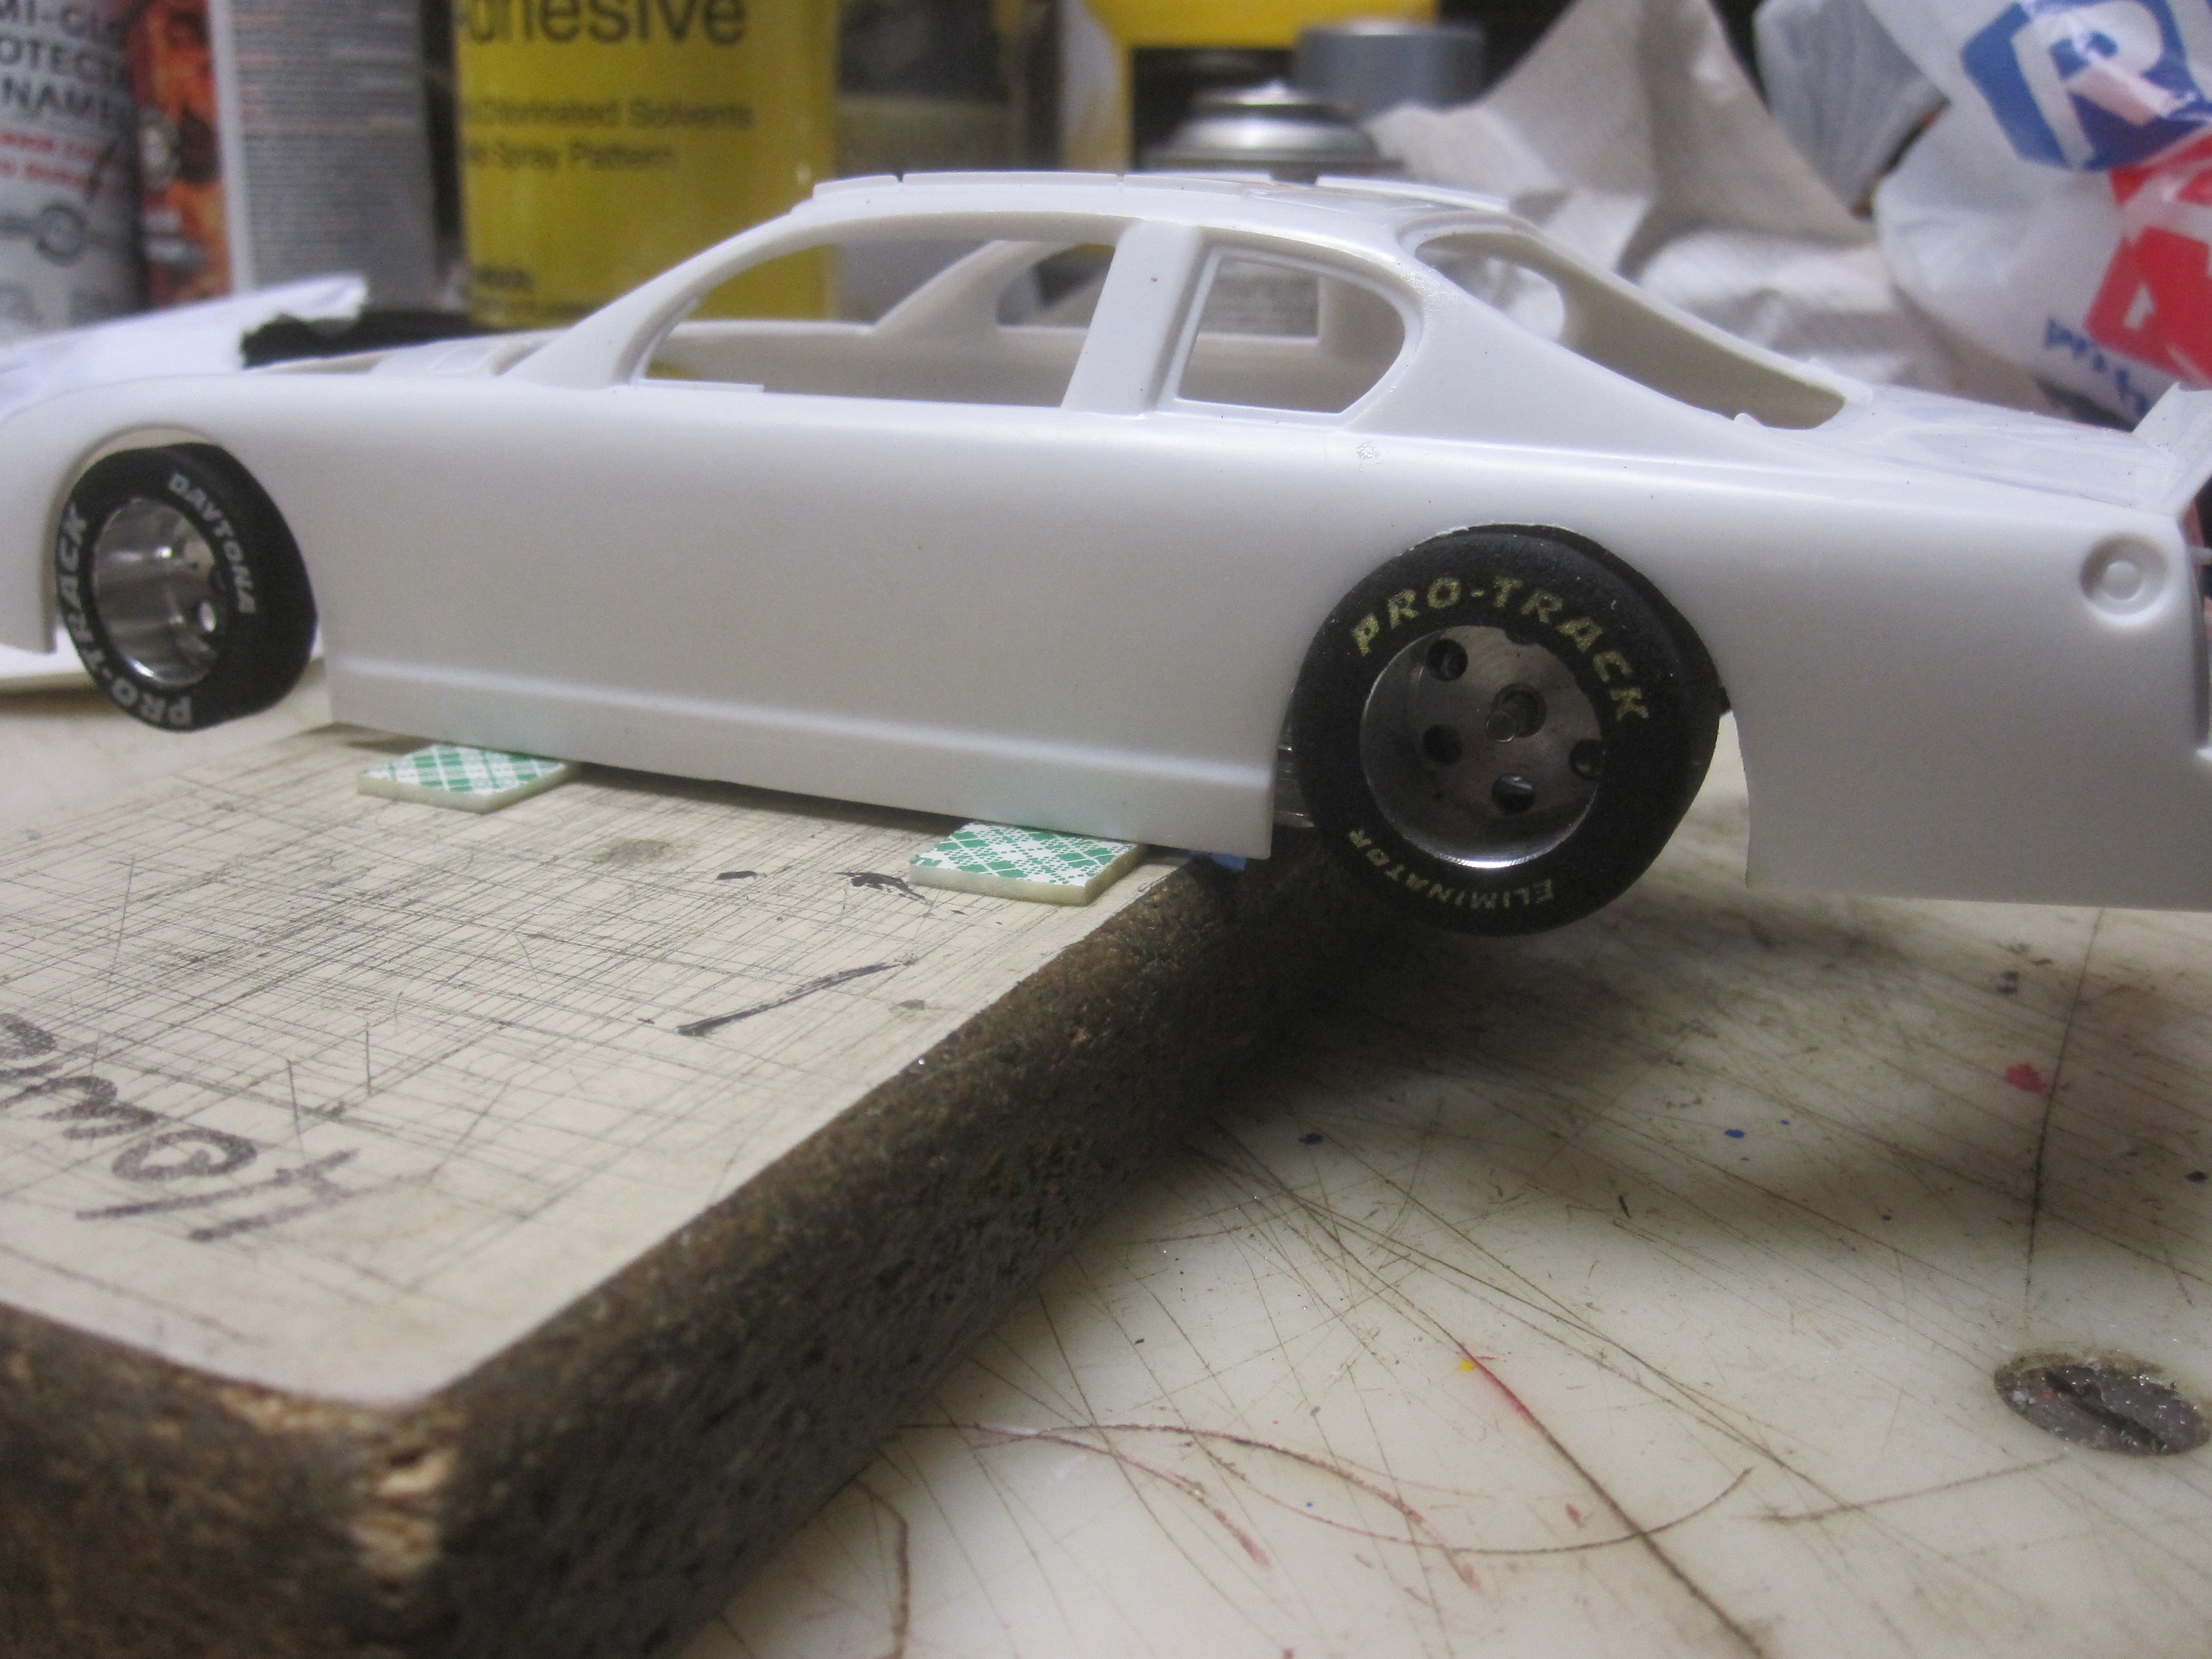
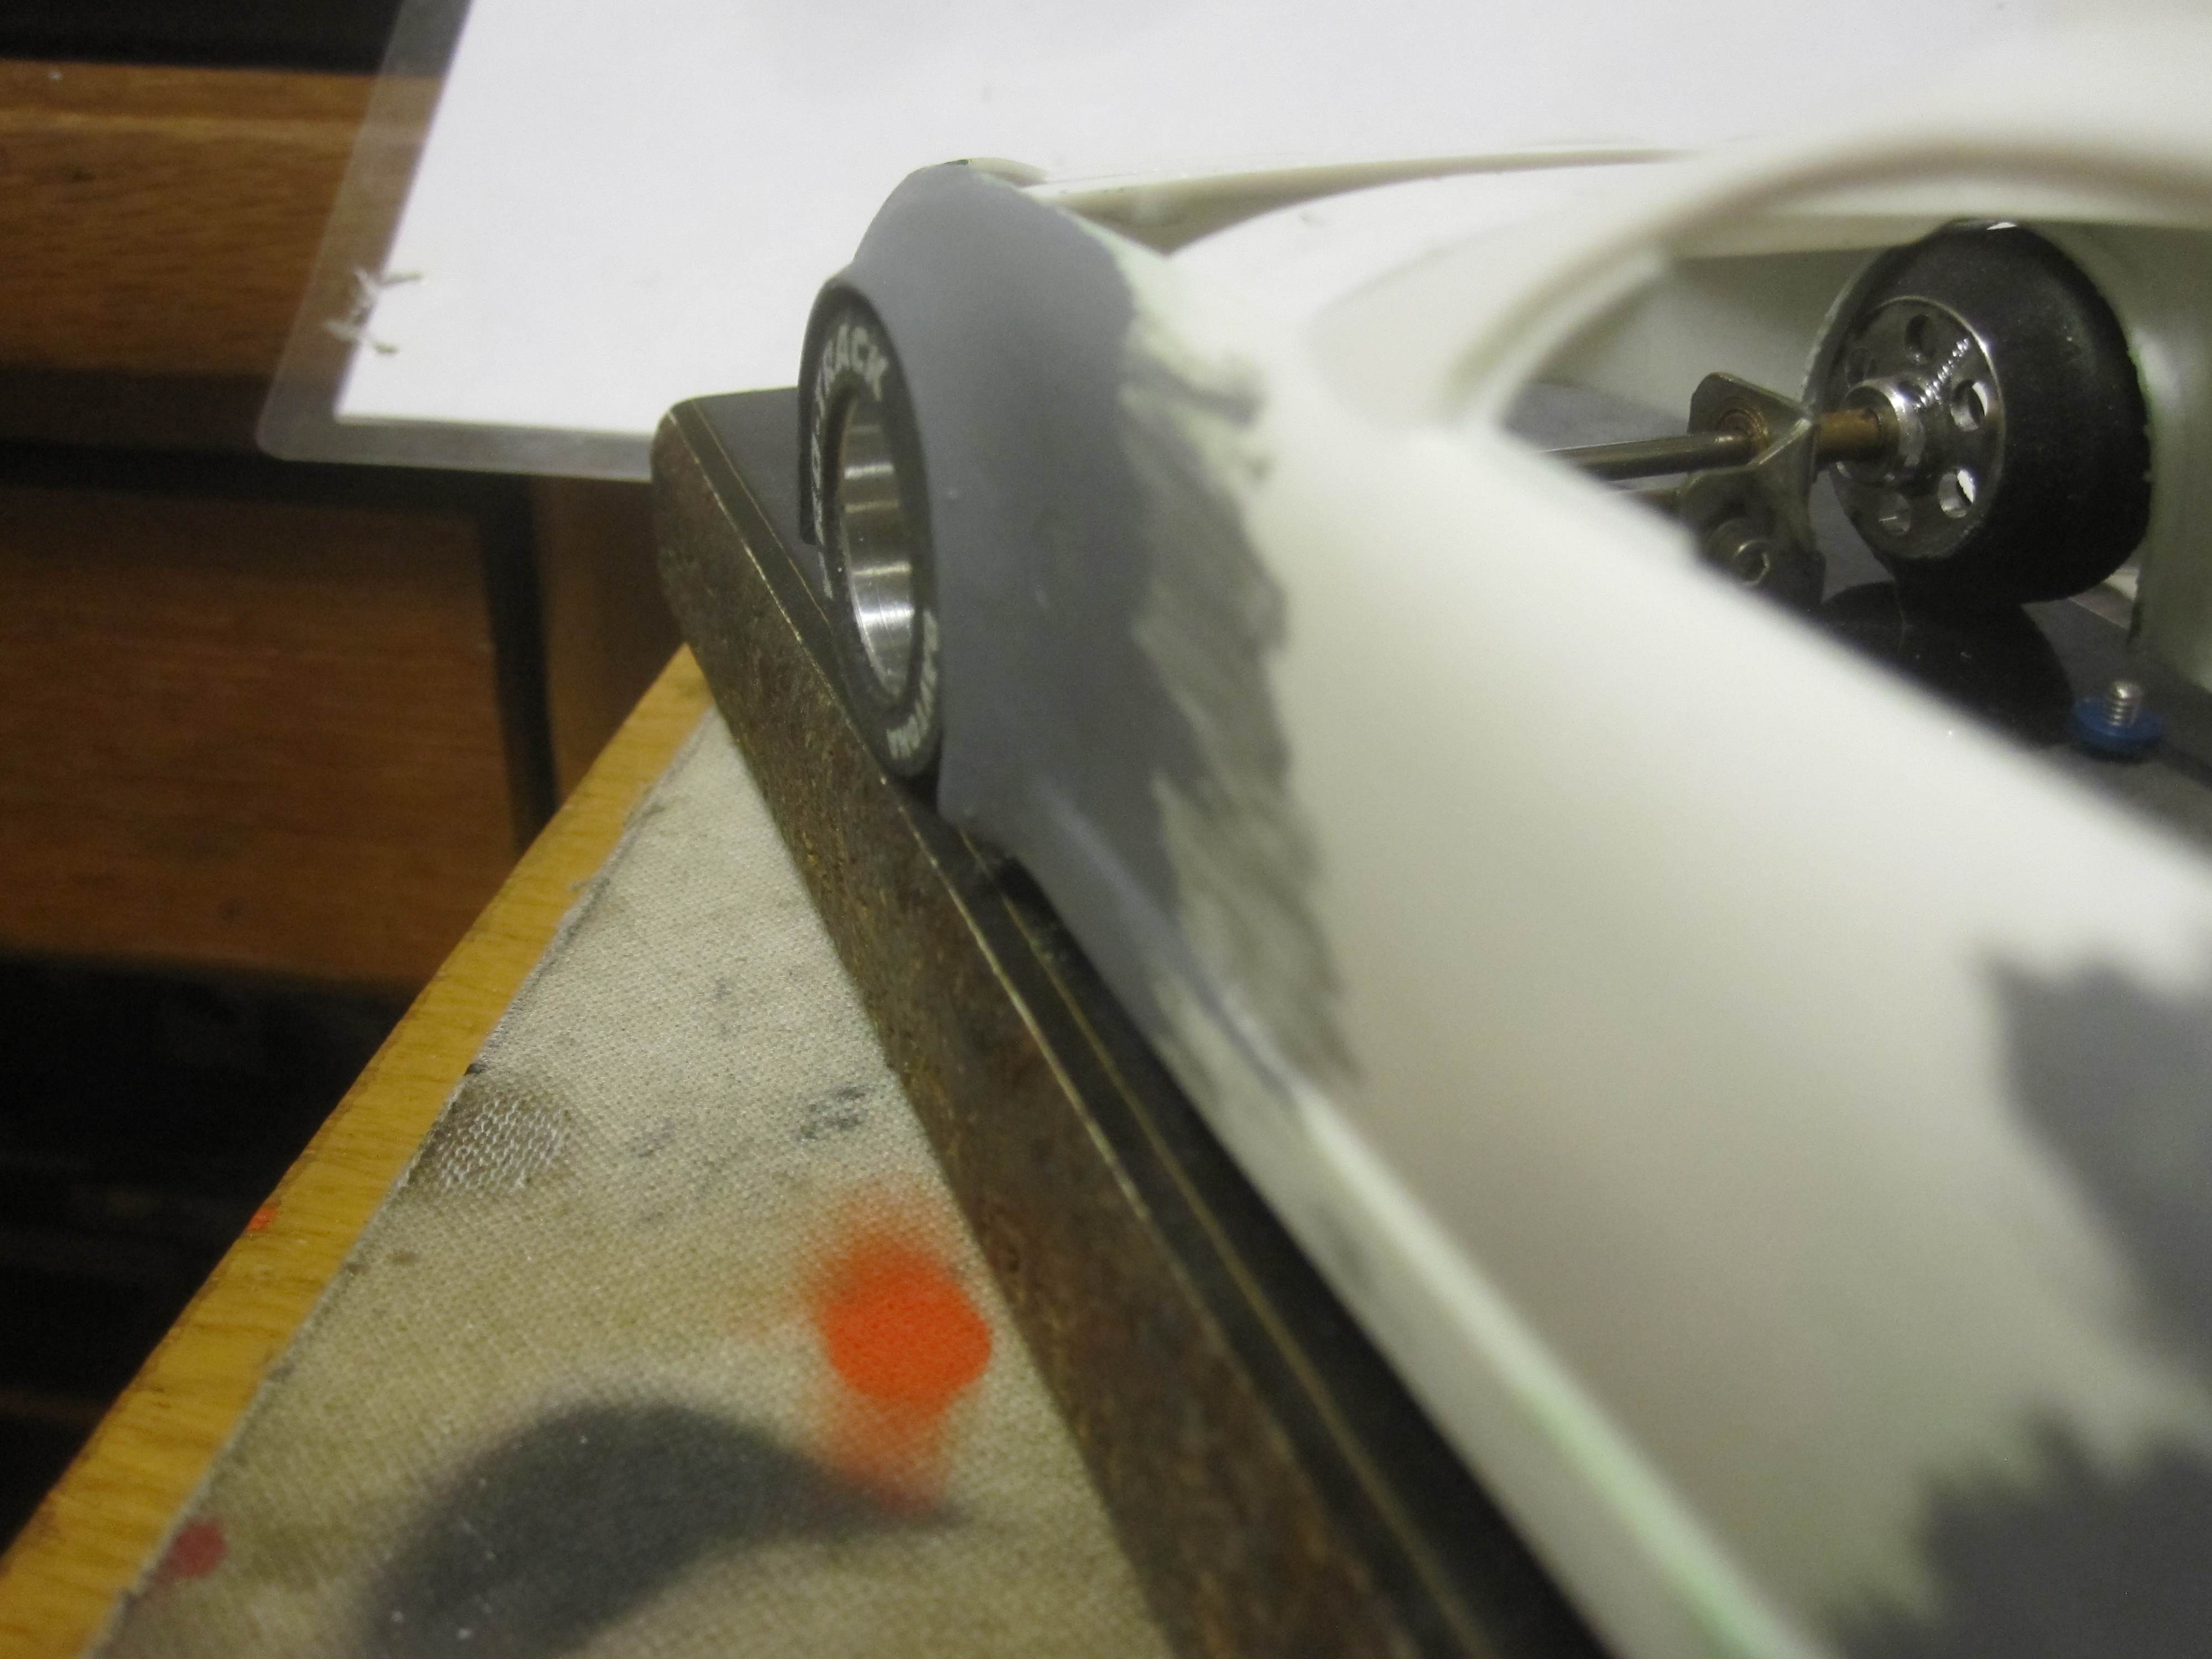
by howie » Fri Jan 30, 2015 10:53 am
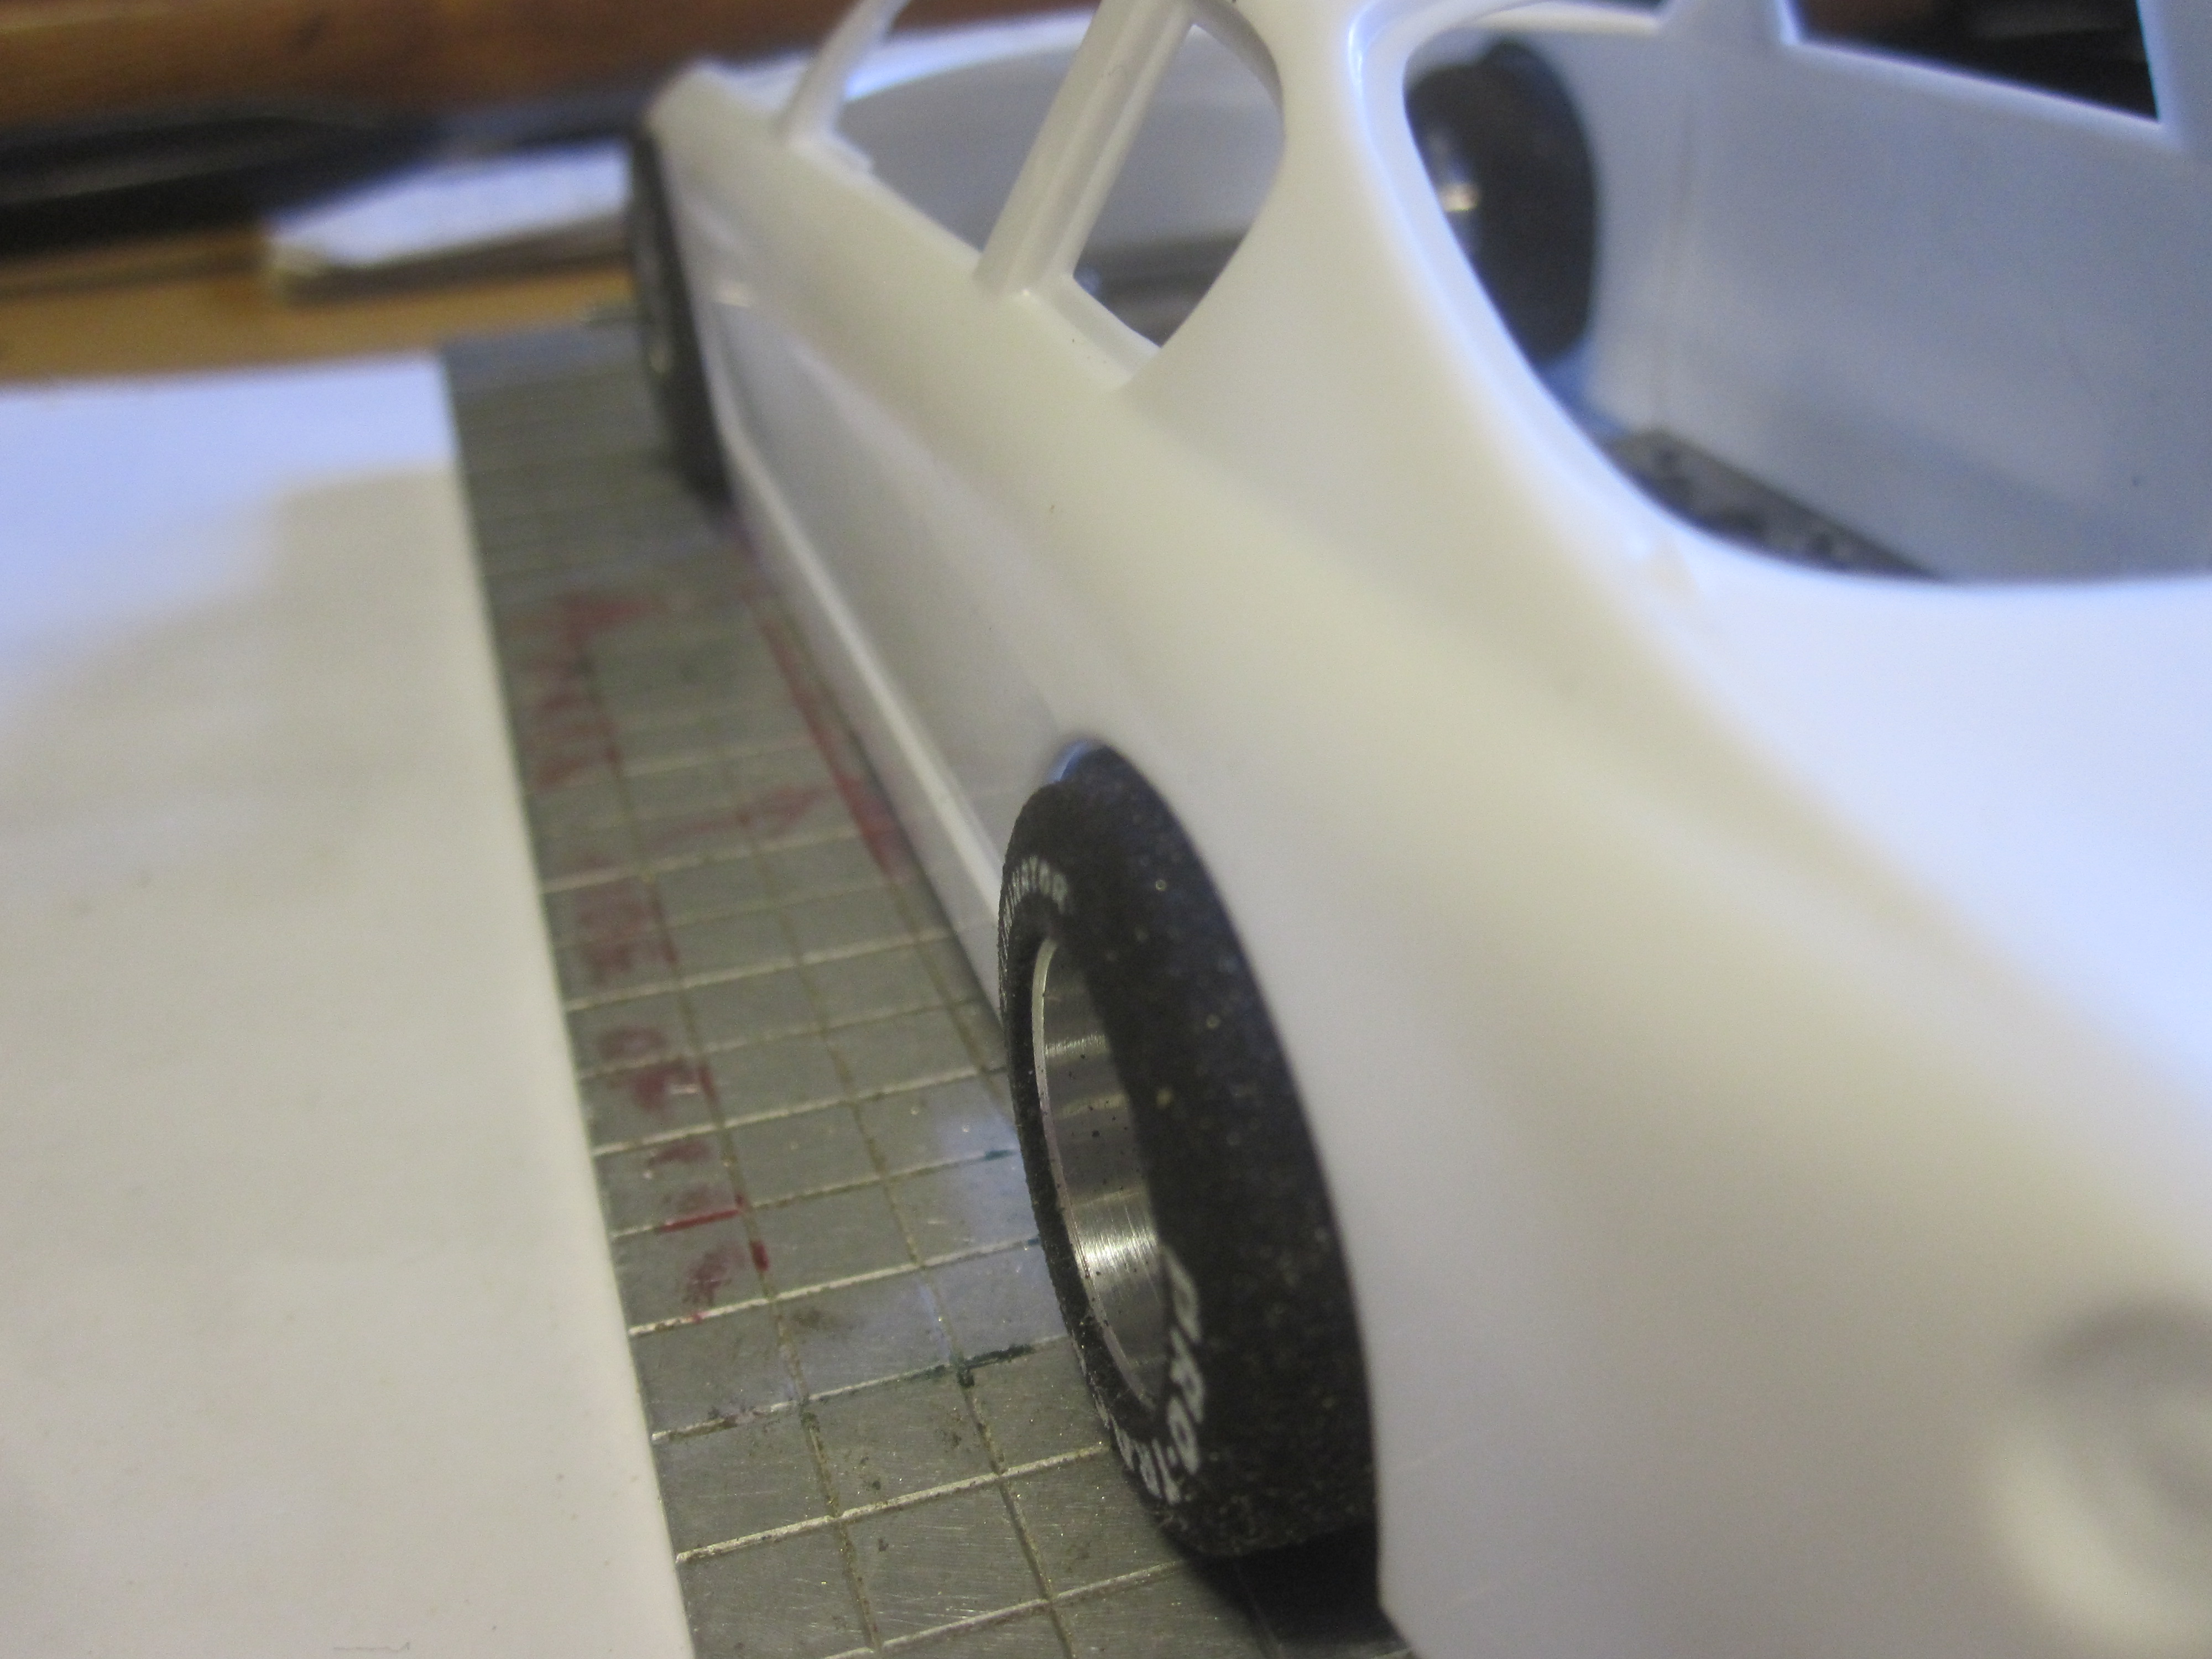
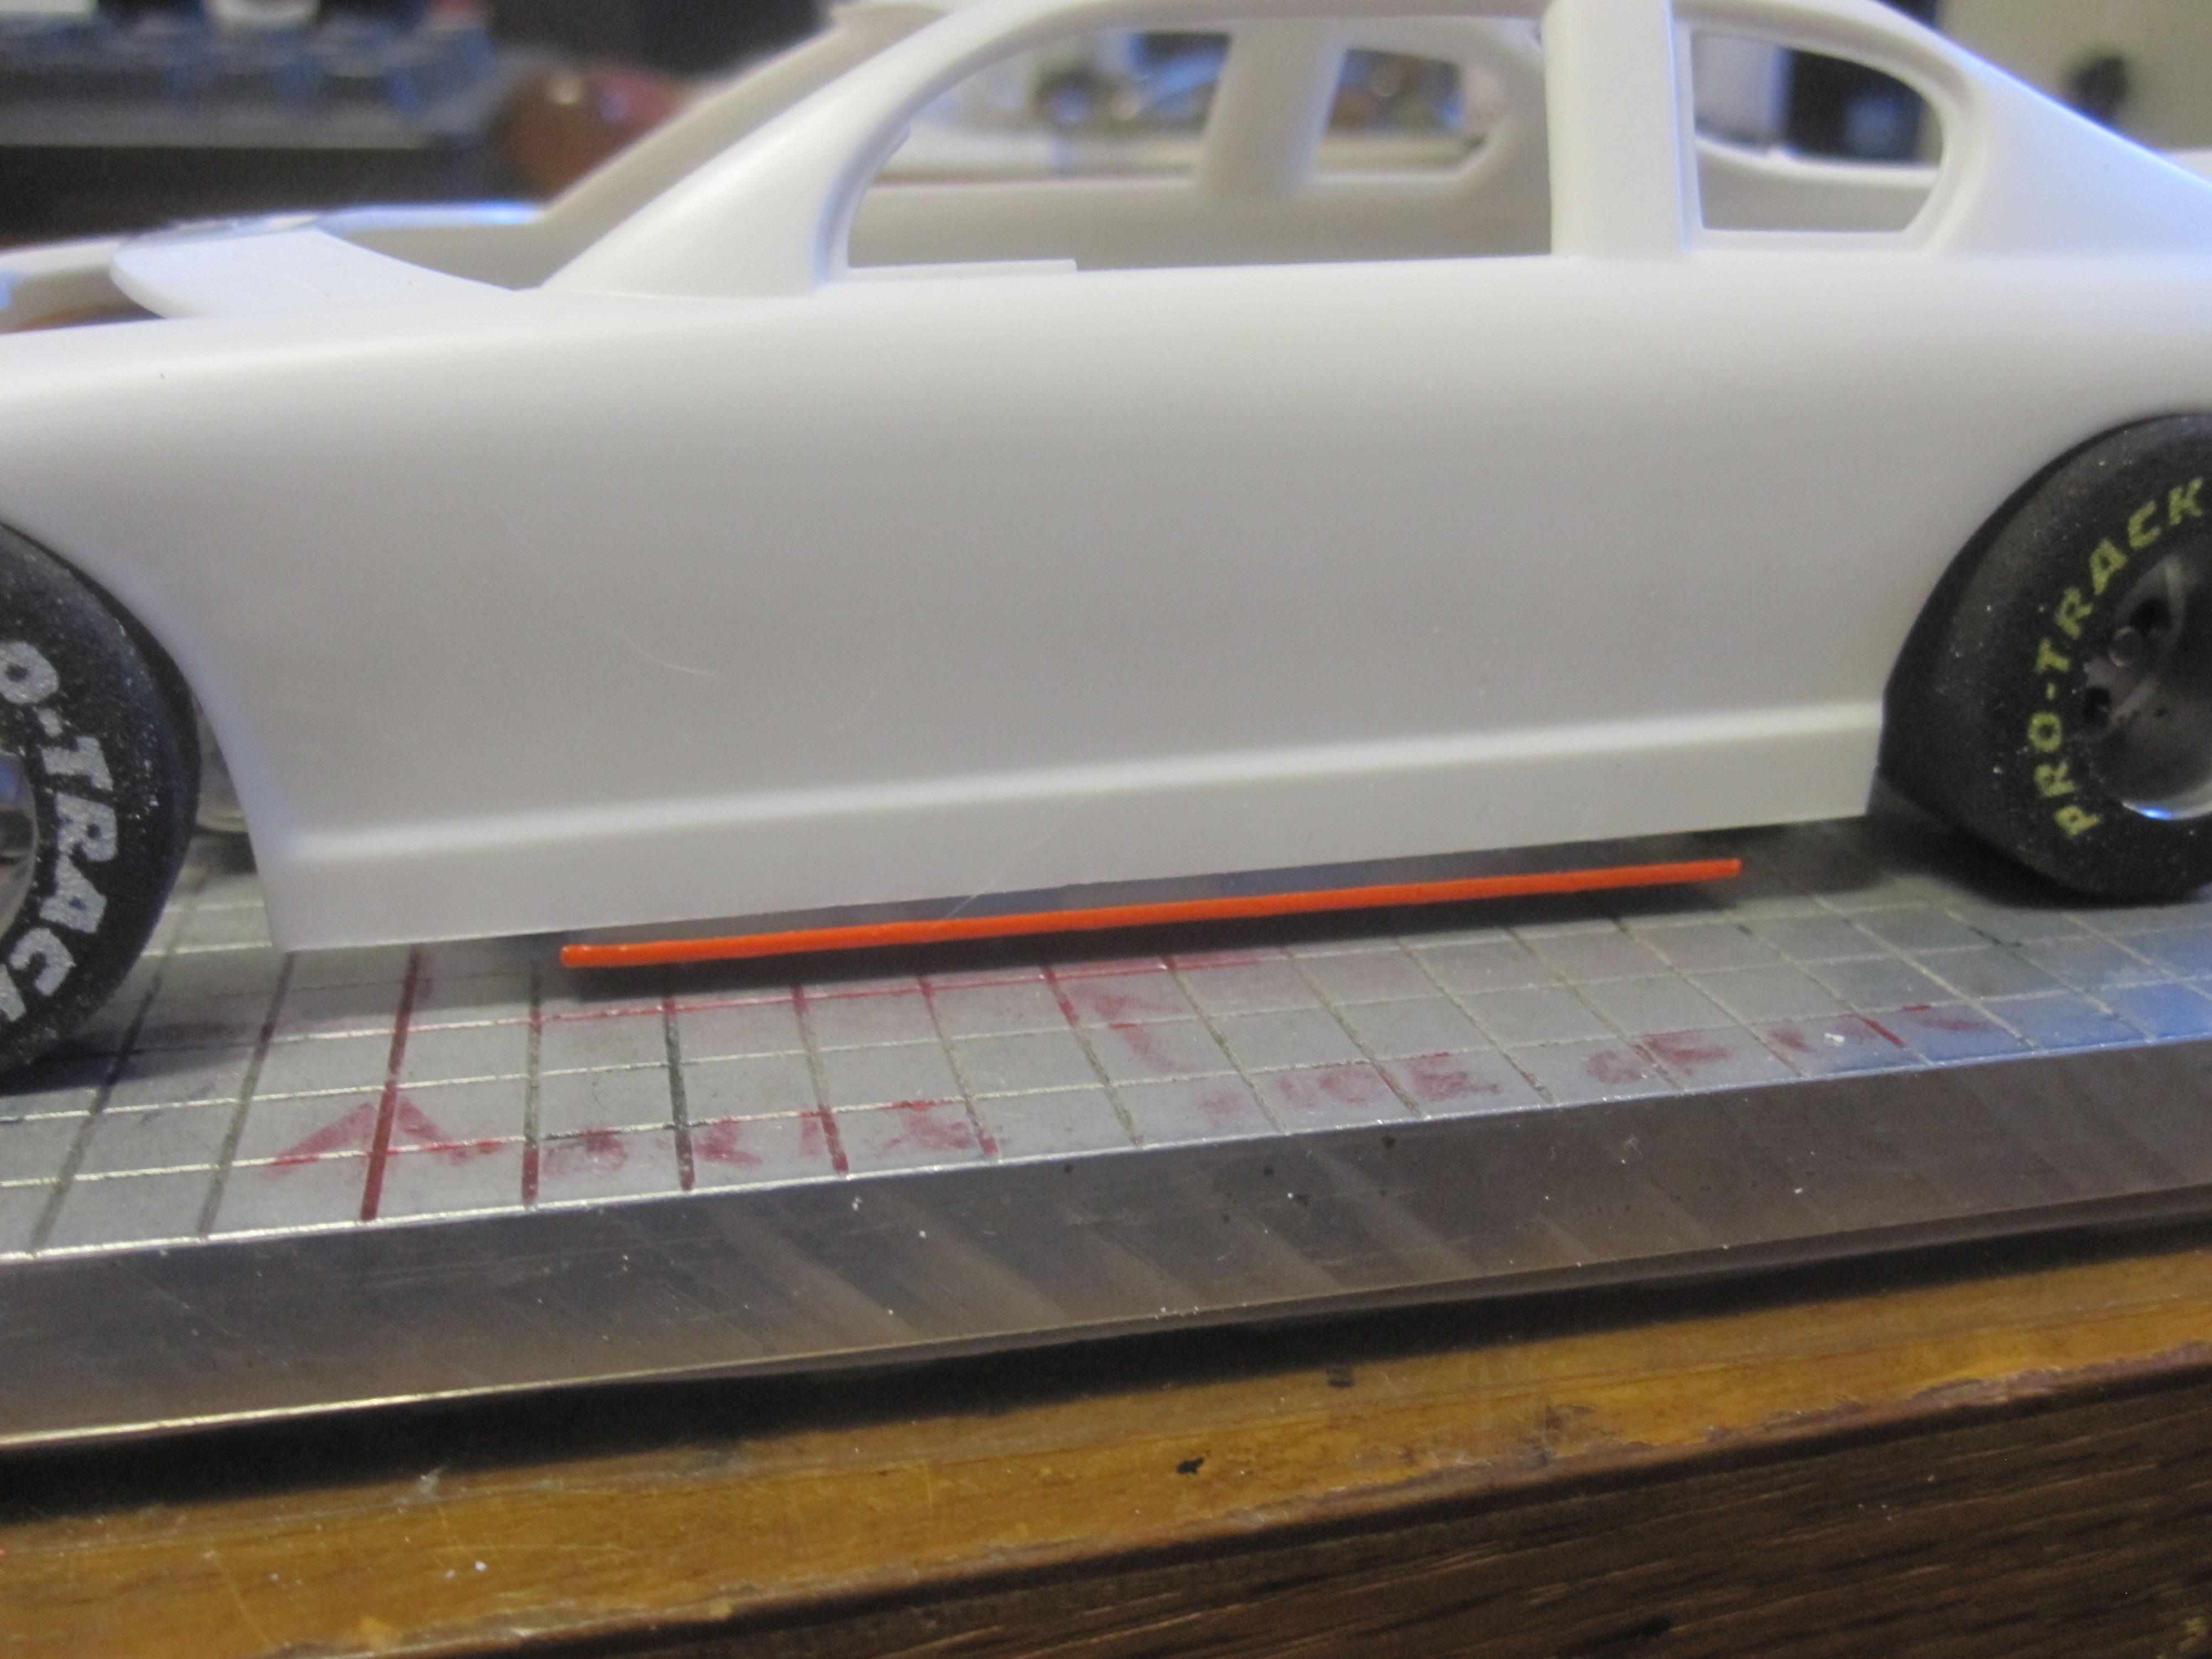
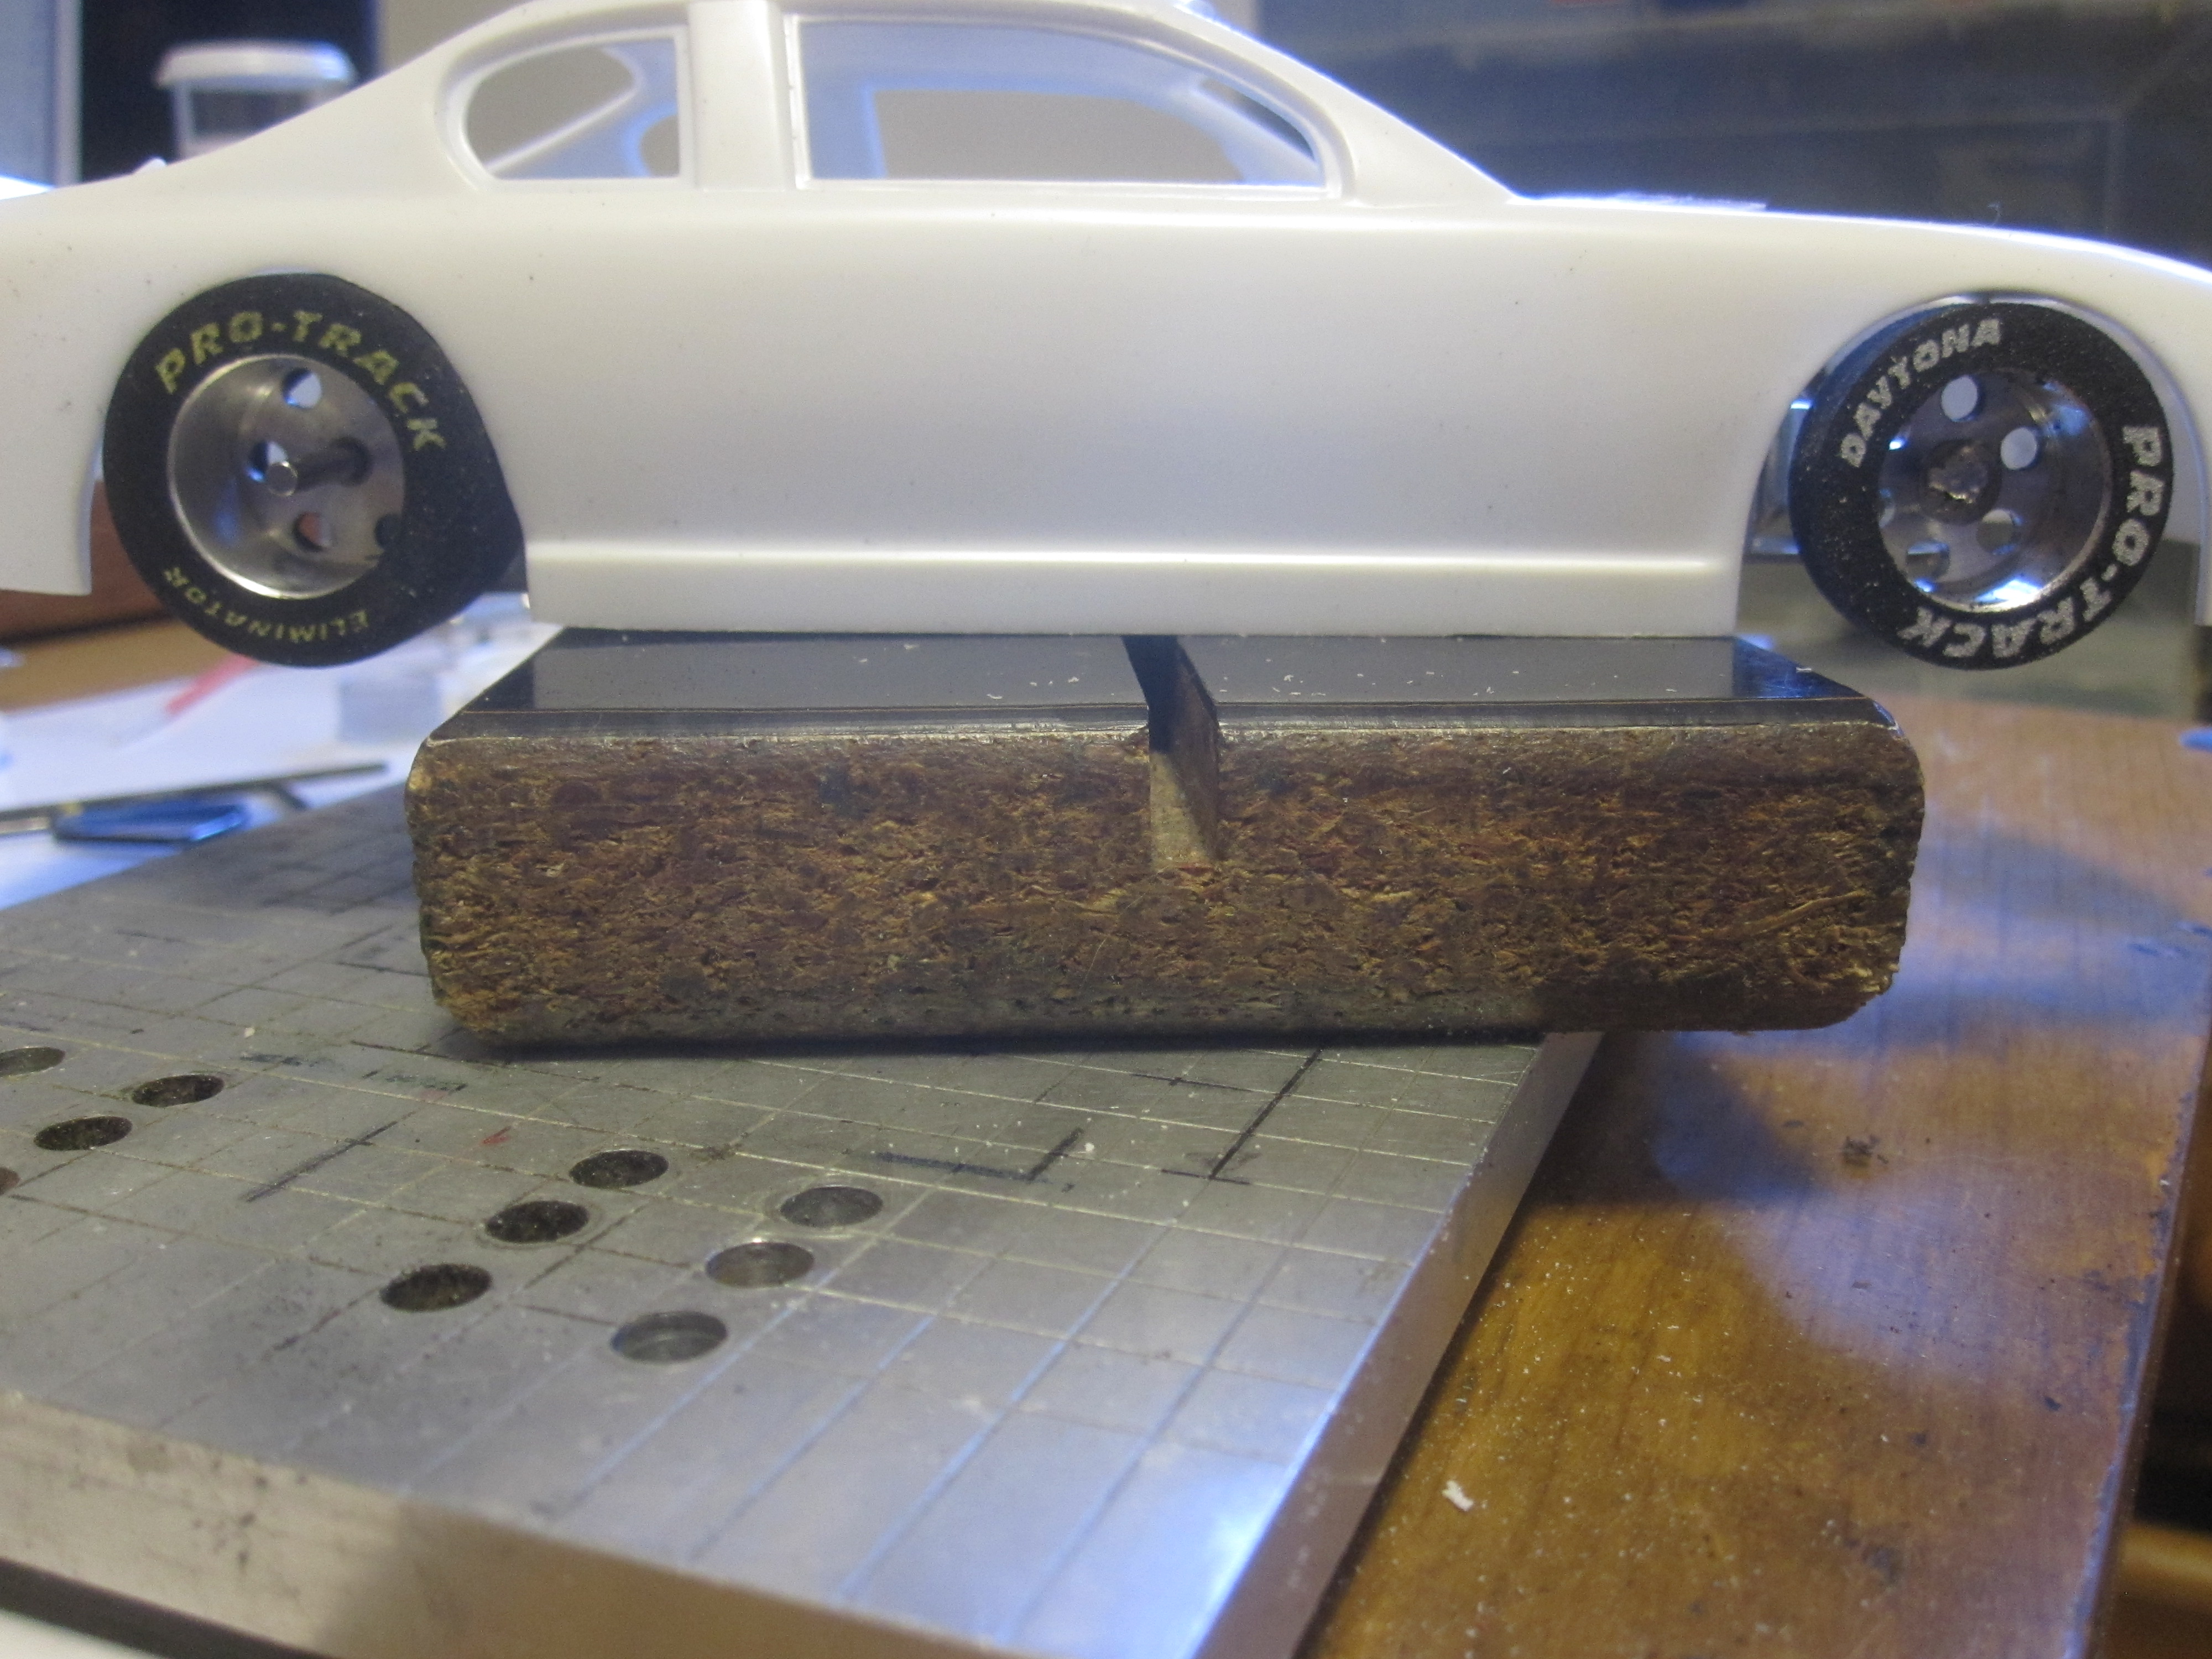
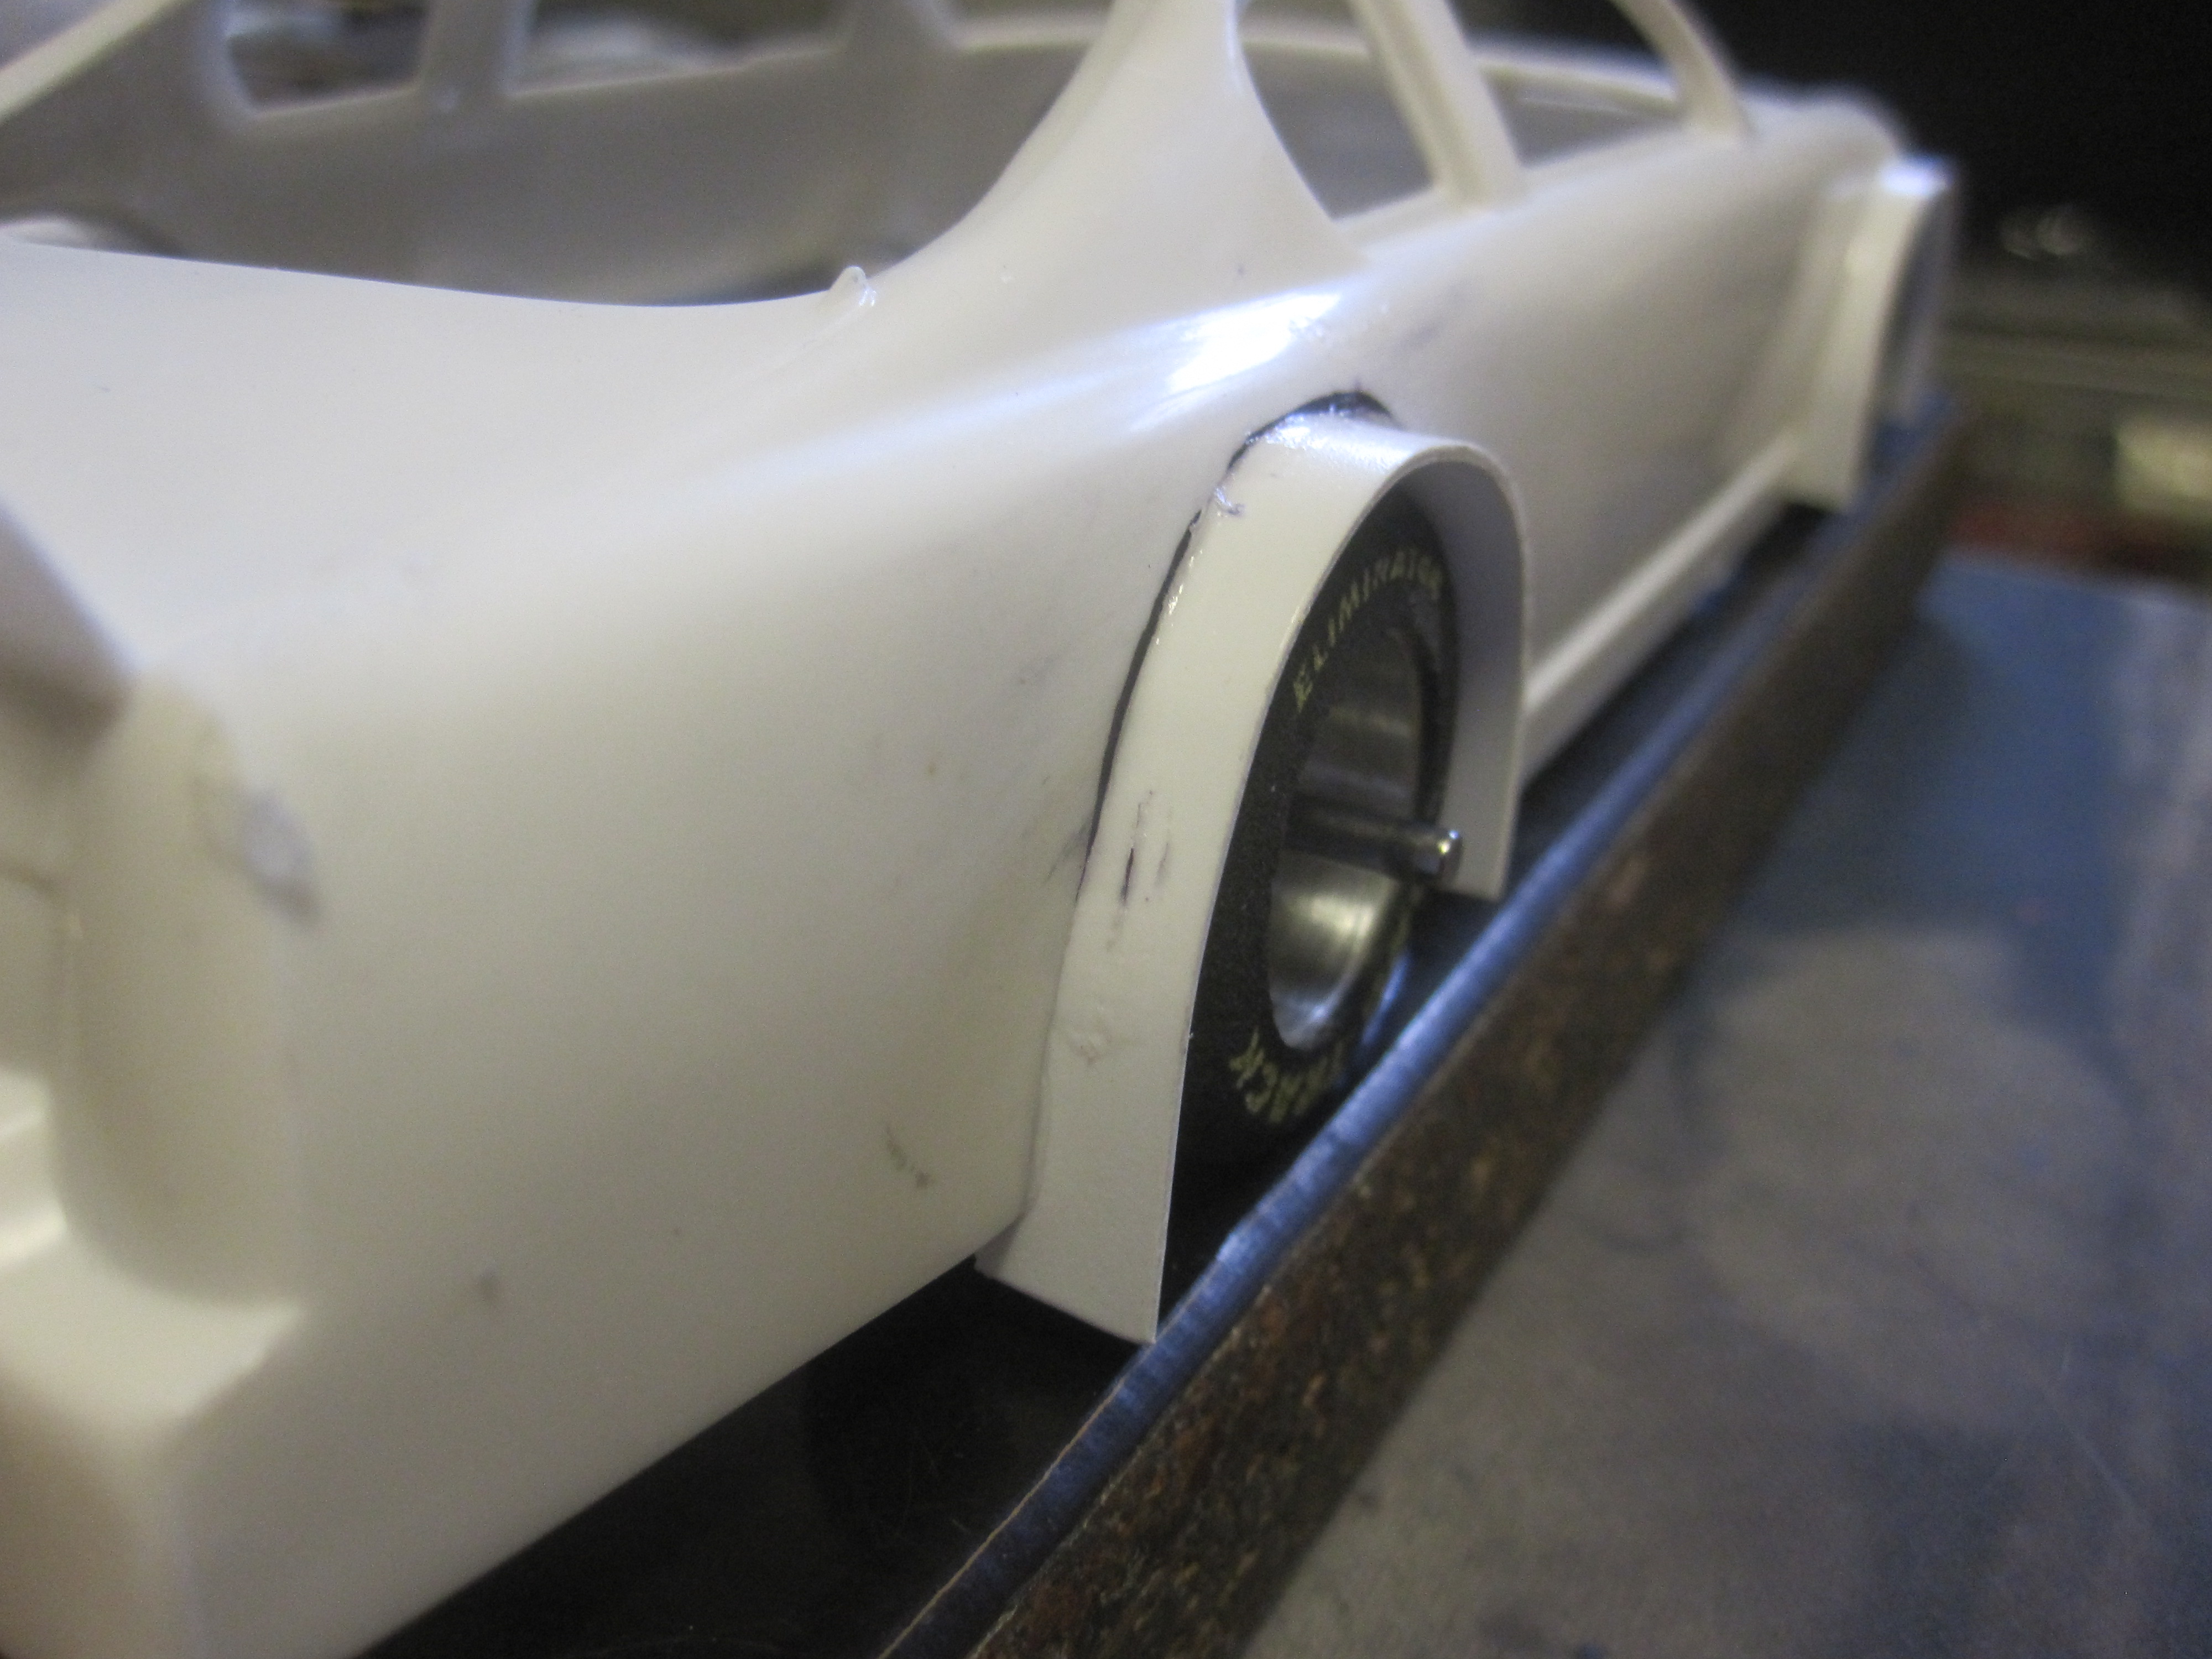
SP800001. Trimming of the body, front tires and rear wheel wells. This body was warped toward the back. I grabbed a hold of it and twisted in the opposite direction, I wasn't shy in doing it as it was quite a twist!
After cutting the body down to the rules, 1.875" for 1/24th. bodies. This is how it stands over the chassis. The chassis has been set at .055" clearance. Next cutting down the front tires and grinding out the wheel wells.
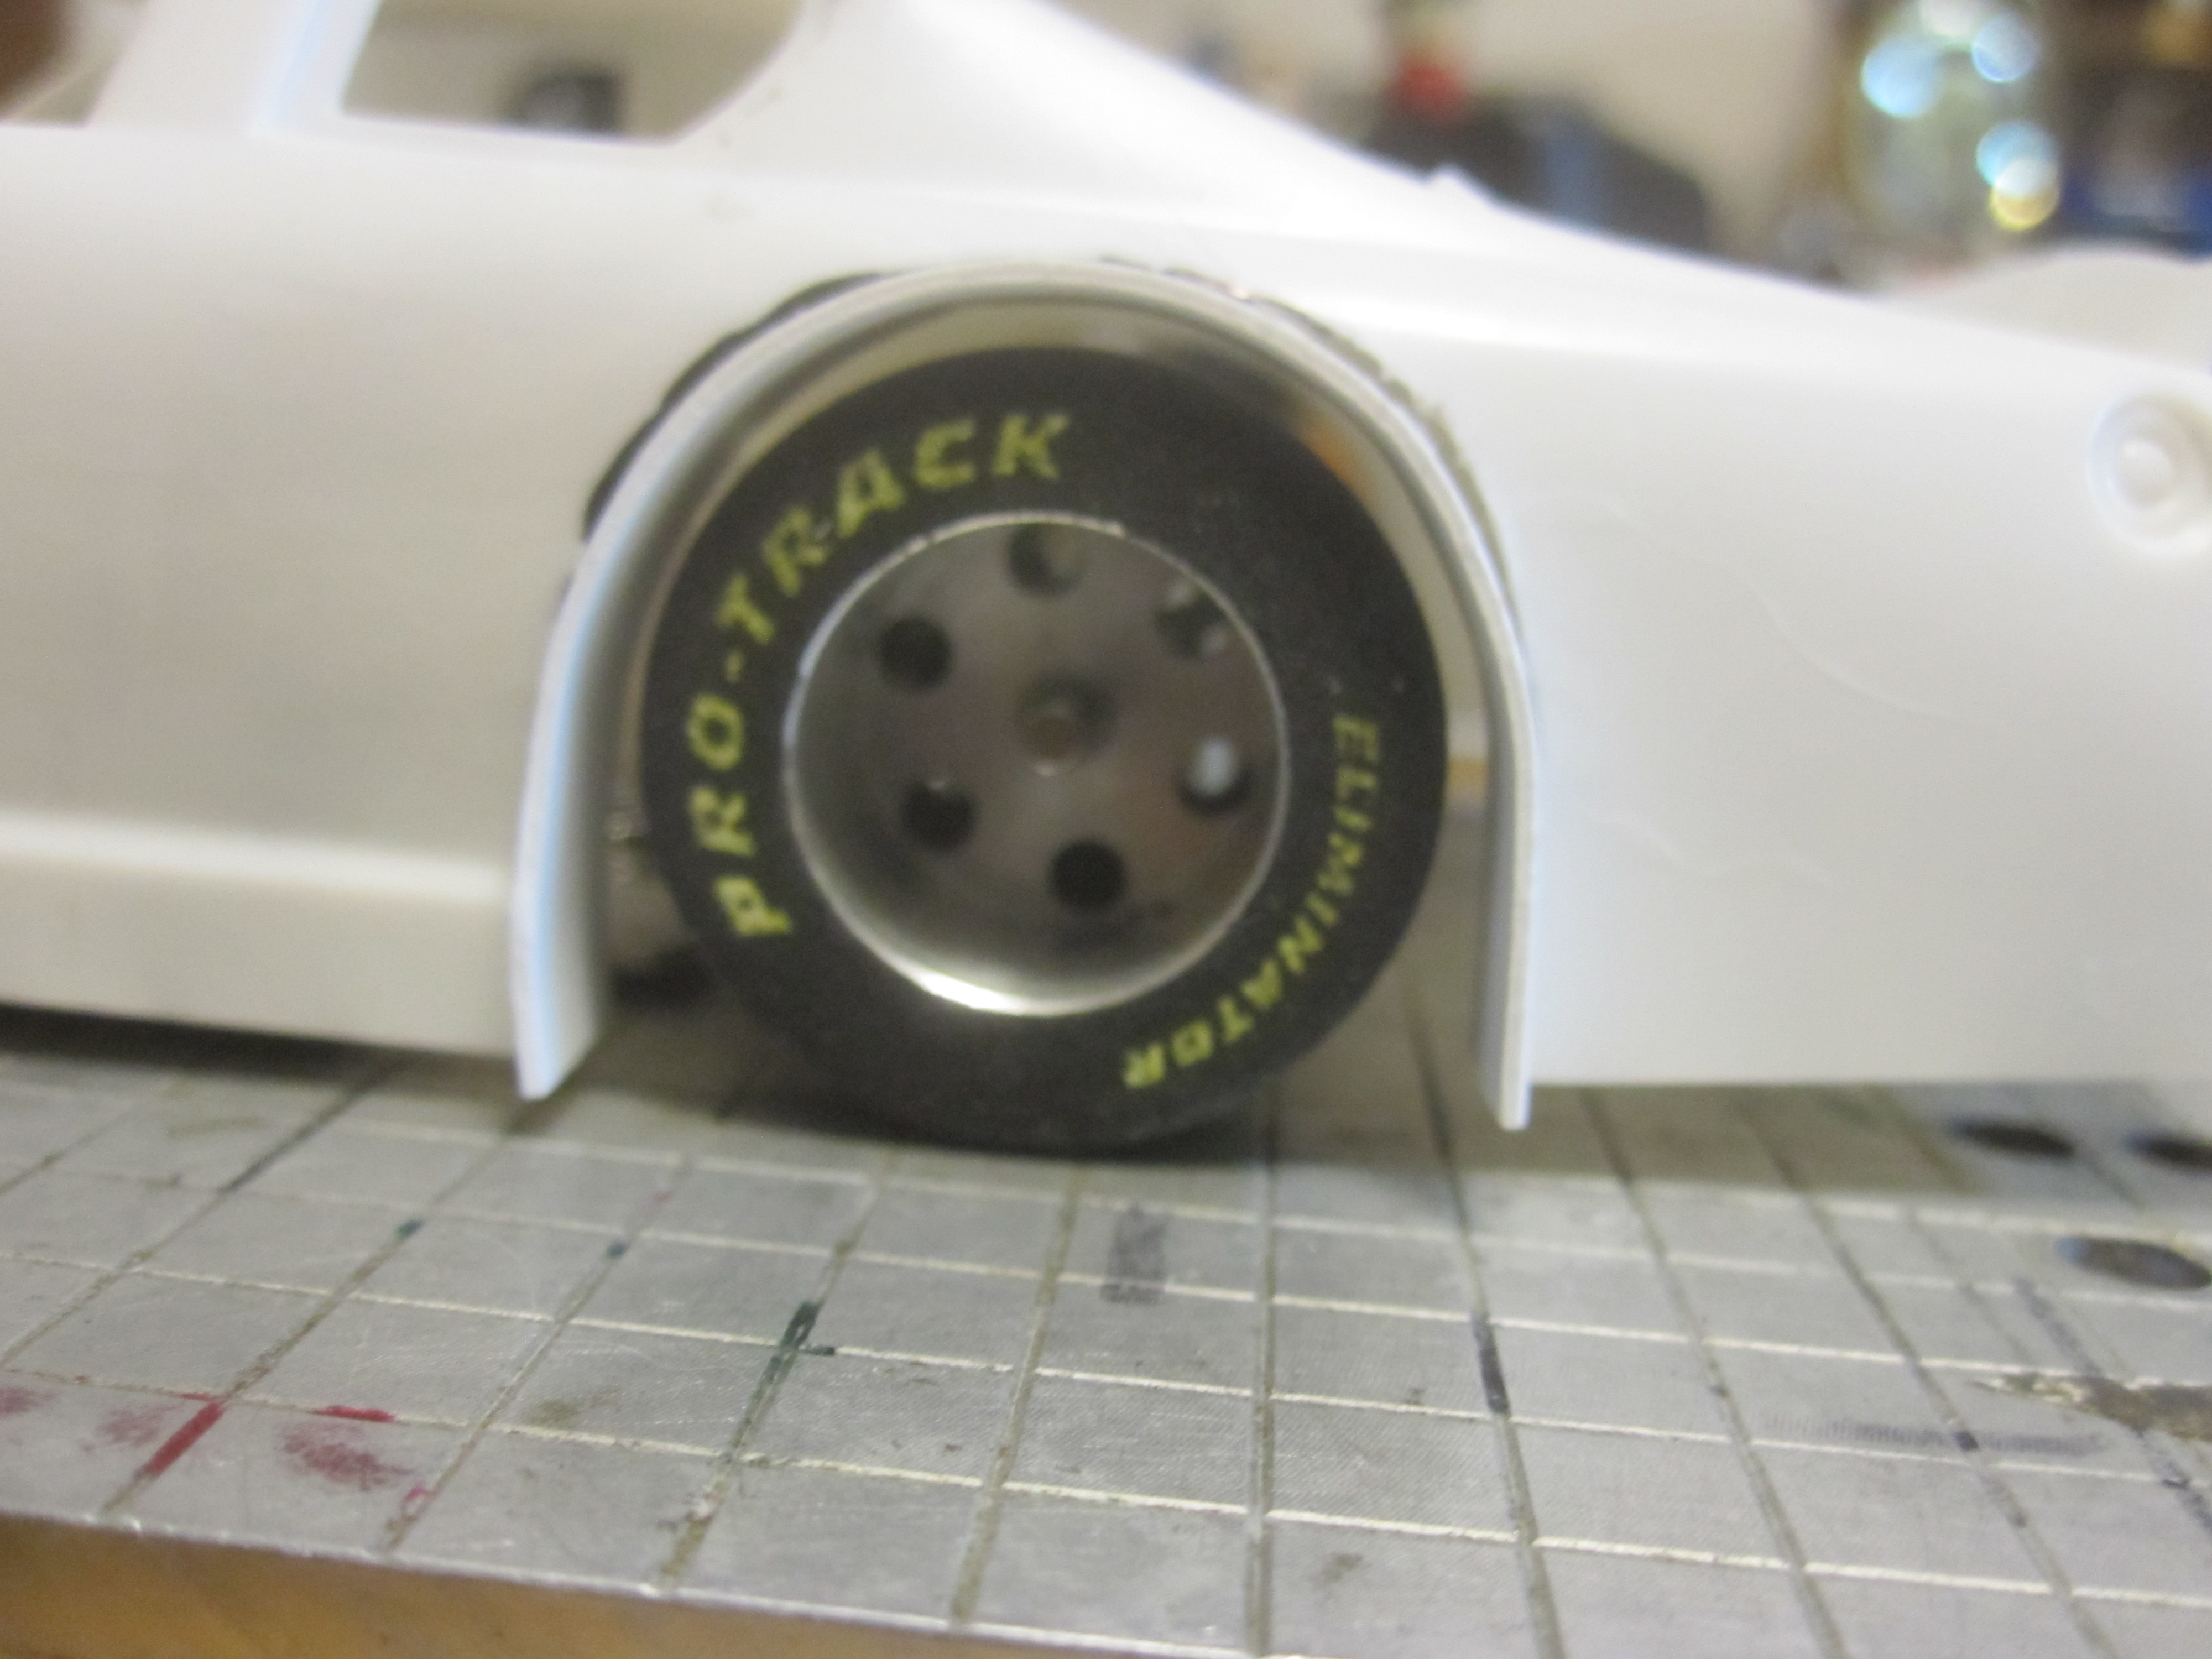
This is how I cone tires, with a fingernail sandpaper file. I also cut down the front tires from 1.085" to .982". Rules say you can cut the tires to .938"/15/16".
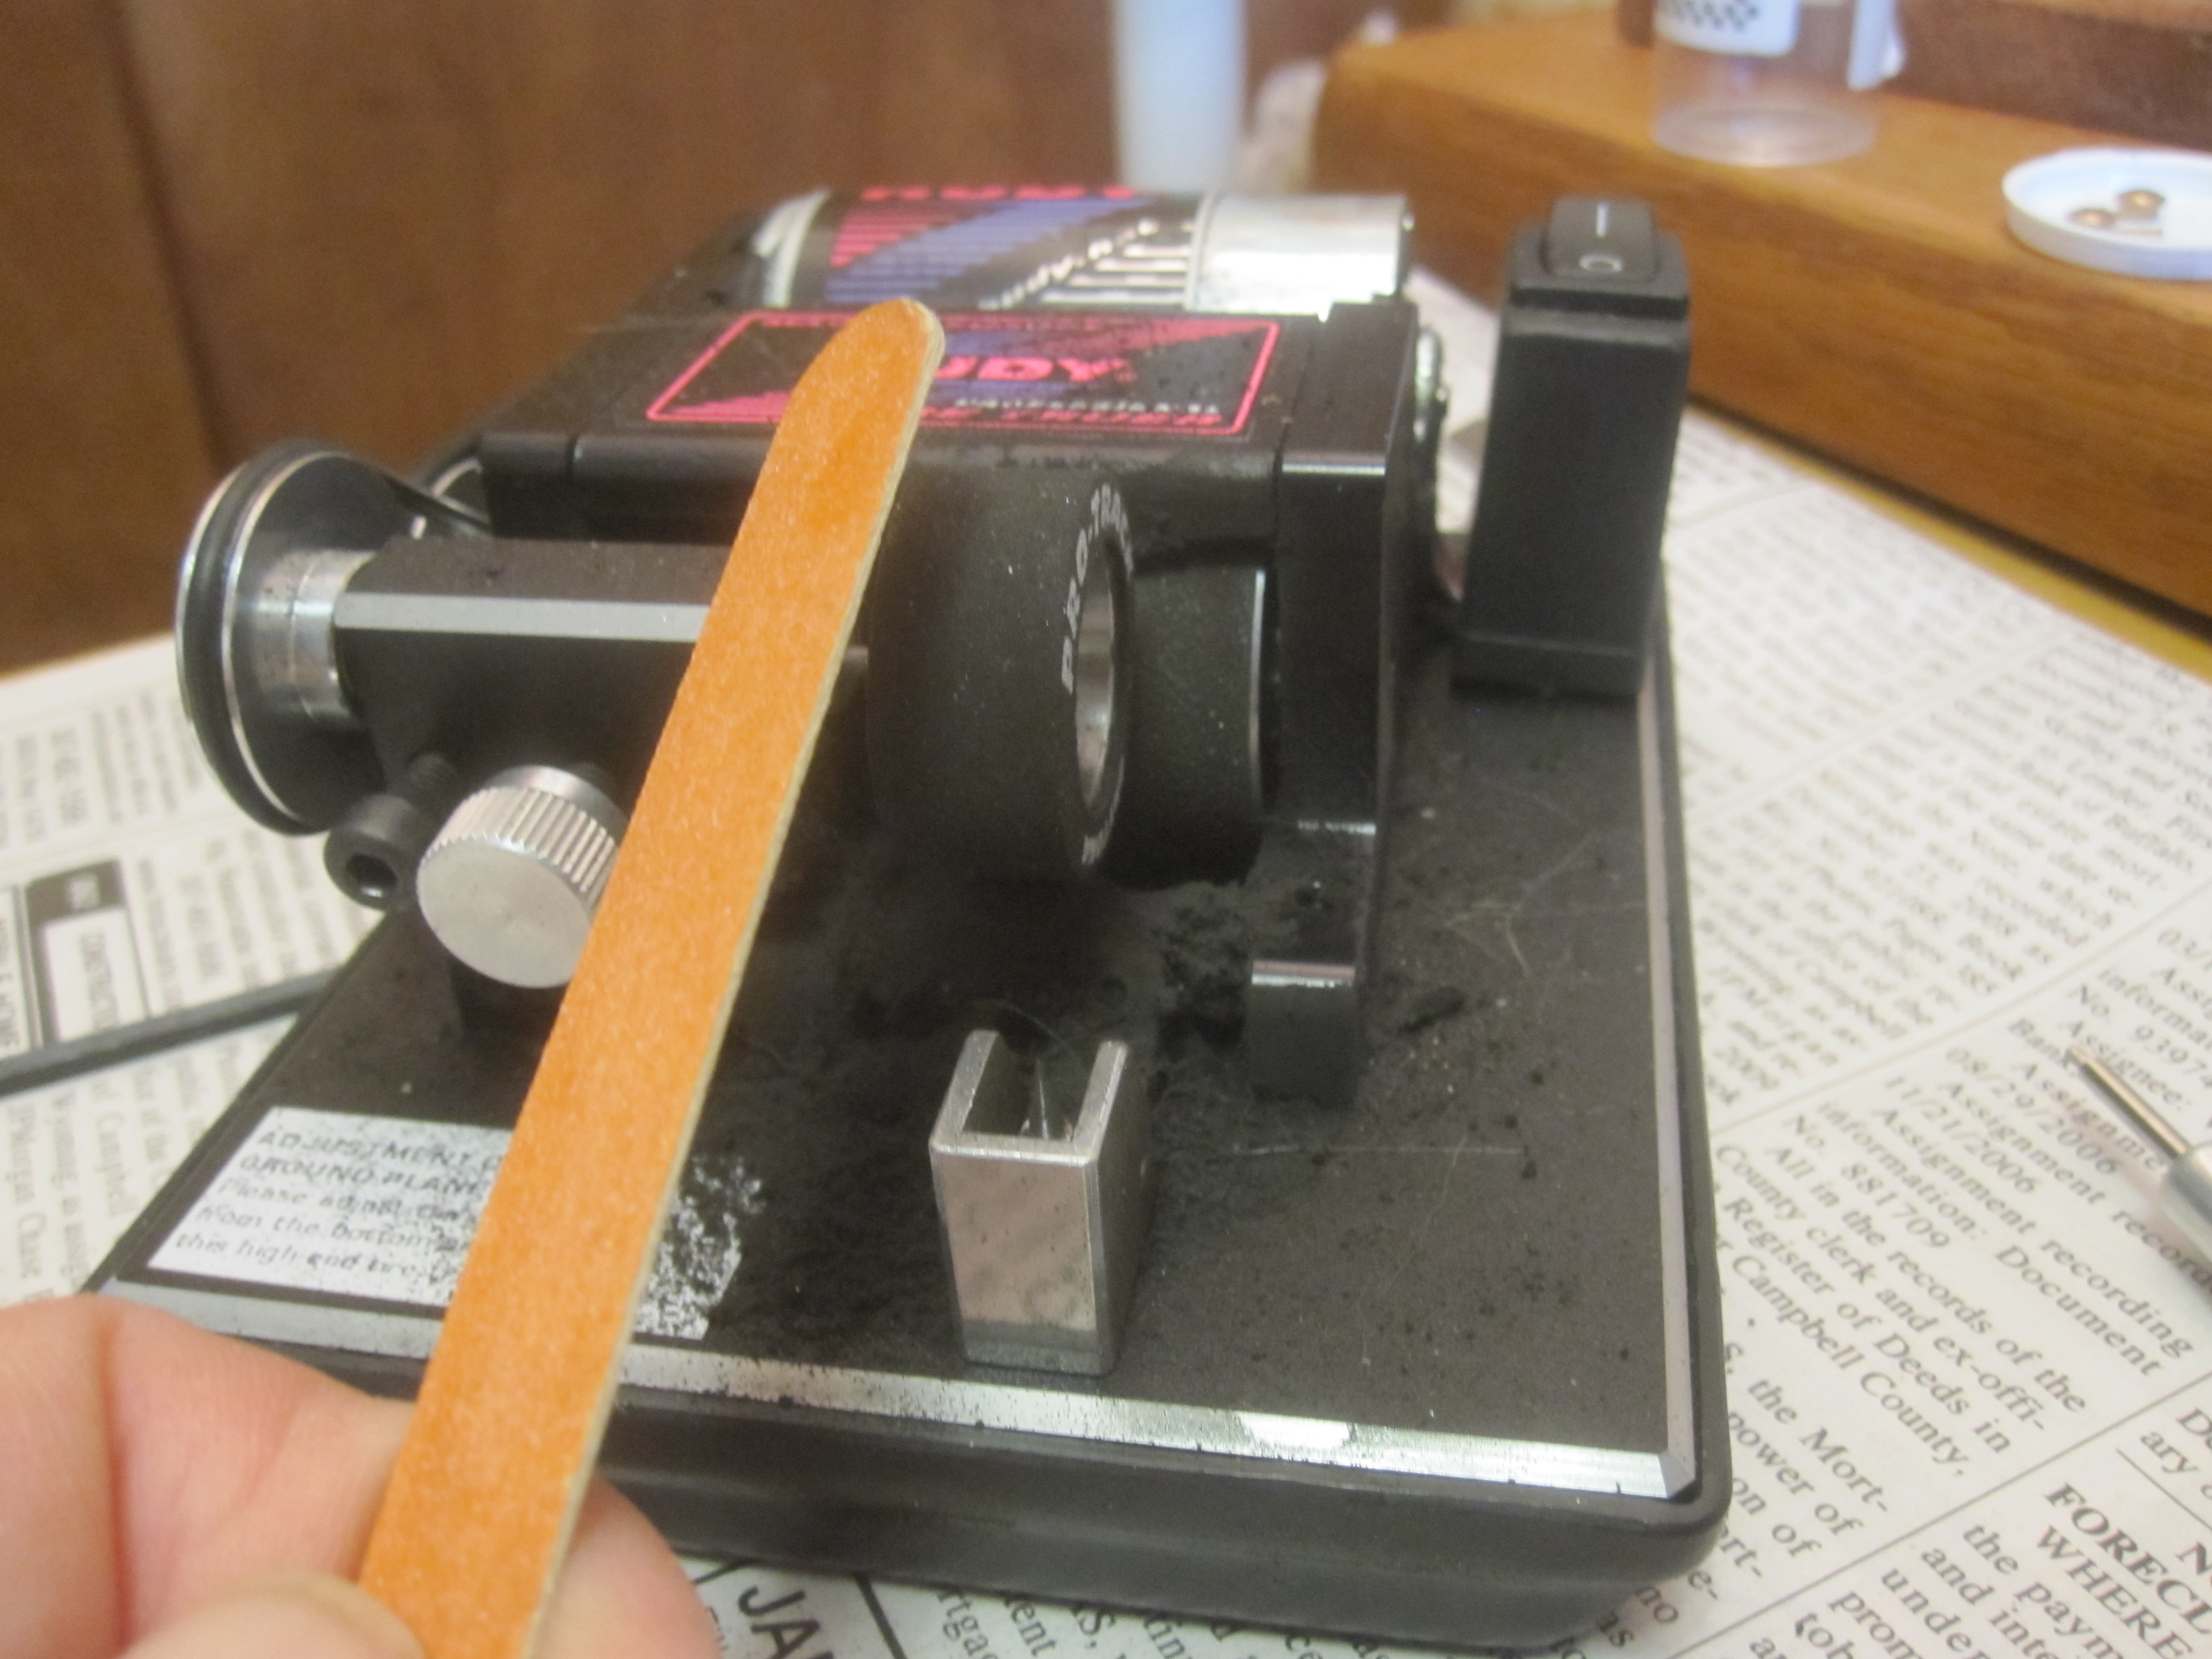
After coning tires to .250" as the rules allow. I will coat them later with clear coat paint.
This is how the body now sits over the chassis after grinding out the rear wheel wells. All wheel wells will have to be ground further to install flairs. I want to mount the body first.
by howie » Tue Feb 03, 2015 11:49 am
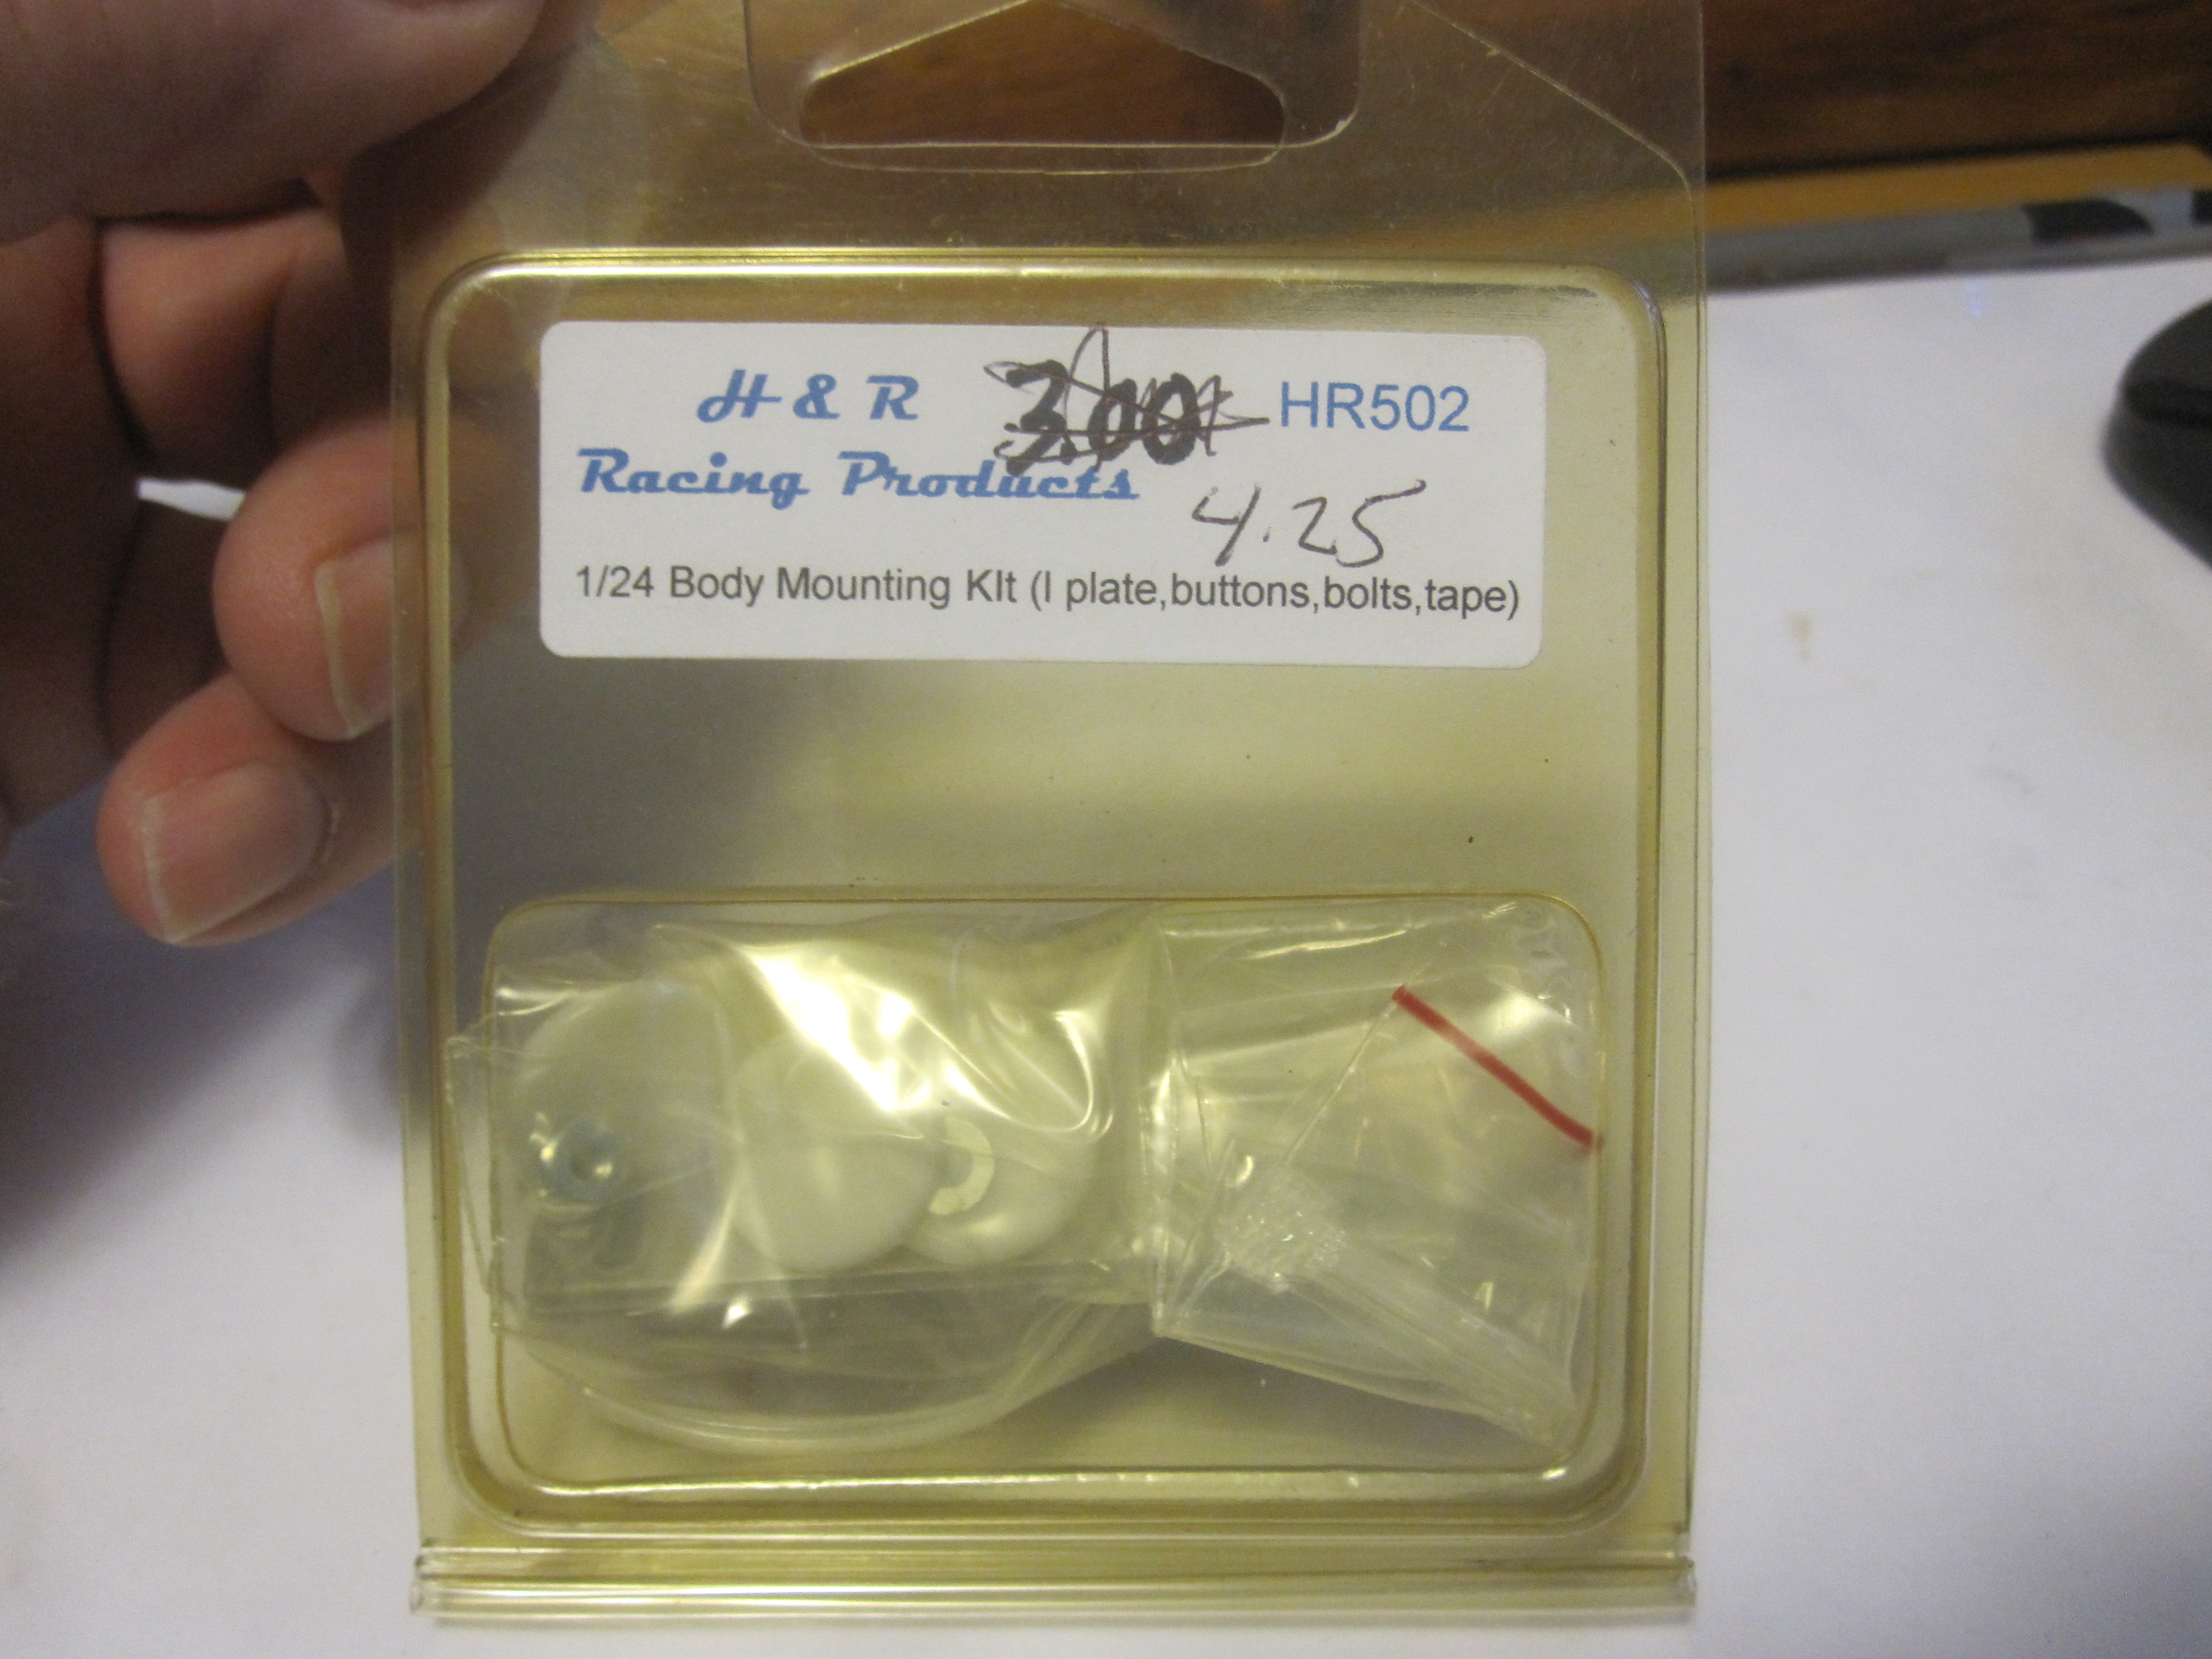
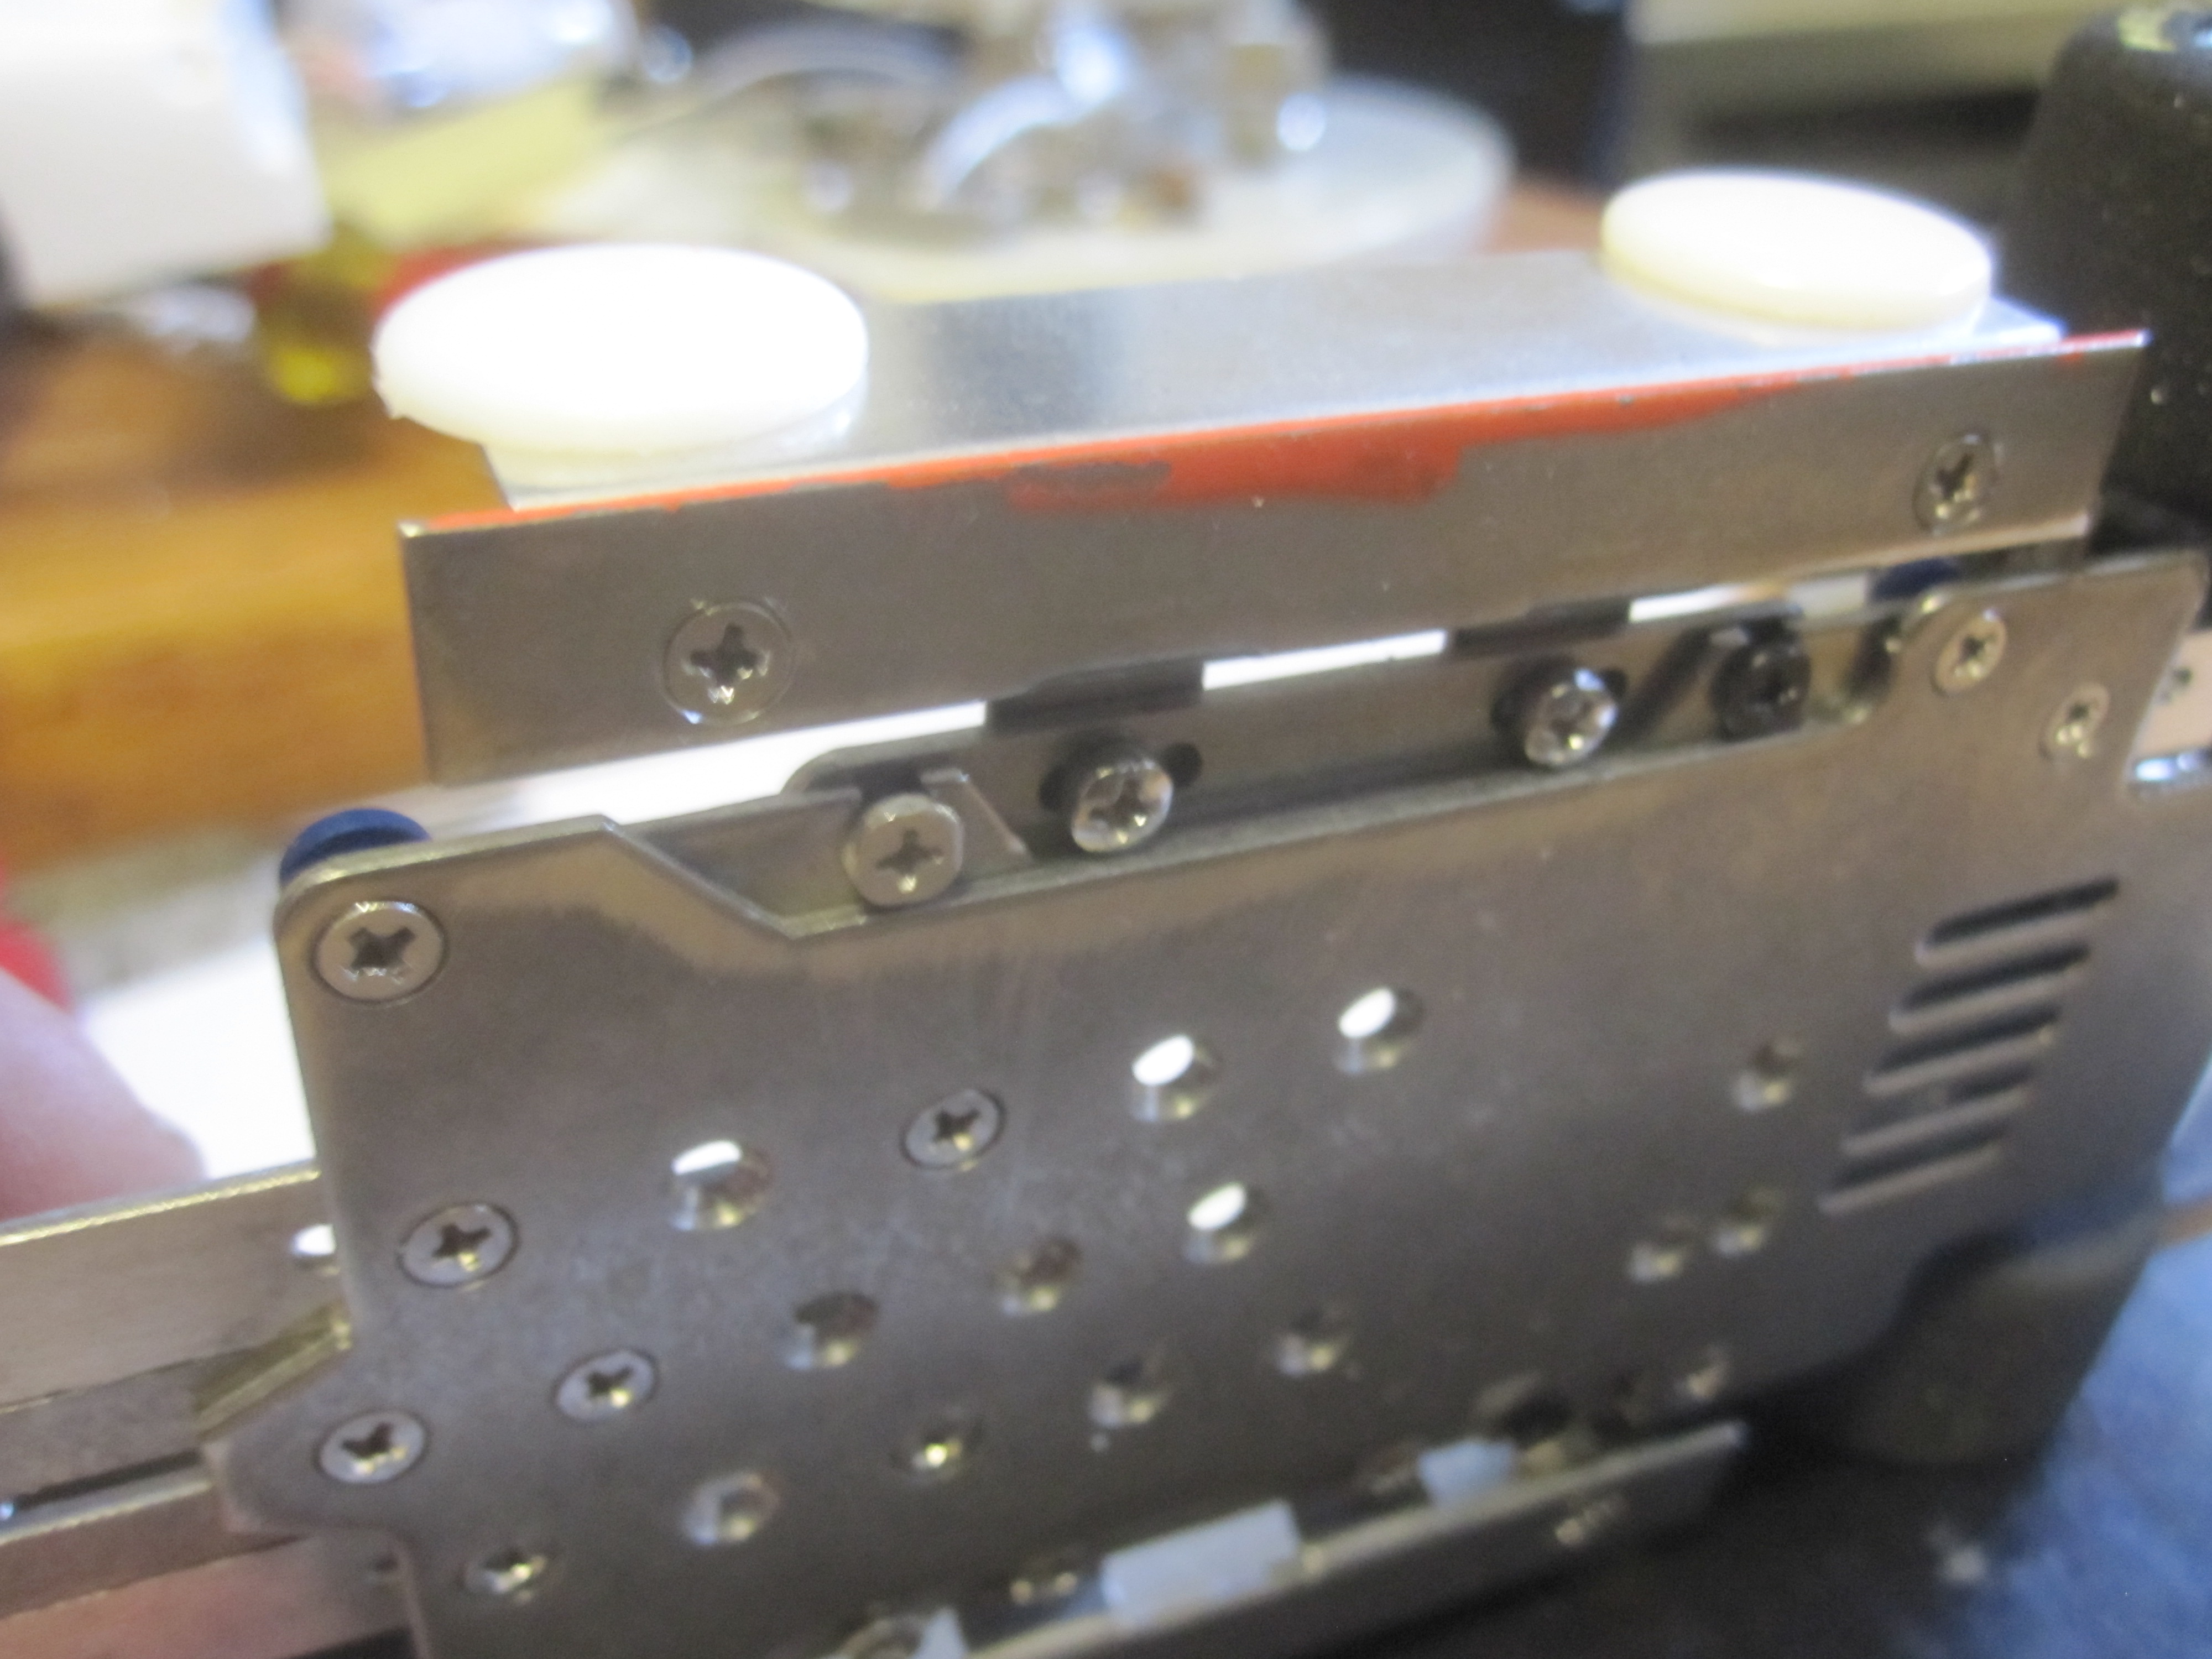
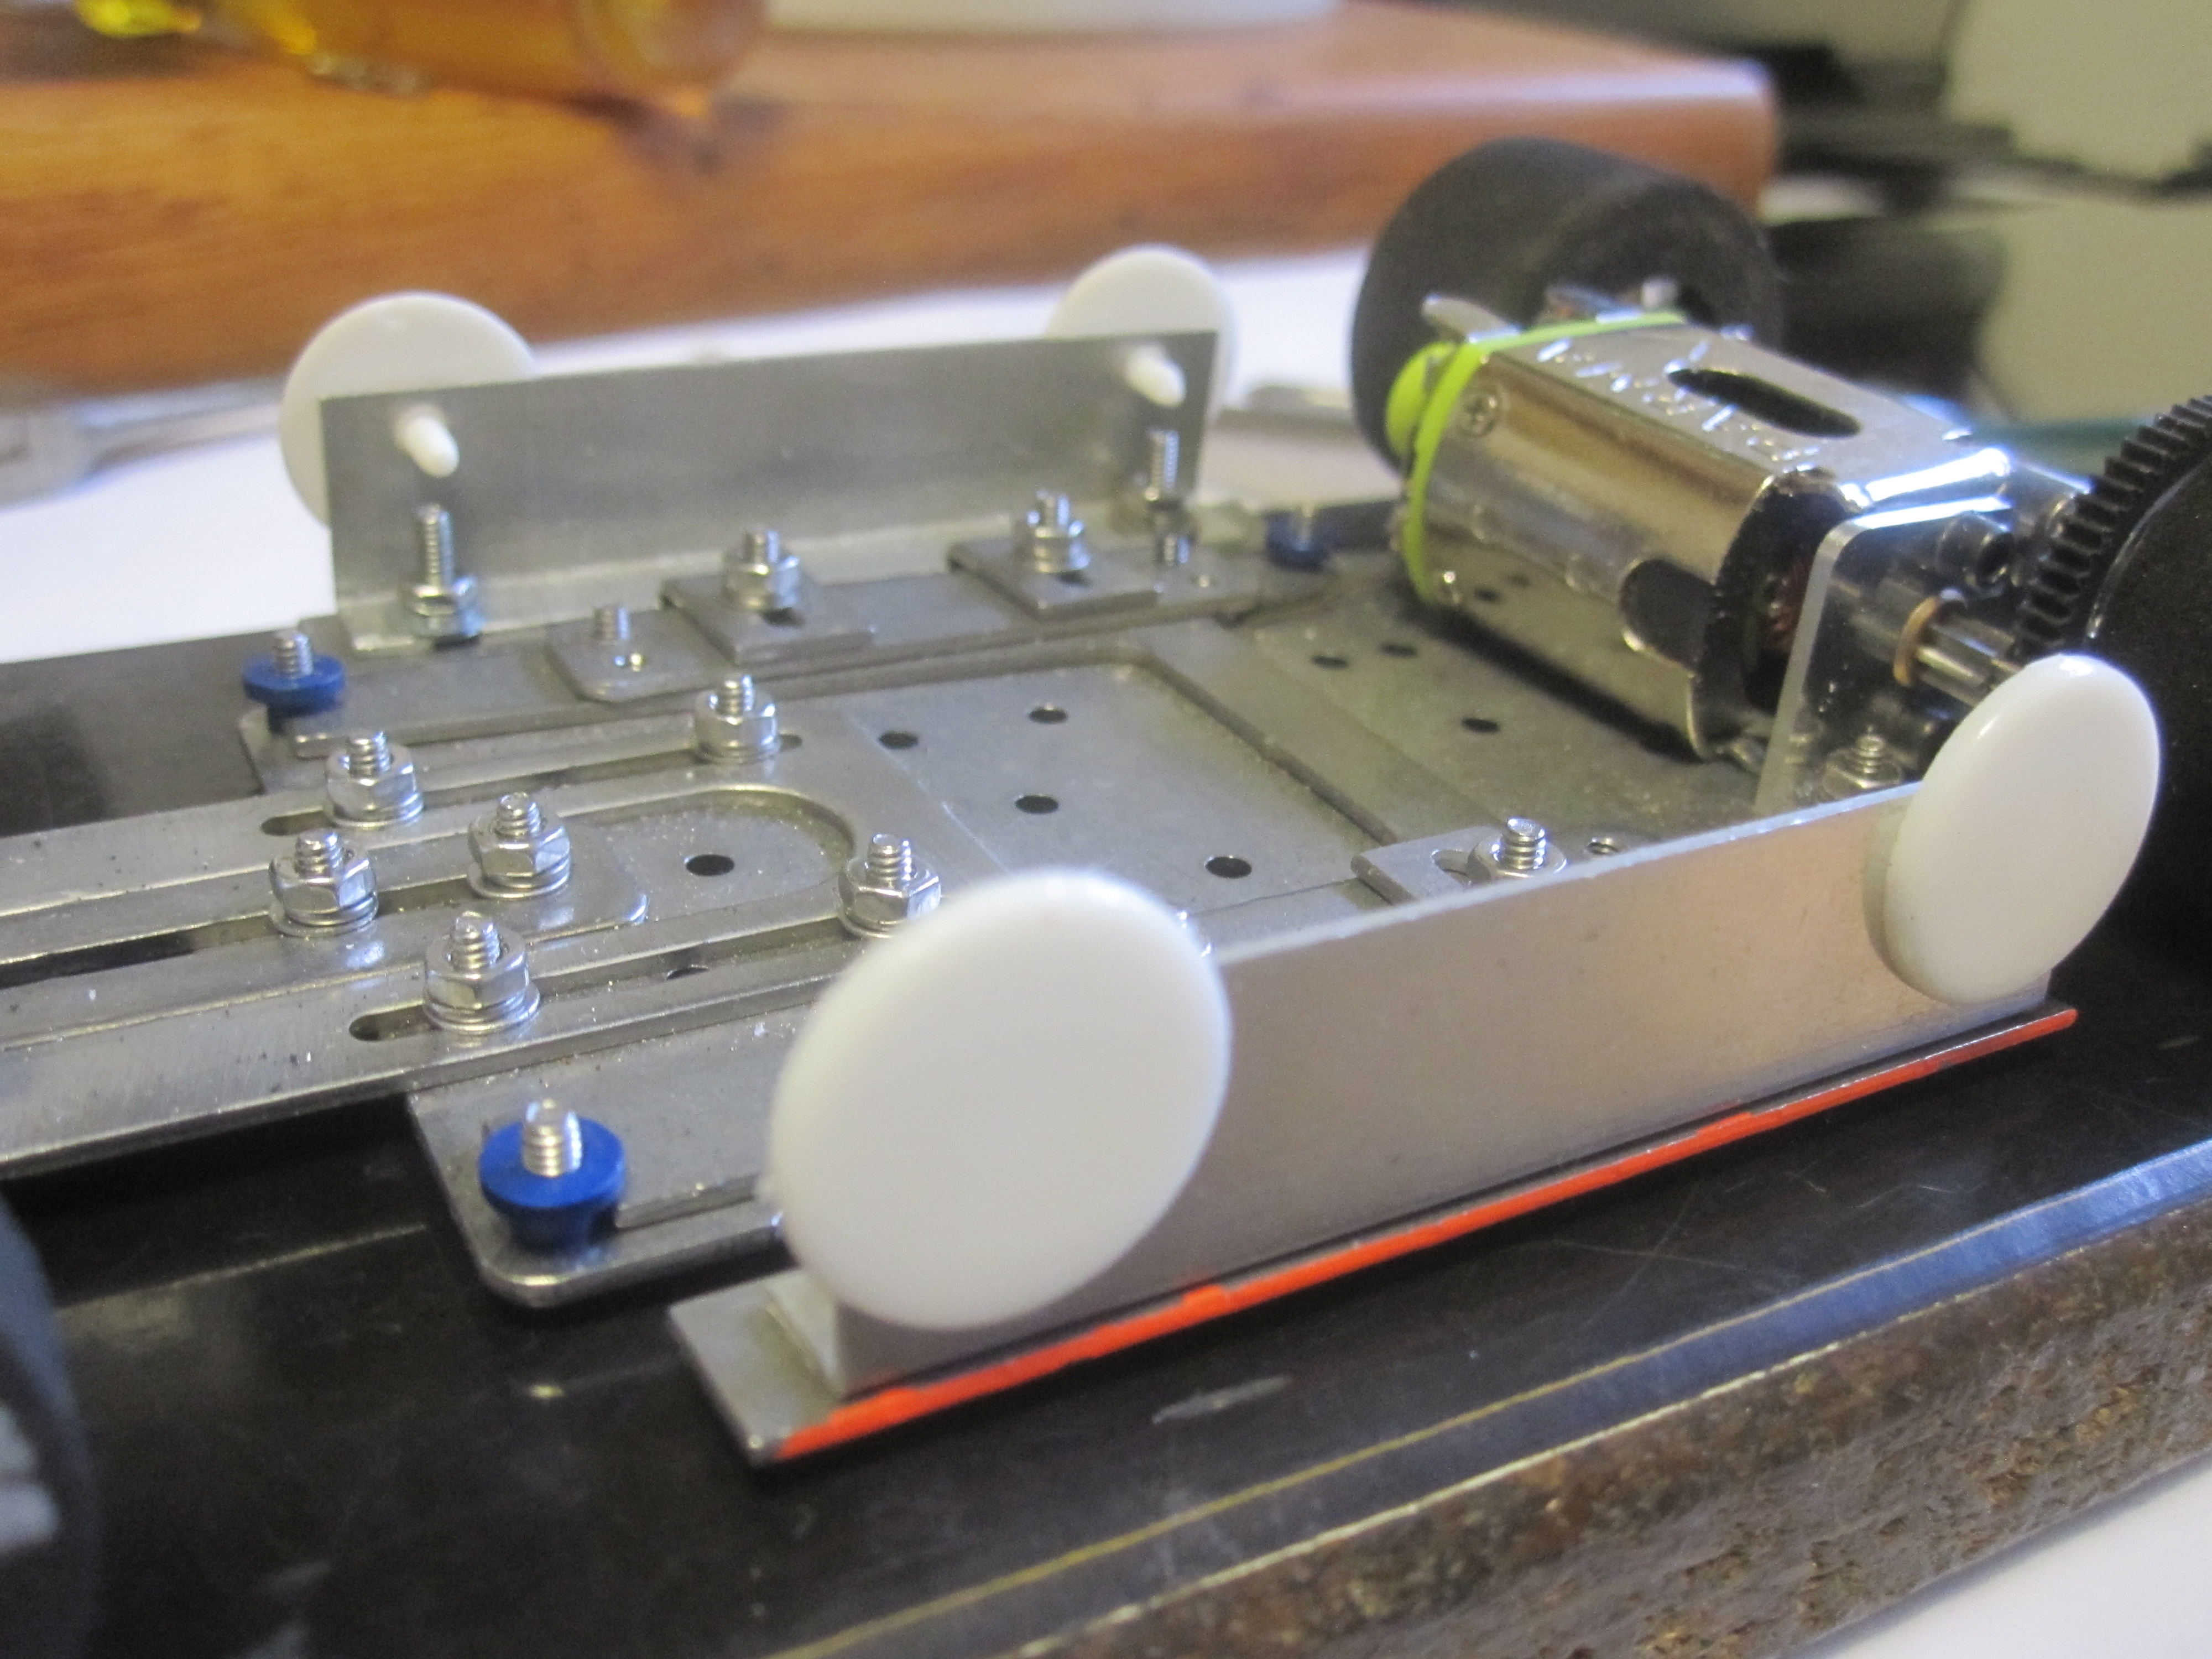
SP800001 continues. Mounting of the side pans to the chassis.
This is the mounting kit I will use. This kit is $4.25 from Professor Motor.
Mounting plate and plastic pins are all I will use, the bolts were not counter sunk.
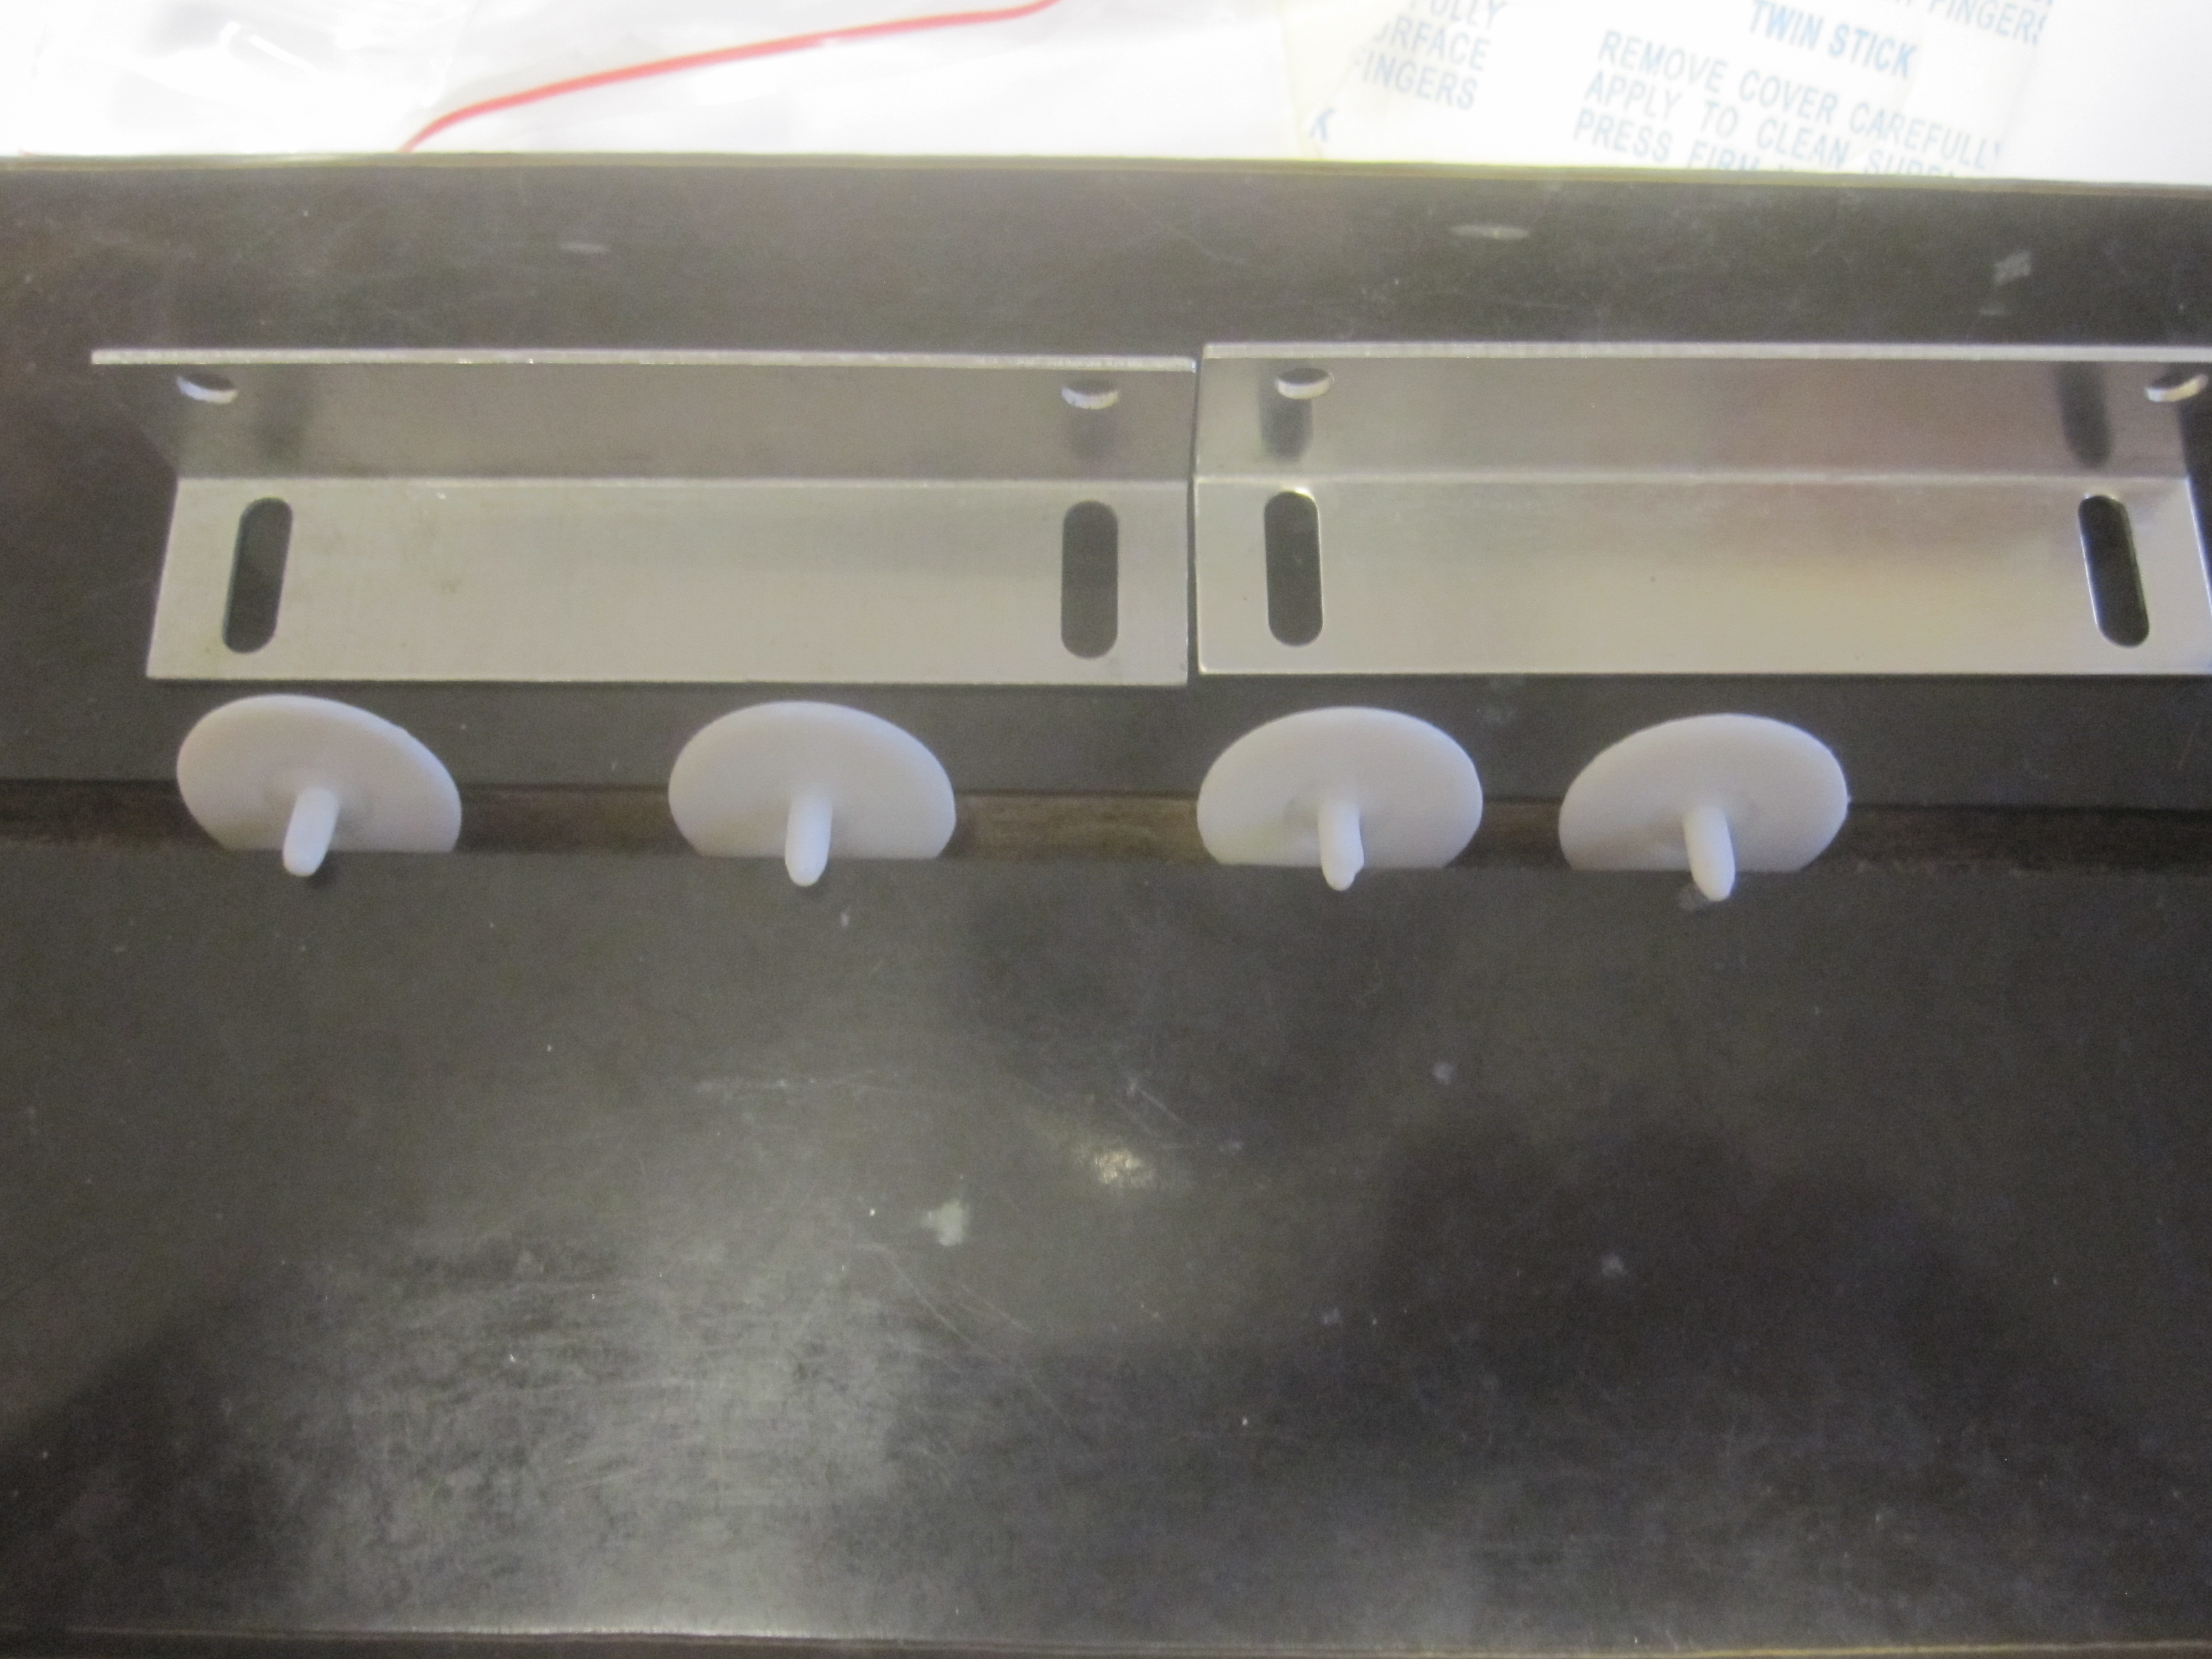
I have to cut this much off so the mounting plate will fit. This chassis is as narrow as it goes to fit this Chevy body.
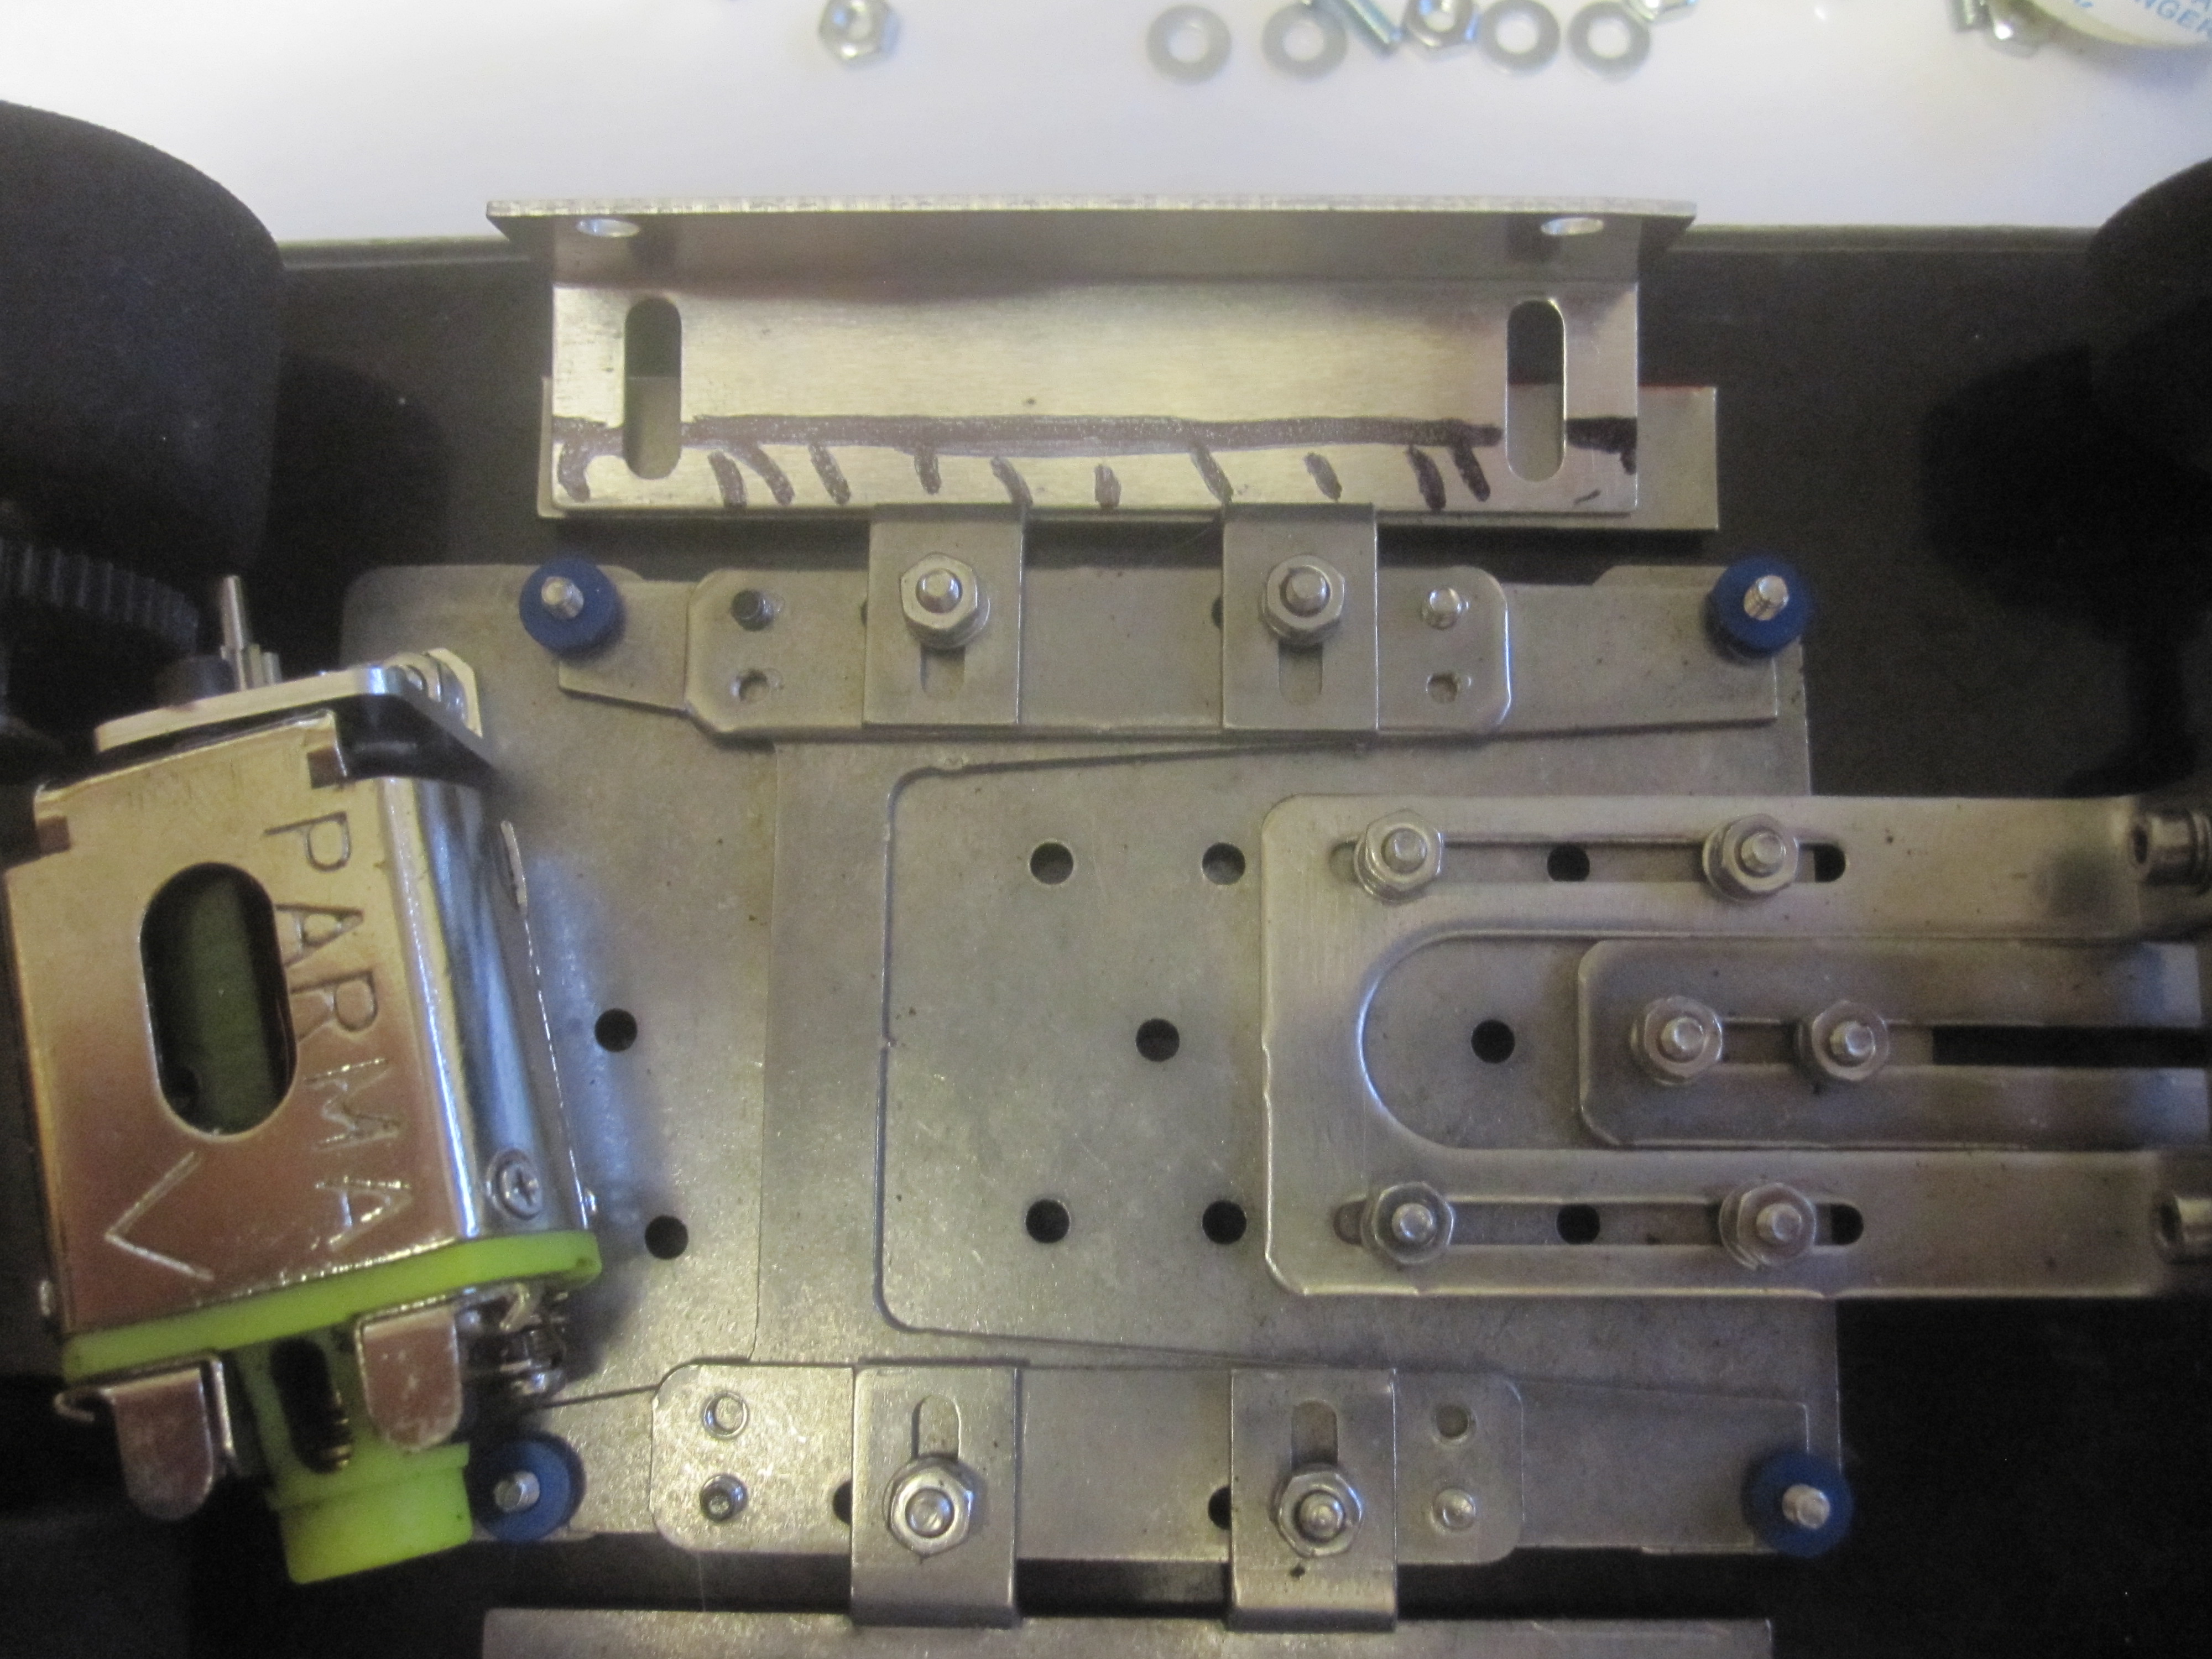
Holes have been counter sunk. The chassis mounting plate is slotted so the plate can be moved forward or backward, I set it in the middle.
All set to mount body.
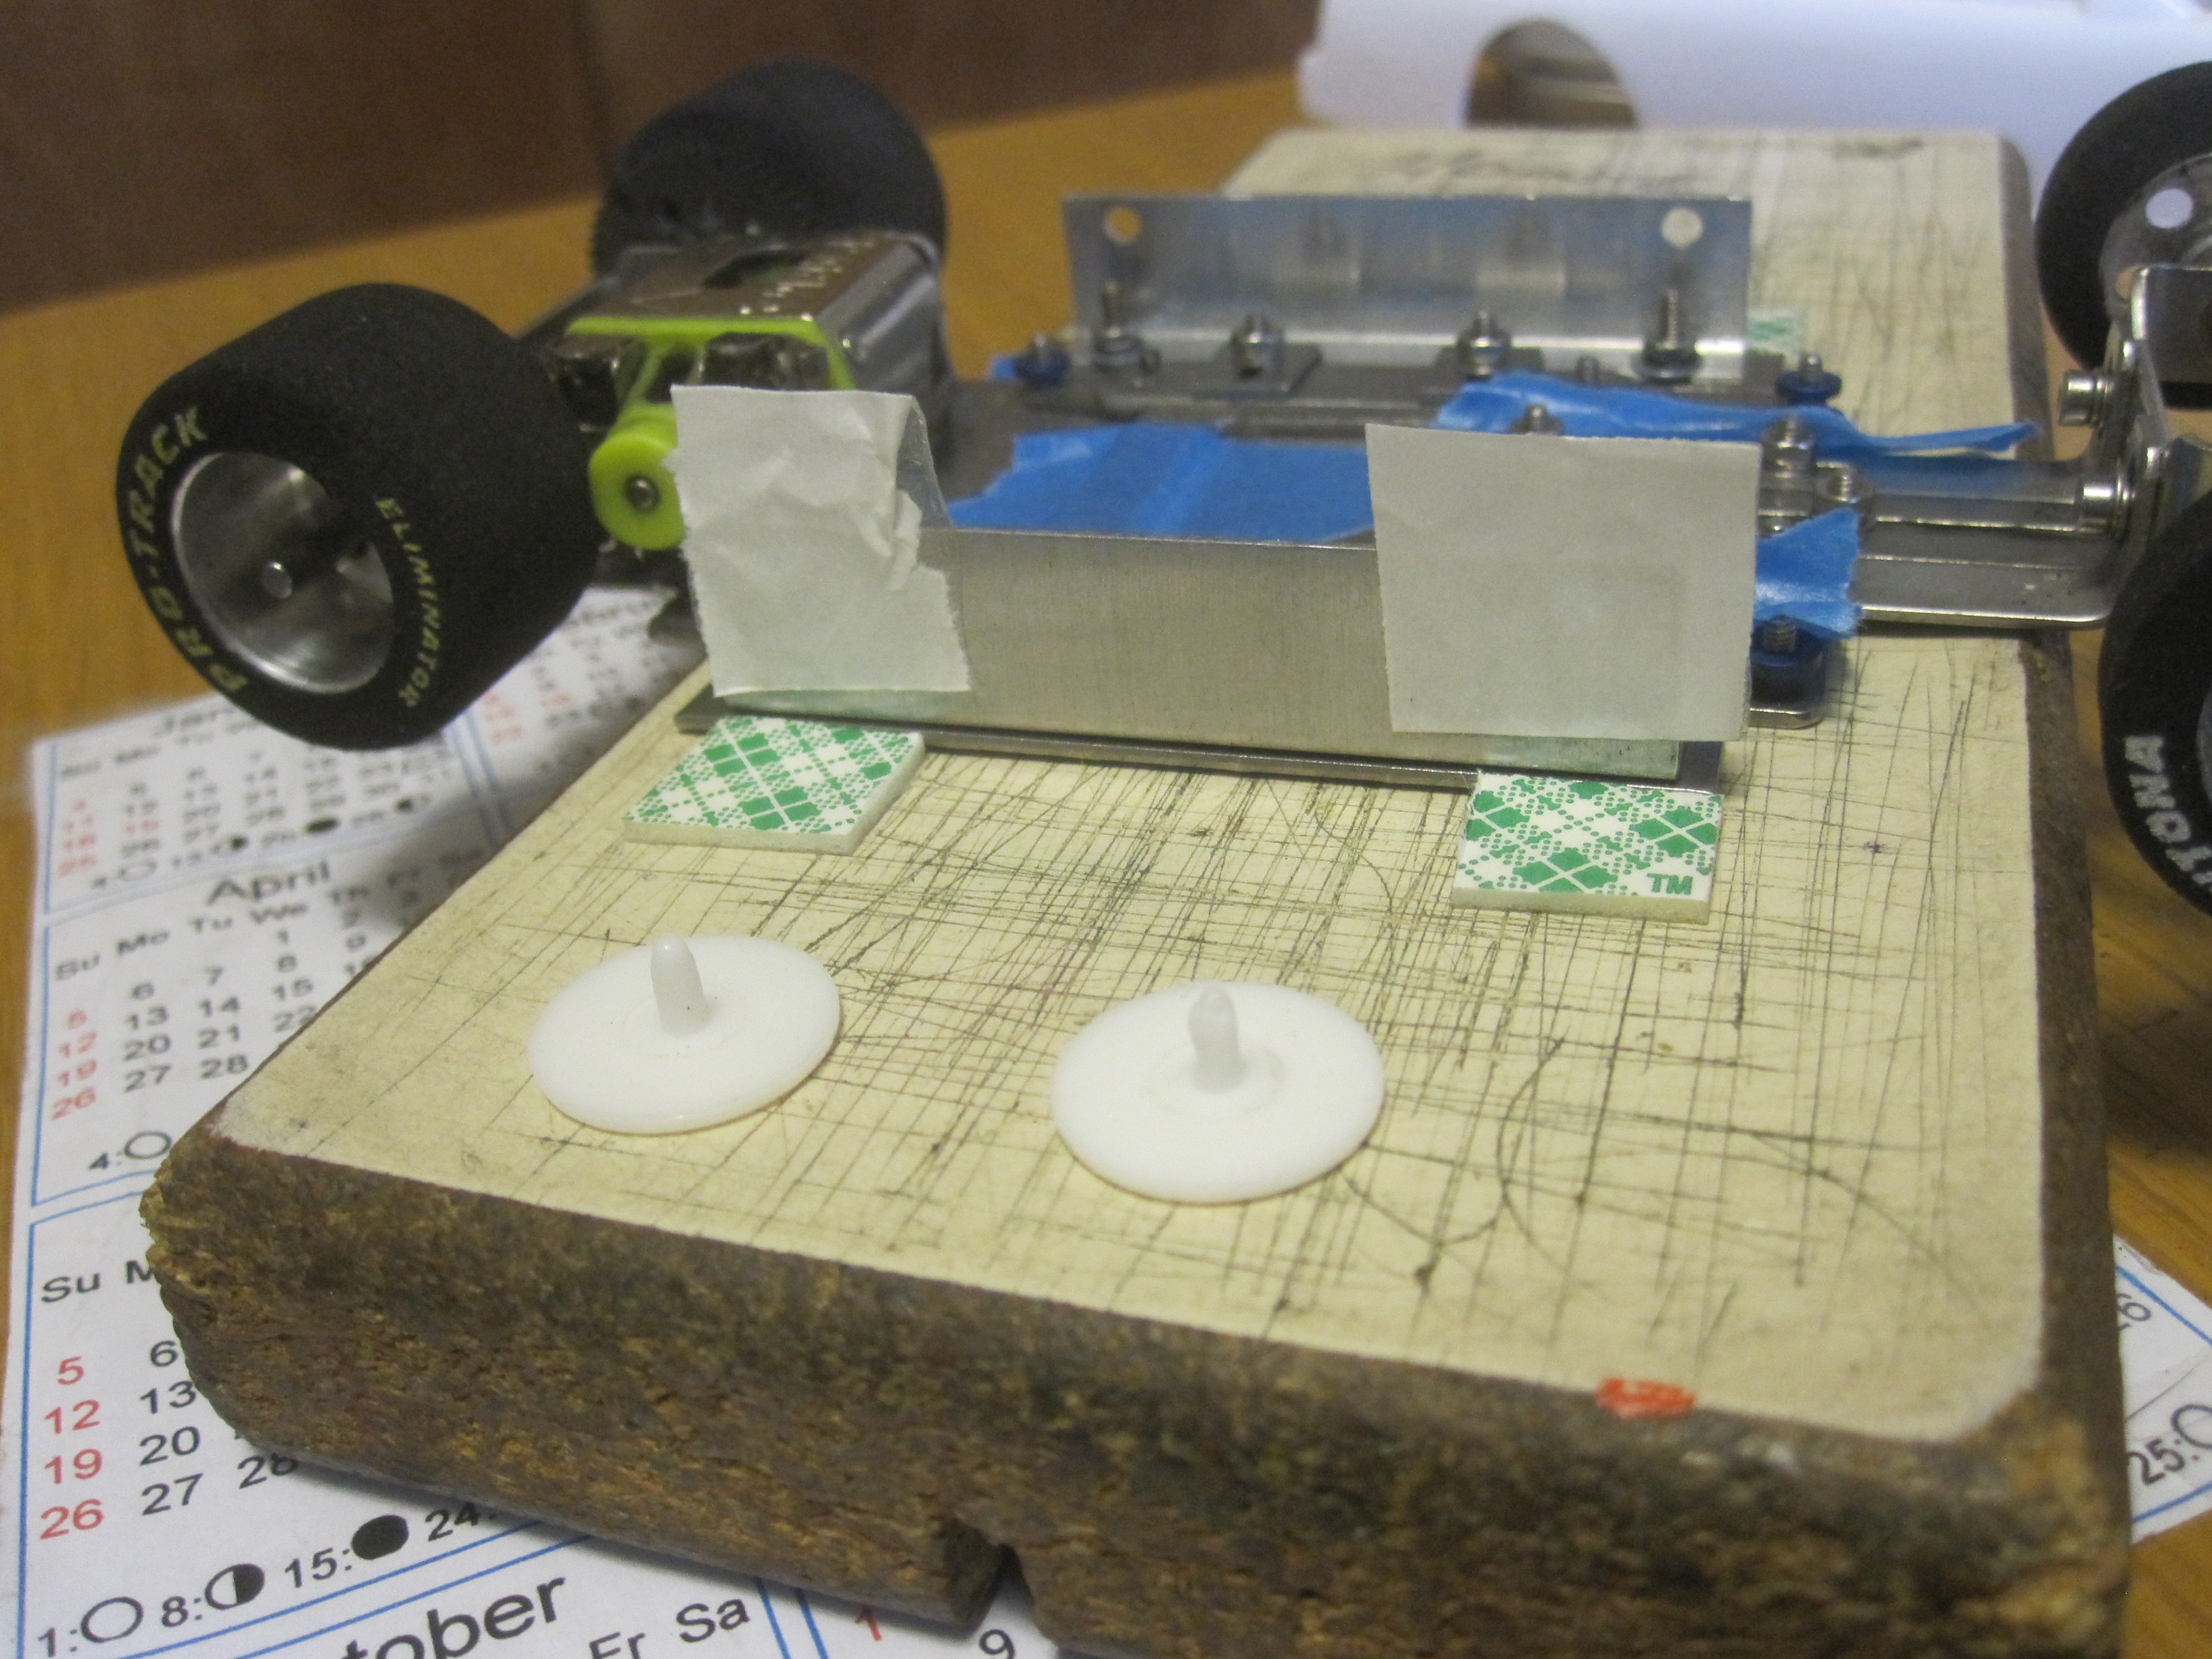
by howie » Sat Feb 14, 2015 12:24 pm
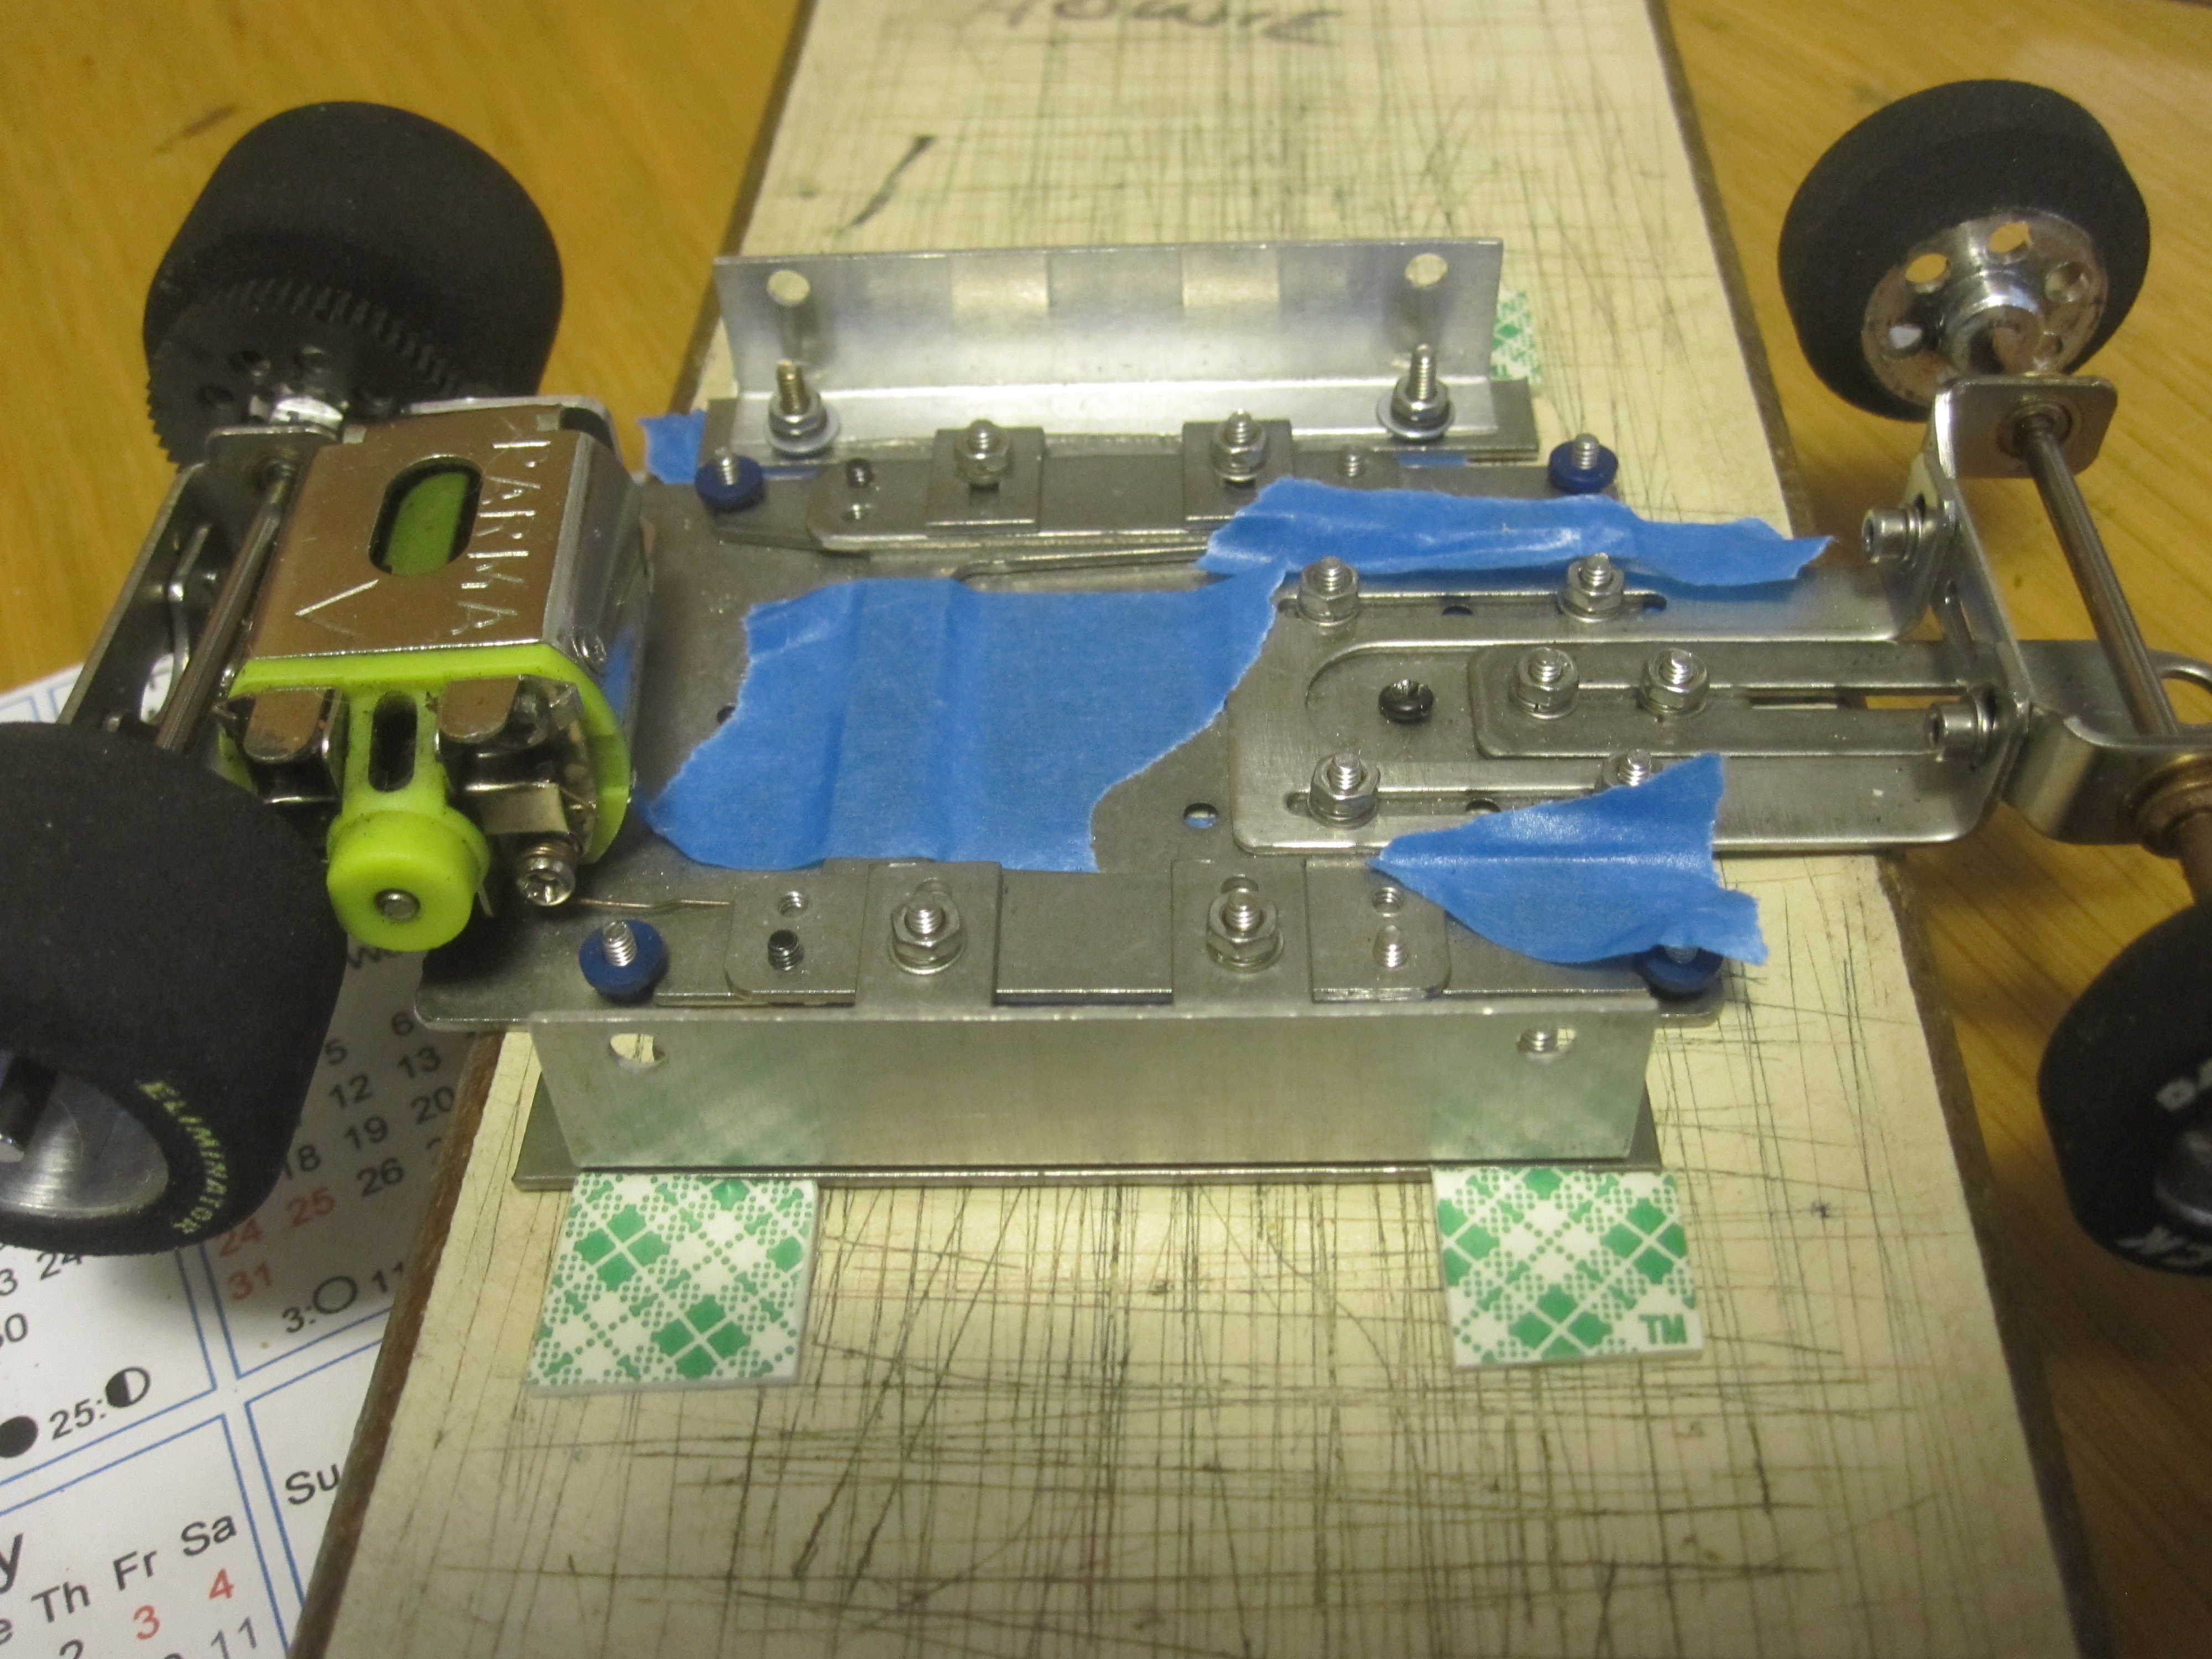
SP800001 continues. Mounting the body.
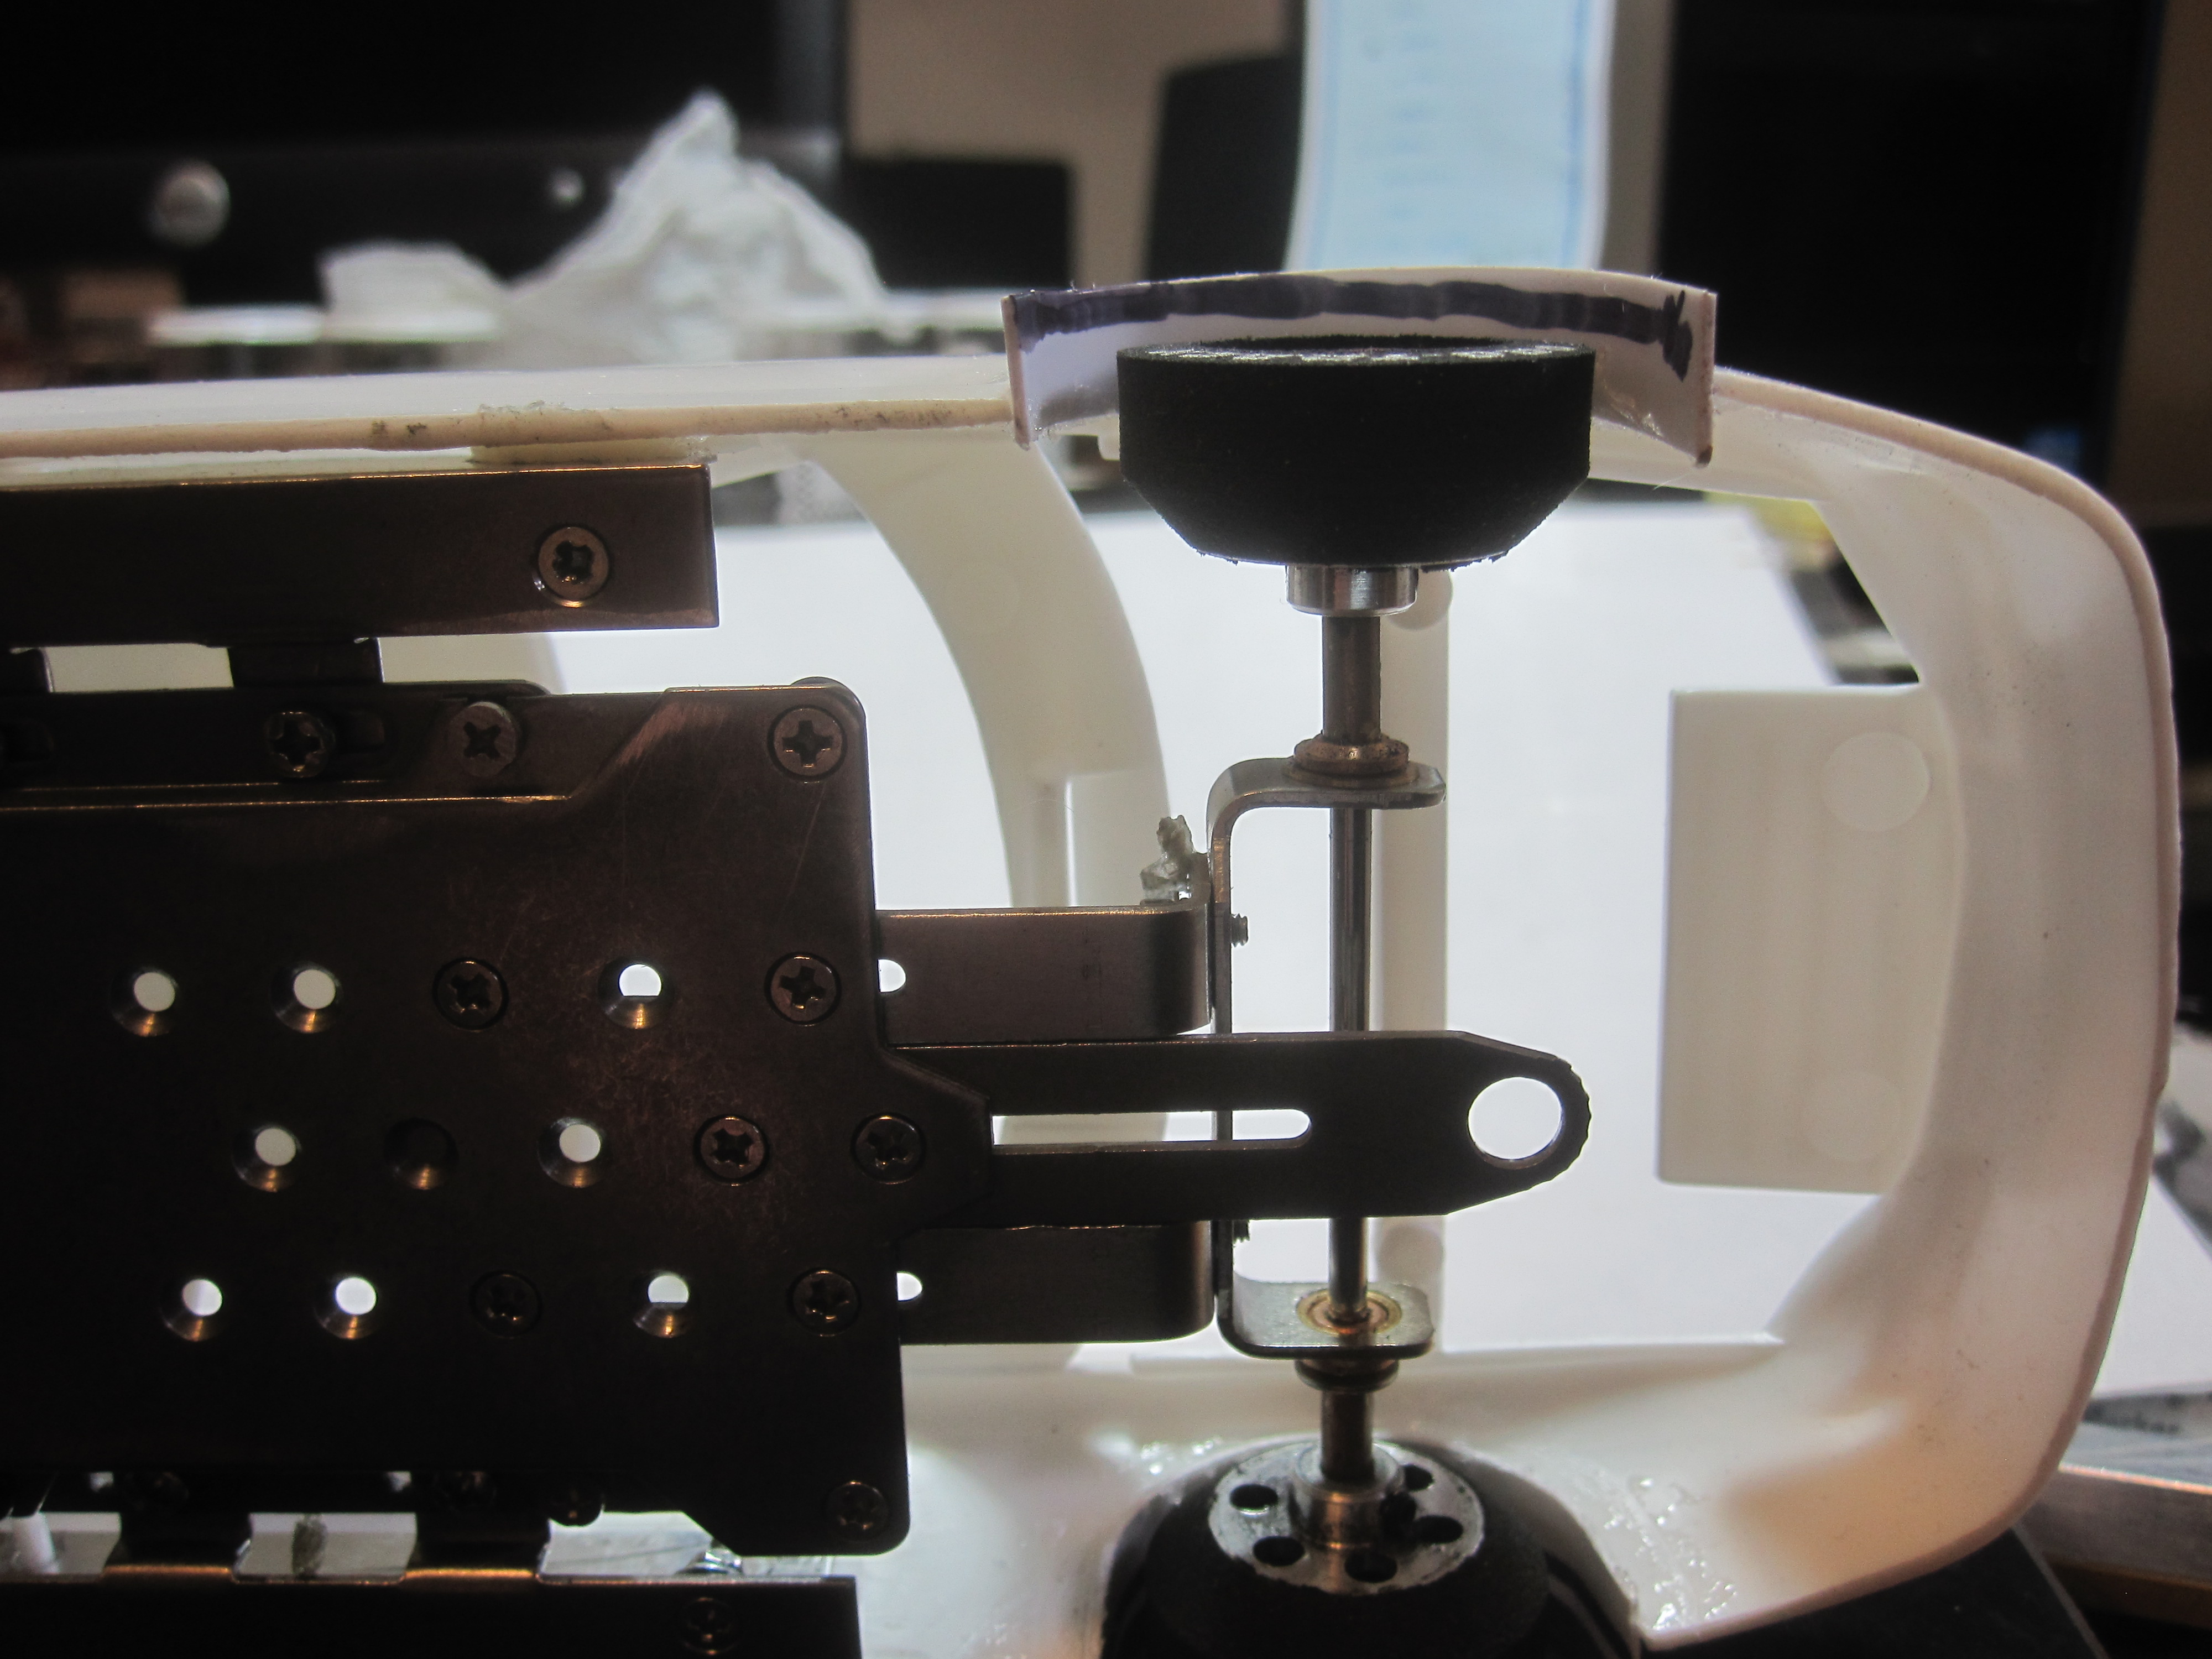
I taped the rattle pan down, screwed the chassis to the board, I do not want any thing to move!
This is my body height contraption. Oops! As you can see, I took too much from the body. I will add to the height by mounting the body on top of some double sponge tape.
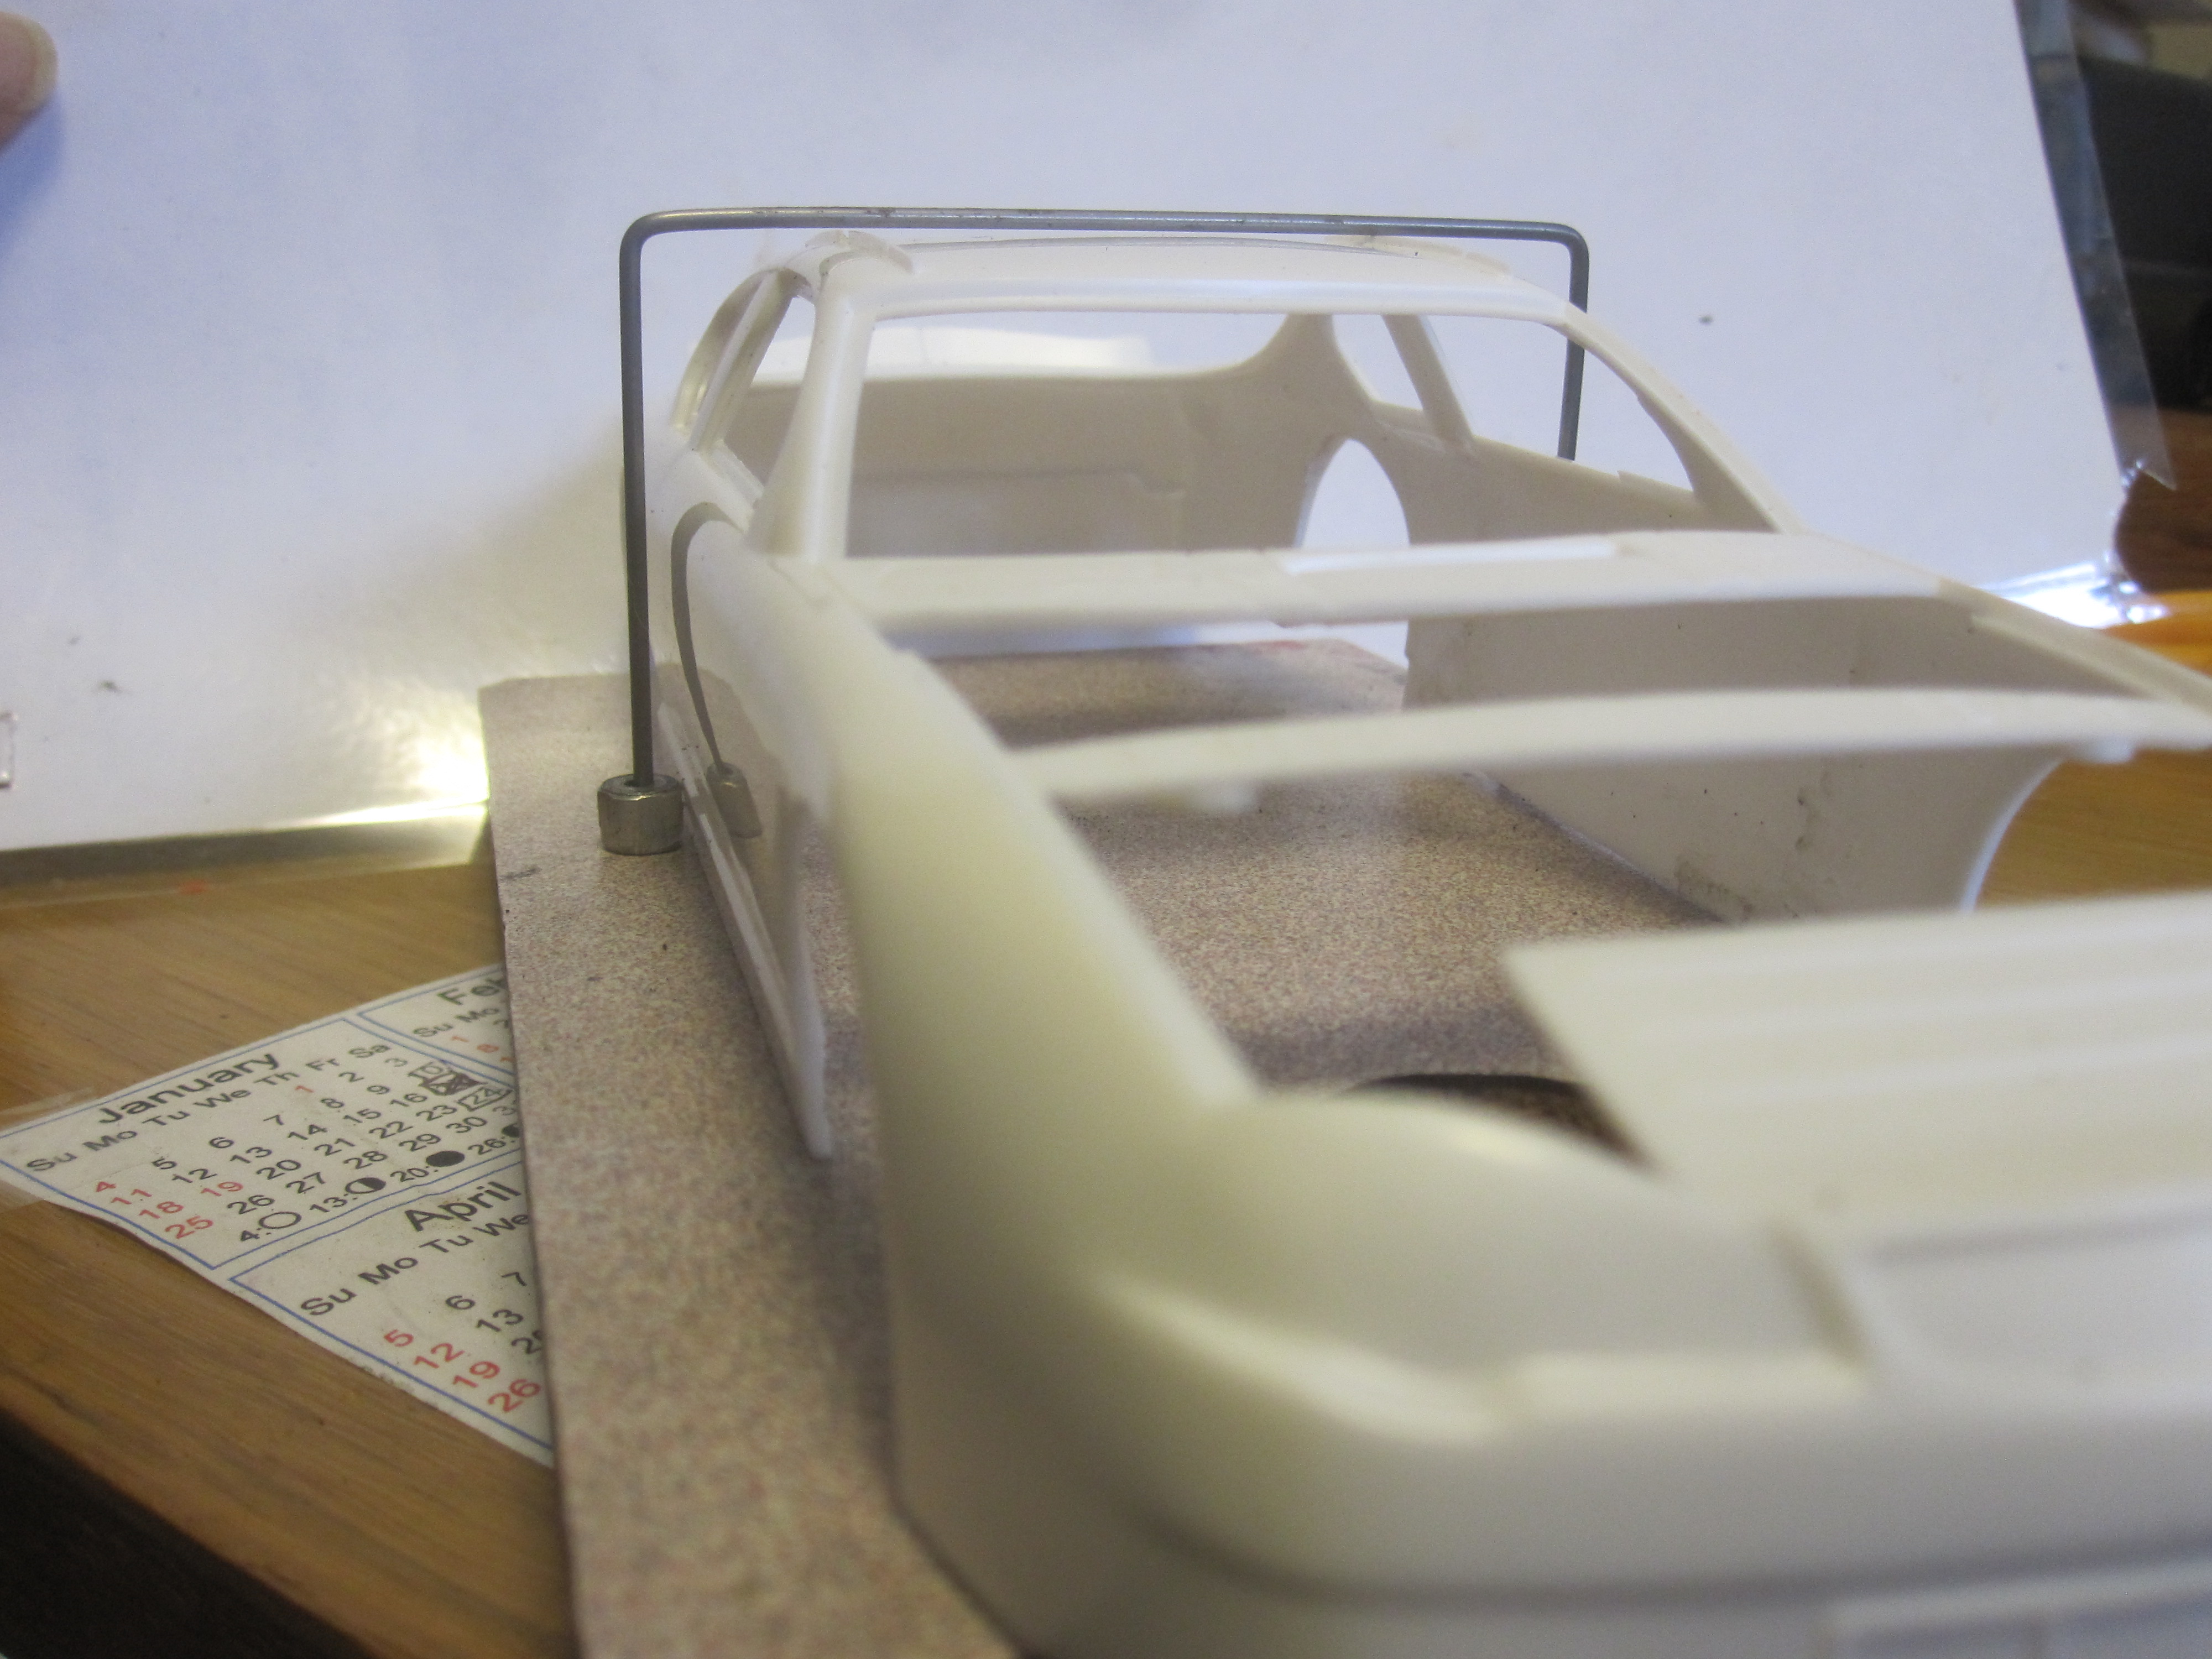
I put double stick tape over the holes in the mounting plate to hold the pins in place. I am using a double stick sponge tape to add the proper height to the body, making the body a little higher than the bottom of the chassis.
Body mounted. I add automotive goop to the pins and set the body and let dry for a day at least. I have to do this in the shop as my wife will get an immediate head ache from the fumes if I do it in the house.
by howie » Wed Feb 18, 2015 1:07 pm
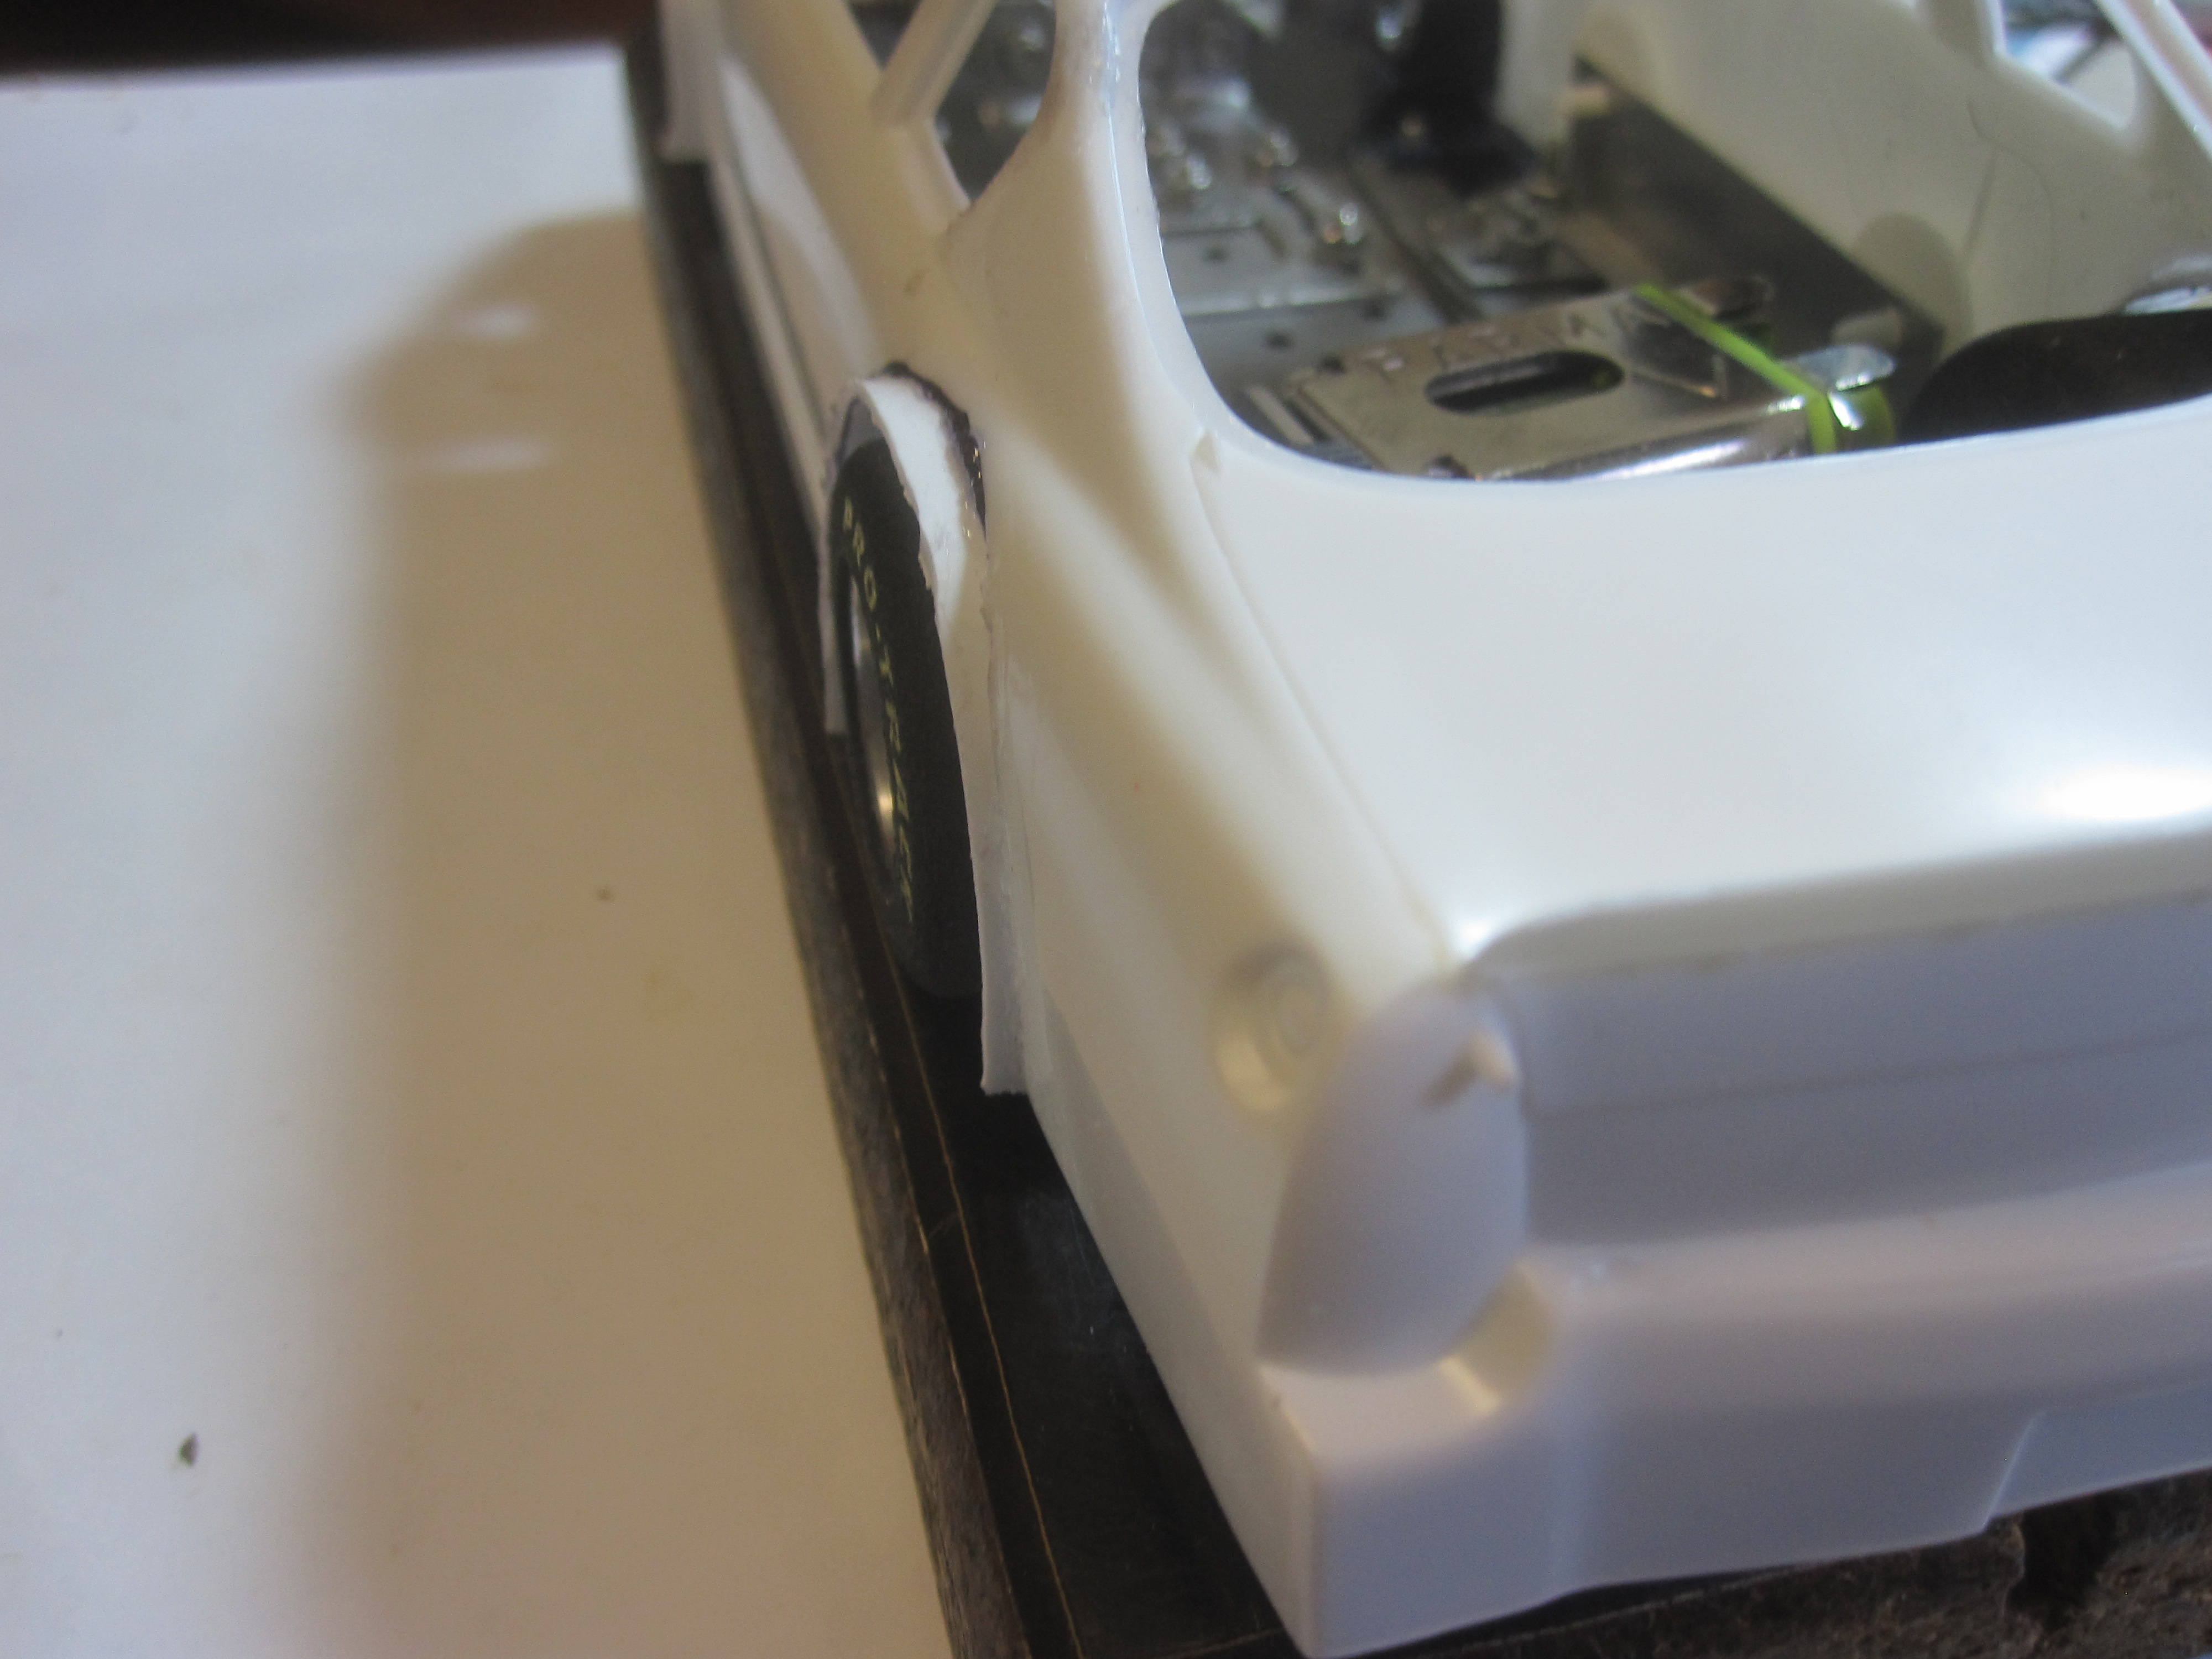
SP800001 continues. I use .030" sheet plastic to make the flairs. Using scissors I cut about 1/4" wide and long enough to fill the wheel wells. I hold them in place while I run a bead of Super Glue on the inside of the flair, I use Super Glue because it sets up fast. Then when I get all the flairs glued, back out to the shop I go to put the Goop on over the Super Glue. I leave a little bit of a lip on the inside to have something for the glue to hold to. I do not put any glue on the outside, except what accidentally got on my fingers which stuck to the body!! I will have to do more sanding of the body than originally planned!!
I set the body on the chassis and used a marking pen to mark where I need to make more room. The front wheel wells did not need any material taken away.
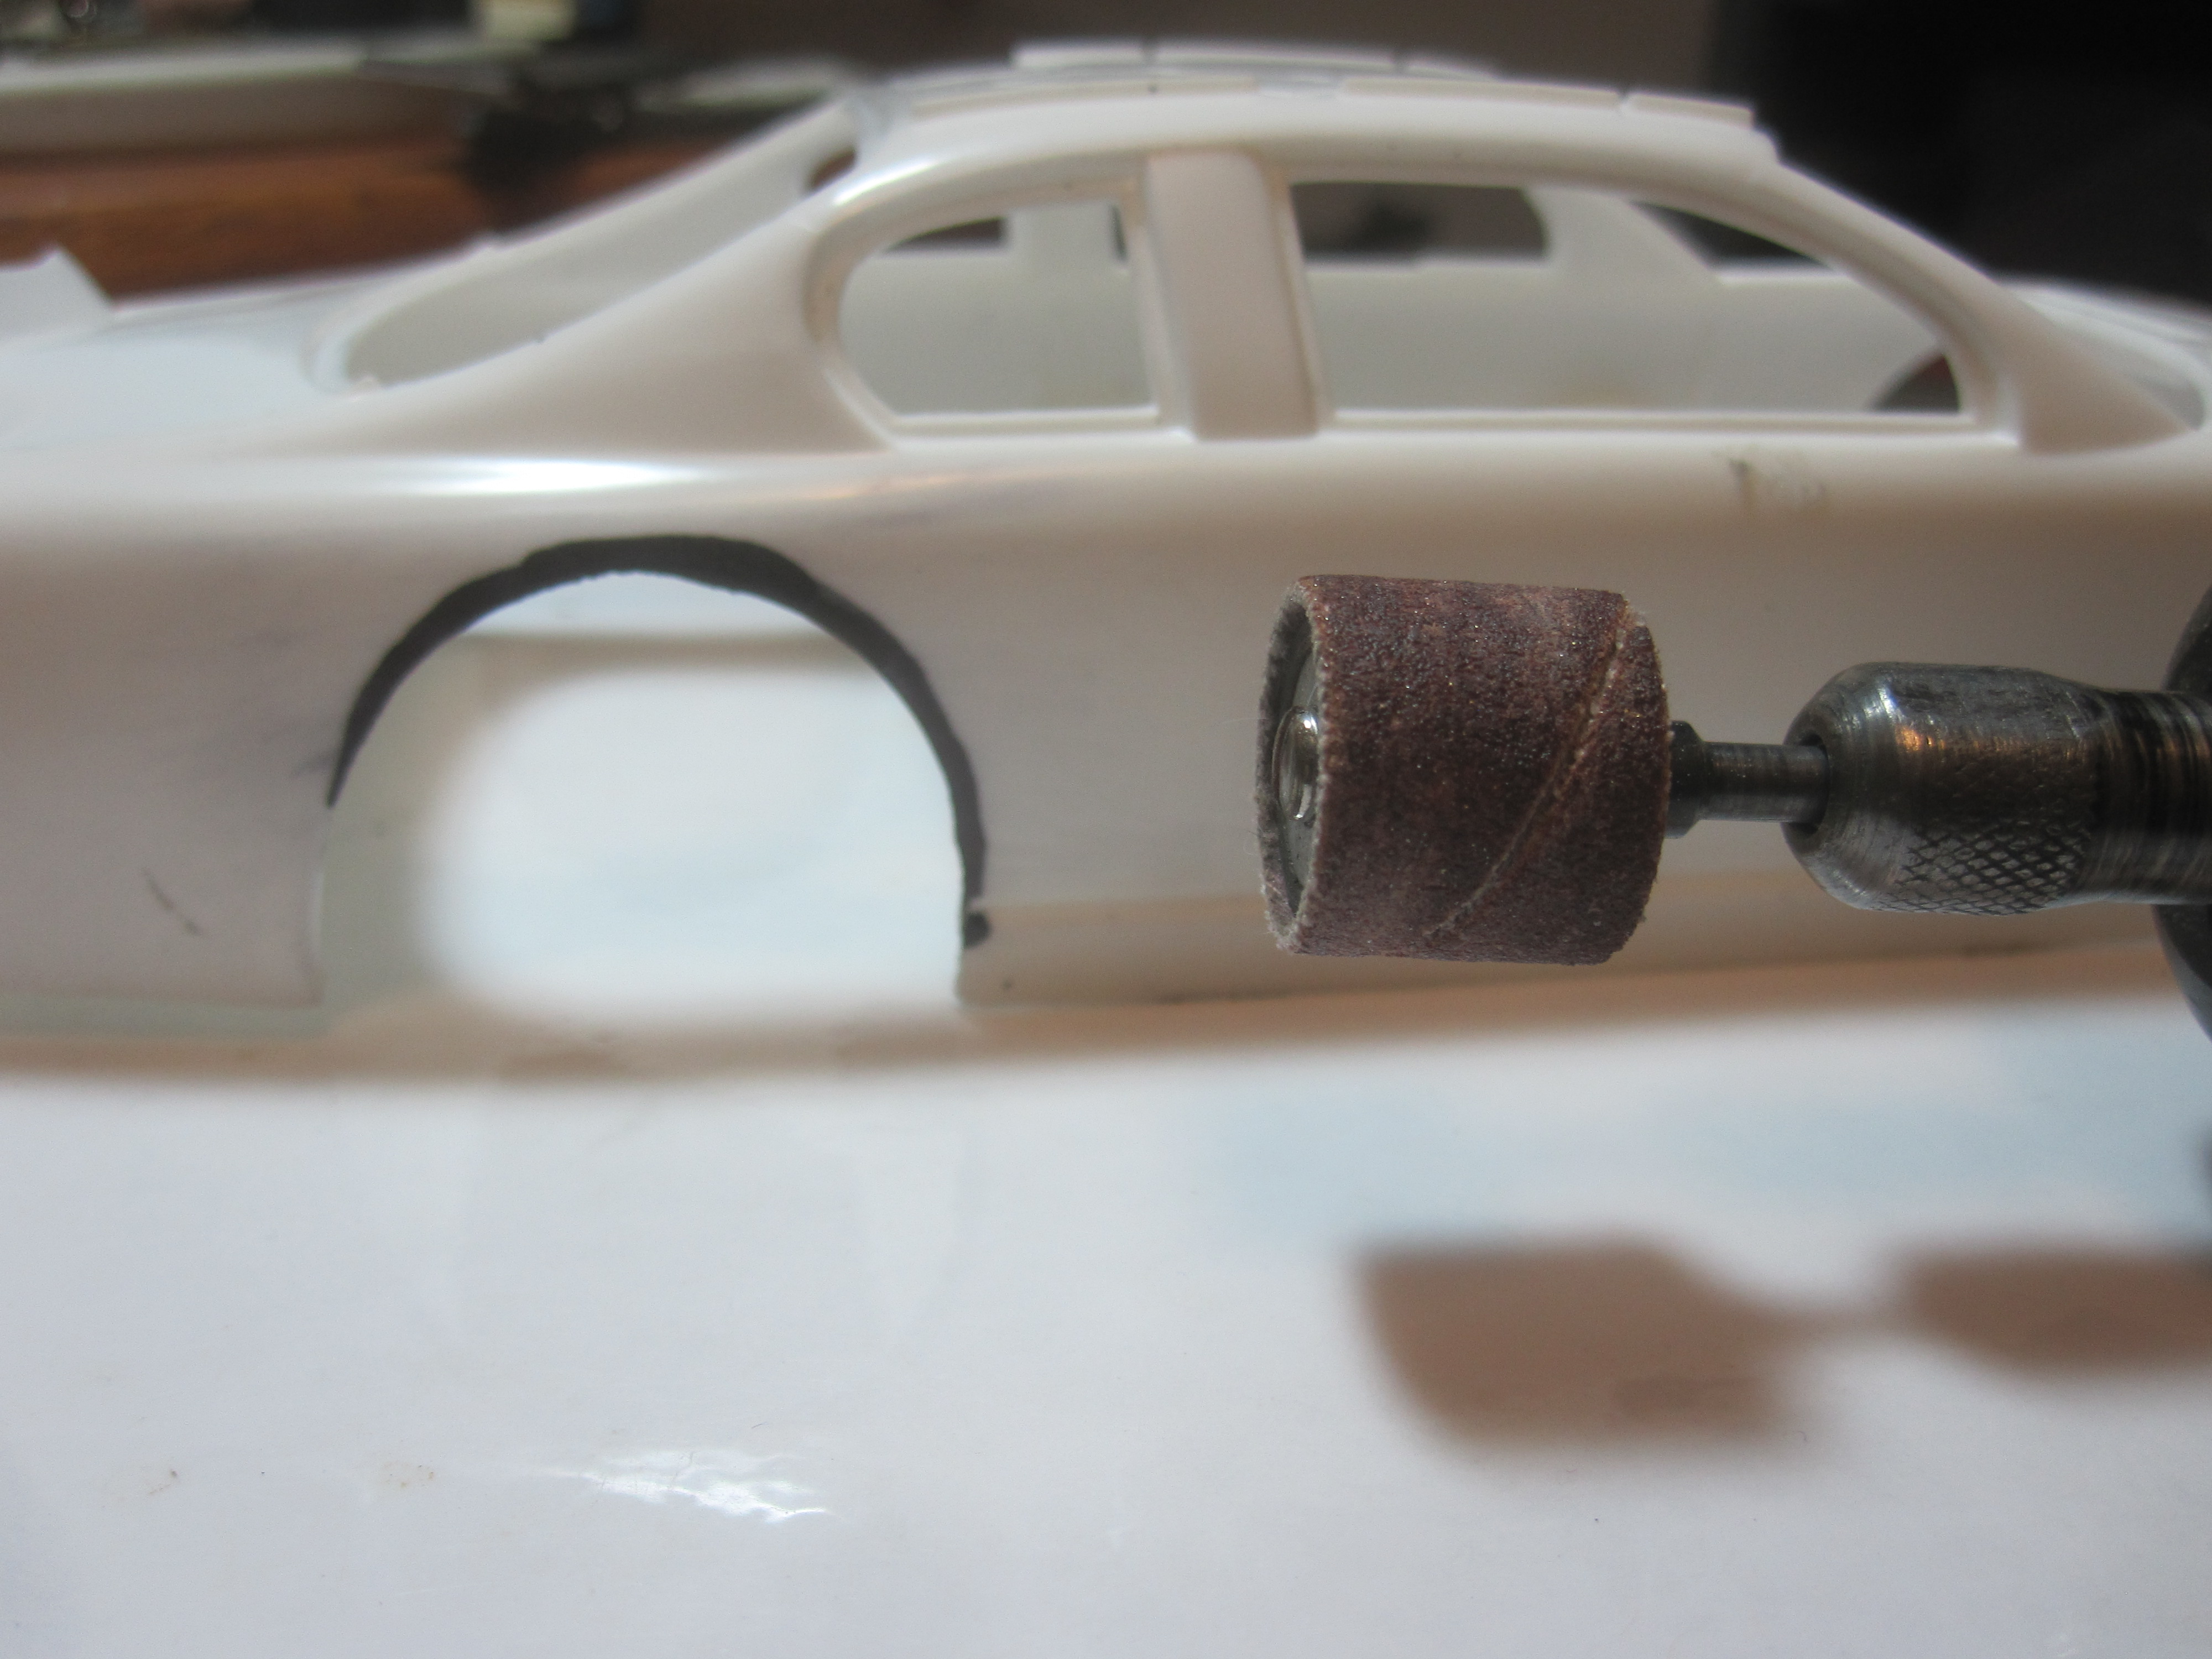
I make the flairs as close to the tires as possible knowing the body is going to move up and down while on the track.
Now it is back out to the shop to add the Goop!
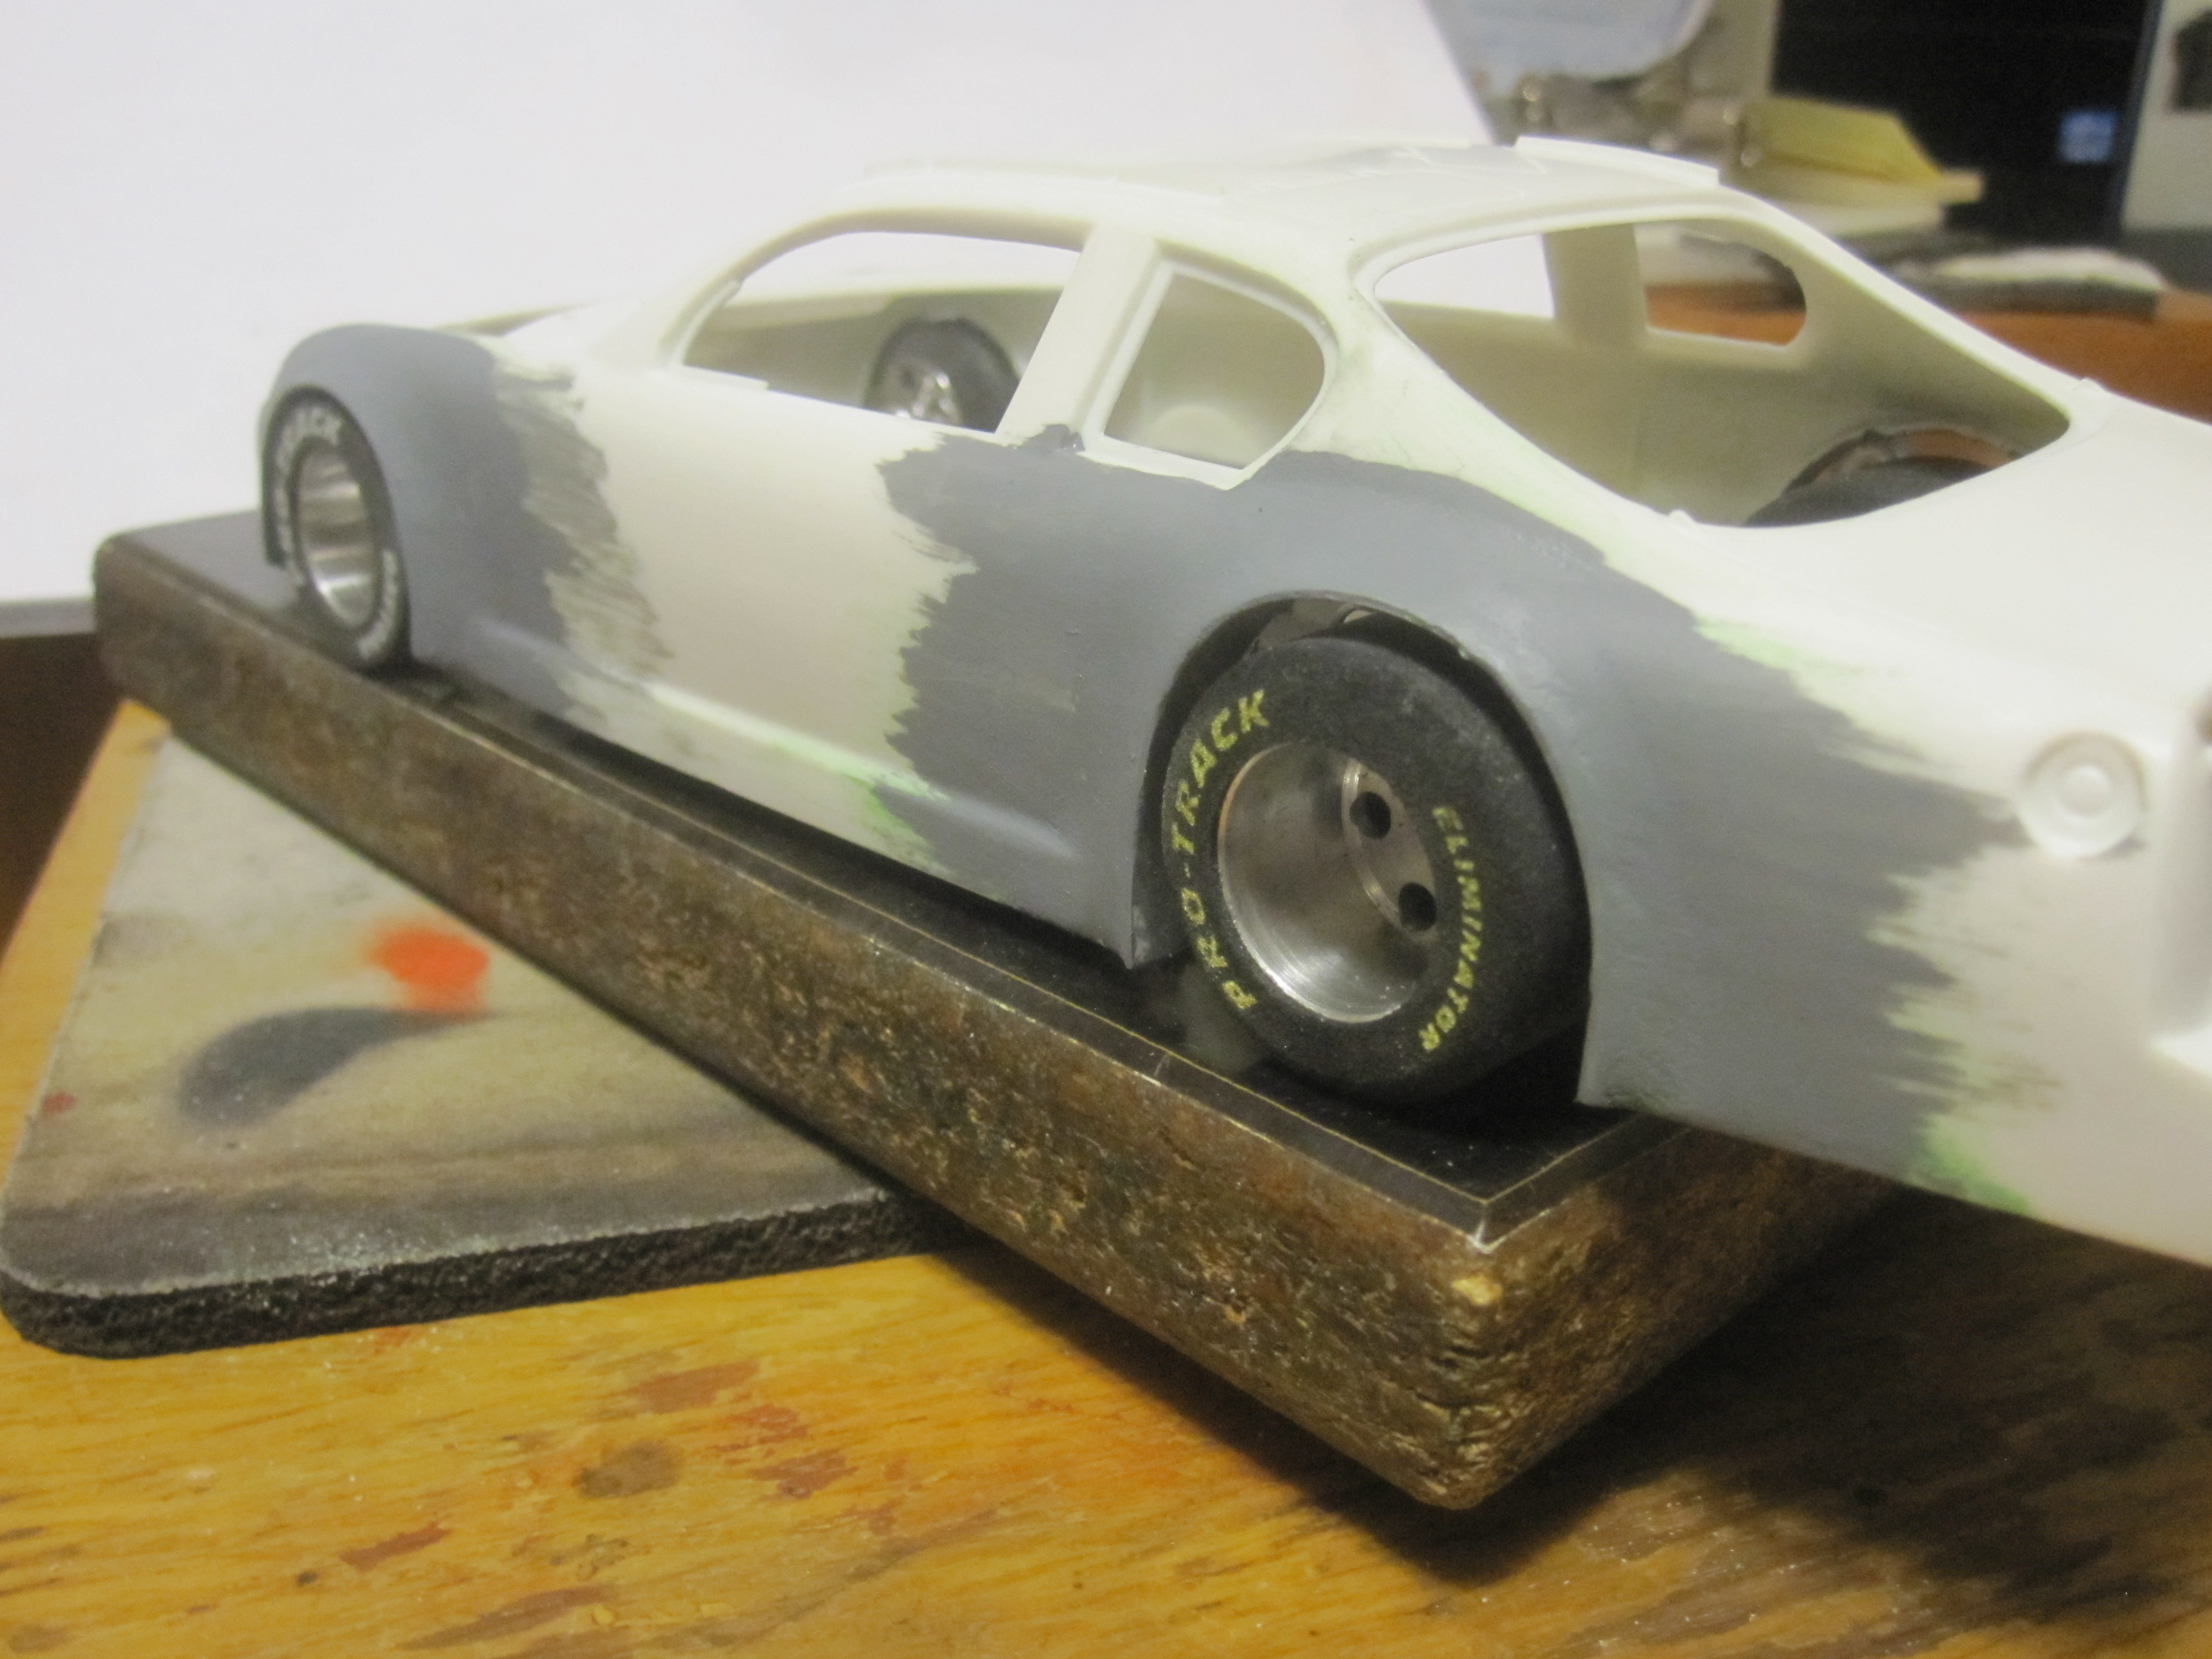
by howie » Fri Feb 20, 2015 12:24 pm
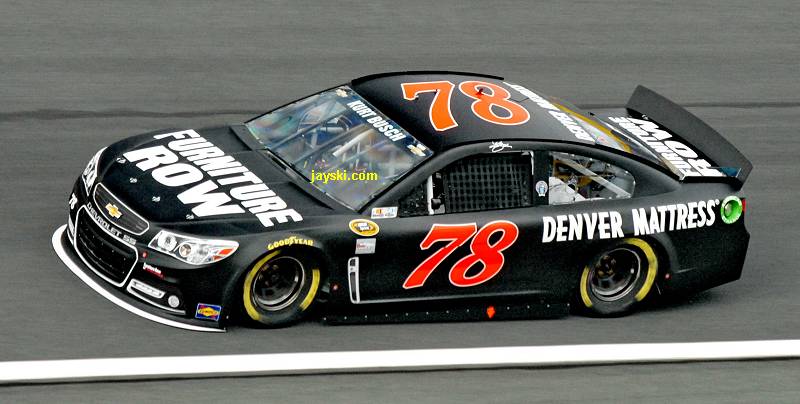
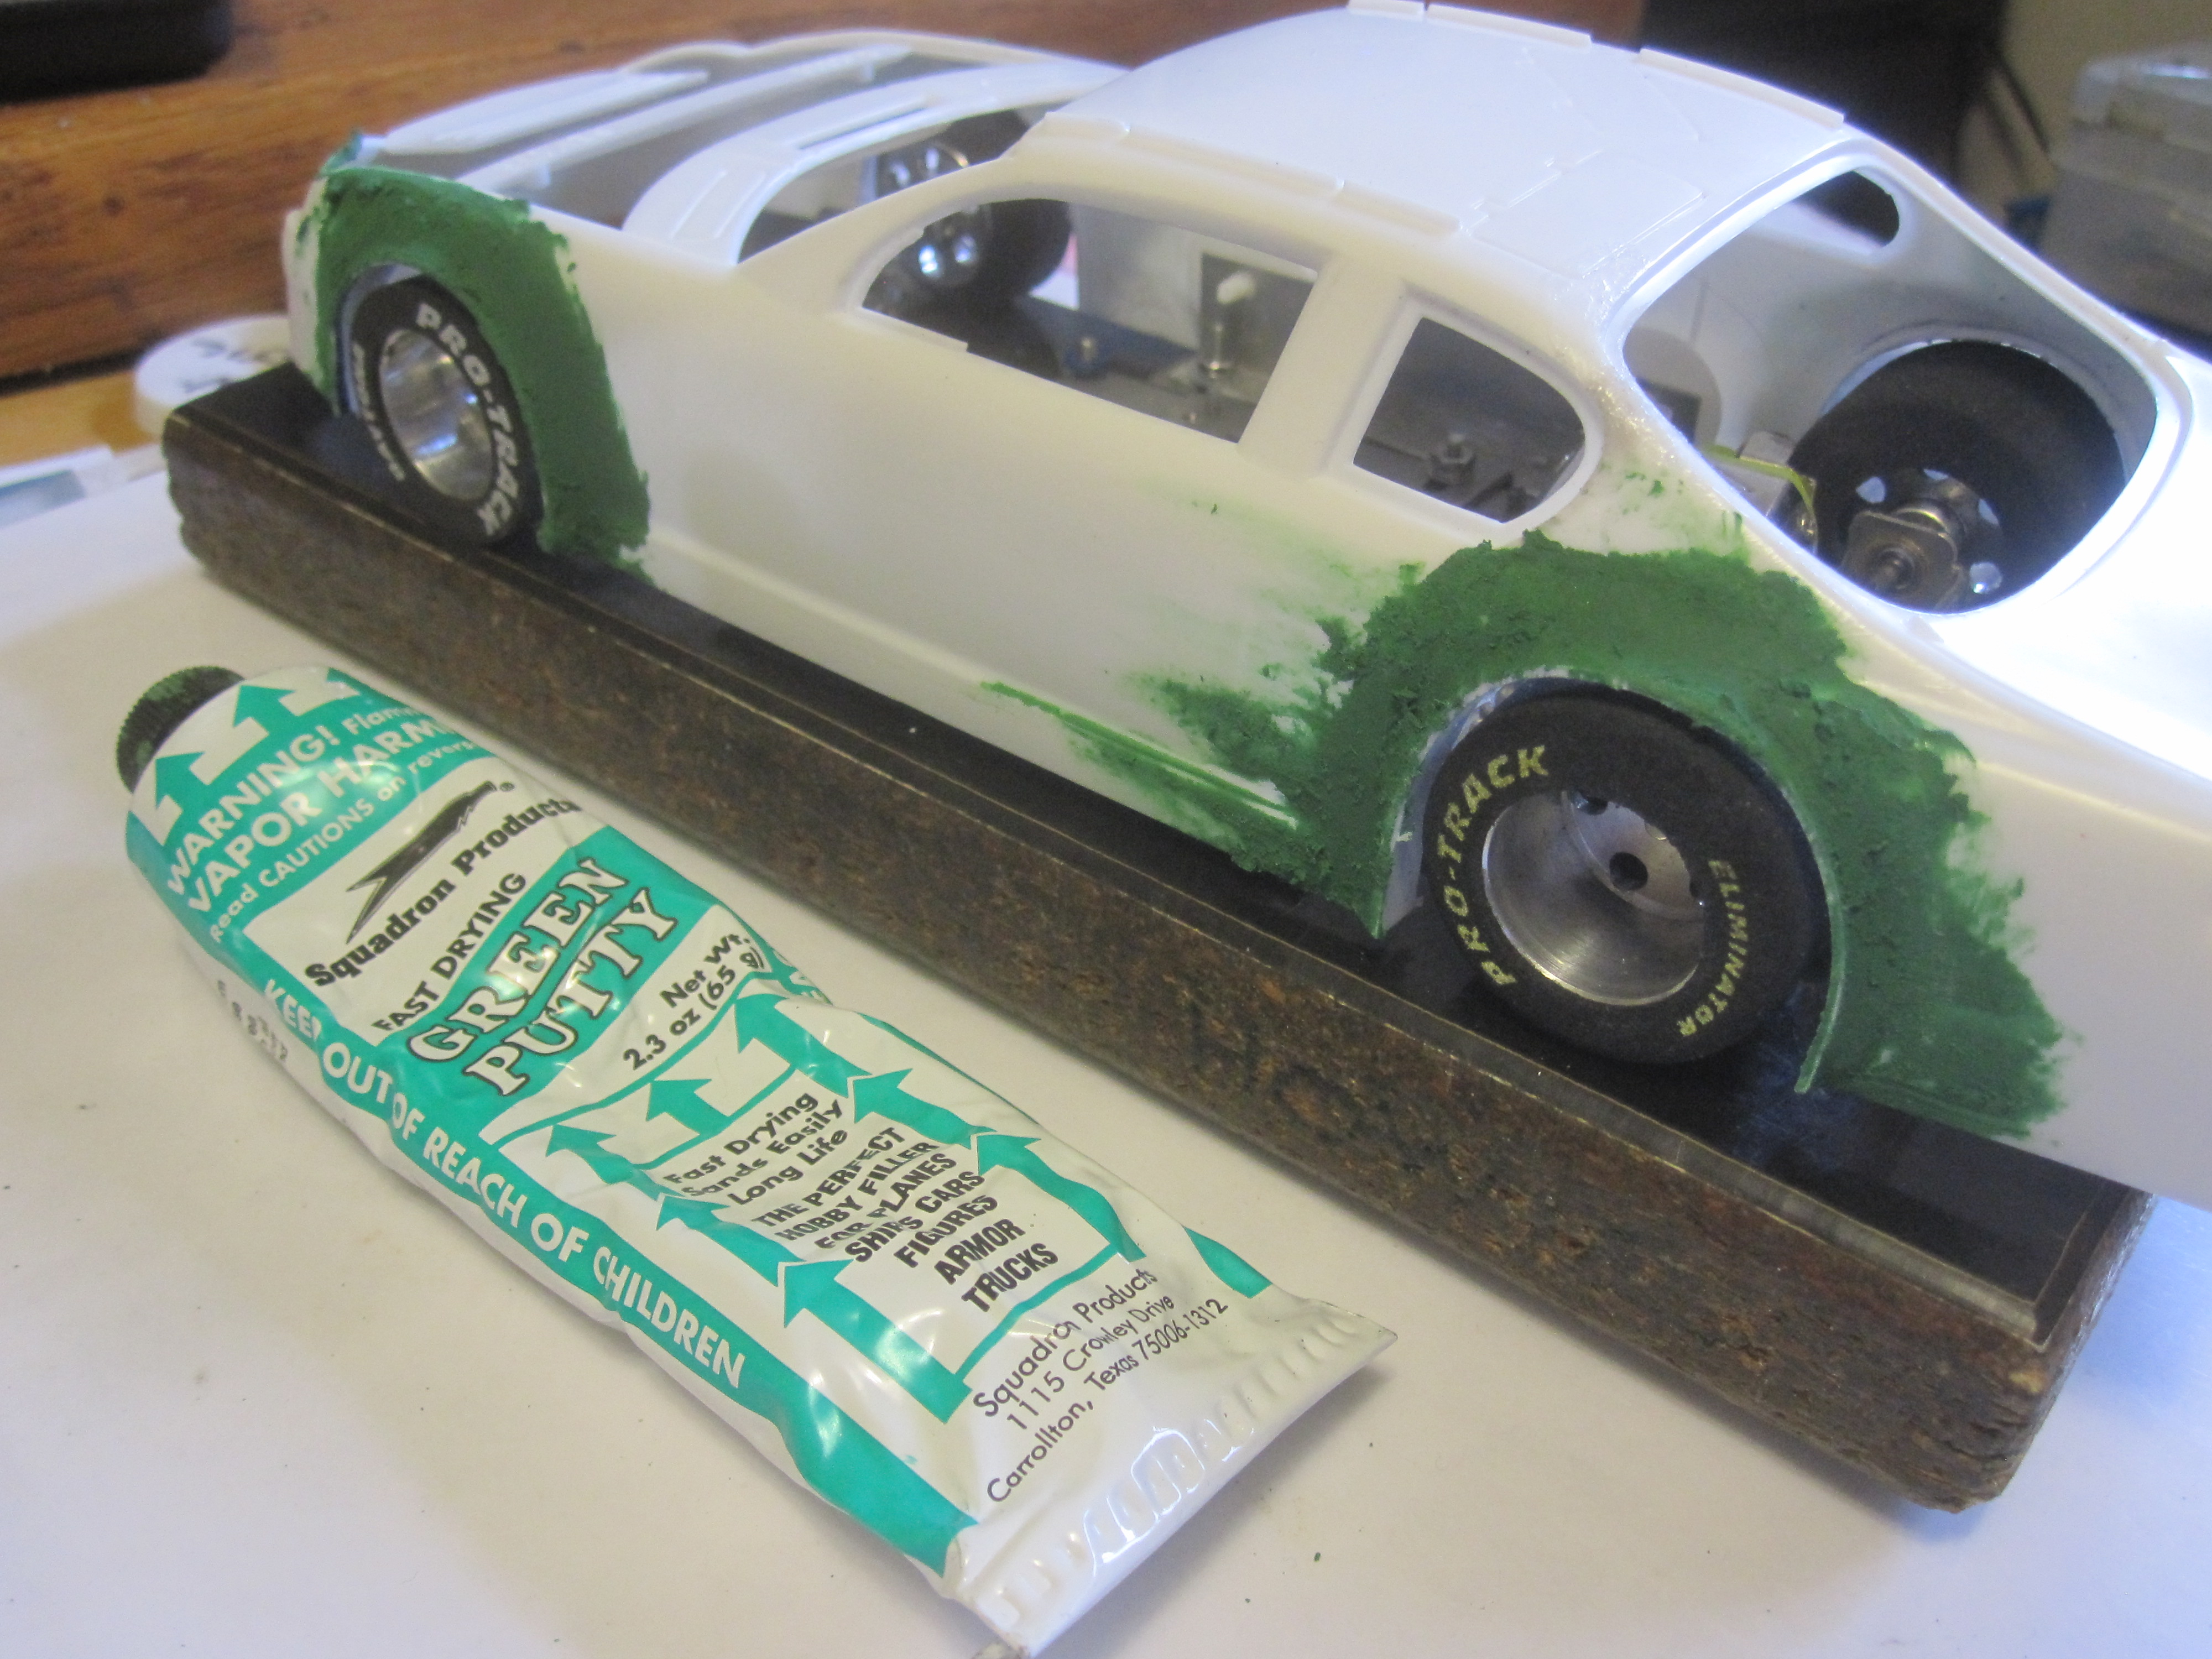
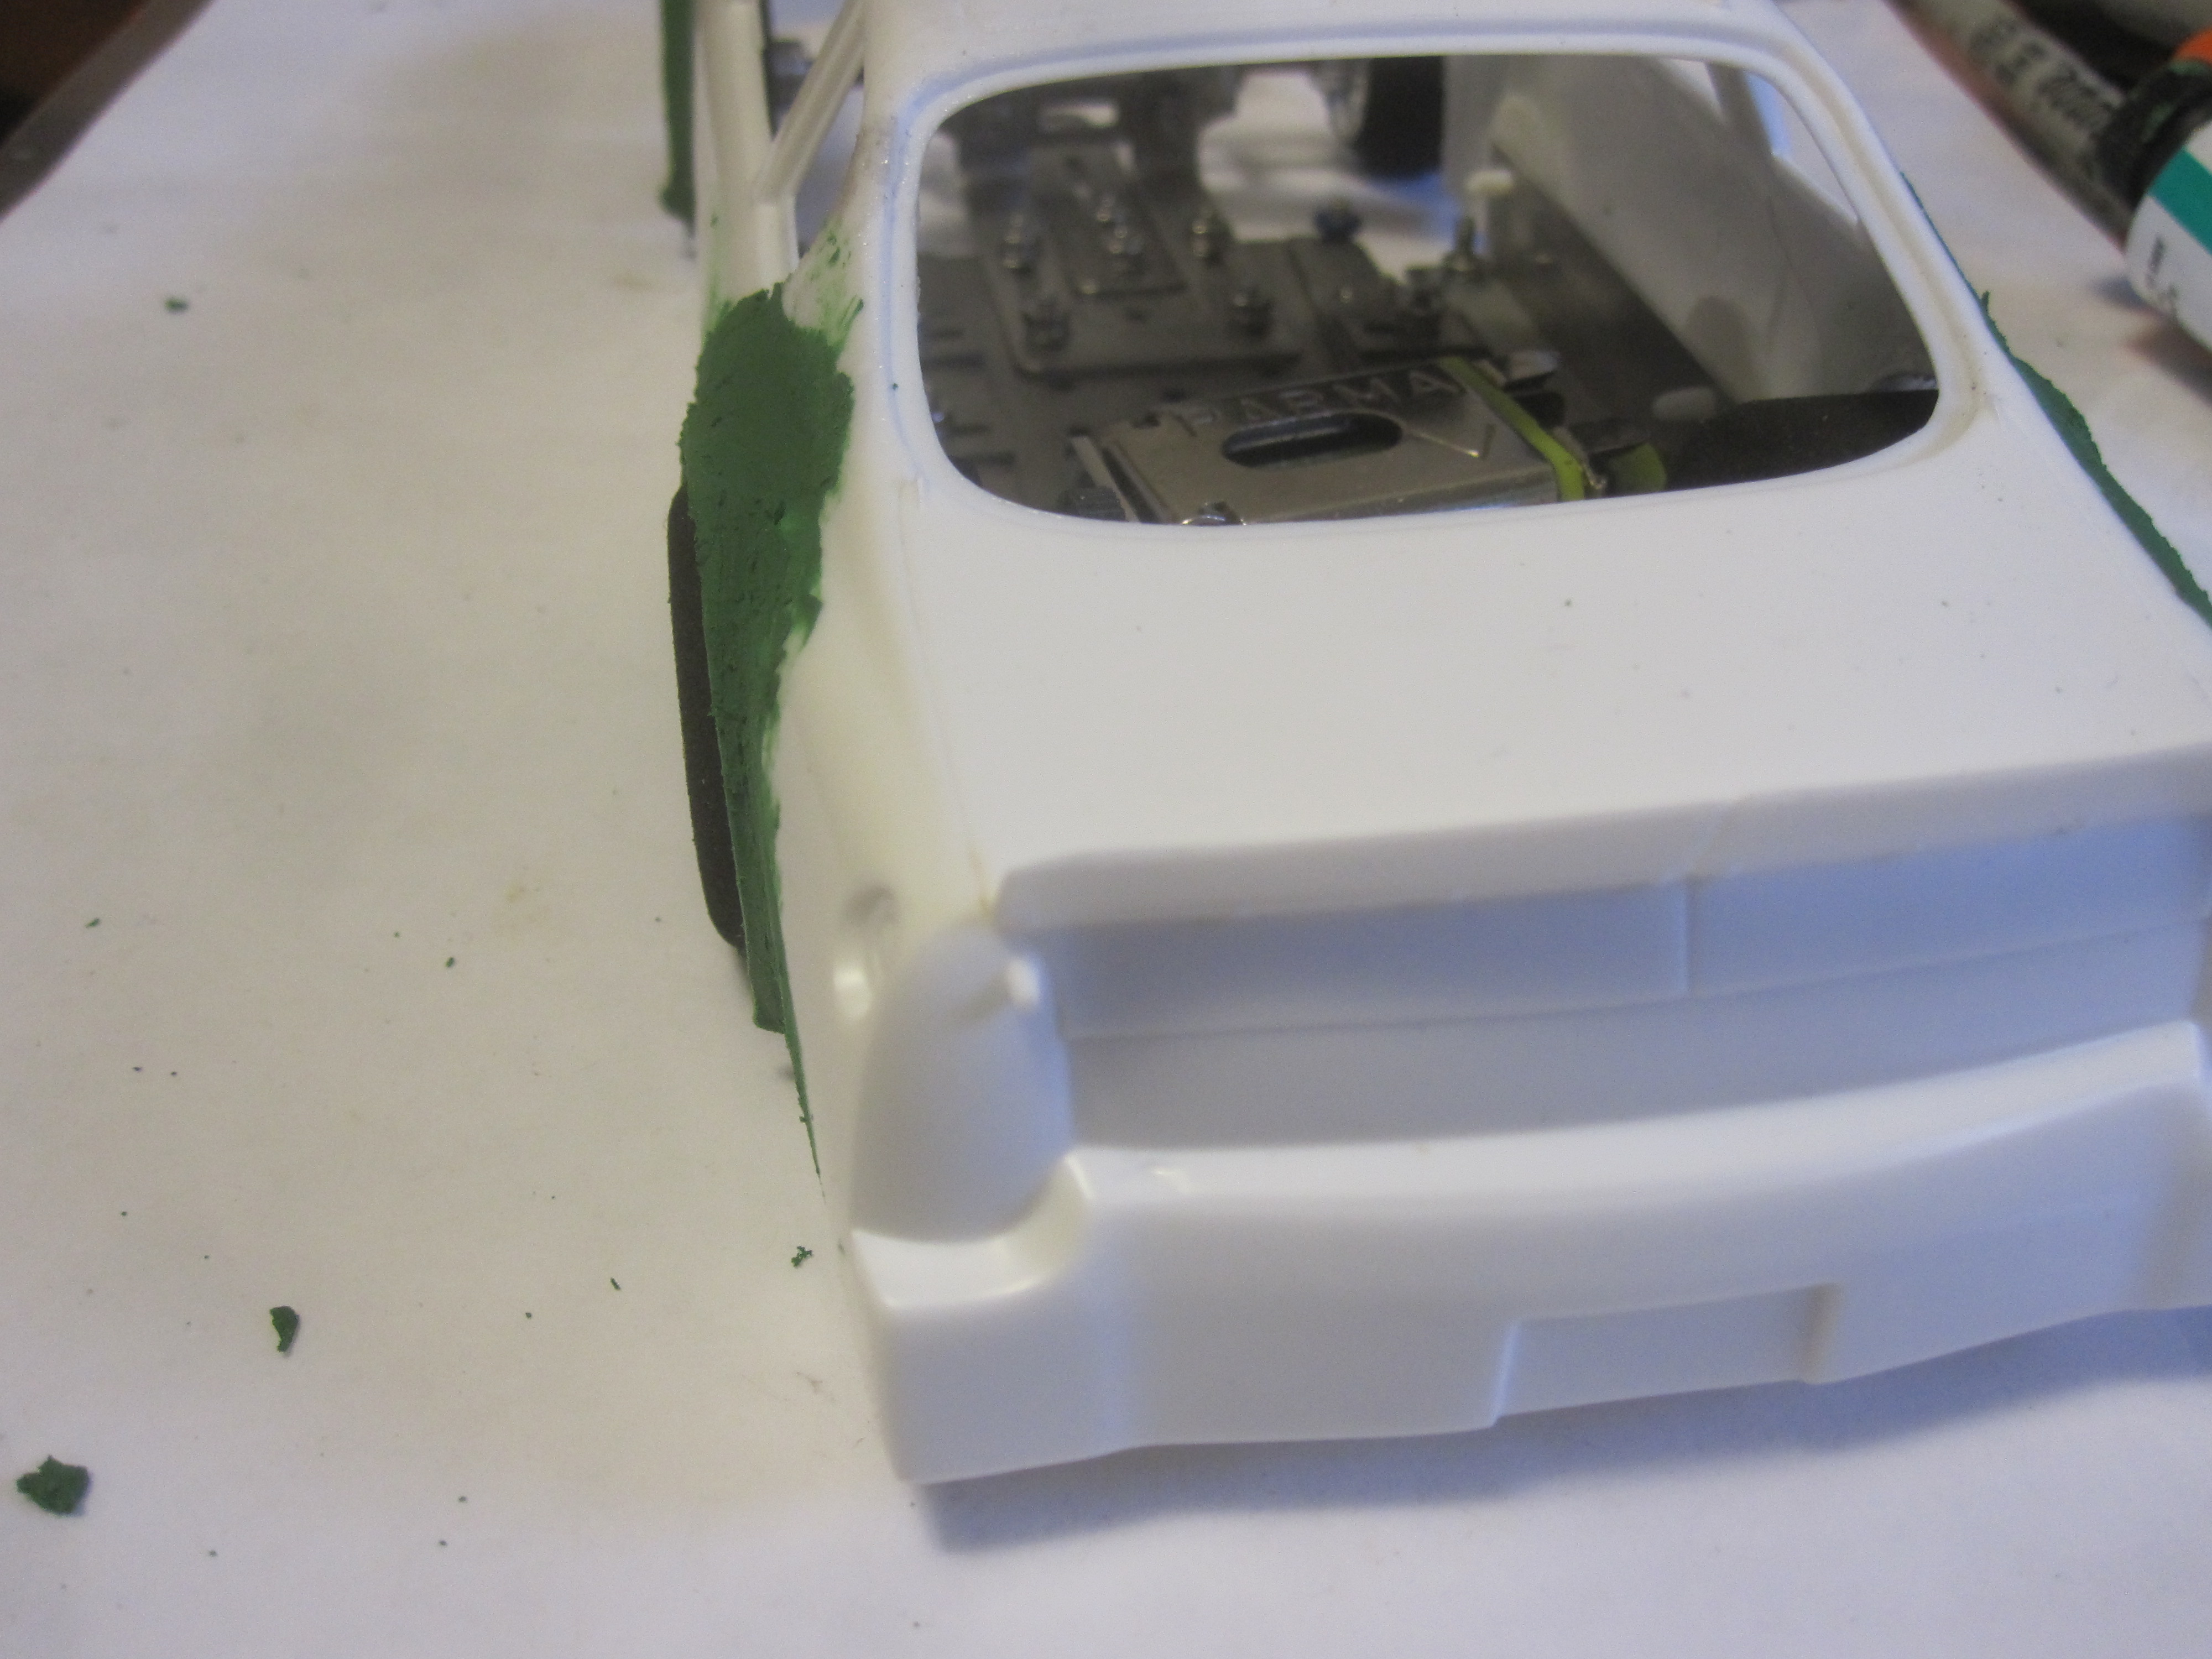
SP800001 continues. Now the fun part! After making sure the tracking is right on I rough cut the flairs after I mark them with a Sharpie on the inside. I cut the flairs with a disc on a Dremel. Then I add the "Green Stuff", ( putty that is ). Back in the day there actually was a 1 to 1 body putty known as Green Stuff! I want the flairs to blend in well with the body, so I use plenty, there is more at the hobby shop! It smells too, but the wife is gone for the day so I can do it in the hobby room and let it dry in the shop for the day. The putty is real easy to sand. This green putty is supposed to be stronger than other hobby putty. I have it on my TA-2 Mustang and so far no cracks, although I didn't put it on as thick as this car. I also noticed just recently that the 1-1 NASCAR has flairs, you have to look close,
( Google NASCAR and check out the pictures ).
Are those not flairs?
Marking the flairs.
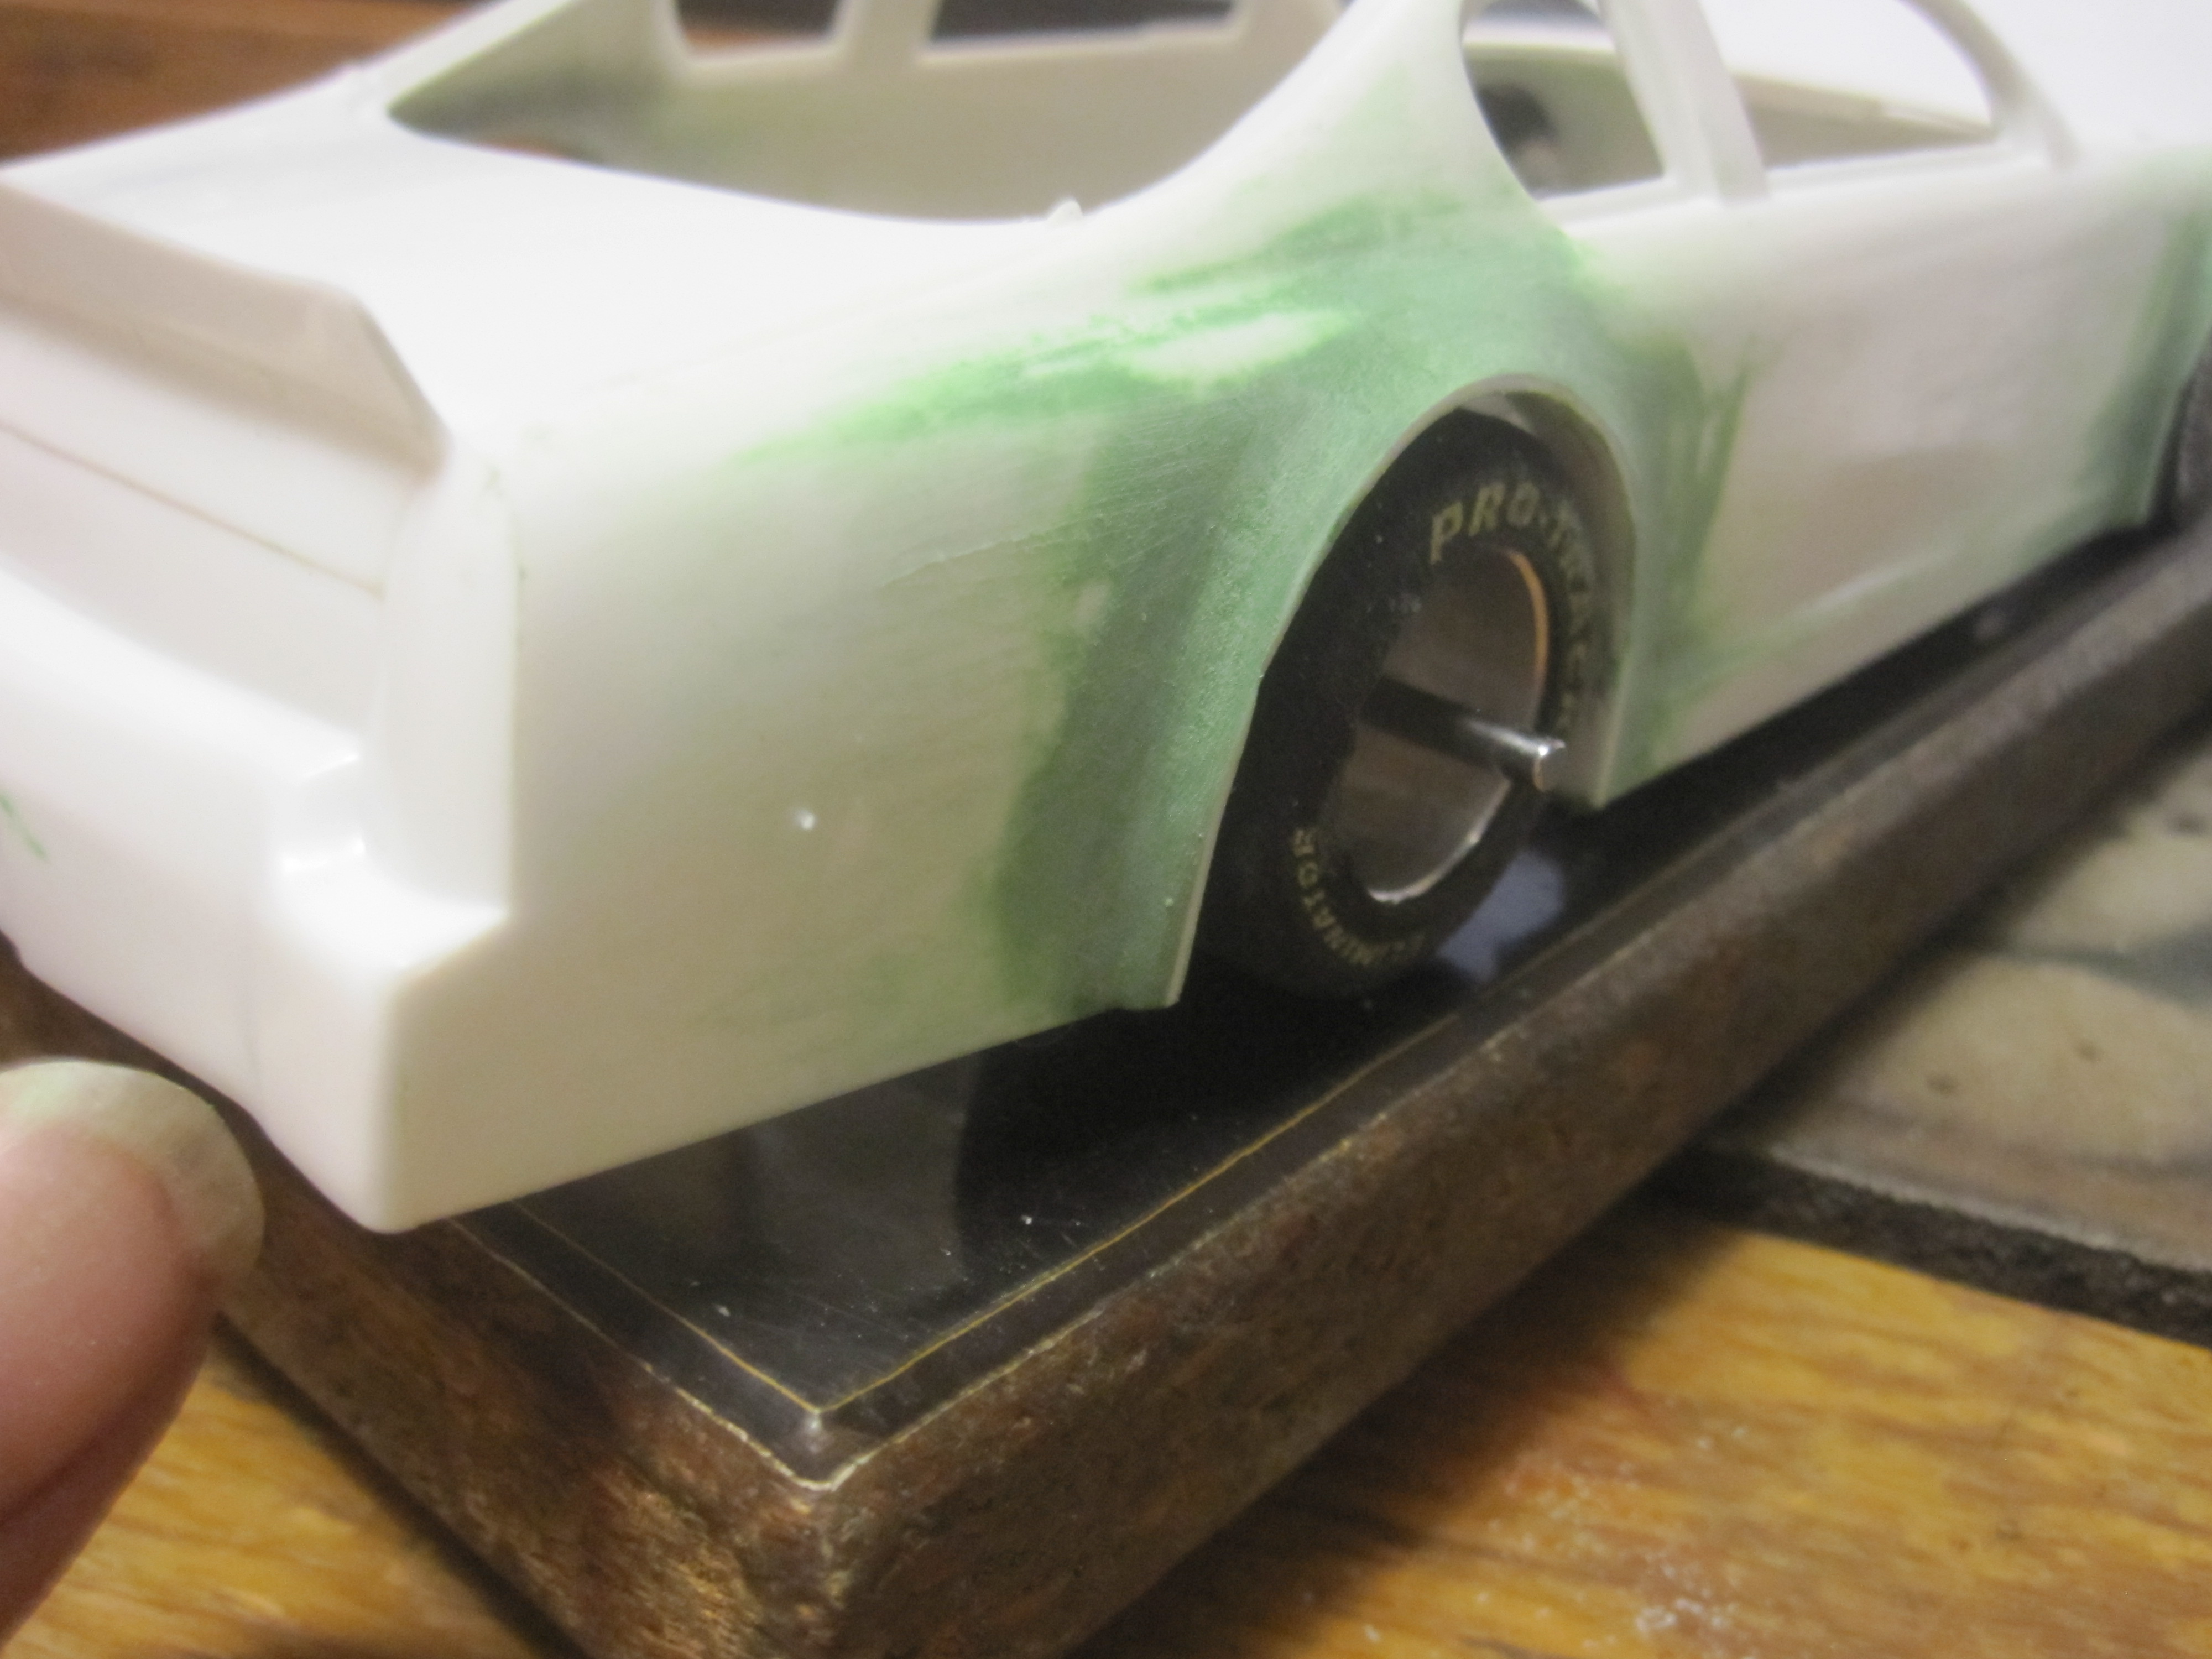
This is what is left after rough cutting.
Don't be shy in using the putty!
After centering the chassis ( the chassis does move side to side somewhat ) this is how much of the tire will show.
by howie » Mon Feb 23, 2015 10:54 pm
SP800001 continues. After sanding and filling in the small imperfections and sanding again it was time to put a primer coat on. It is not to my liking yet as I put the magnifying glasses on and can see little glitches. I will continue to fix them 'till I am satisfied.
I start with 320 grit sand paper and for the final grit I use 600. The 600 will fill up with putty in a very short time.
by marty » Tue Feb 24, 2015 10:55 am
https://www.duplicolor.com/images/big/b ... filler.jpg
Howie,
I use Dupli-Color Filler Primer for the small imperfections. It also makes a barrier to prevent automotive paint from attacking the plastic.
Marty
by howie » Wed Feb 25, 2015 9:56 am
New cars showed up at the Feb. 24th. race.
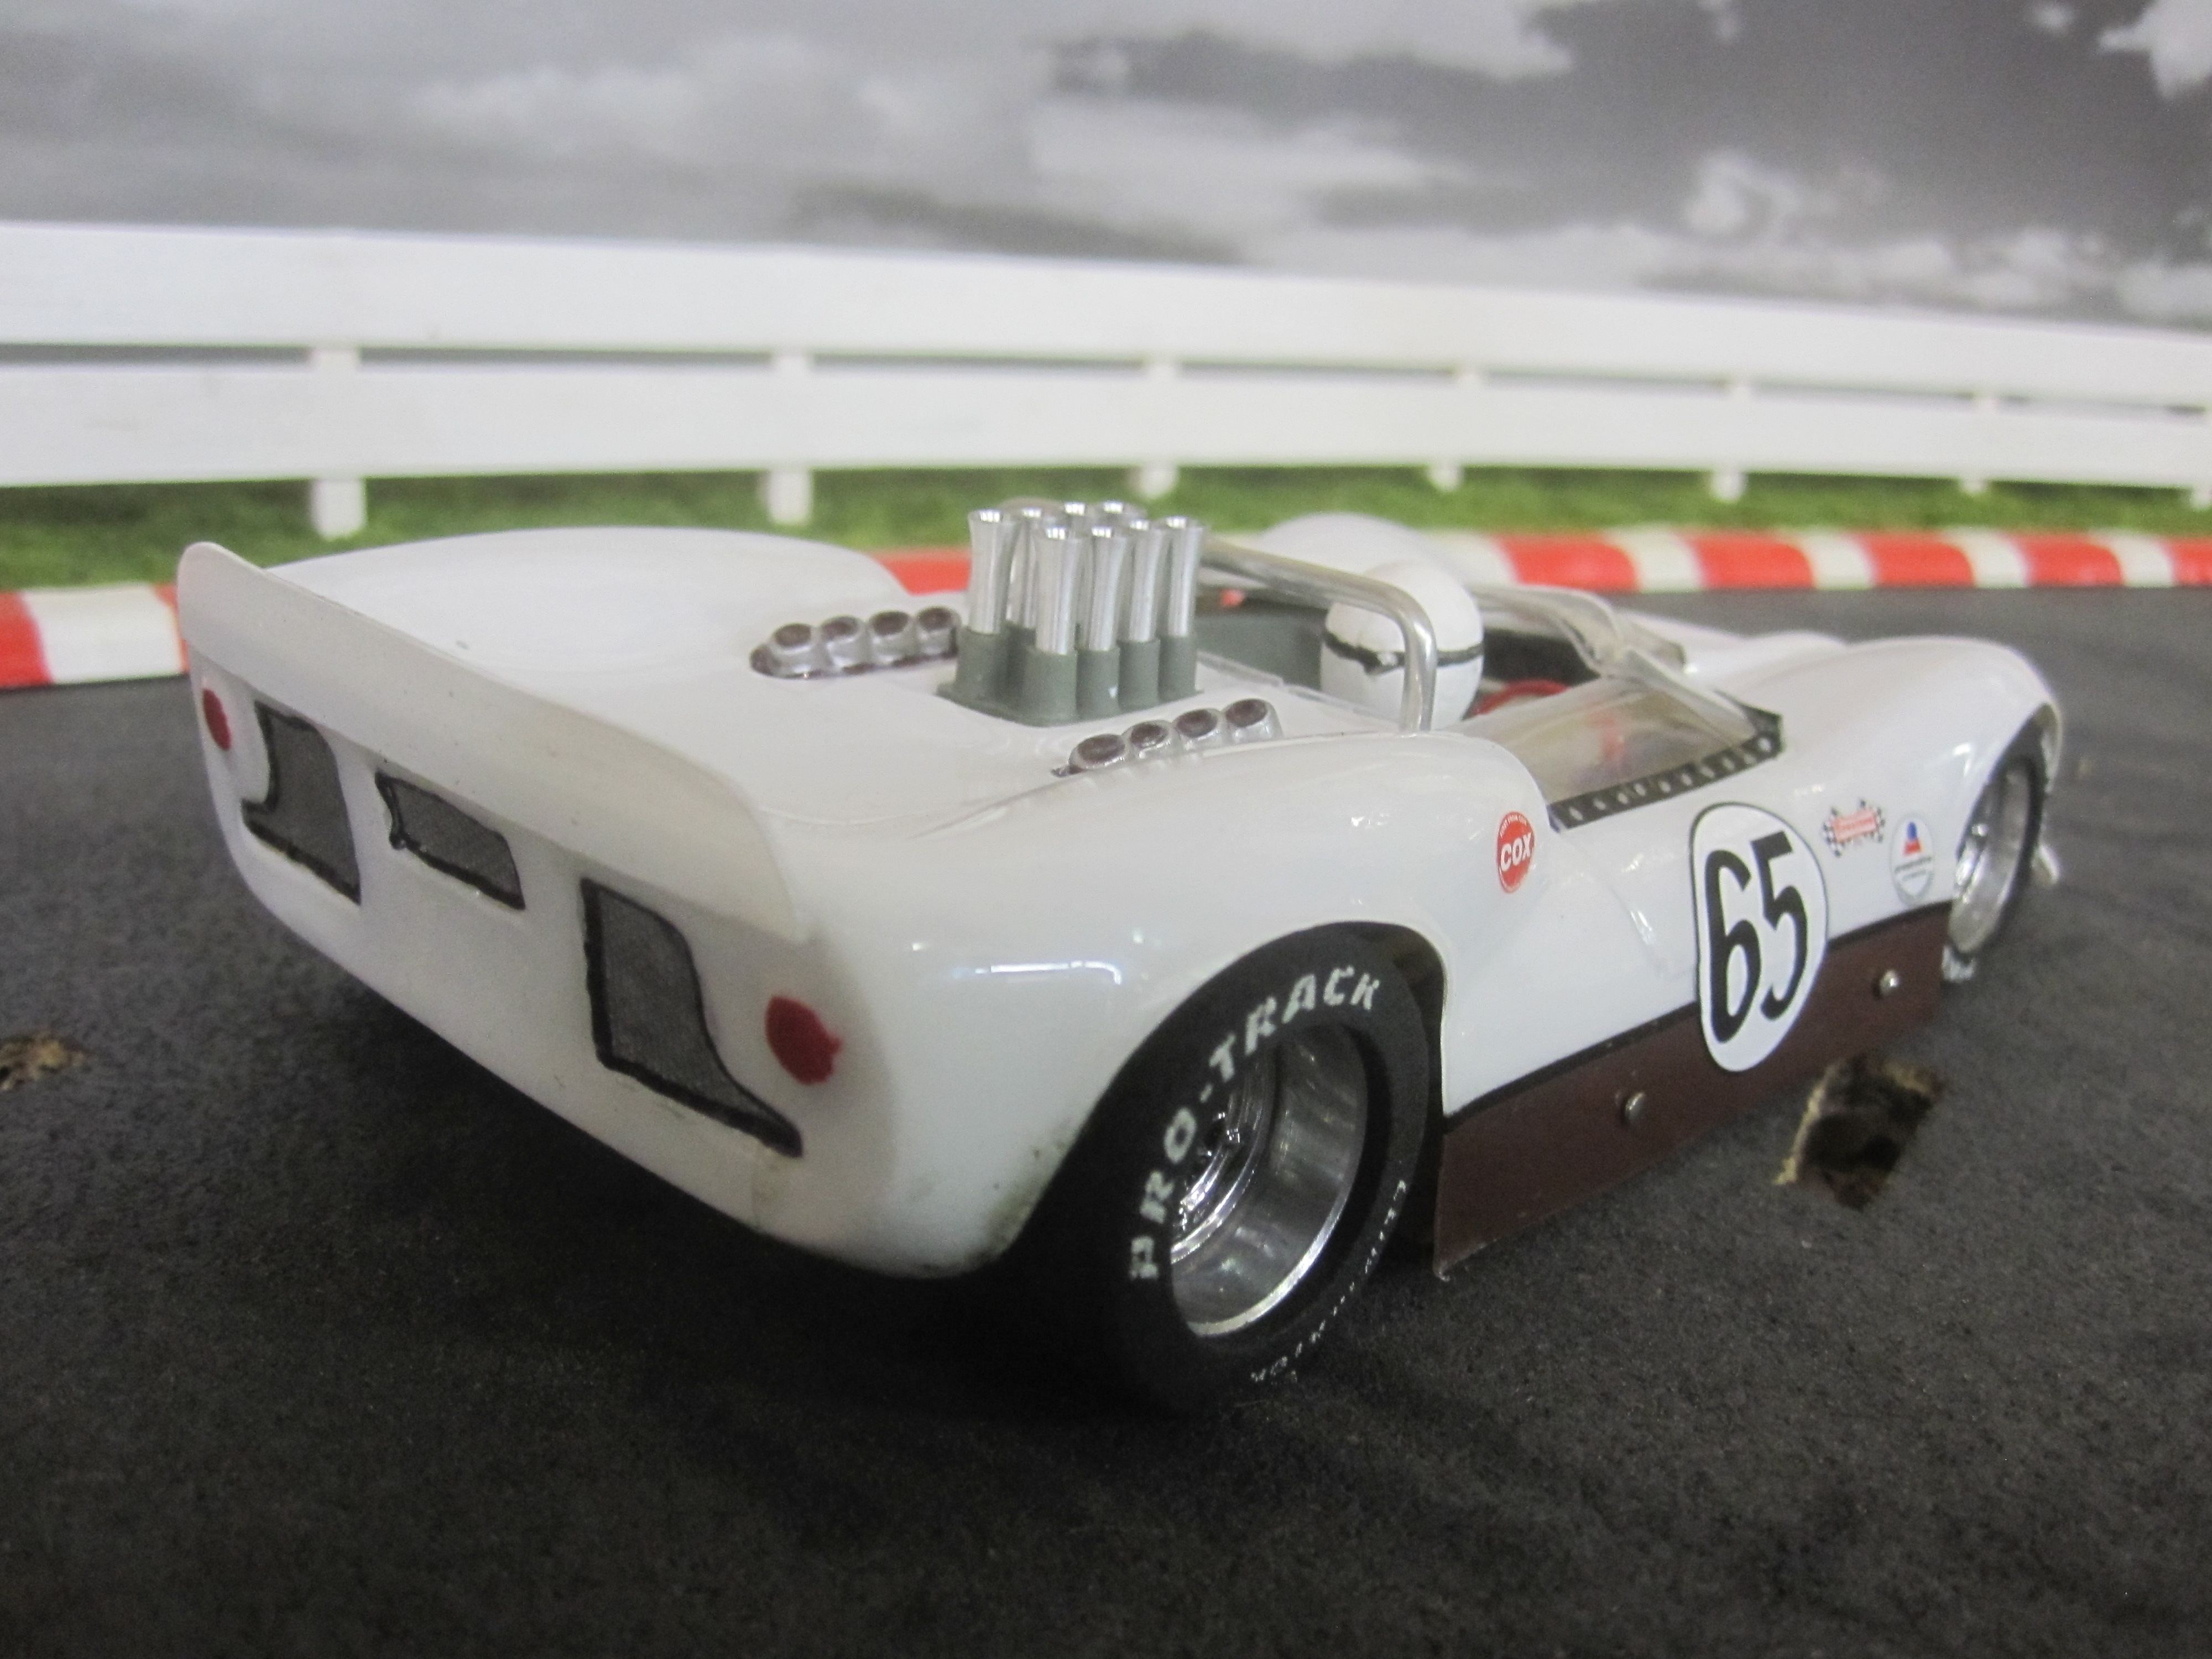
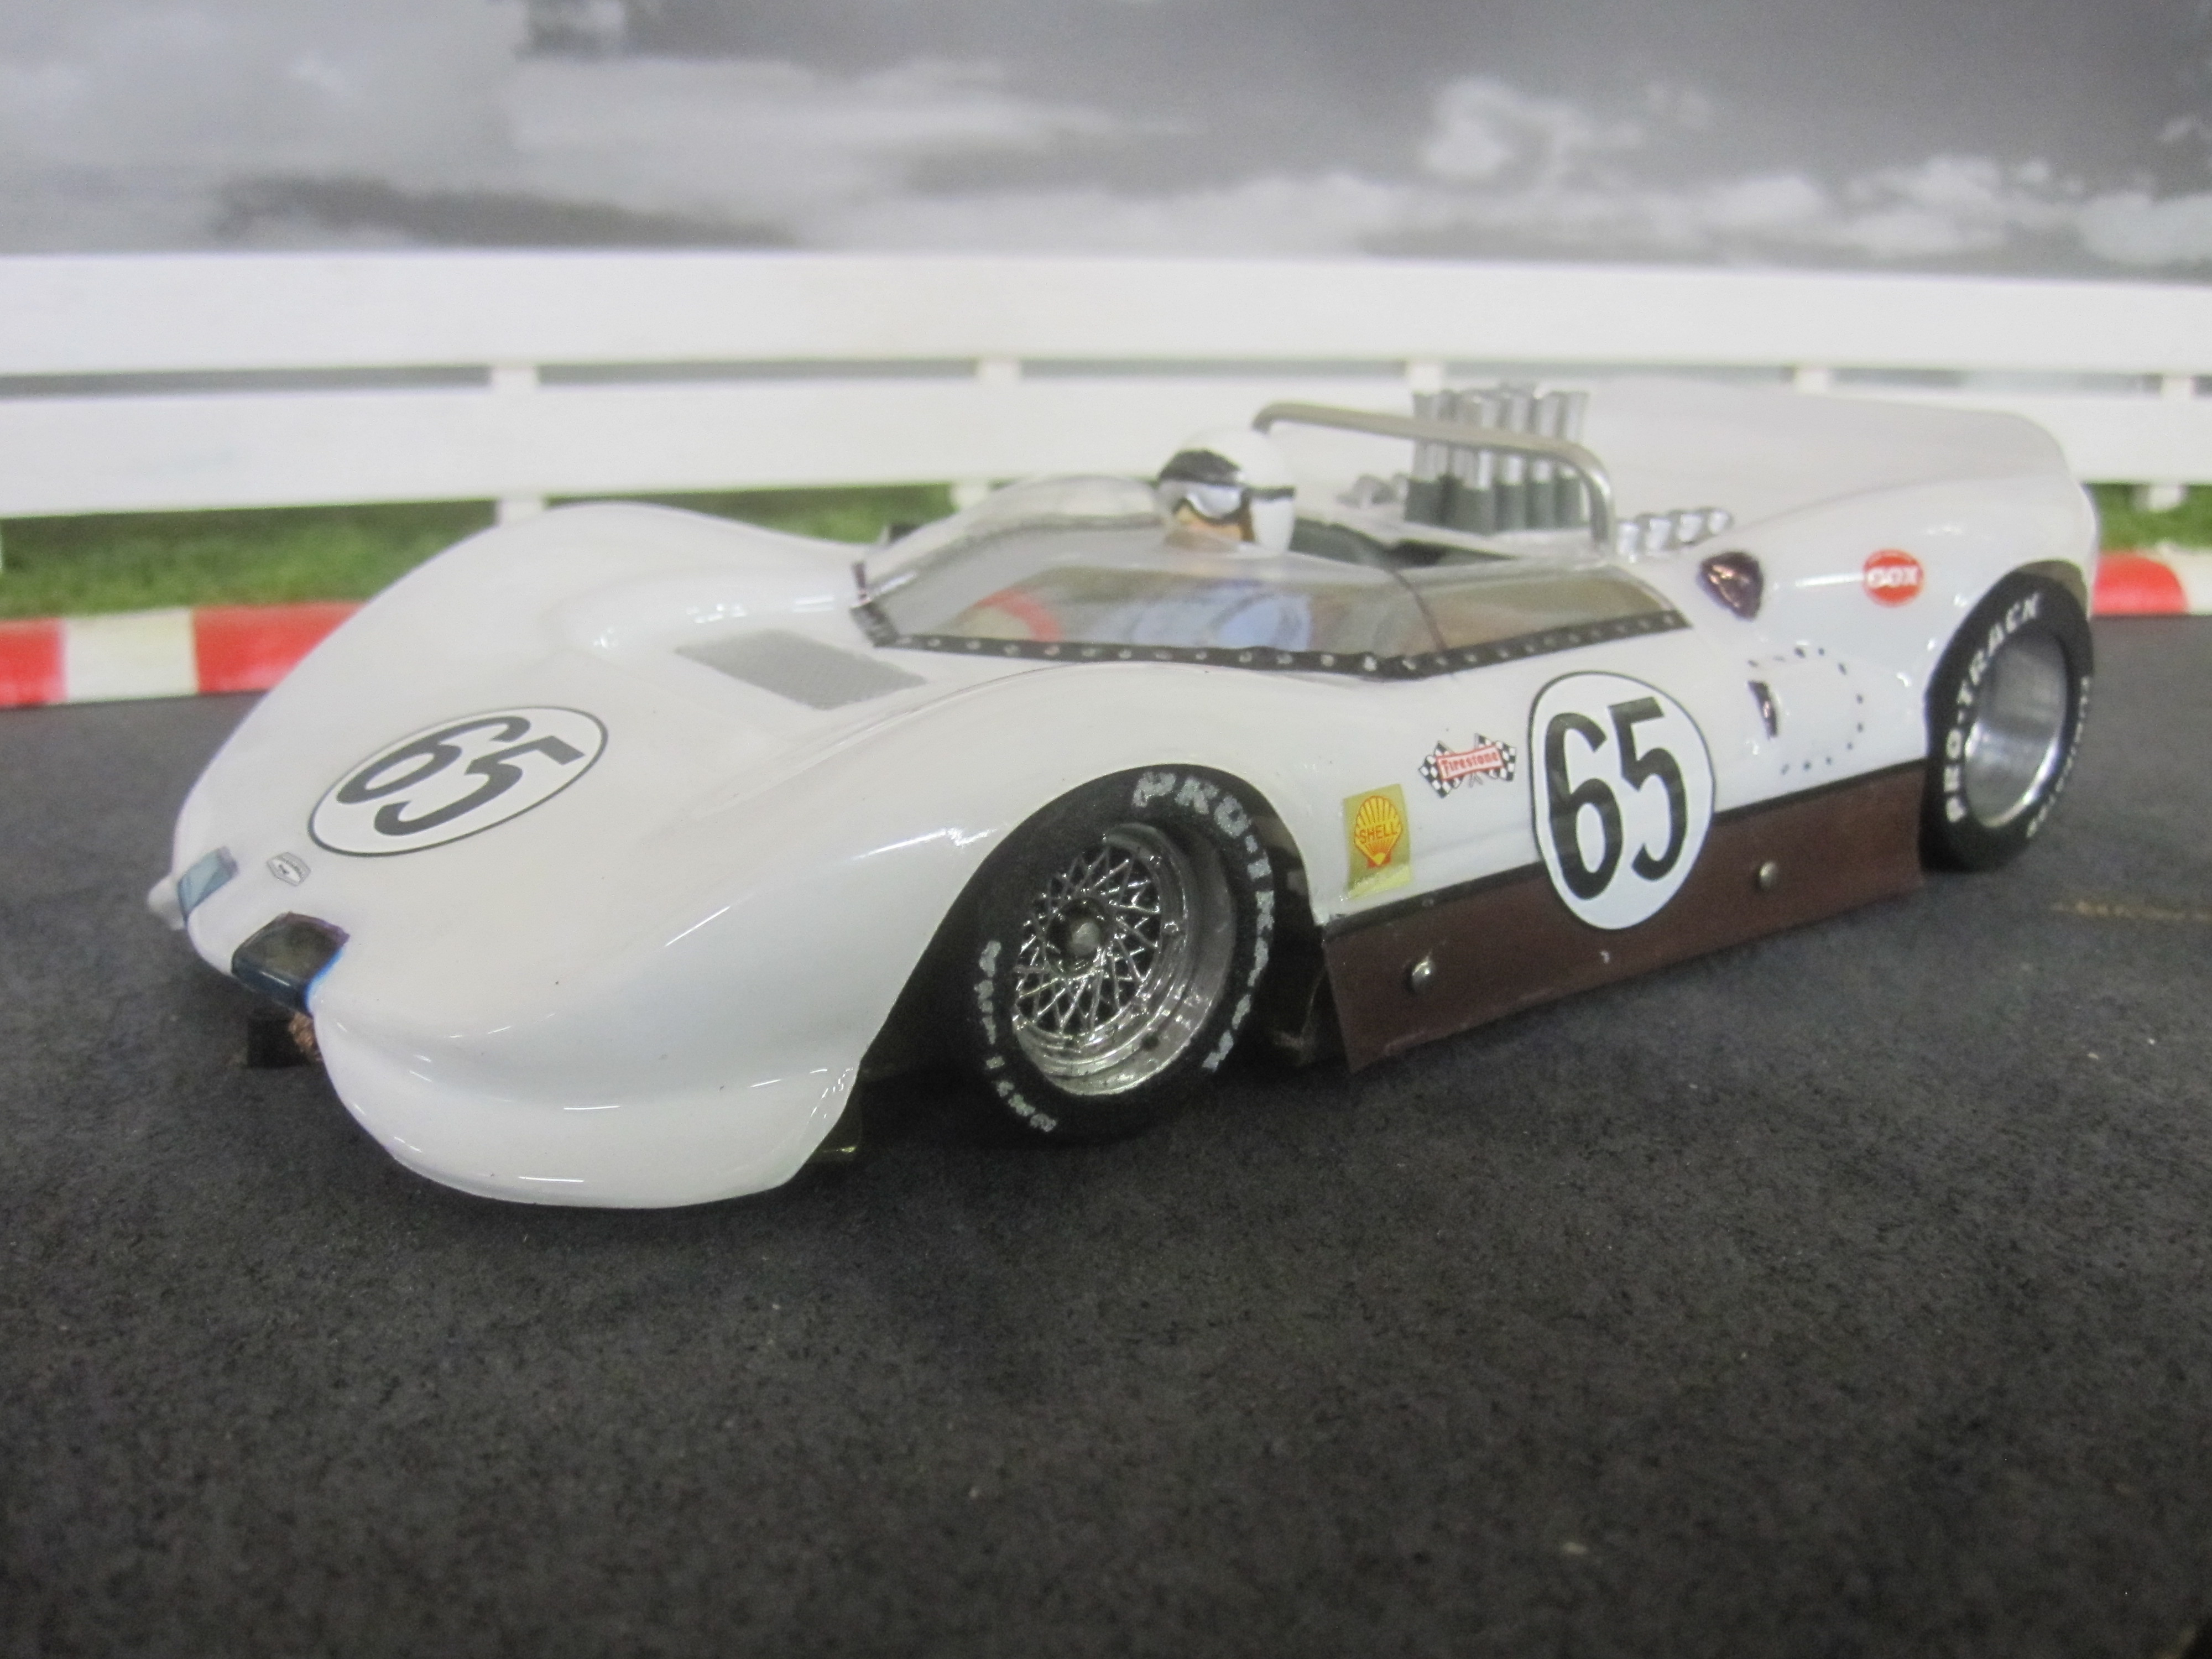
Beau's new Can-Am.
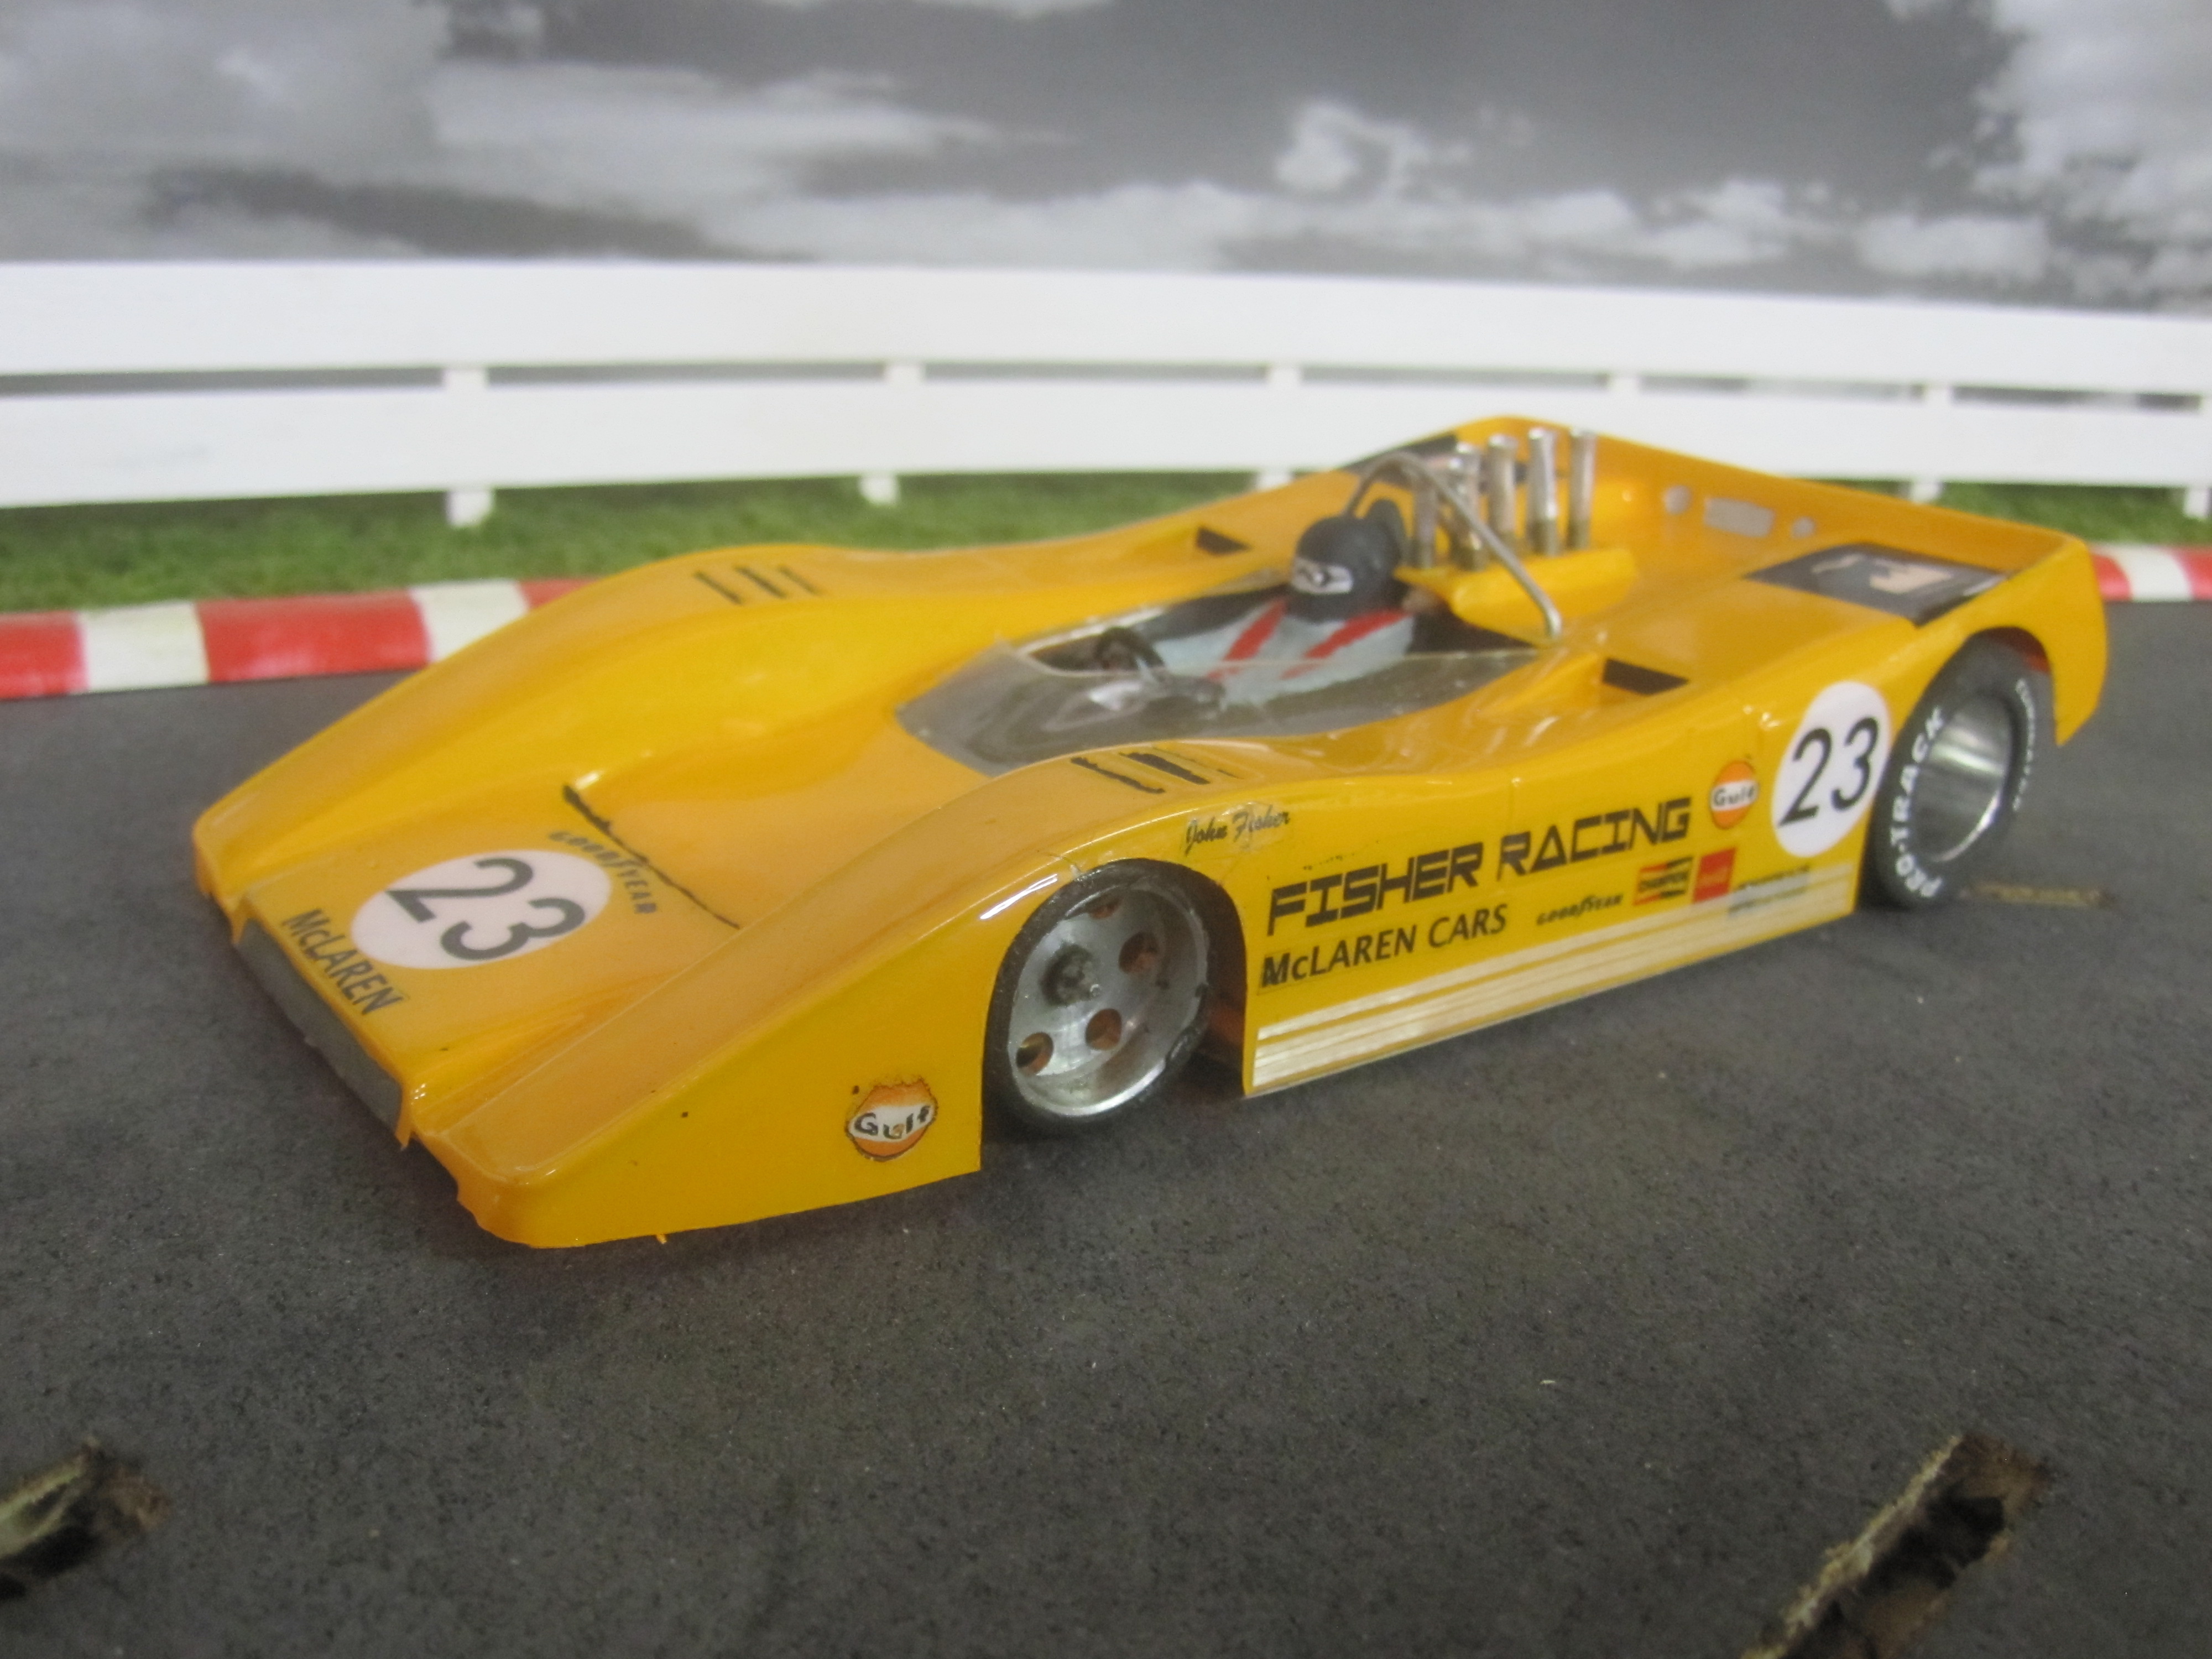
John Fisher's new Sportsman.
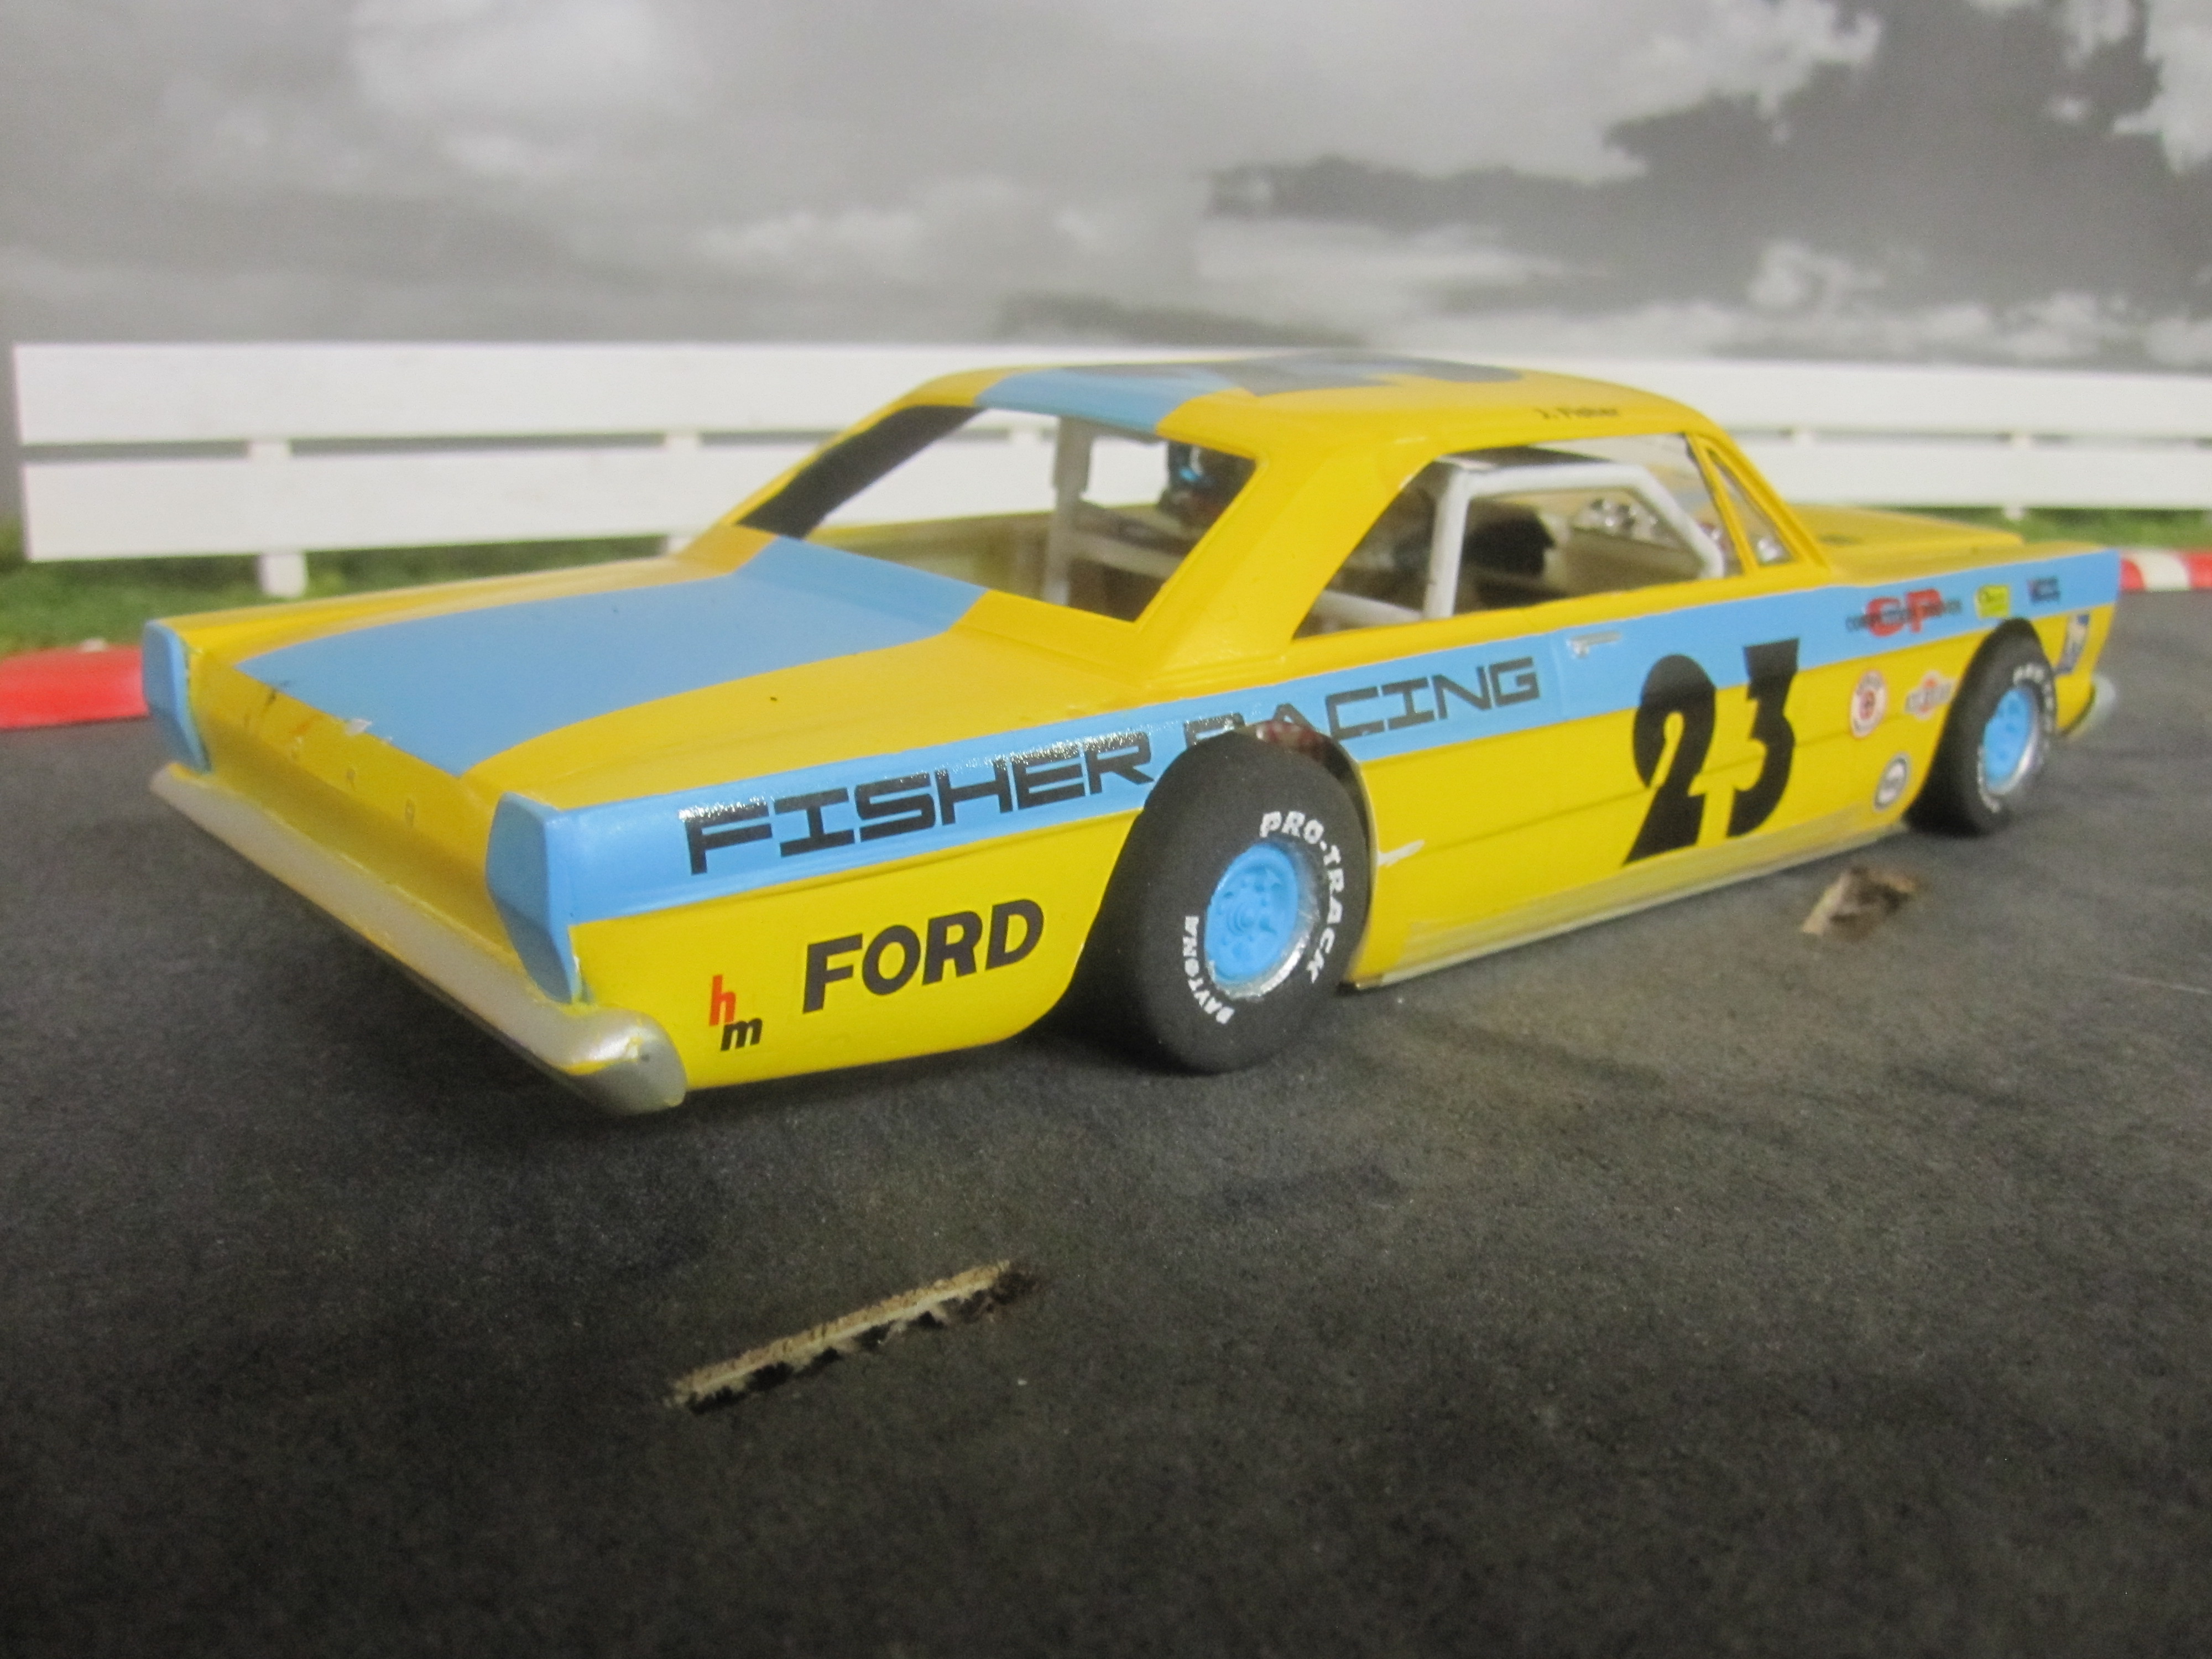

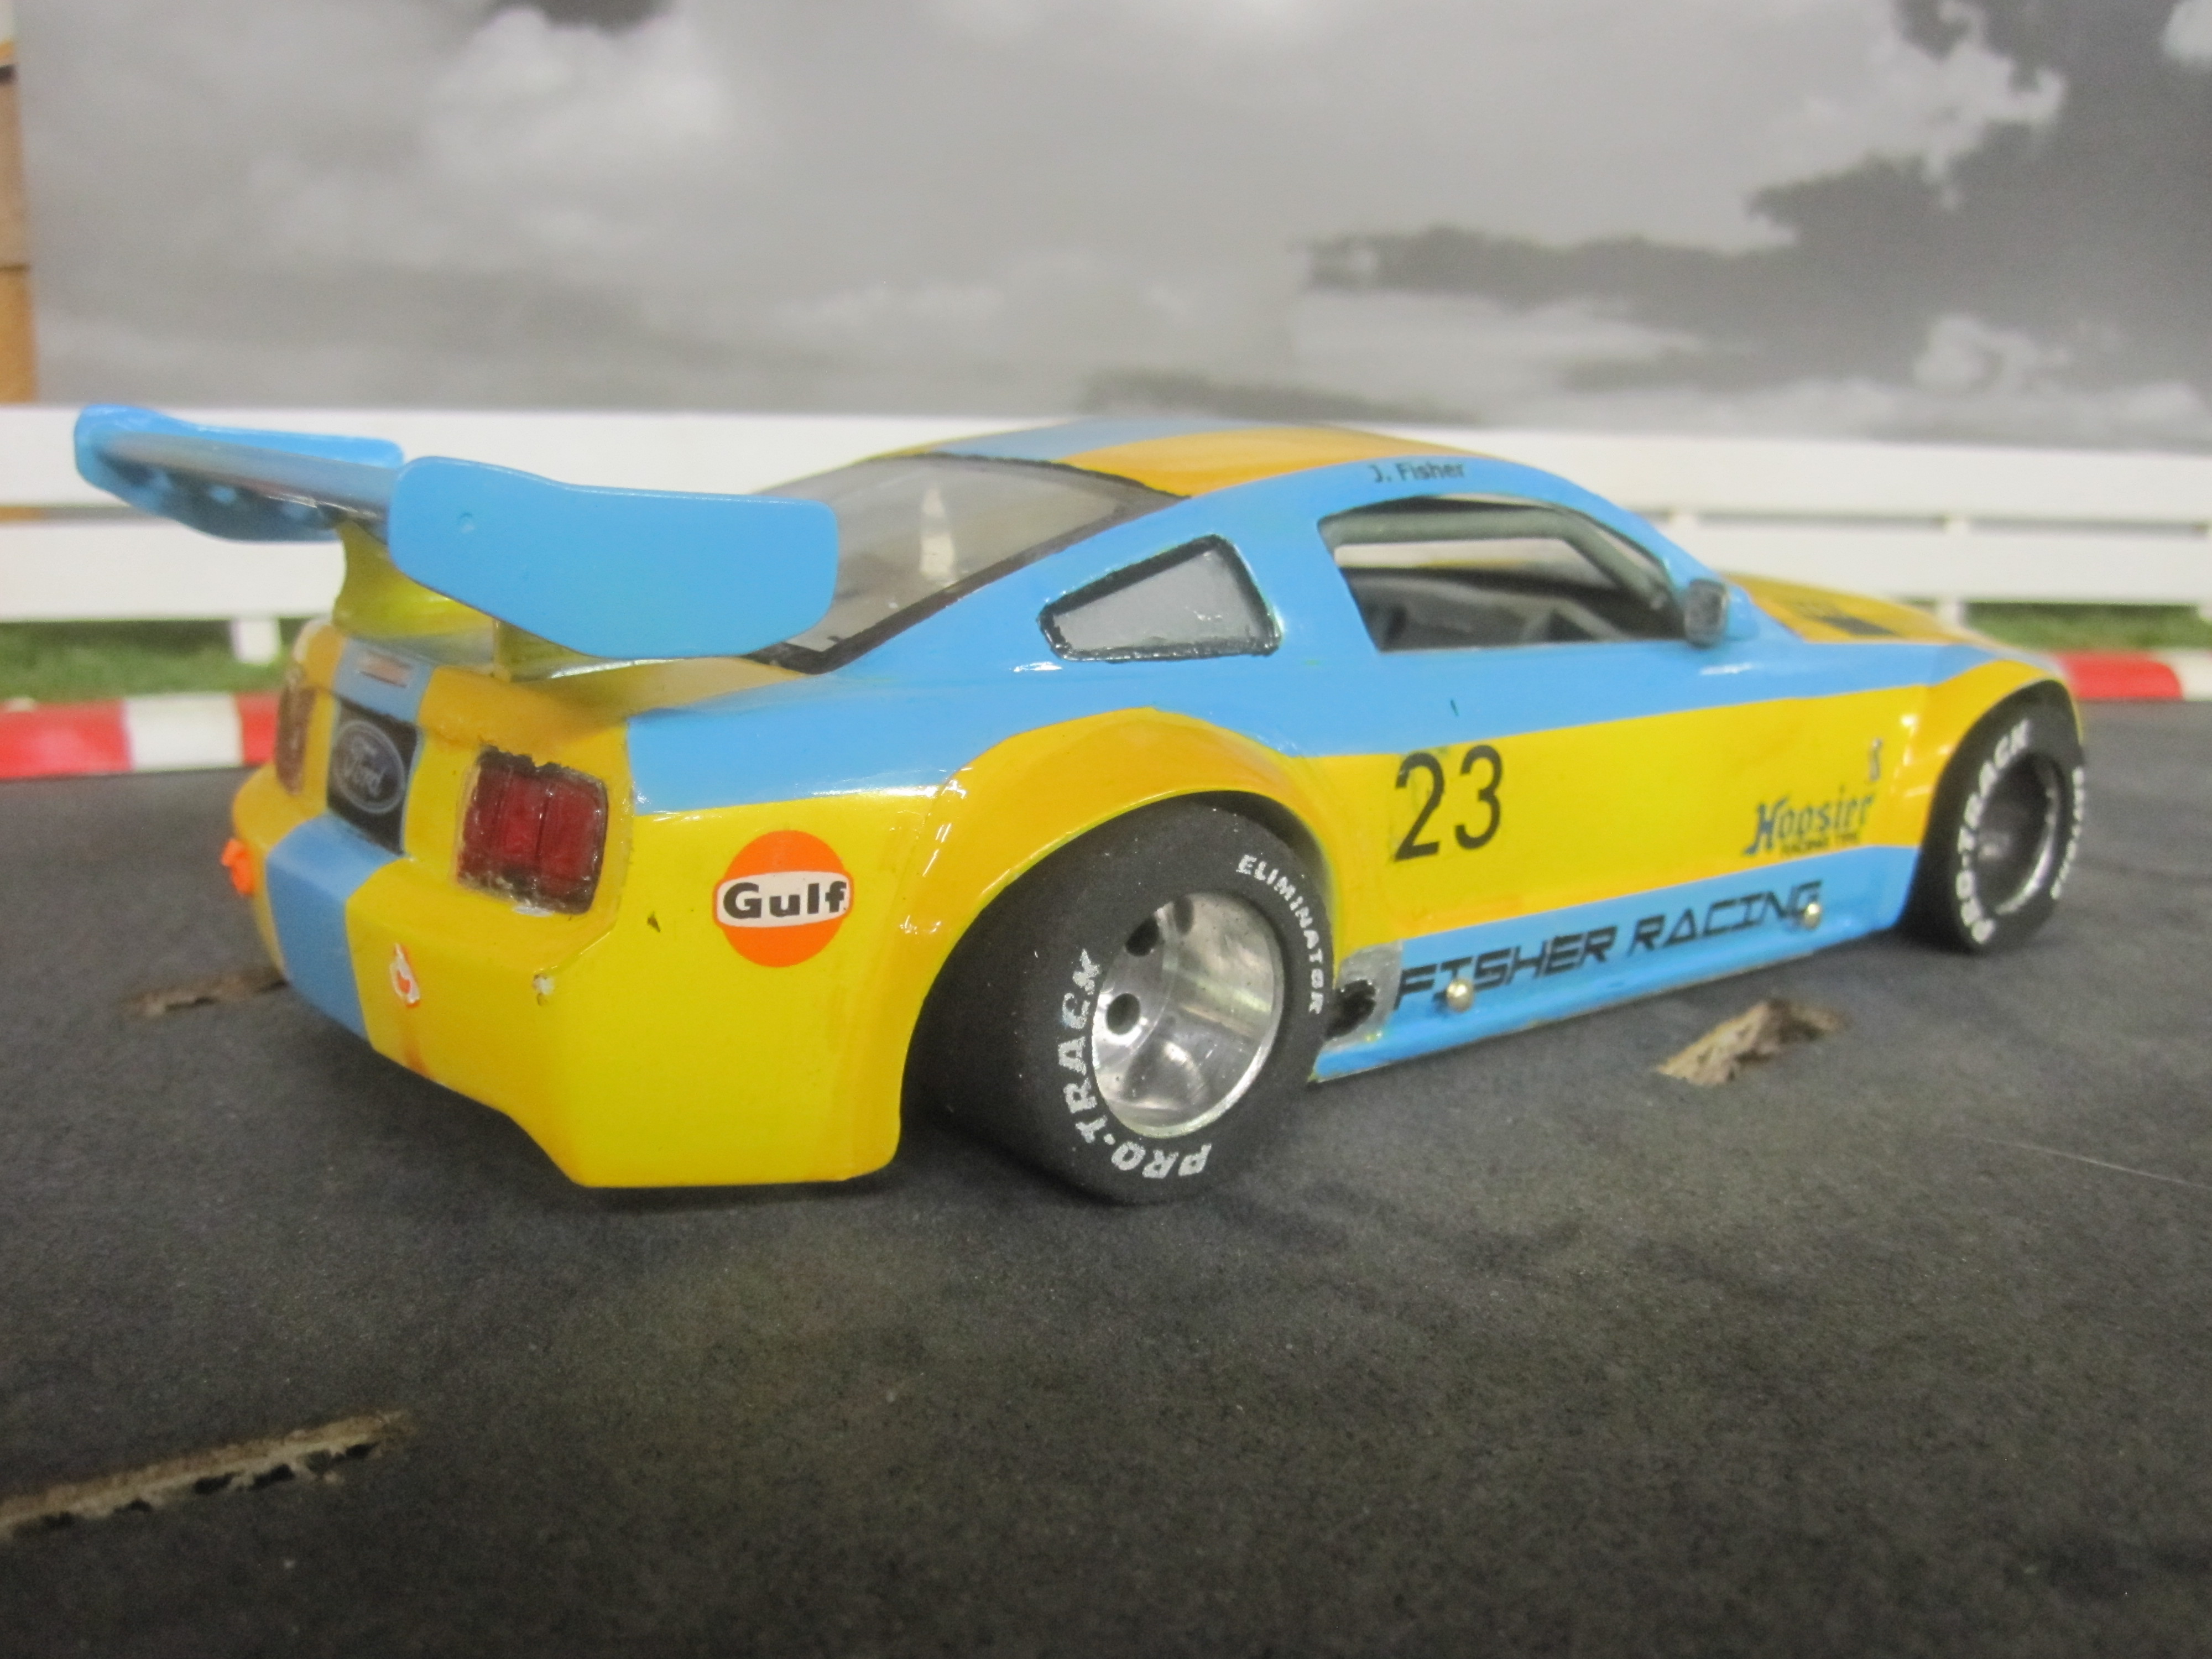
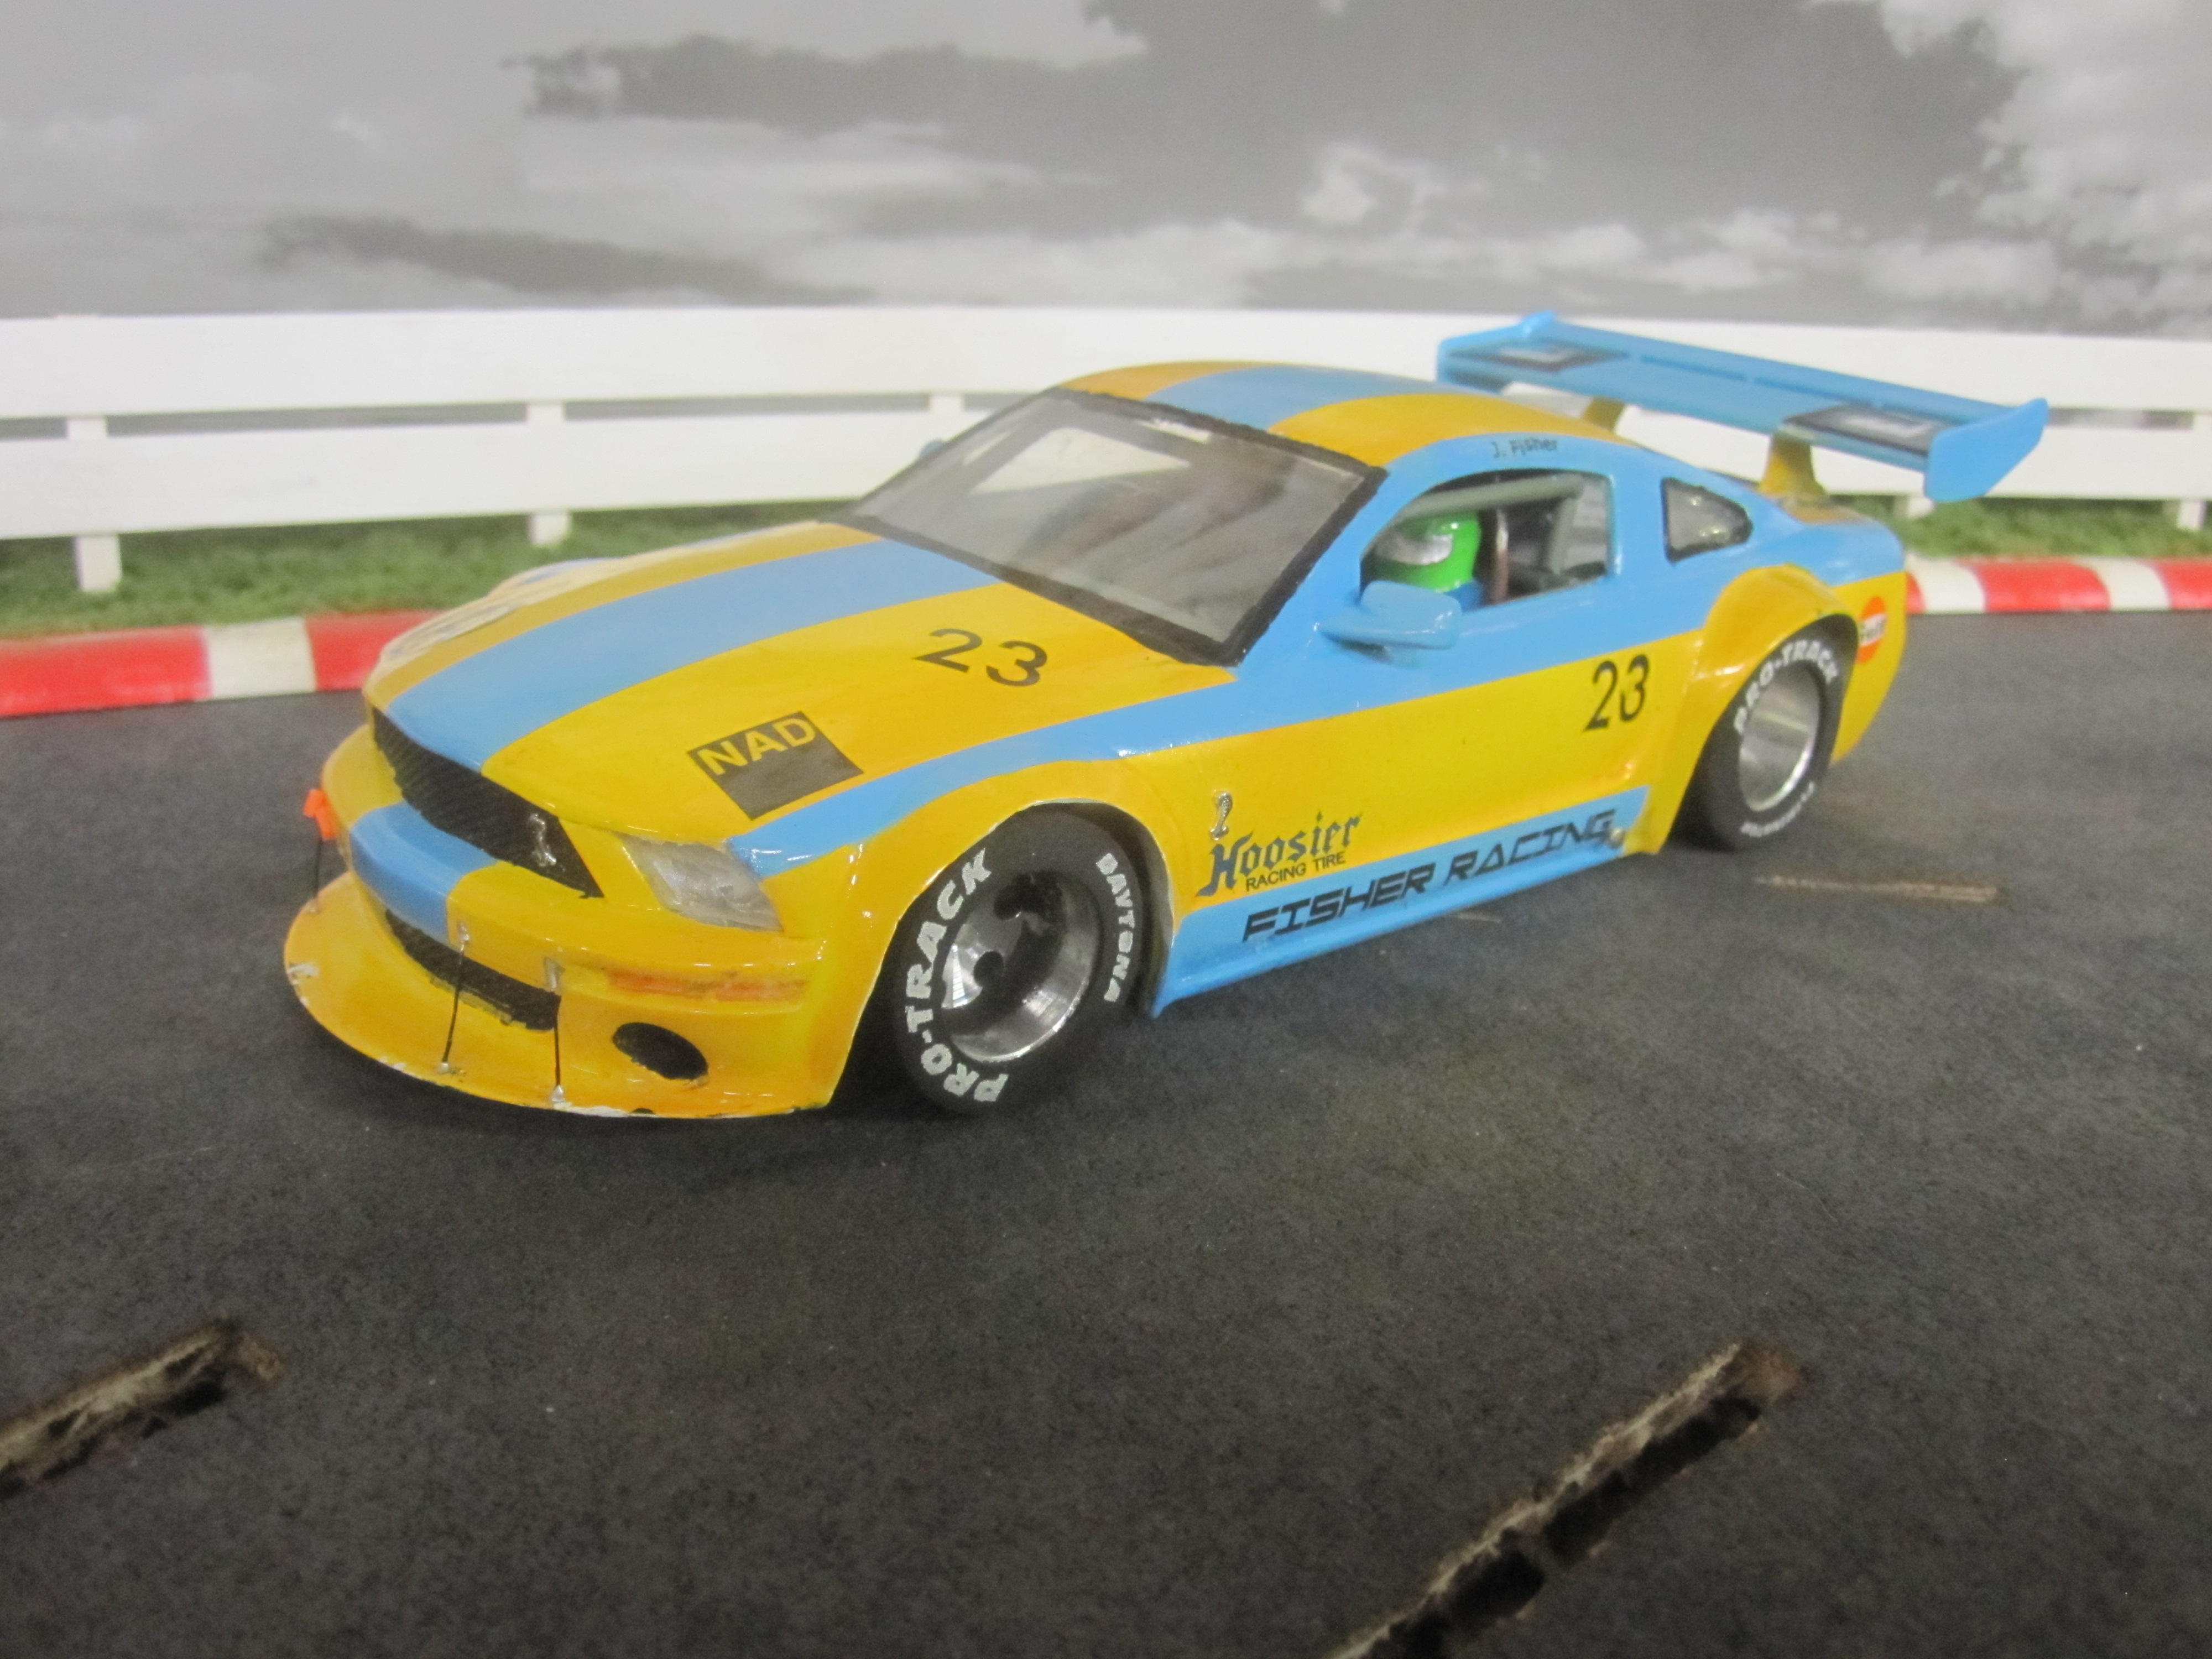
John Fisher's new TA-2 Mustang.
by howie » Tue Mar 03, 2015 10:42 am
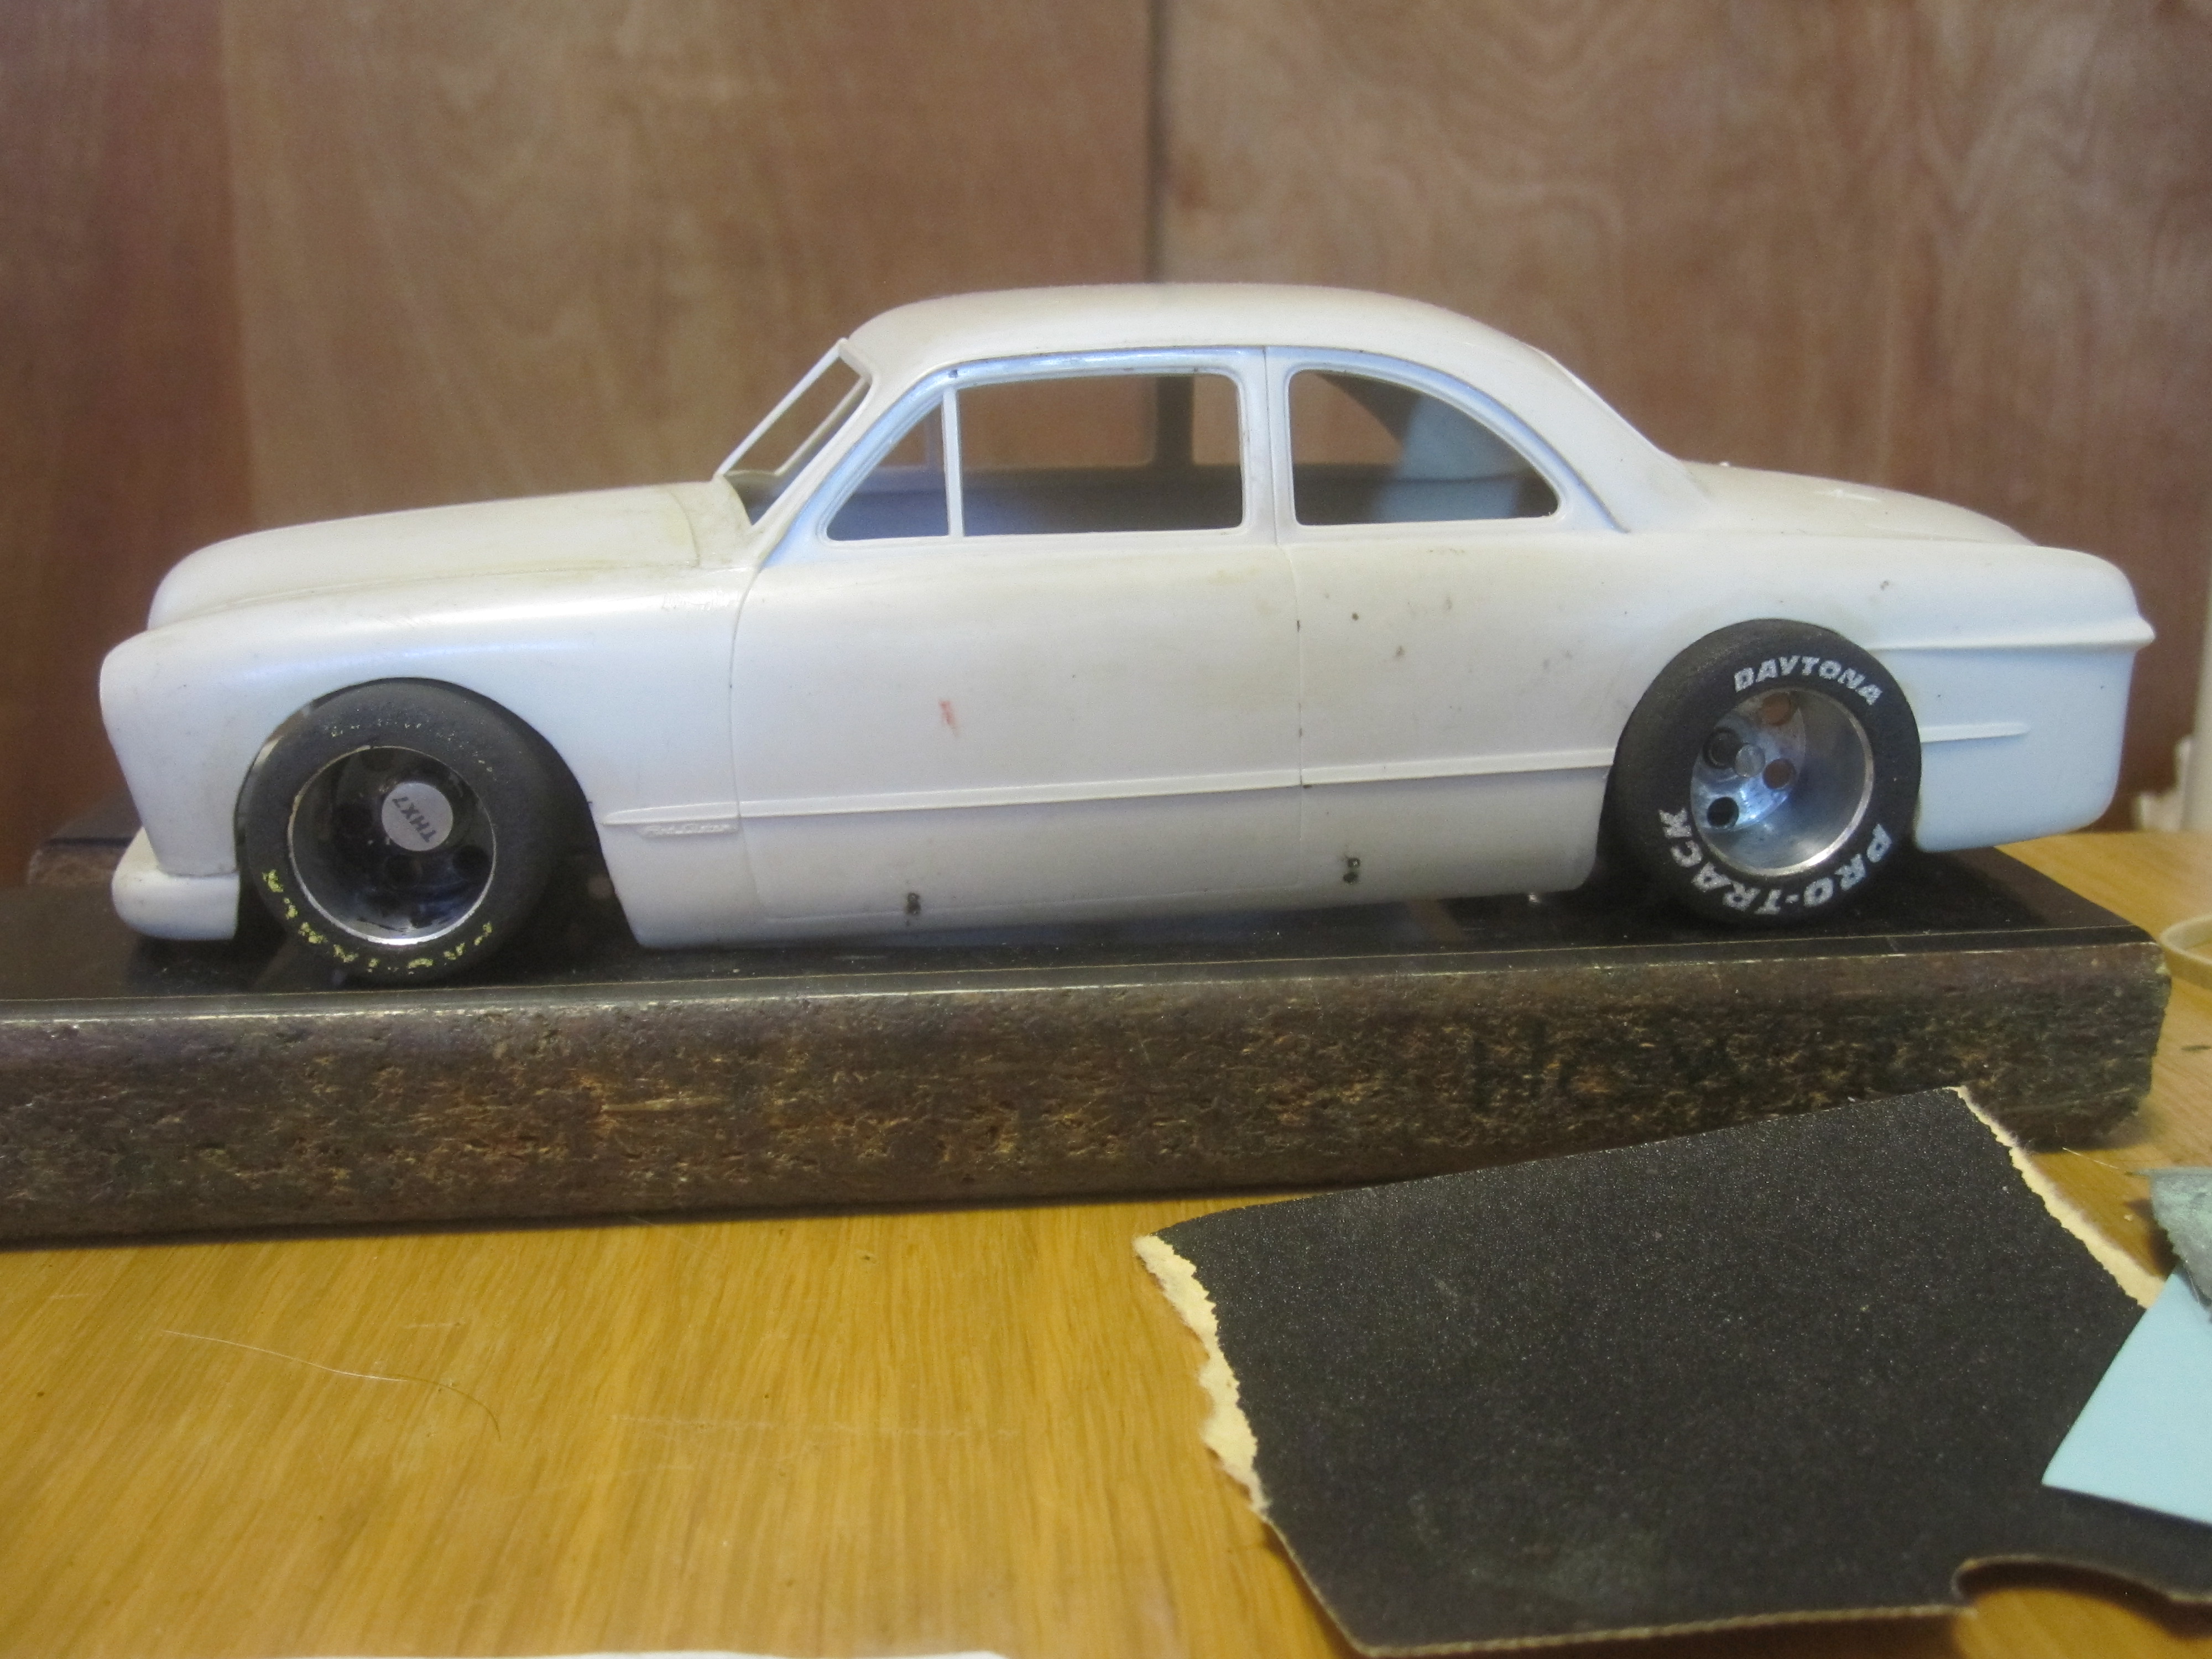
Future project? I found this '49 Ford in my body drawer, it has been waiting for me to finish it for probably close to 15yrs! I think now it would make a fine Sportsman car.
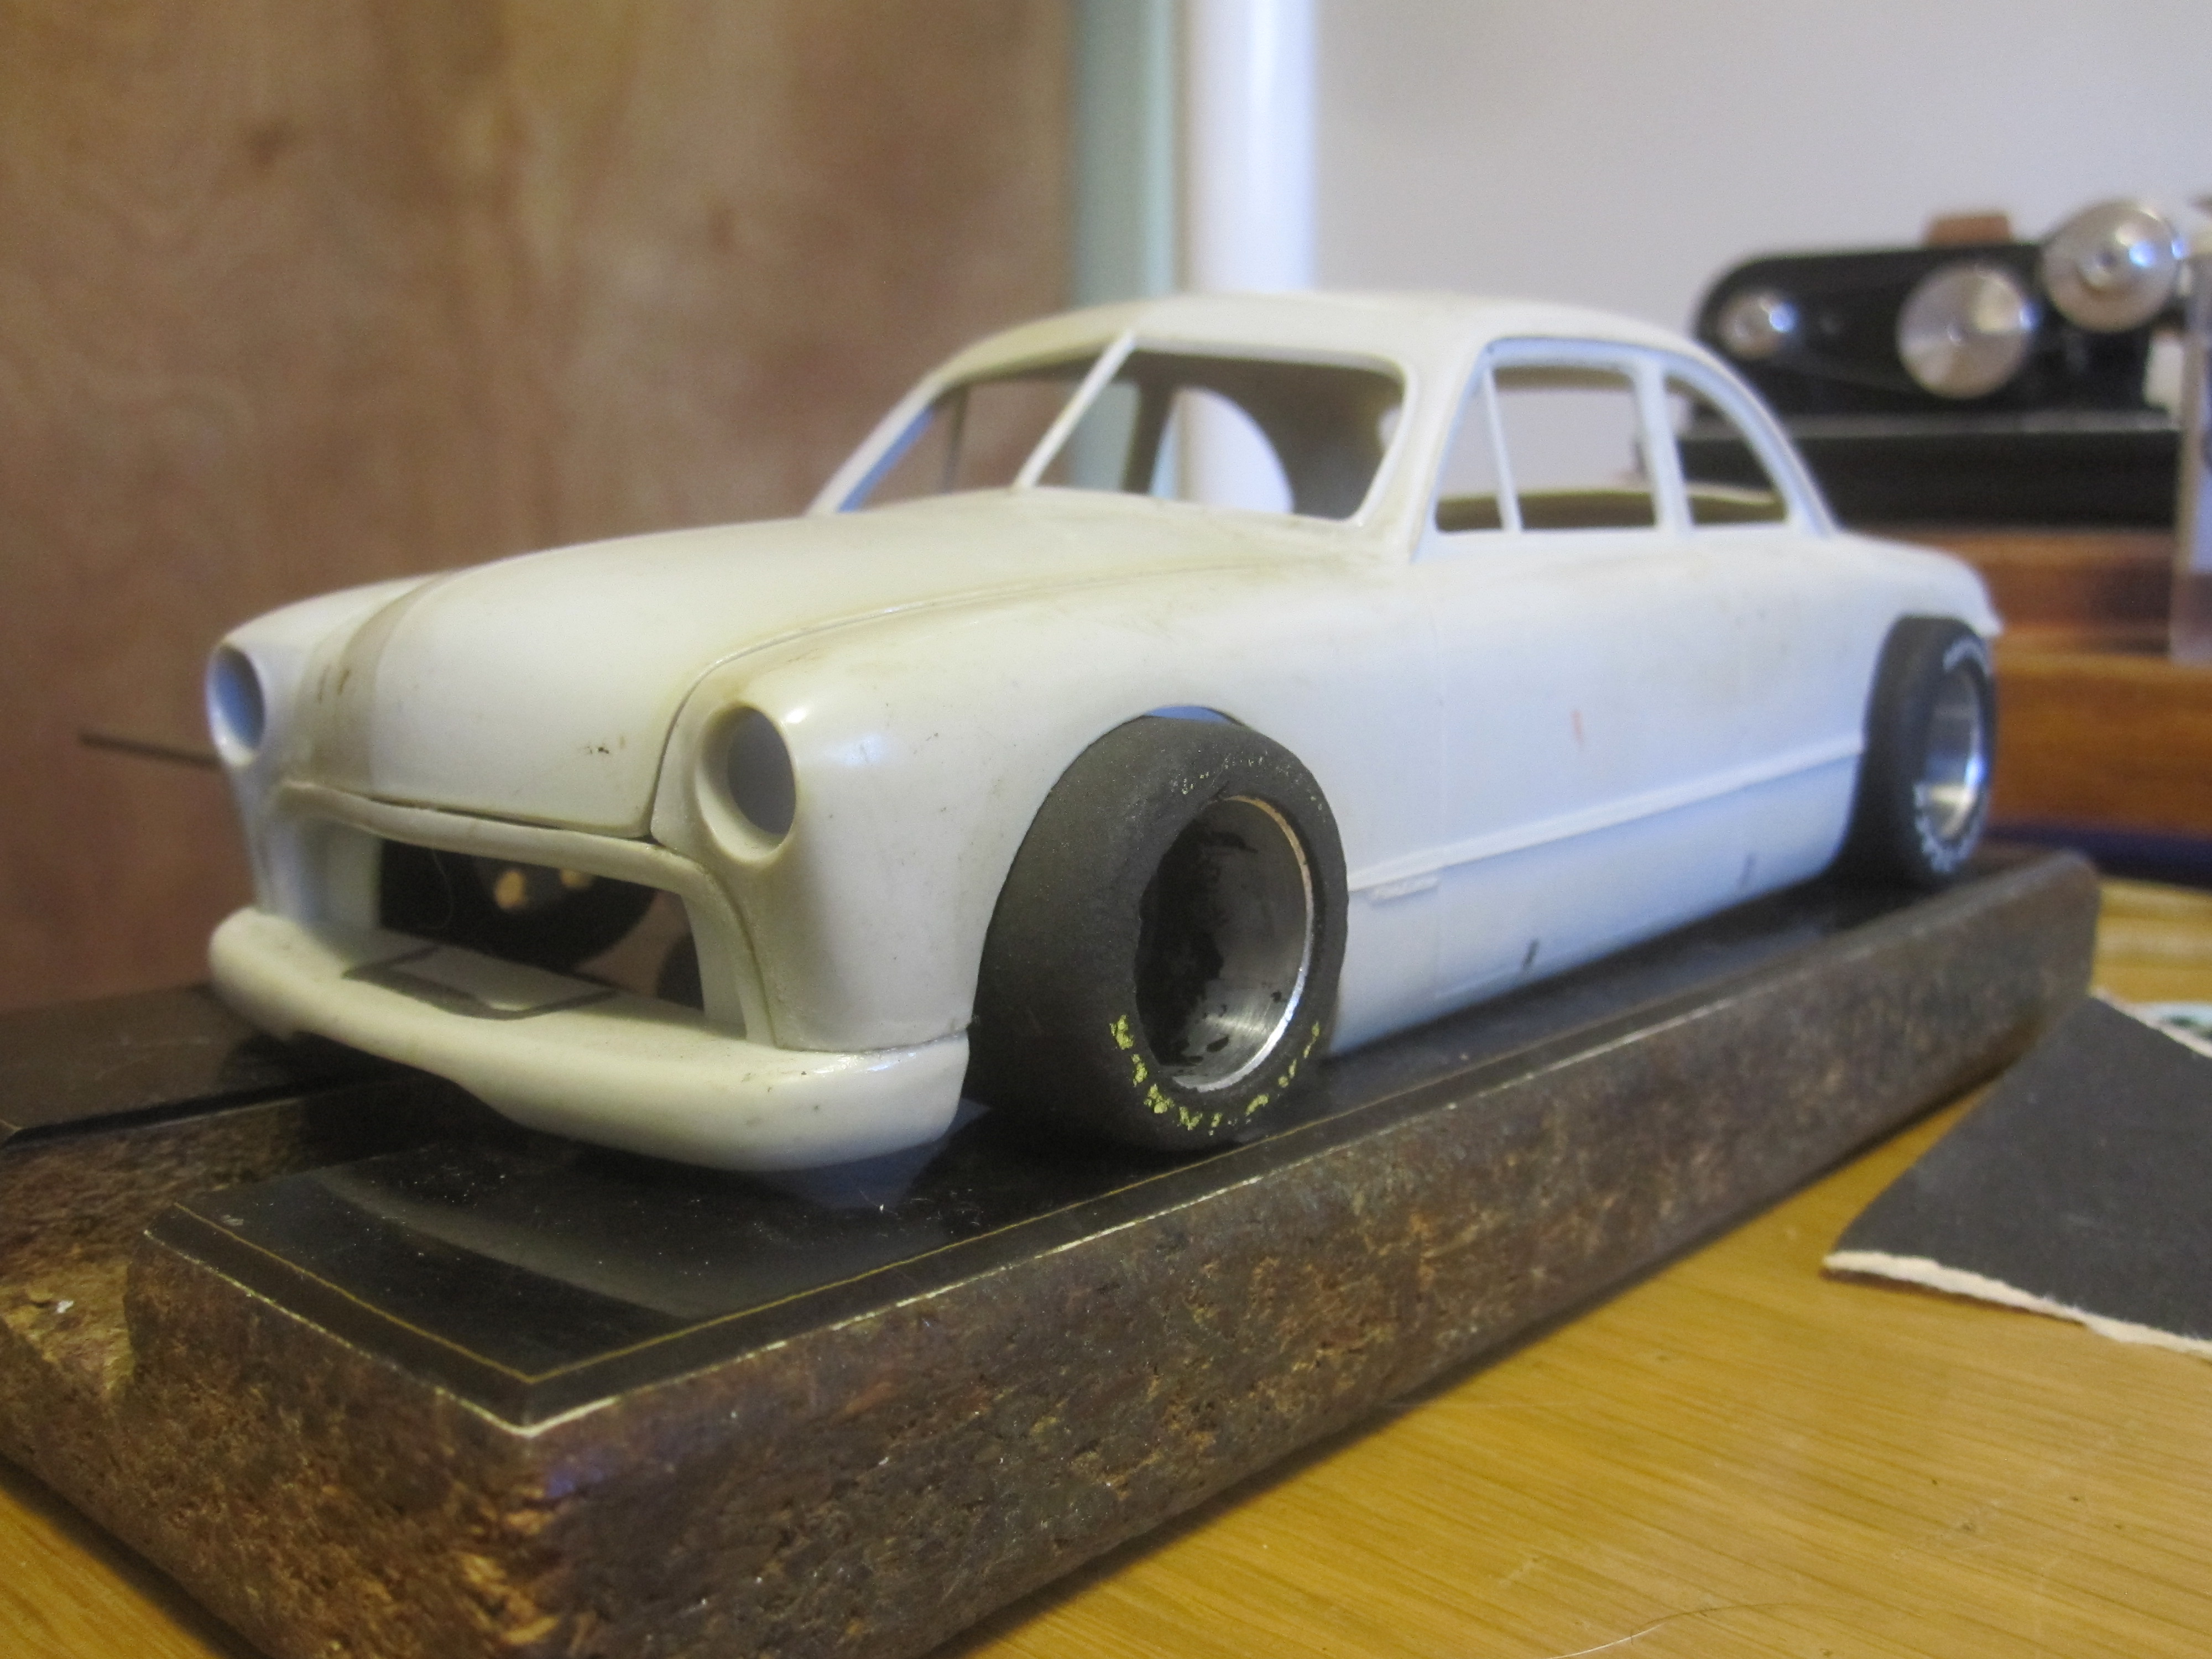
by wb0s » Mon Mar 09, 2015 10:39 am
Howie, Is that a Bob Beater???
by howie » Tue Mar 10, 2015 11:15 am
If I build it, I would hope to tangle with Bob and come out on top, but his '49 is fast and handles very well!
by howie » Mon Mar 16, 2015 10:51 am
SP800001 is primered and ready for paint after light sanding to take out the final little imperfections. I will add a finished picture when completely done. Dayle, my truck driving son laid claim to the car as he does not have a legal True Scale NASCAR. He wants it painted in the livery of Werner Enterprises whom he and his truck are leased out to.
That will be added to my summer slot car projects.
by howie » Sat Mar 21, 2015 11:39 am
Finally completed this Early Modified about 10 minutes ago! It will be raced later today by my over the road truck driving son Dayle.
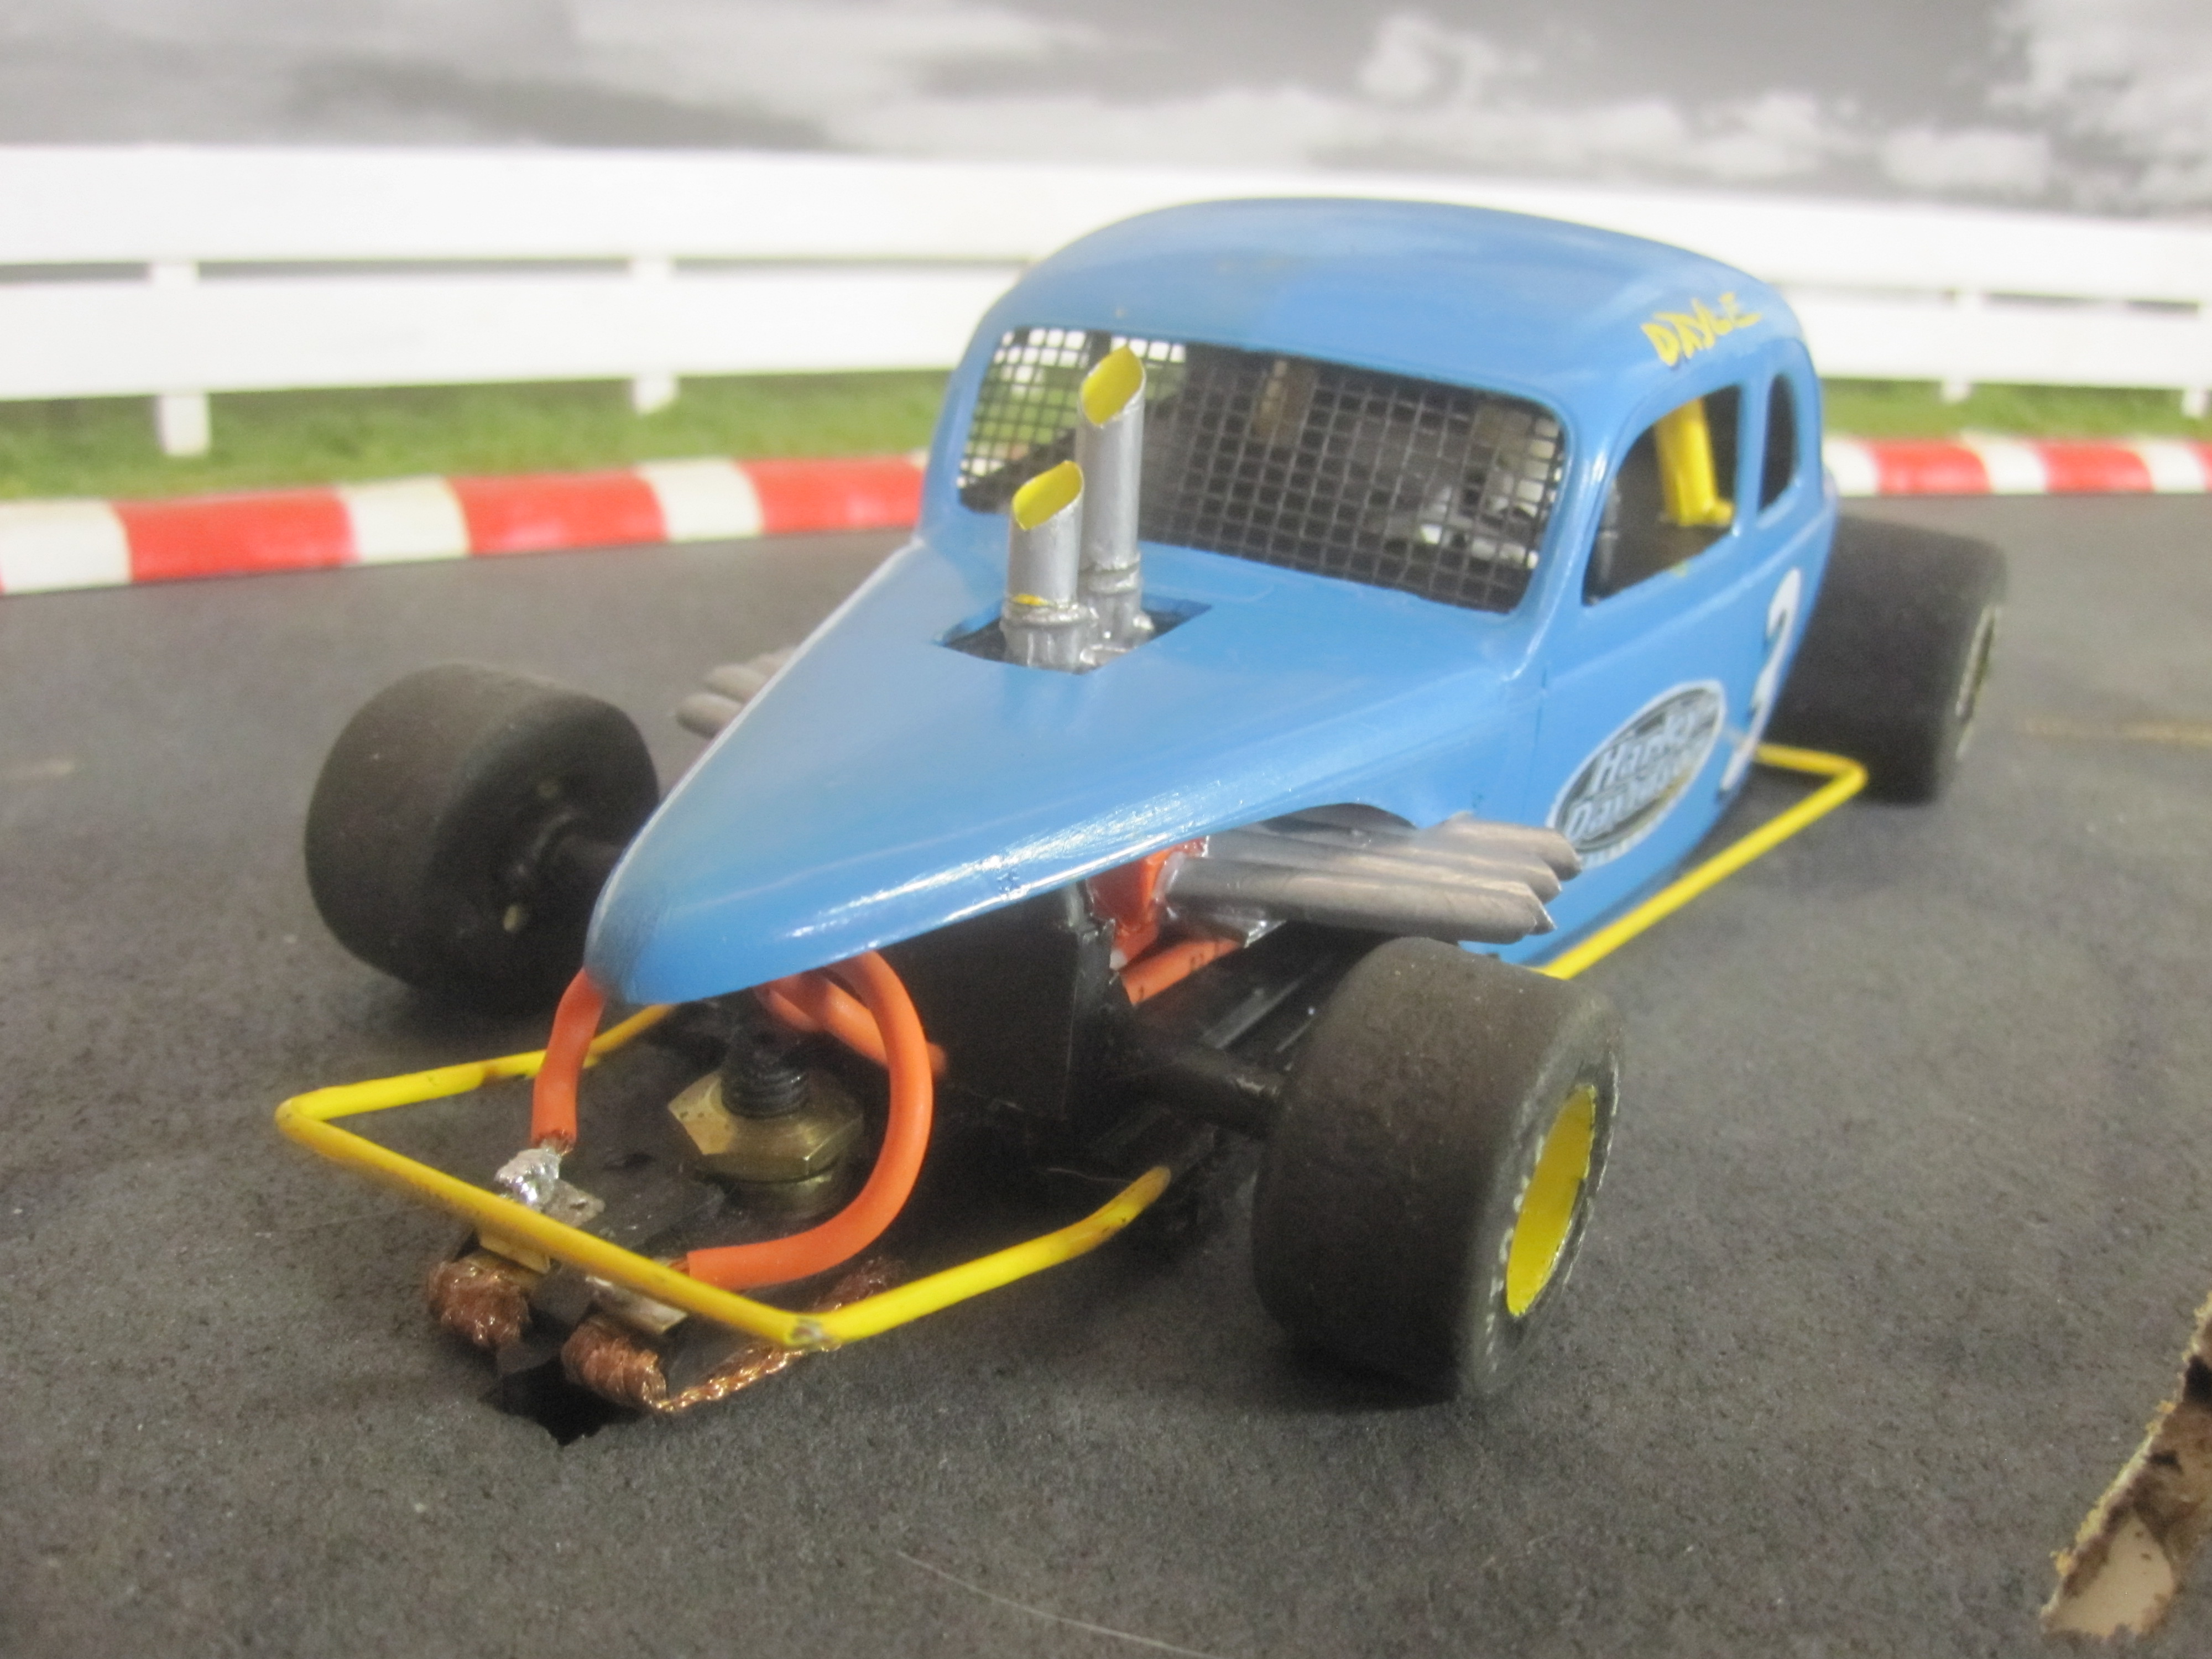
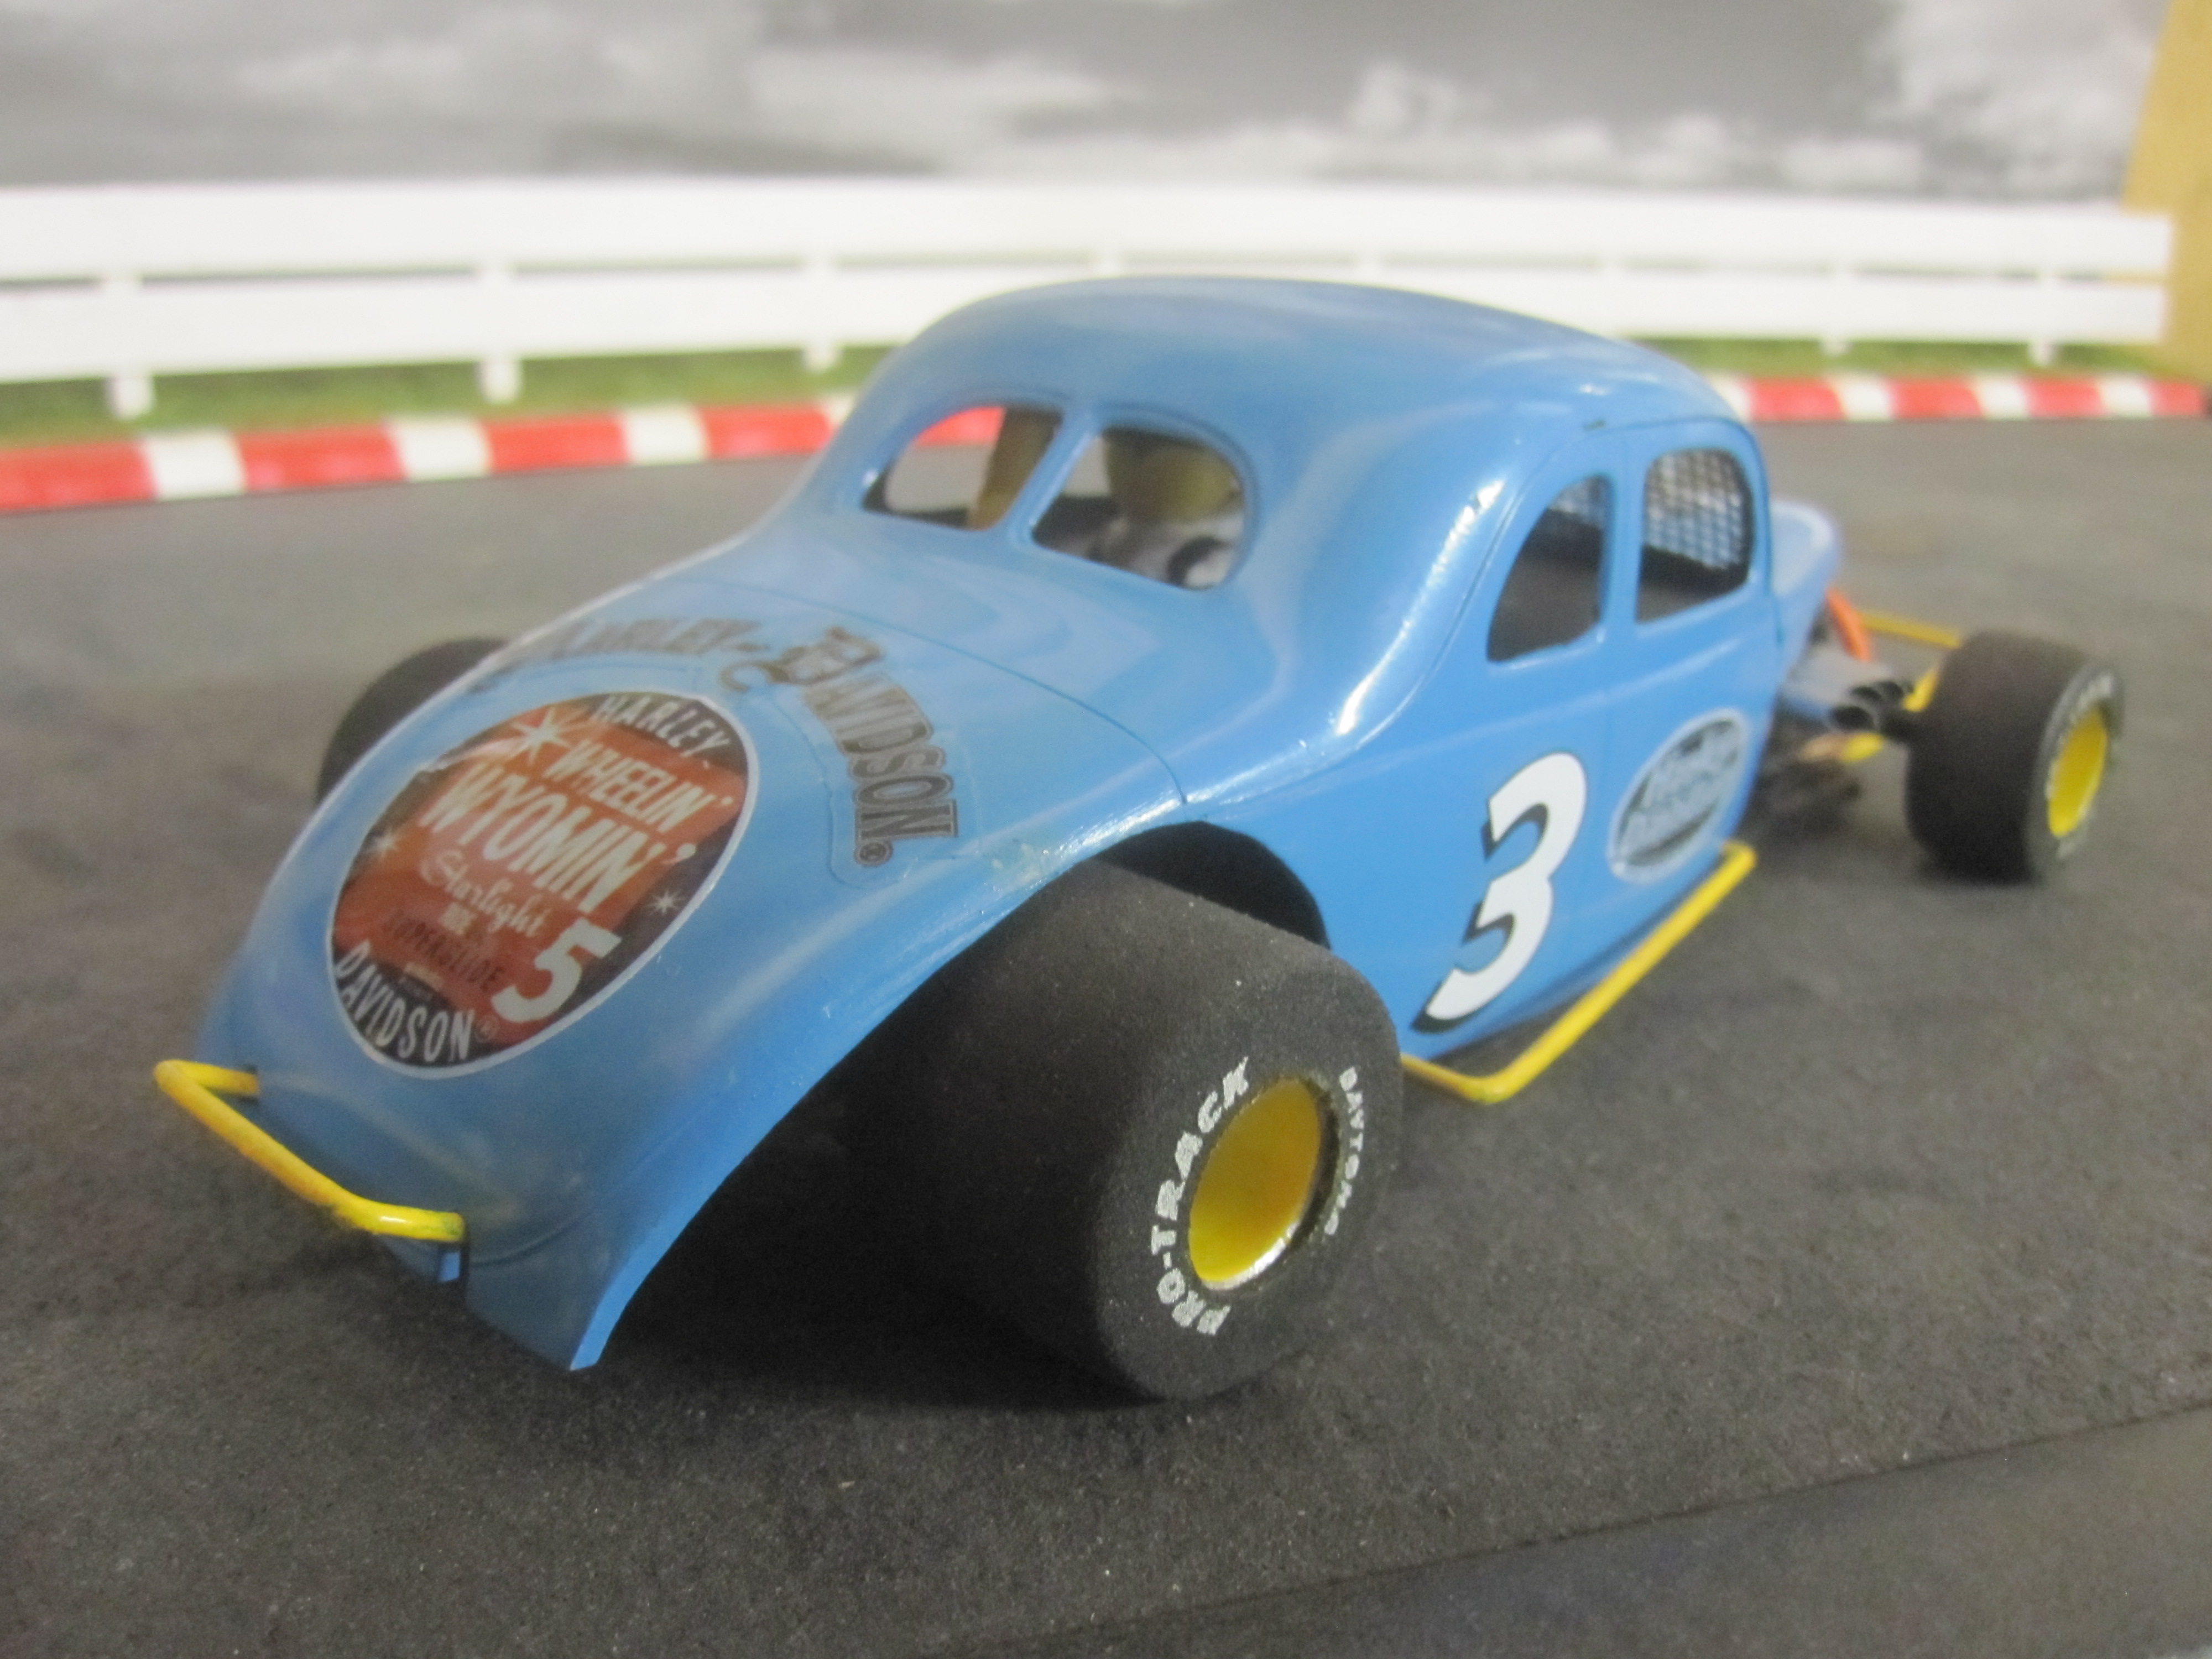
by beaufrazier » Sat Mar 21, 2015 2:05 pm
EXCELLENT JOB!!!! Looks like one bad ass Modified. The decals are cooooooool.....Beau
by howie » Sun Mar 22, 2015 7:46 am
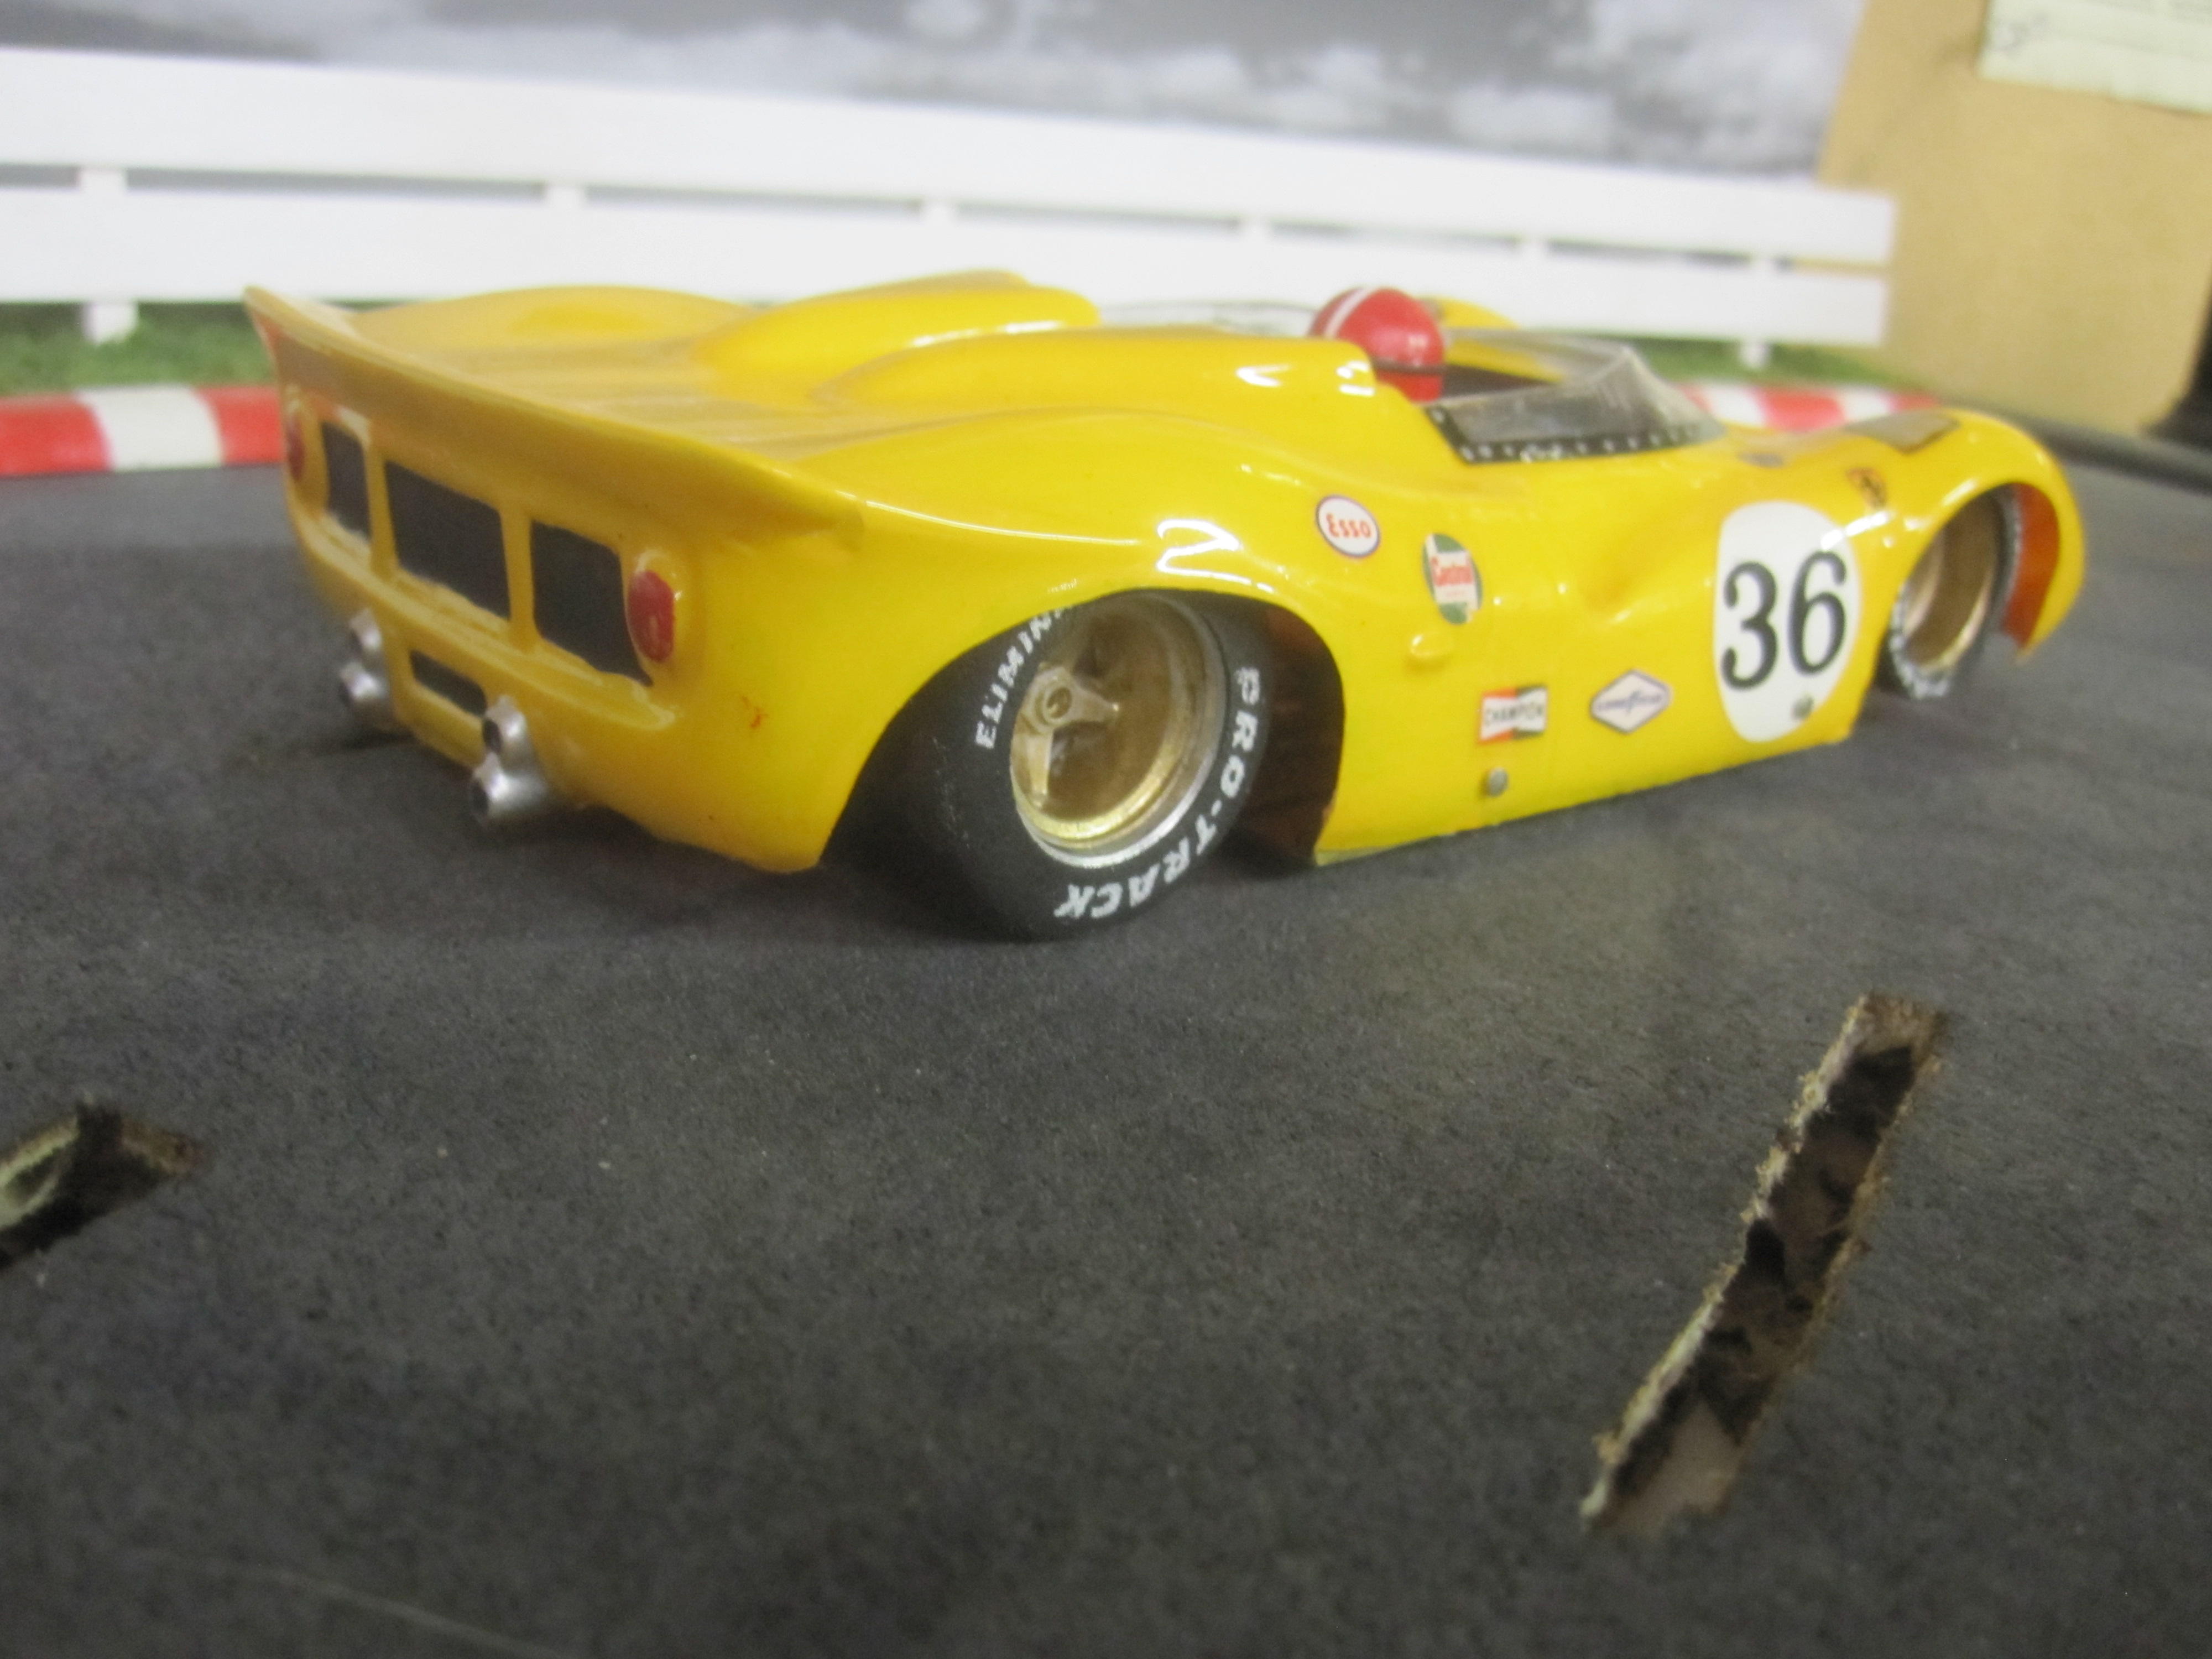
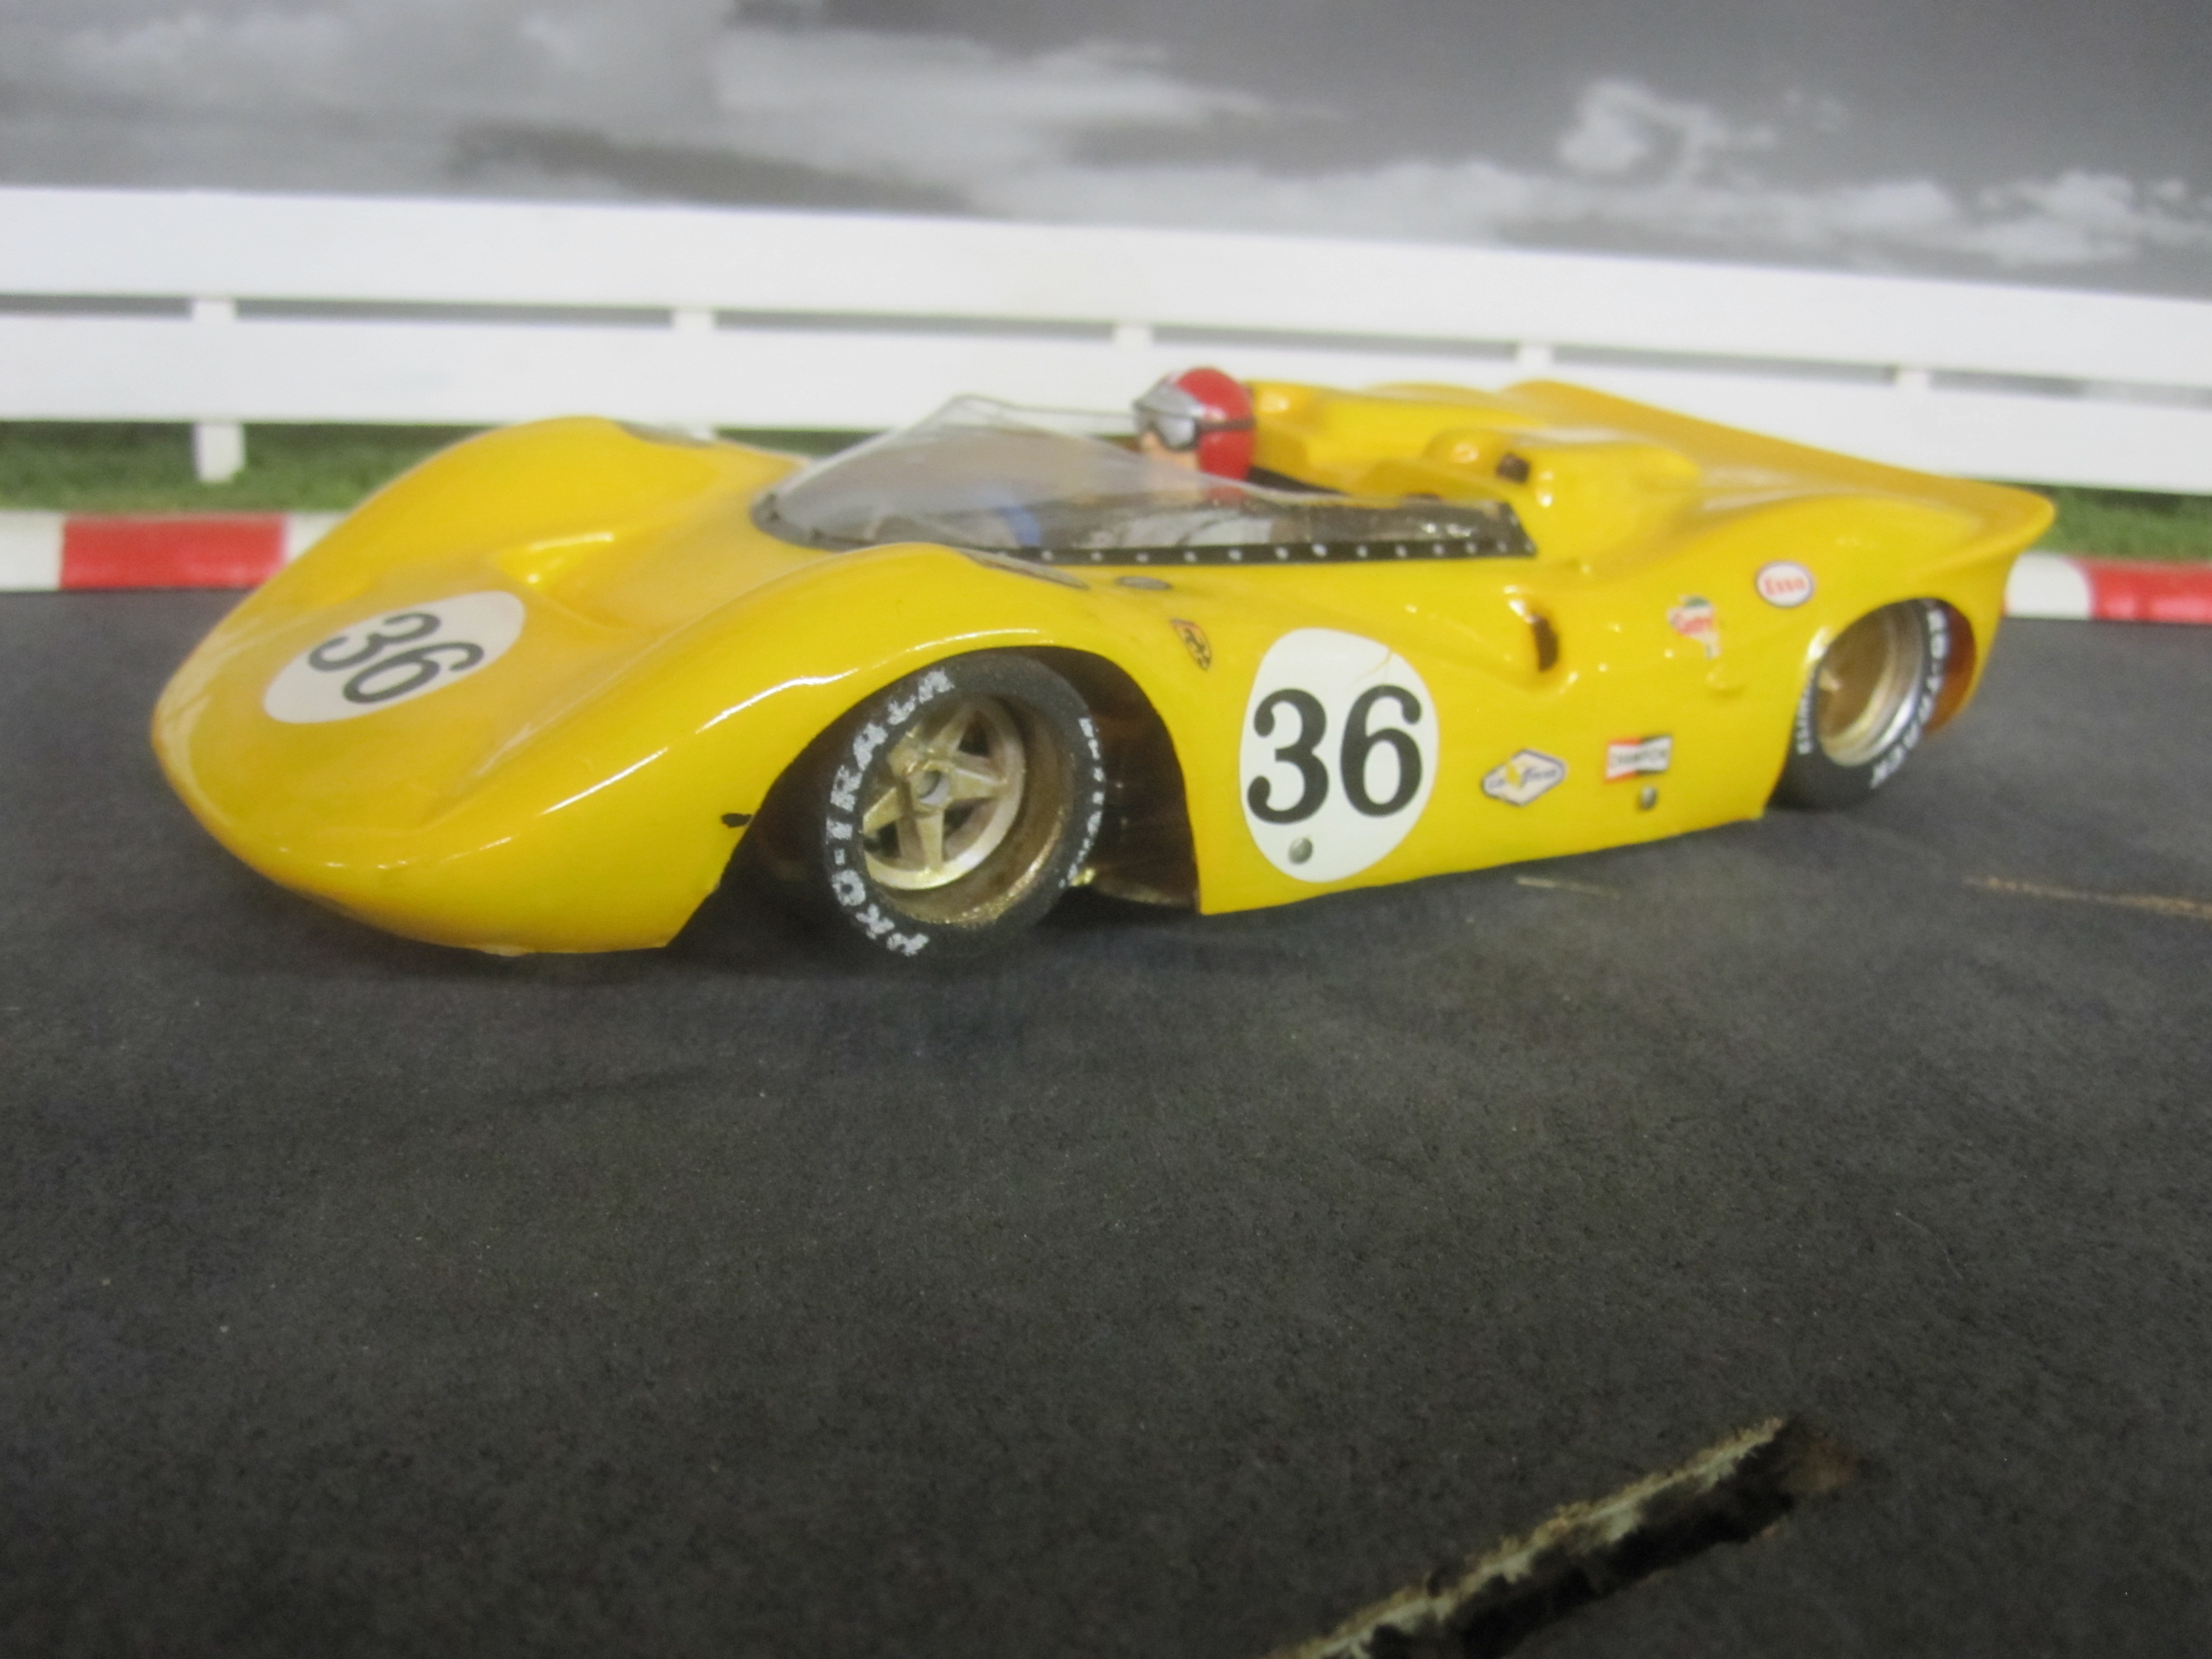
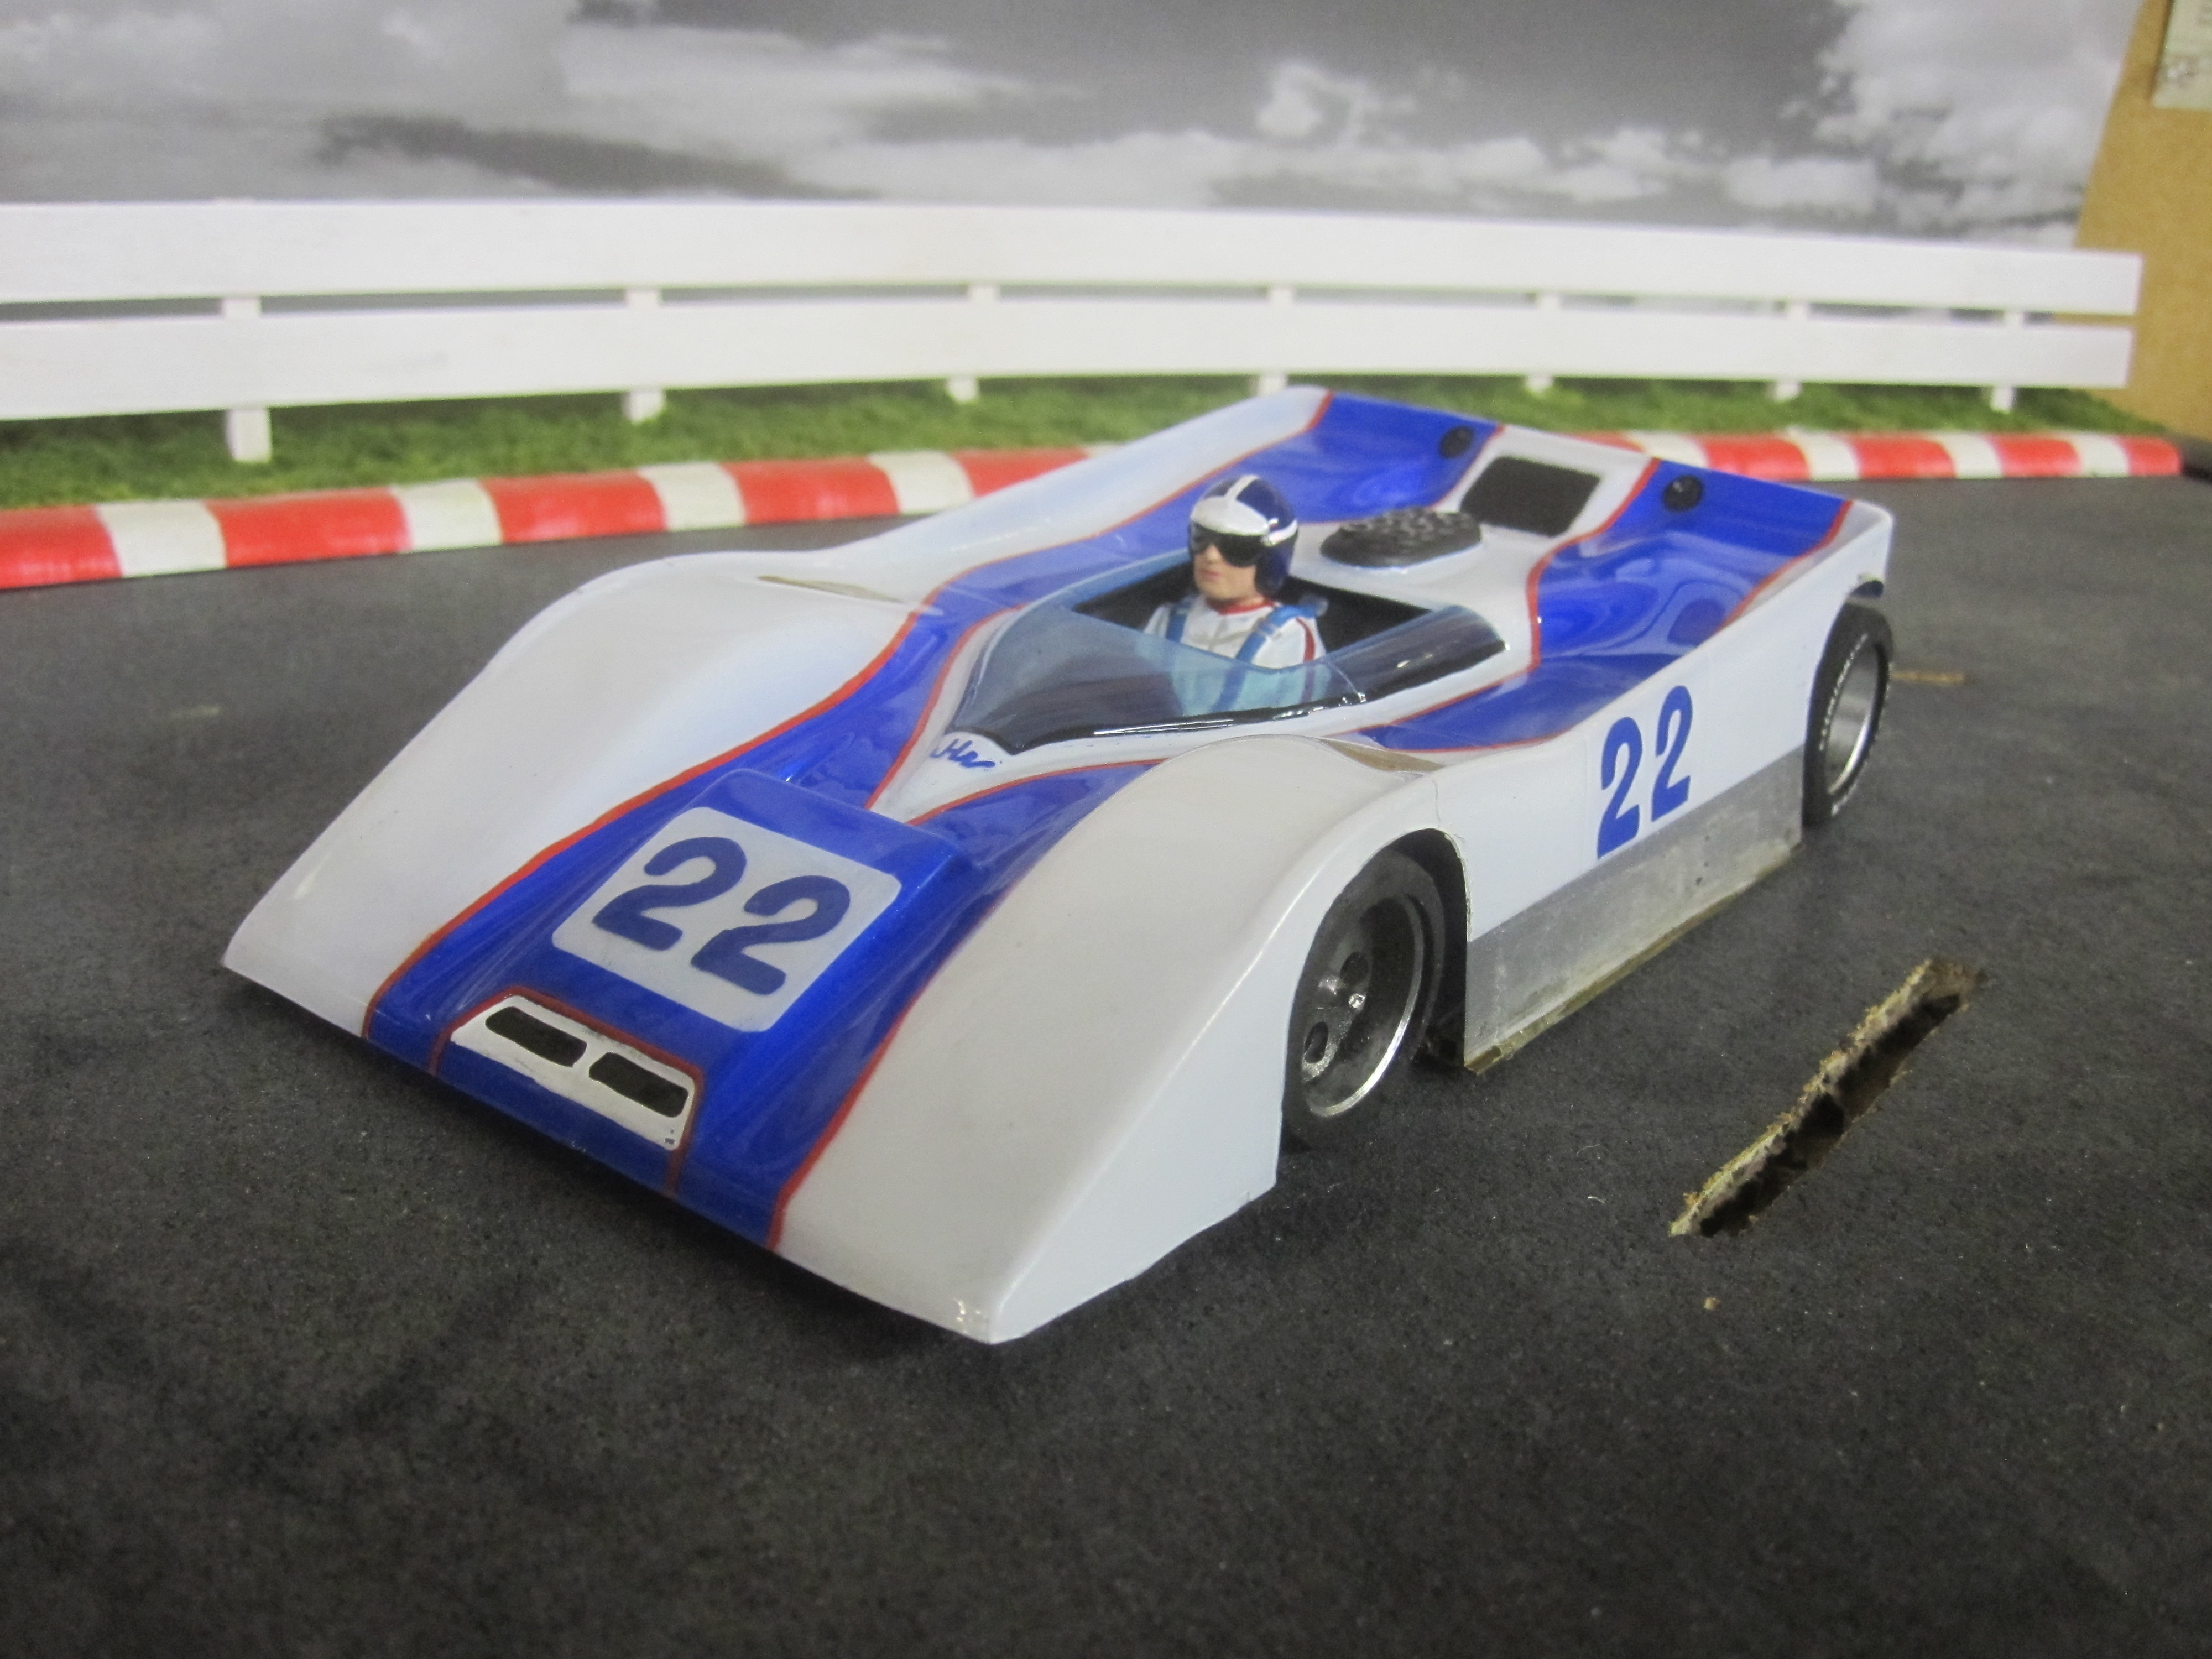
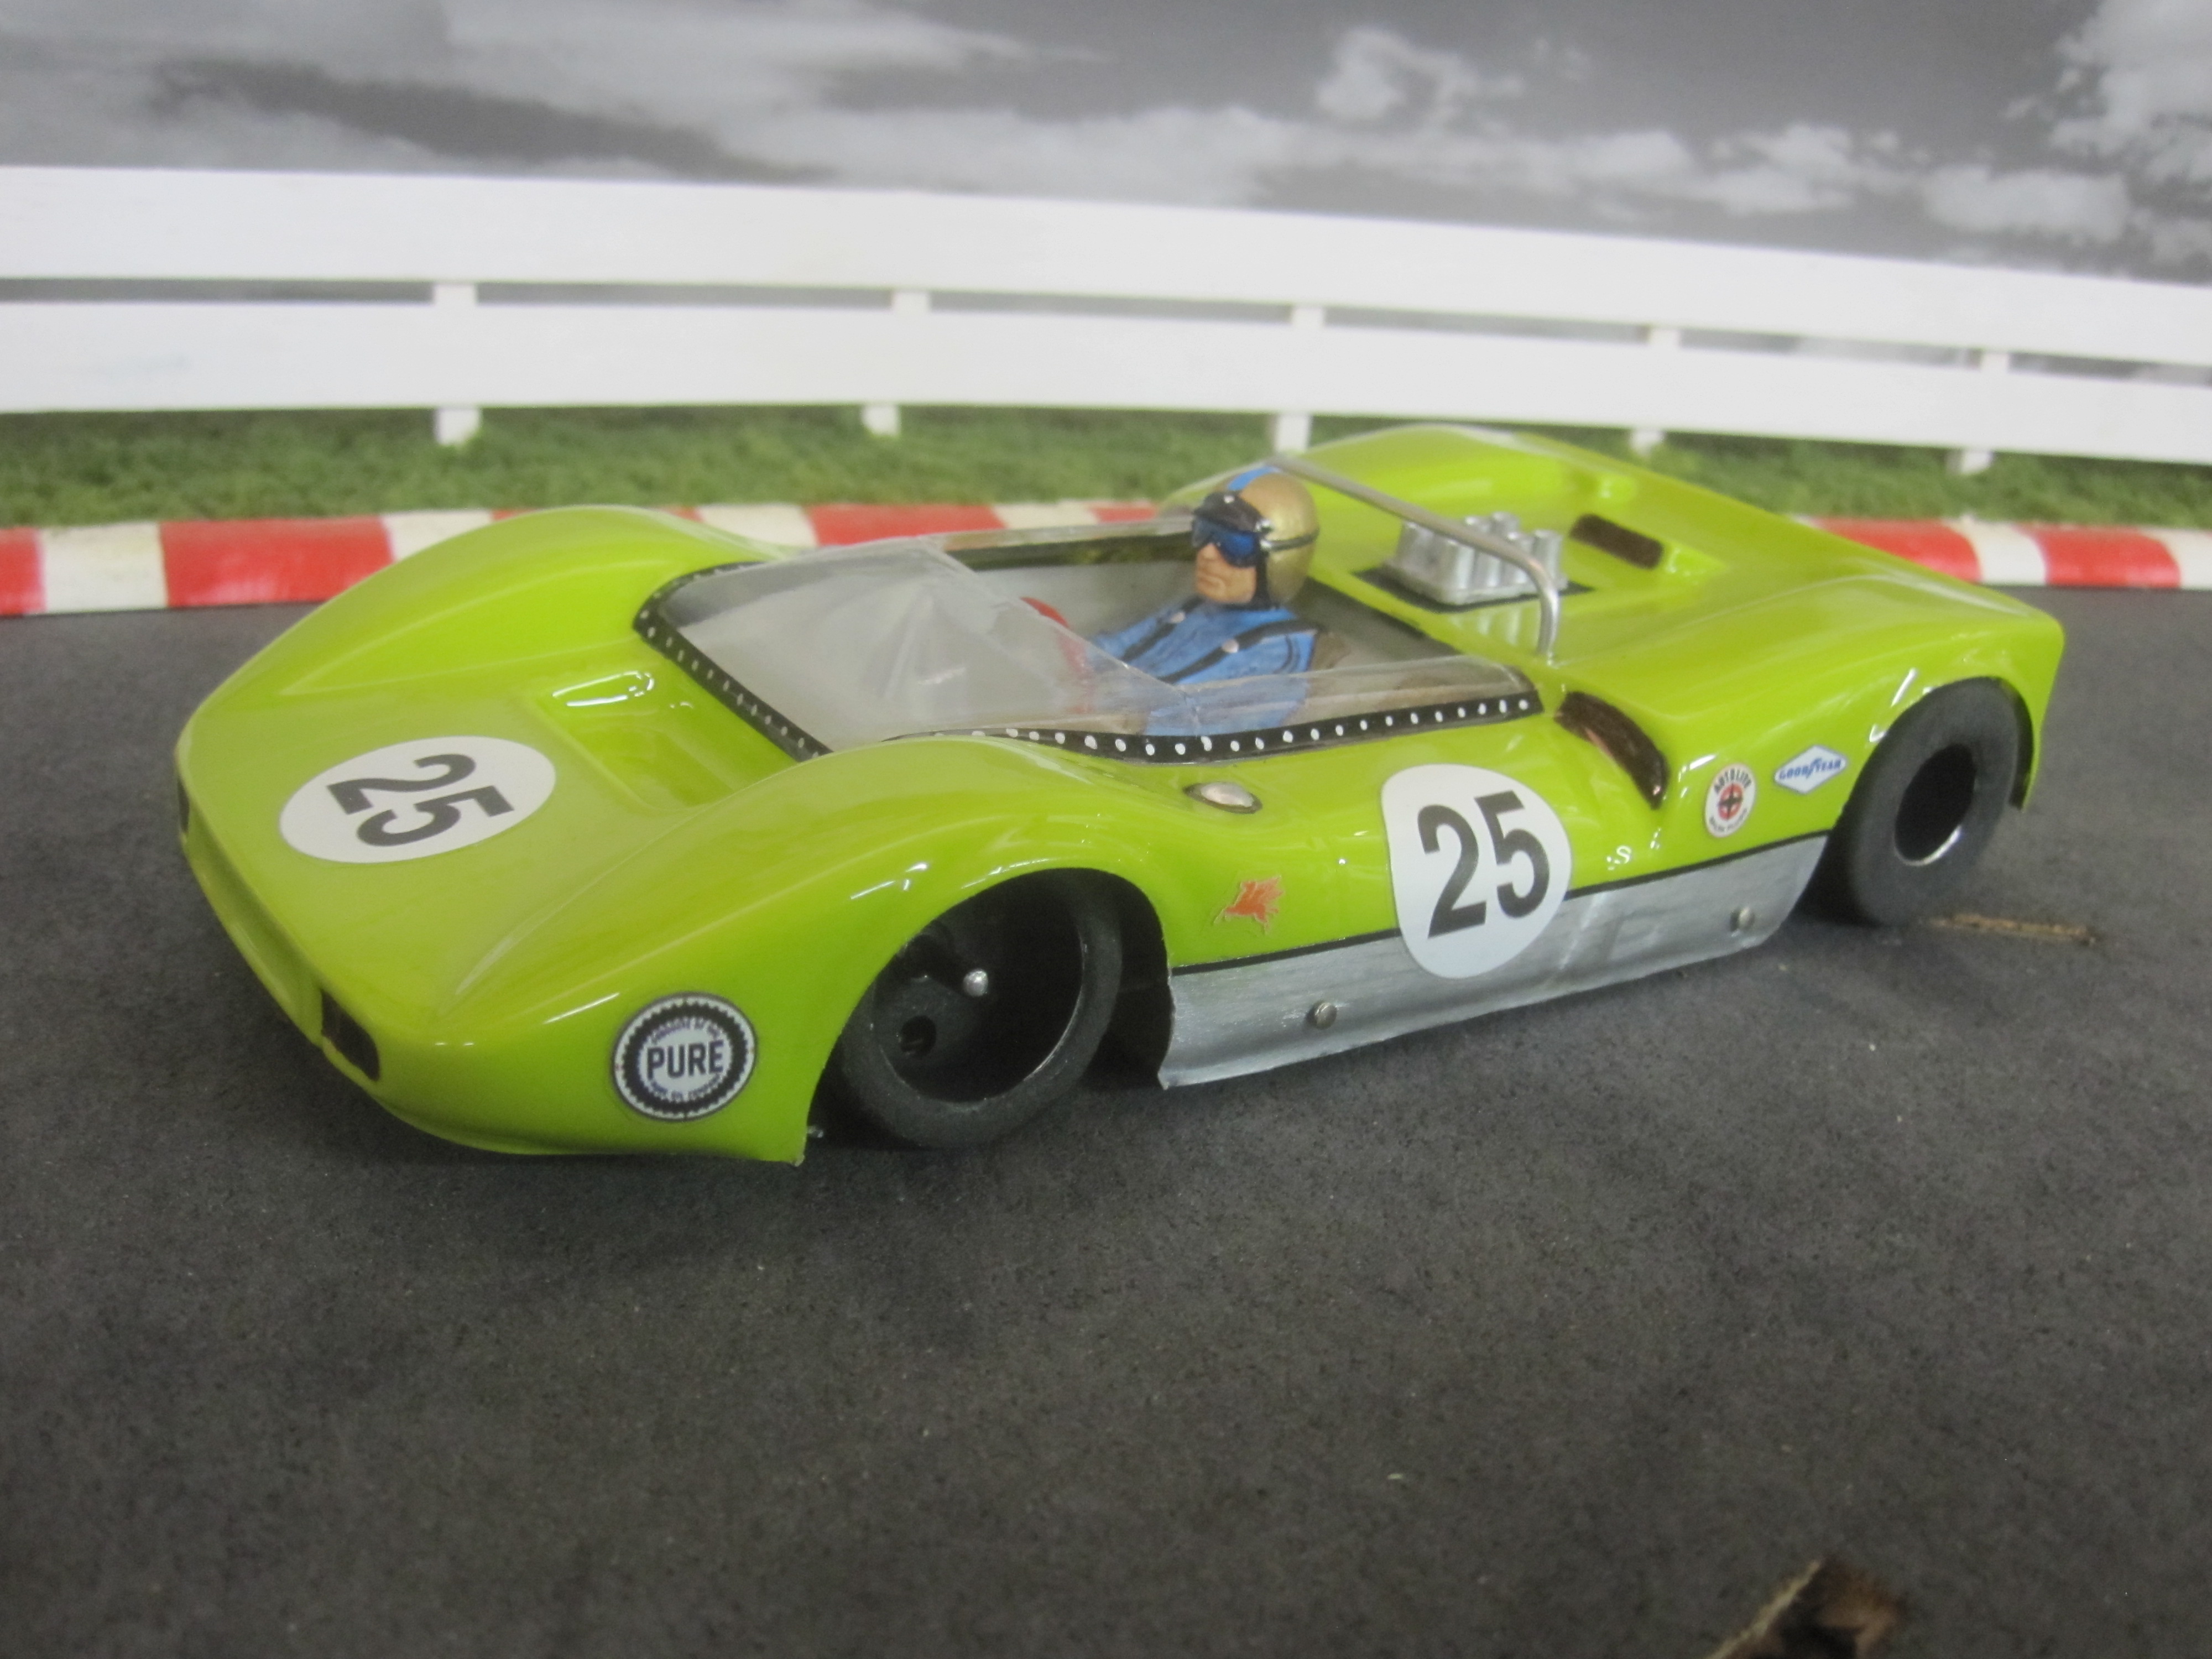
New cars that showed up at the race of March 21, 2015.
John Gill's winning and nice looking Can-Am.
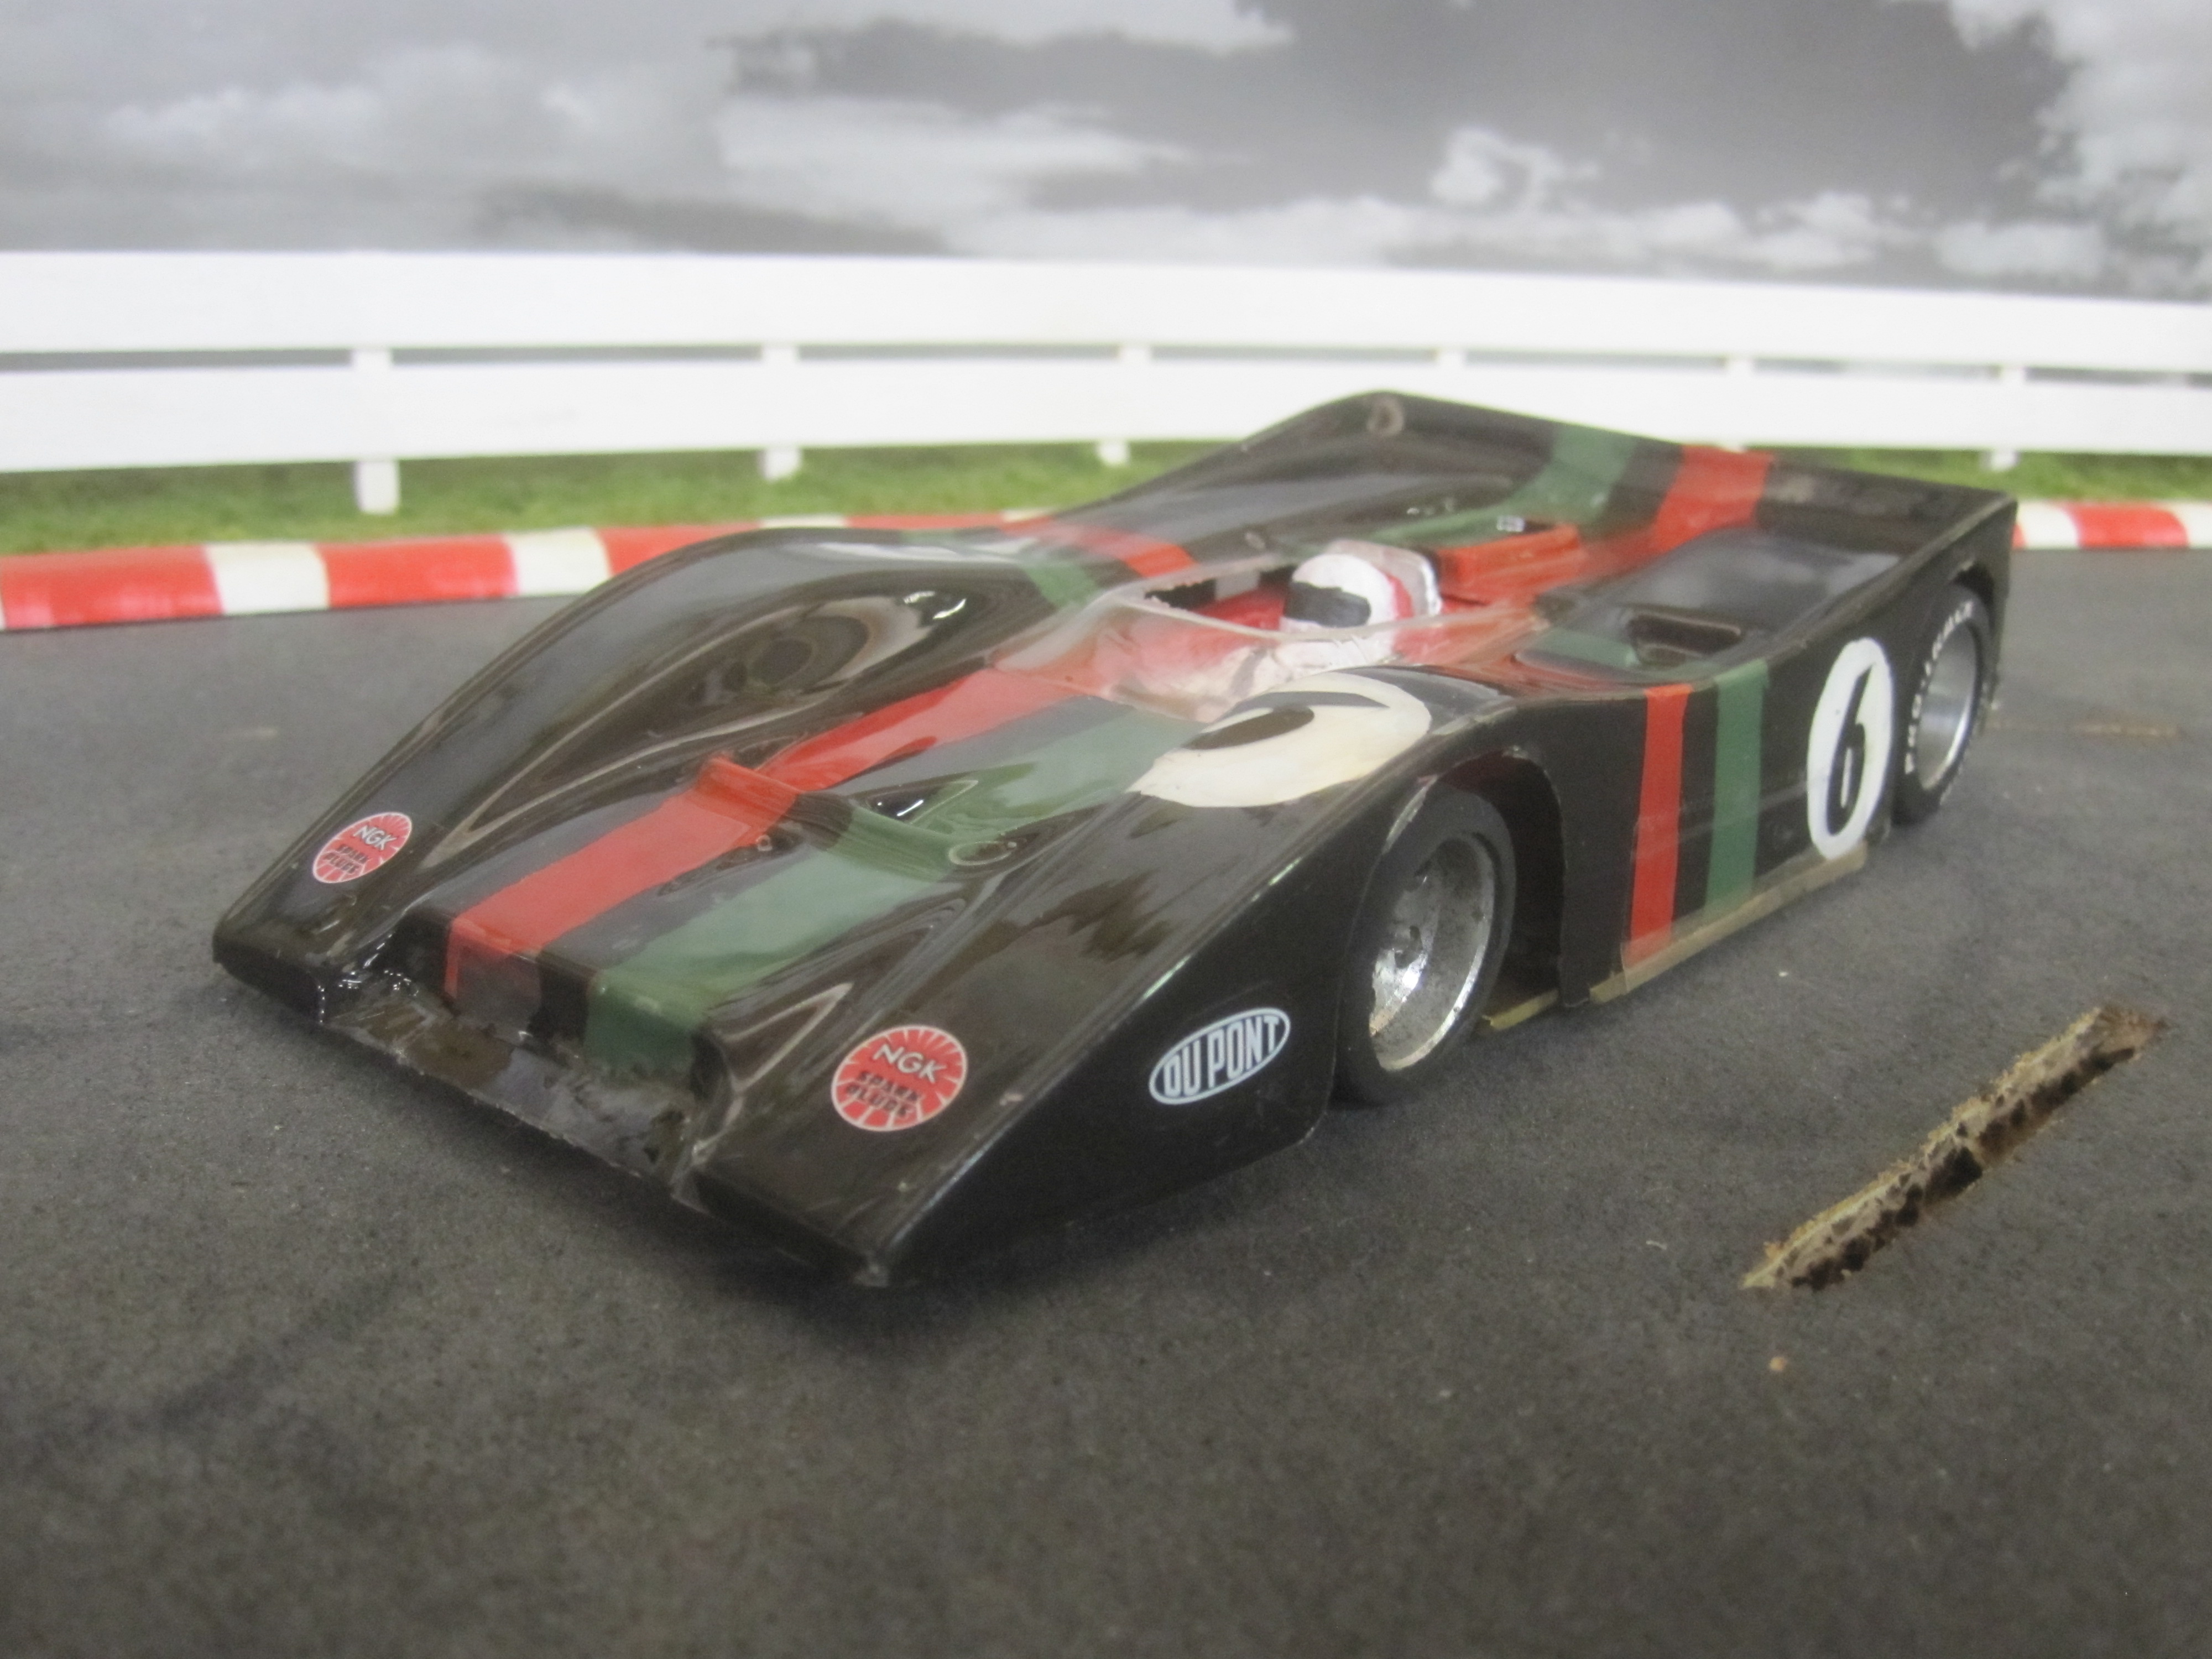
Marty's Can-Am. He had to mix paint to get that color.
Stuart's Can-Am.
Stuart's new Early Modified, a '39 Chev. It is a beauty!
Beau's new Can-Am. BEAUTIFUL! He loaned it to me to race, I thought it was too nice to race! Hope I didn't scratch it!
by howie » Tue Apr 07, 2015 3:35 pm
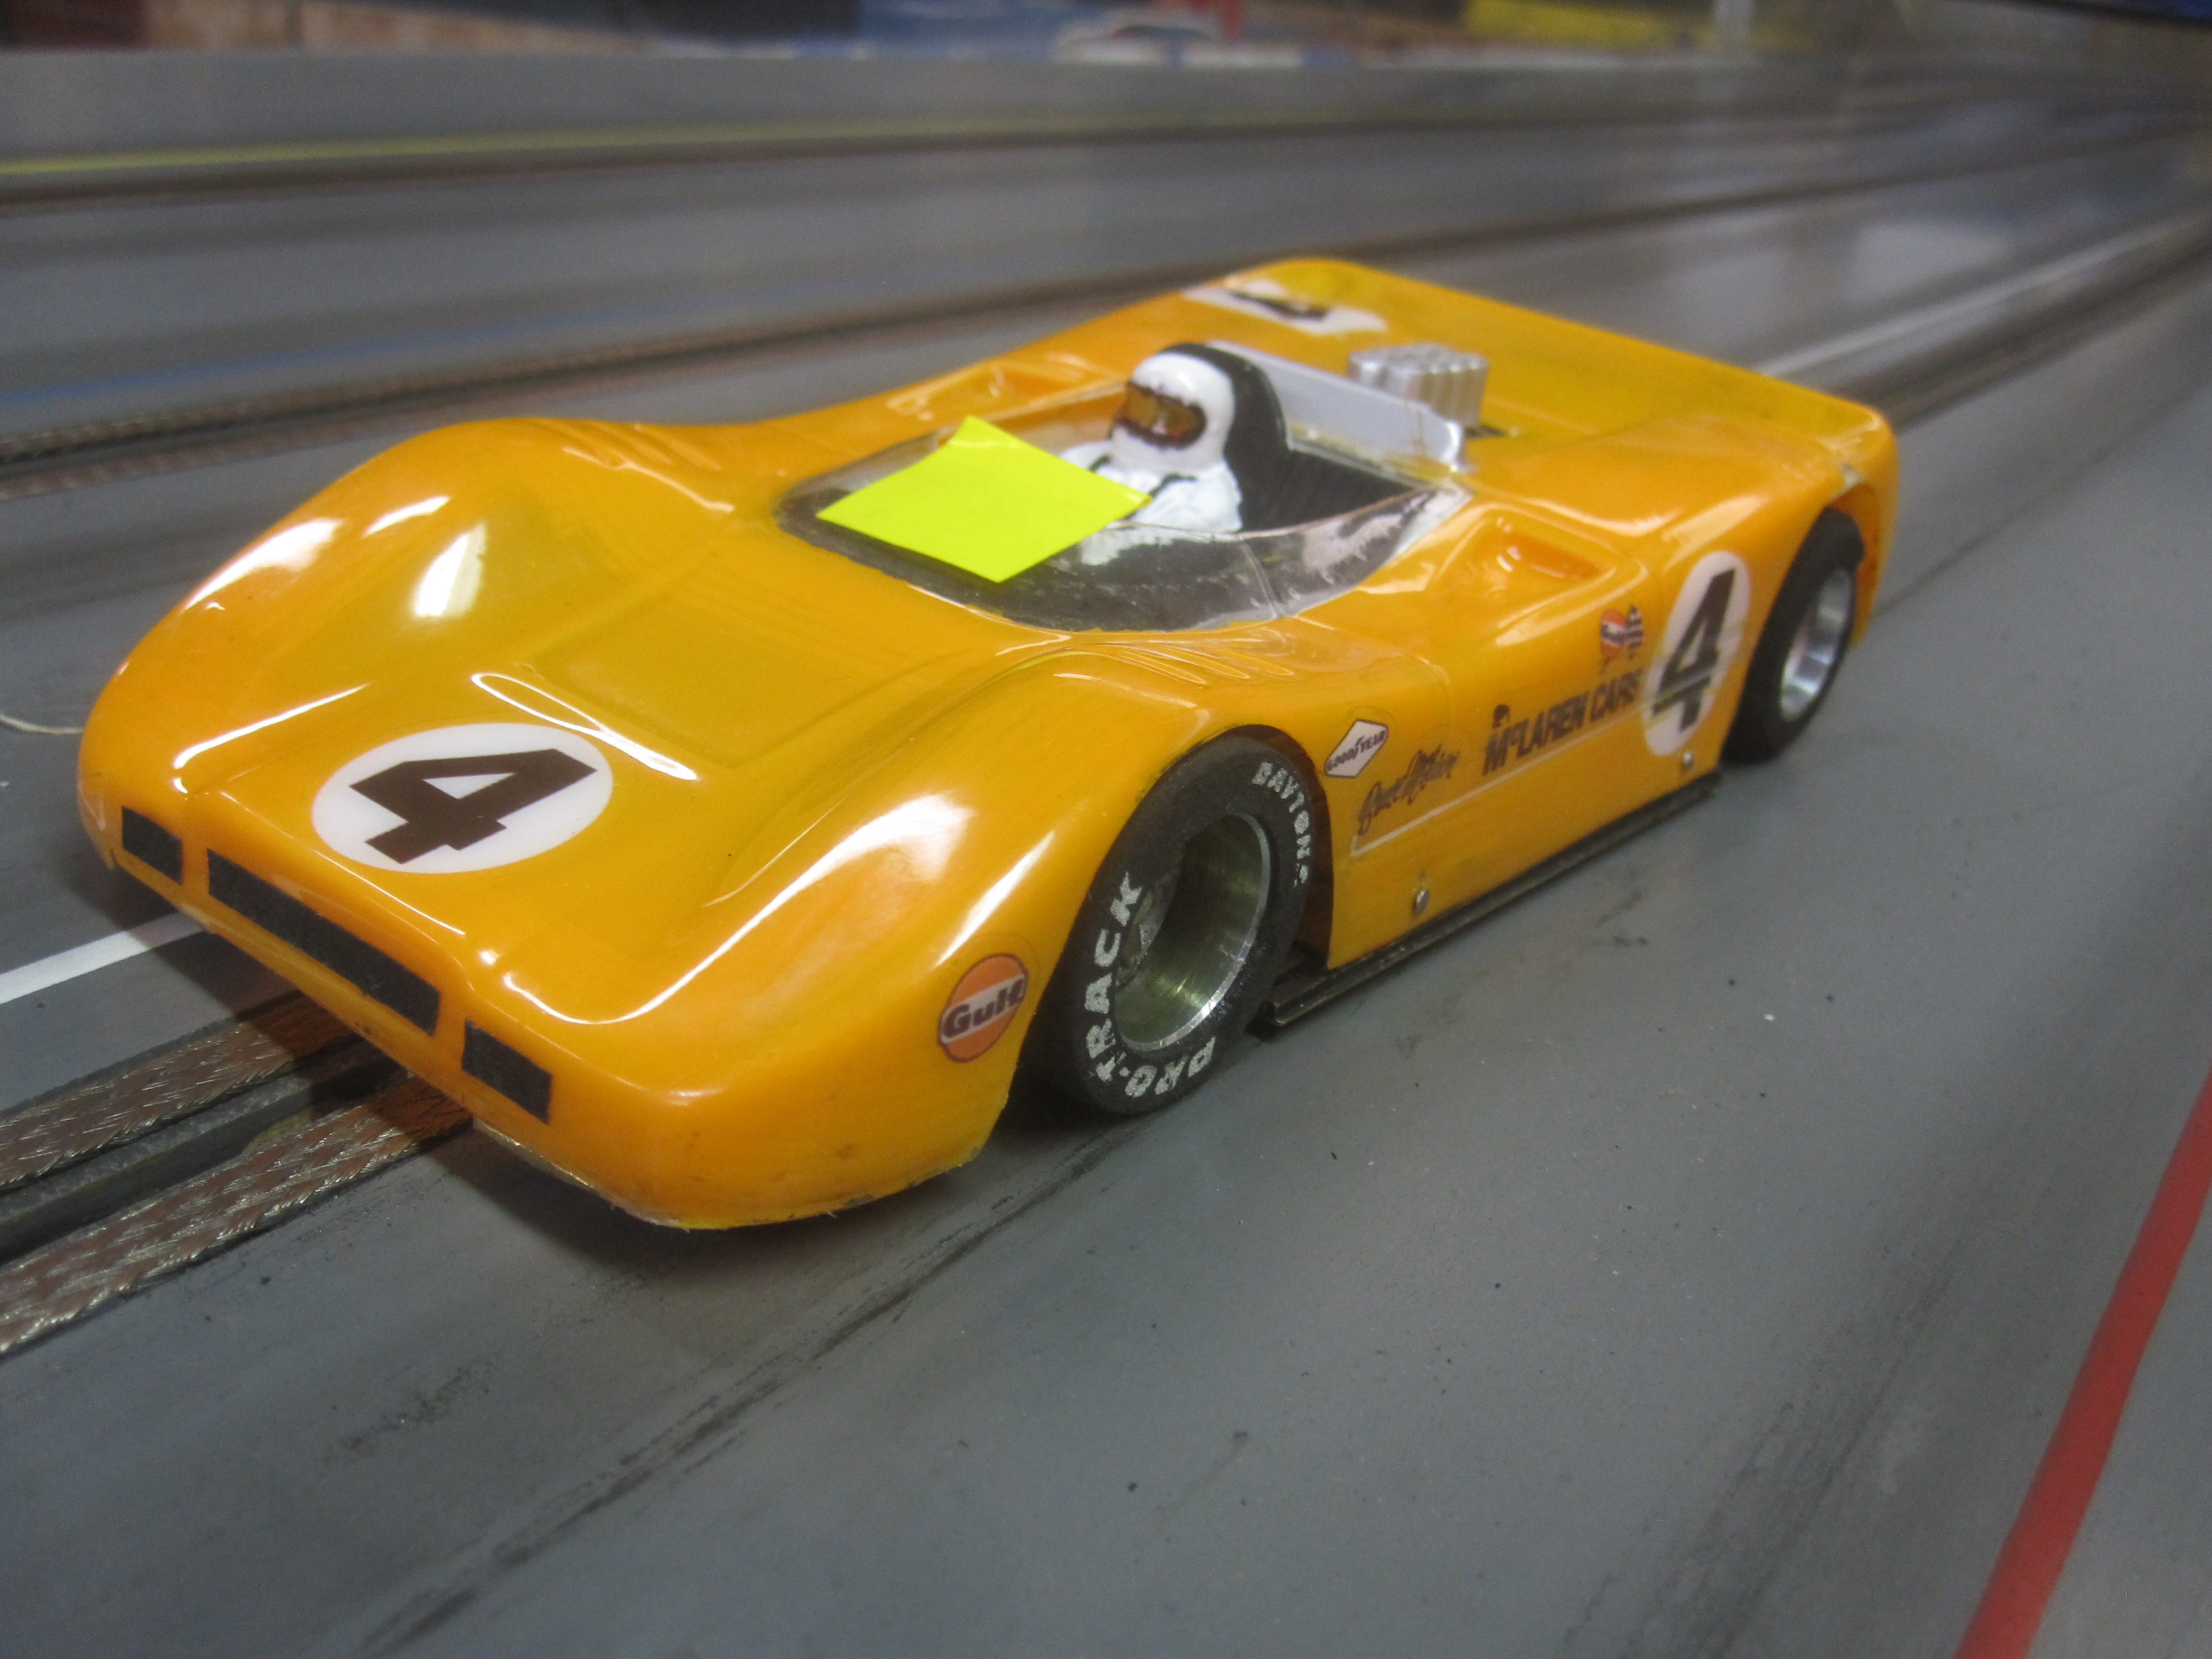
New cars that showed up at the Apr. 4th. 2015 race.
Beau's Can-Am.
Another Beau Can-AM.

John Fisher's Can-Am.
Bob. Nak's new Can-Am.

The NASTE Forum → Rapid Raceway → Projects: Done/Not So Done
Powered by PunBB, supported by Informer Technologies, Inc.