Topic: Chassis Build #11
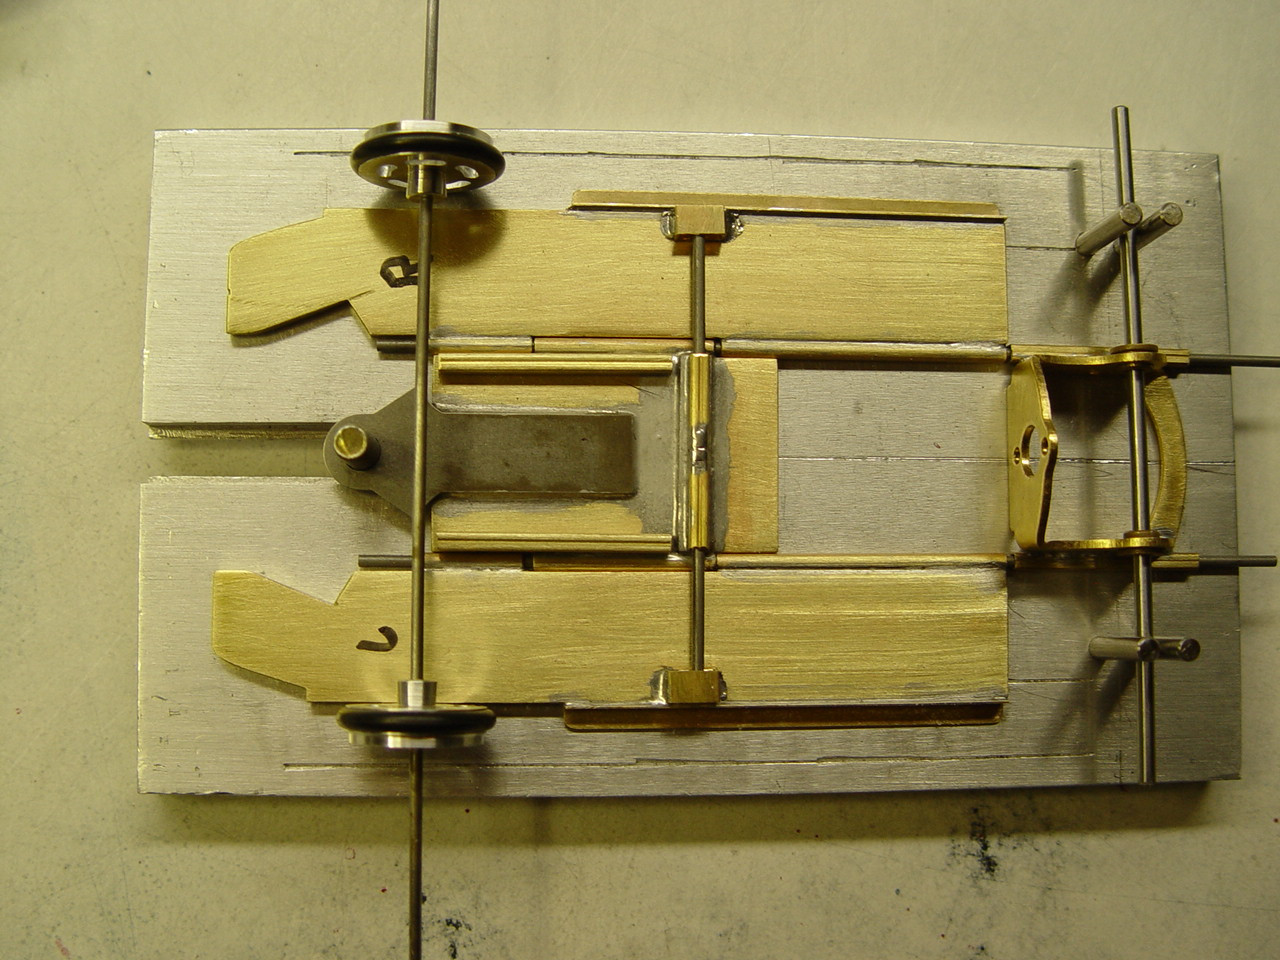
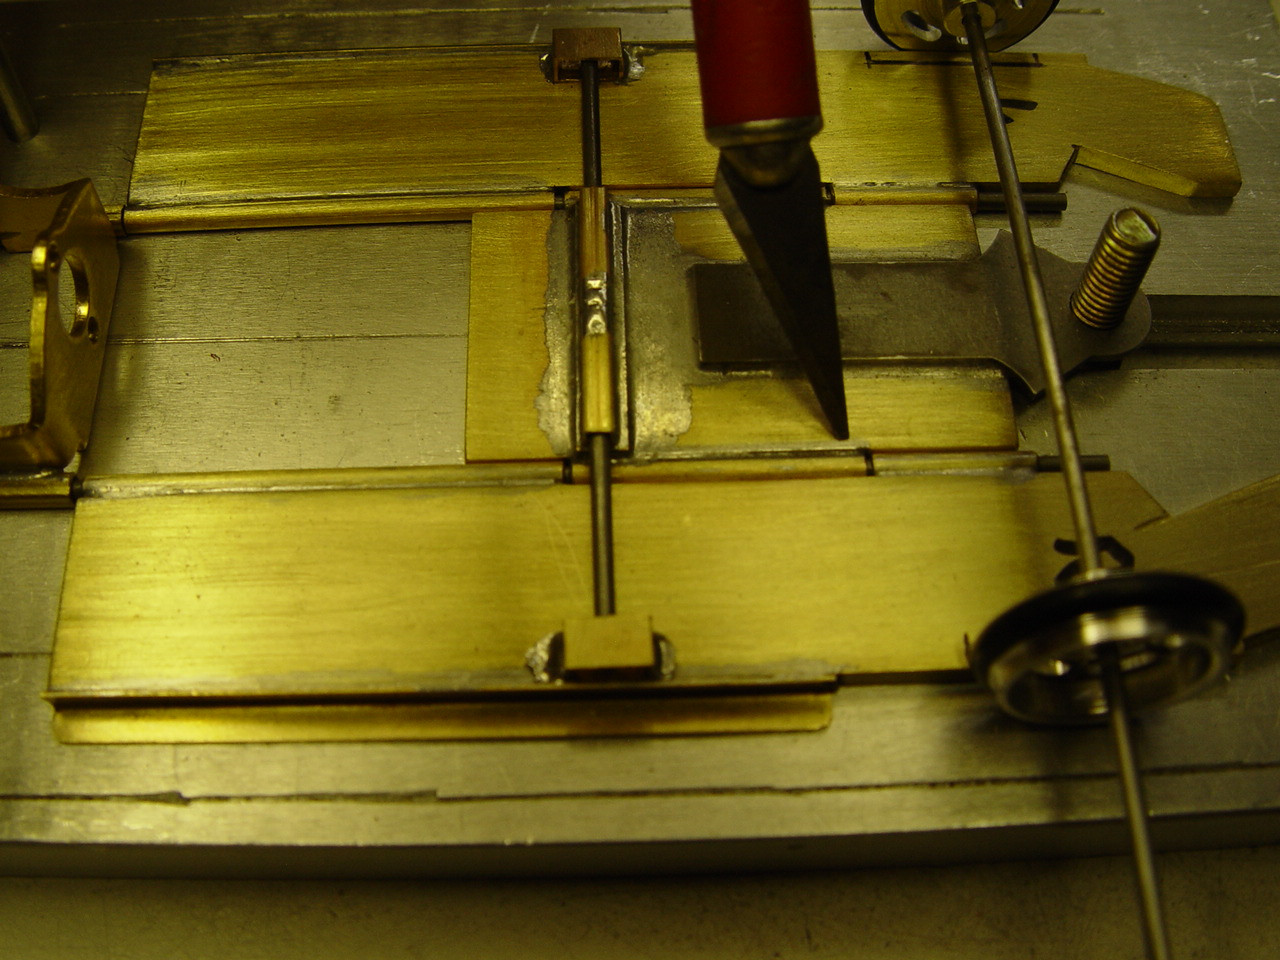
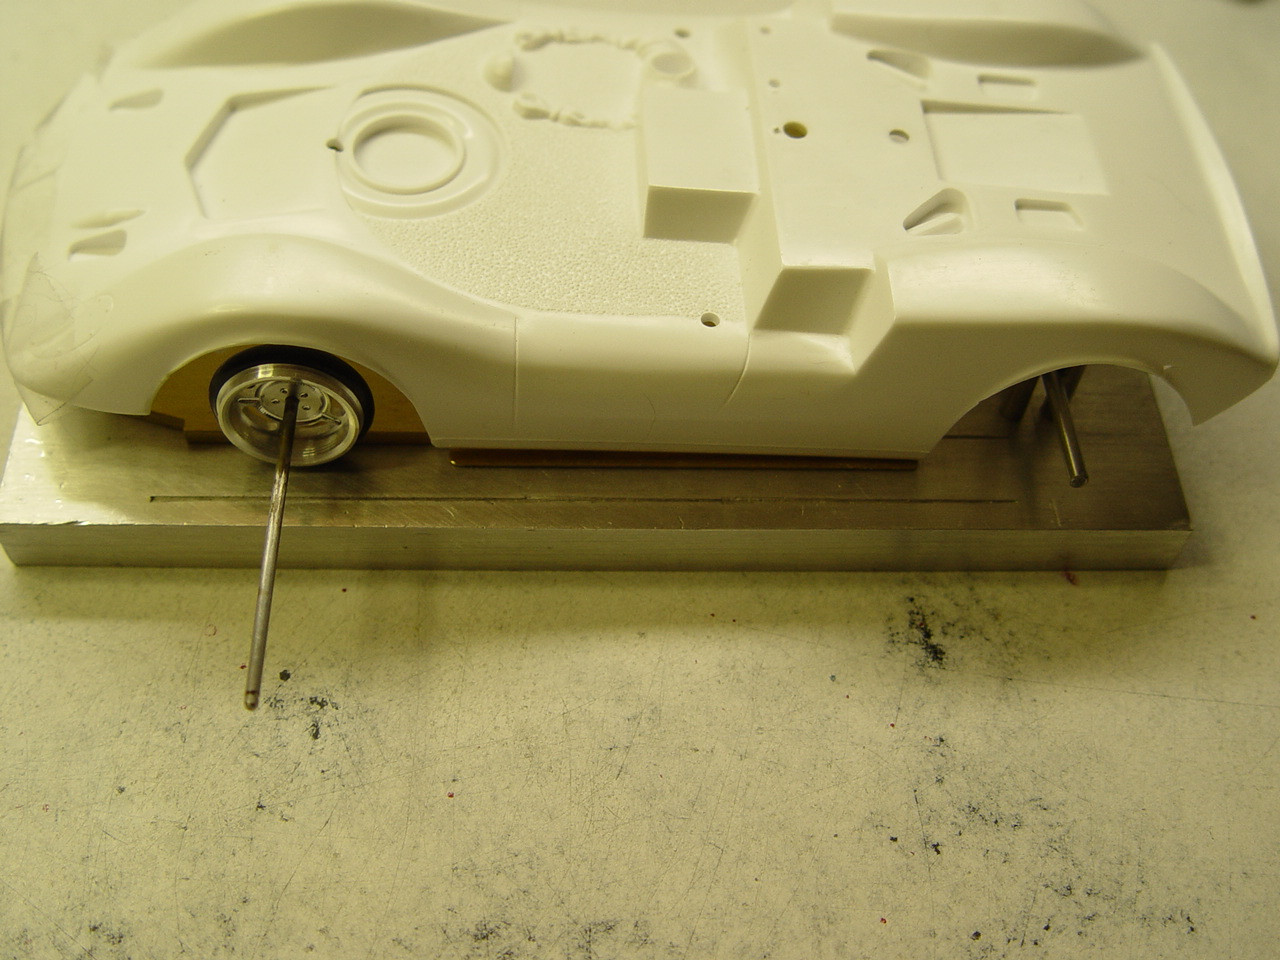
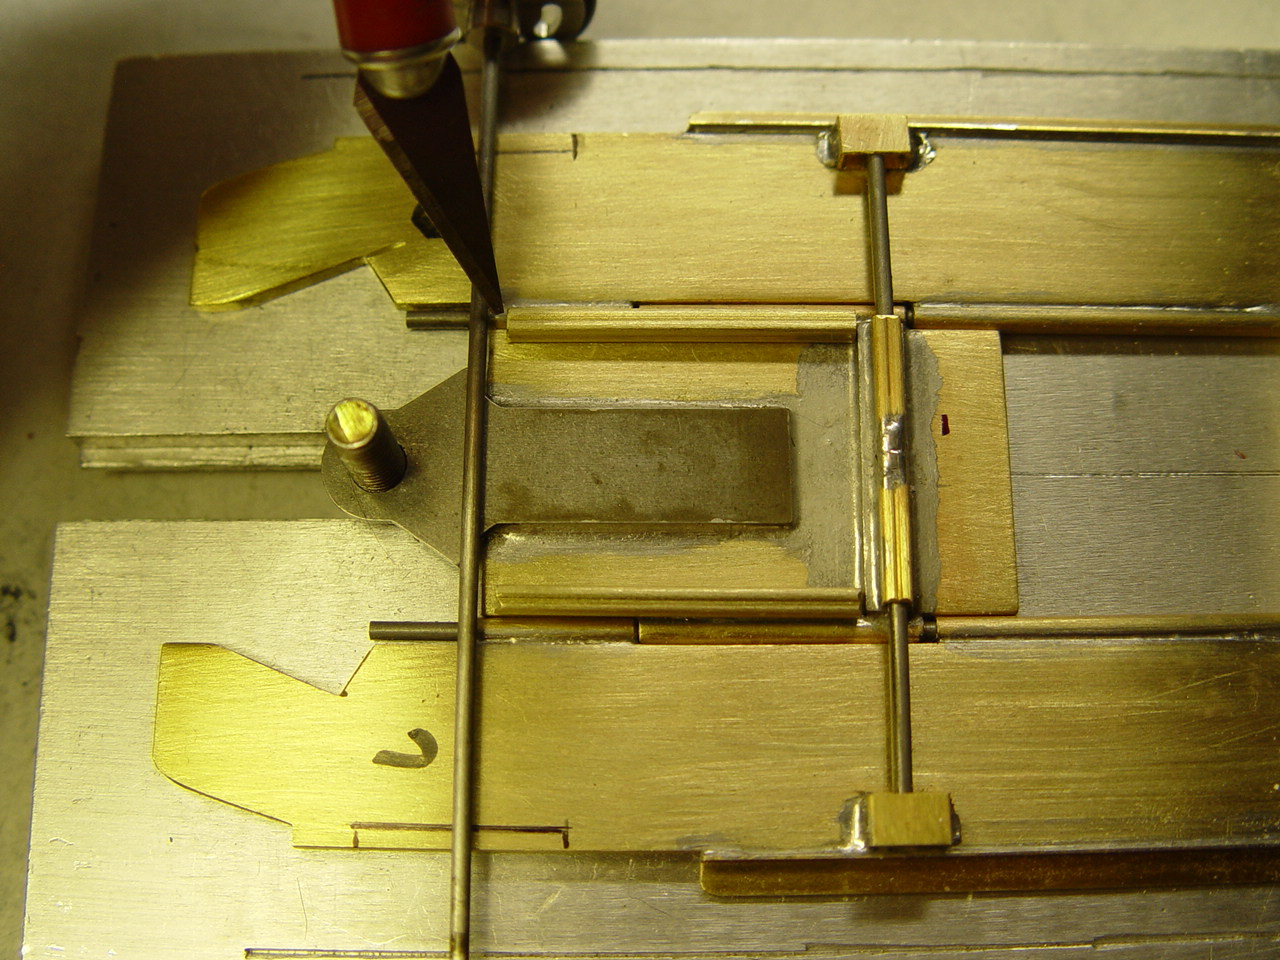
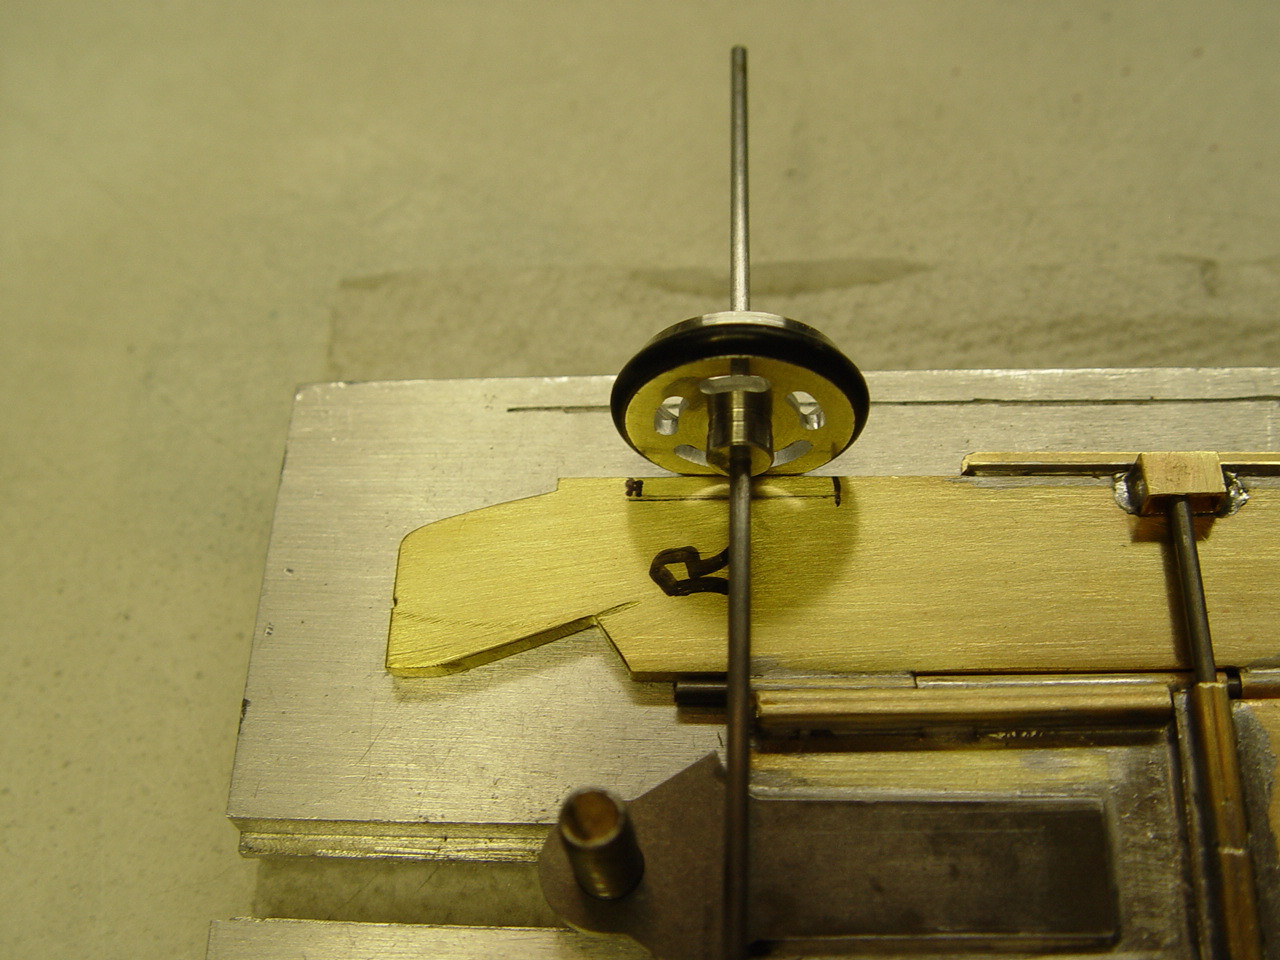
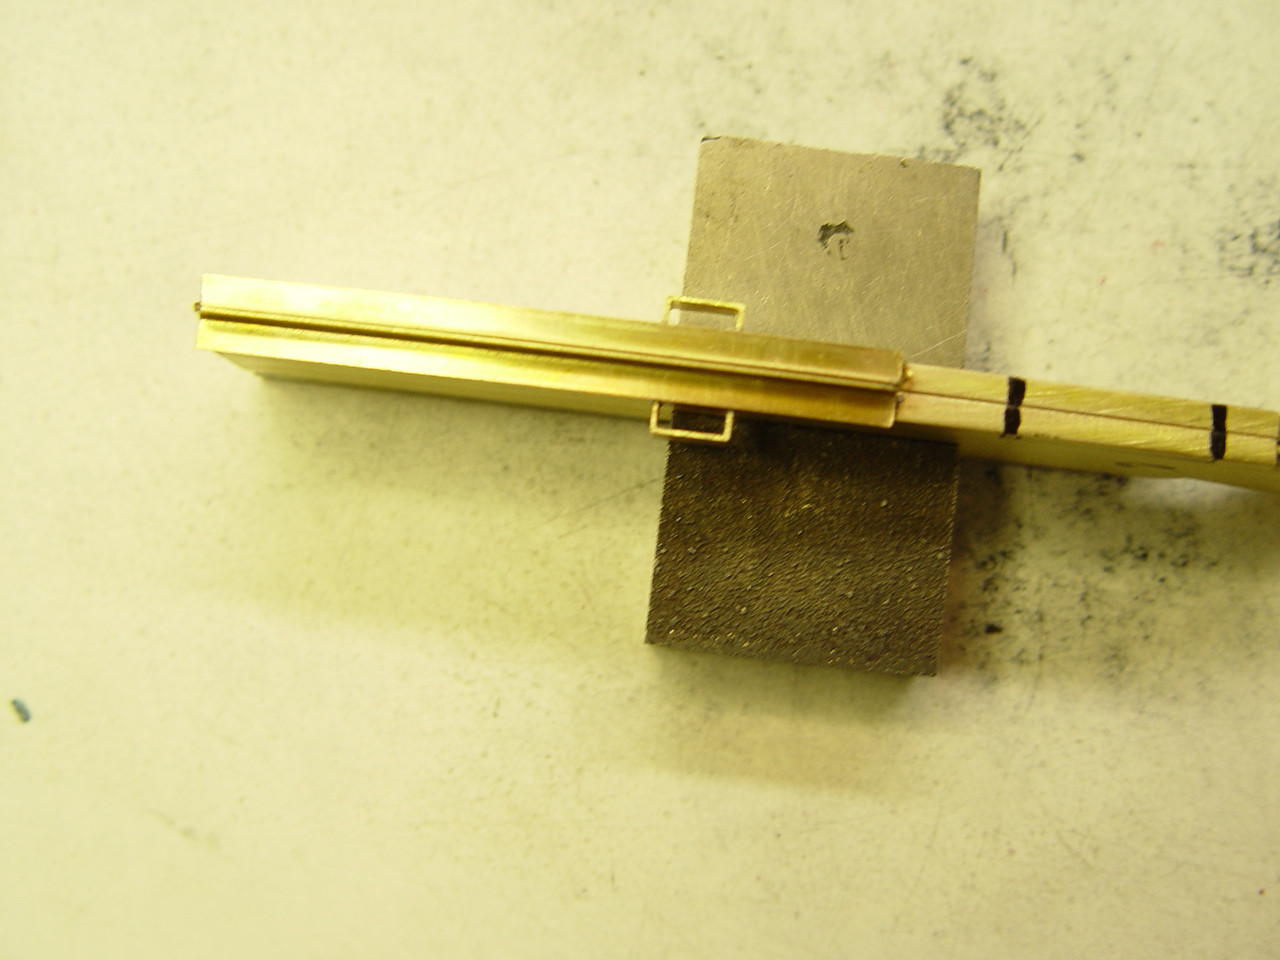
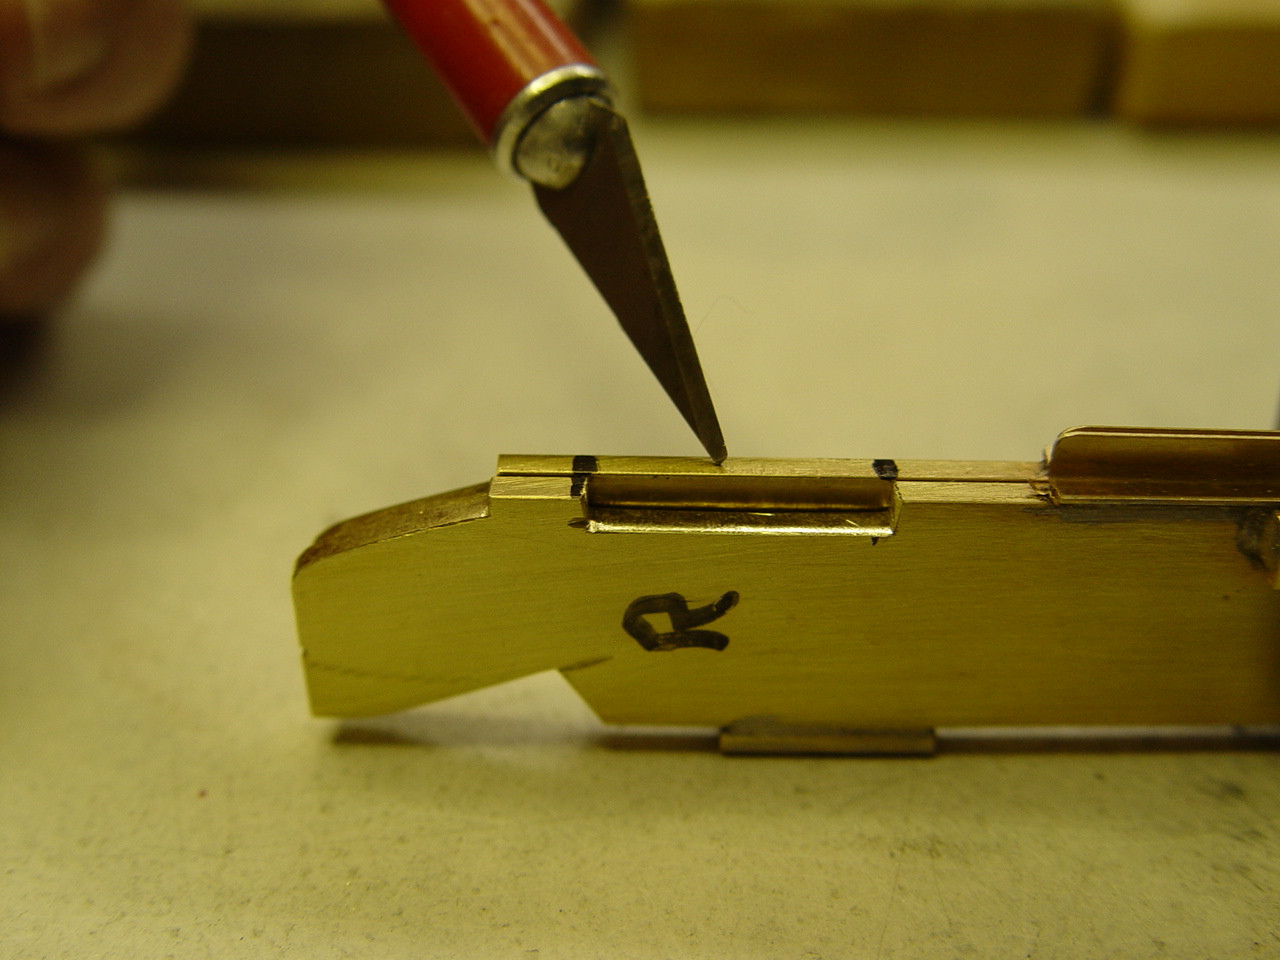
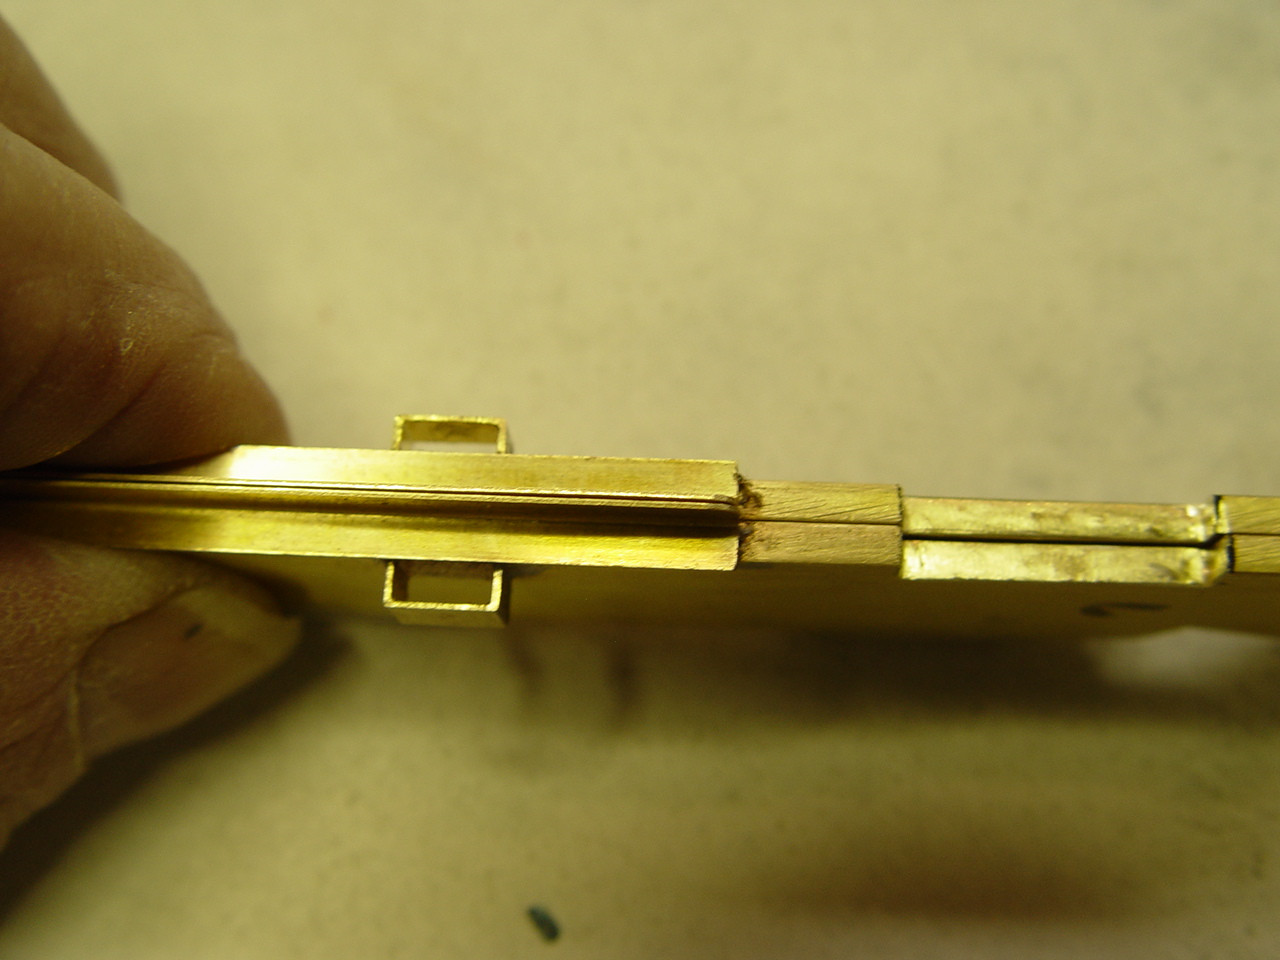
#1 place the two front wheels that you have decided to use on the build and place a .062 K&S wire install the wheels and set it on the jig. #2 Now move the center section to the middle of the two 3/32" tube as shown. #3 Place the body on the chassis so the center of the rear wheel openings on the body matches up to the rear axle. Then move the two side pans tight against the motor bracket. Rember to keep the center section centered between the side tube that you have already soldered. Now center the front wheels to the middle of the front wheel wells, as shown. #4 Mark where the front axle is set. You can place a piece of tape to hold the front axle in position. #5 Look at where the wheels are located and with a Sharpie marker draw a line from the front of the wheel to the rear of the wheel on each side pan as seen in picture 5. This measurement is about 2mm deep and 16mm long on both of the side pans. Now pull out the two side rods and remove the side pans from the center se section. #6 Cut the rectangle that you have drawn on the brass then file / sand smooth all the cuts. (the magnets are to hold the brass together in order to take the picture). #7 Now put the two side pans together and scribe the next cut on the other side pan. High lite the scribe marks if needed. Do not over cut this side pan or it will look weird. After cutting file / sand the cut area smooth. You can tape the two side pans together then file, the brass to the same length & width. #8 The cut and filed areas should look like picture 8. Assemble all the chassis parts and place what is finished so far on the jig with the side pans tight against the rear motor mount.