Topic: Chassis Build #9
Read this page before going any farther and understand what needs to be done. You have seen in some of the previous pictures the two cuts were already made. That is because I forgot to take some pictures during the writing. It will not be a problem. Do not cut or round the side pans ends yet. This will come later.
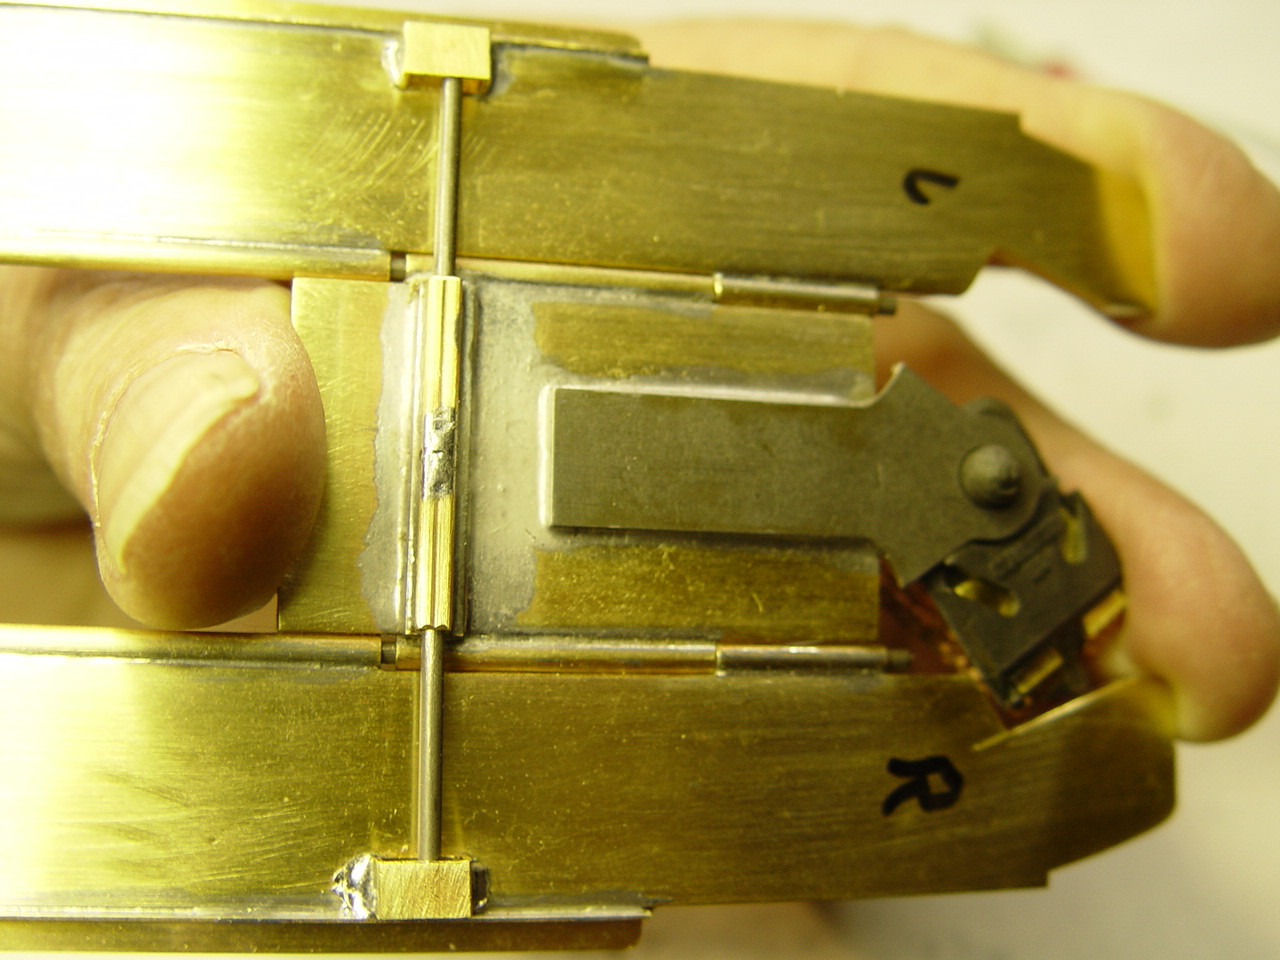
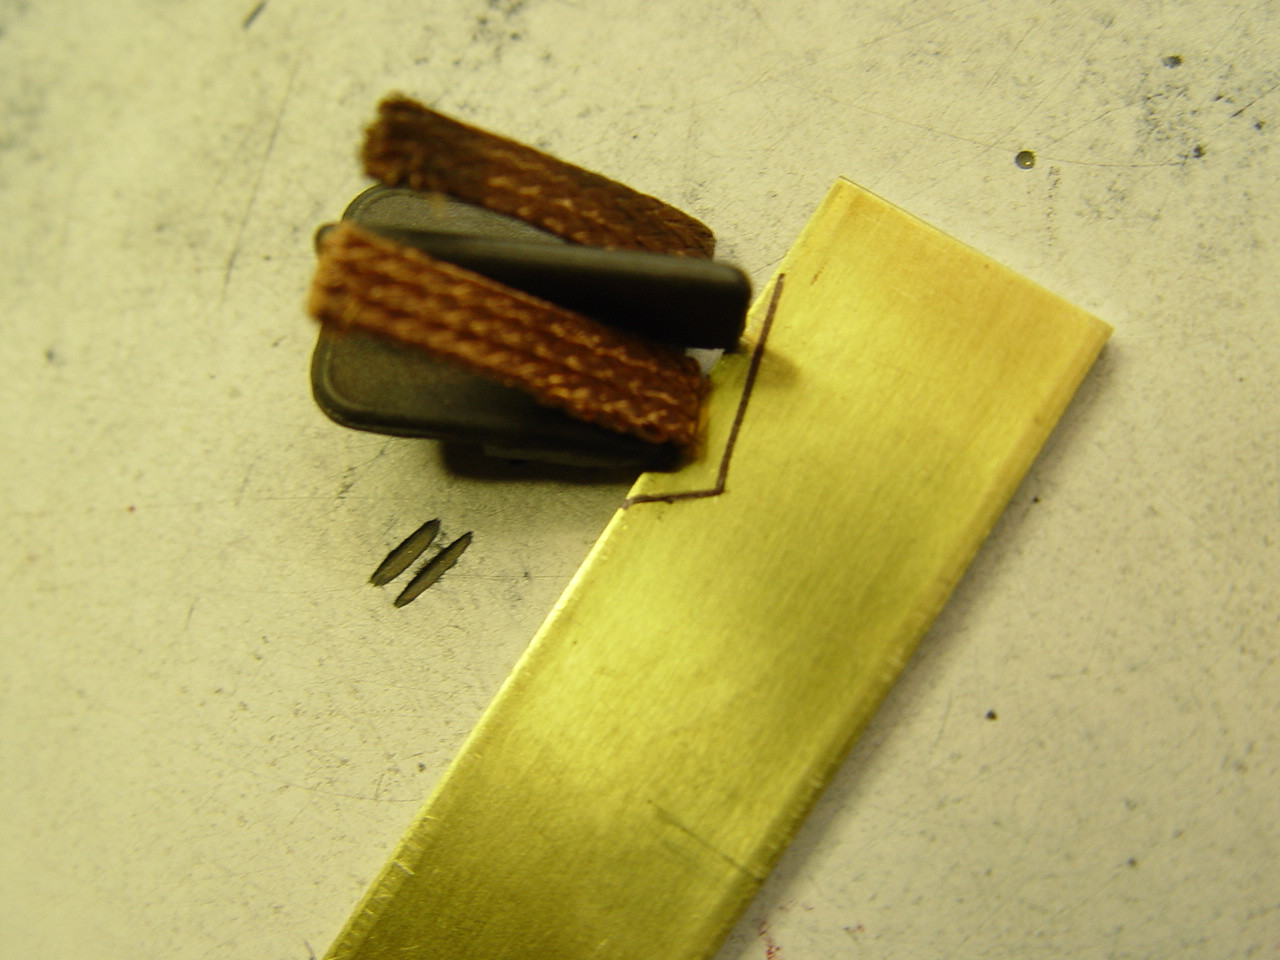
#1 Hold the chassis as shown with the brass center pan pushed forward with your thumb. Now with the guide and braid in place then position the guide stop at the tongue. Now mark with a scalpel knife an odd-looking V-shape on each of the brass rails. As shown in picture one. #2 you can mark the shape with a sharpie marker, now you can now see where to cut a bit more easily.
You can disassemble the chassis by pulling out the two steel rods to make the cuts a bit easier.
You will somehow need to hold the brass very steady. (Options) You can put the brass side pan in a vise with a wet towel or with a wet towel and vice grips on a section of wood so you do not mar the brass and helps to keep the brass from slipping, then cut with a Dremel with a cut off wheel attachment, or use a jig saw or band saw with a metal cutting blade, or a metal file or whatever you think will get the cut done without any injury to yourself.
("Danger - Will Robenson - Danger"). Caution, Think this step through before making any cuts in the brass. Do not hold the brass with a wet rag while cutting the metal. If any of this makes you feal uncomfortable, talk to someone who has cut metal before and get an idea of what is going to be needed to do this step.
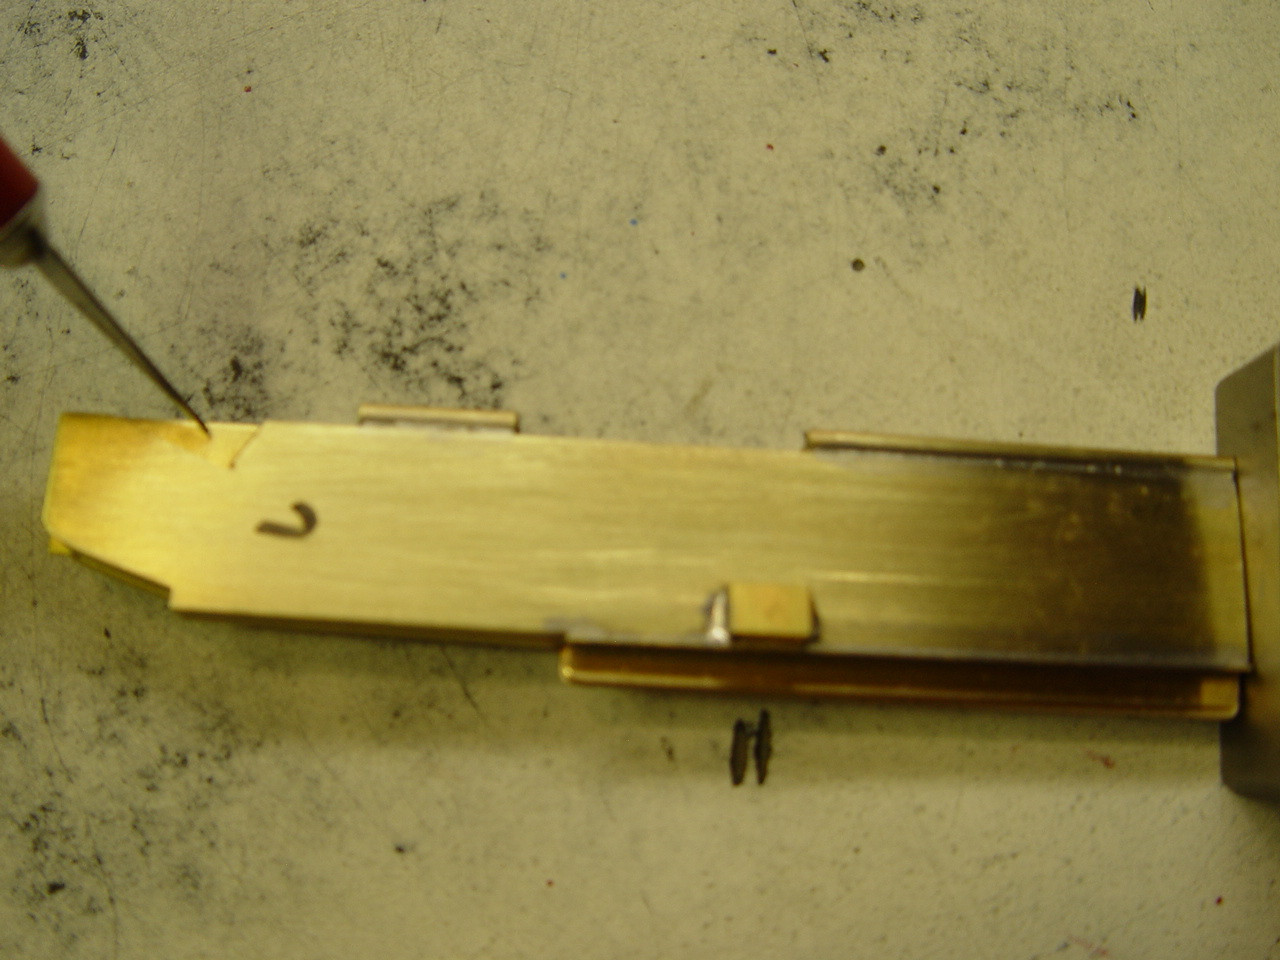
Now slowly and be careful - cut the odd V-shape into the brass. #3 Once you finish the cutting the first brass side rail, you can put the L/R brass flat sides together with a flat block at the back of the side pans to keep them equal length, you can use tape to hold them together to make your scalpel mark in the second brass siderail and see if the marks are even. then hi-lite with a Sharpie mark on the next side pan to be cut. Cut the odd V-shape in the second pan. Now flat file / smooth then camphor the sharp edges with the file or emery cloth top and bottom on both side pans.
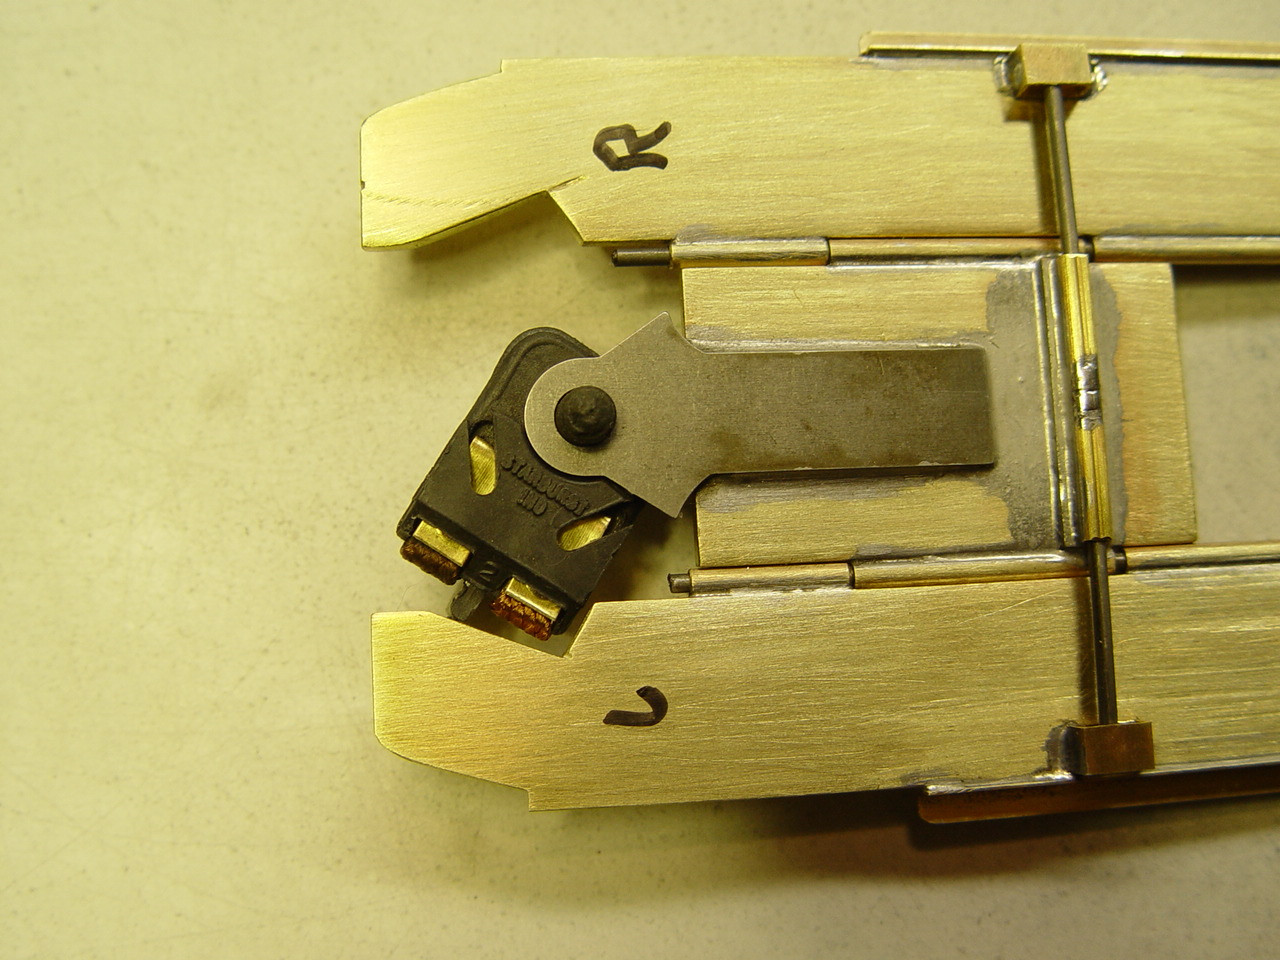
#4 You can see what the finished cut brass needs to look like in the pictures of each step.