Topic: Chassis Build #6
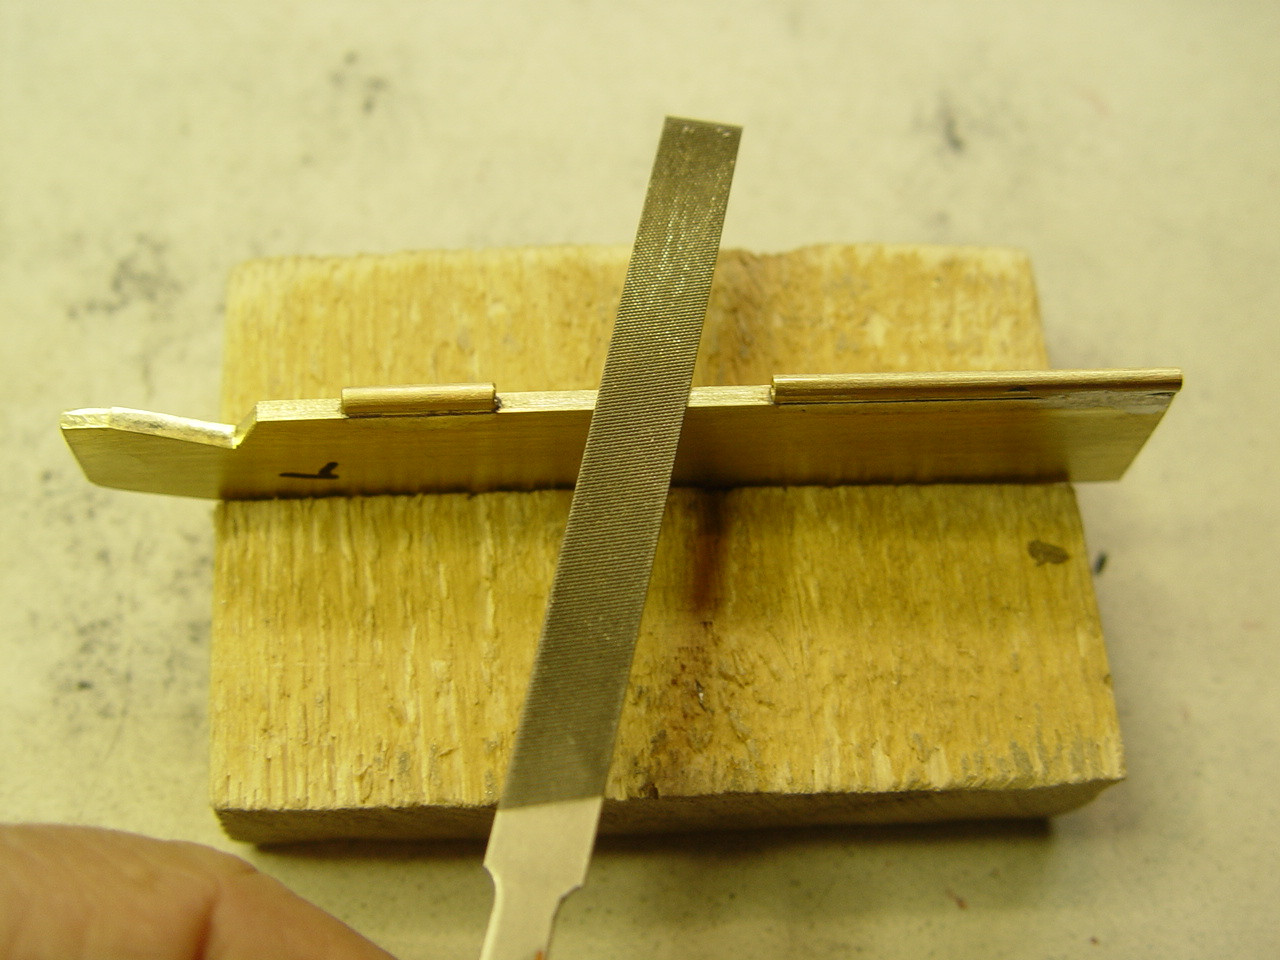
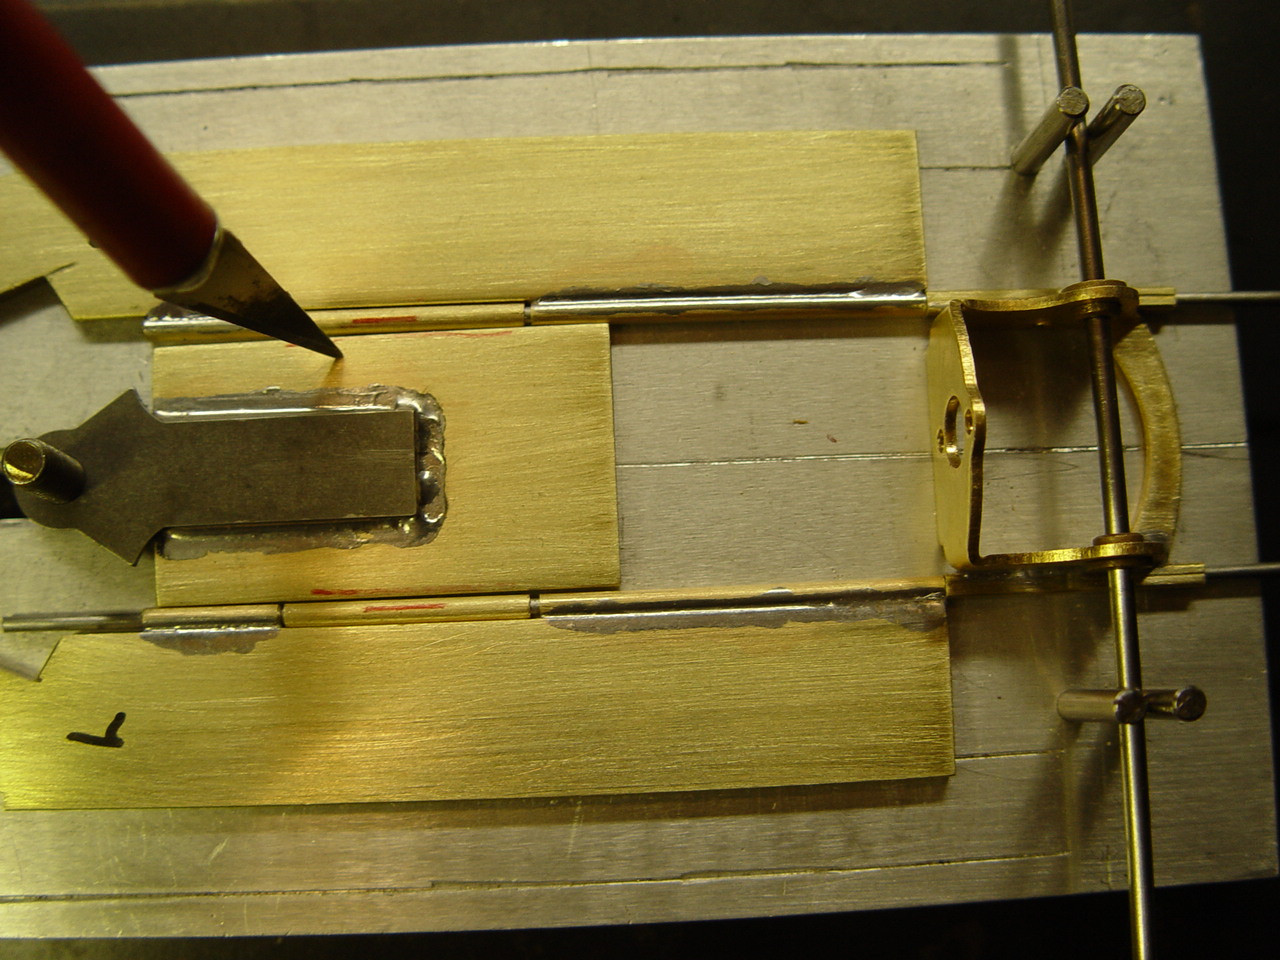
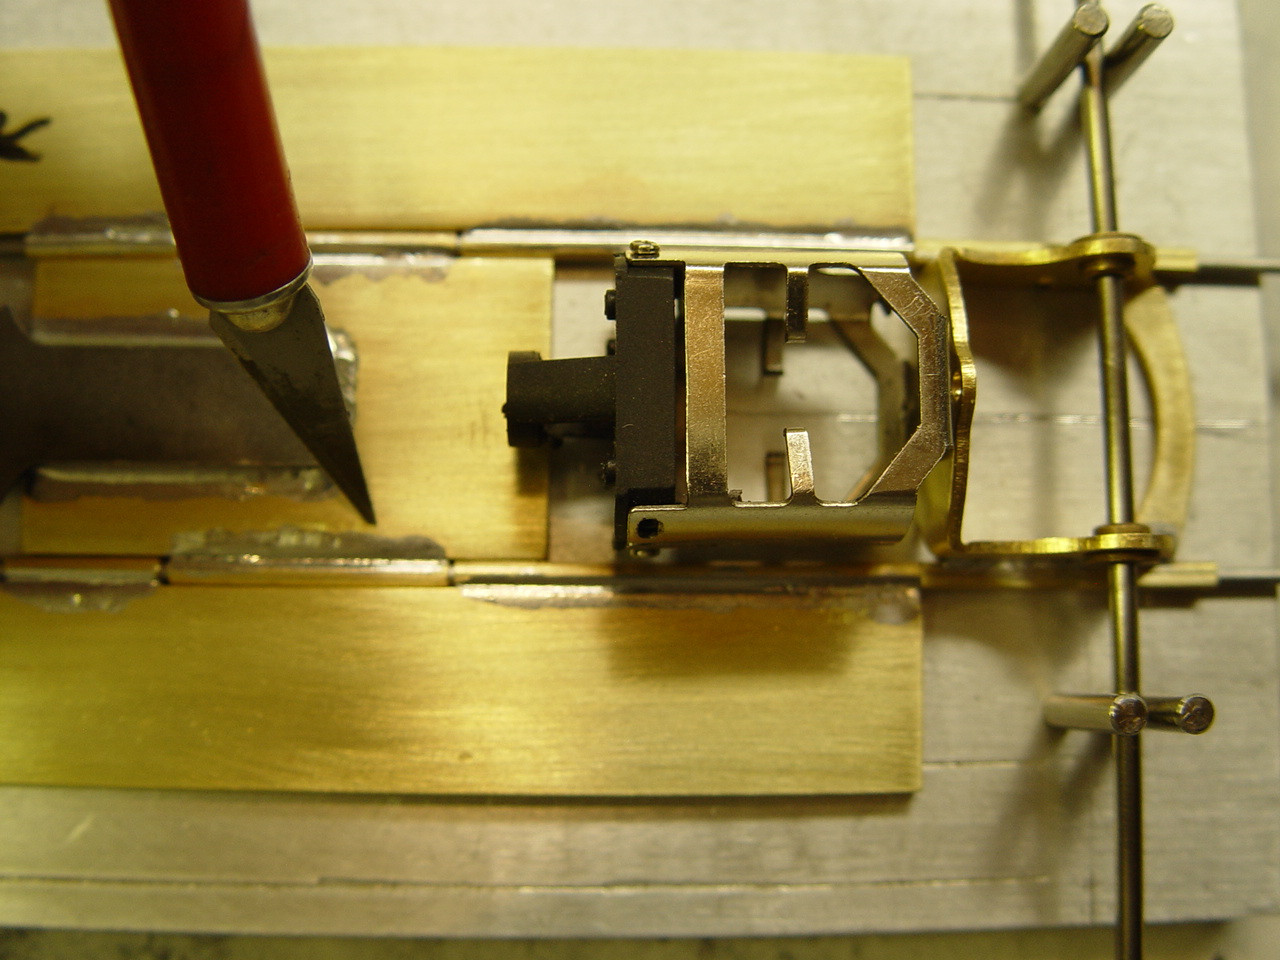
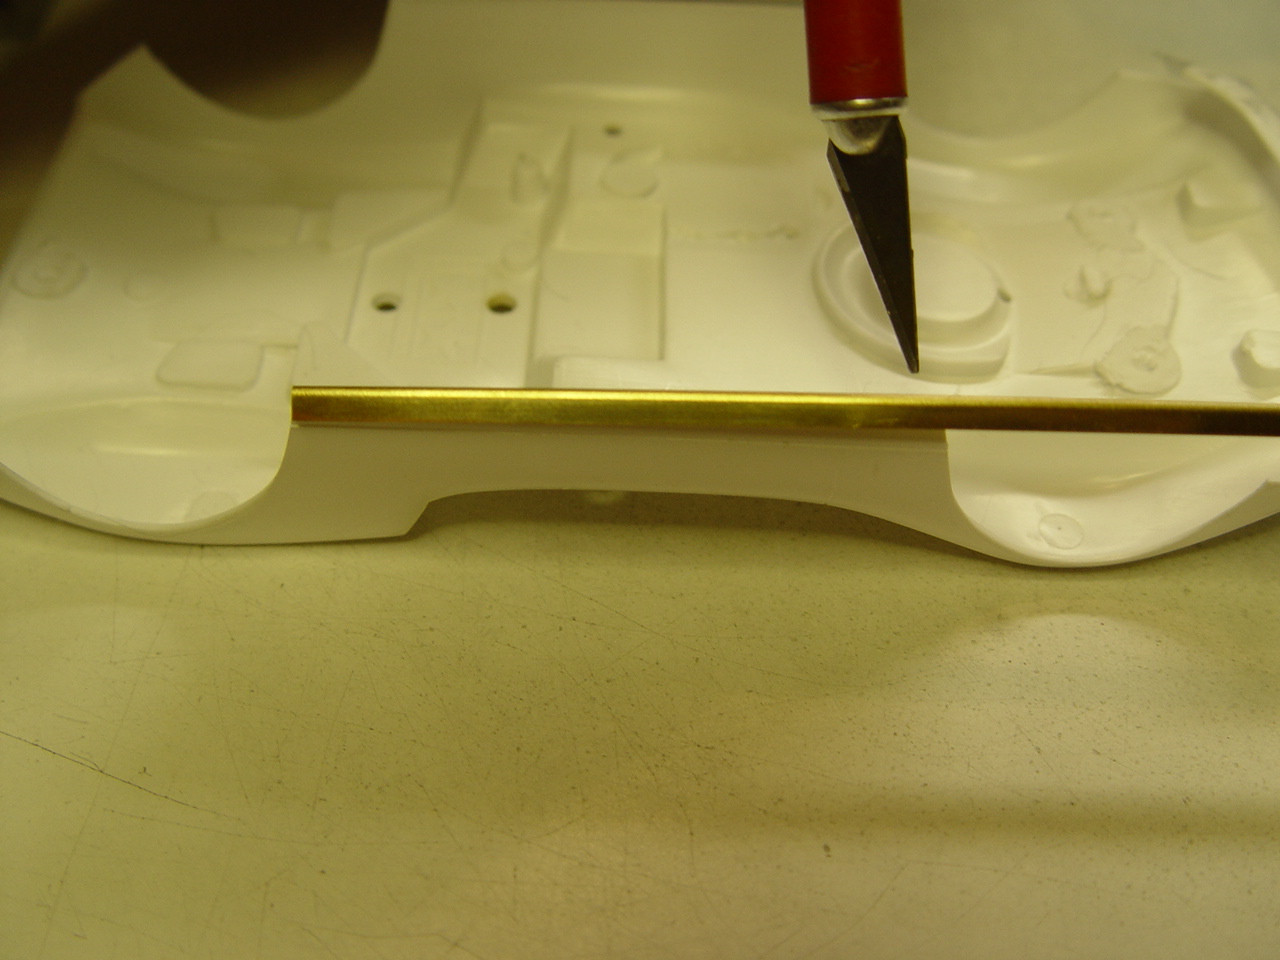
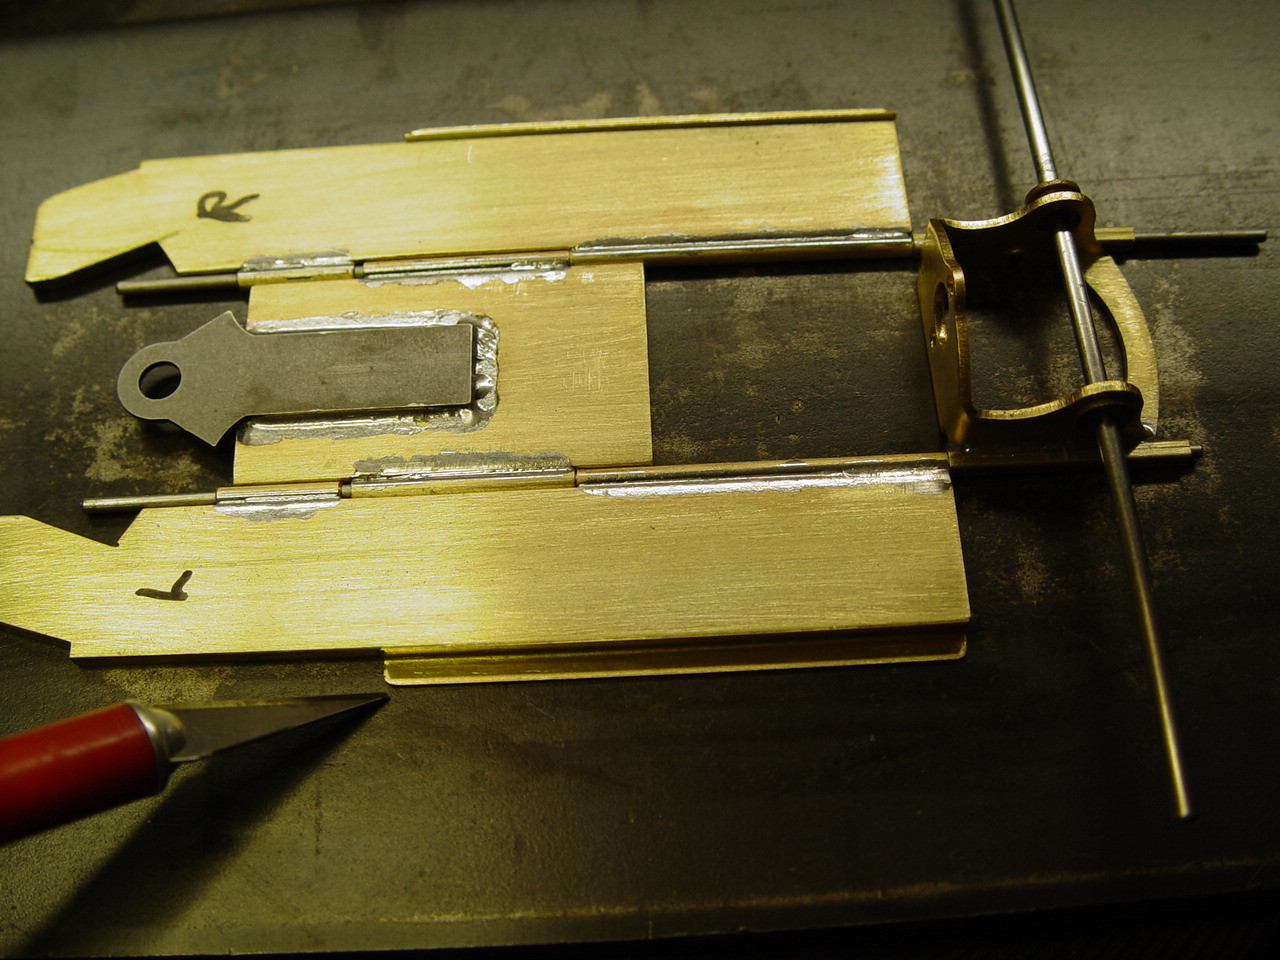
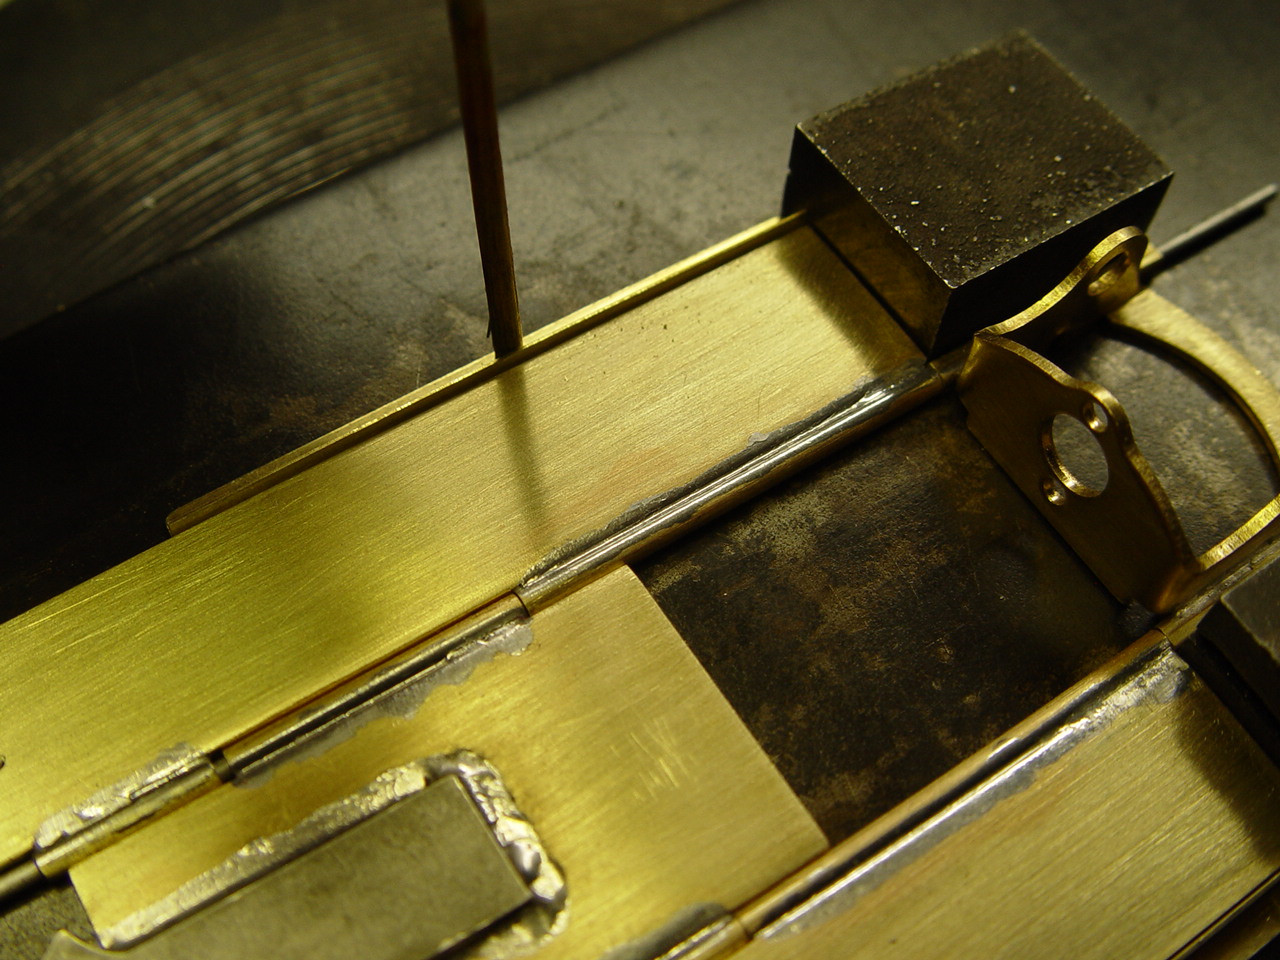
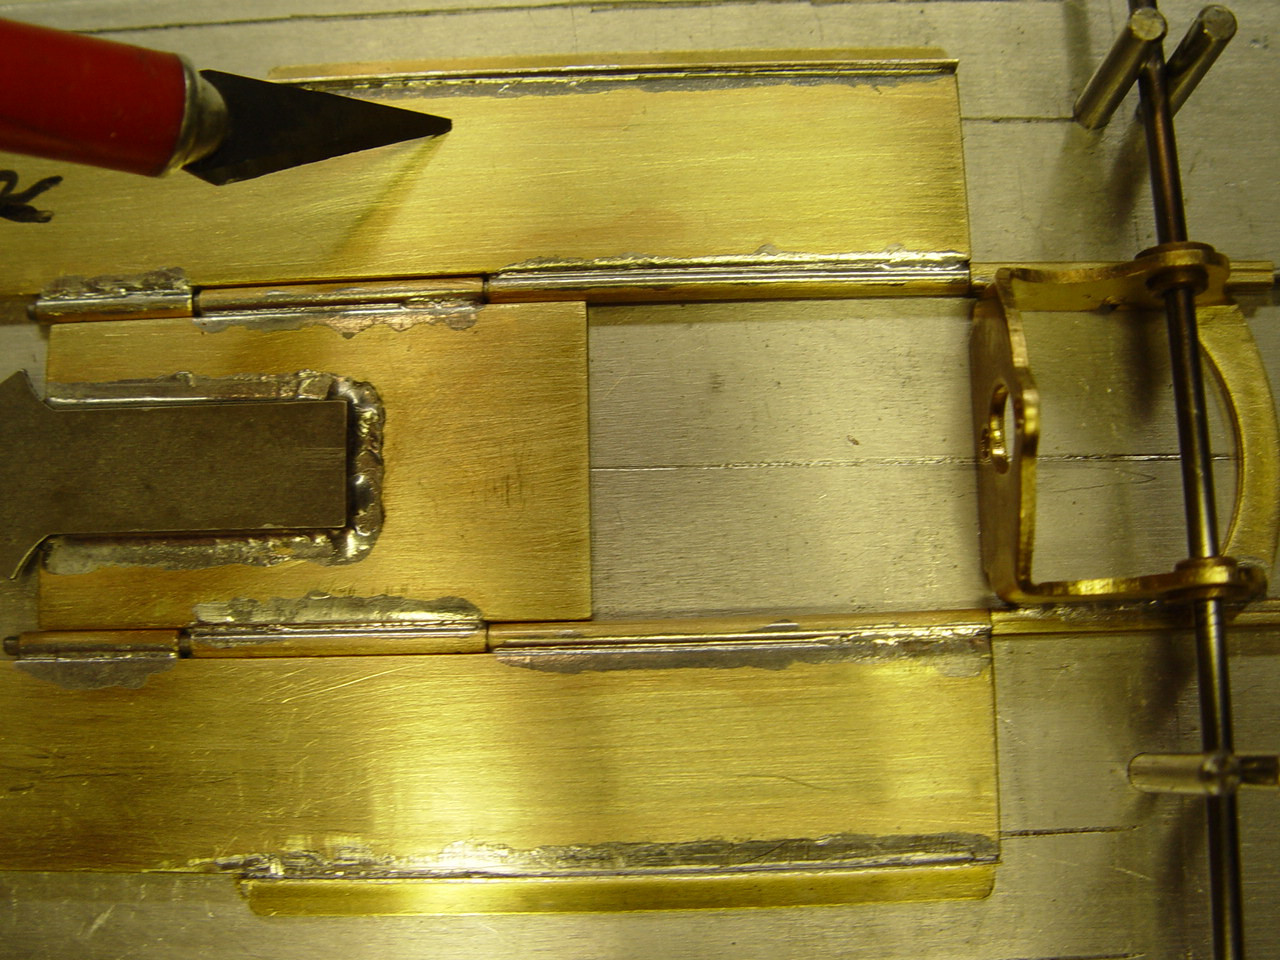
#1 Take the side pans off the wire and flat file the space between the two soldered tubes using a small flat file. Then file back and forth about 6-8 even passes between the two tubes this needs to be done on both side pans. This step will allow the side pans to move with less friction. #2 Place both side pans back on the wire on the jig and square everything tight and the side pans against the motor bracket. Make an equal gap between the two soldered pieces of pipe as shown. Next, you will need to solder the unsoldered tube sections to the center section of the chassis marked in red. Place the jig on the hot plate, turn on and get everything up to operating temp. Make sure the gap is equal on both ends of the tube. Now solder the two tube sections to the center section marked in red. You may need to hold the side pans tight against the center section, if you see a gap. Do not get any solder or flux in the tube or on the wire. When you are finished soldering turn everything off. #3 Clean the solder joints you just soldered. This is what the end result should look like after being soldered. The center should move freely between the two tubes. If not, you will need to see what went wrong and fix it. #4 Cut two pieces of K&S brass angle part # 9880. Make a measurement then mark at the edge of the wheel well on the brass at the side if the body then cut the brass. The two cut pieces will be the shelf for holding the body on the chassis. The two pieces should measure 6mm each equal length. #5 Sand both of the two outside of the brass angle, then sand the outer edge of each side pan. Round the angle corners front and back so they are not sharp. #6 Place each of the angles flat against the side pans as shown, use a magnet or metal block to help keeping it from moving. When ready, hold down the angle flat against the side pan and flat on the hot plate metal with a secure or chopstick. Solder the brass angles to the side pans and use some flux when soldering. #7 Clean the solder area with some lighter fluid and a piece of paper towel and it should look something like this, picture 7.