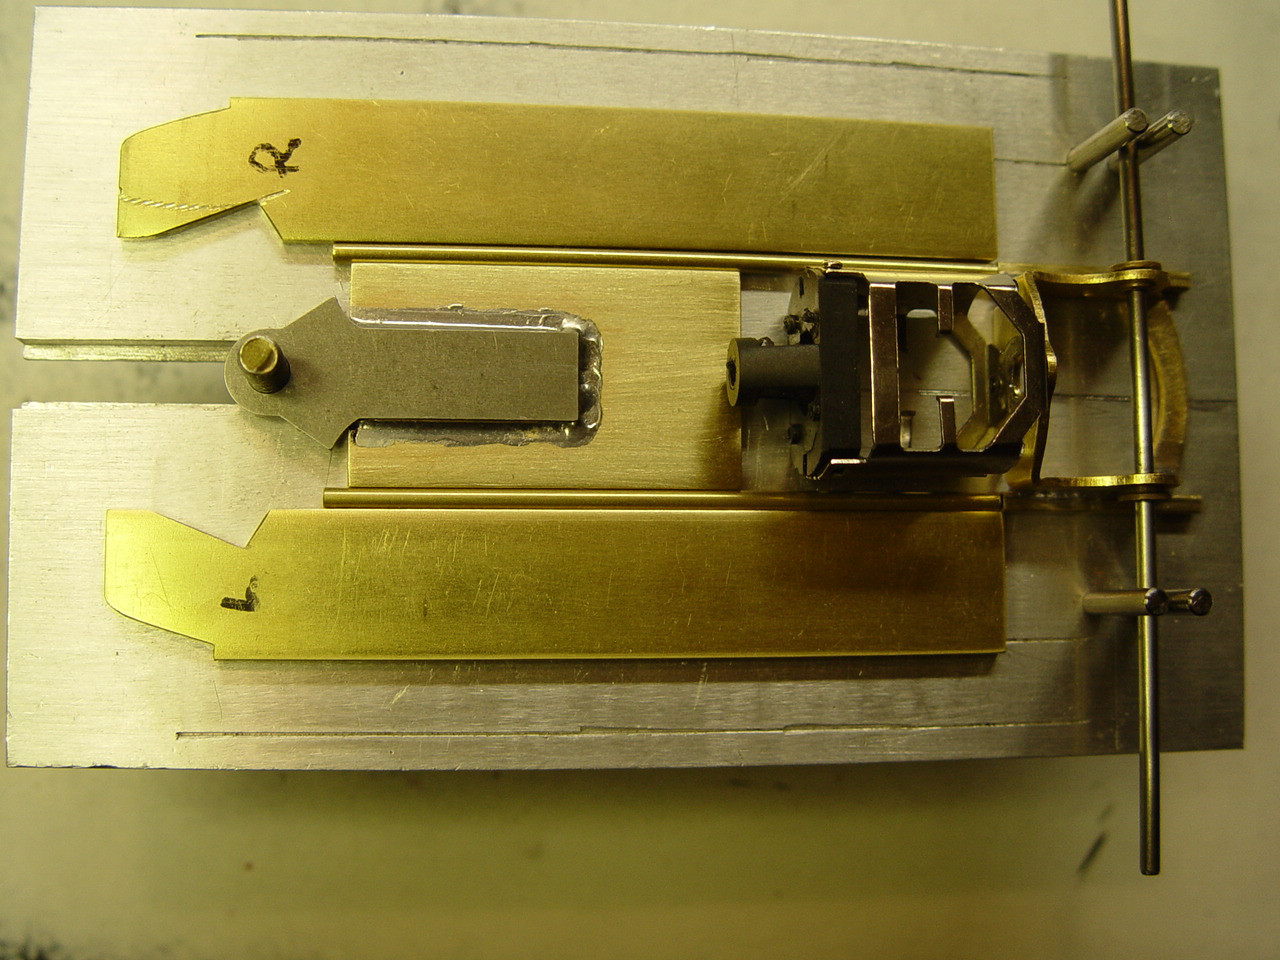
Topic: Chassis Build #4
Before starting this section and all the rest of the build, read the page & view the pictures first before going on, so you will know what to expect...
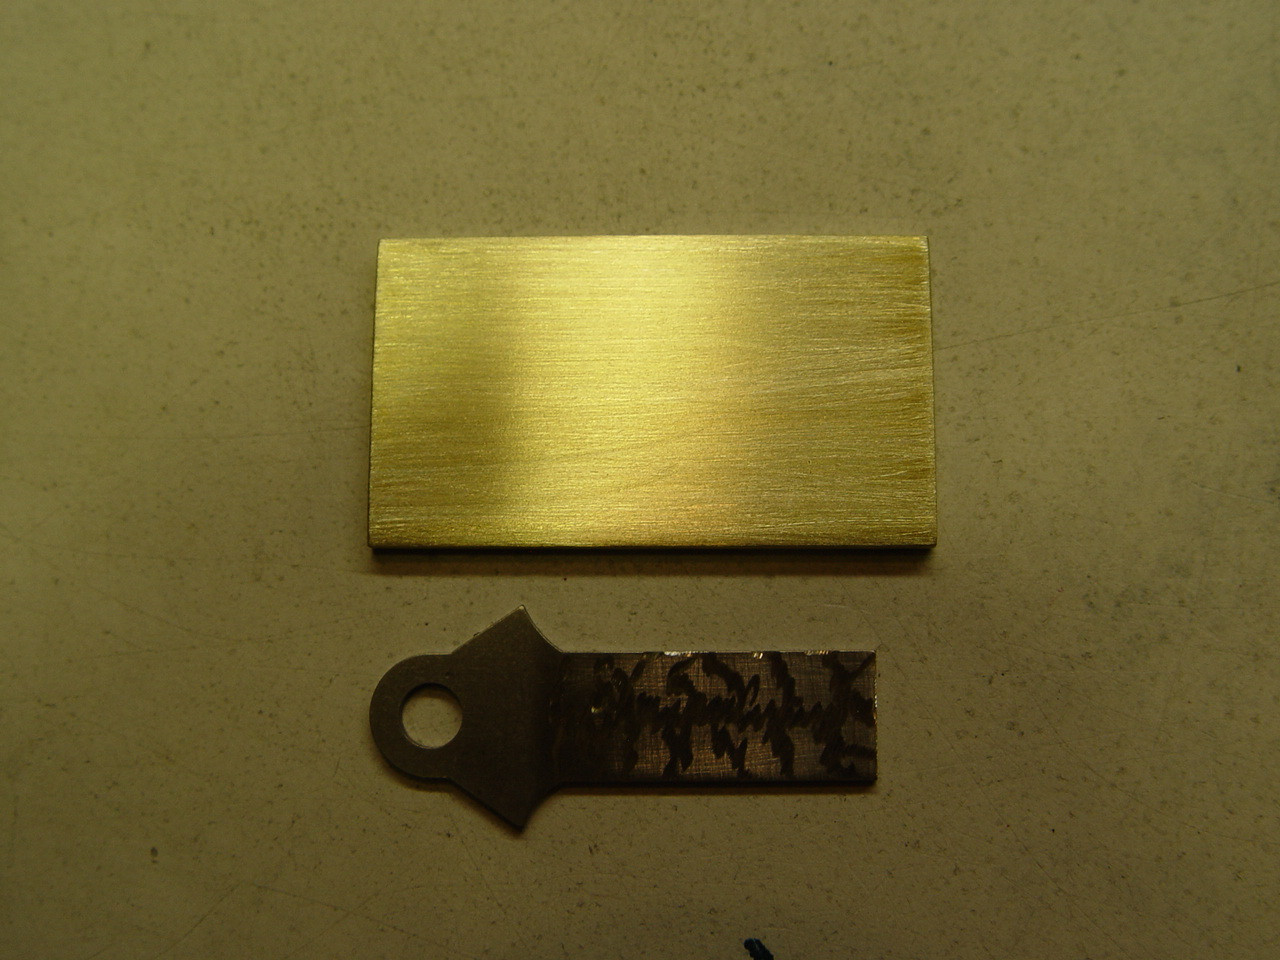
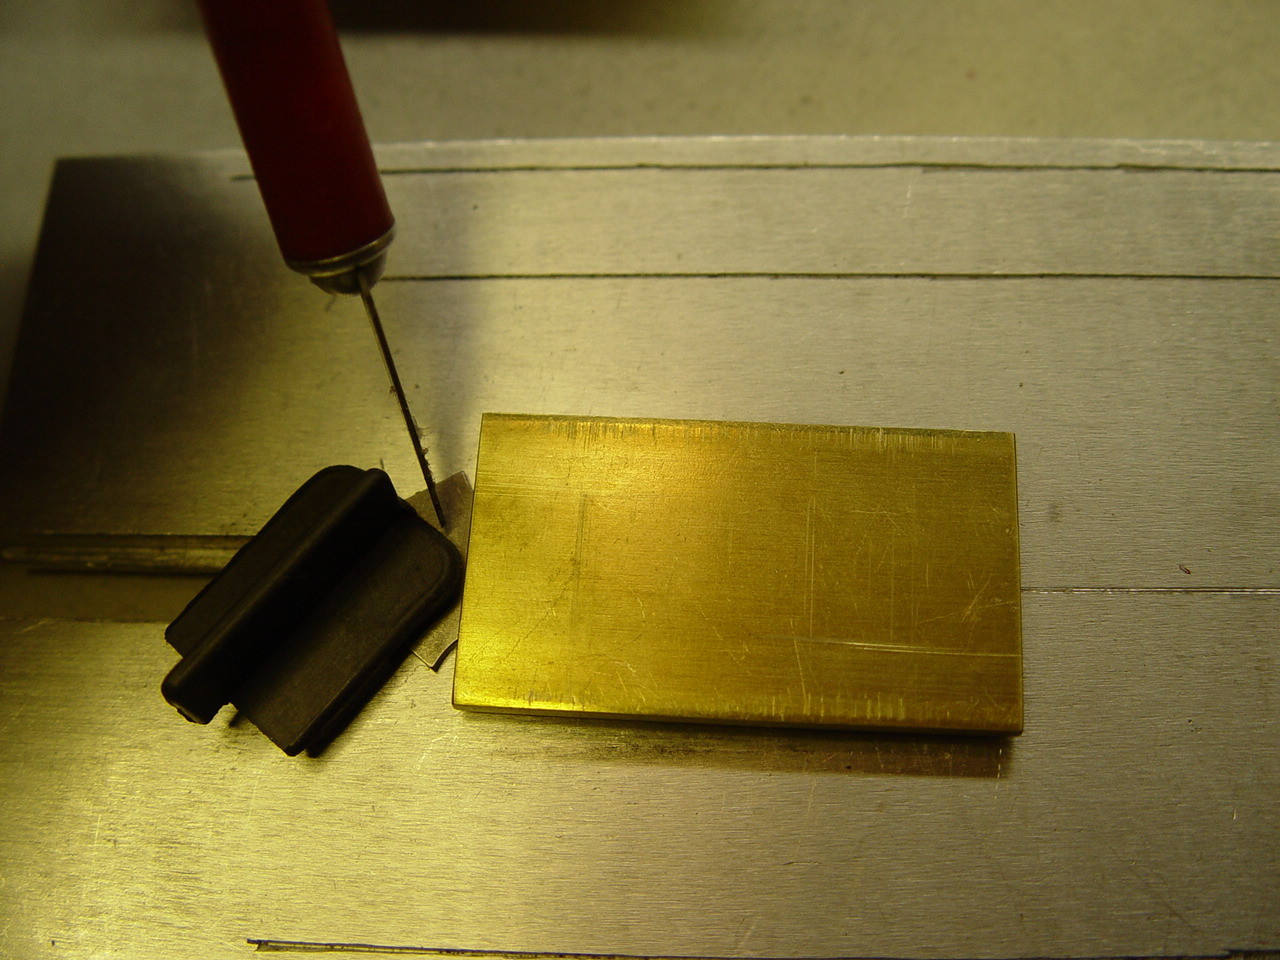
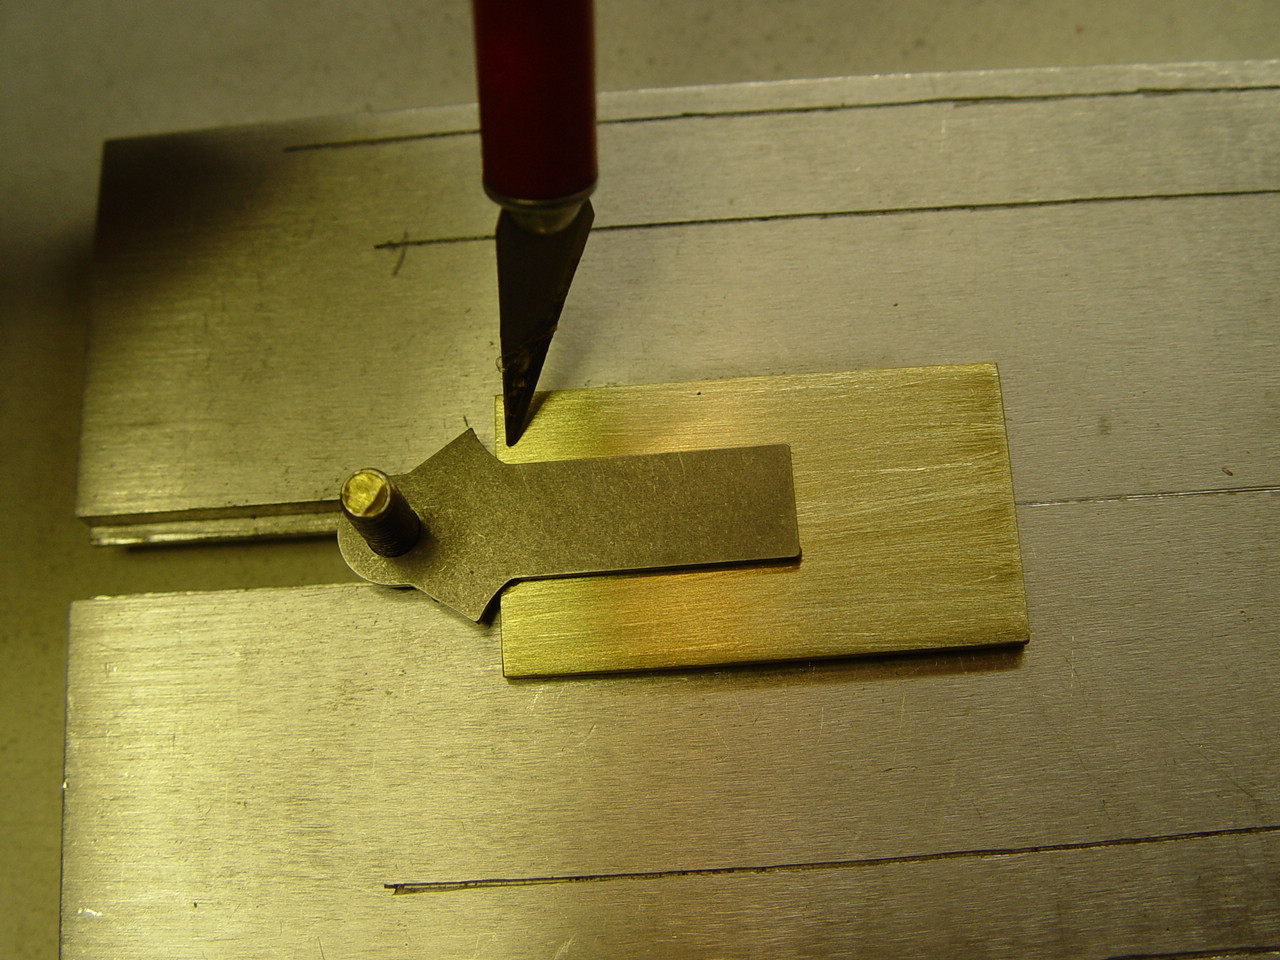
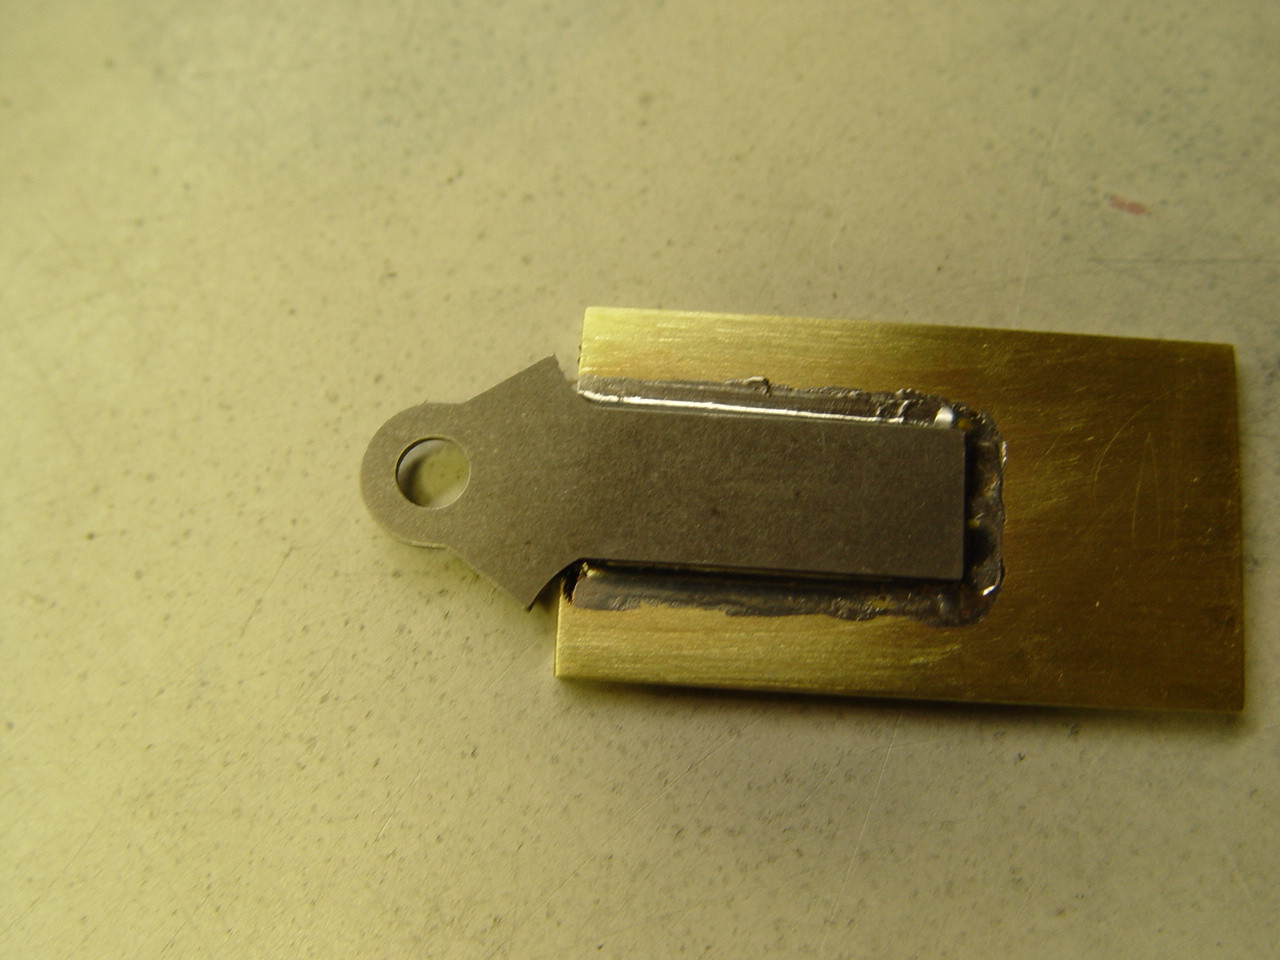
#1 Sand the top side and sides of the brass 1" center and the bottom of the tongue and sides, do not sand the top of the tongue. I take the Dremel and cut light groves on the bottom of the tongue so that the solder will flow under the tongue while I have pressure holding the tongue down while I am soldering. #2 Turn everything over and hold the tongue to the brass and measure the distance from the guide to the edge of the brass so the guide will operate freely in the turn position. #3 Turn the parts over (remember sanded sides together and put a small smooth amount of solder flux between the tongue and brass. Put the two parts on the jig. Position the tongue on the brass at the measured distance that you chose. Center the tongue on the brass. (make sure it is centered.) Place the jig on the hot plate and turn on the solder iron and the hot plate, let the two heat to operating temp. (do not forget the 1/4" plate on top of the hot plate to disperse the heat evenly). Remember do not bump anything. You can hold down the tongue with a chopstick while soldering. Add a small amount of solder flux to the three sides of the tongue then solder the three sides of the tongue to the brass. When finished soldering, turn everything off. #4 Remove the part from the jig then let cool, then clean the parts with lighter fluid and a piece of tissue /paper towel removing all the solder flux from the brass and tongue. The soldered parts should look something like picture 4 with the tongue centered on the 1" brass center section and overhang for the guide to move freely. #5 place everything on the jig and see if everything is straight and square.