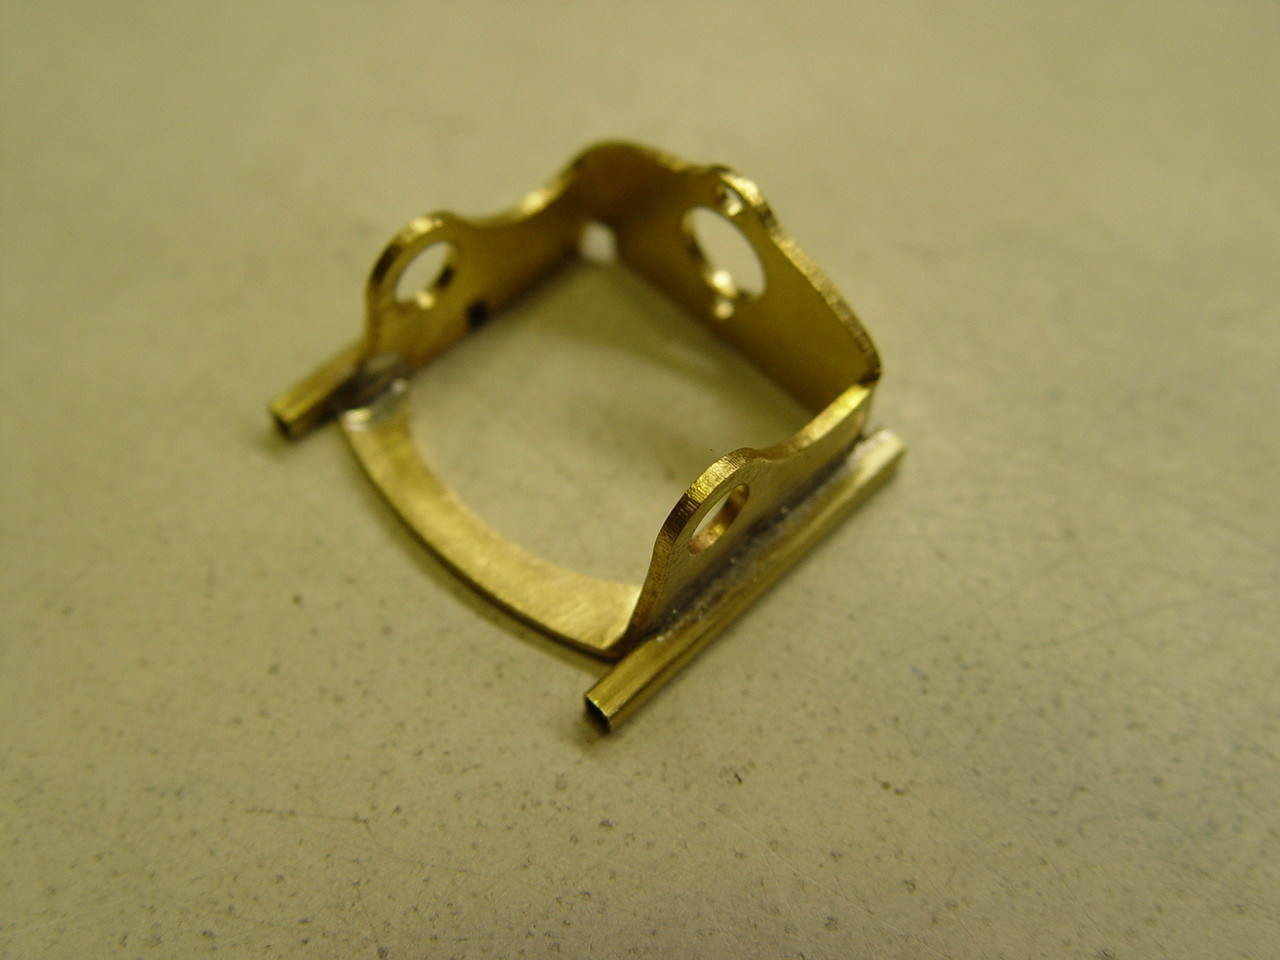
Topic: Chassis build part #3
Part #3
Before starting this section and all the rest of the build, read the page first before going on so you will know what to expect...
There are two things to remember, sand all the parts thoroughly everywhere getting all the oxidation / oils along with the excess end cut metal off each part and be very sure all the parts are as square & equal (length & width) (flat & not twisted) as possible, before soldering anything.
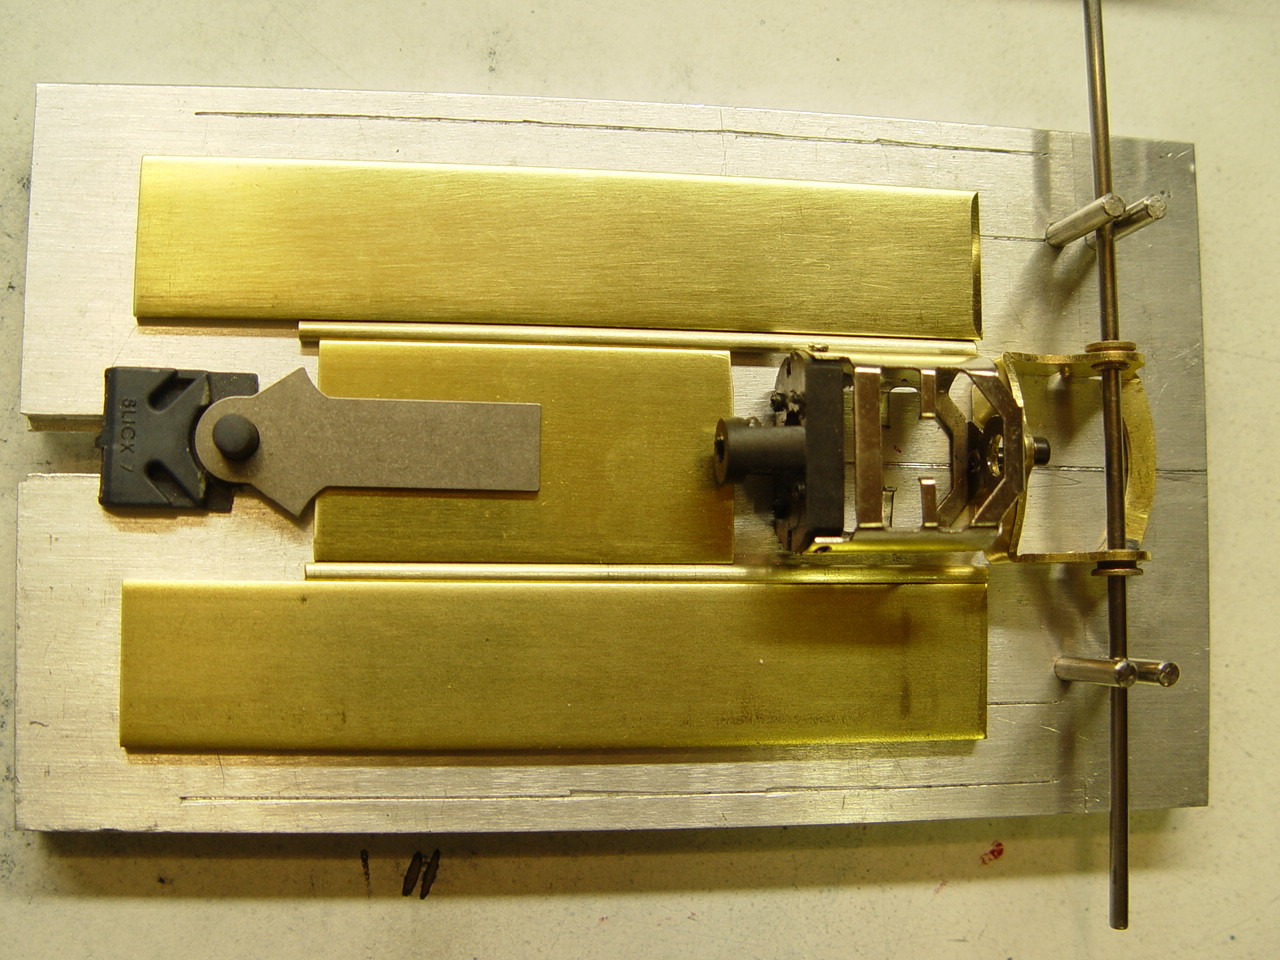
#1 Now Sand all the brass parts top, bottom, sides, outside & ends of the tube, motor bracket and anywhere you are going to touch the brass with solder. Do not sand the front of the motor bracket. Do NOT solder anything, I will let you know when to solder. Now check if everything is equal length and width and all the brass is flat? Be sure all the bar brass is flat, level on the jig. If anything is bent / warped / twisted, you will need to flatten it. I then mark right & left on the brass, put the flat side down rounded edge side up on the jig to be soldered. Do not solder anything.
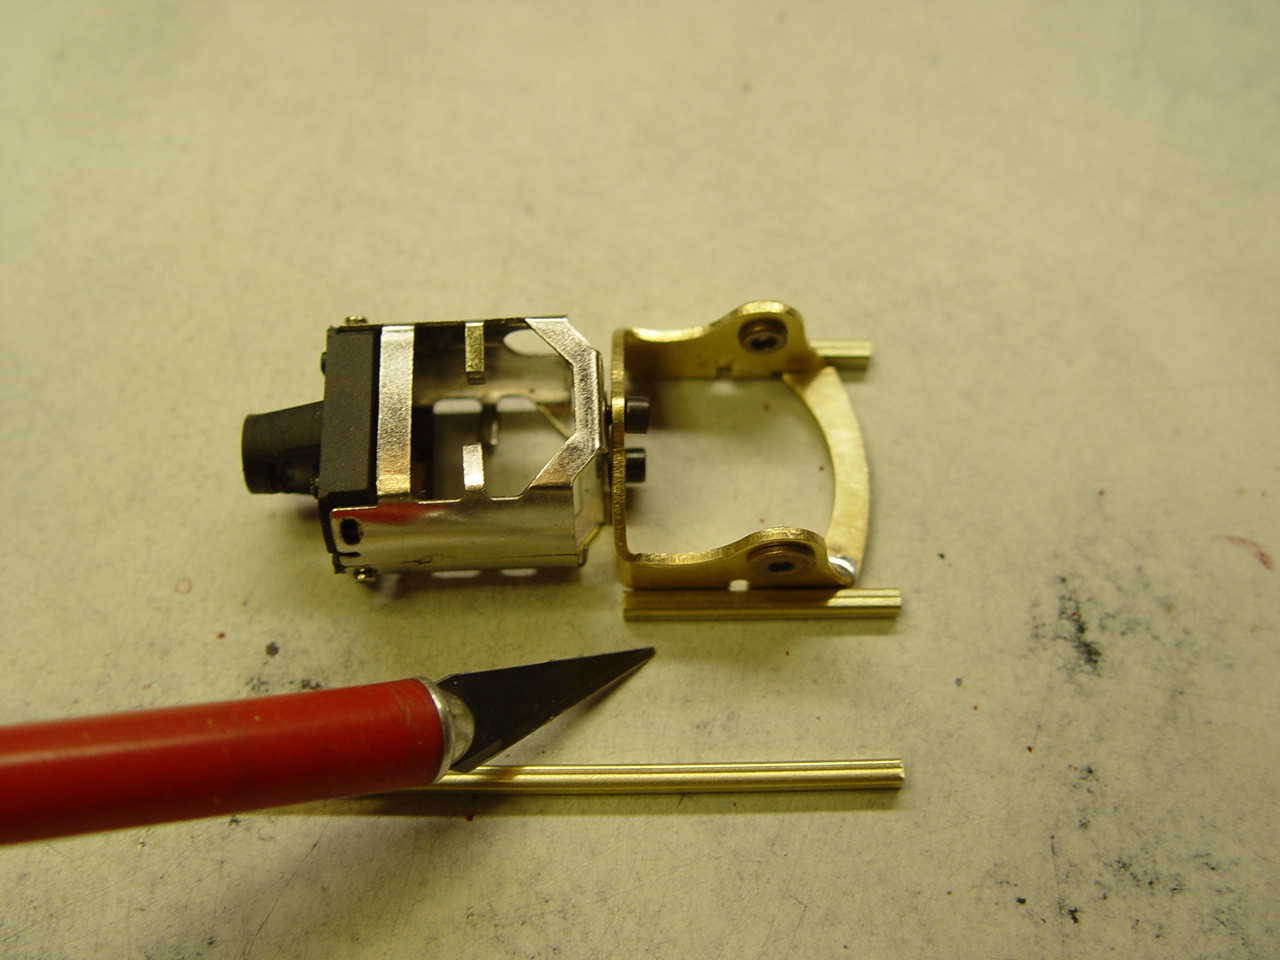
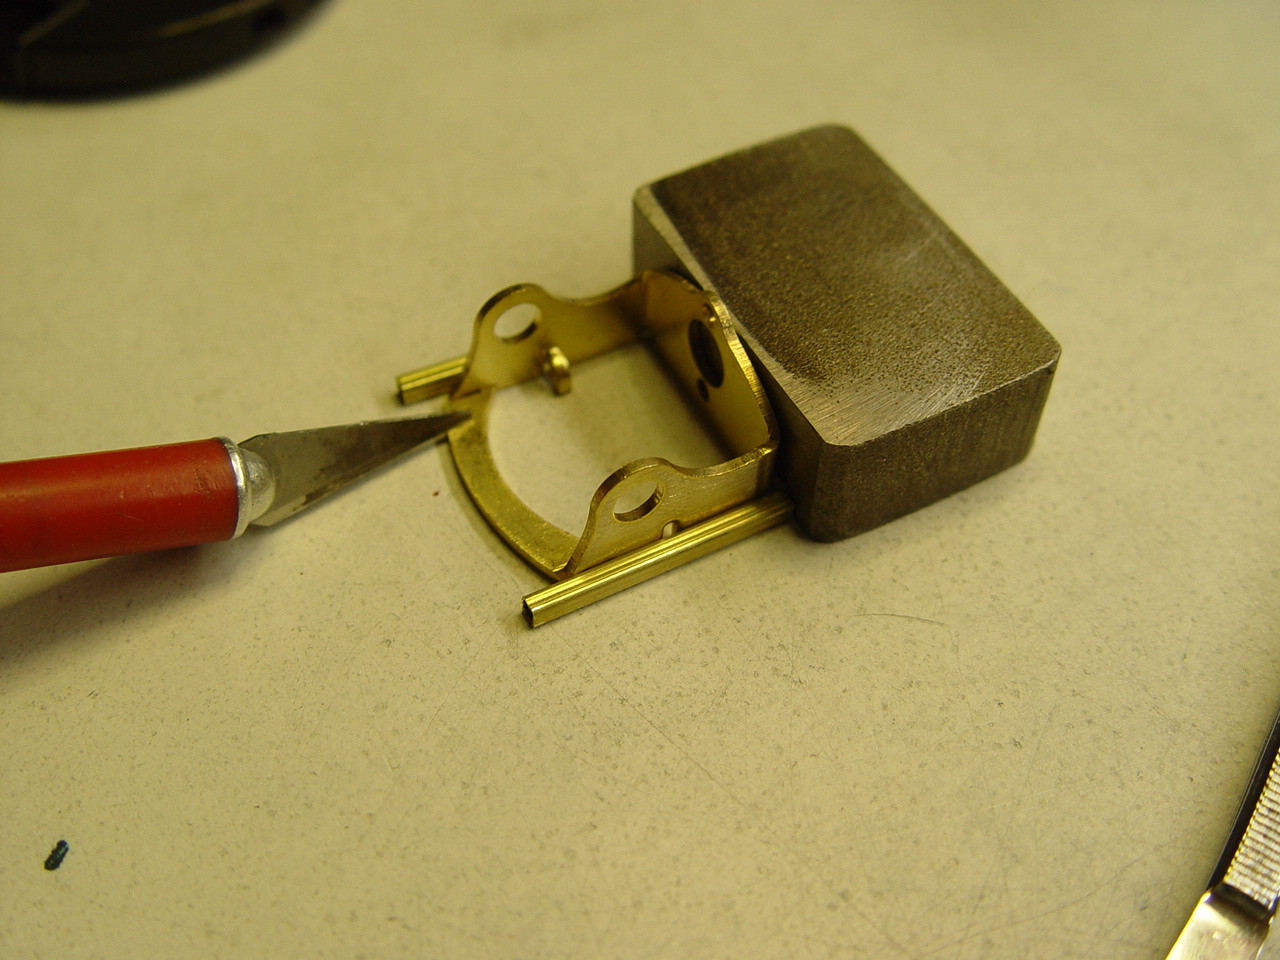
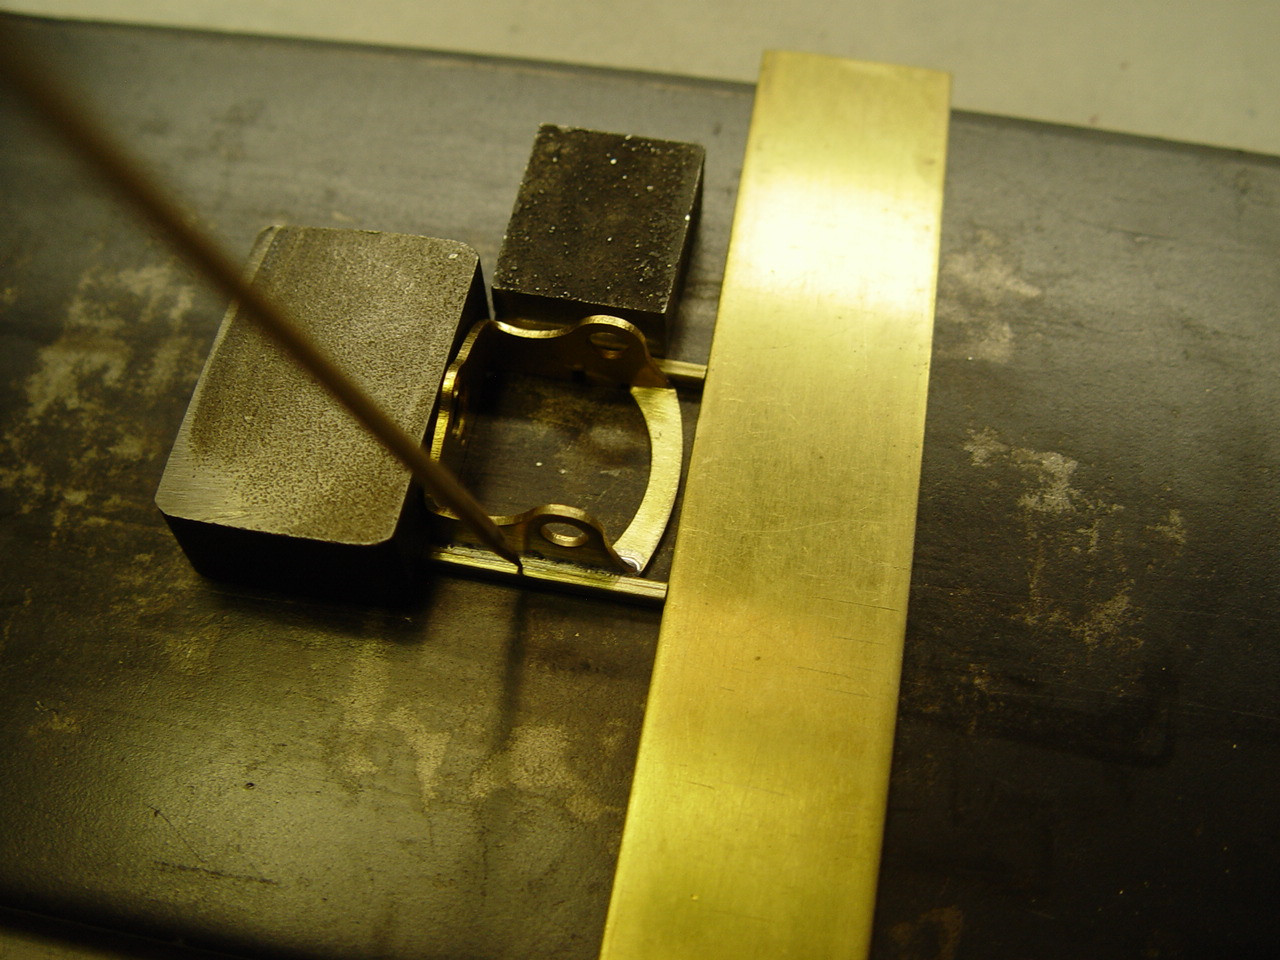
#2 Now cut two equal length 3/32" brass square tube to one inch length as shown in the picture. Sand all 4 sides of the square tube and the two sides of the motor bracket also clean out the ends of the tube so the .063 wire will slide easley through the tube. Do not sand were the motor attaches to the bracket. Remove the motor case from the housing and be sure the motor bracket is as close to perfectly square before going any farther; you will not get a second chance to do this. When this is done. #3 ( do not forget the 1/4" plate on top of the hot plate to disperse the heat evenly). Set the motor bracket on the hot plate with the two square tubes on each side of the motor bracket. Get all three brass parts on the hot plate. All parts should sit flat on the hotplate steel if you squared up all the angles of the bracket correctly, if not? square it again. #4 Then block the bracket tight with two pieces of metal or magnets as shown. Turn on the hotplate let it get HOT to operating temp. (Now this is where you test your nerves and soldering skills.) or (you can practice soldering on some old cut pieces of brass before doing the next step.) Use a bit of soldering flux on the brass before Solder the inside rear strap joint as shown at the end of the knife point (If you use this style motor bracket) then solder the outside square tube butted up tight against each side bracket you may want to use a wood secure to hold the square tube in place. Now start to solder use a little solder on the tip of the solder iron then at each end of the motor mount touch the solder to the tube & bracket, do not bump anything out of alinement or you will get to do this step again. Solder both sides. Now check to see if everything is square then finish soldering the tube to the motor mount. The bracket should look like picture #5. The two square 1" tubes should now be soldered tight against the motor bracket. If not, you get to clean up the solder mess and square it up again. Remember go slow and steady, there is no hurry. Solder everything slowly and correctly; this is NOT a race, or you will get to waste your time doing it again & again until you get it right. DO not leave the hot plate or solder iron on after each step. When you are done soldering turn everything off. Clean the parts with lighter fluid and a piece of tissue /paper towel removing all the solder flux from the brass Now you are ready to move on to the next step.