I like to call them "Smoke Release" holes!
1,327 May 18, 2021 3:29 pm
Re: The amazing craftsmanship of Niemas. (9 replies, posted in Cars)
Those are incredible!
Thanks Zack!
1,328 May 17, 2021 9:35 am
Re: This is the Indy car page. (73 replies, posted in Rapid Raceway)
Starting lineup for the first half of the race, L to R is Beau, Bob, Zack and Bart. 
Starting lineup for the second half of the race, L to R is Oggie, Beau, Matt, Mitch. Bob (L) and Al getting ready to turn marshal.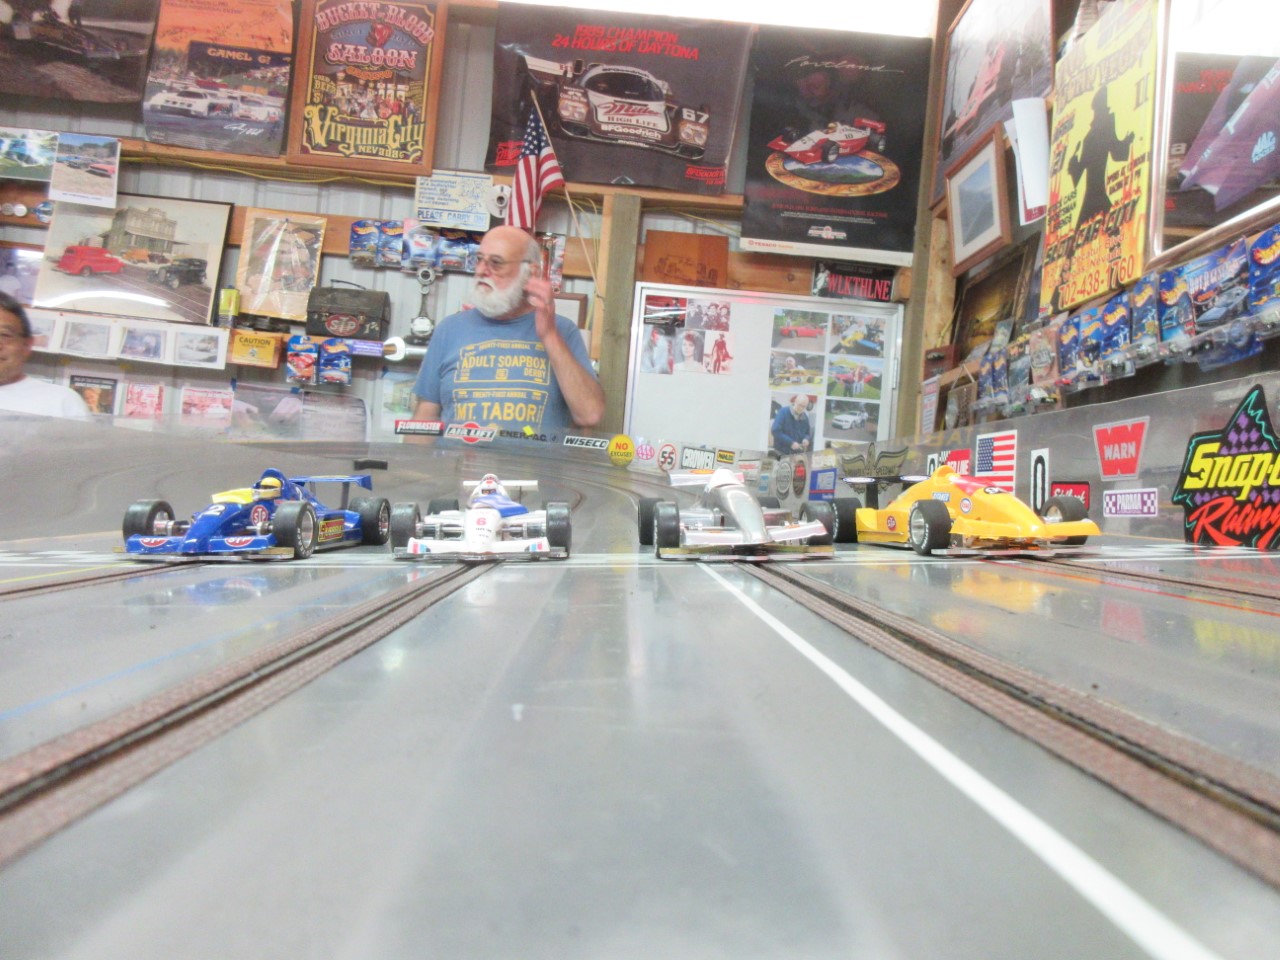
1,329 May 15, 2021 1:46 pm
Topic: "Big" Glenn Heath (5 replies, posted in NASTE)
It is with great sadness that I tell you all Glenn Heath passed away last night. Glenn was admitted to the hospital last week with heart problems. His daughter Marsha said they were unsure about memorial services at this time. Glenn was an outstanding member of our Northwest slot car community. An awesome builder, racer, and an incredible friend! He will be missed dearly!

1,330 May 14, 2021 4:54 pm
Re: Odd Thursday (18 replies, posted in Events)
I'll probably be here. Give me a call before you head over.
1,331 May 14, 2021 3:40 pm
Re: NASTE Odd Thursday Night Racing Rules & Current Thread (2,203 replies, posted in NASTE)
I'm proud of you Doc! Stand by that requirement for video verification!
1,332 May 14, 2021 3:38 pm
Re: Odd Thursday (18 replies, posted in Events)
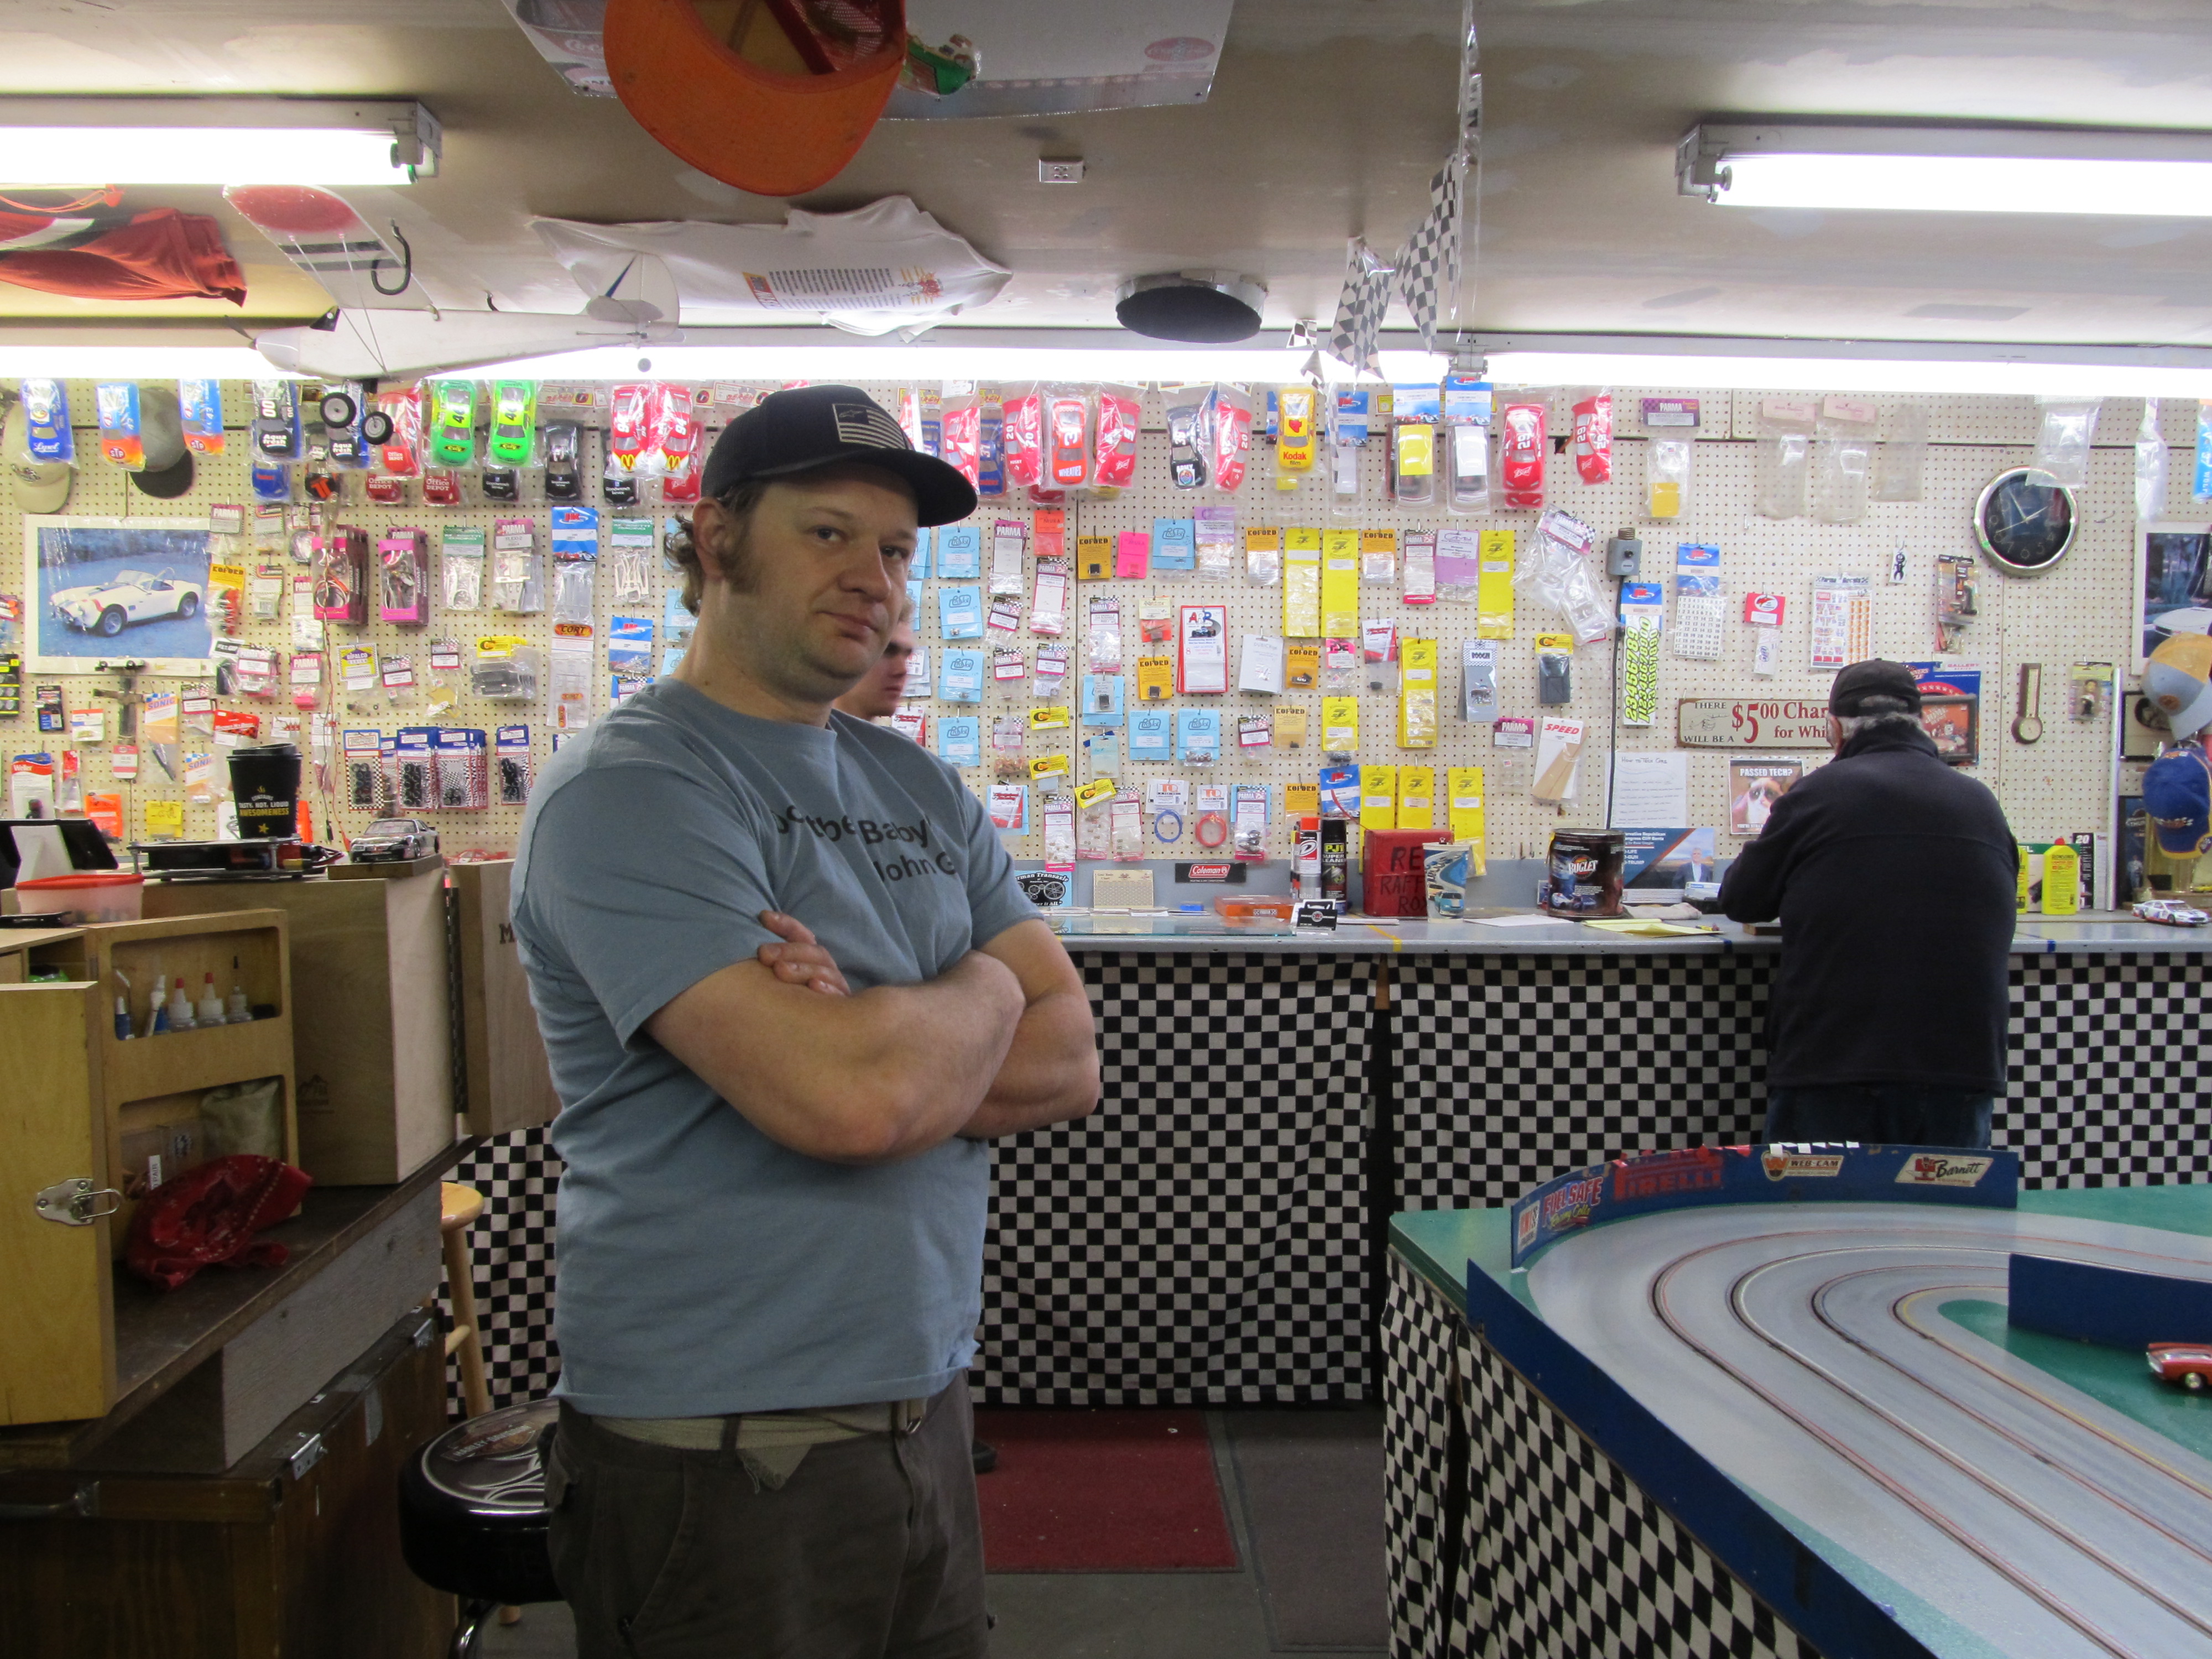
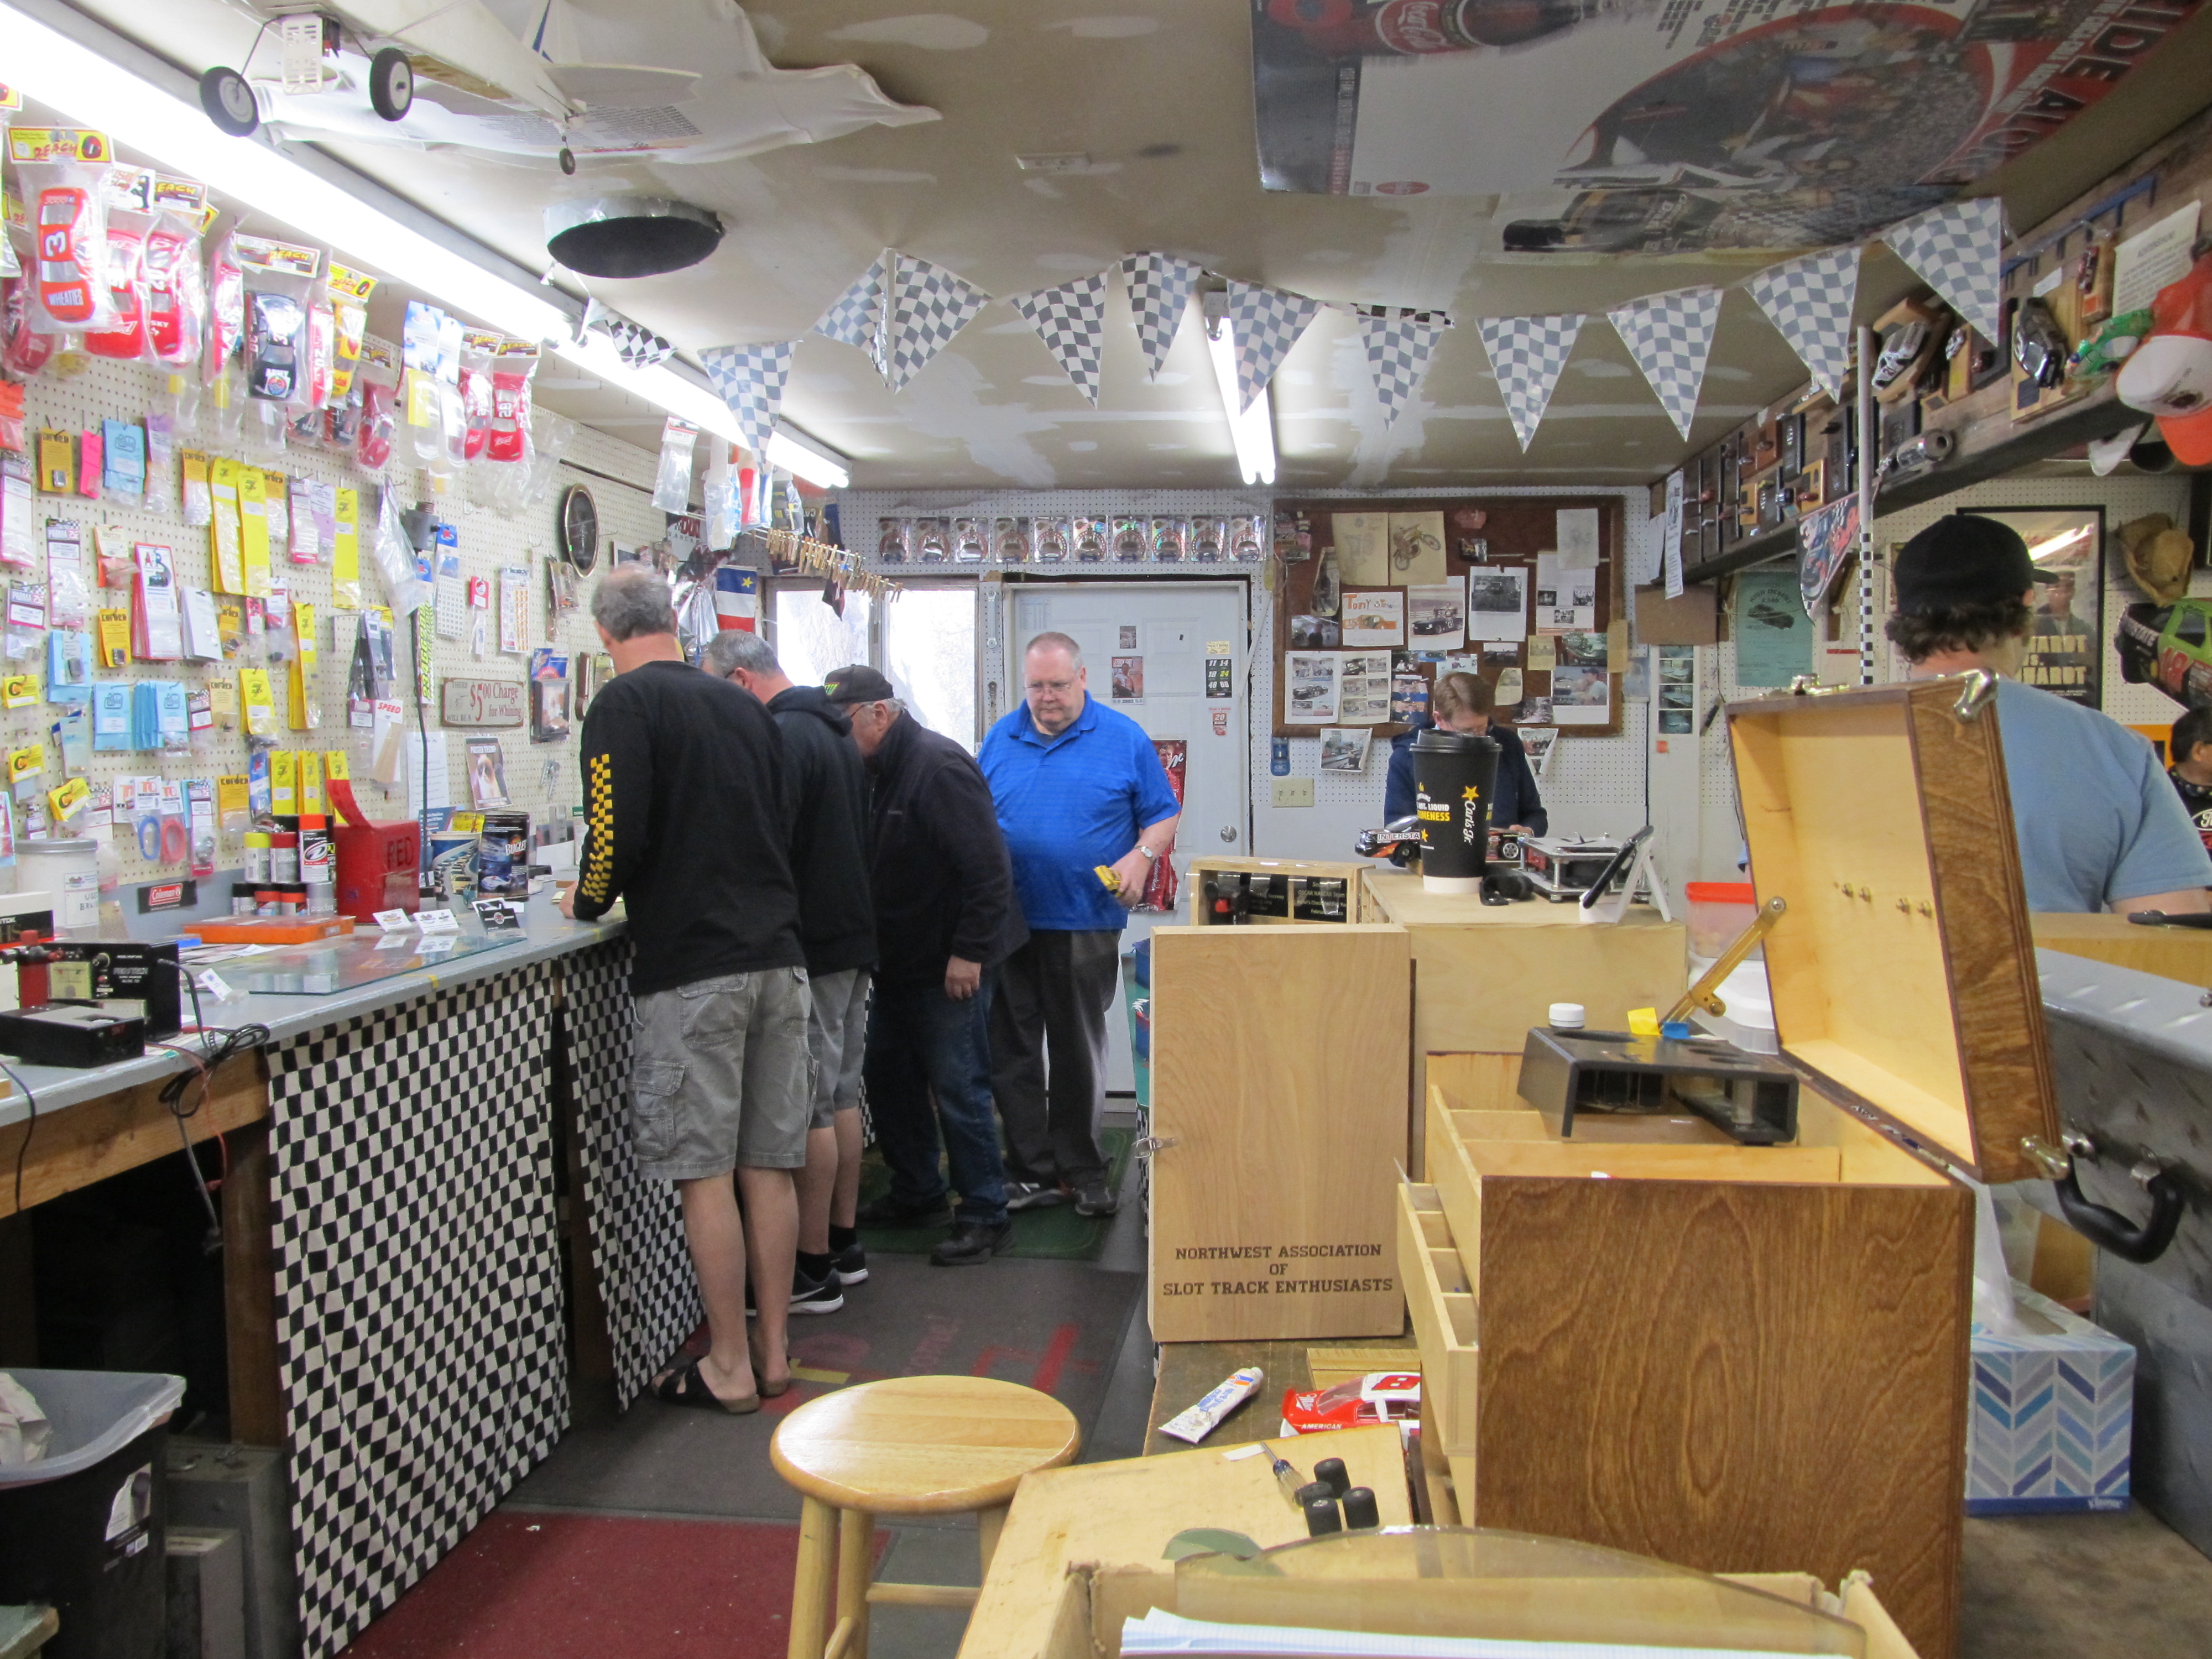
My shop is open most of the time........Over 50 cars may be available.........
1,333 May 14, 2021 6:55 am
Re: NASTE 2021 Point Series Championship - Results & Standings (35 replies, posted in NASTE)
NASTE 2021 Point Series Championship Race No.2 @ Rippin' Ridin' Raceway May 13, 2021
Race Results - LMP Class:
1 Daniel 82.5 Laps - 6 points.
2 Zack 81.6 - 5 pts.
3 Al 79.5 - 4 pts.
4 Rico 77.9 - 3 pts.
5 Mitch 75.7 63.1 - 2 points
6 Greg 67.1 - 1 pt.
Current Standings for the 2021 NASTE Point Series Championship After 2 Races:
1st Daniel - 12 pts.
2nd Al - 11 points.
3rd-tie Rico - 8 pts.
3rd-tie Zack - 8 pts.
5th Tom - 4 pts.
6th Greg - 3 pts.
7th Mitch - 3 pts.
1,334 May 14, 2021 6:41 am
Re: NASTE Odd Thursday Night Racing Rules & Current Thread (2,203 replies, posted in NASTE)
Race results from May 13th race:
GT3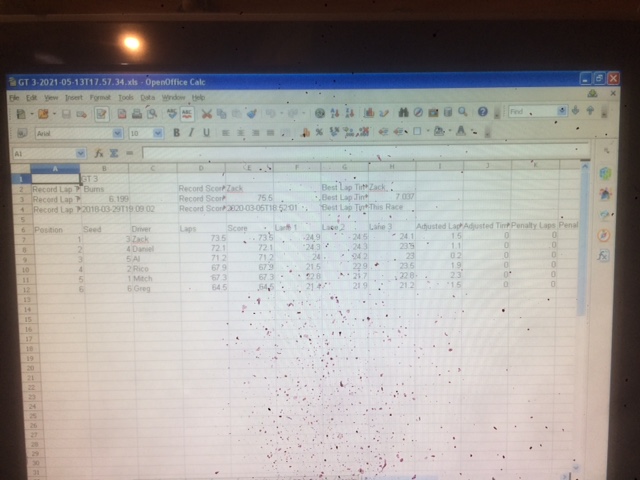
GT LMP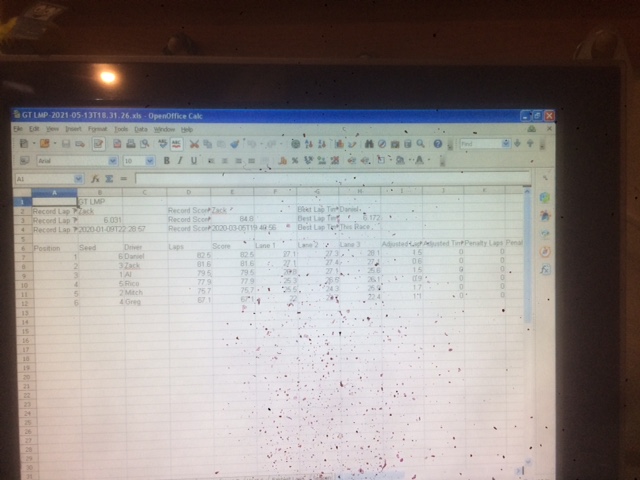
Open
1,335 May 13, 2021 5:15 pm
Re: Rob's Car Builds (31 replies, posted in Cars)
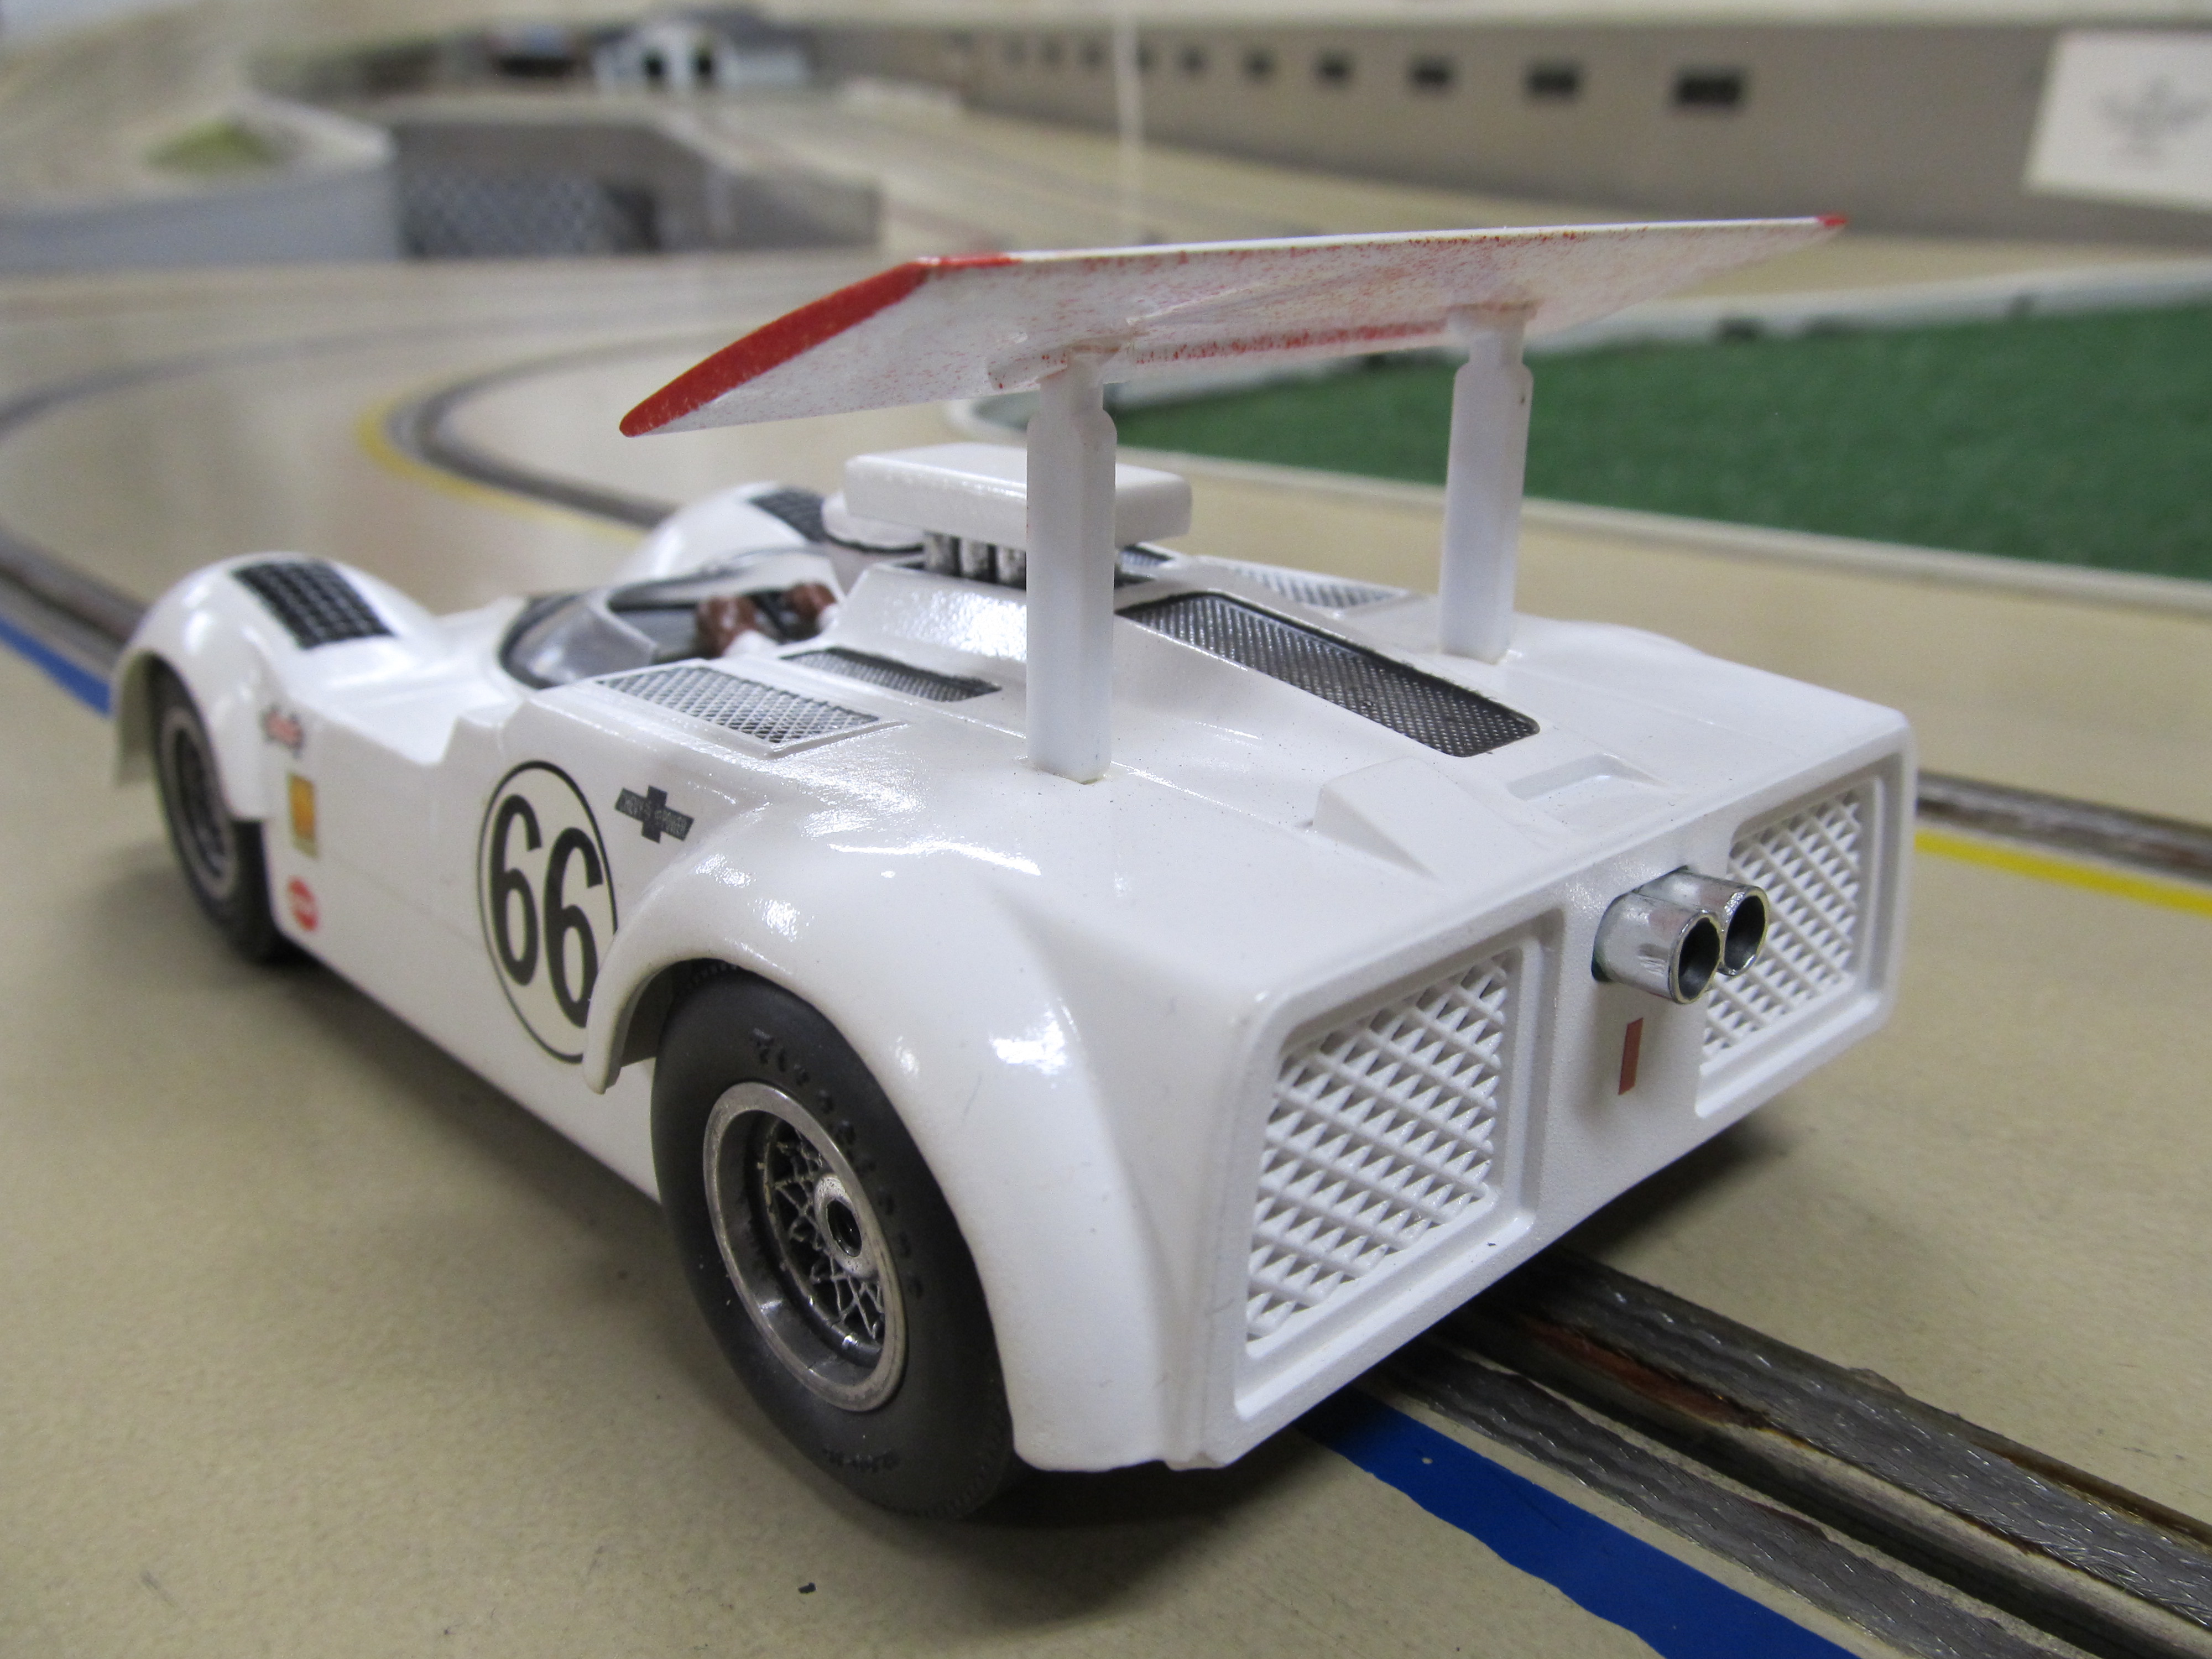
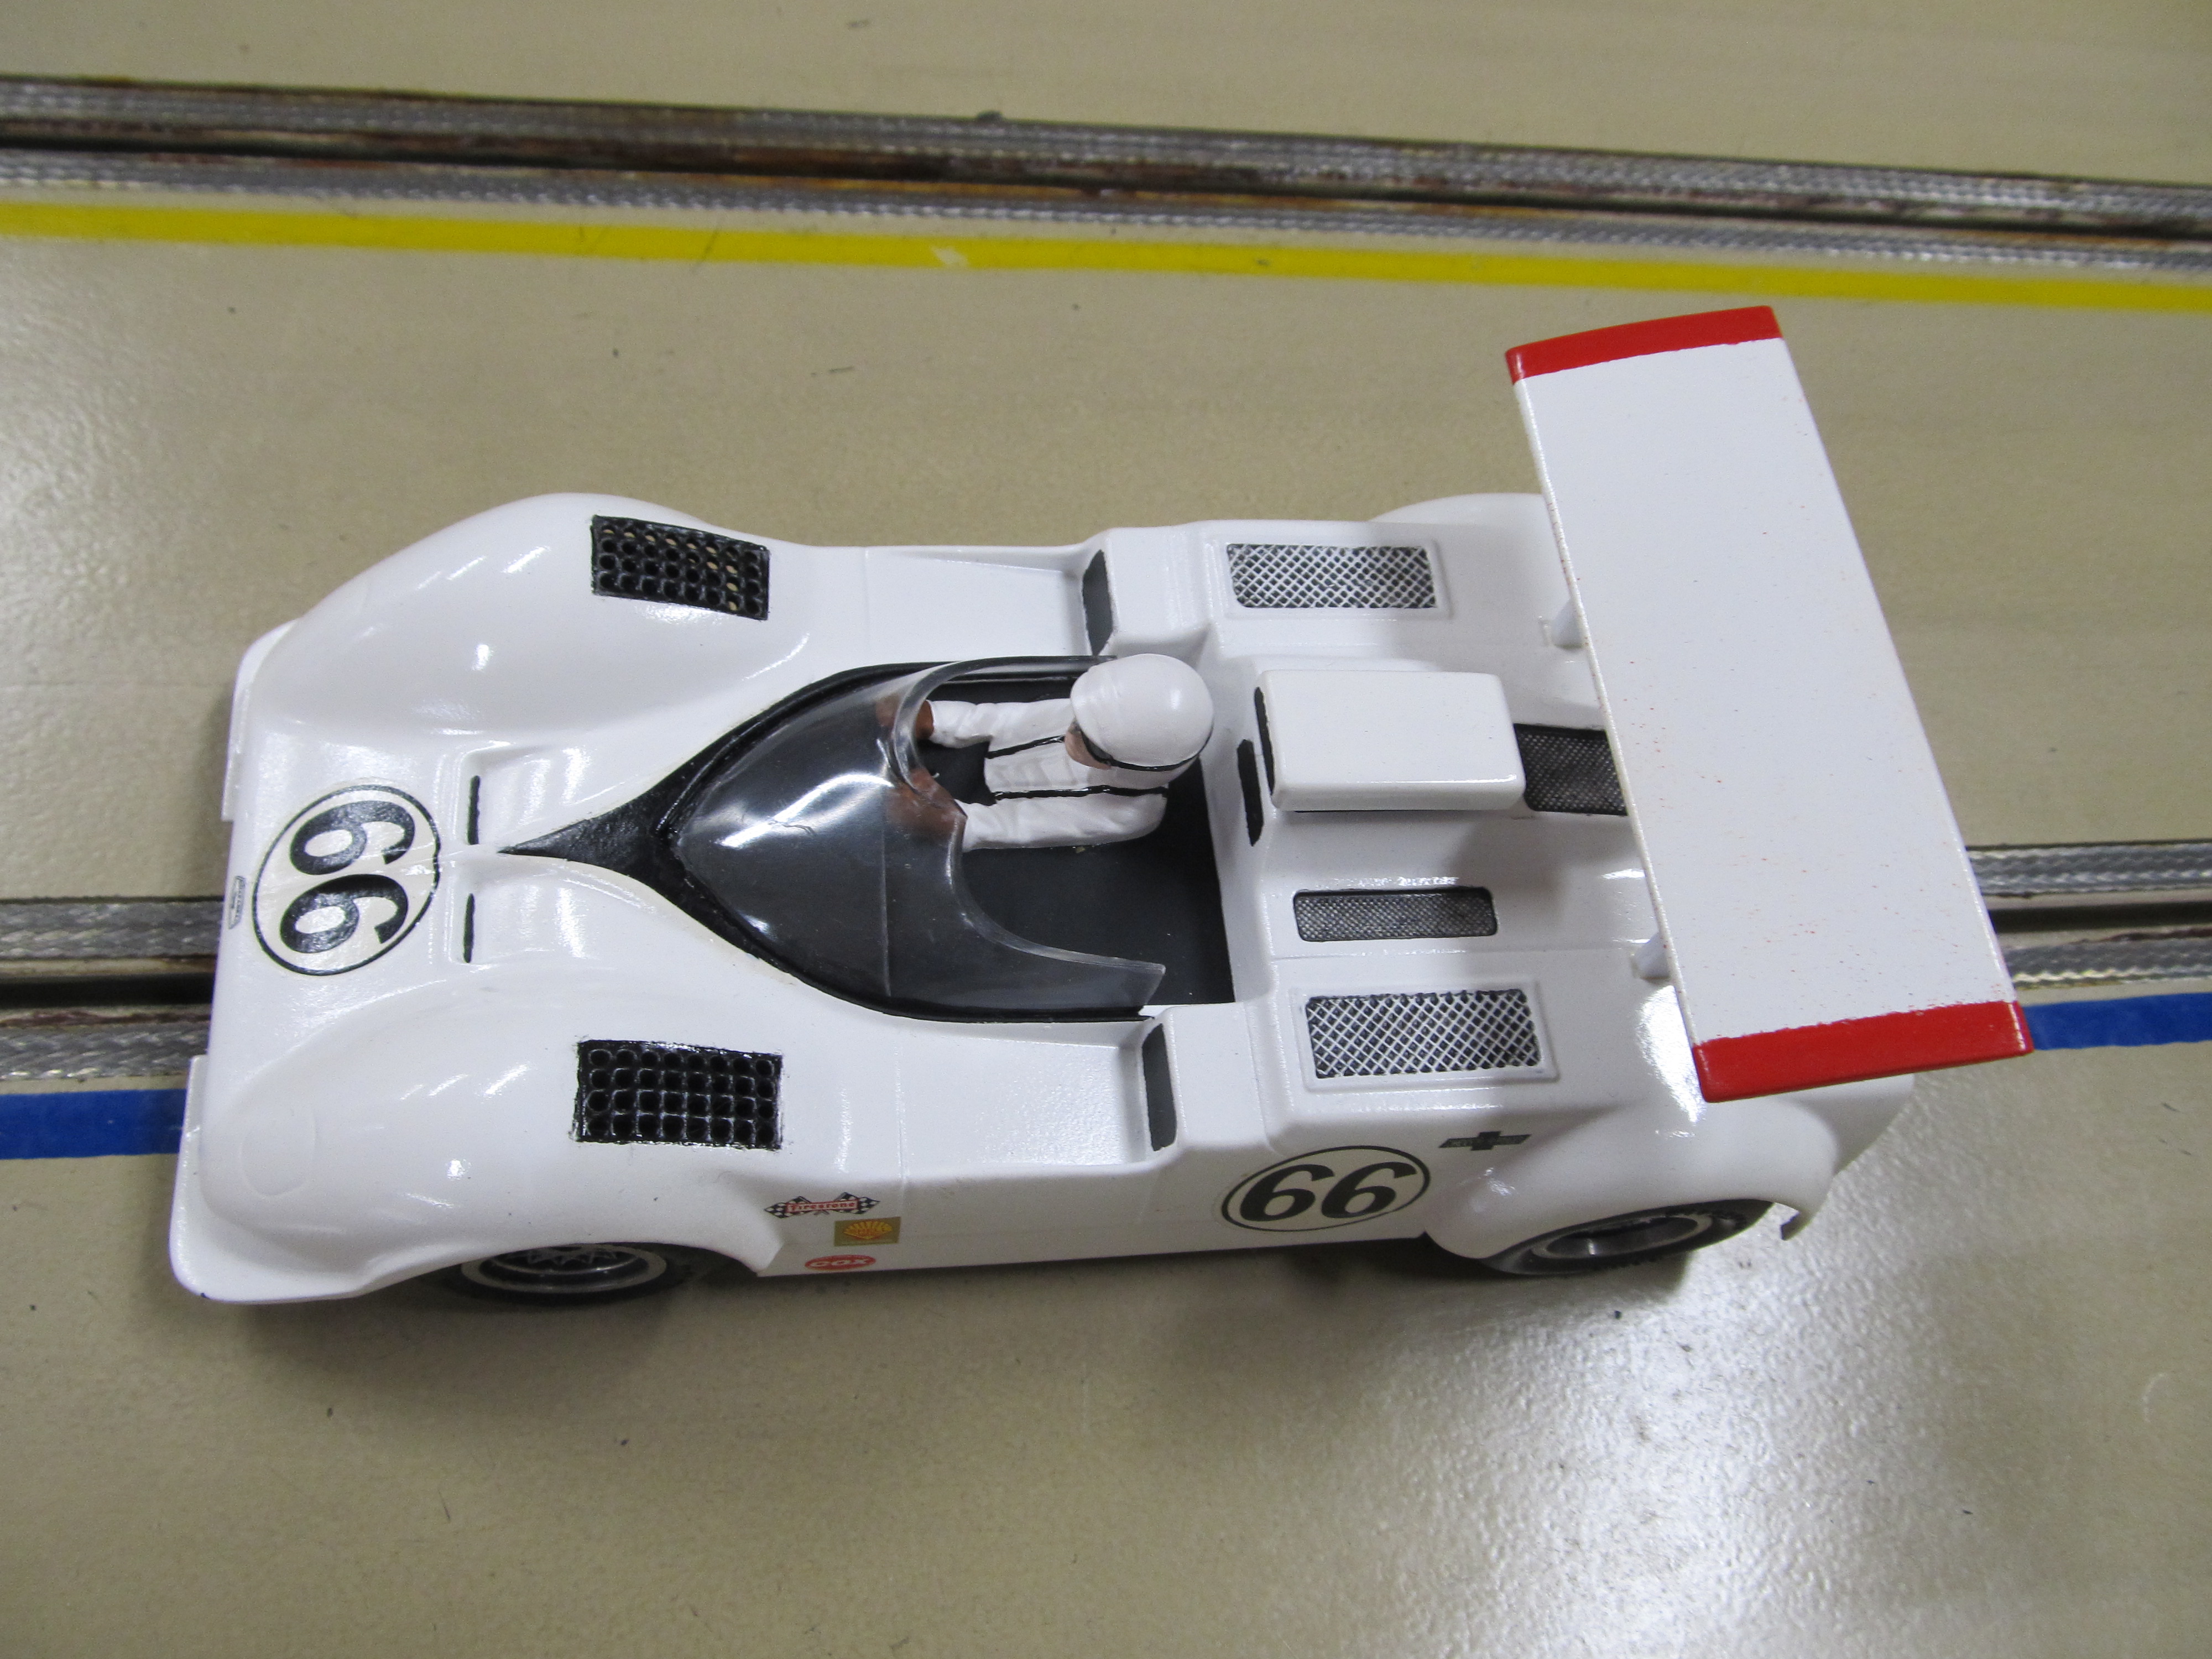
Rob's Chaparral 2G, built from a model kit.
1,336 May 13, 2021 5:13 pm
Re: Rob's Car Builds (31 replies, posted in Cars)
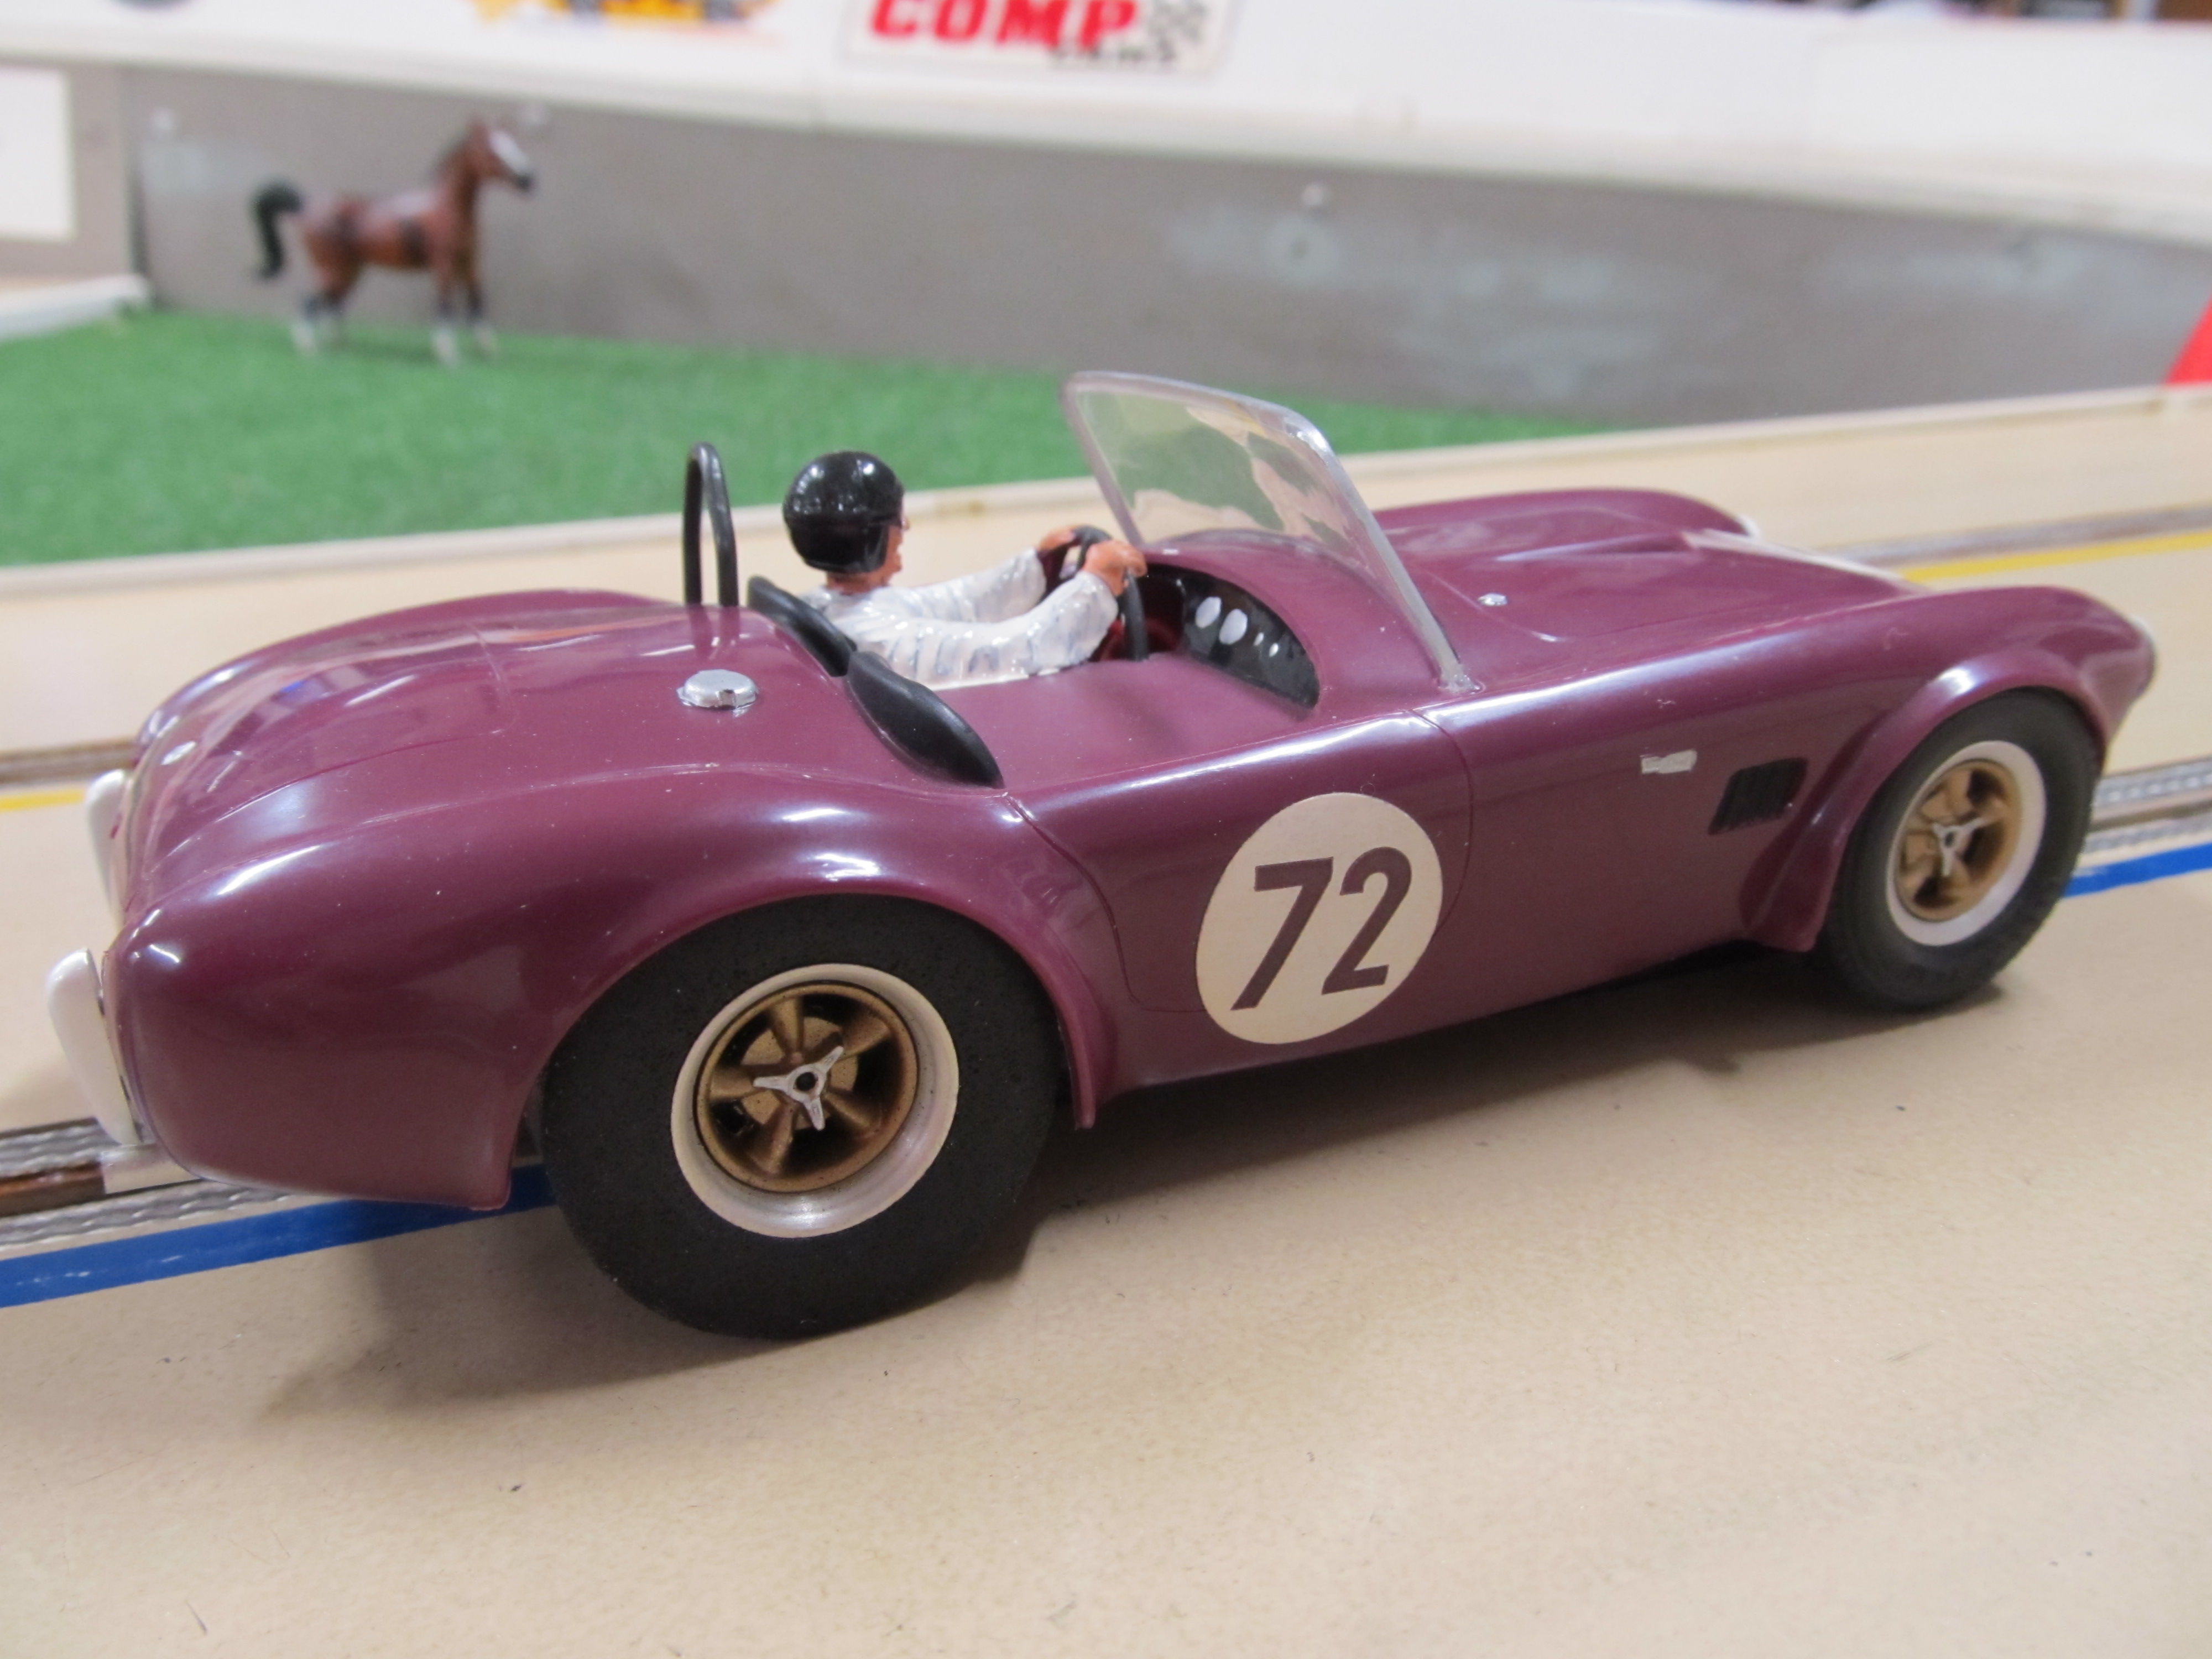
This AC Cobra features a Monogram model car body on a restore original Revell chassis.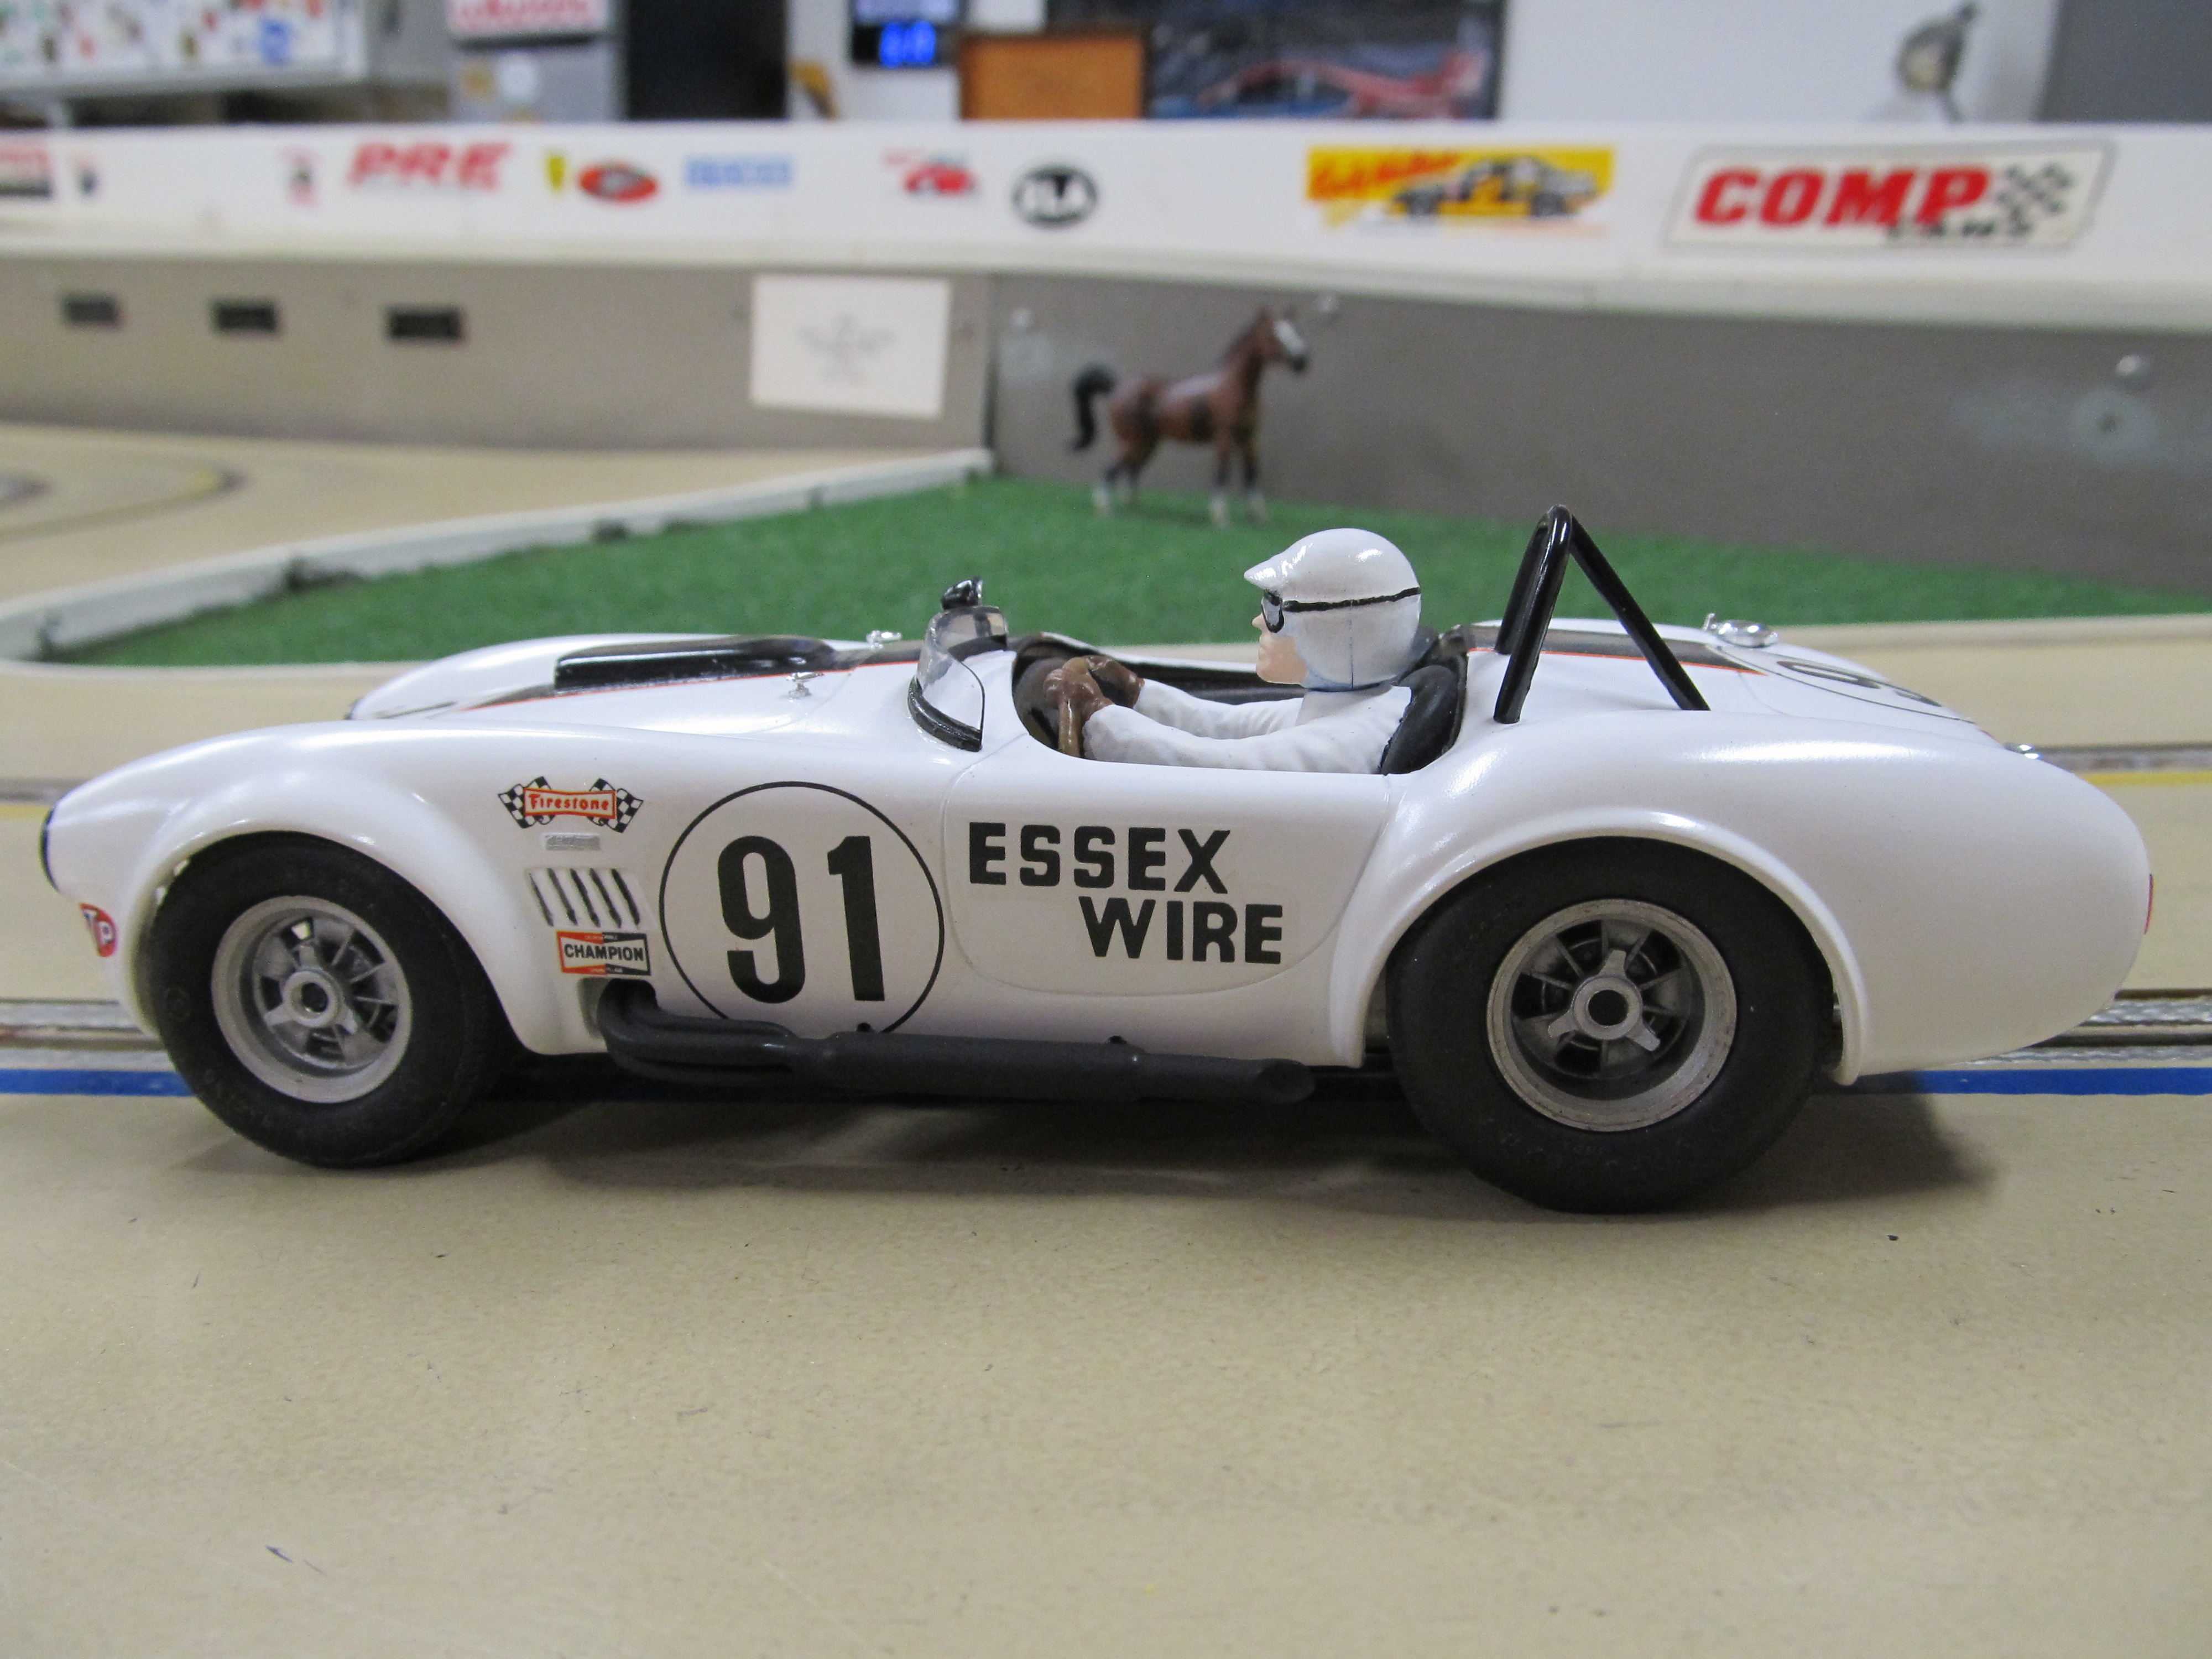
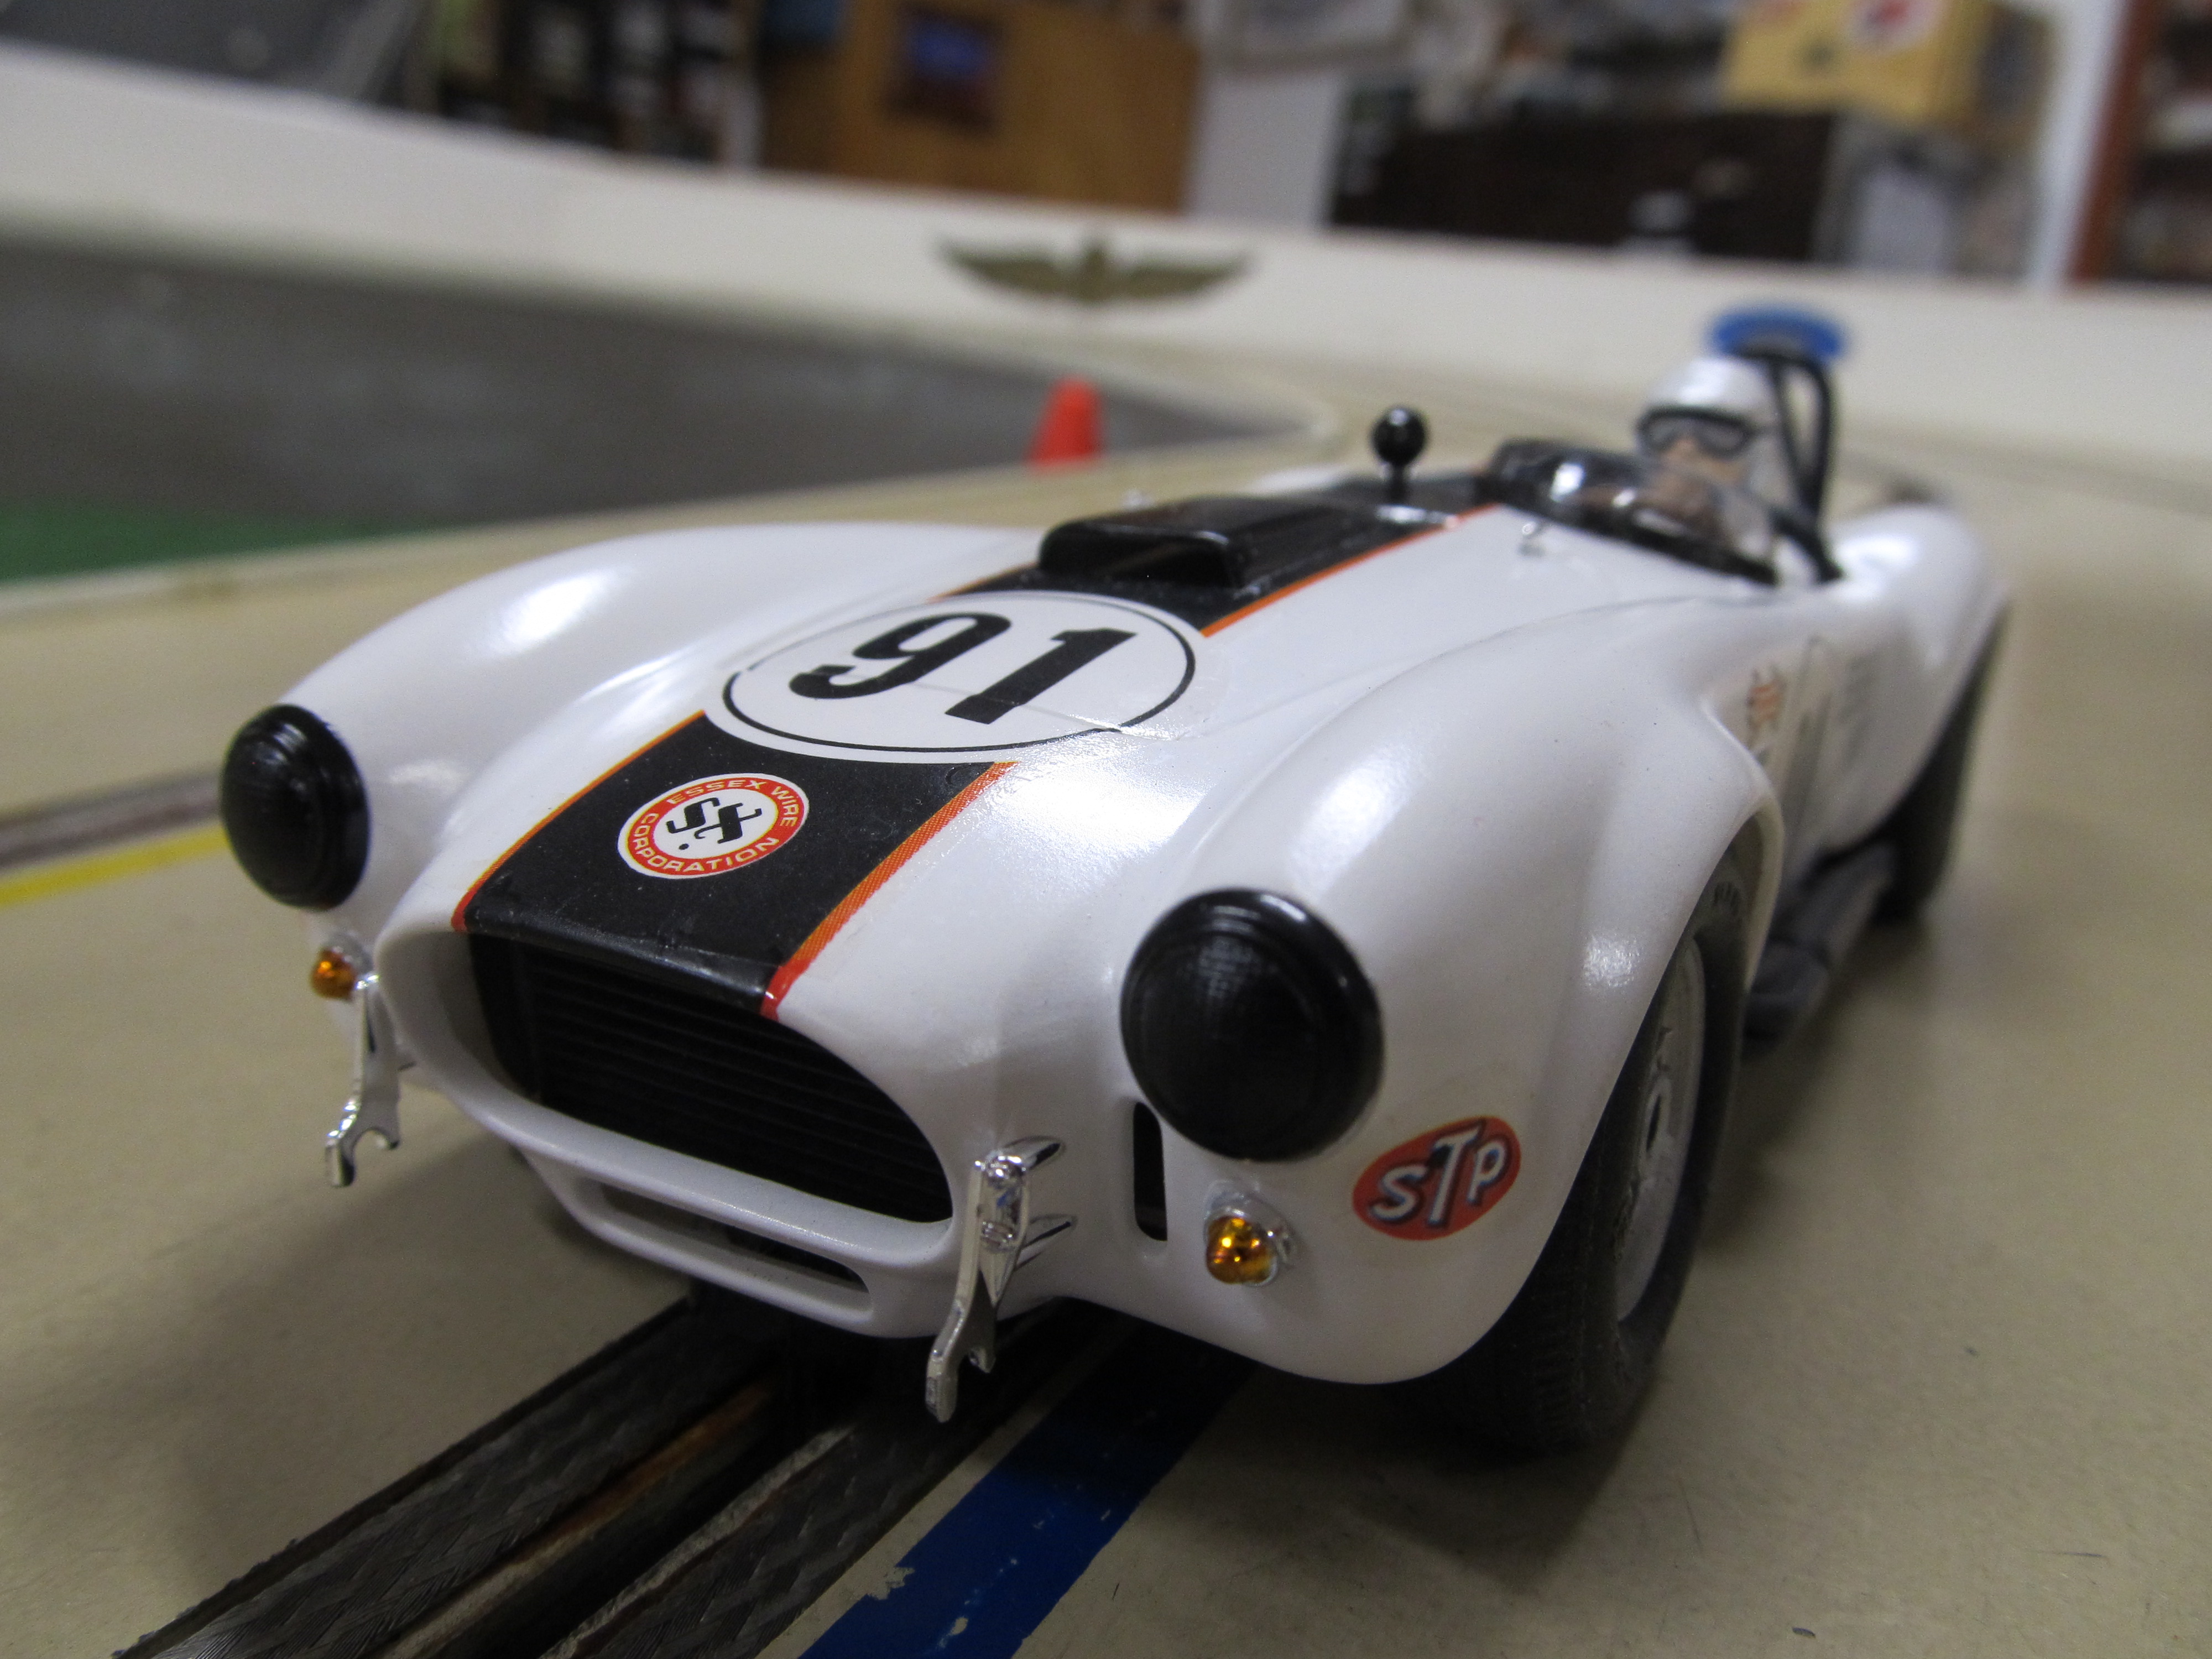
Check out the detail on this license plate frame!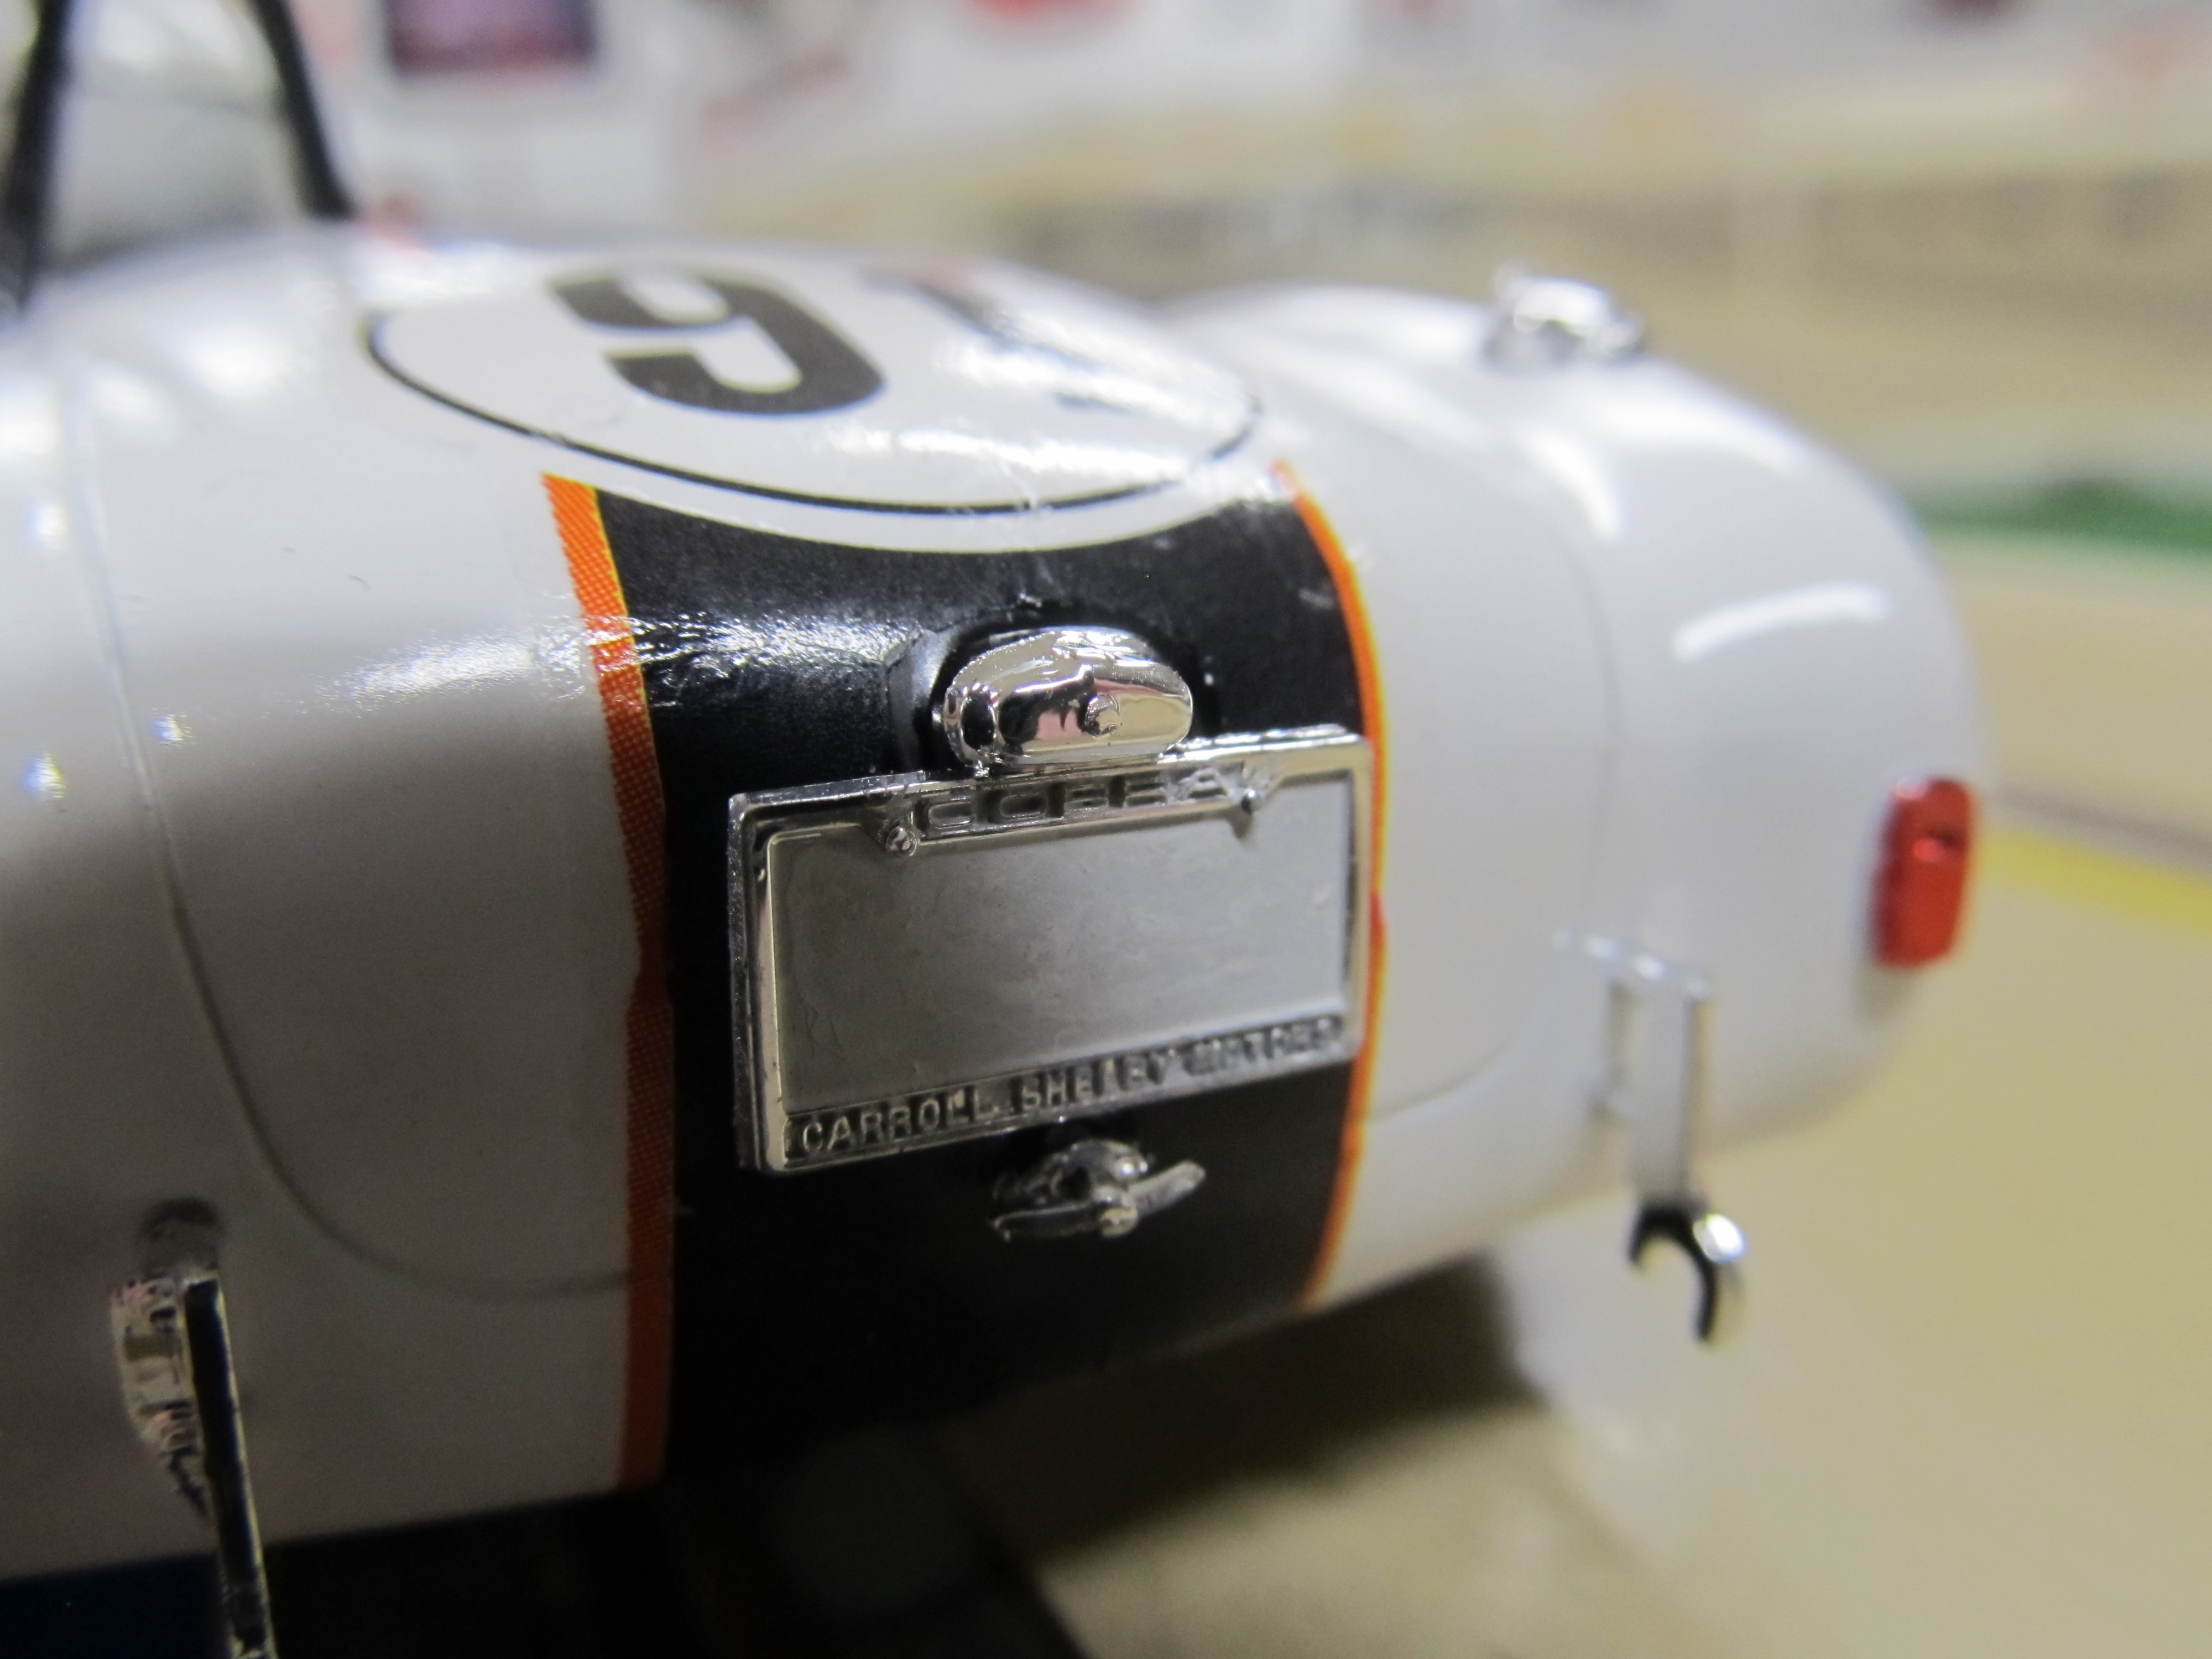
1,337 May 13, 2021 5:10 pm
Re: Rob's Car Builds (31 replies, posted in Cars)
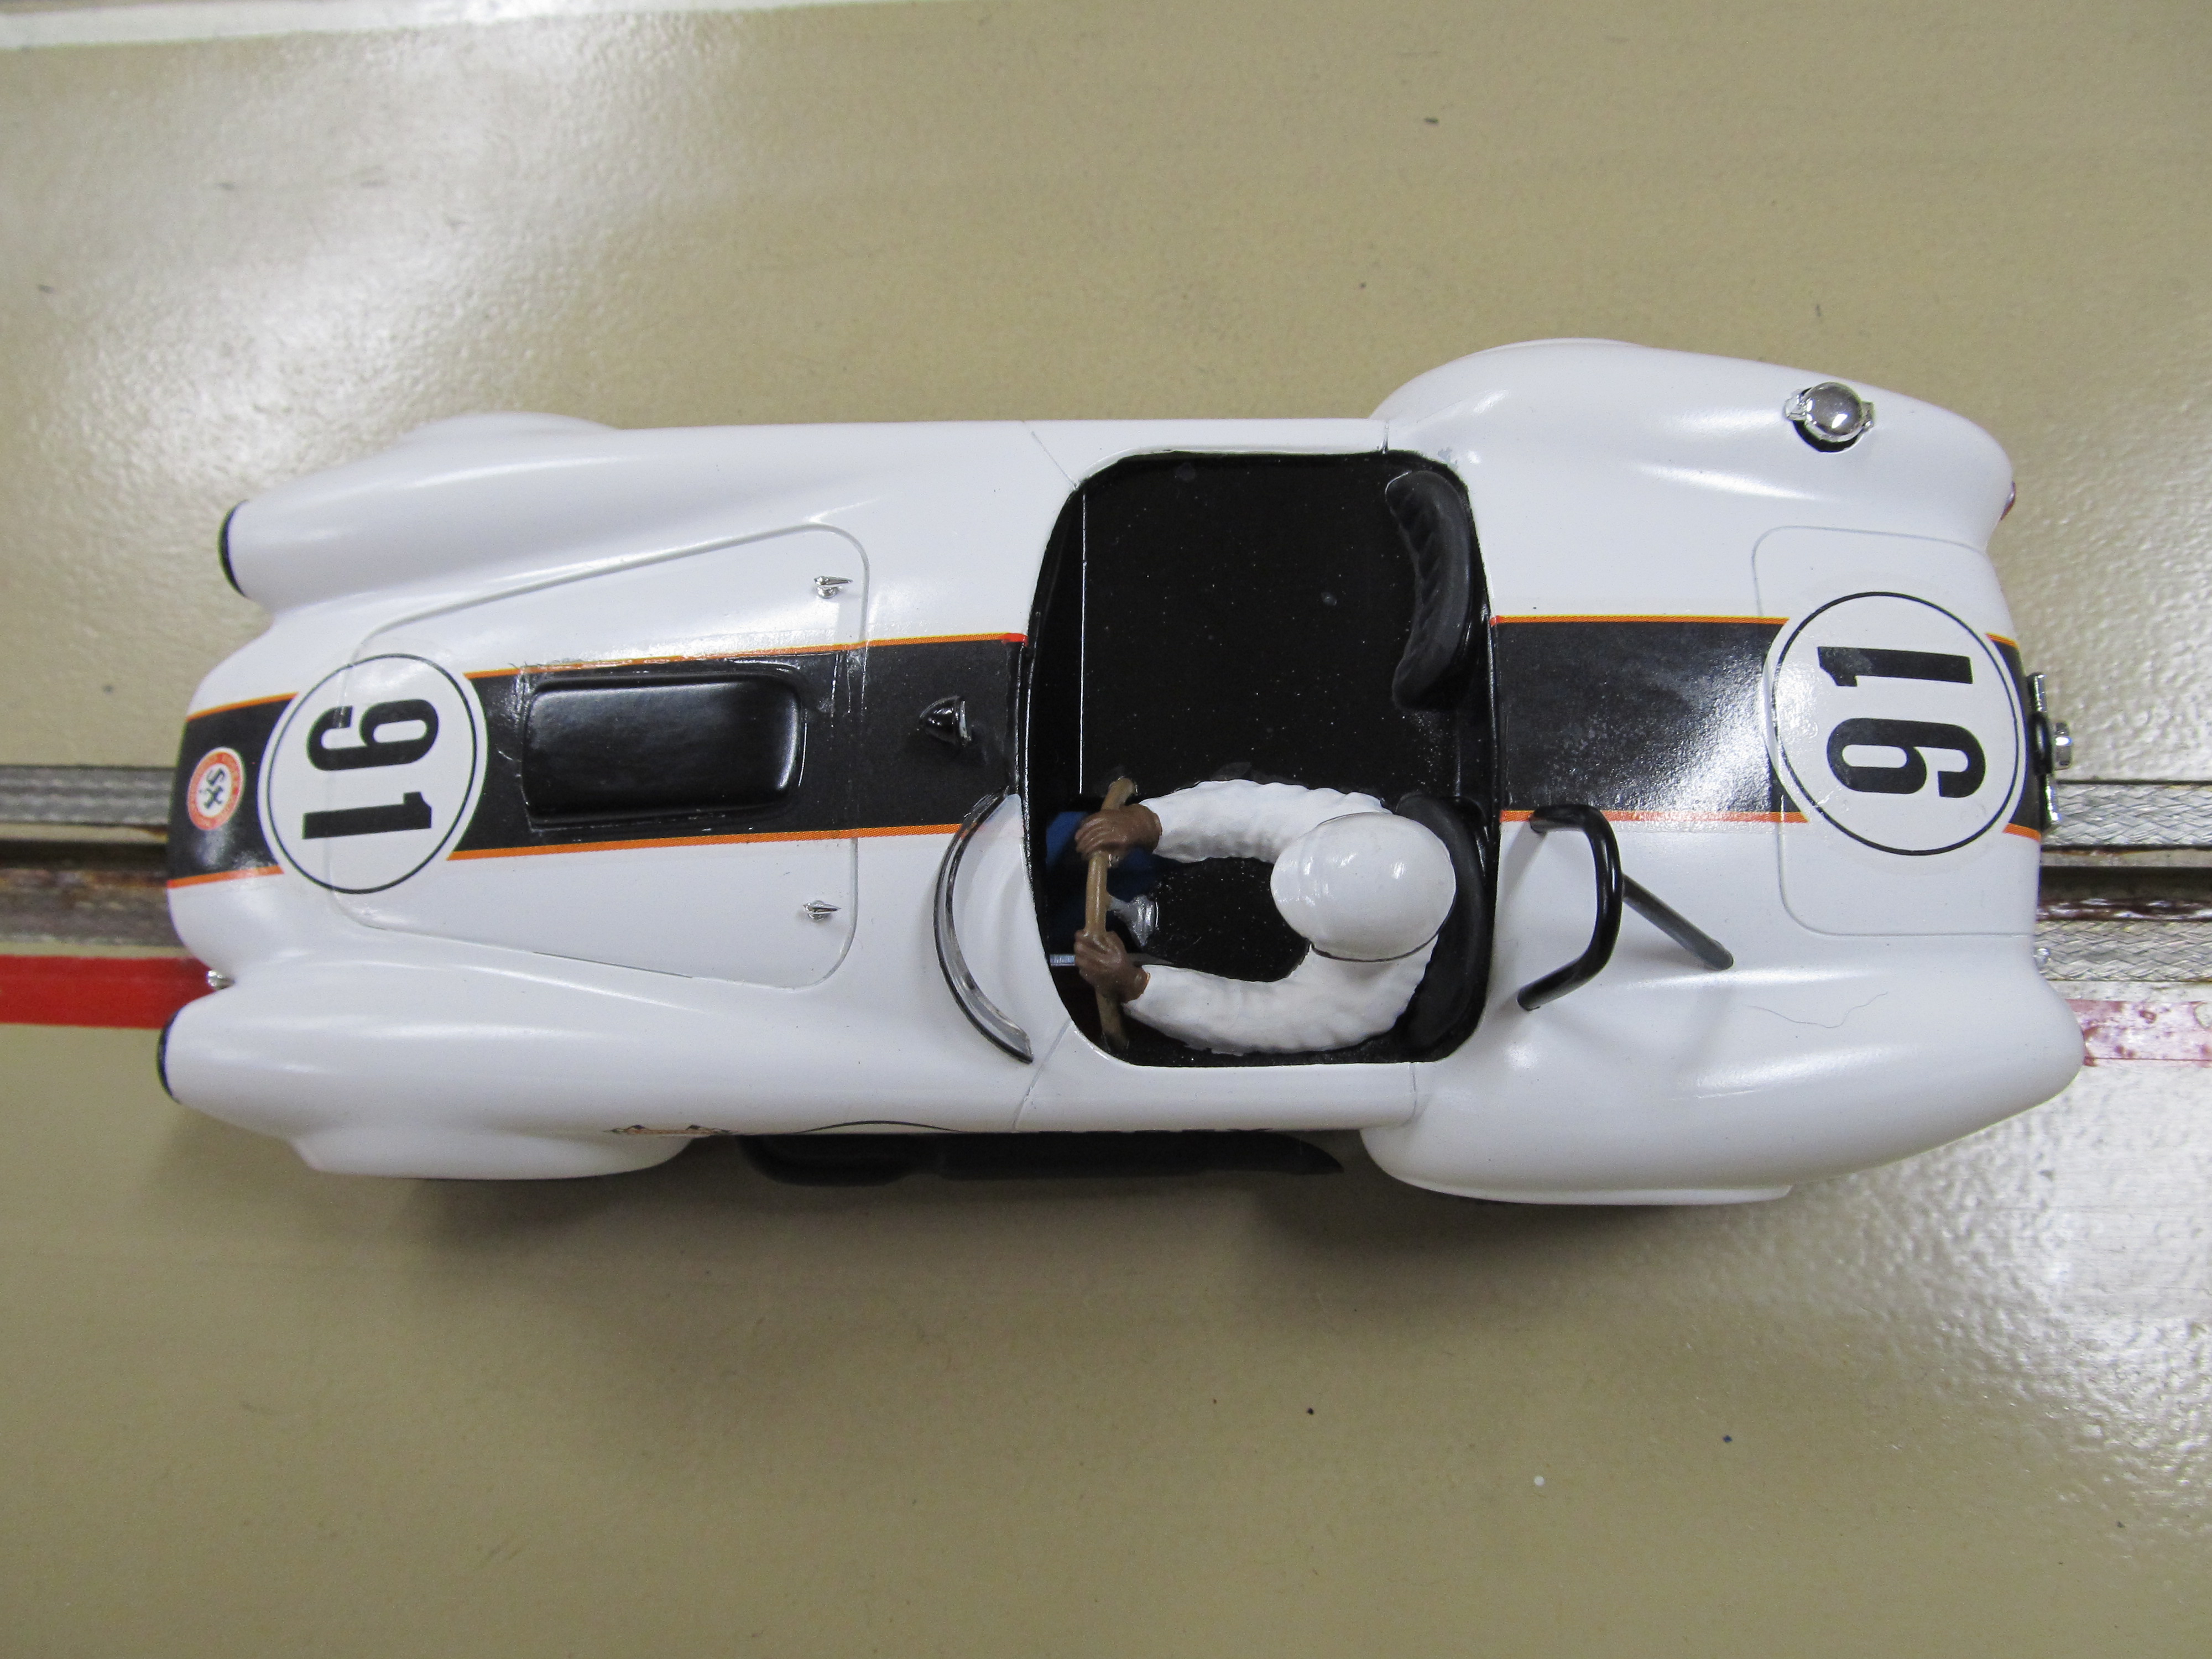
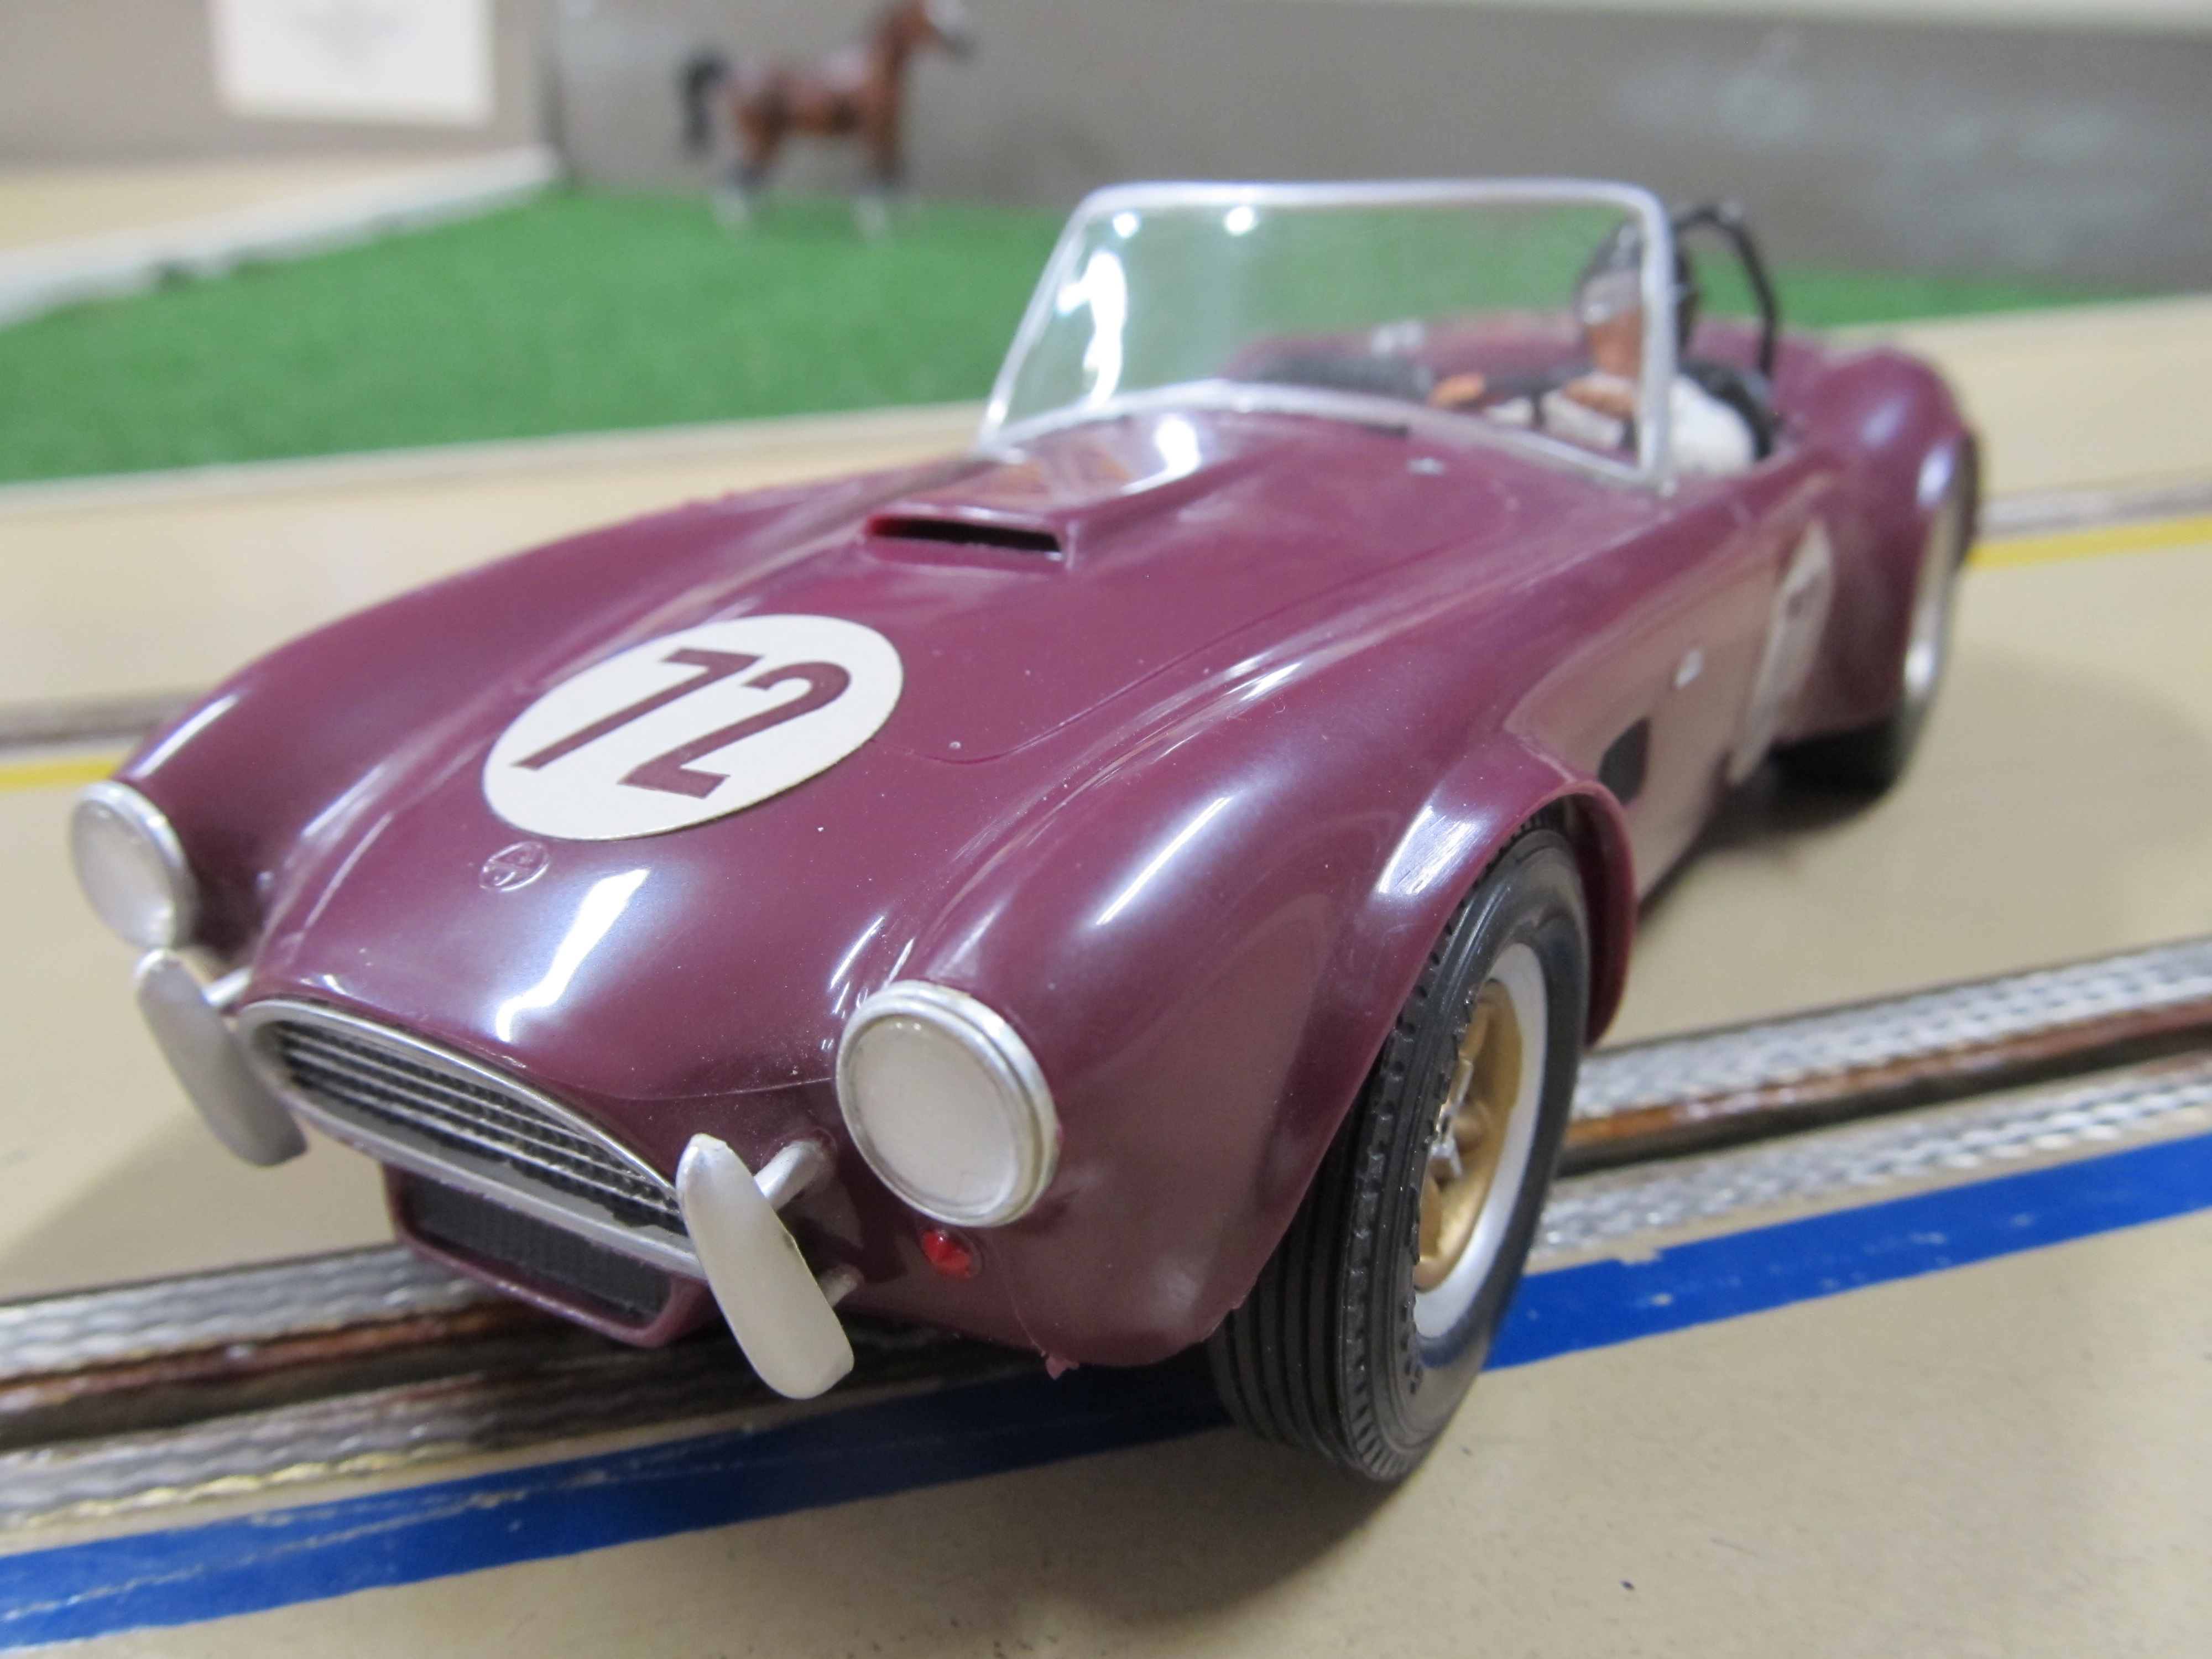
Rob has been busy! He stopped by with the latest of his builds.
This is an original 1/24 Revell AC Cobra in its original molded purple. Rob chose to leave the car in the original molded color and focus on the small details.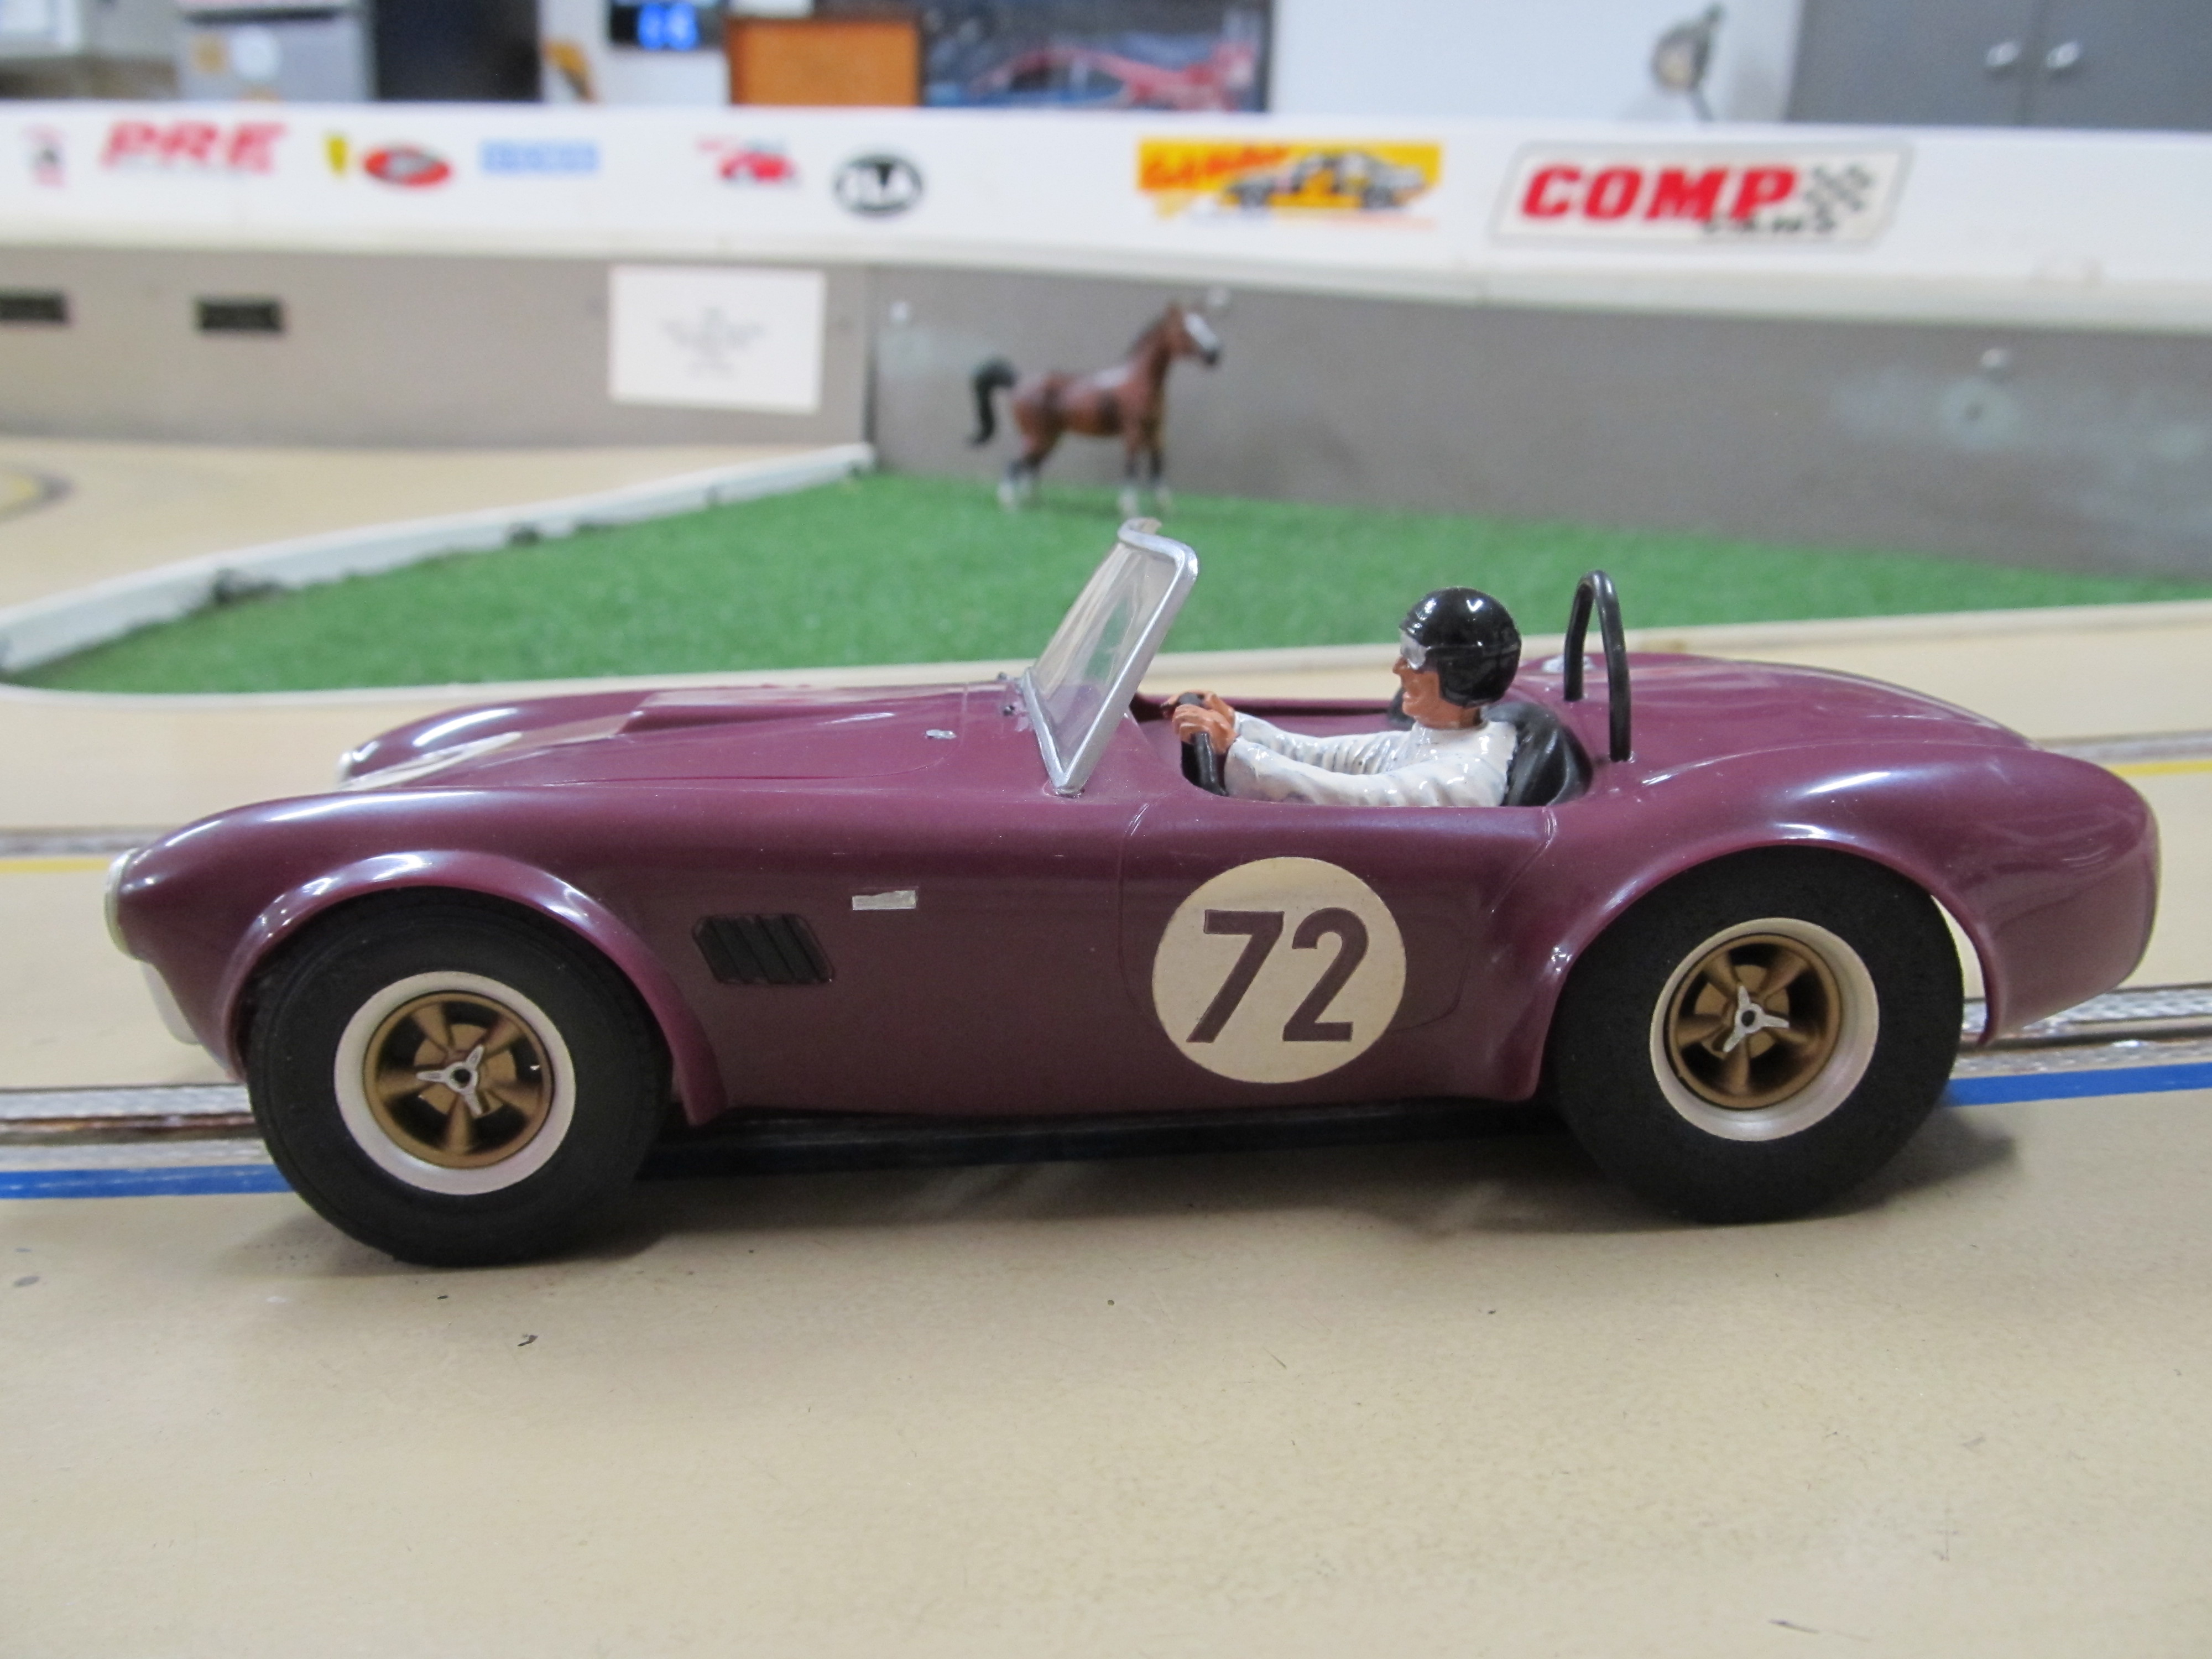
1,338 May 11, 2021 9:31 pm
Re: Dale Earnhardt Memorial NASCAR Race at Tom's World in Bend Oregon (9 replies, posted in OSCAR)
Thanks Matt!
1,339 May 10, 2021 10:16 pm
Re: Dale Earnhardt Memorial NASCAR Race at Tom's World in Bend Oregon (9 replies, posted in OSCAR)

Results from the Xfinity Race: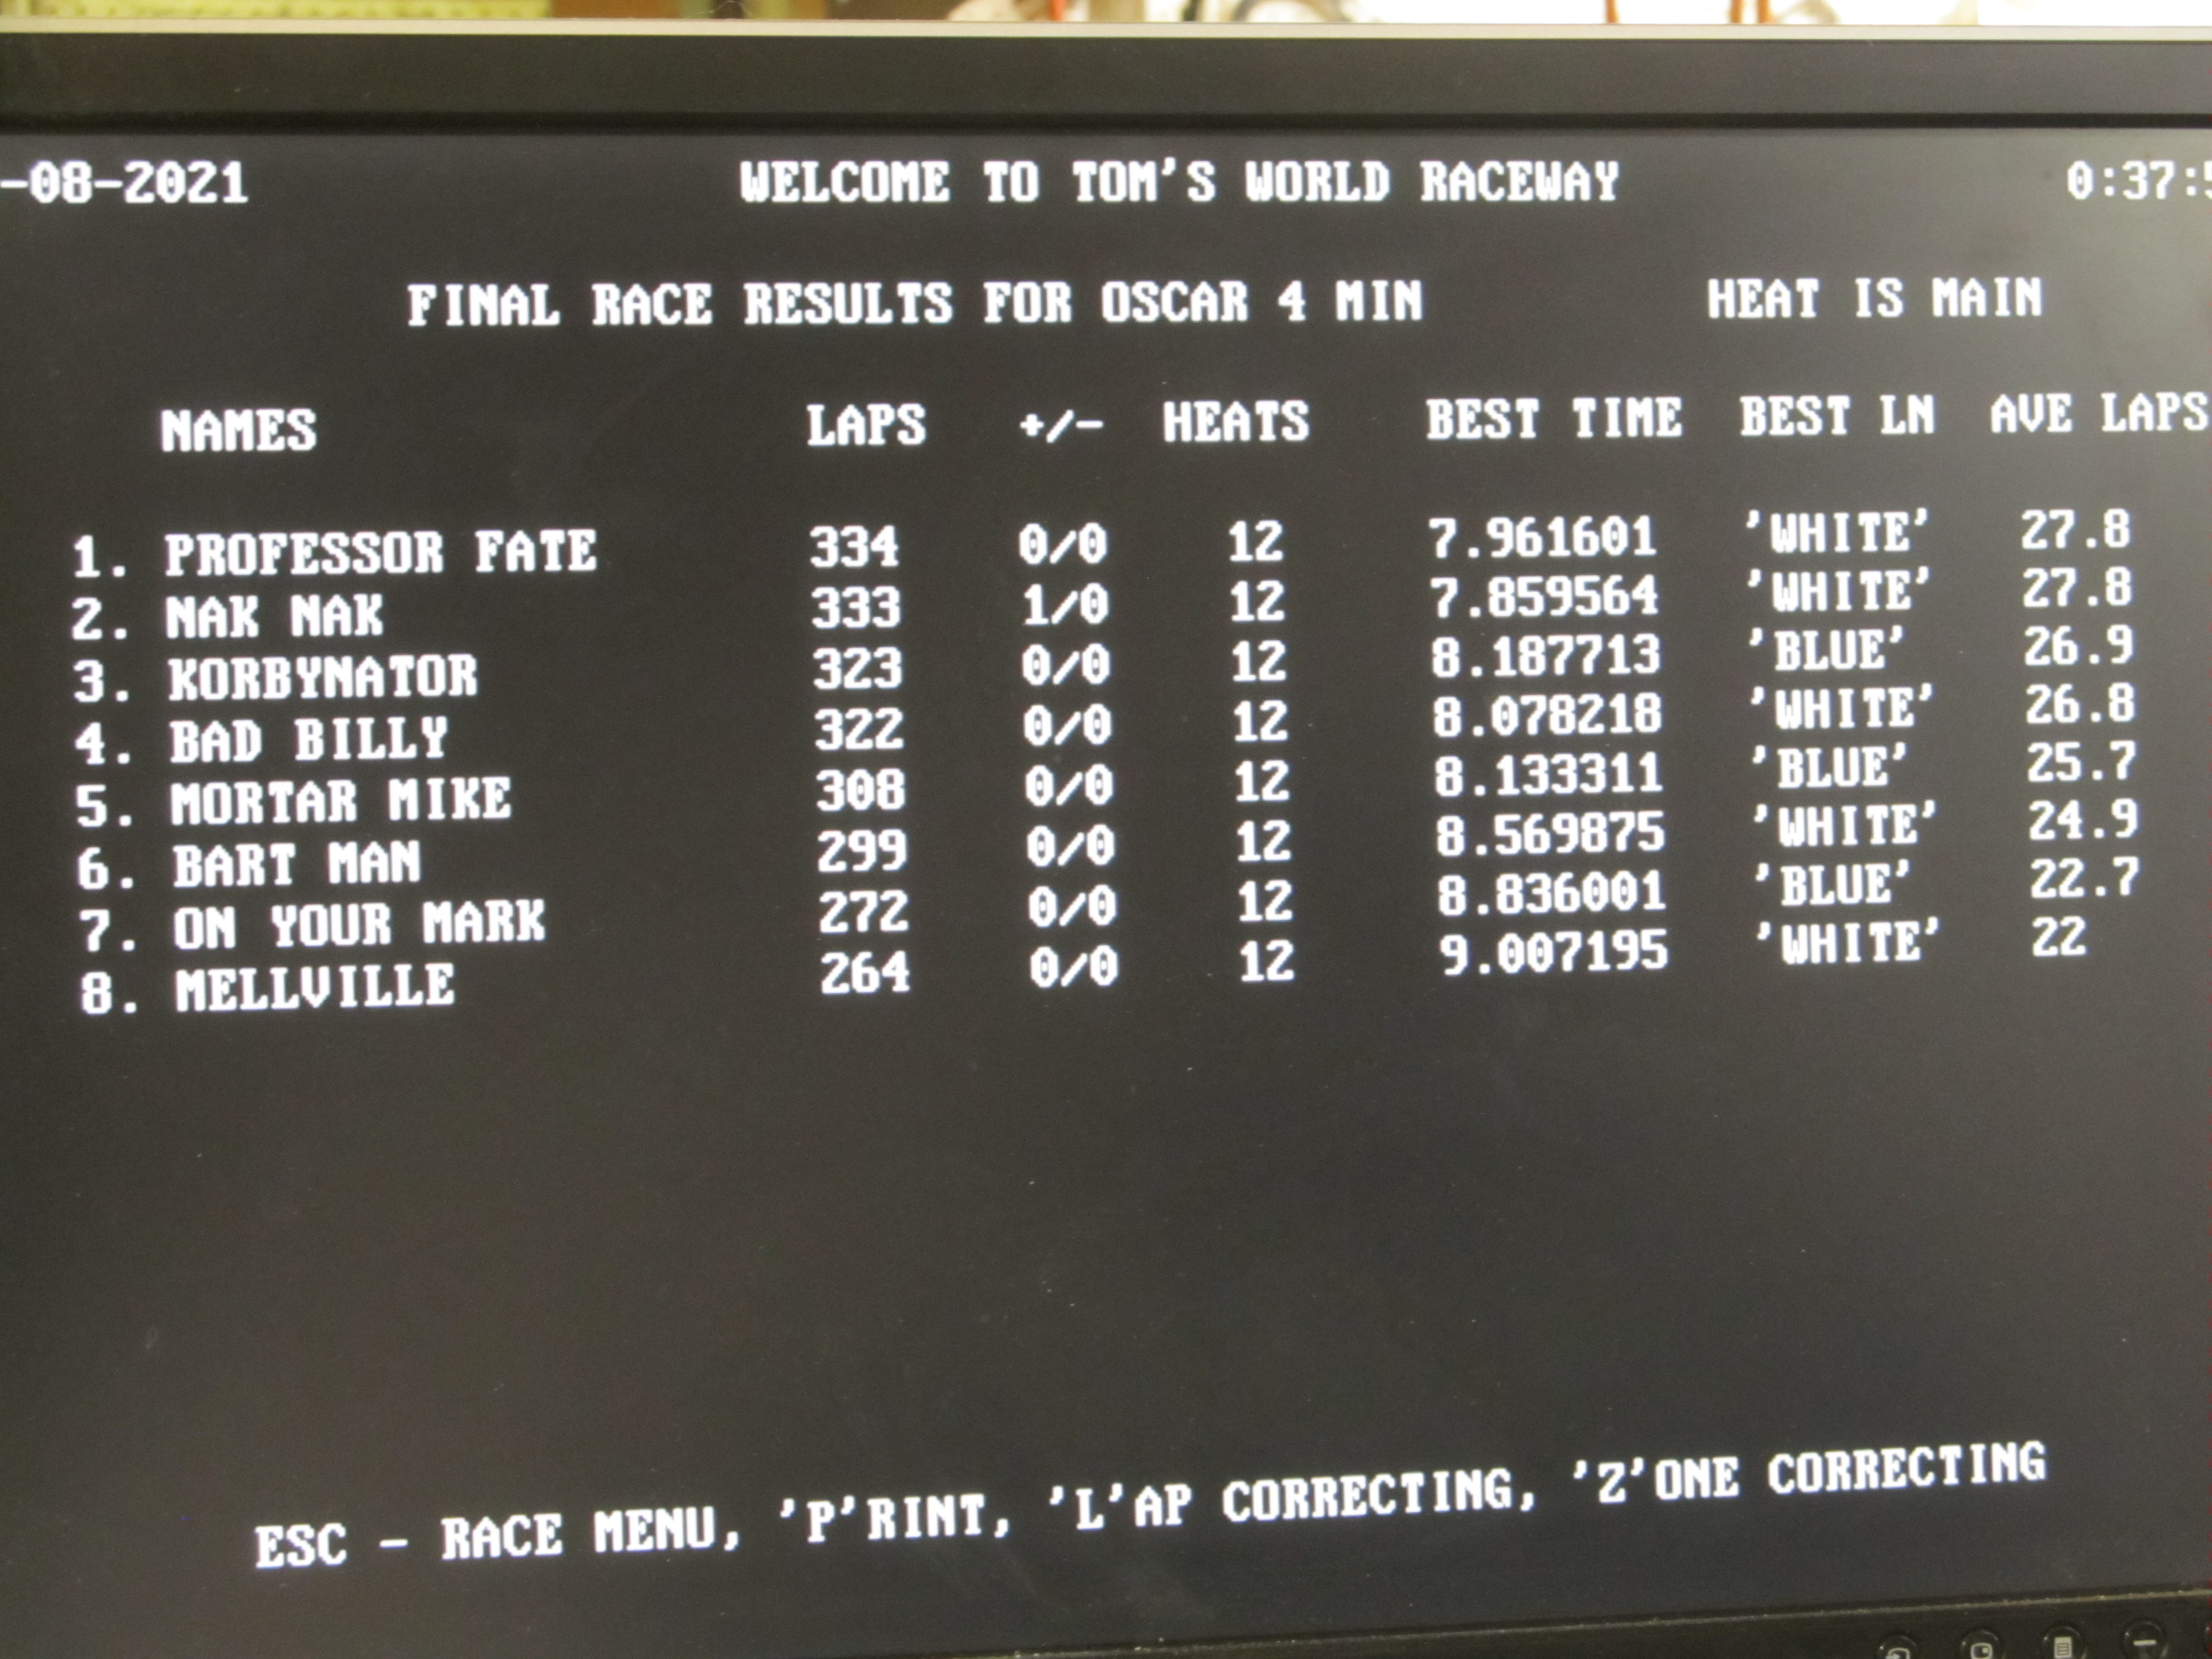
Results from the Monster Energy Race: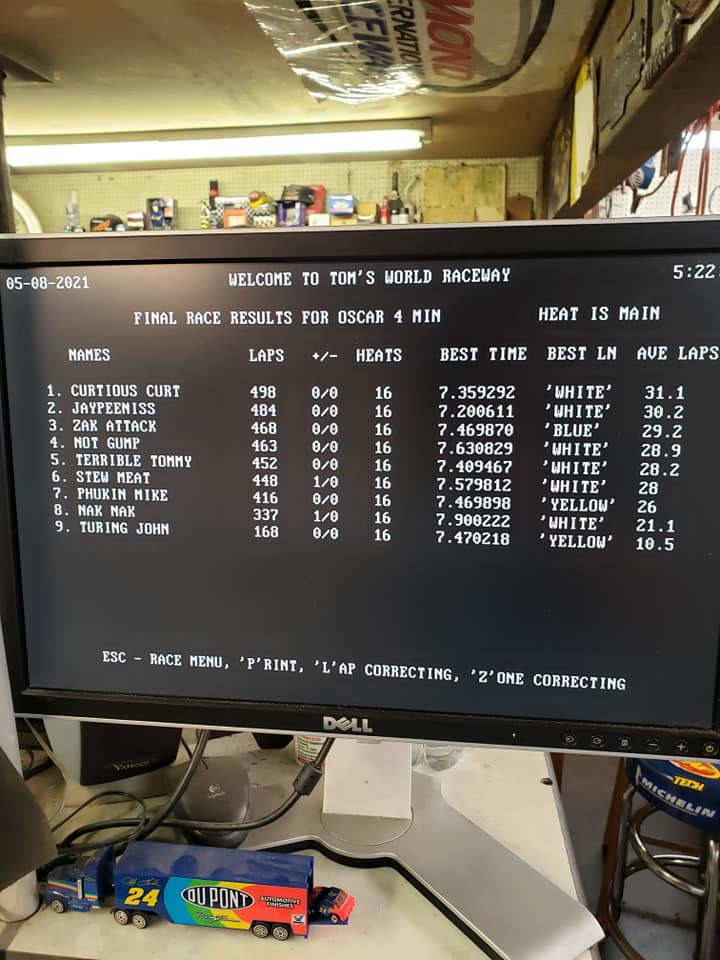
1,340 May 10, 2021 10:14 pm
Re: Dale Earnhardt Memorial NASCAR Race at Tom's World in Bend Oregon (9 replies, posted in OSCAR)
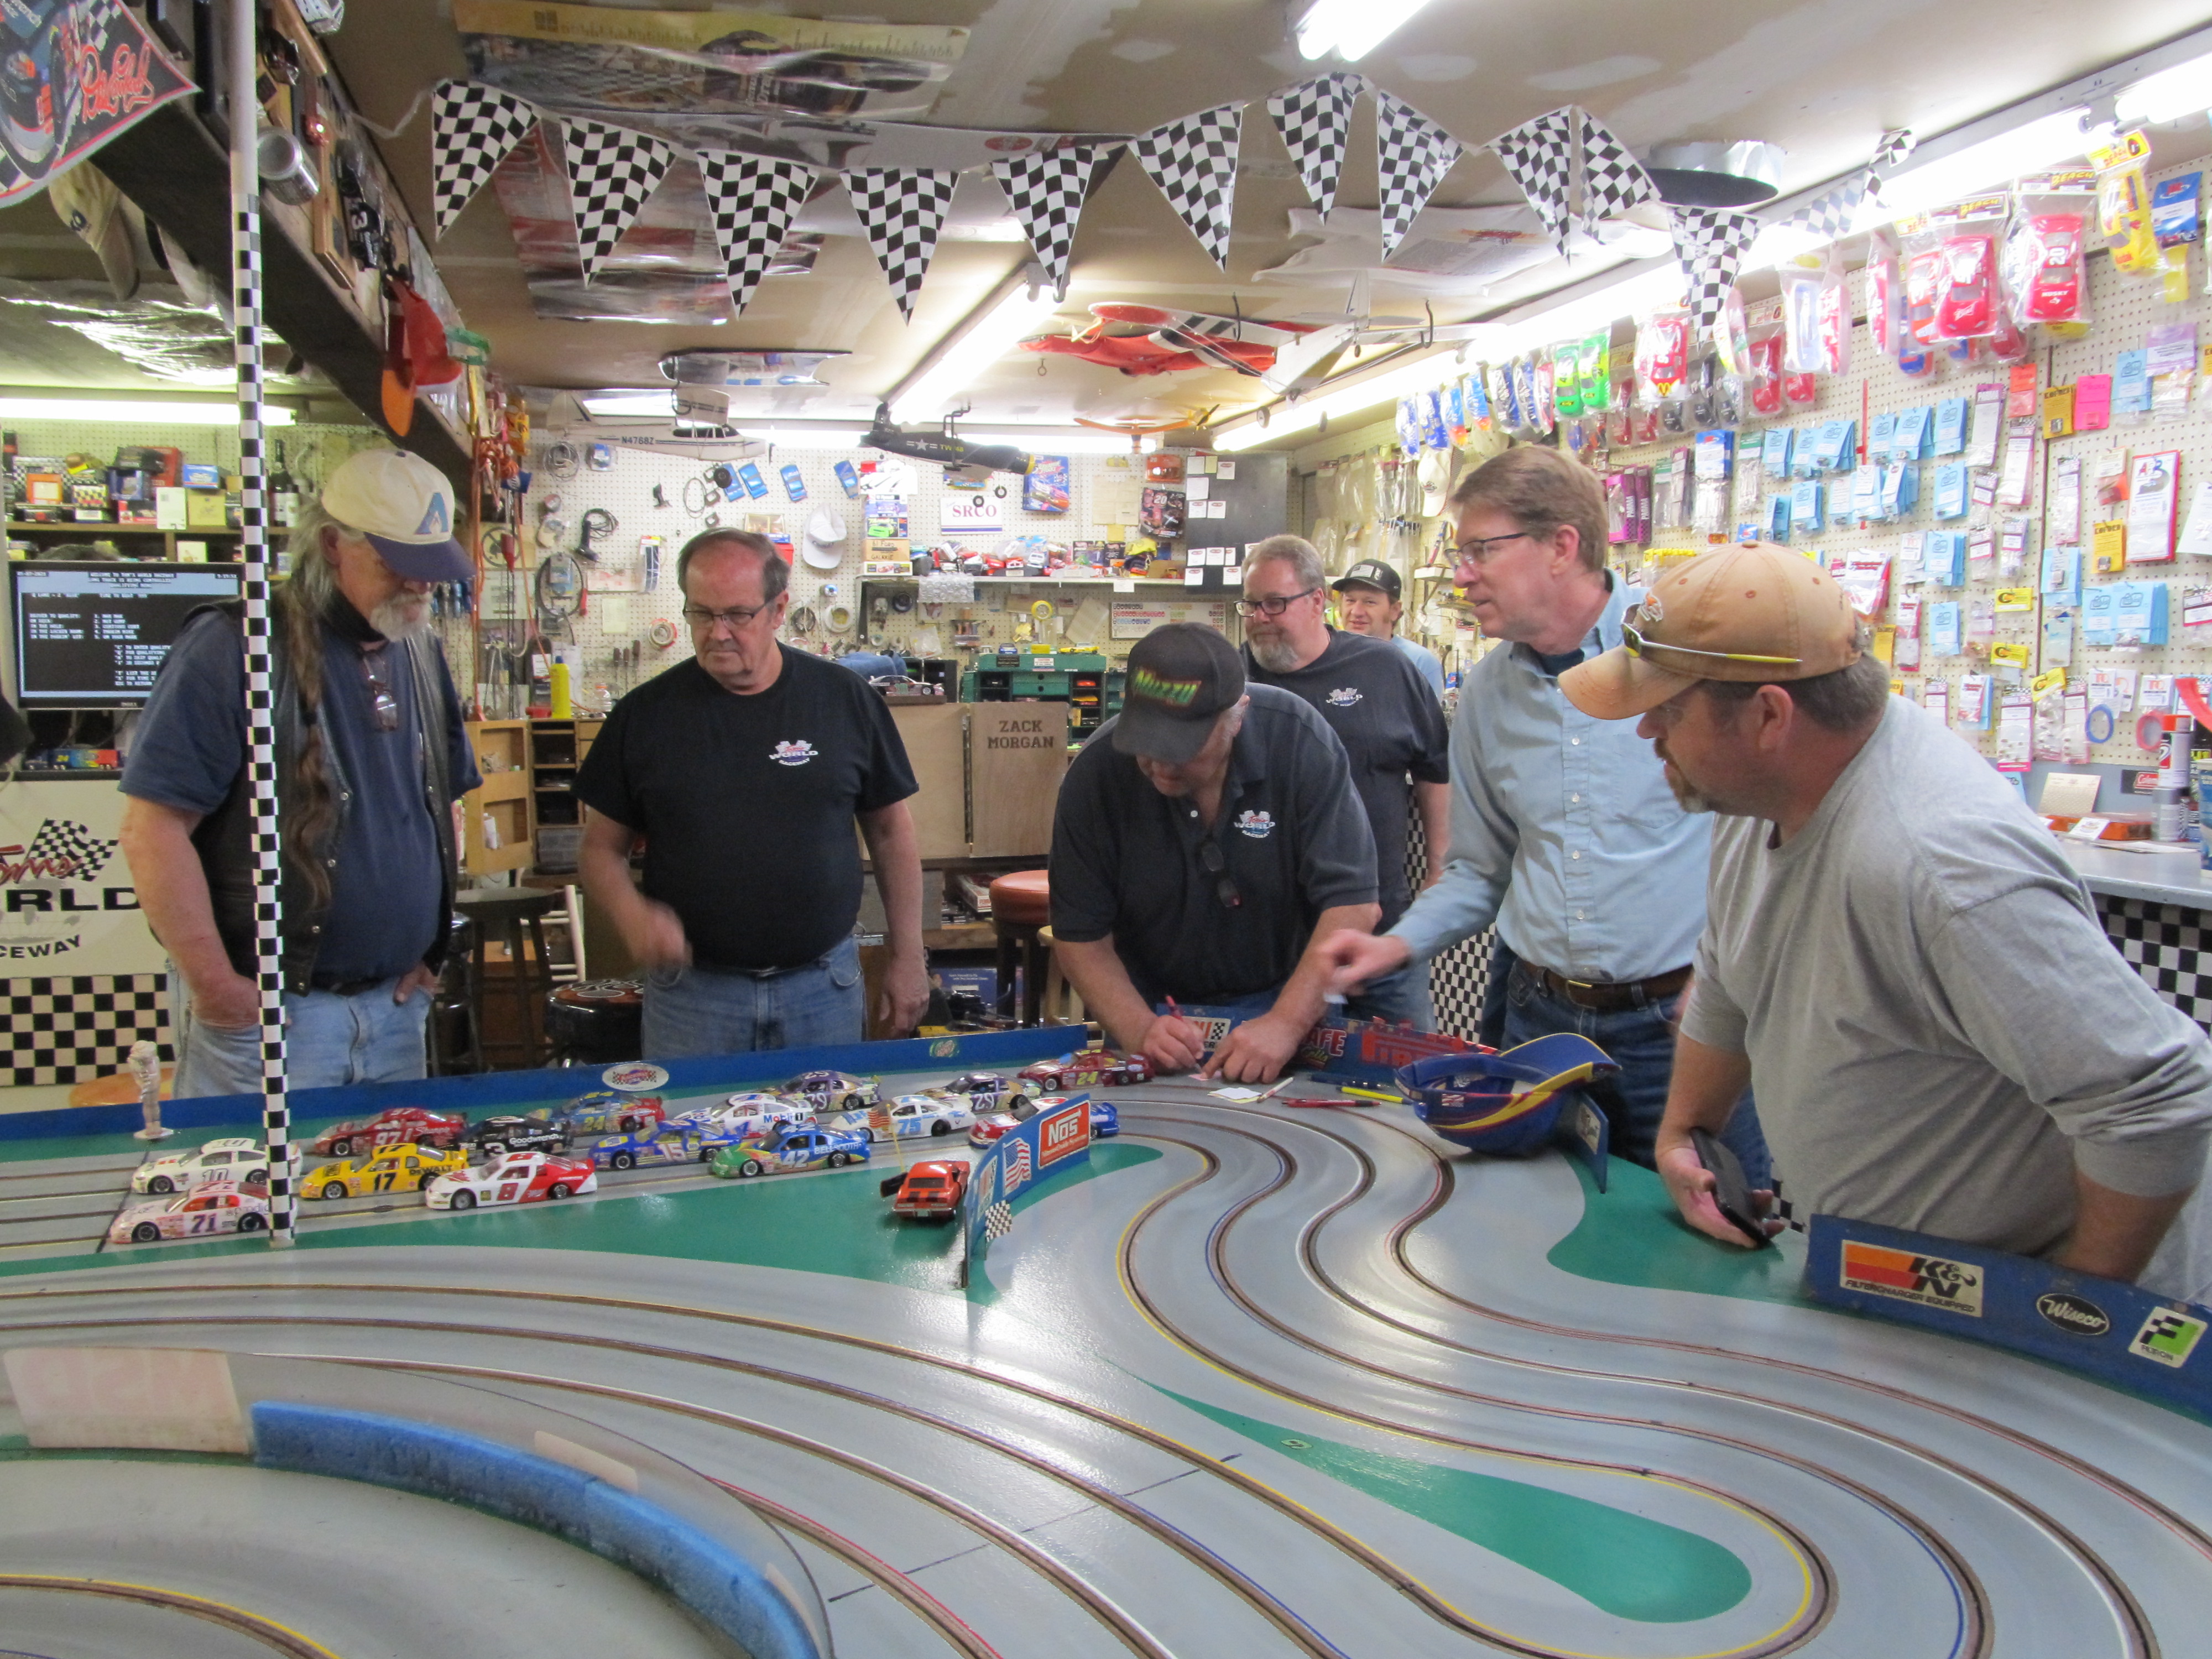
1,341 May 10, 2021 10:10 pm
Re: Dale Earnhardt Memorial NASCAR Race at Tom's World in Bend Oregon (9 replies, posted in OSCAR)
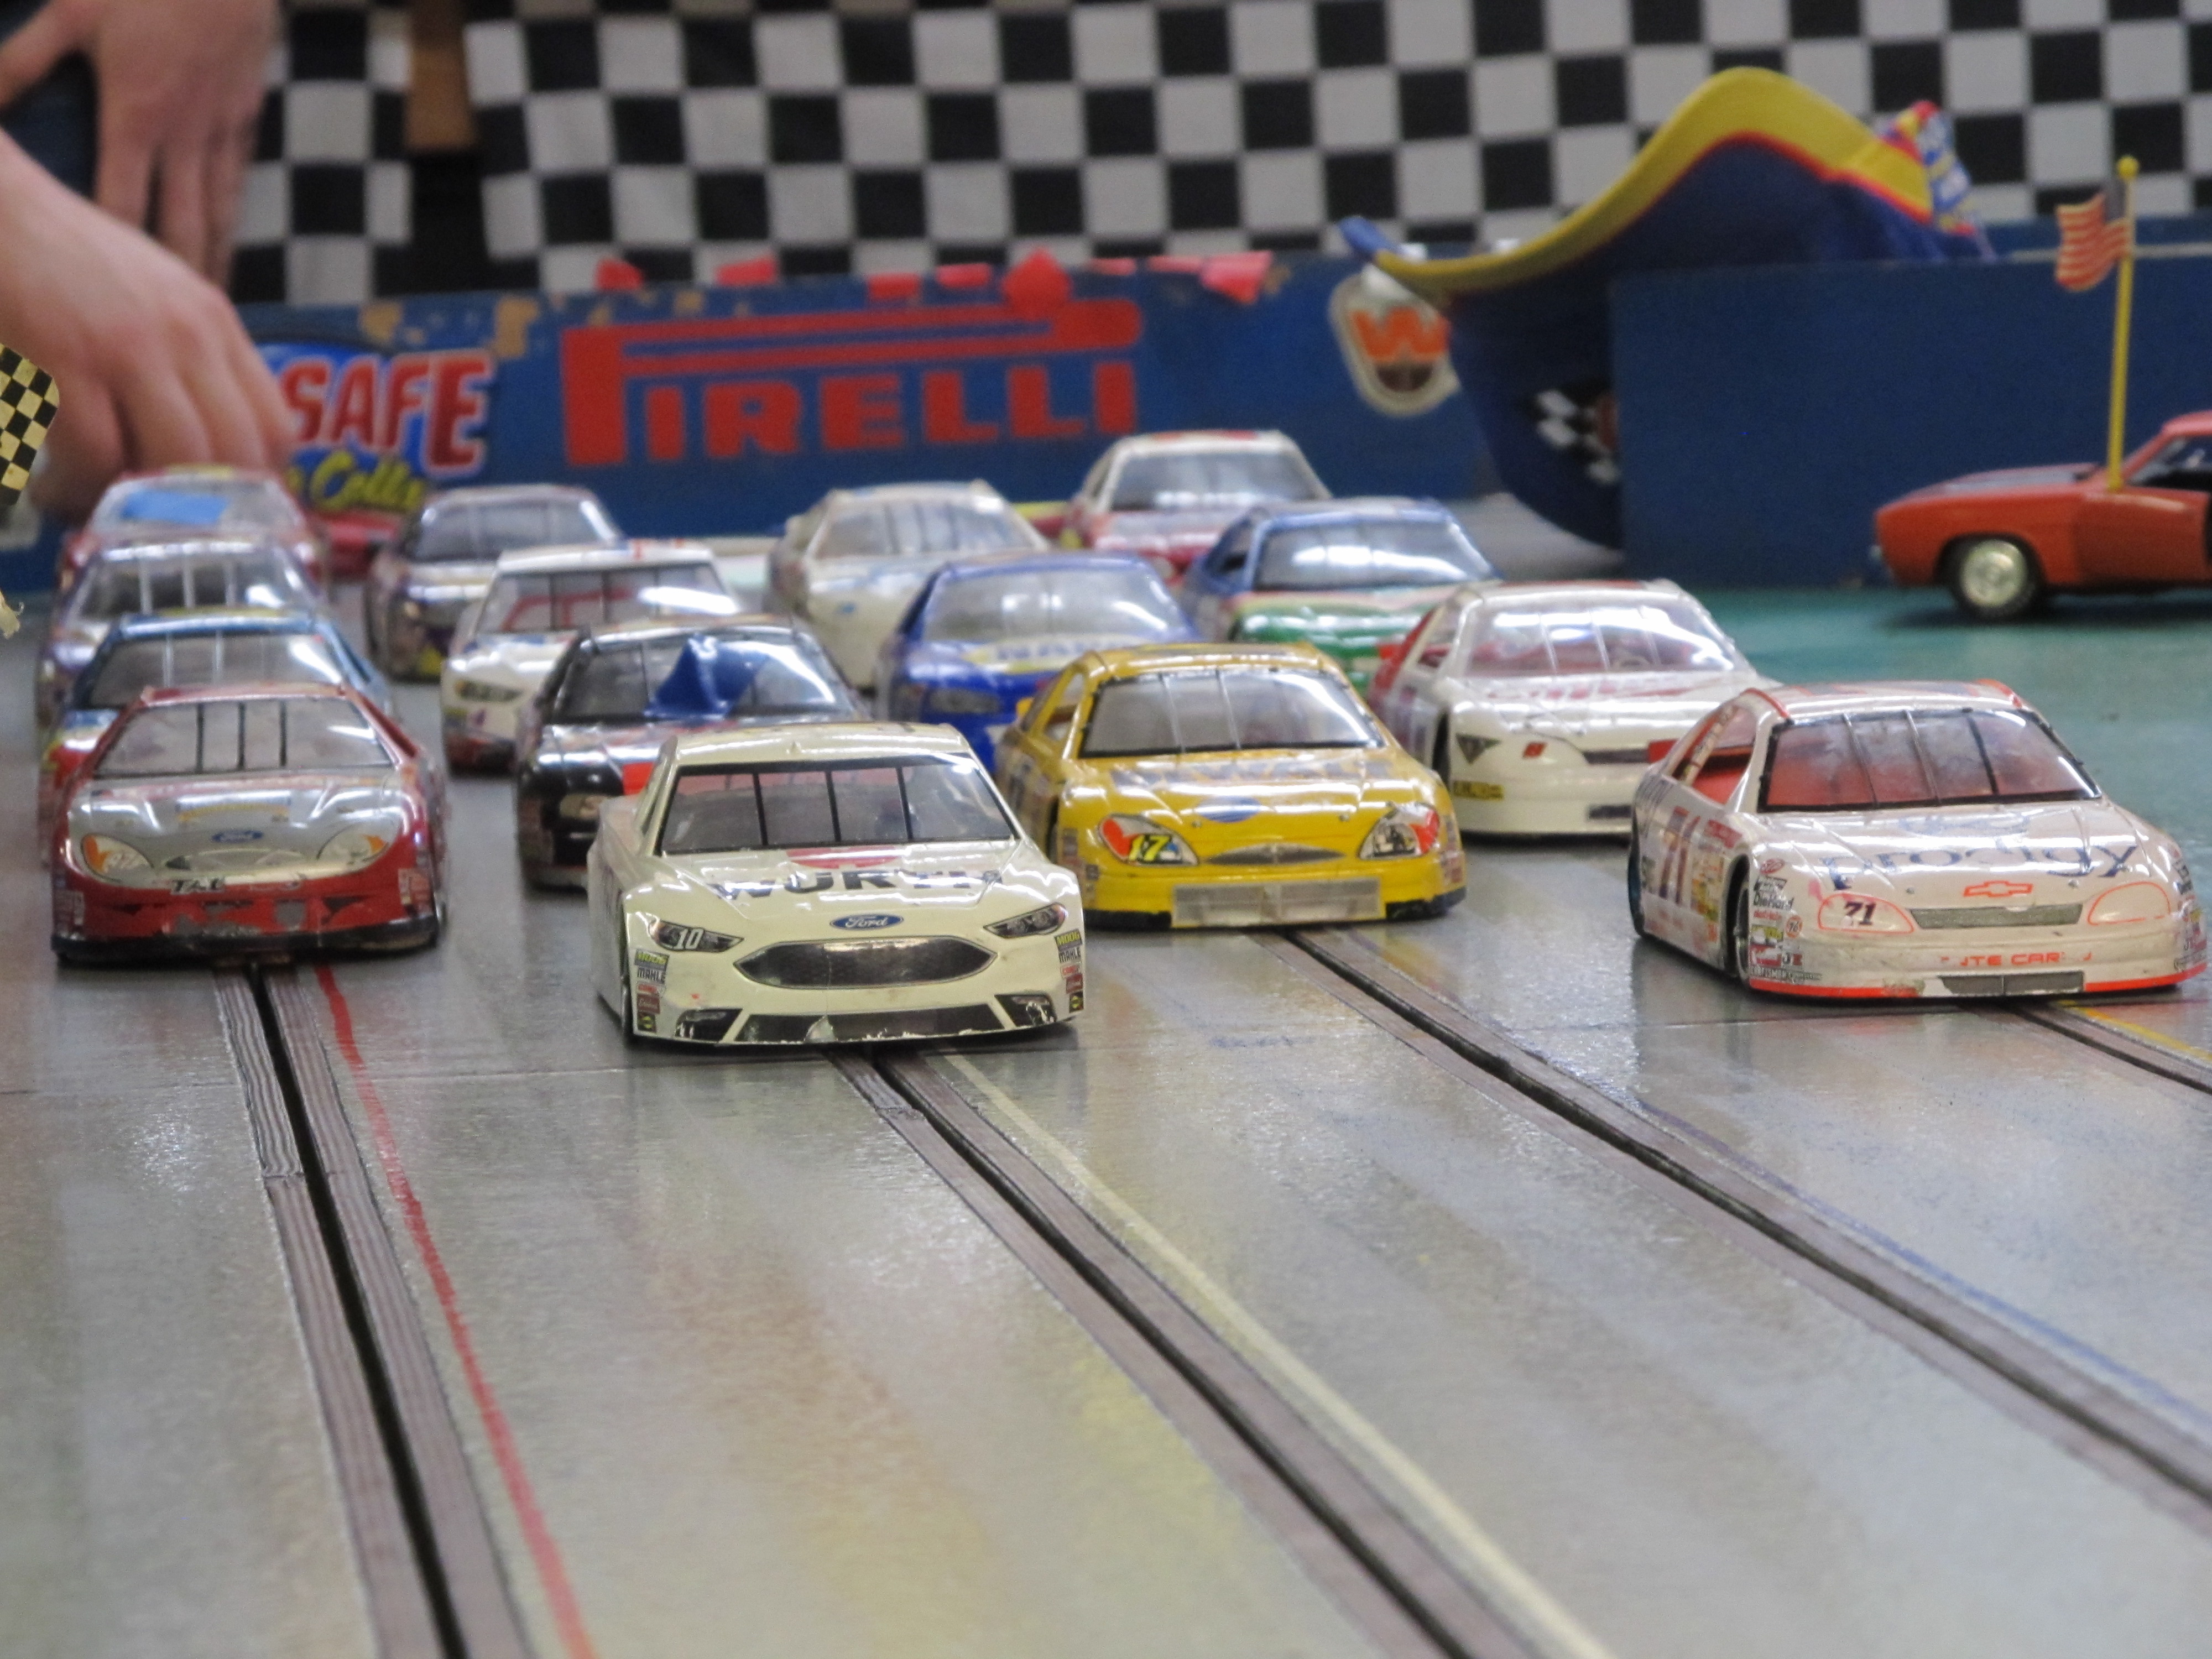
1,342 May 10, 2021 10:07 pm
Re: Dale Earnhardt Memorial NASCAR Race at Tom's World in Bend Oregon (9 replies, posted in OSCAR)
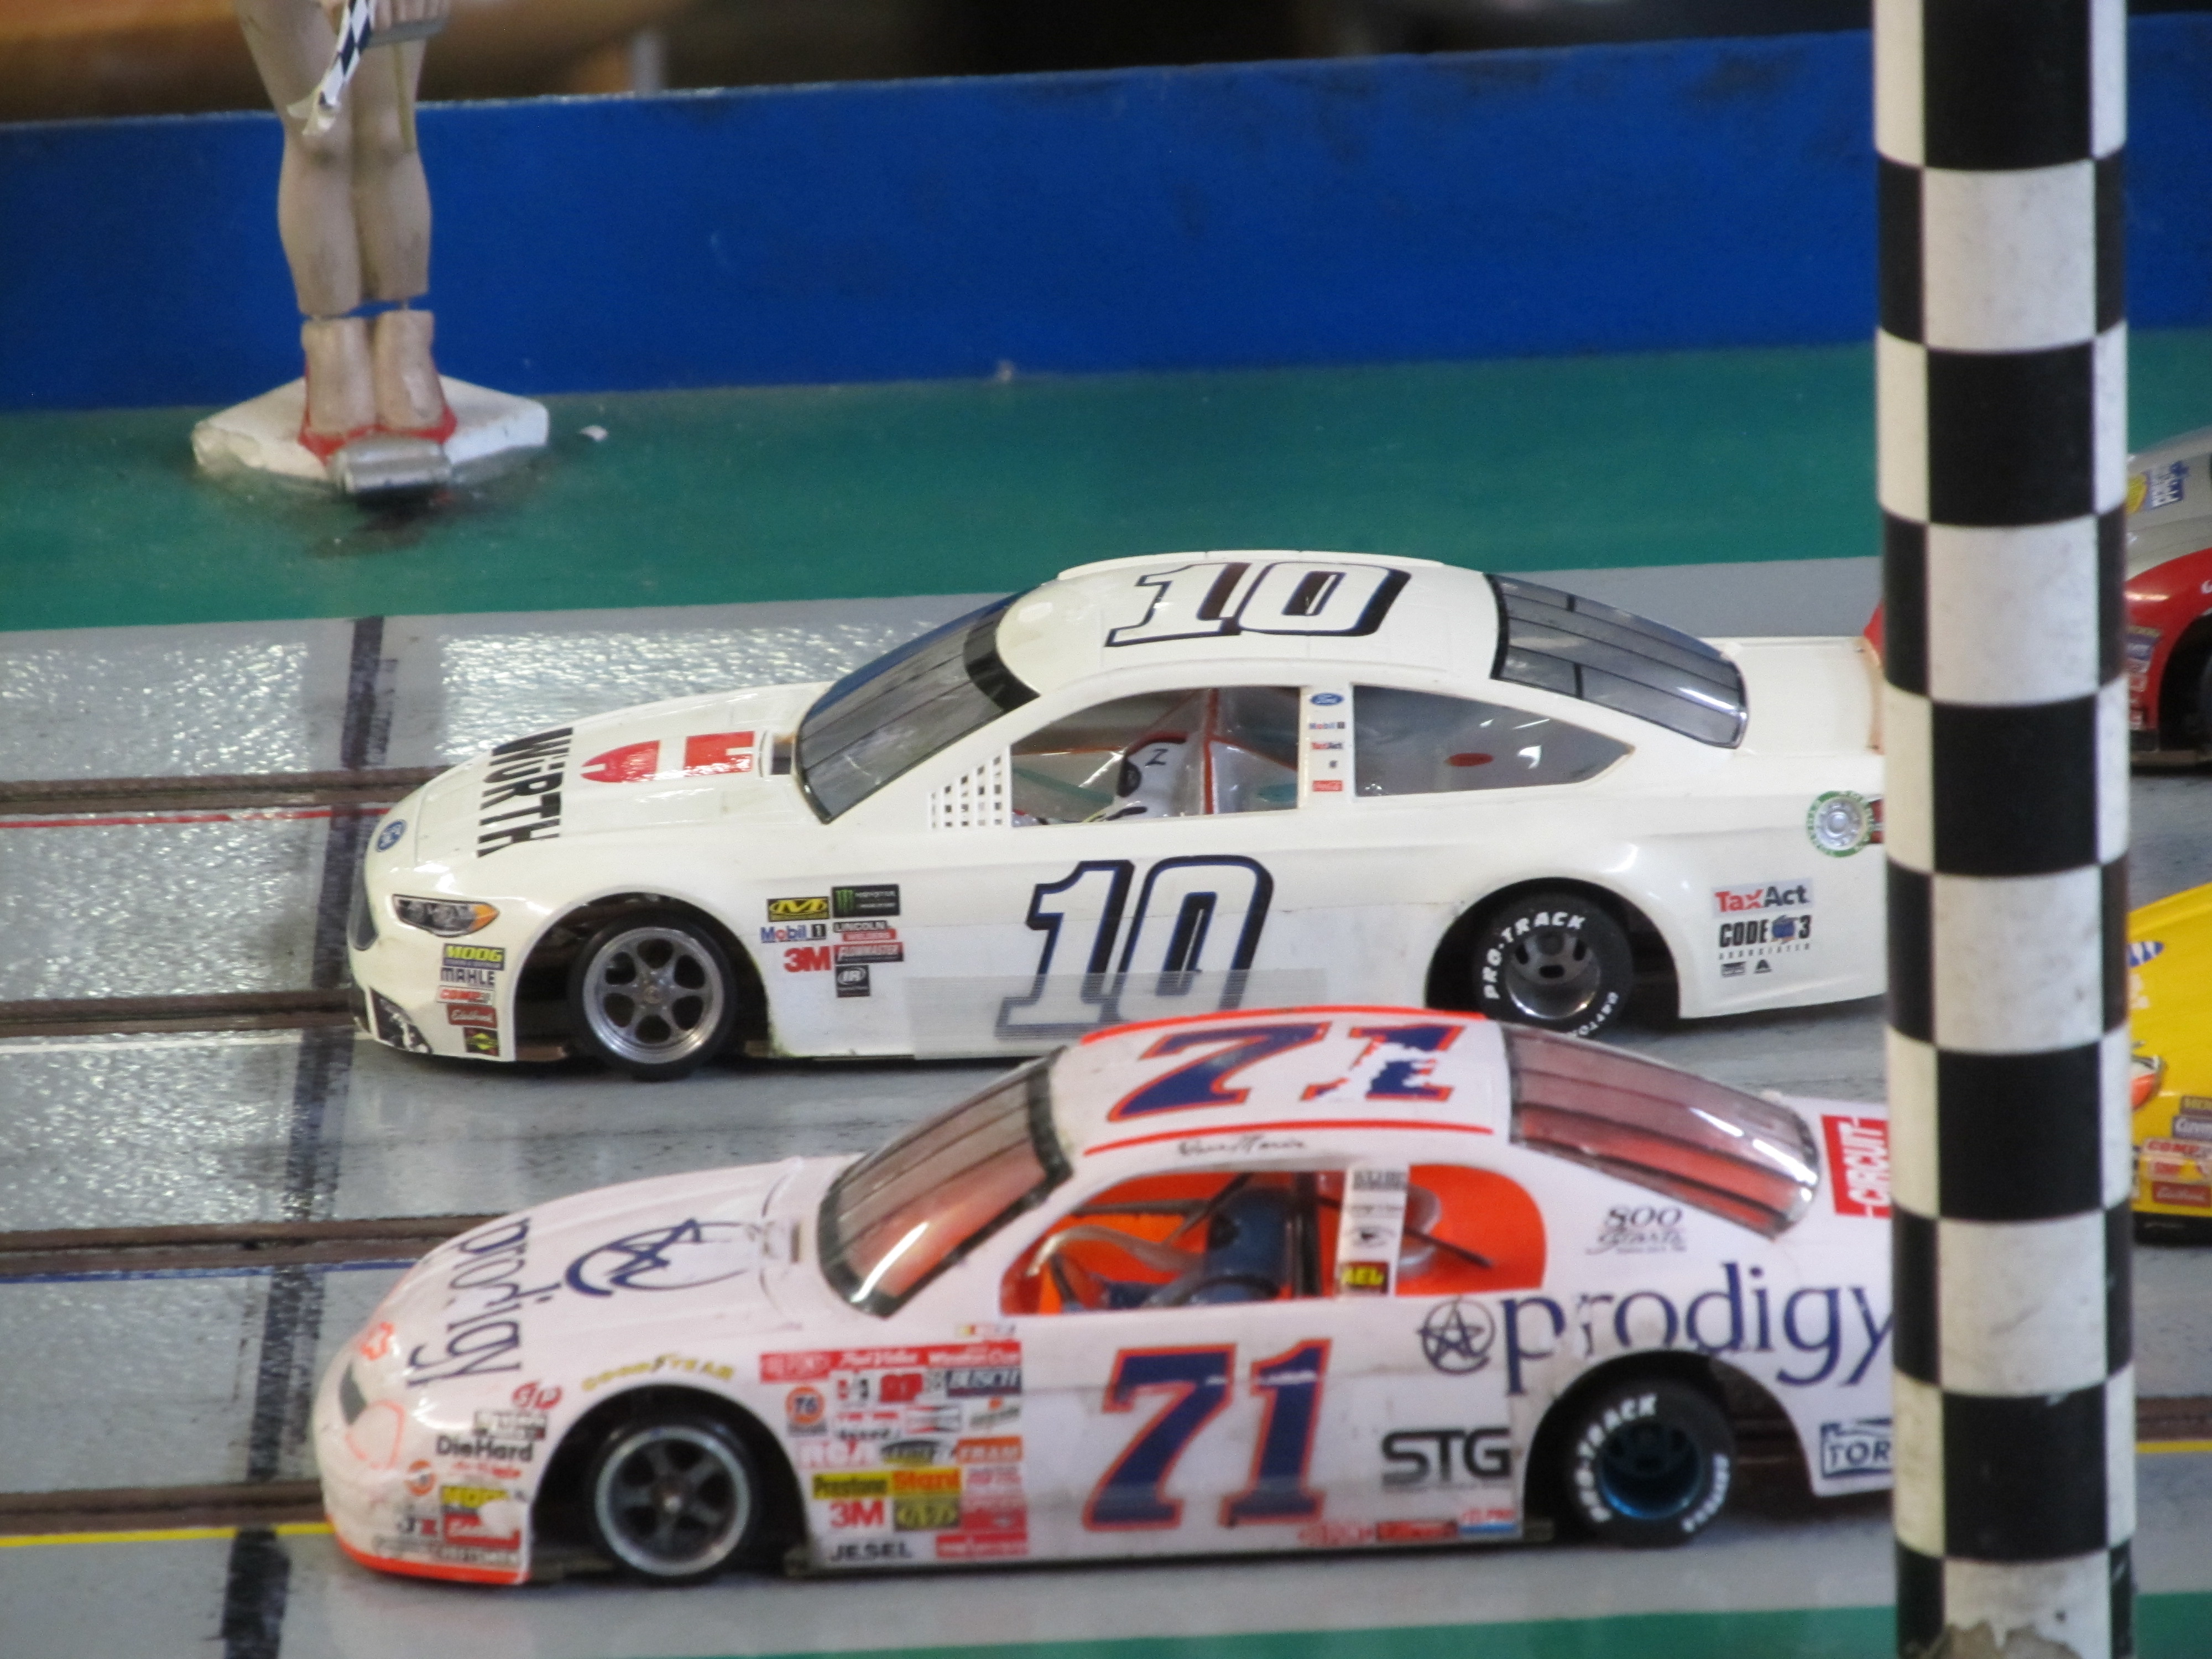
1,343 May 10, 2021 10:04 pm
Re: Dale Earnhardt Memorial NASCAR Race at Tom's World in Bend Oregon (9 replies, posted in OSCAR)
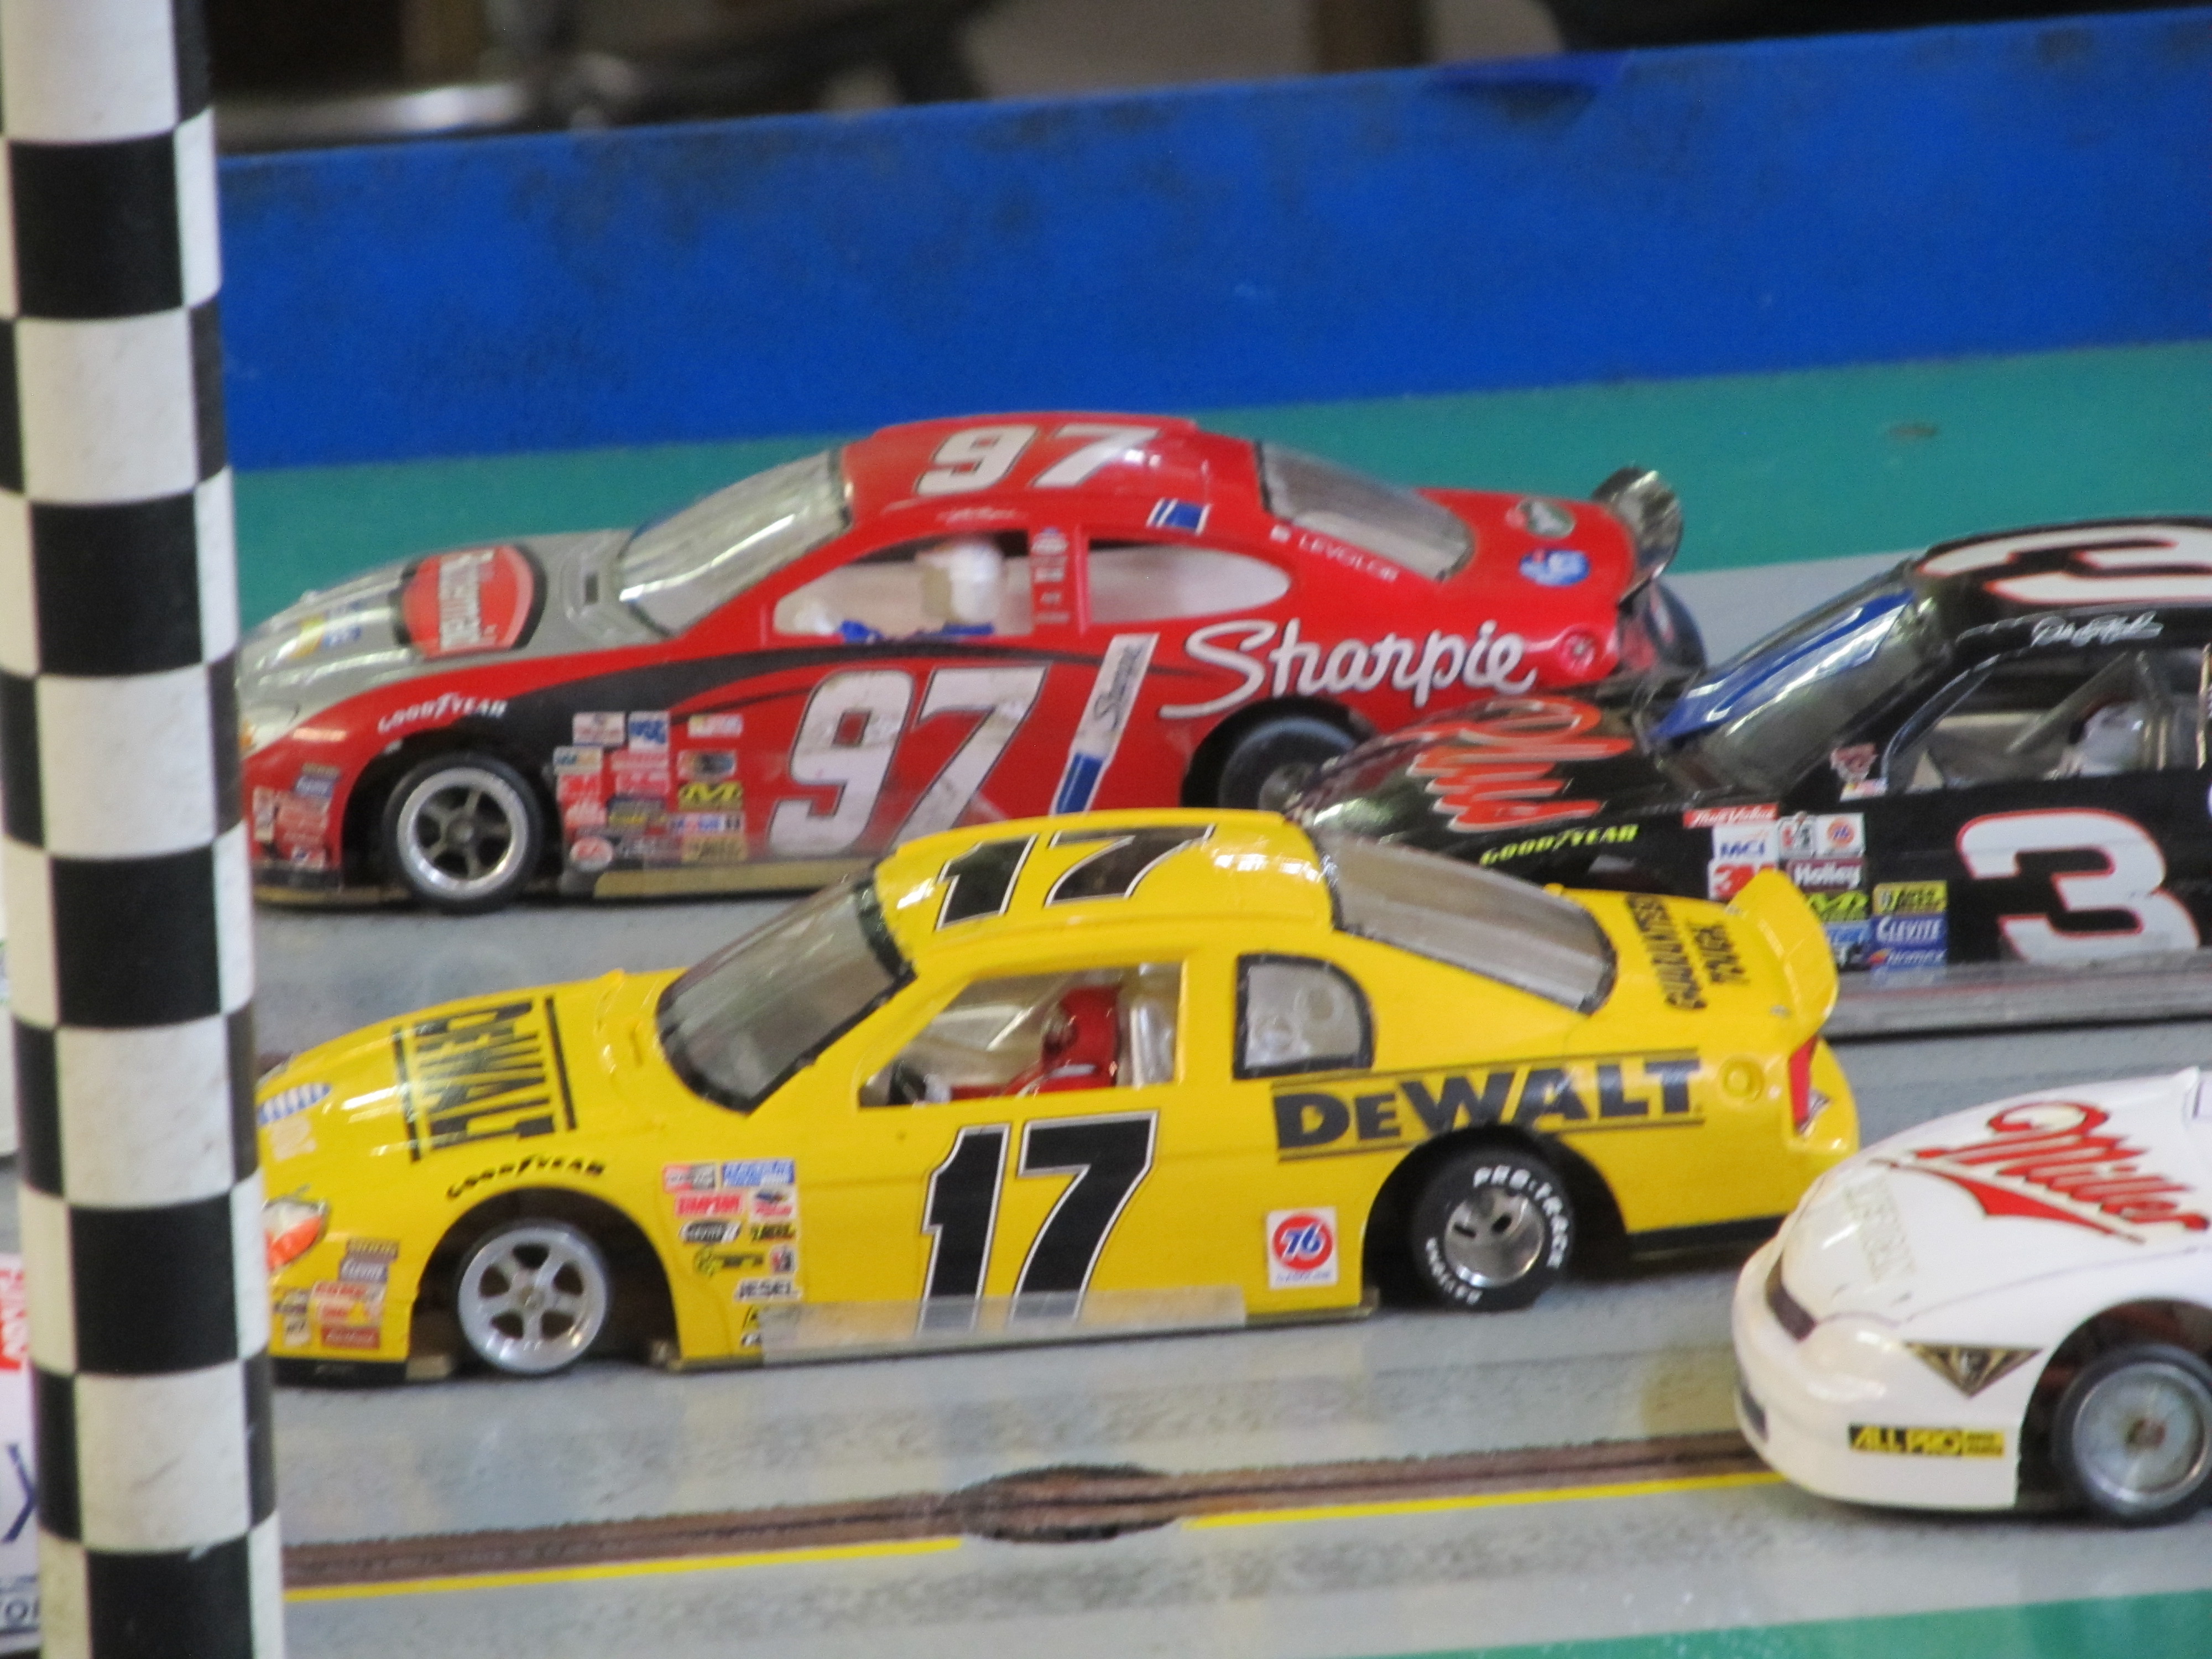
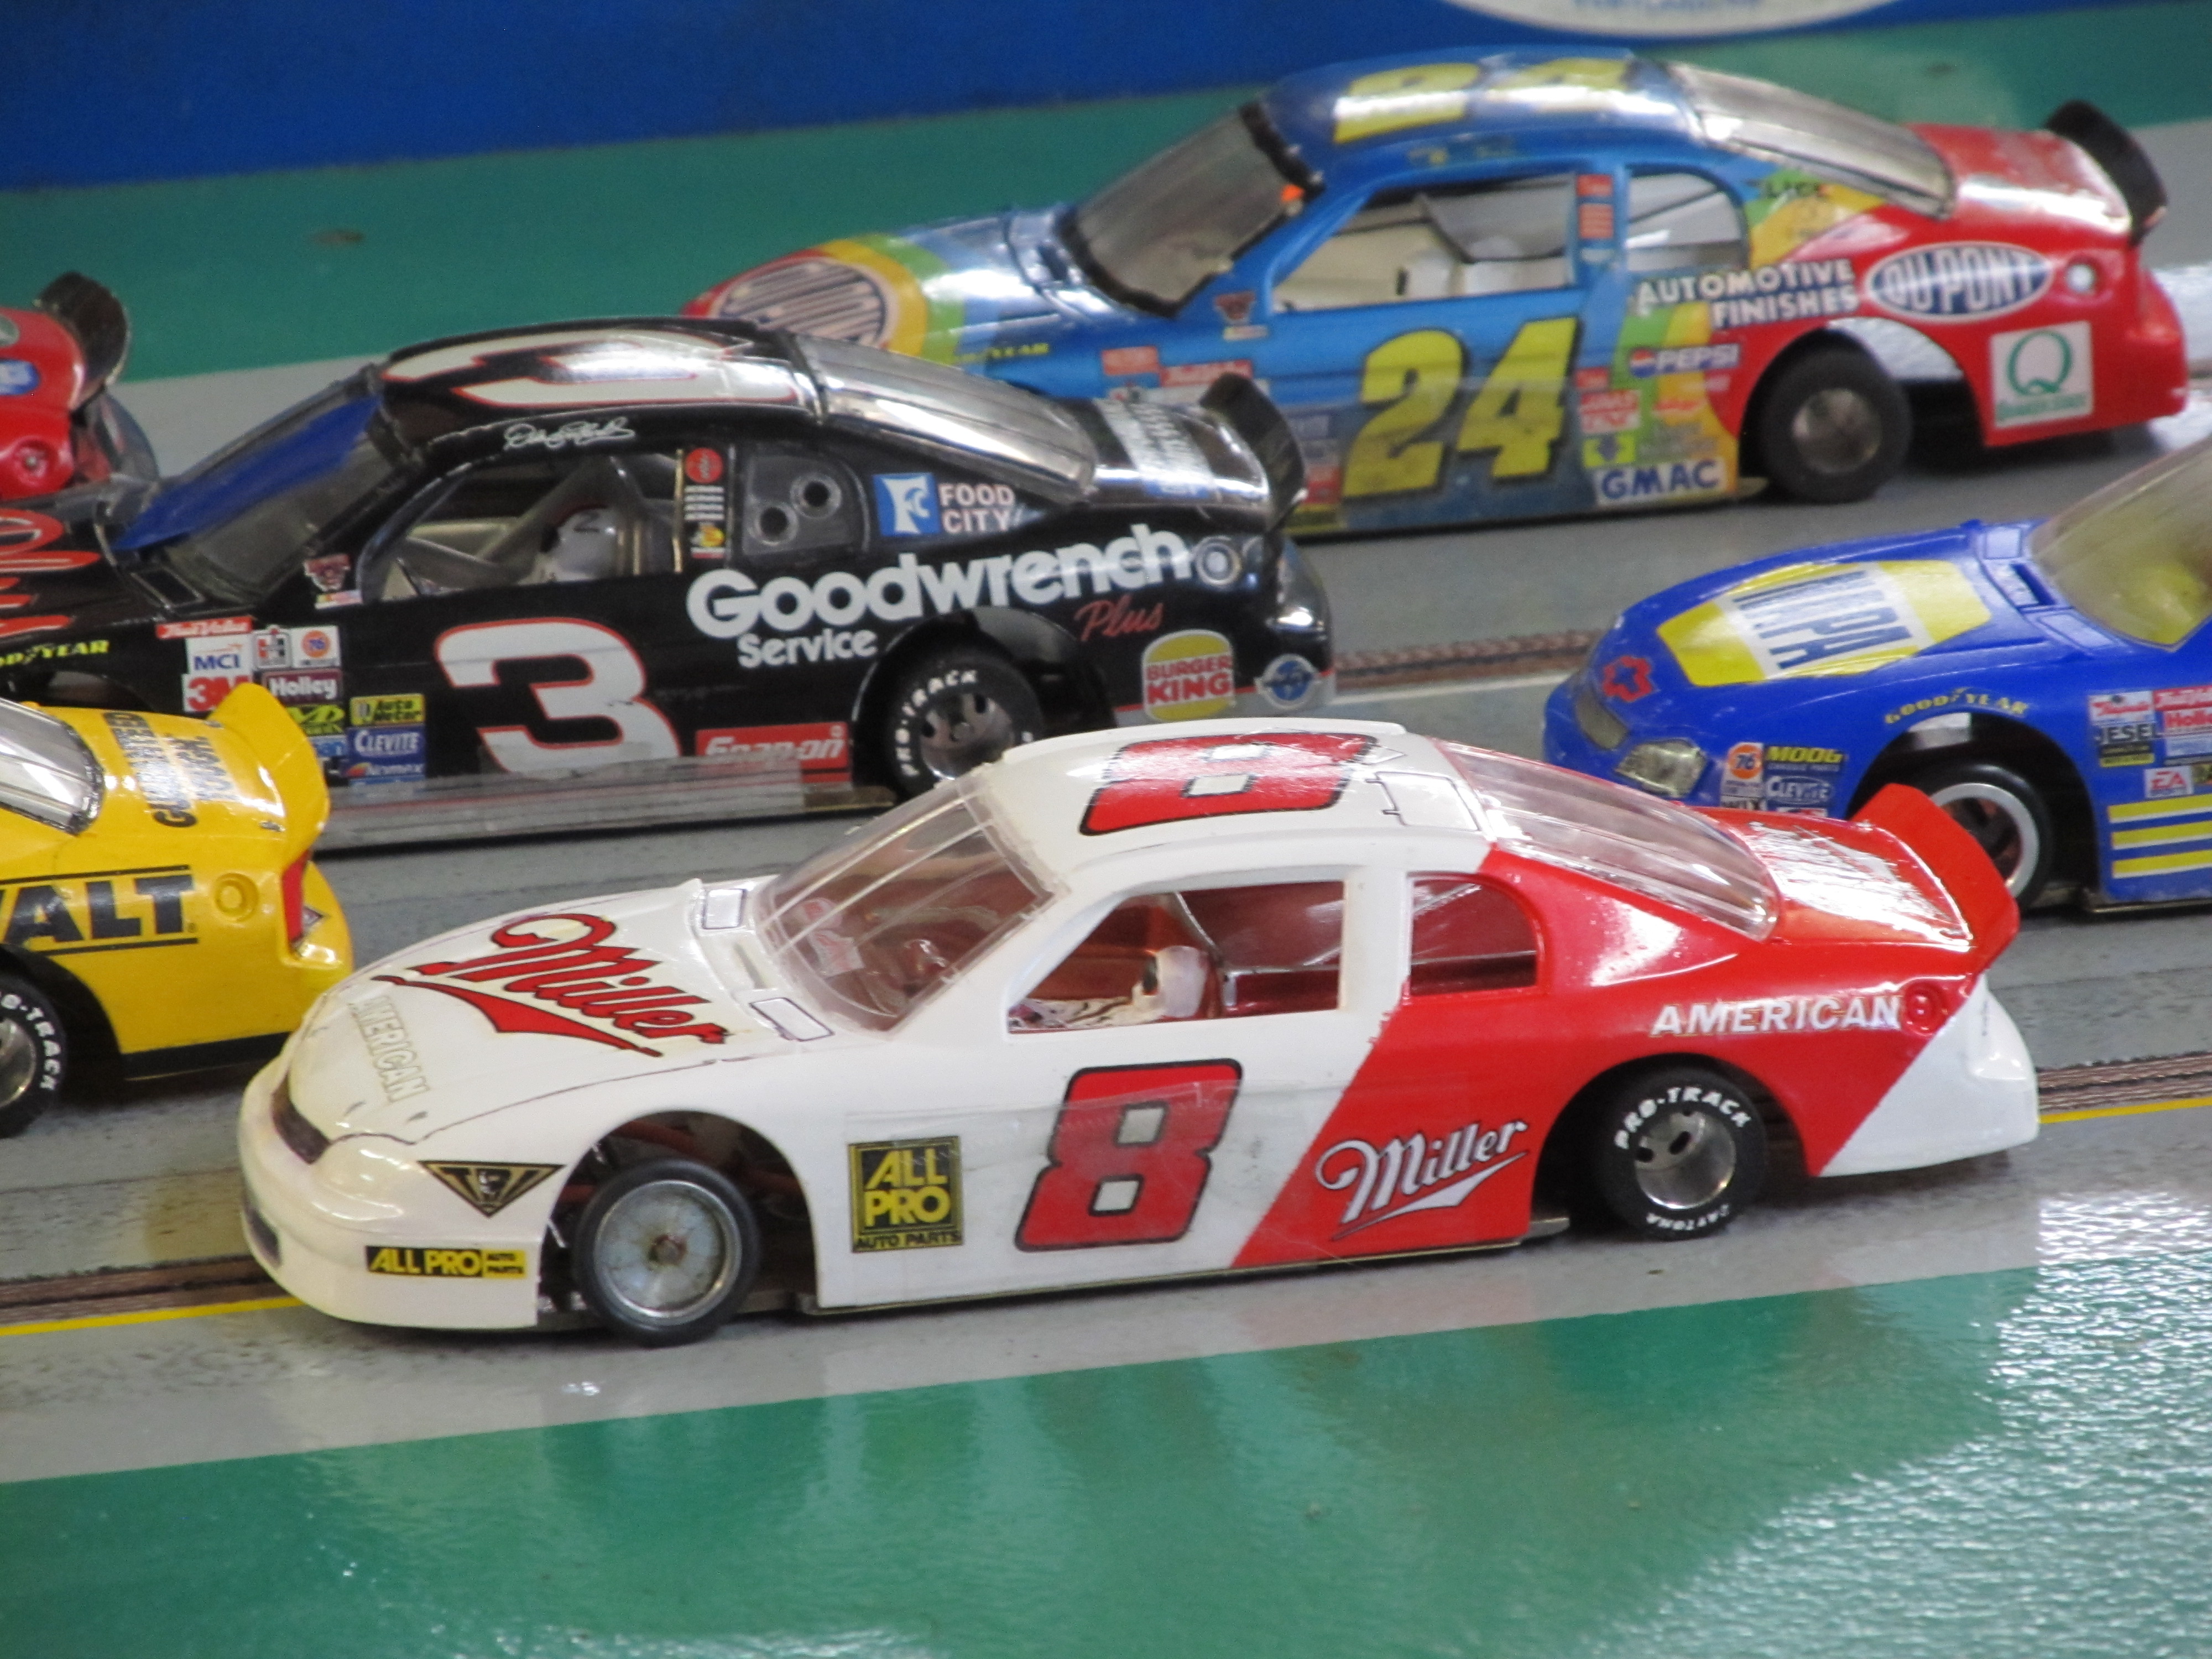
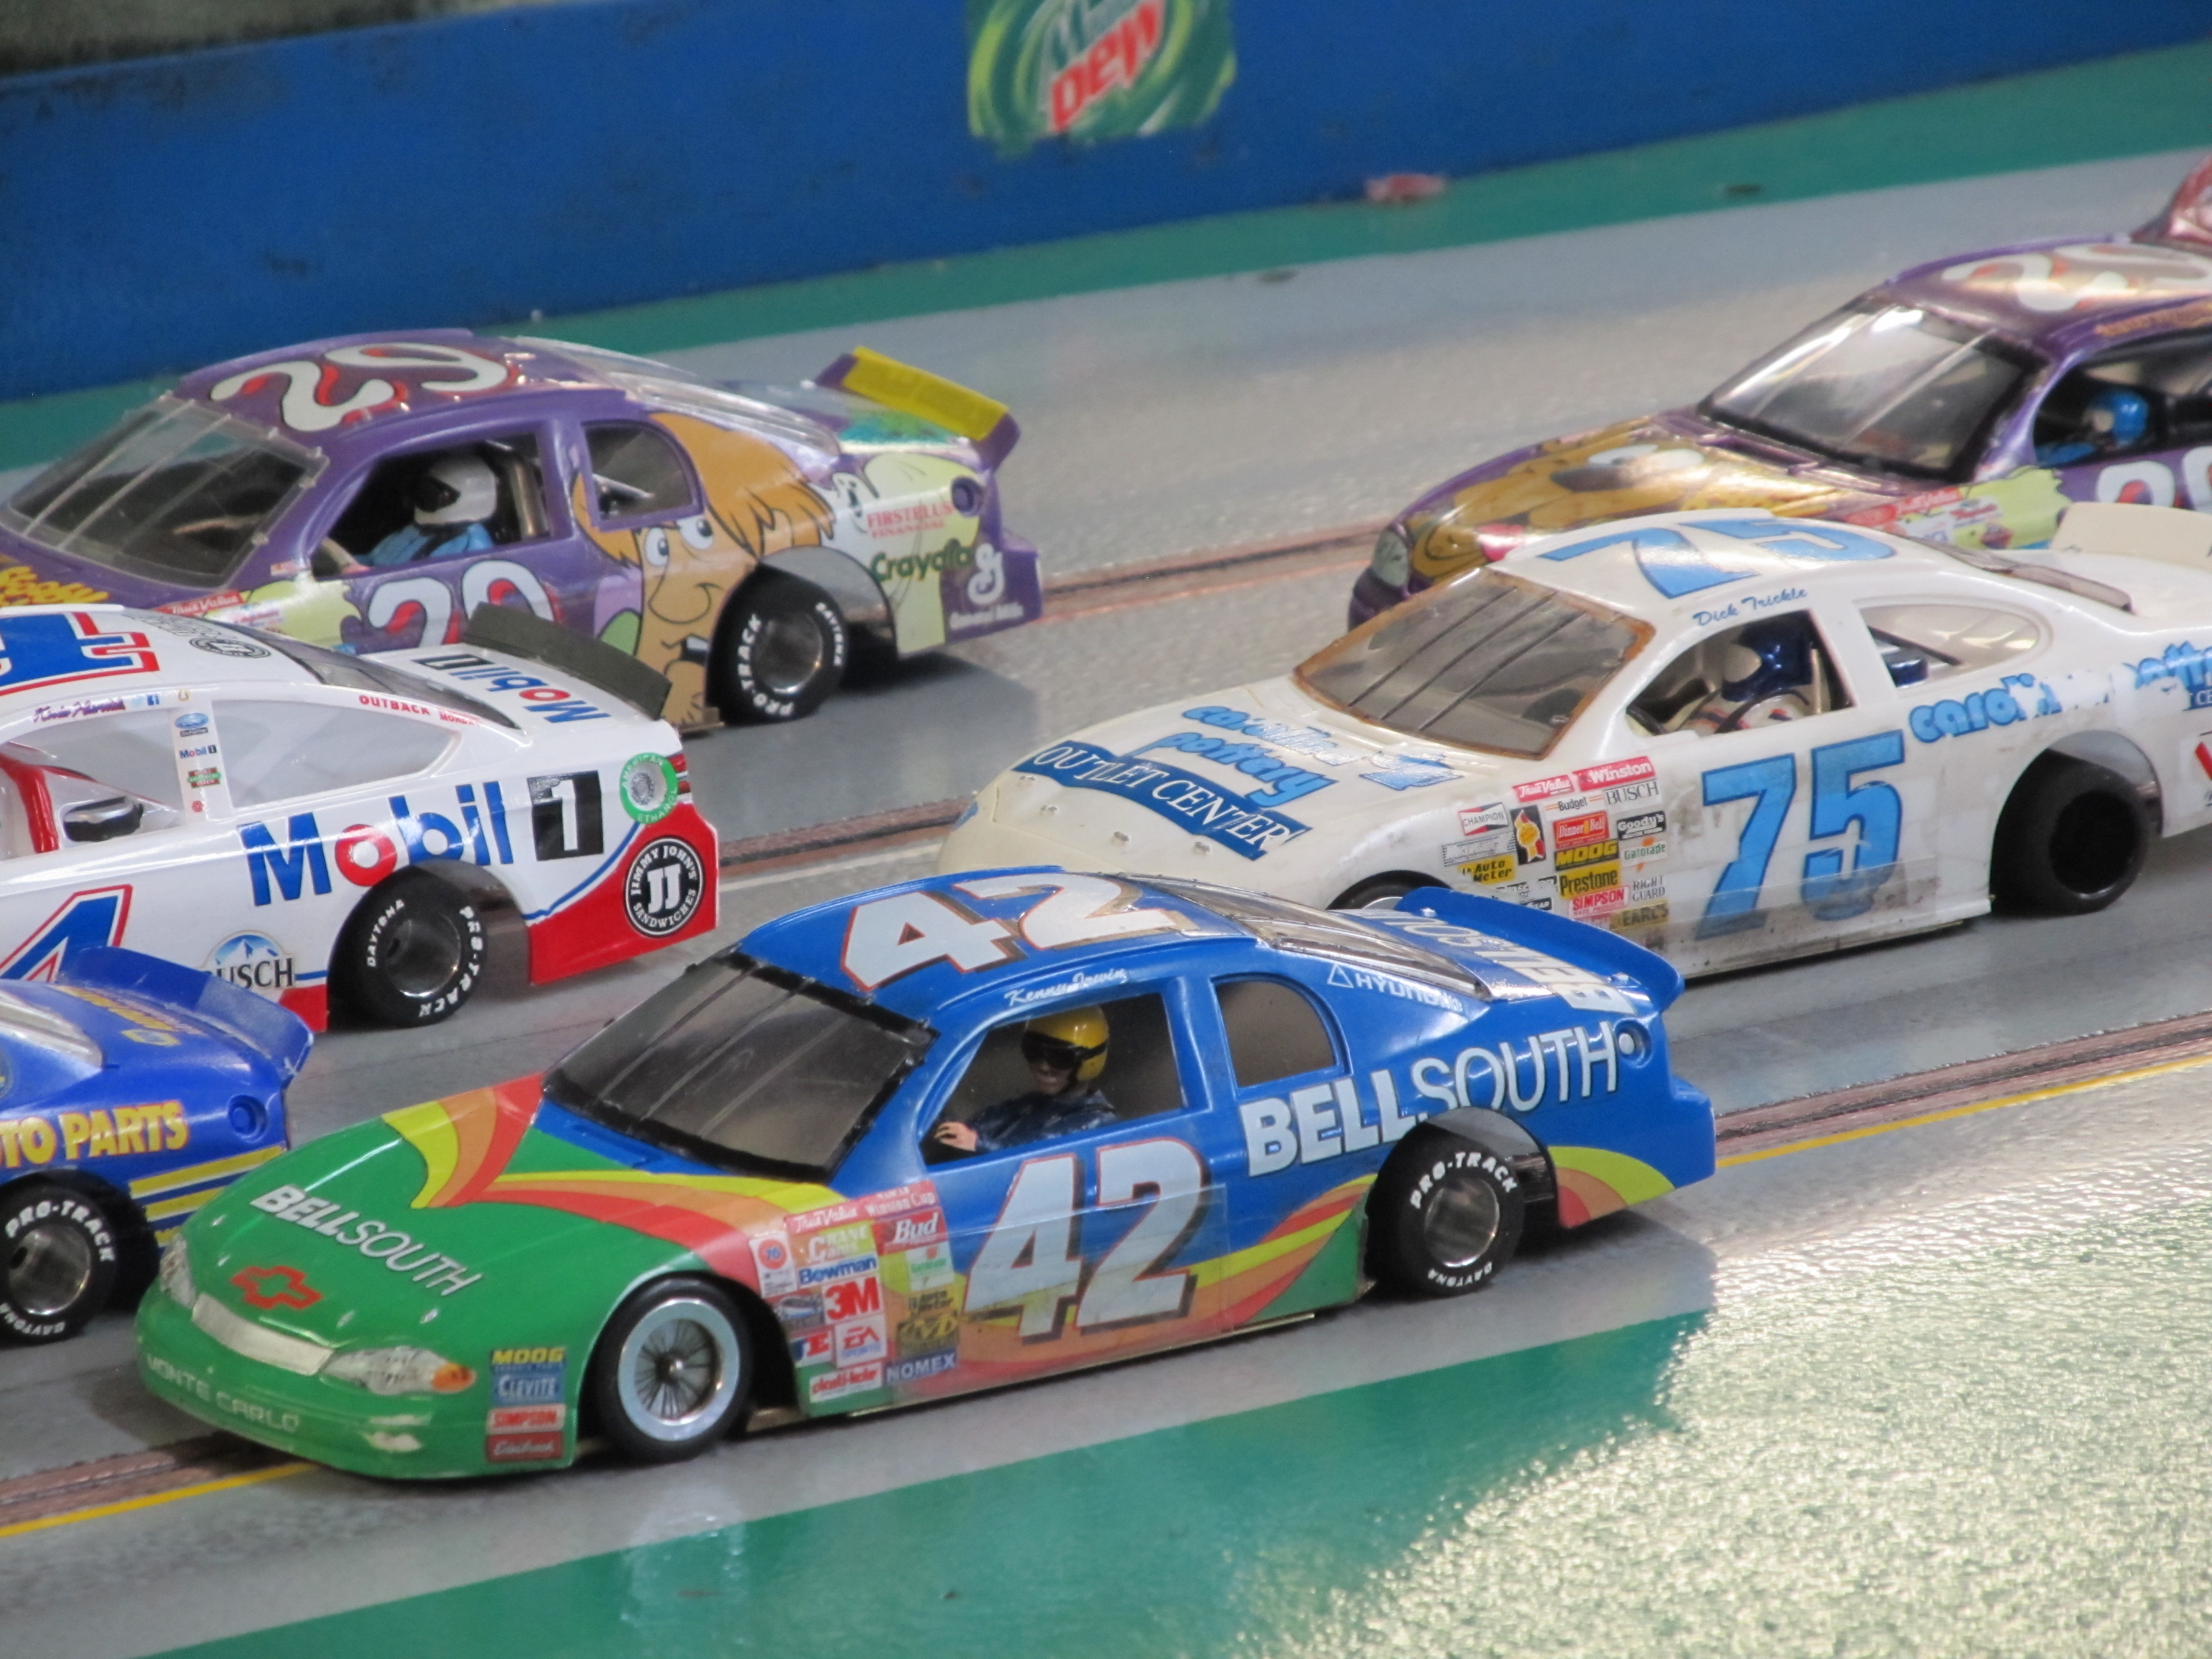
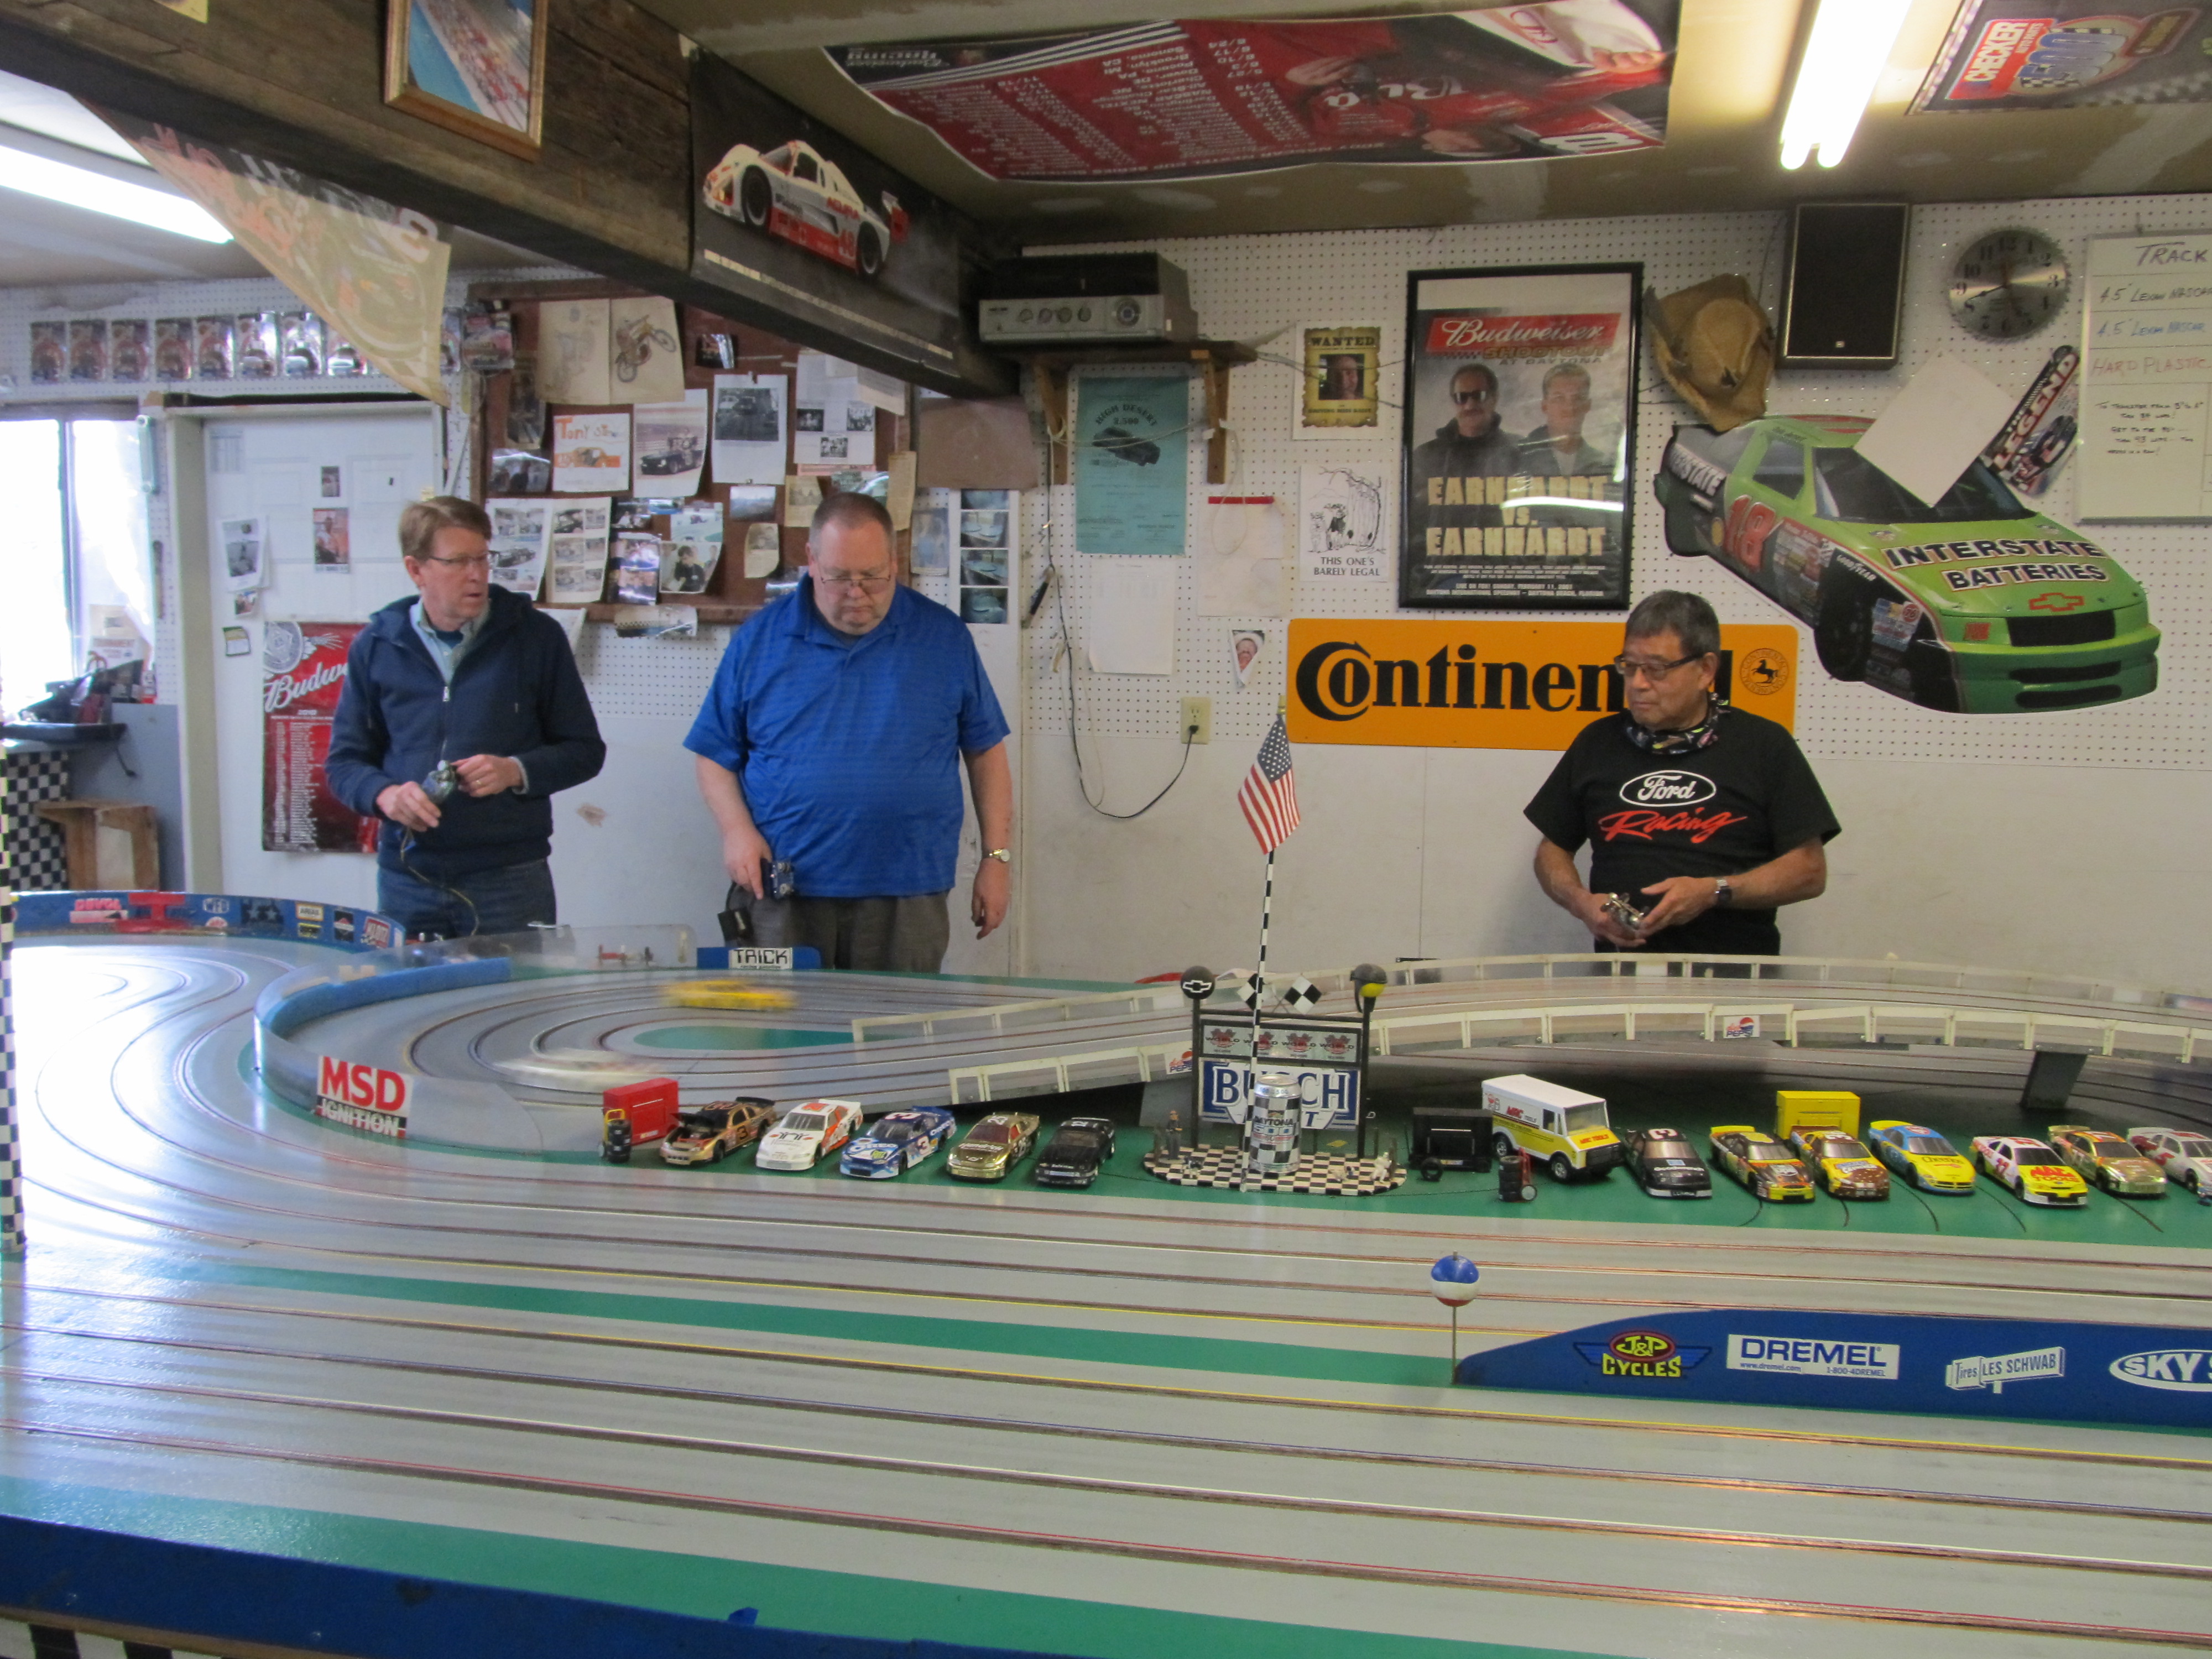
More photos from the race: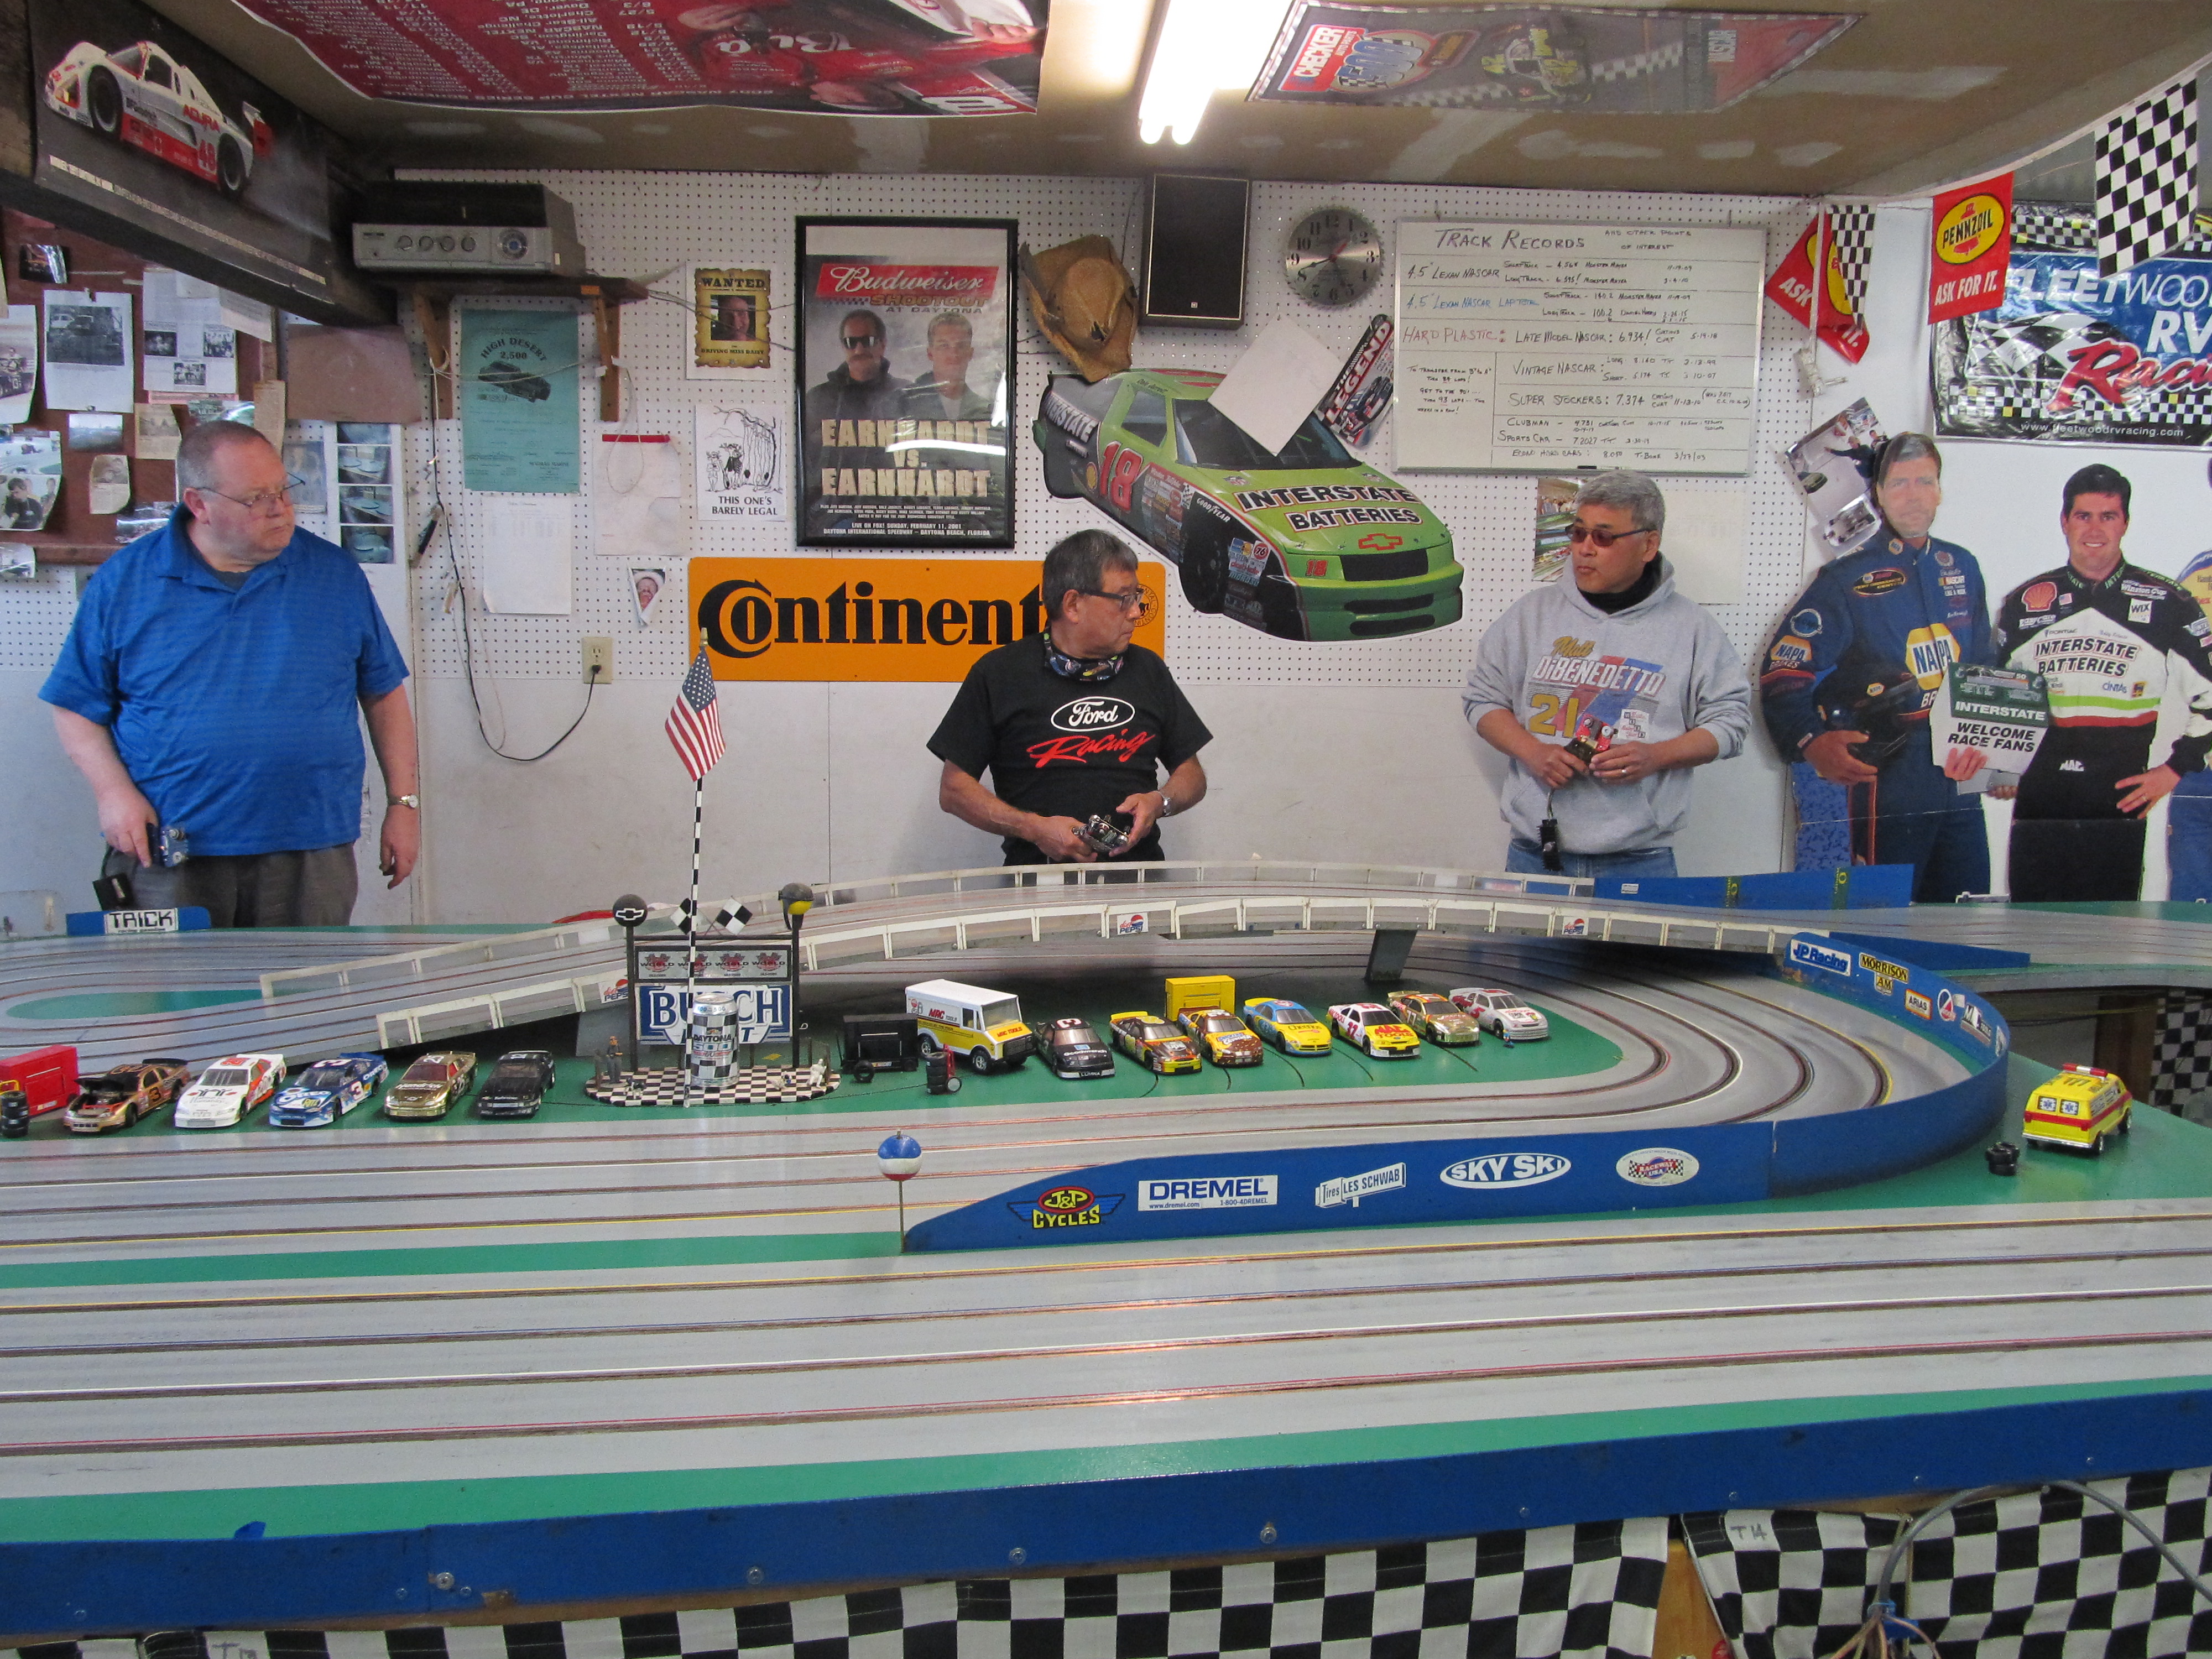
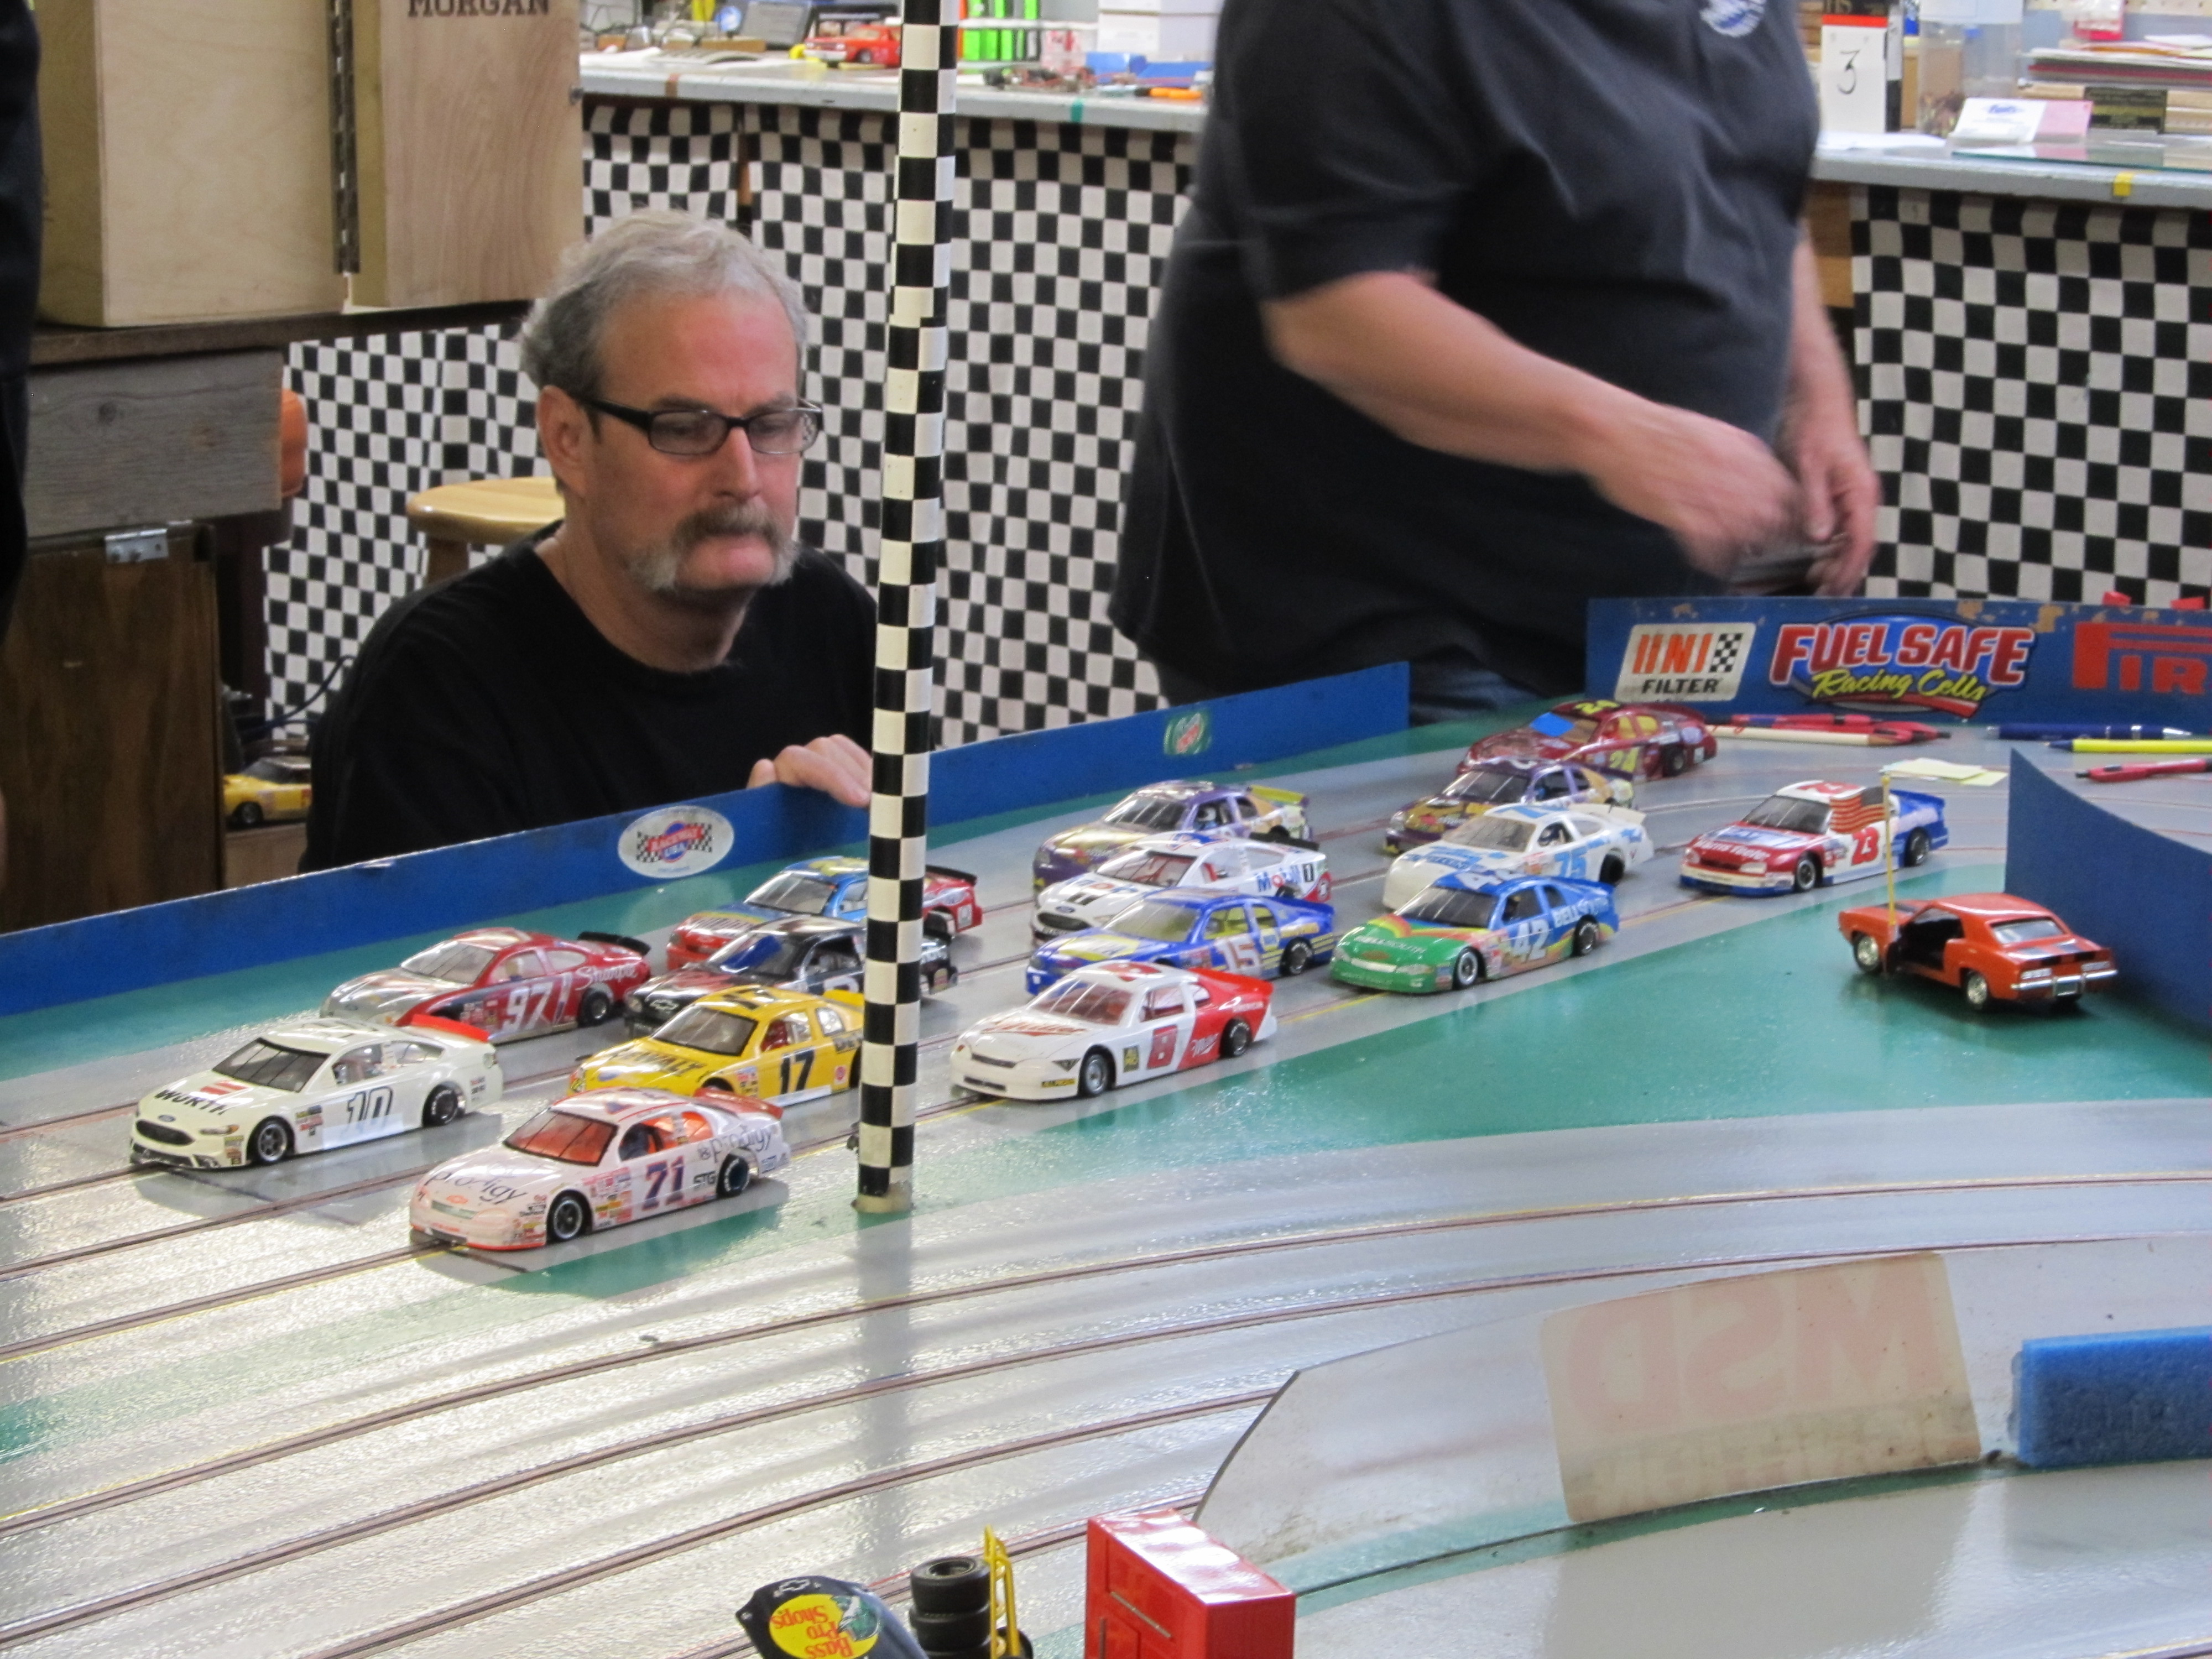
1,344 May 10, 2021 10:02 pm
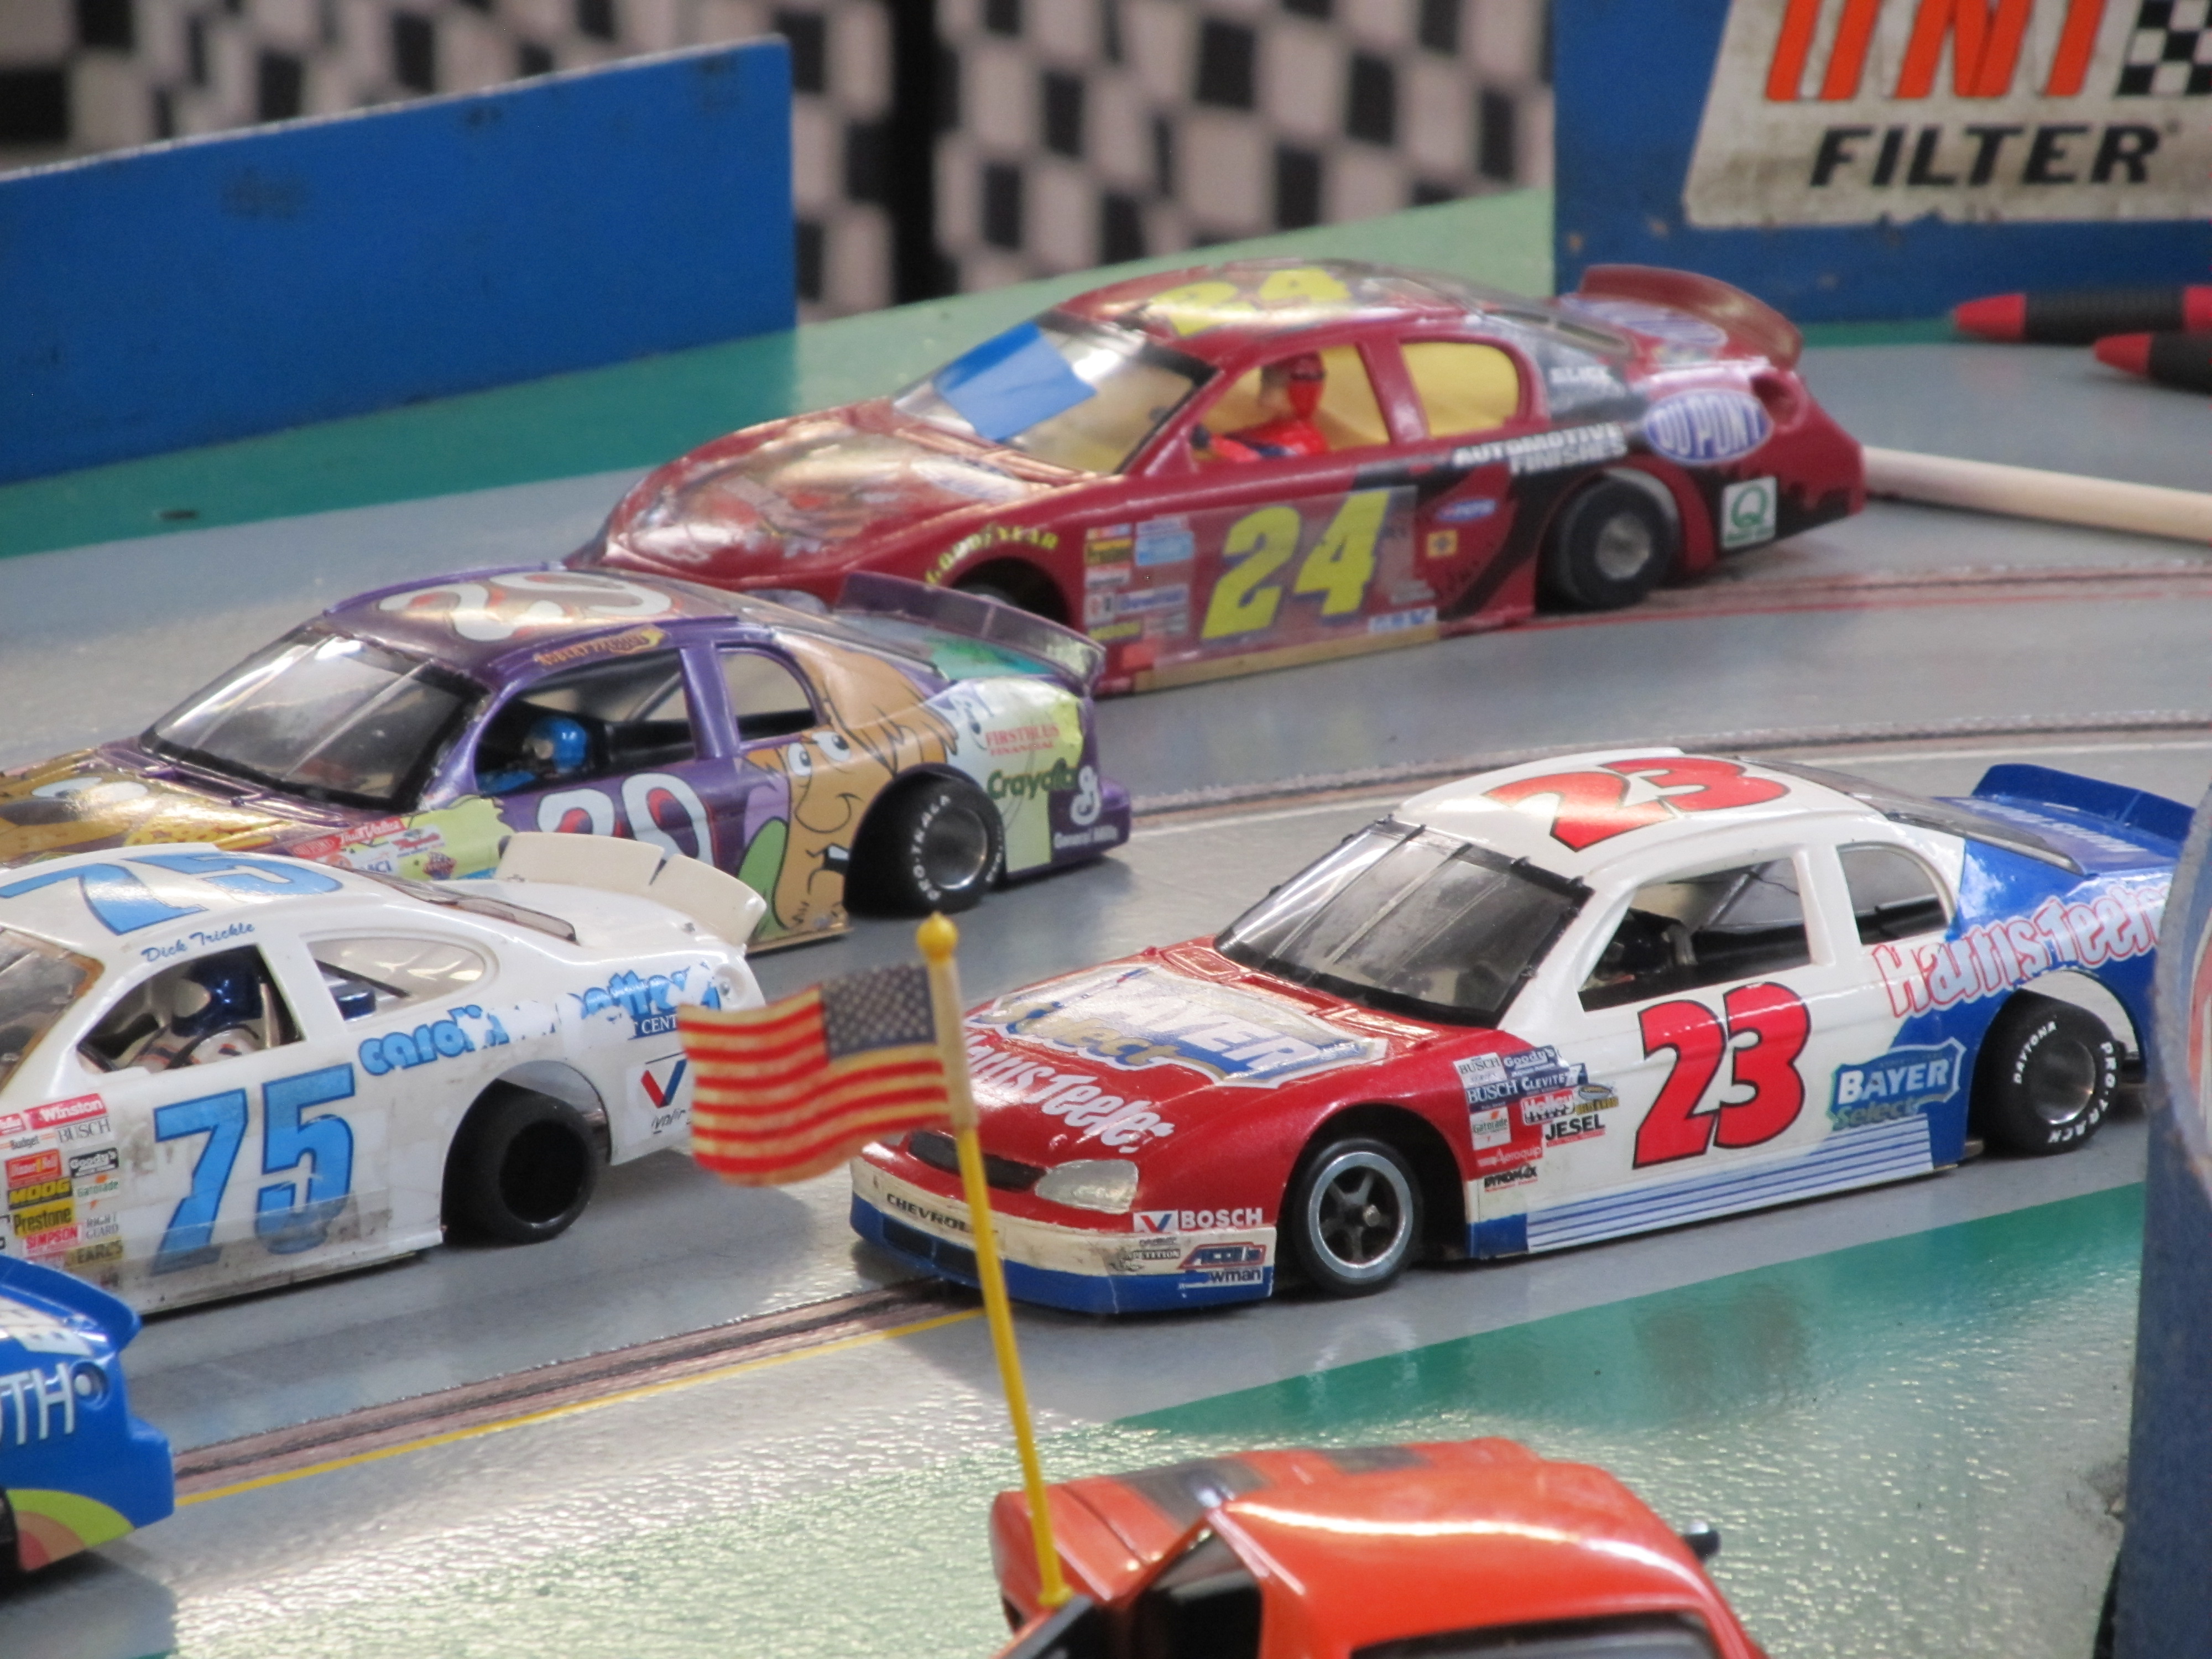
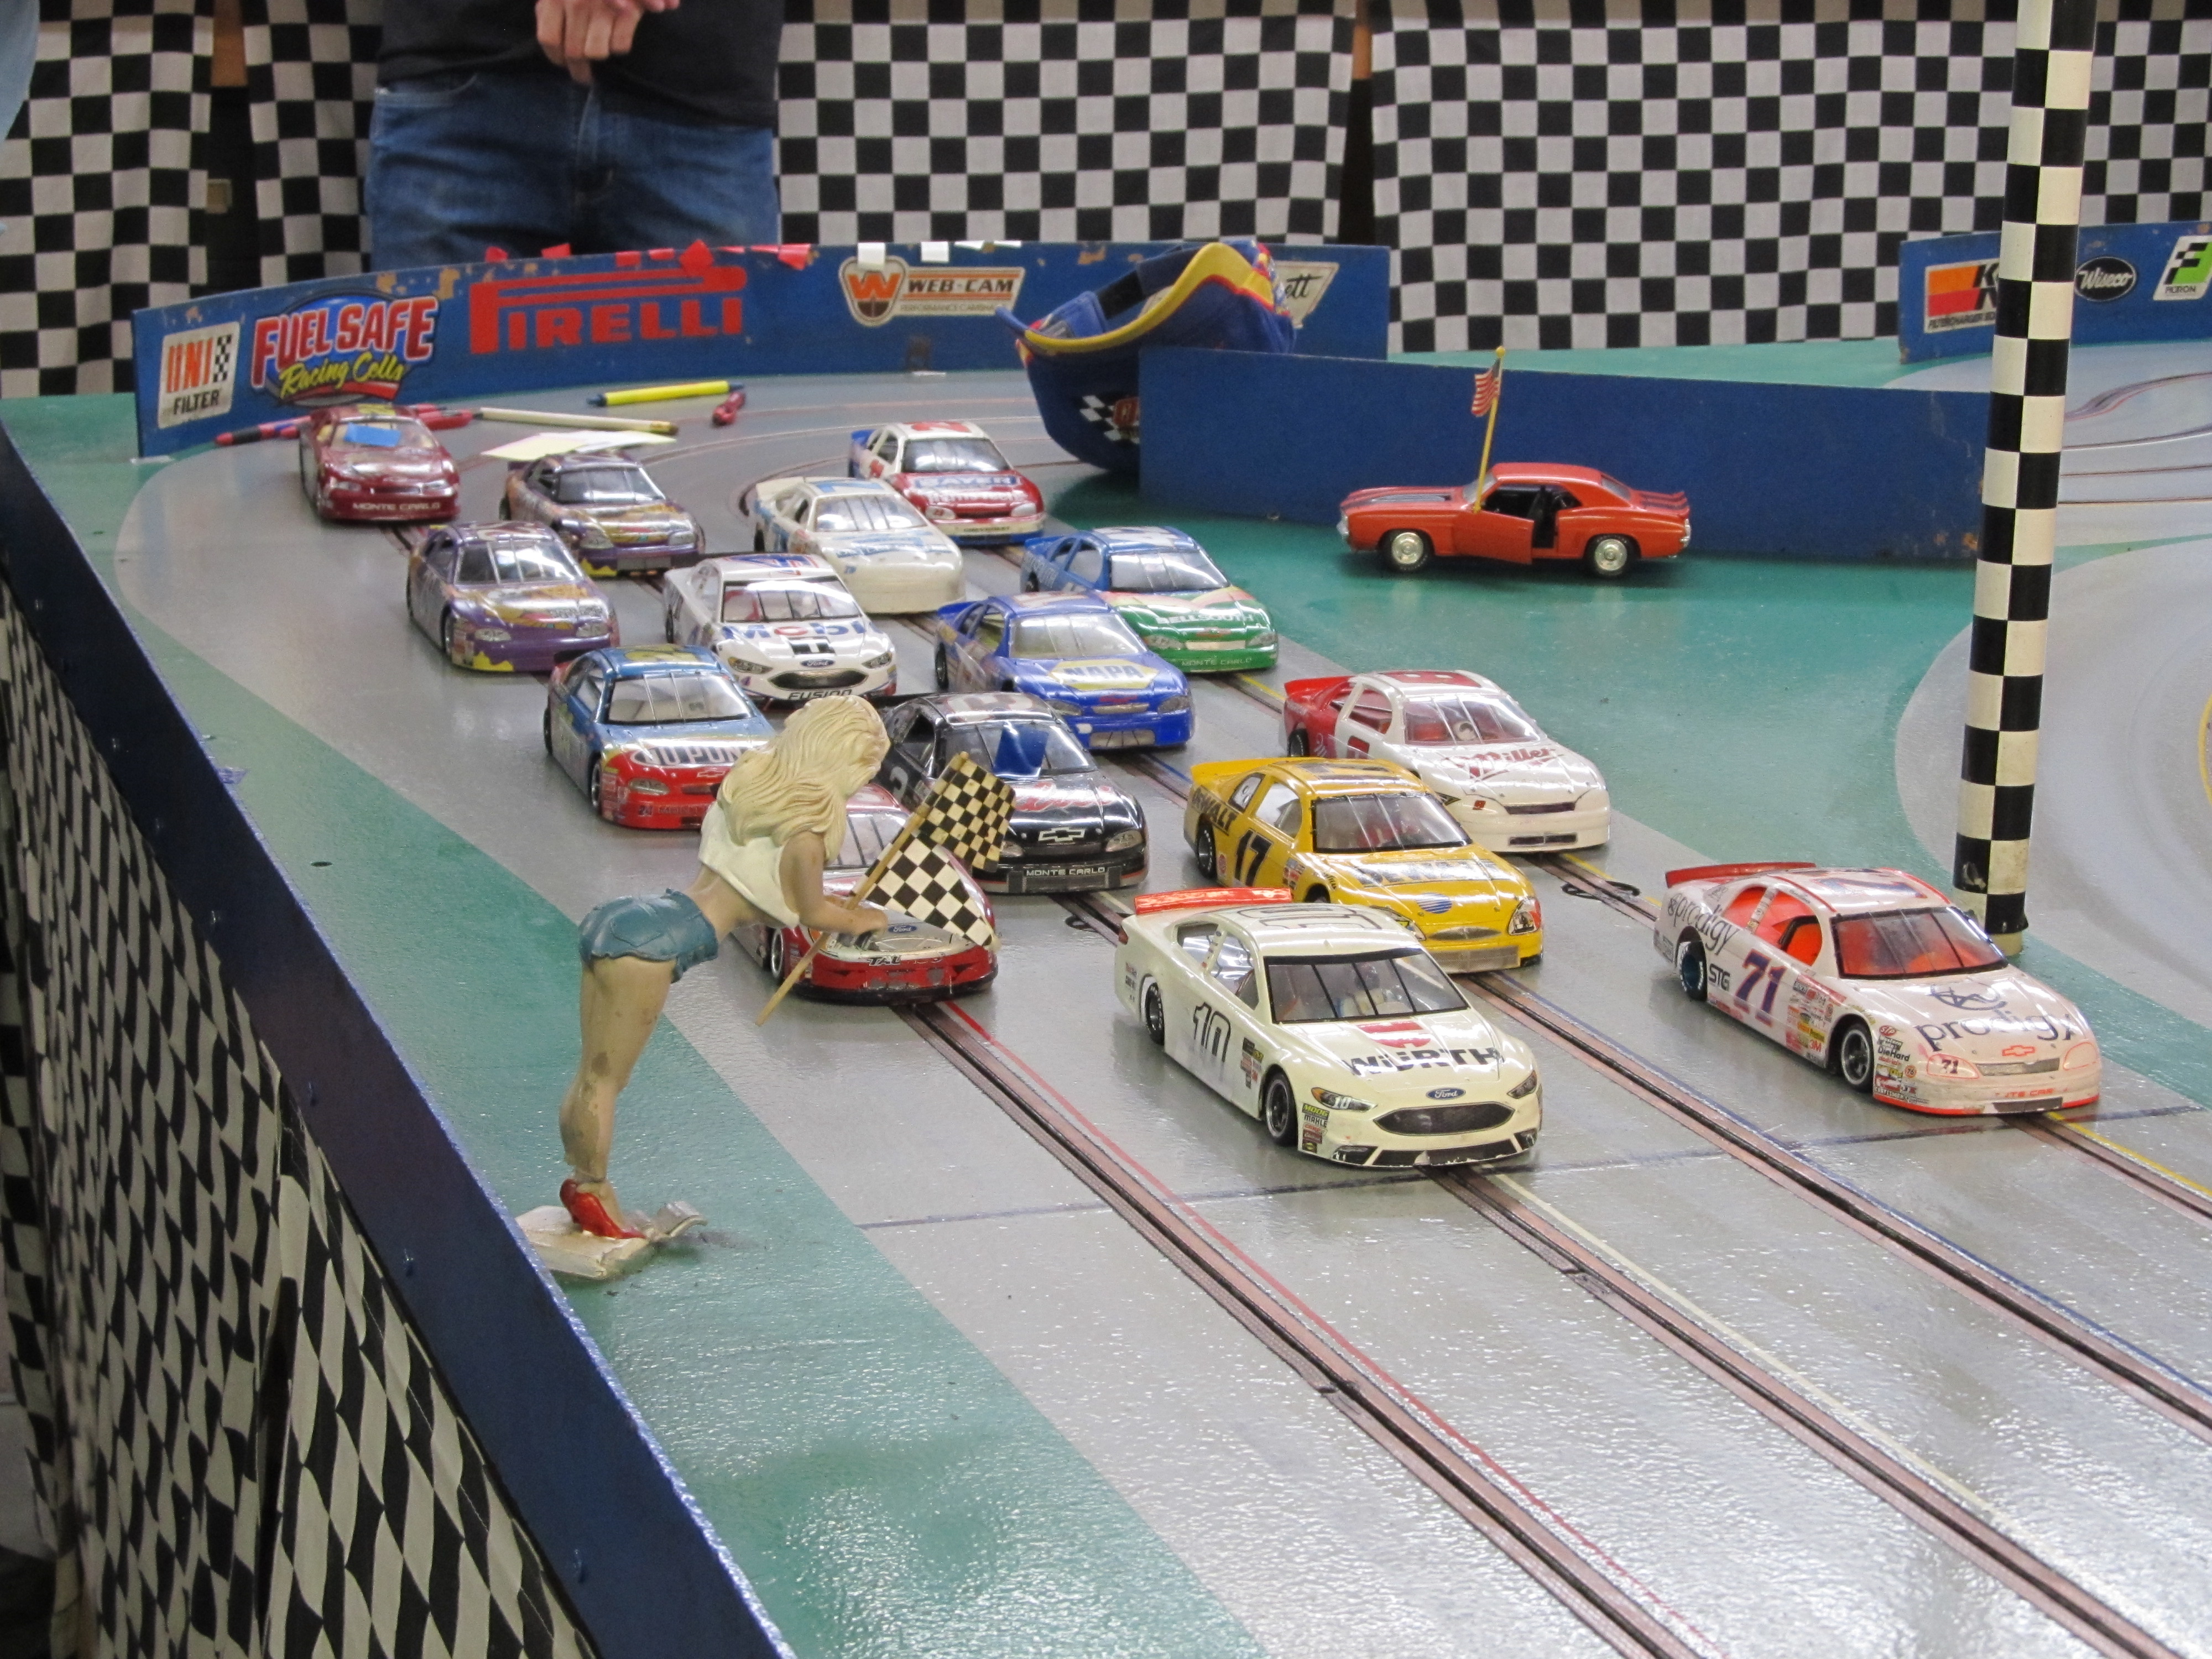
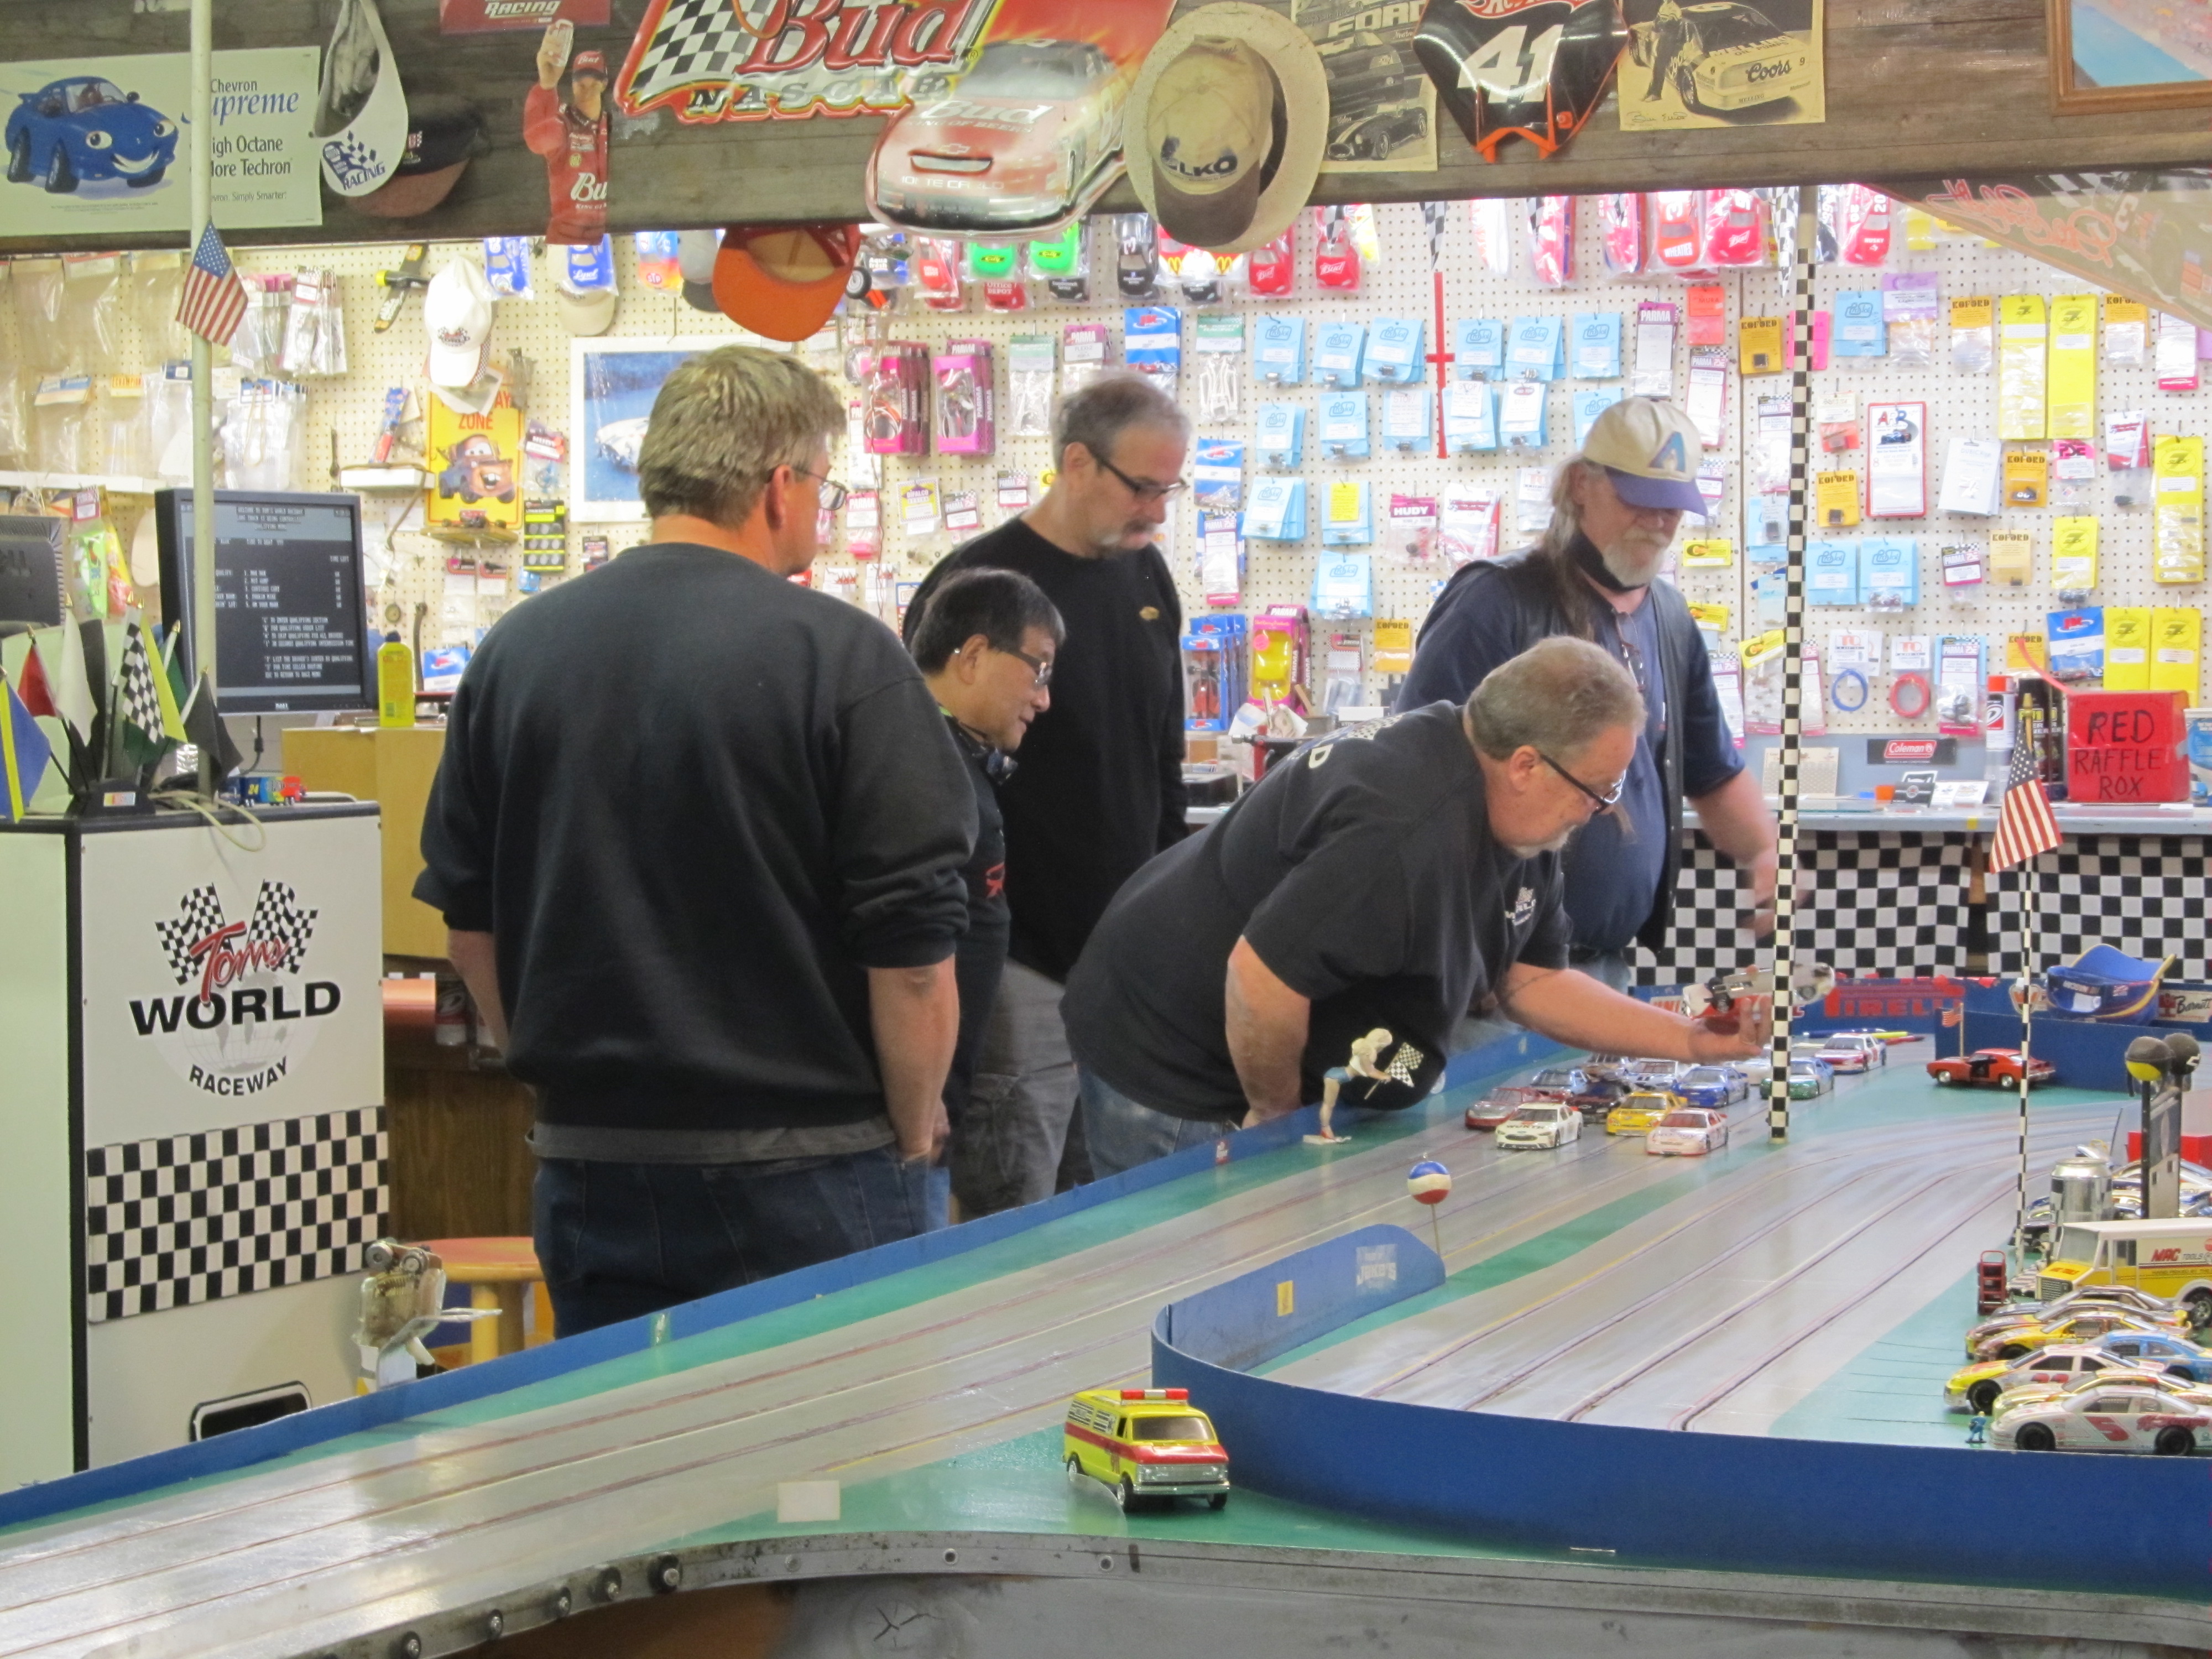
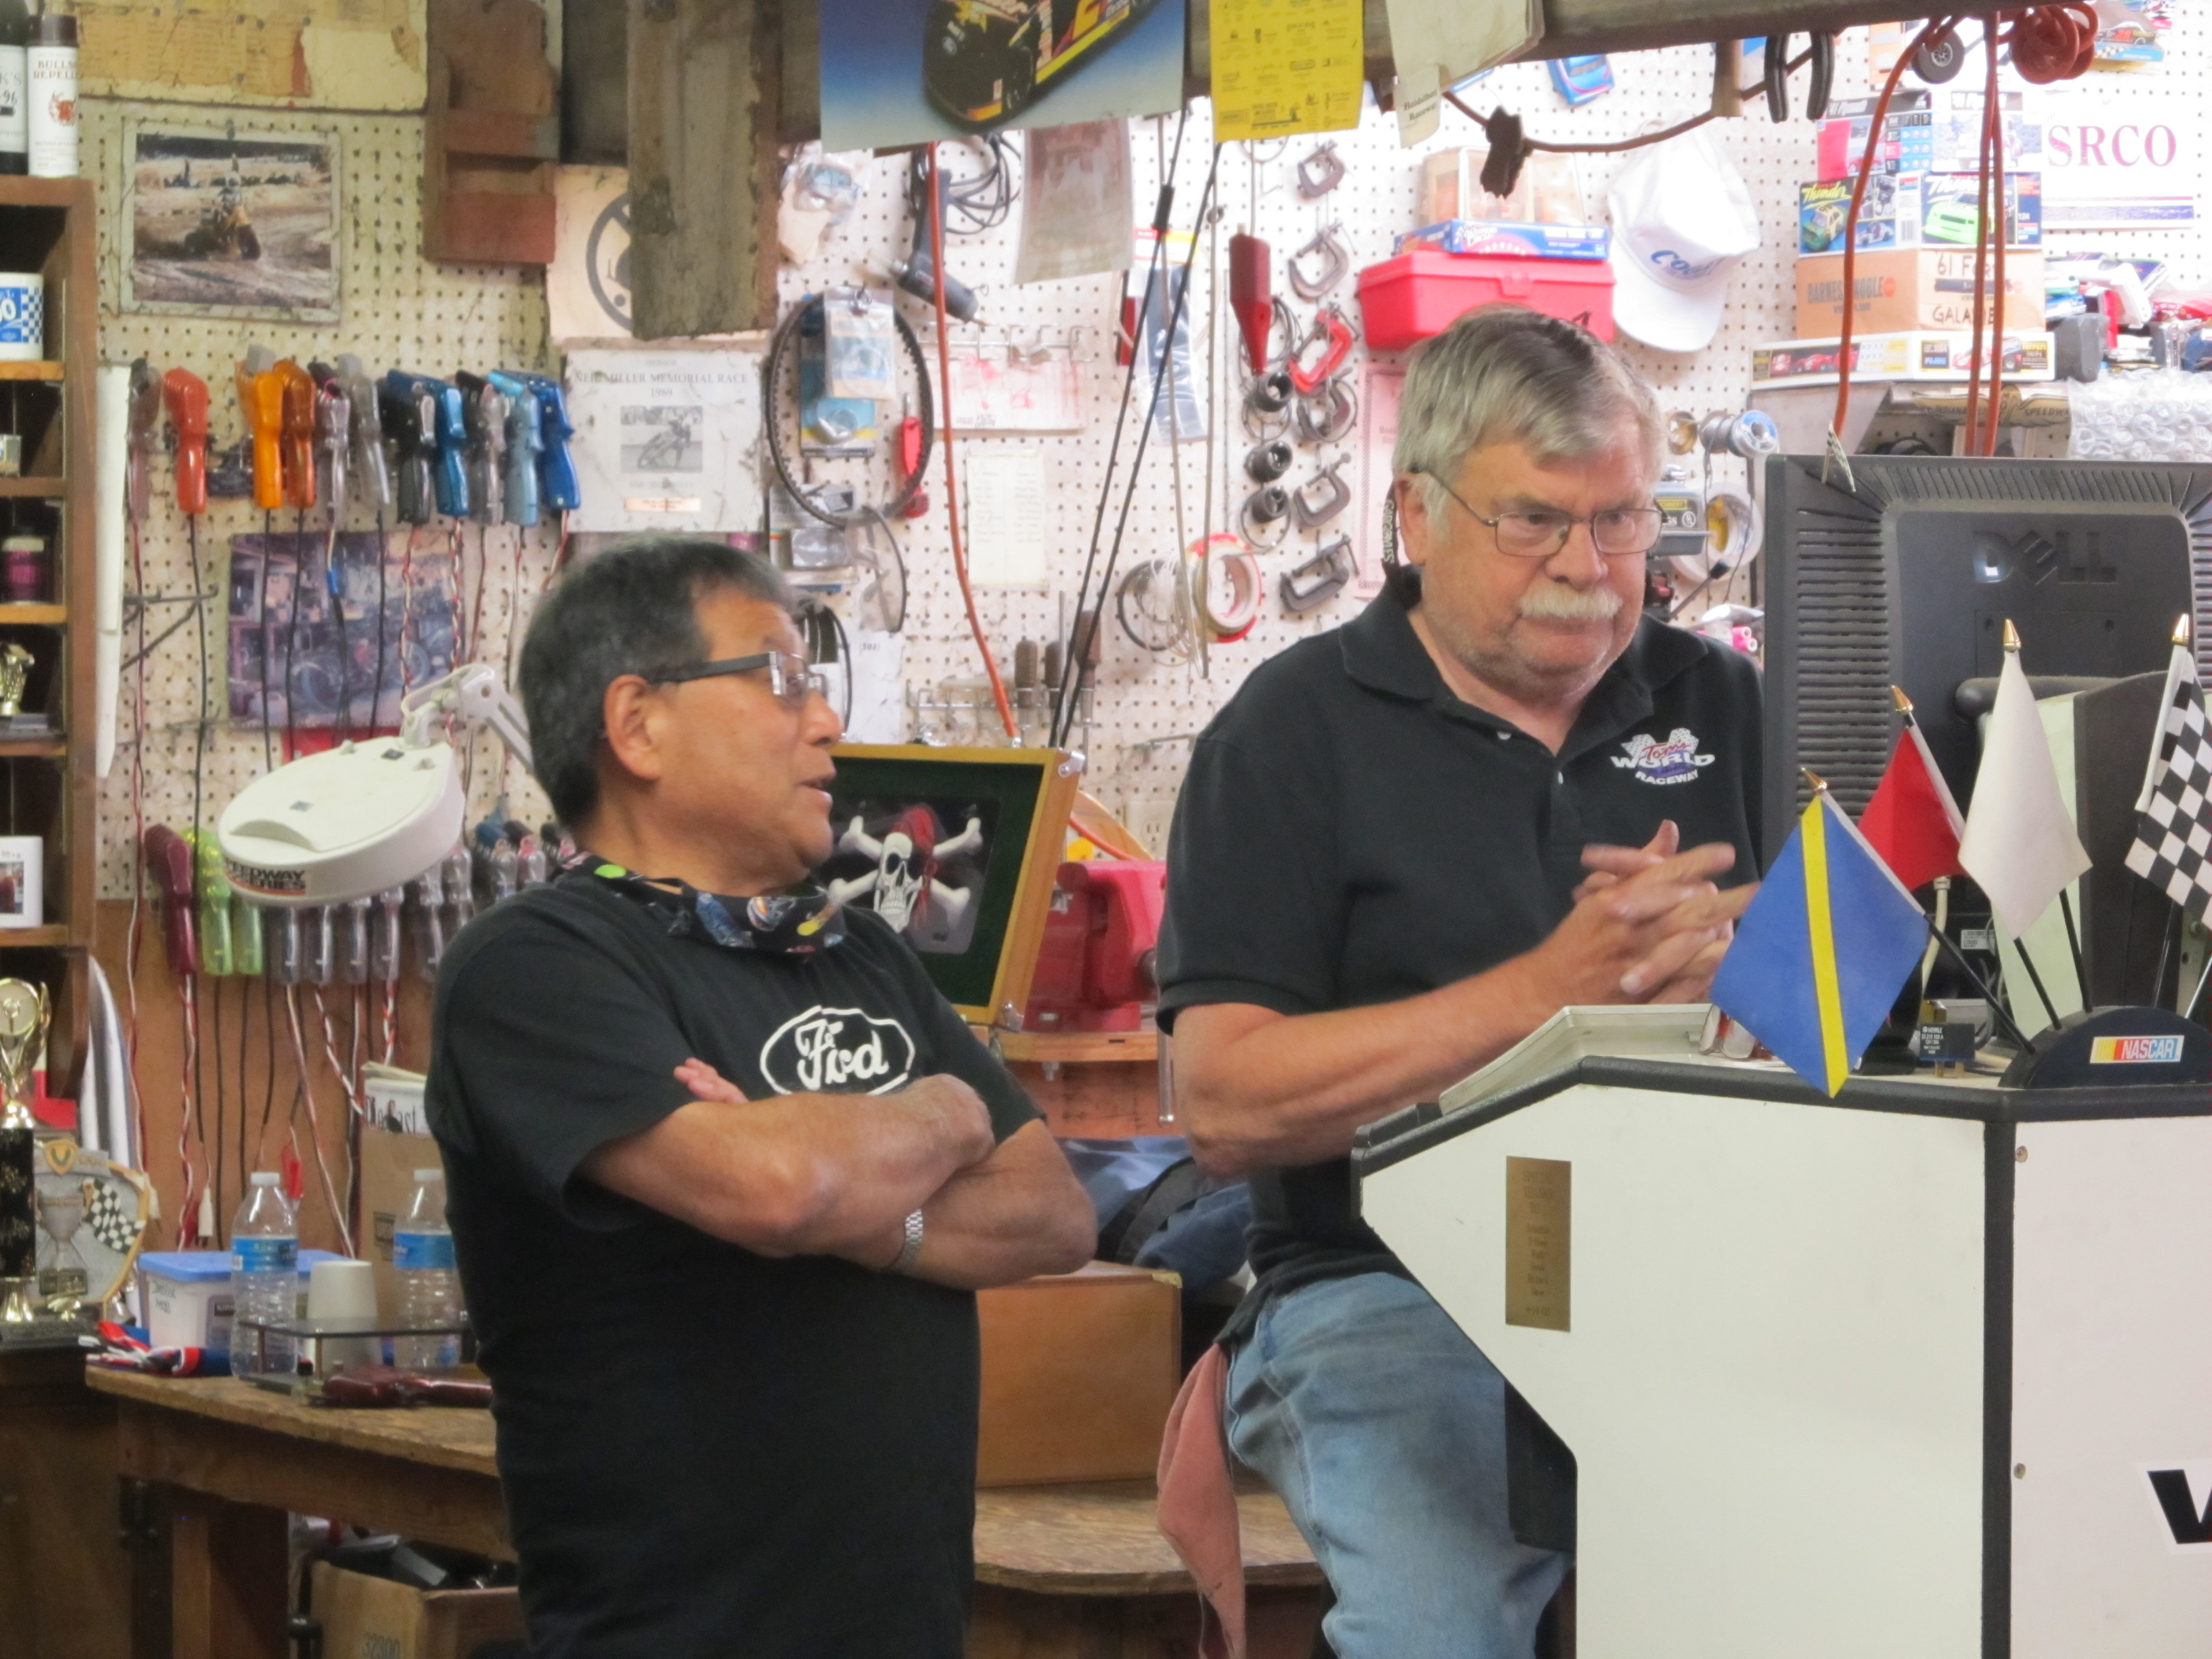
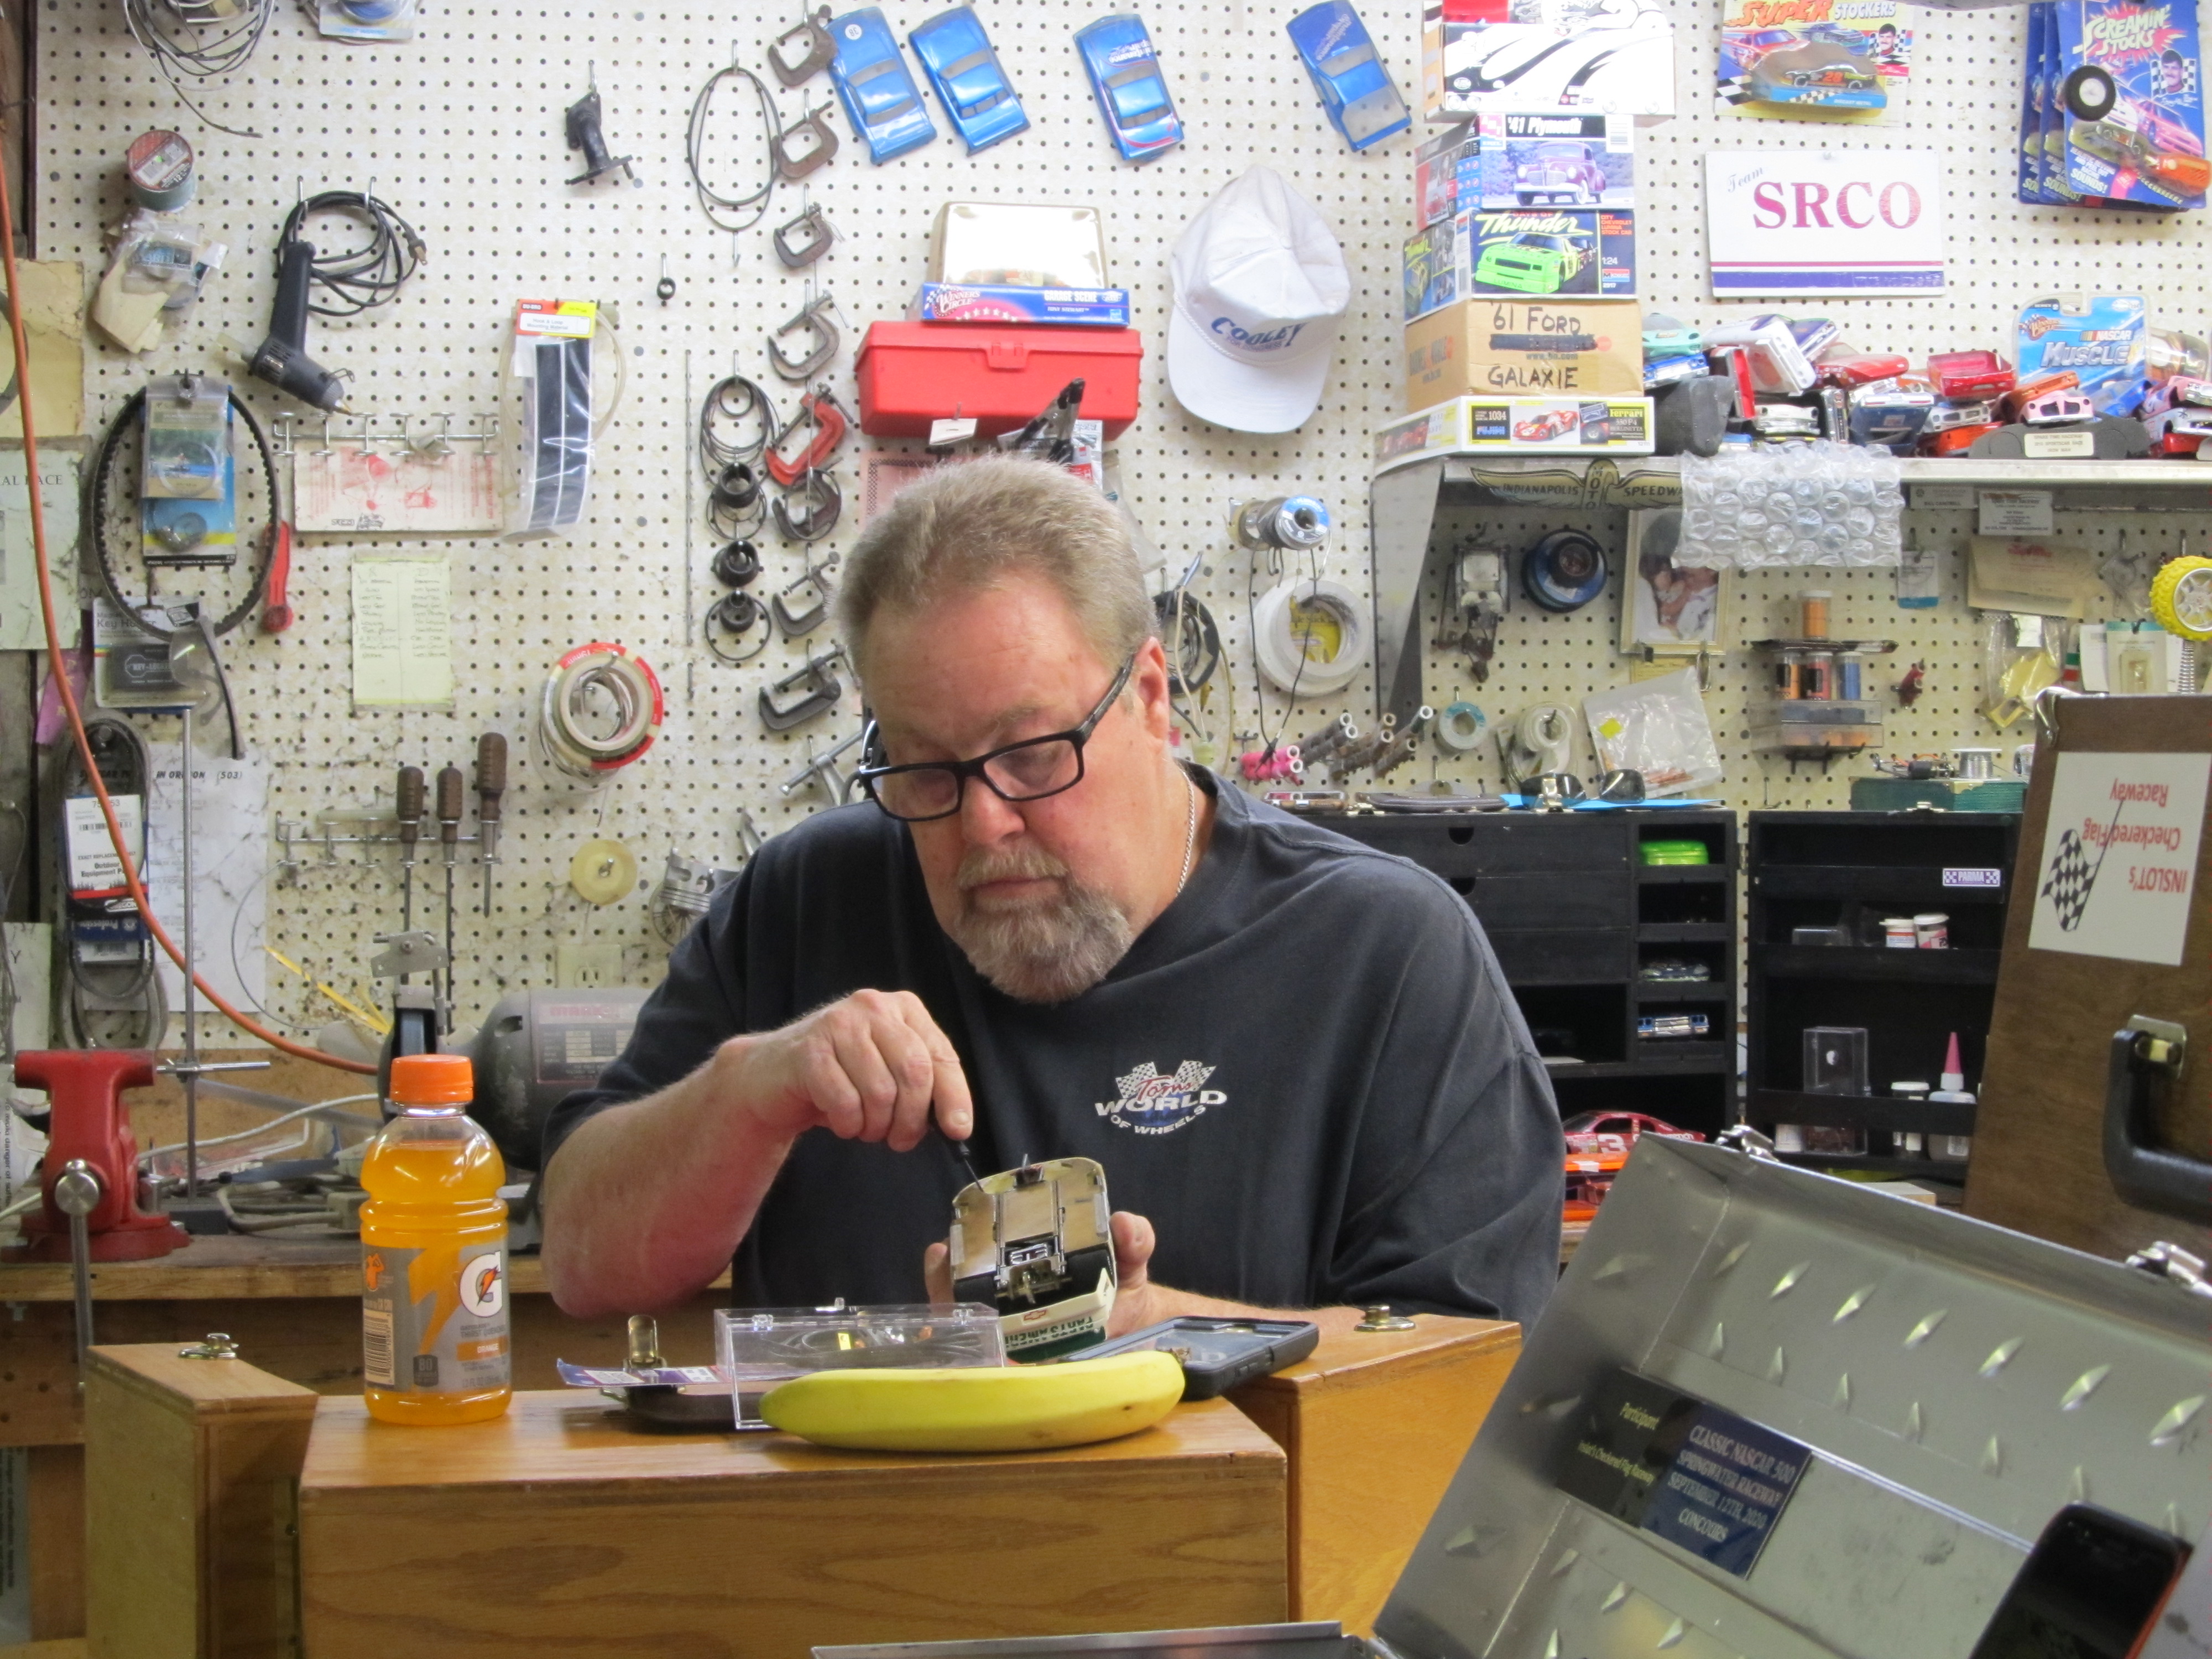
Topic: Dale Earnhardt Memorial NASCAR Race at Tom's World in Bend Oregon (9 replies, posted in OSCAR)
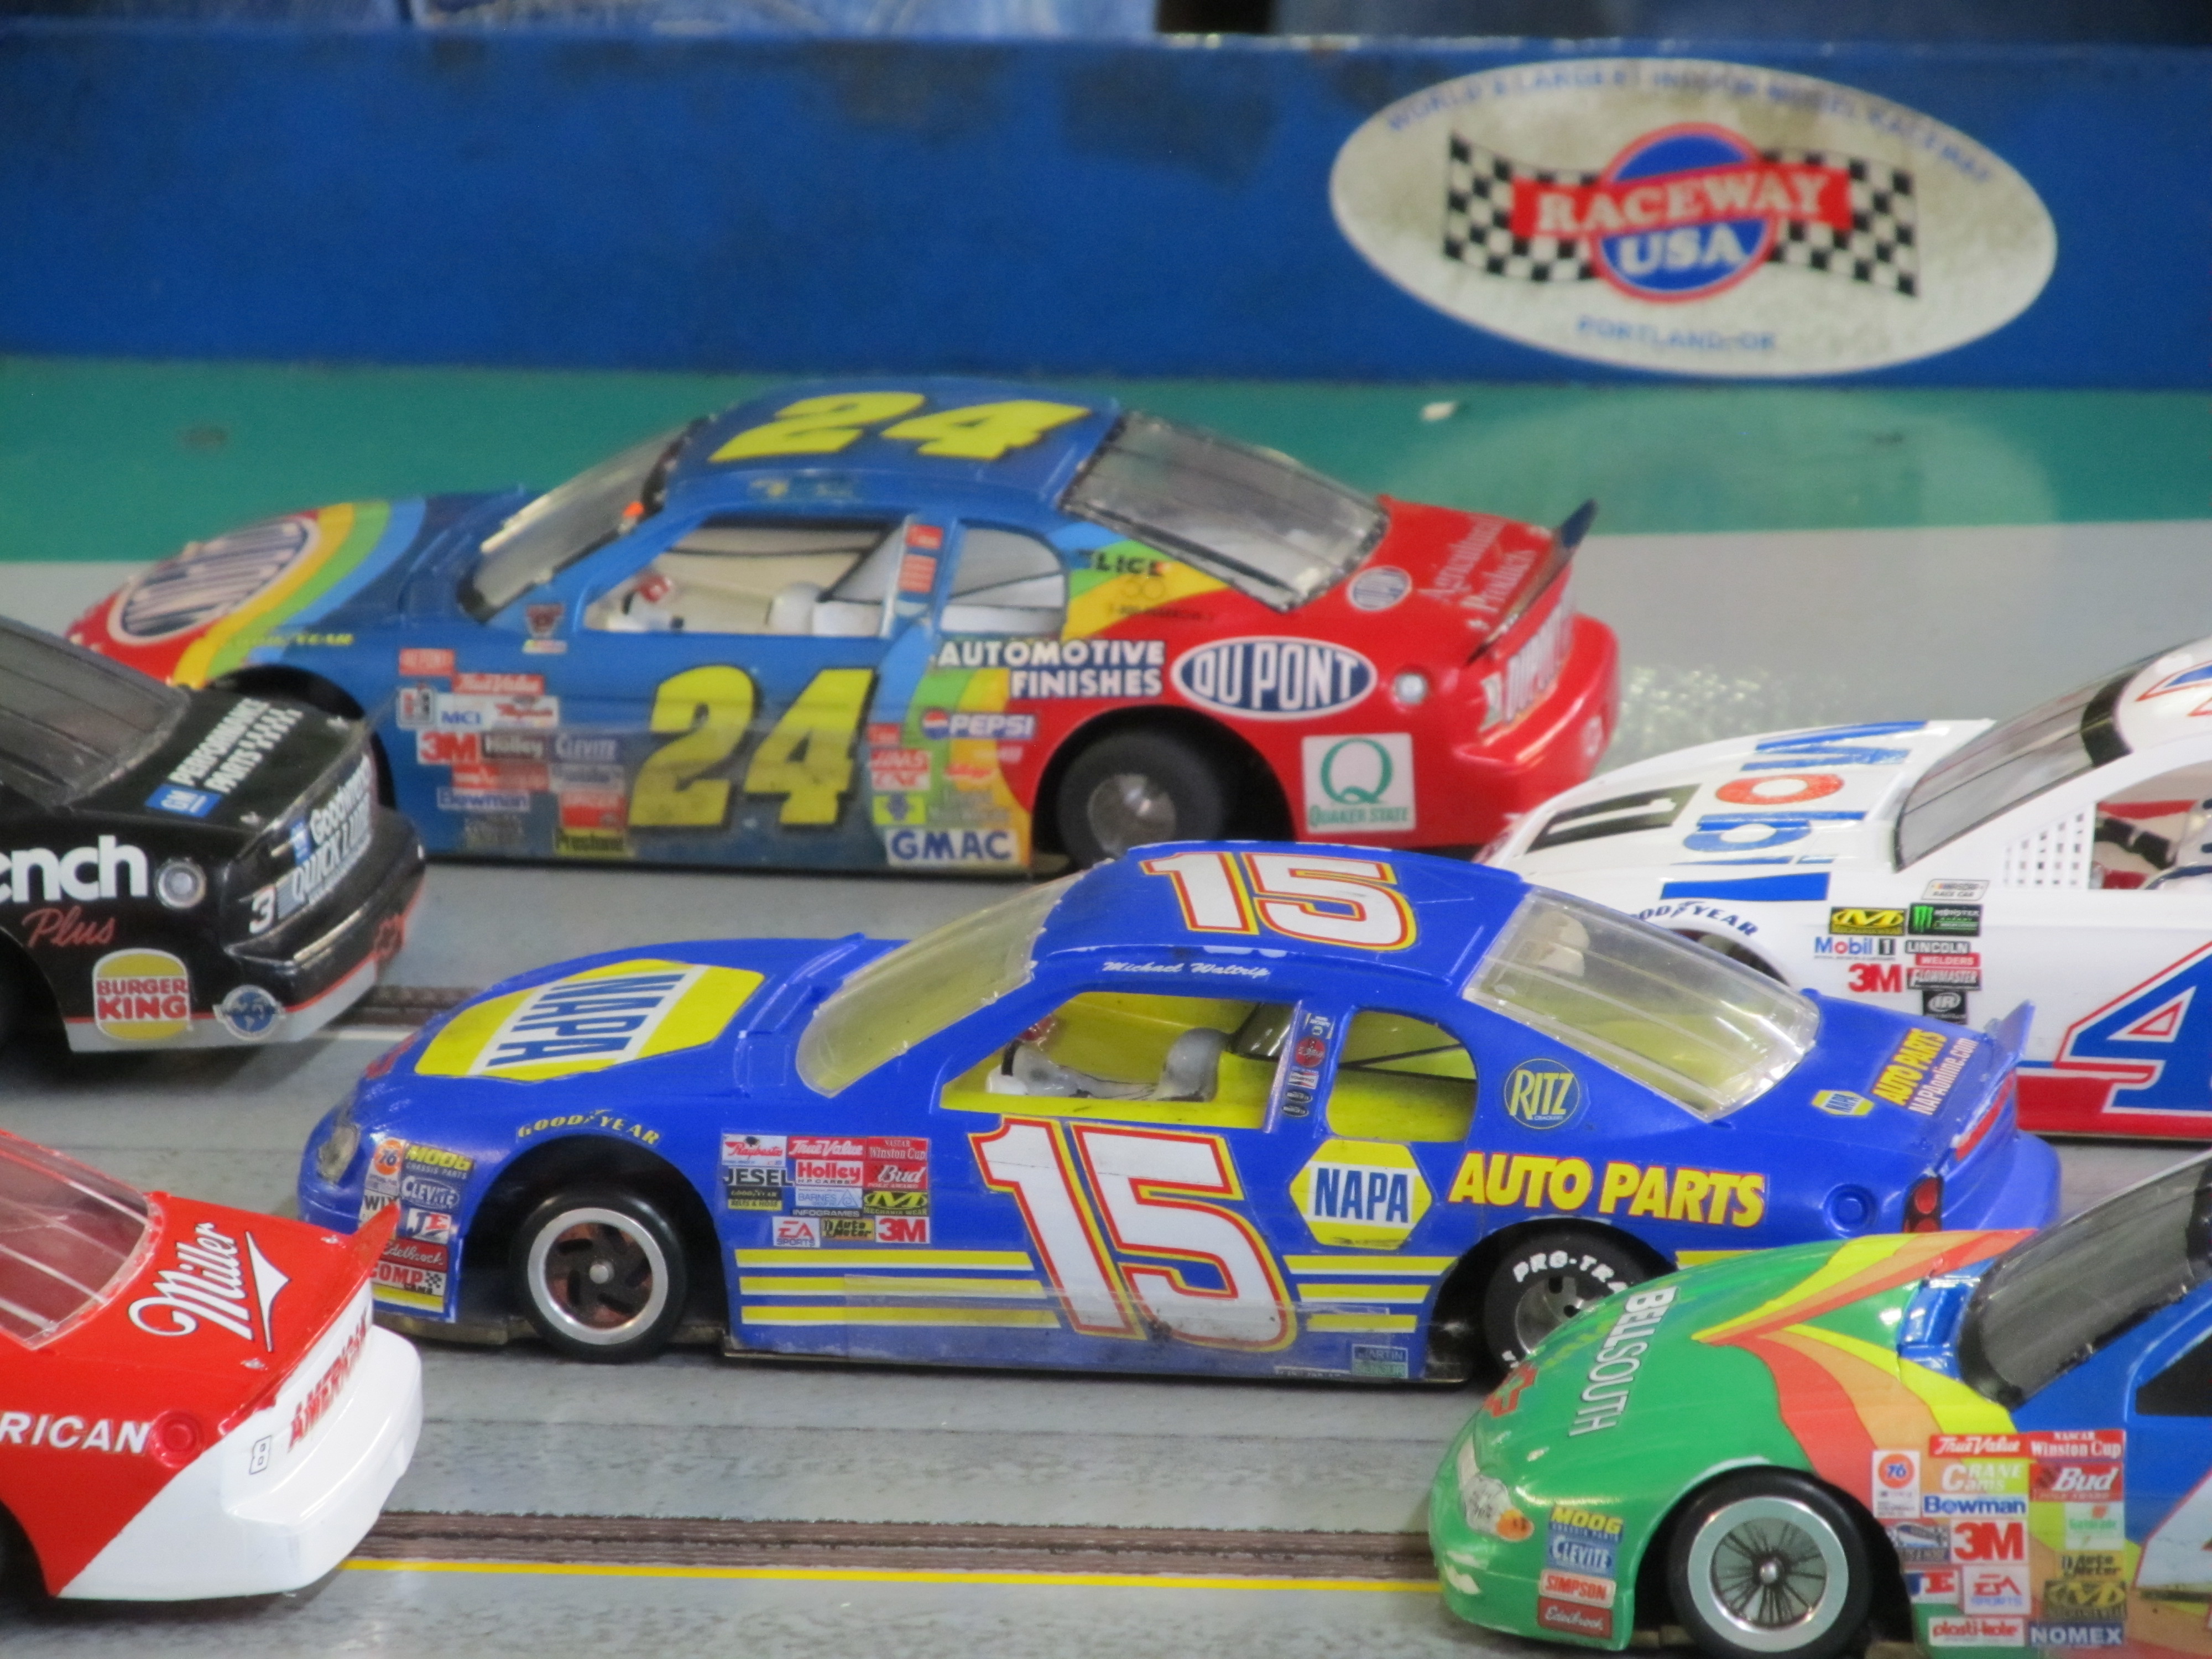
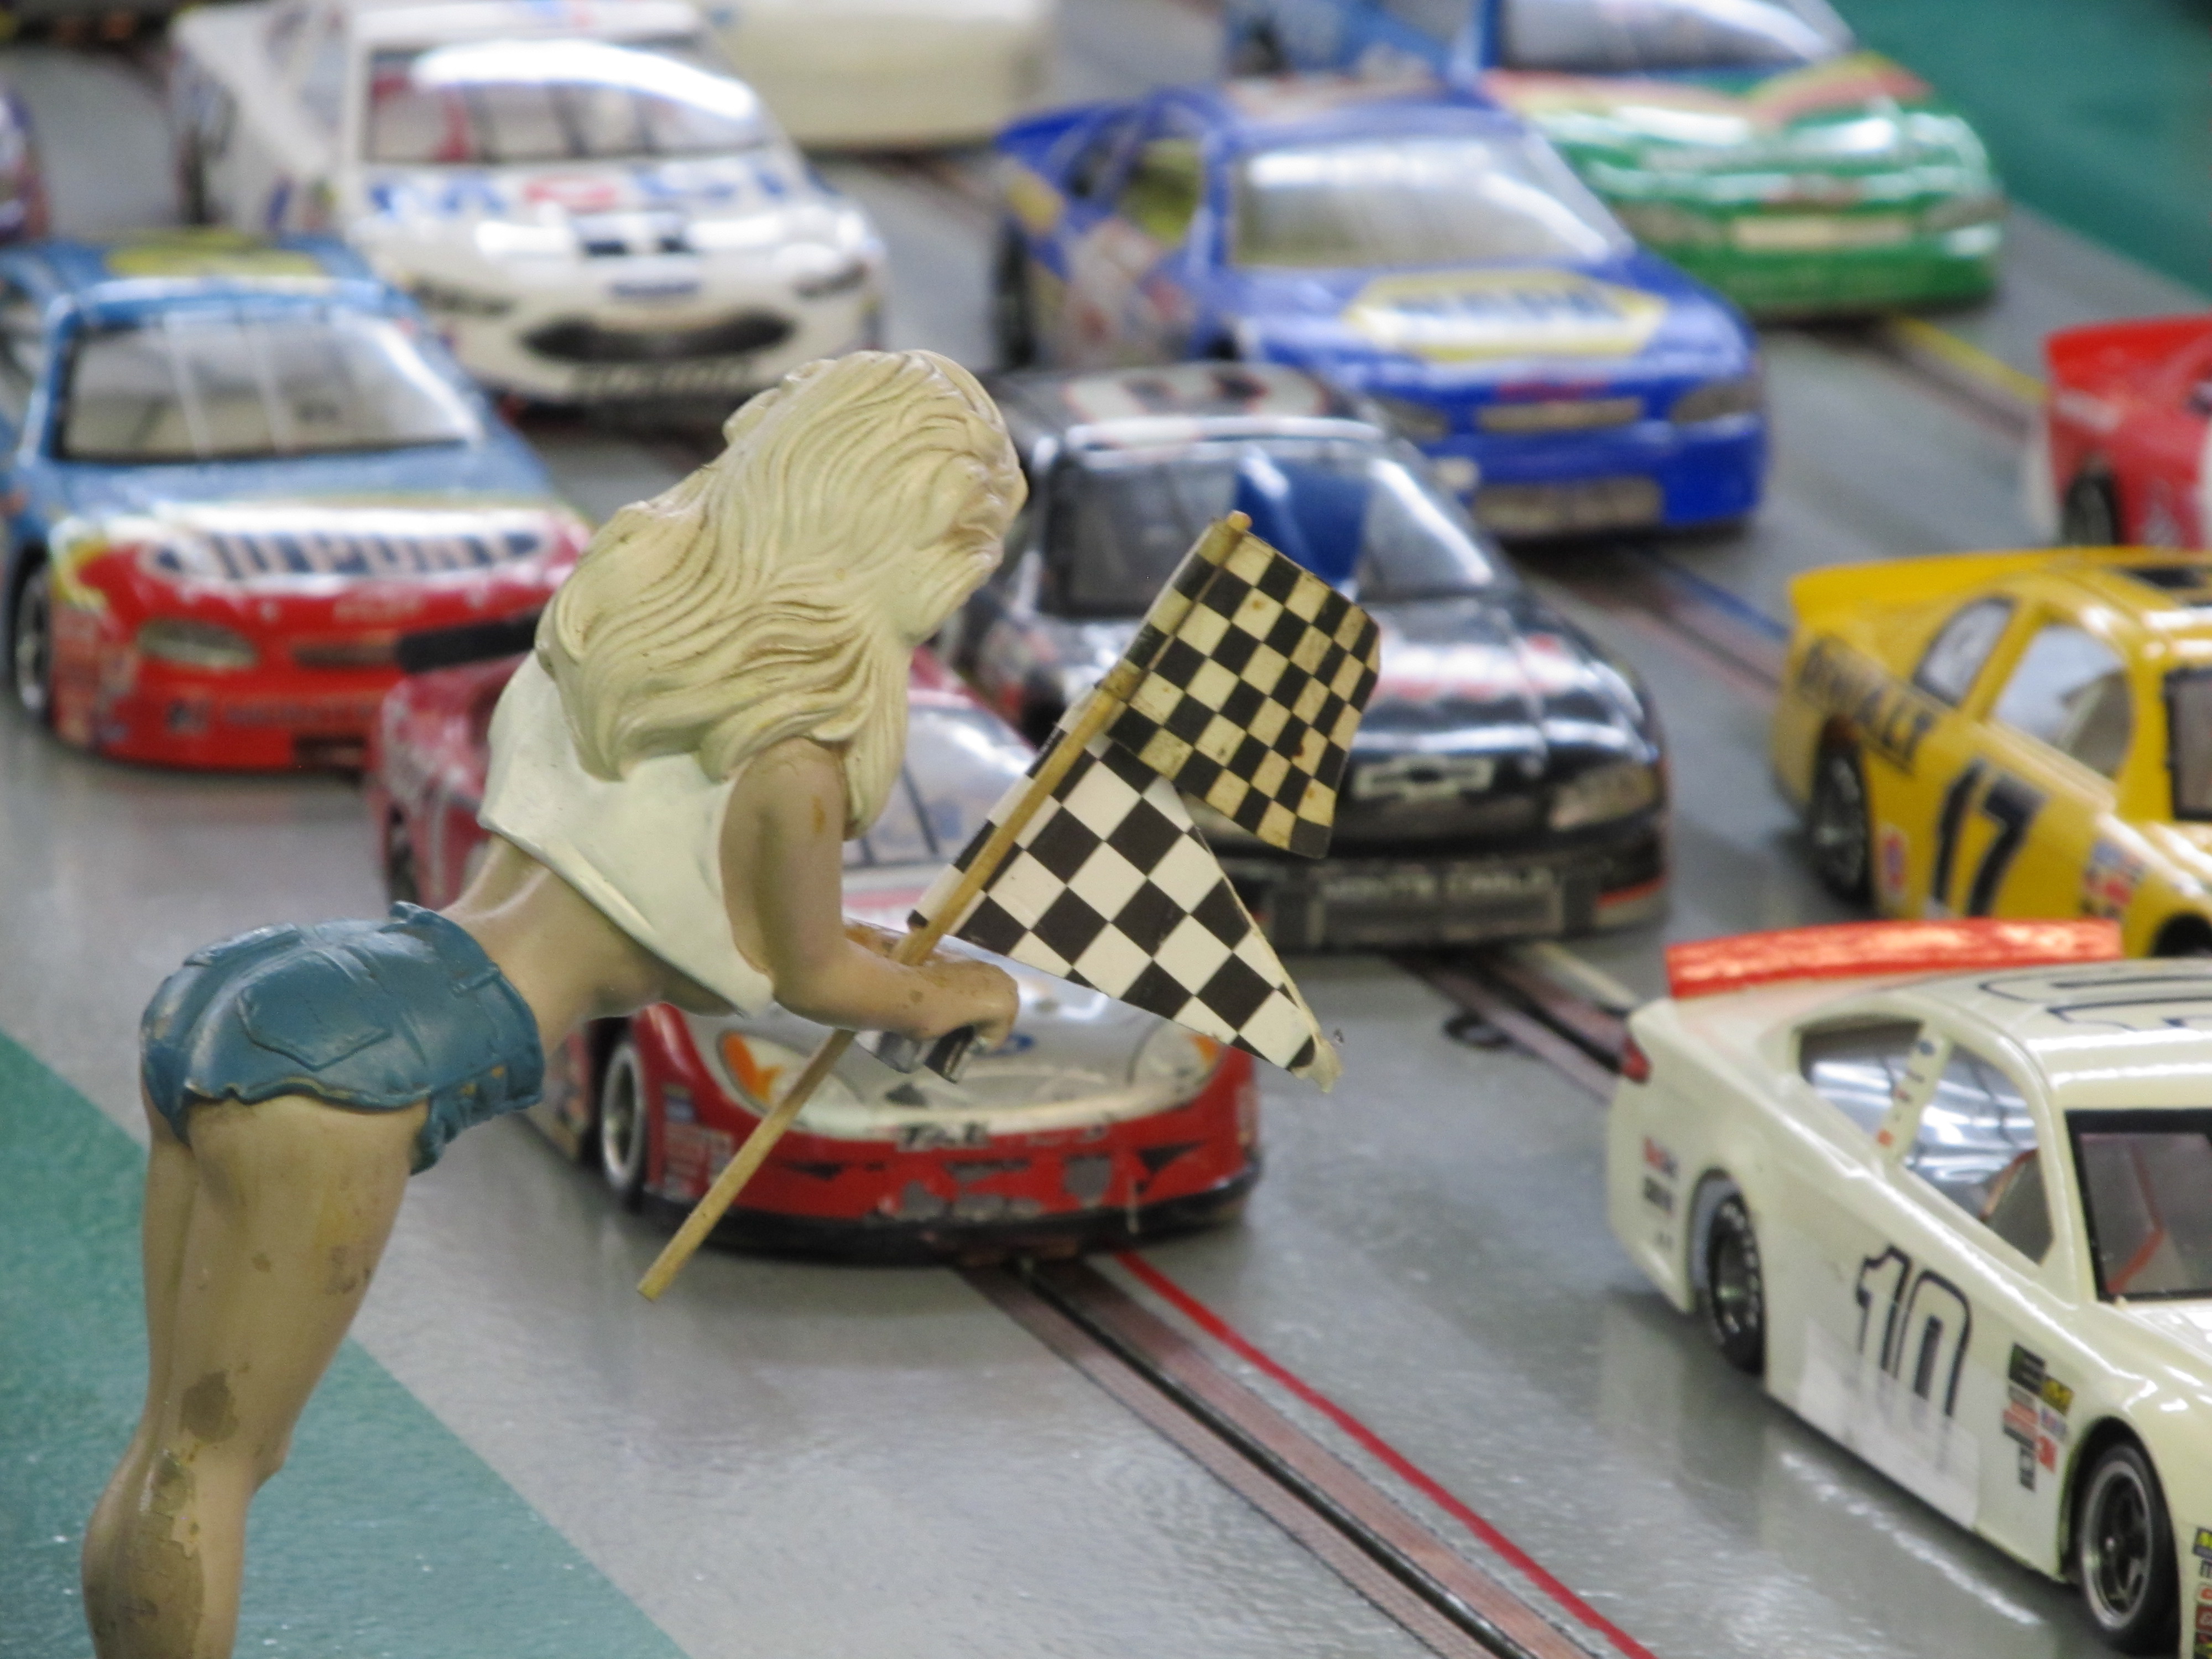
On May 8th 2021 Tom Street held his annual Dale Earnhardt Memorial Race. This was an OSCAR race for the NASCAR Class which are 1/24 scale scratchbuilt chassis cars powered by super 16D motors. The speed and handling of these cars is surprising! With 16 entries of these incredibly fast hard bodied cars, it was sure to be an exciting day of racing!
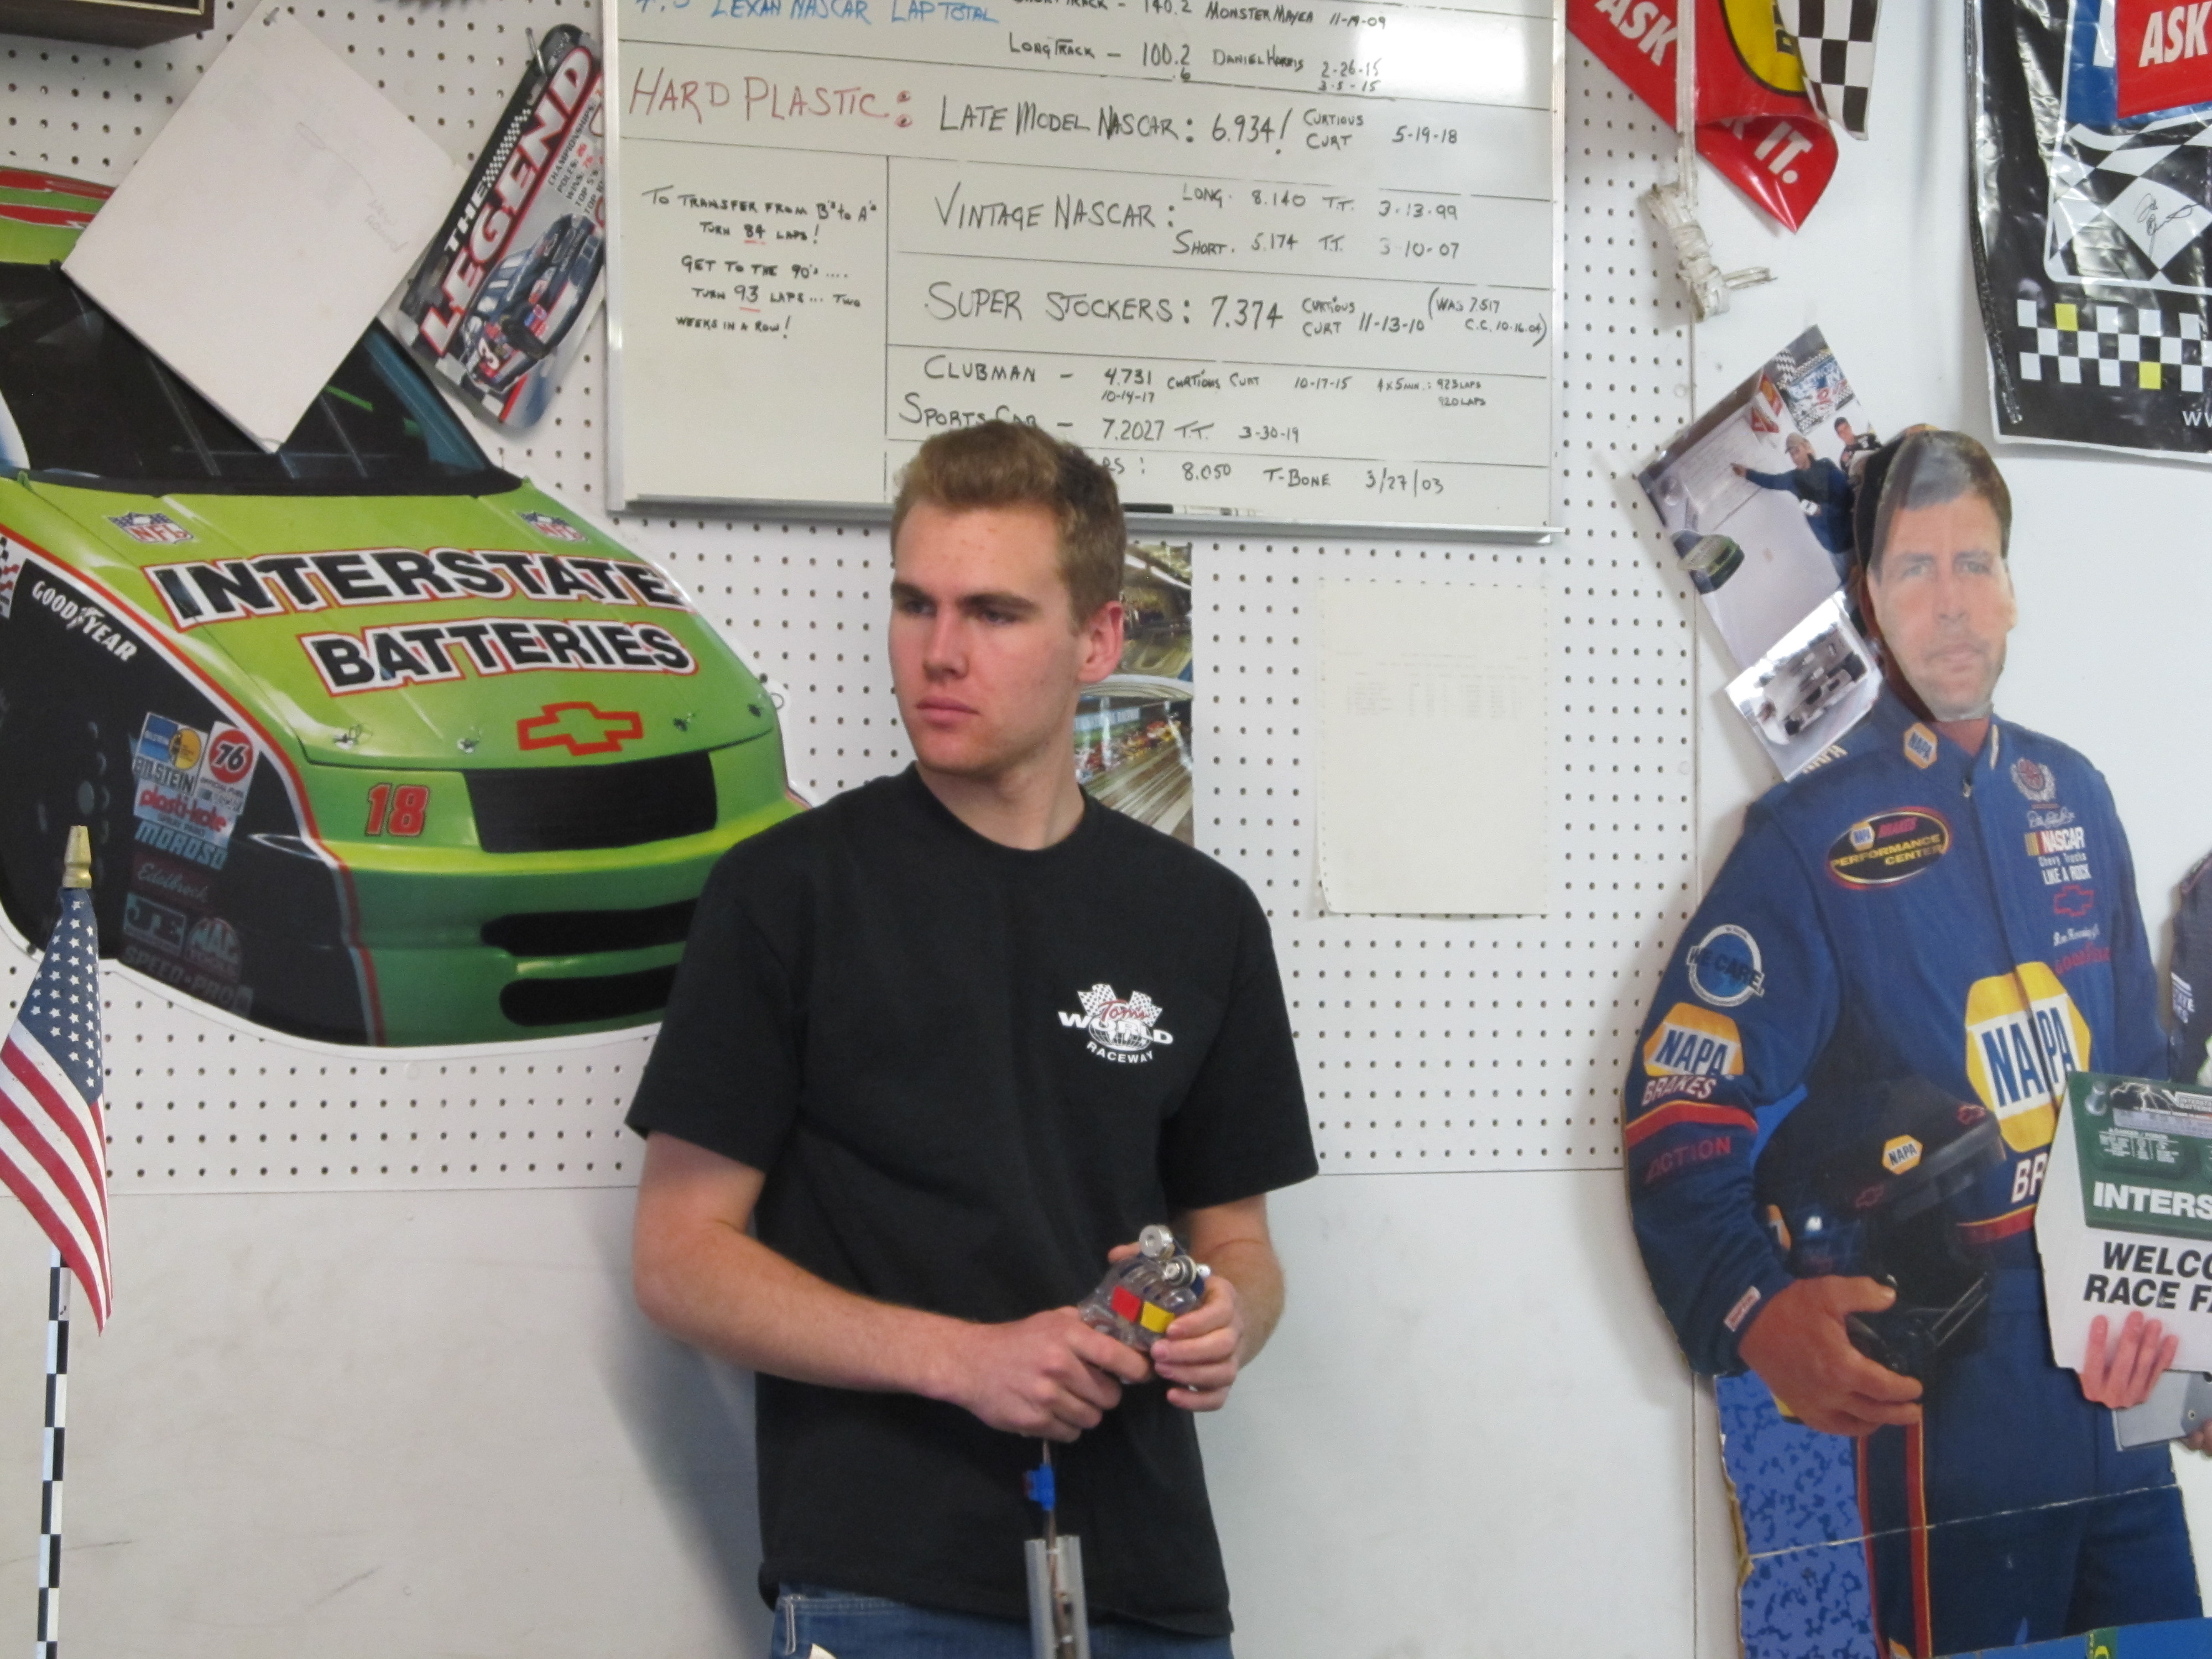
A qualifying session sets the grid for two divisions of racing. The top eight qualifiers were slated for the Monster Energy Race, and the lower eight qualifiers were gridded for the Xfinity Race. The winner of the Xfinity Race has the option of moving up into the Monster Energy Race or being credited with the Xfinity Race win. If the winner choses to move up he then receives the Iron Man Award for competing in both races! In this scenario the next highest finisher in the Xfinity race is declared the winner.
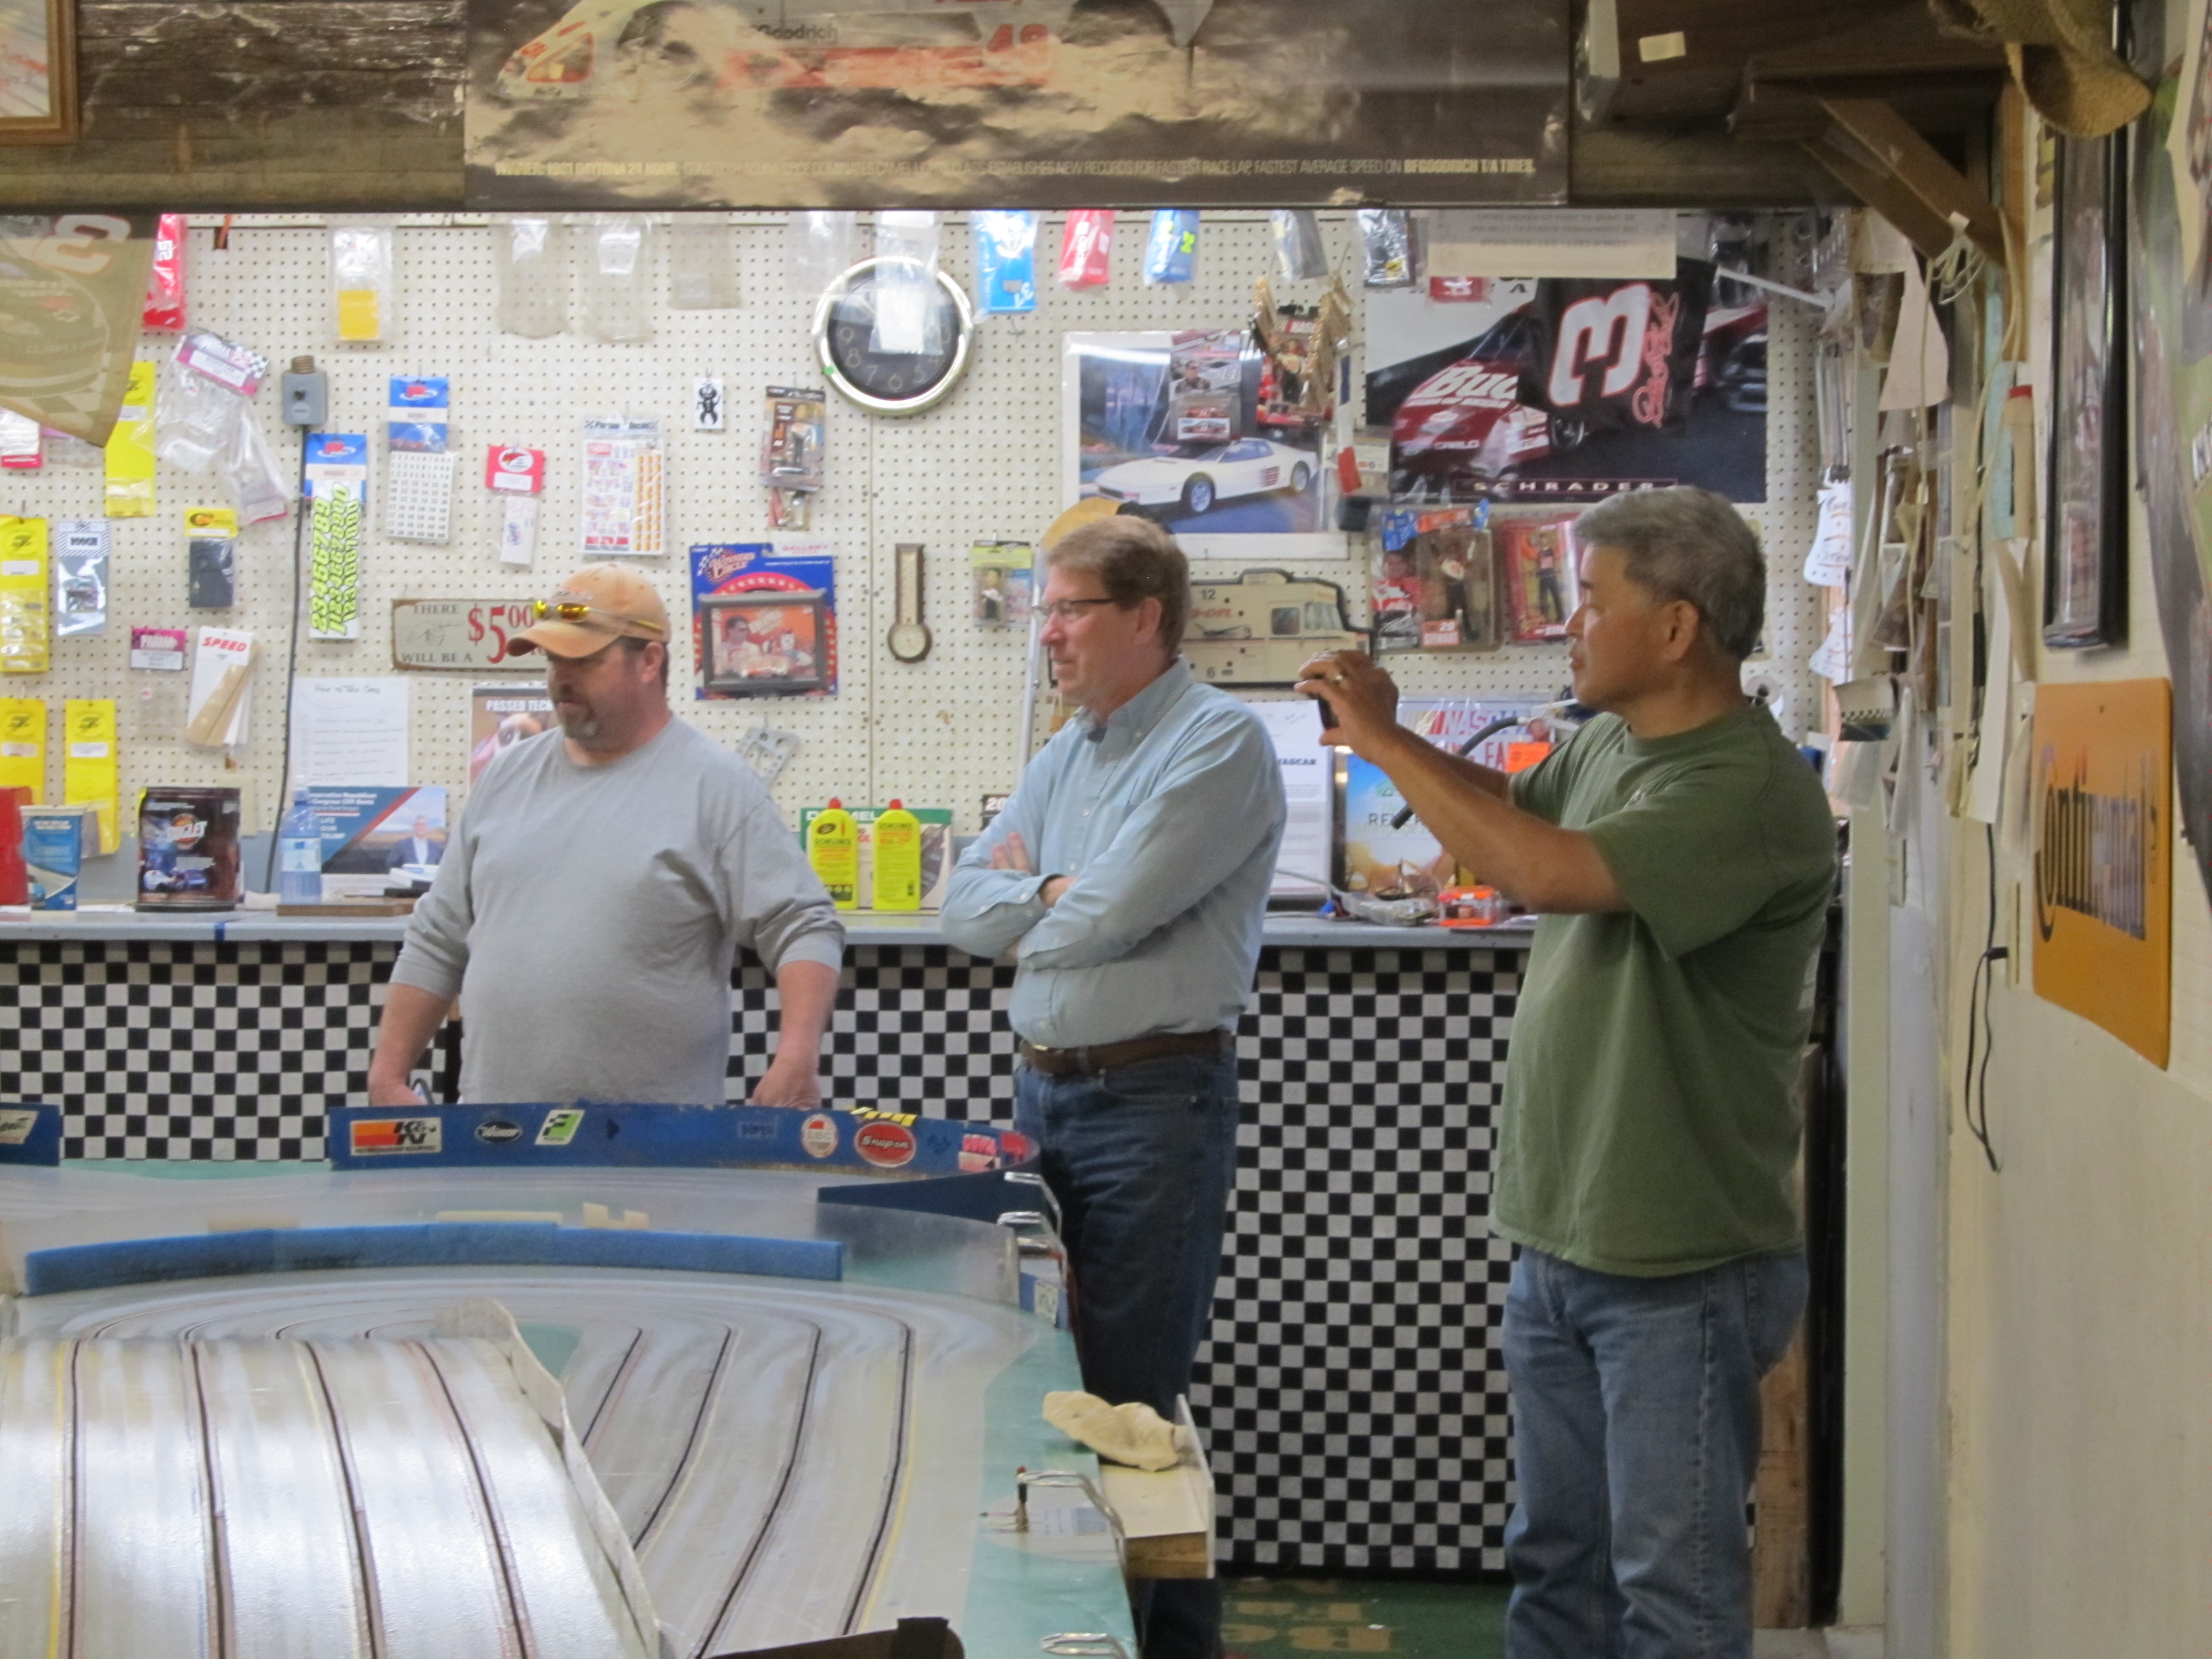
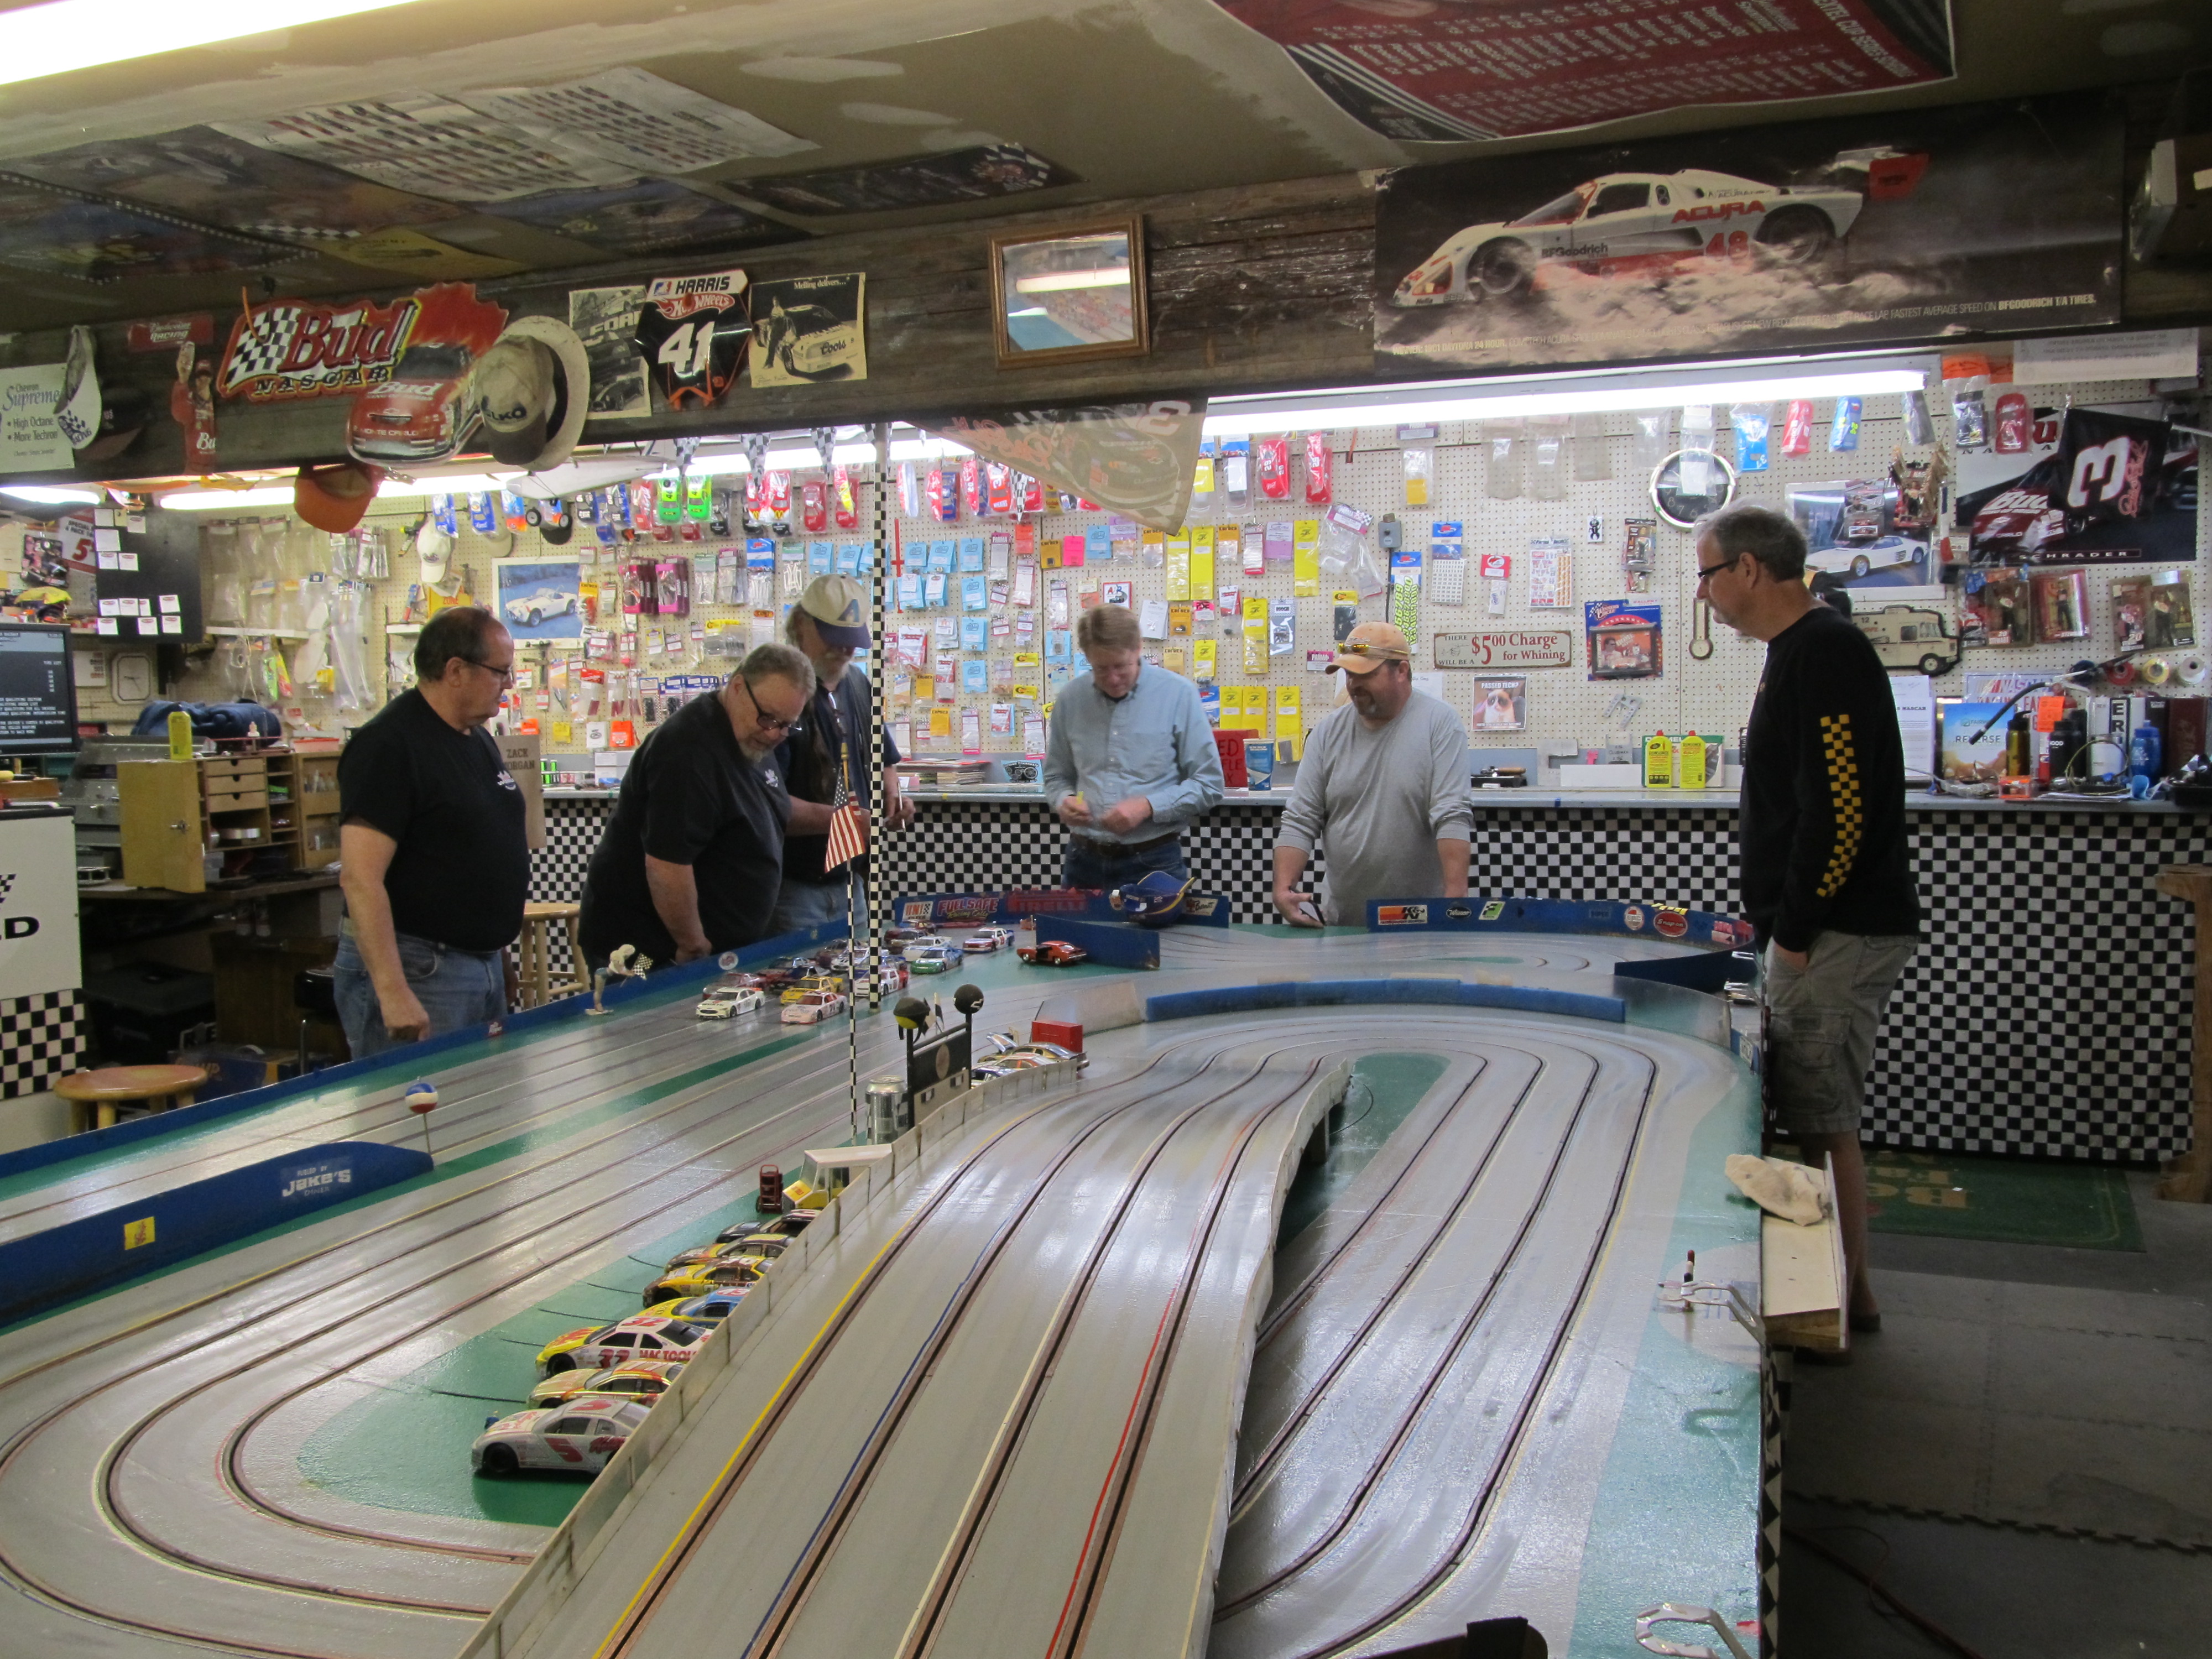
The track at Tom's World is a four lane routed track that is long, fast, tight, tricky, and very technical! It is the most difficult track I have ever raced on and that includes the legendary three lane track of Lee Dundas' in Wilsonville! It took me 20 years to get over to Bend to race on Tom's track. I wish I would have made it sooner!
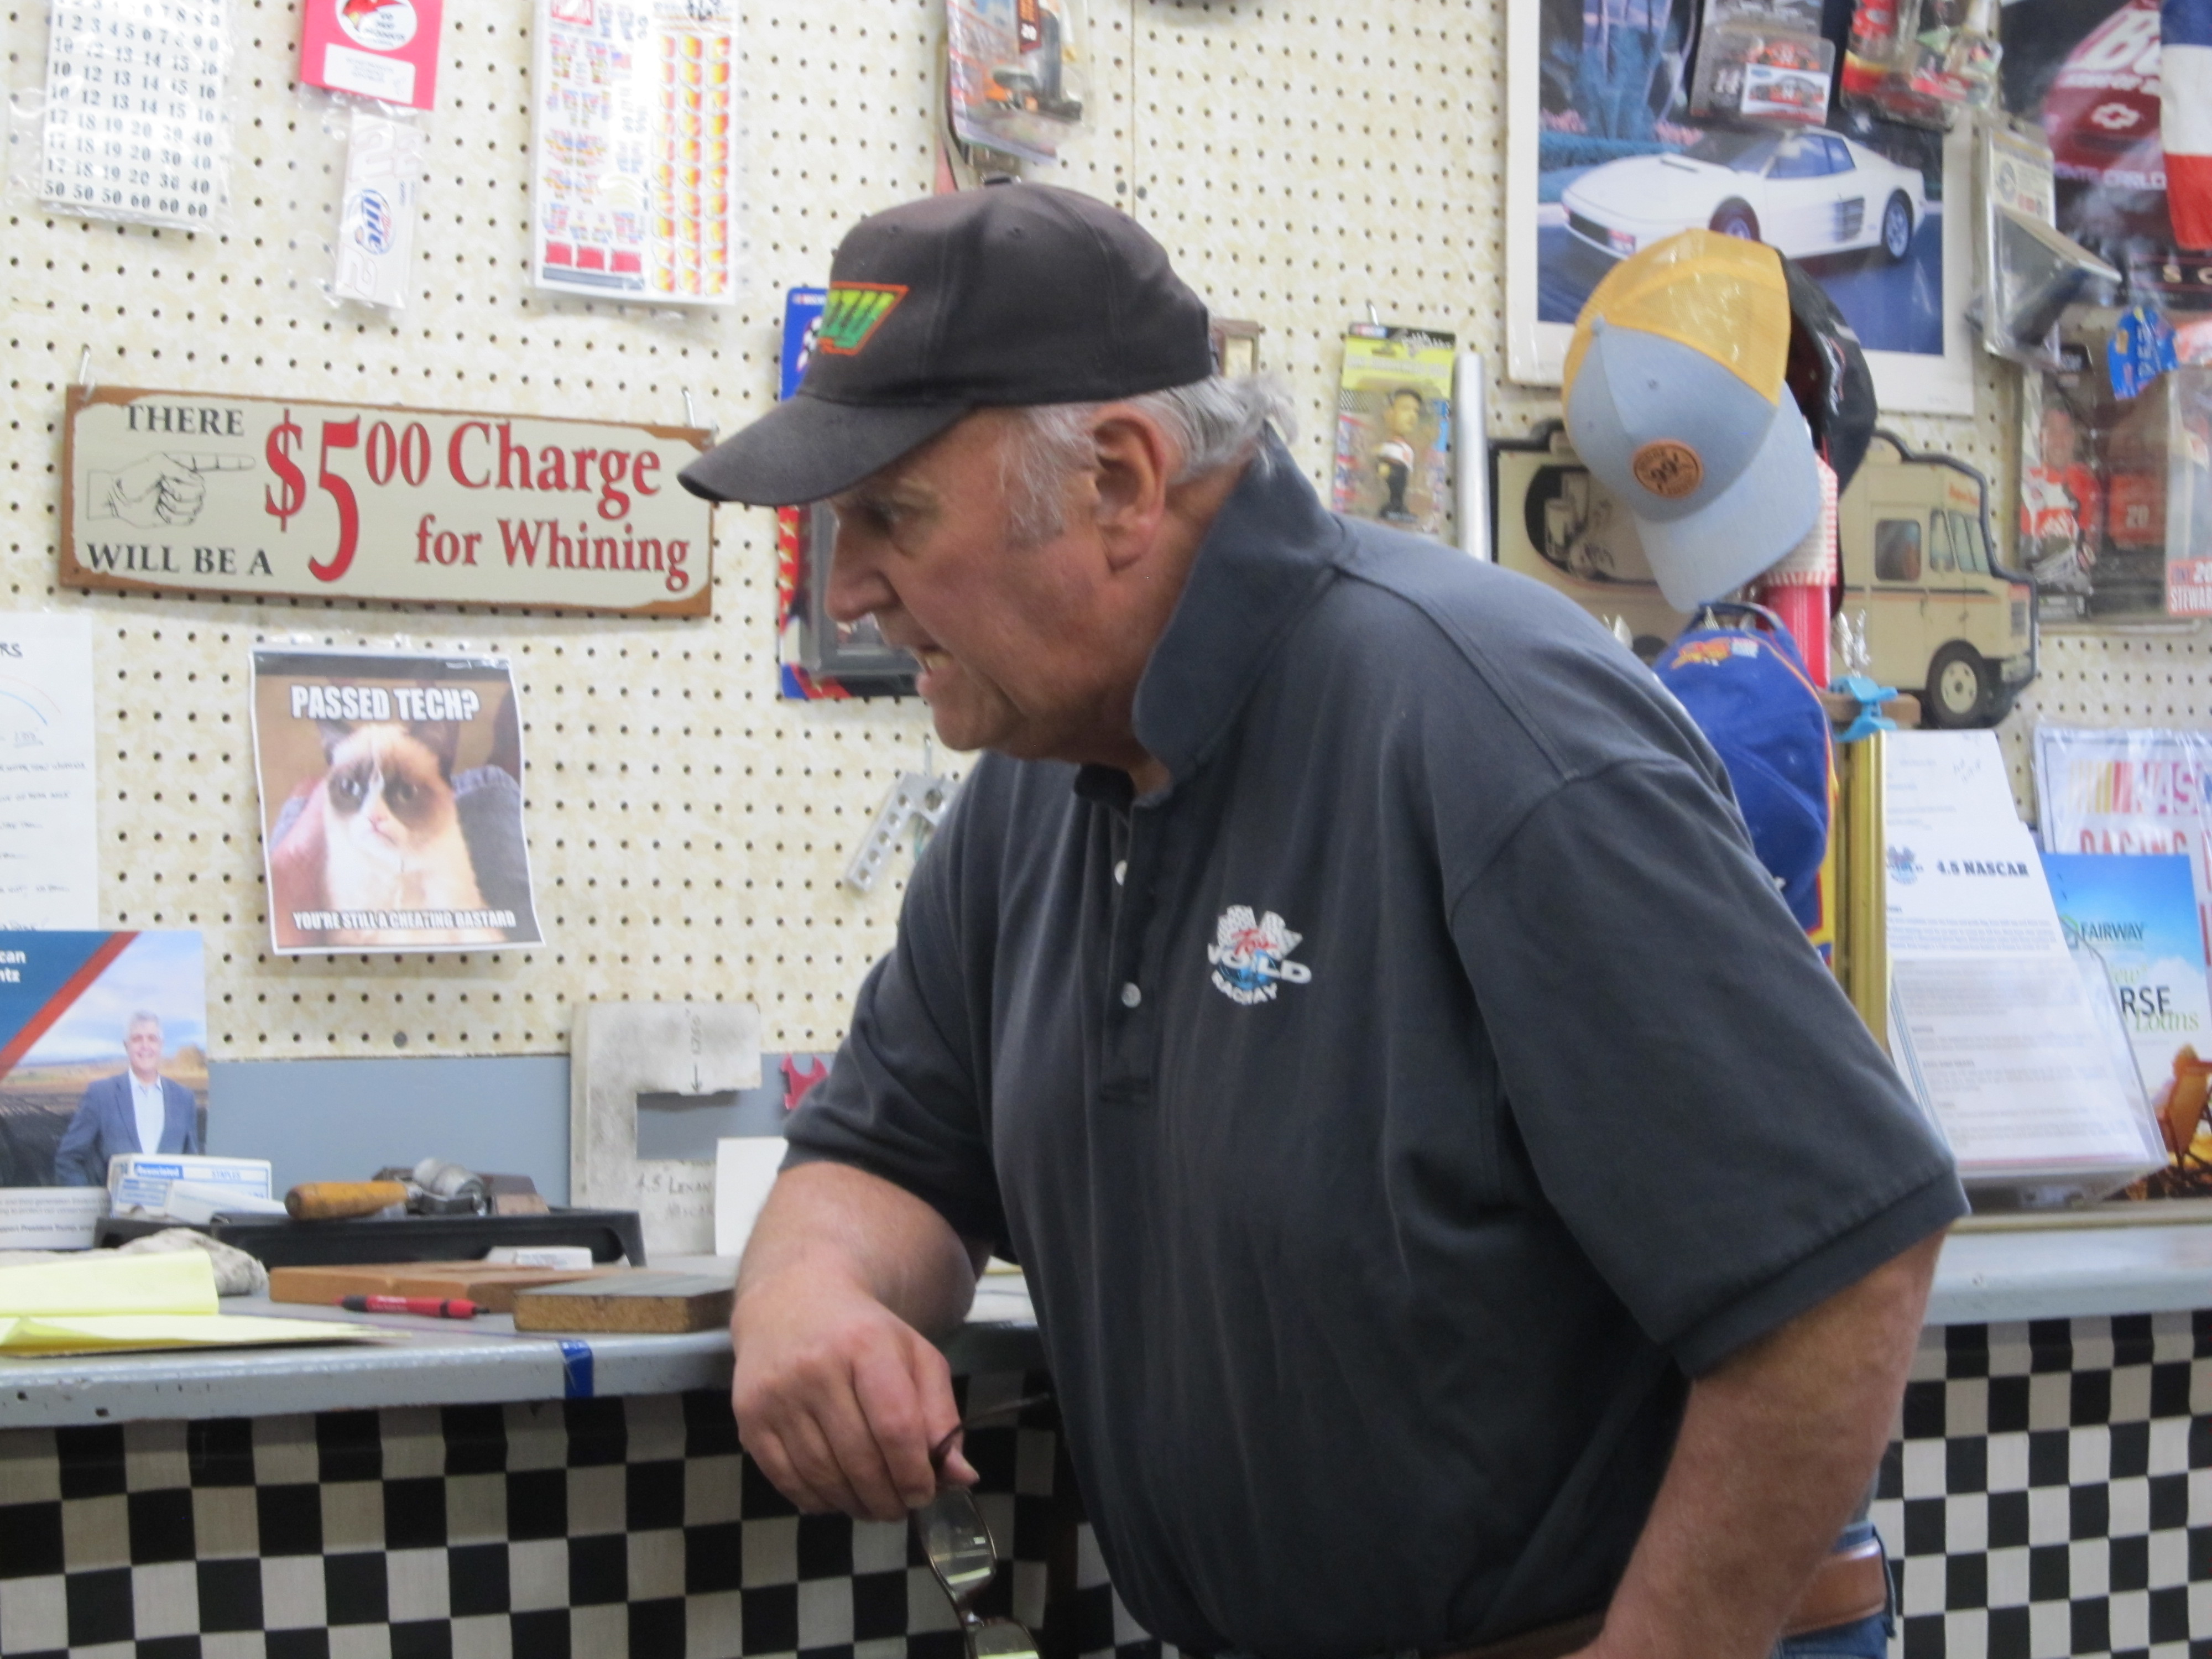
In the Xfinity Race it was Jim with the win. Bob Nak got the option to move up to the Monster Energy race. The Monster Energy race was won by Curt, who by the way was also the top qualifier for the day. Both races were action packed and saw lots of good side by side racing. It was a fun and exciting day! Thank you Tom for another fantastic day of racing!
1,345 May 8, 2021 10:44 pm
Re: Tifosi Racing (18 replies, posted in Cars)
I certainly understand why Howie!
1,346 May 8, 2021 10:43 pm
Re: NASTE Odd Thursday Night Racing Rules & Current Thread (2,203 replies, posted in NASTE)
I take it your wife doesn't read your posts here Doc...............
1,347 May 6, 2021 5:36 pm
Re: Tifosi Racing (18 replies, posted in Cars)
Thanks Zack....not much of a "build" yet...but one hell of a "tear apart"!
1,348 May 6, 2021 2:34 pm
Re: Tifosi Racing (18 replies, posted in Cars)
These are the pieces that make up the fourth or top layer of the chassis.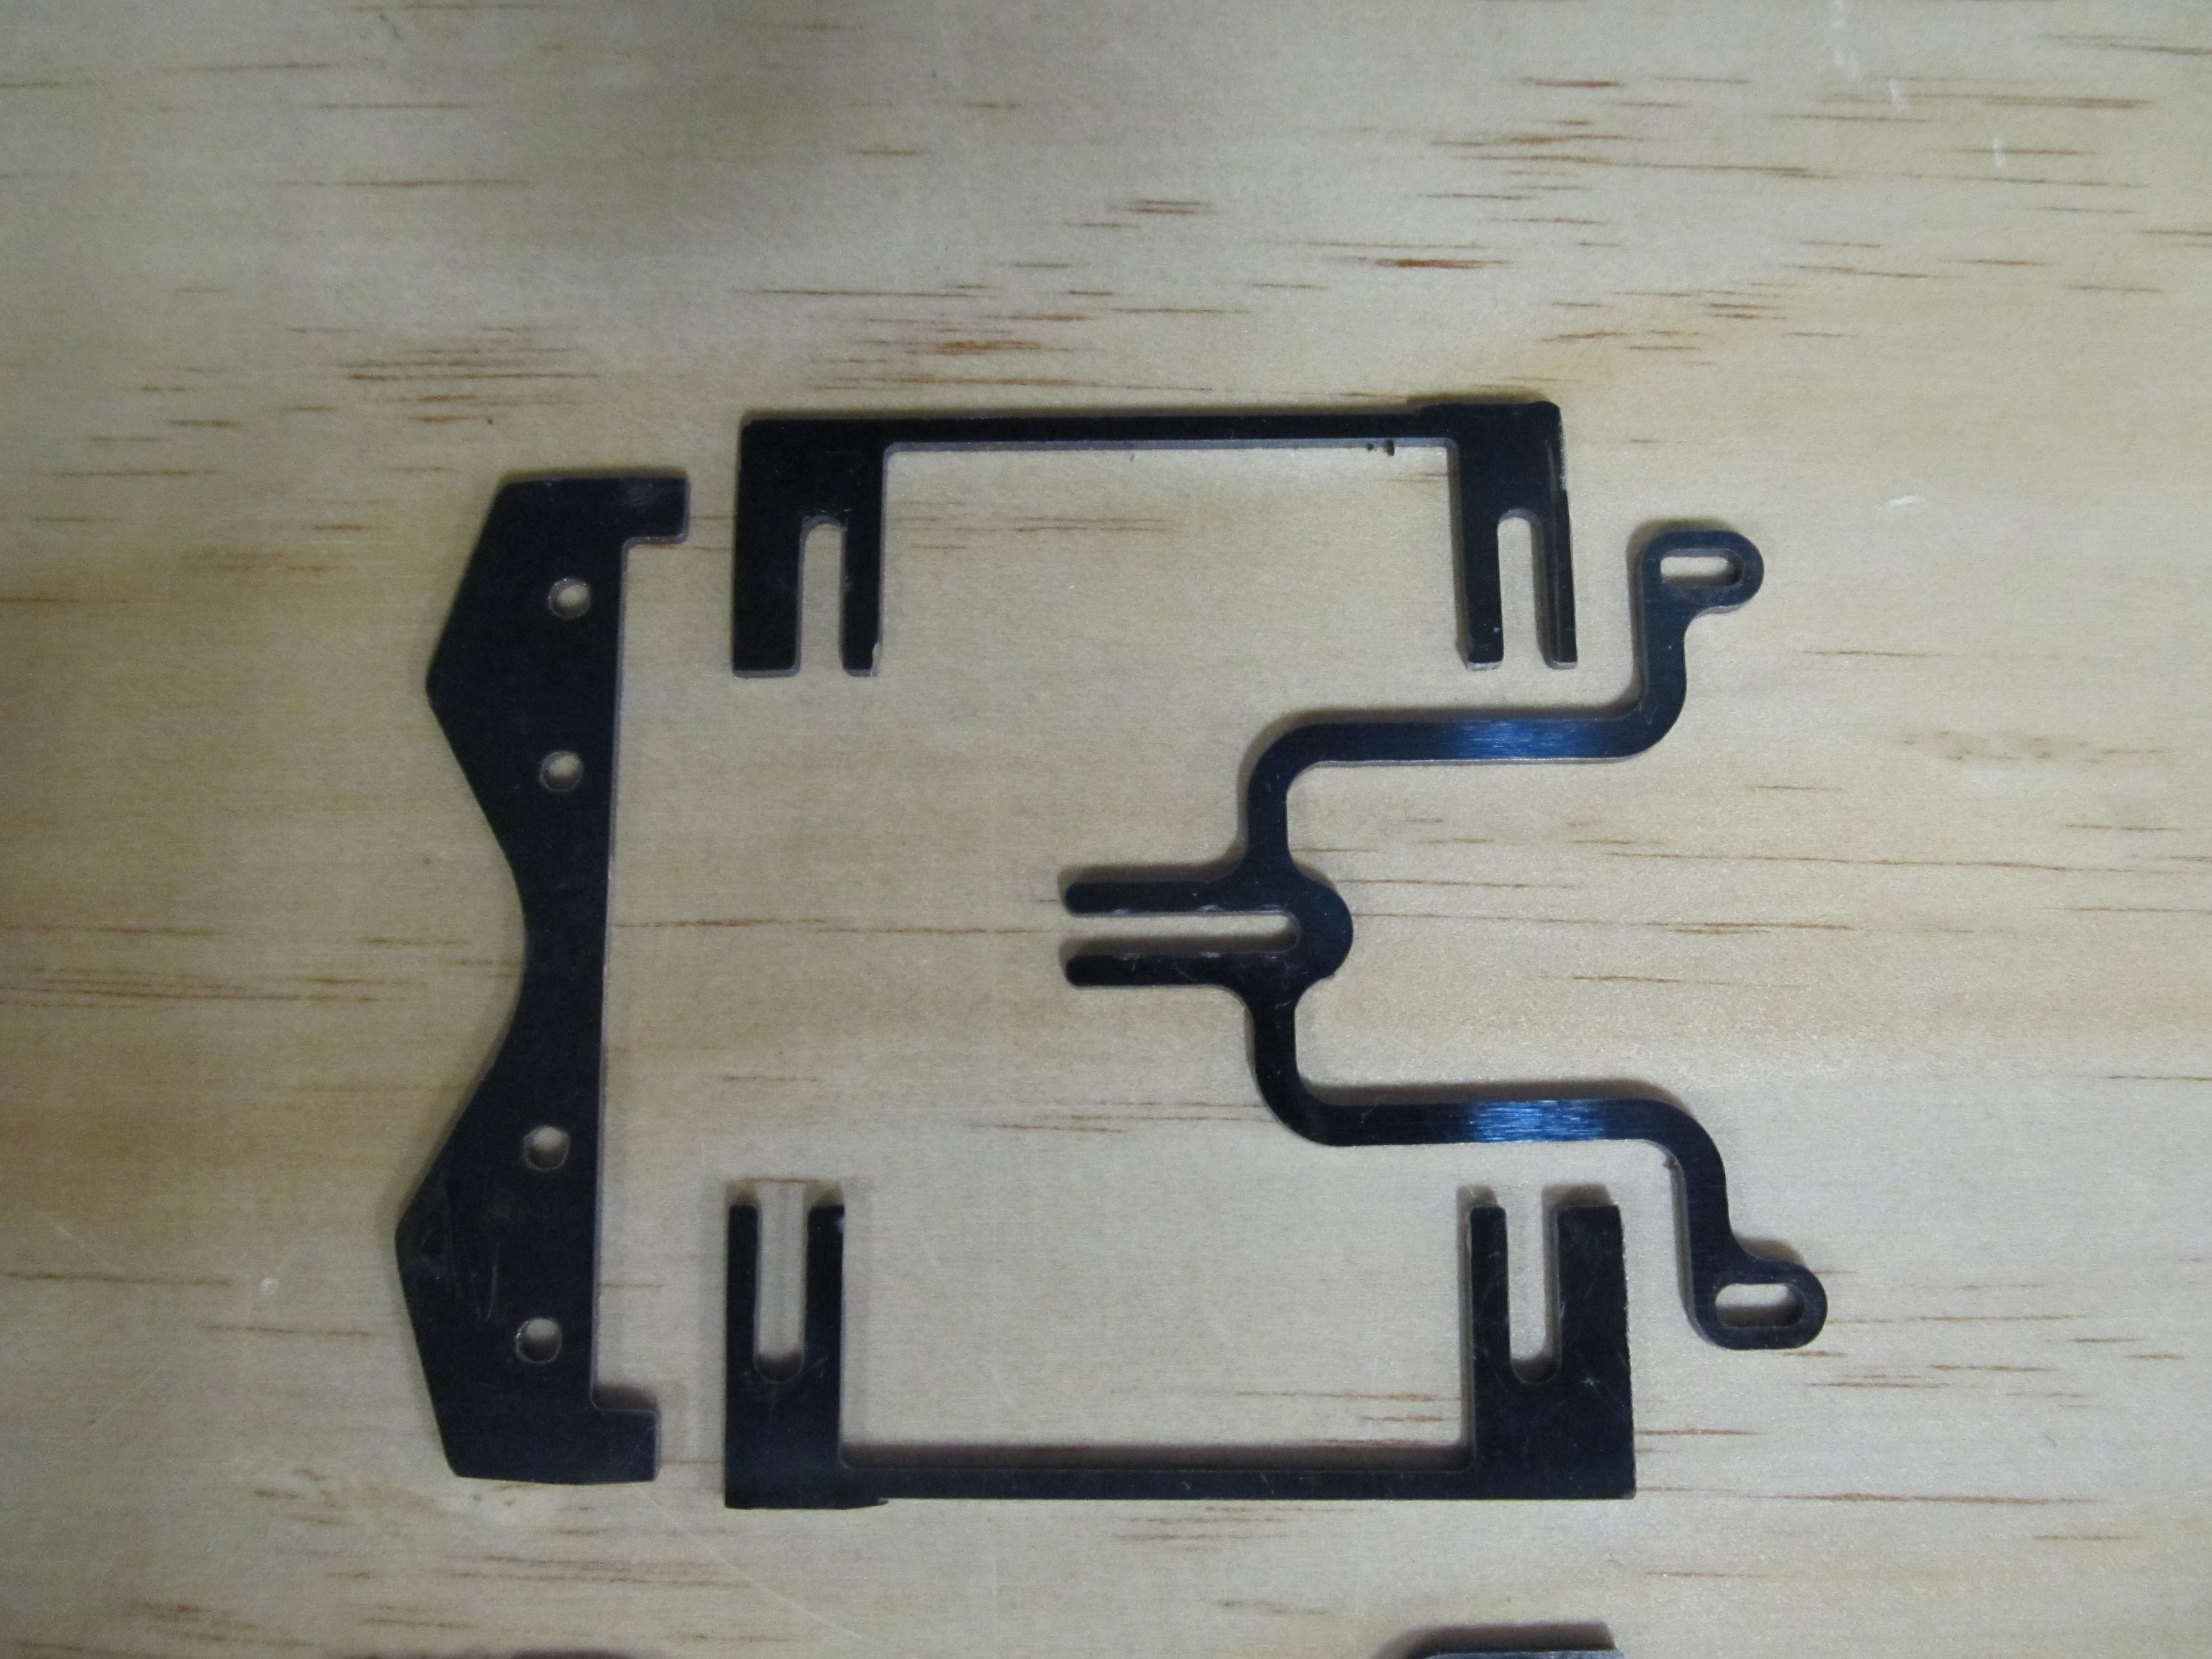
These are all the components laid out in their respective layers. With each layer being approximately .050" thick, the finished chassis thickness is pretty porky at .200" overall!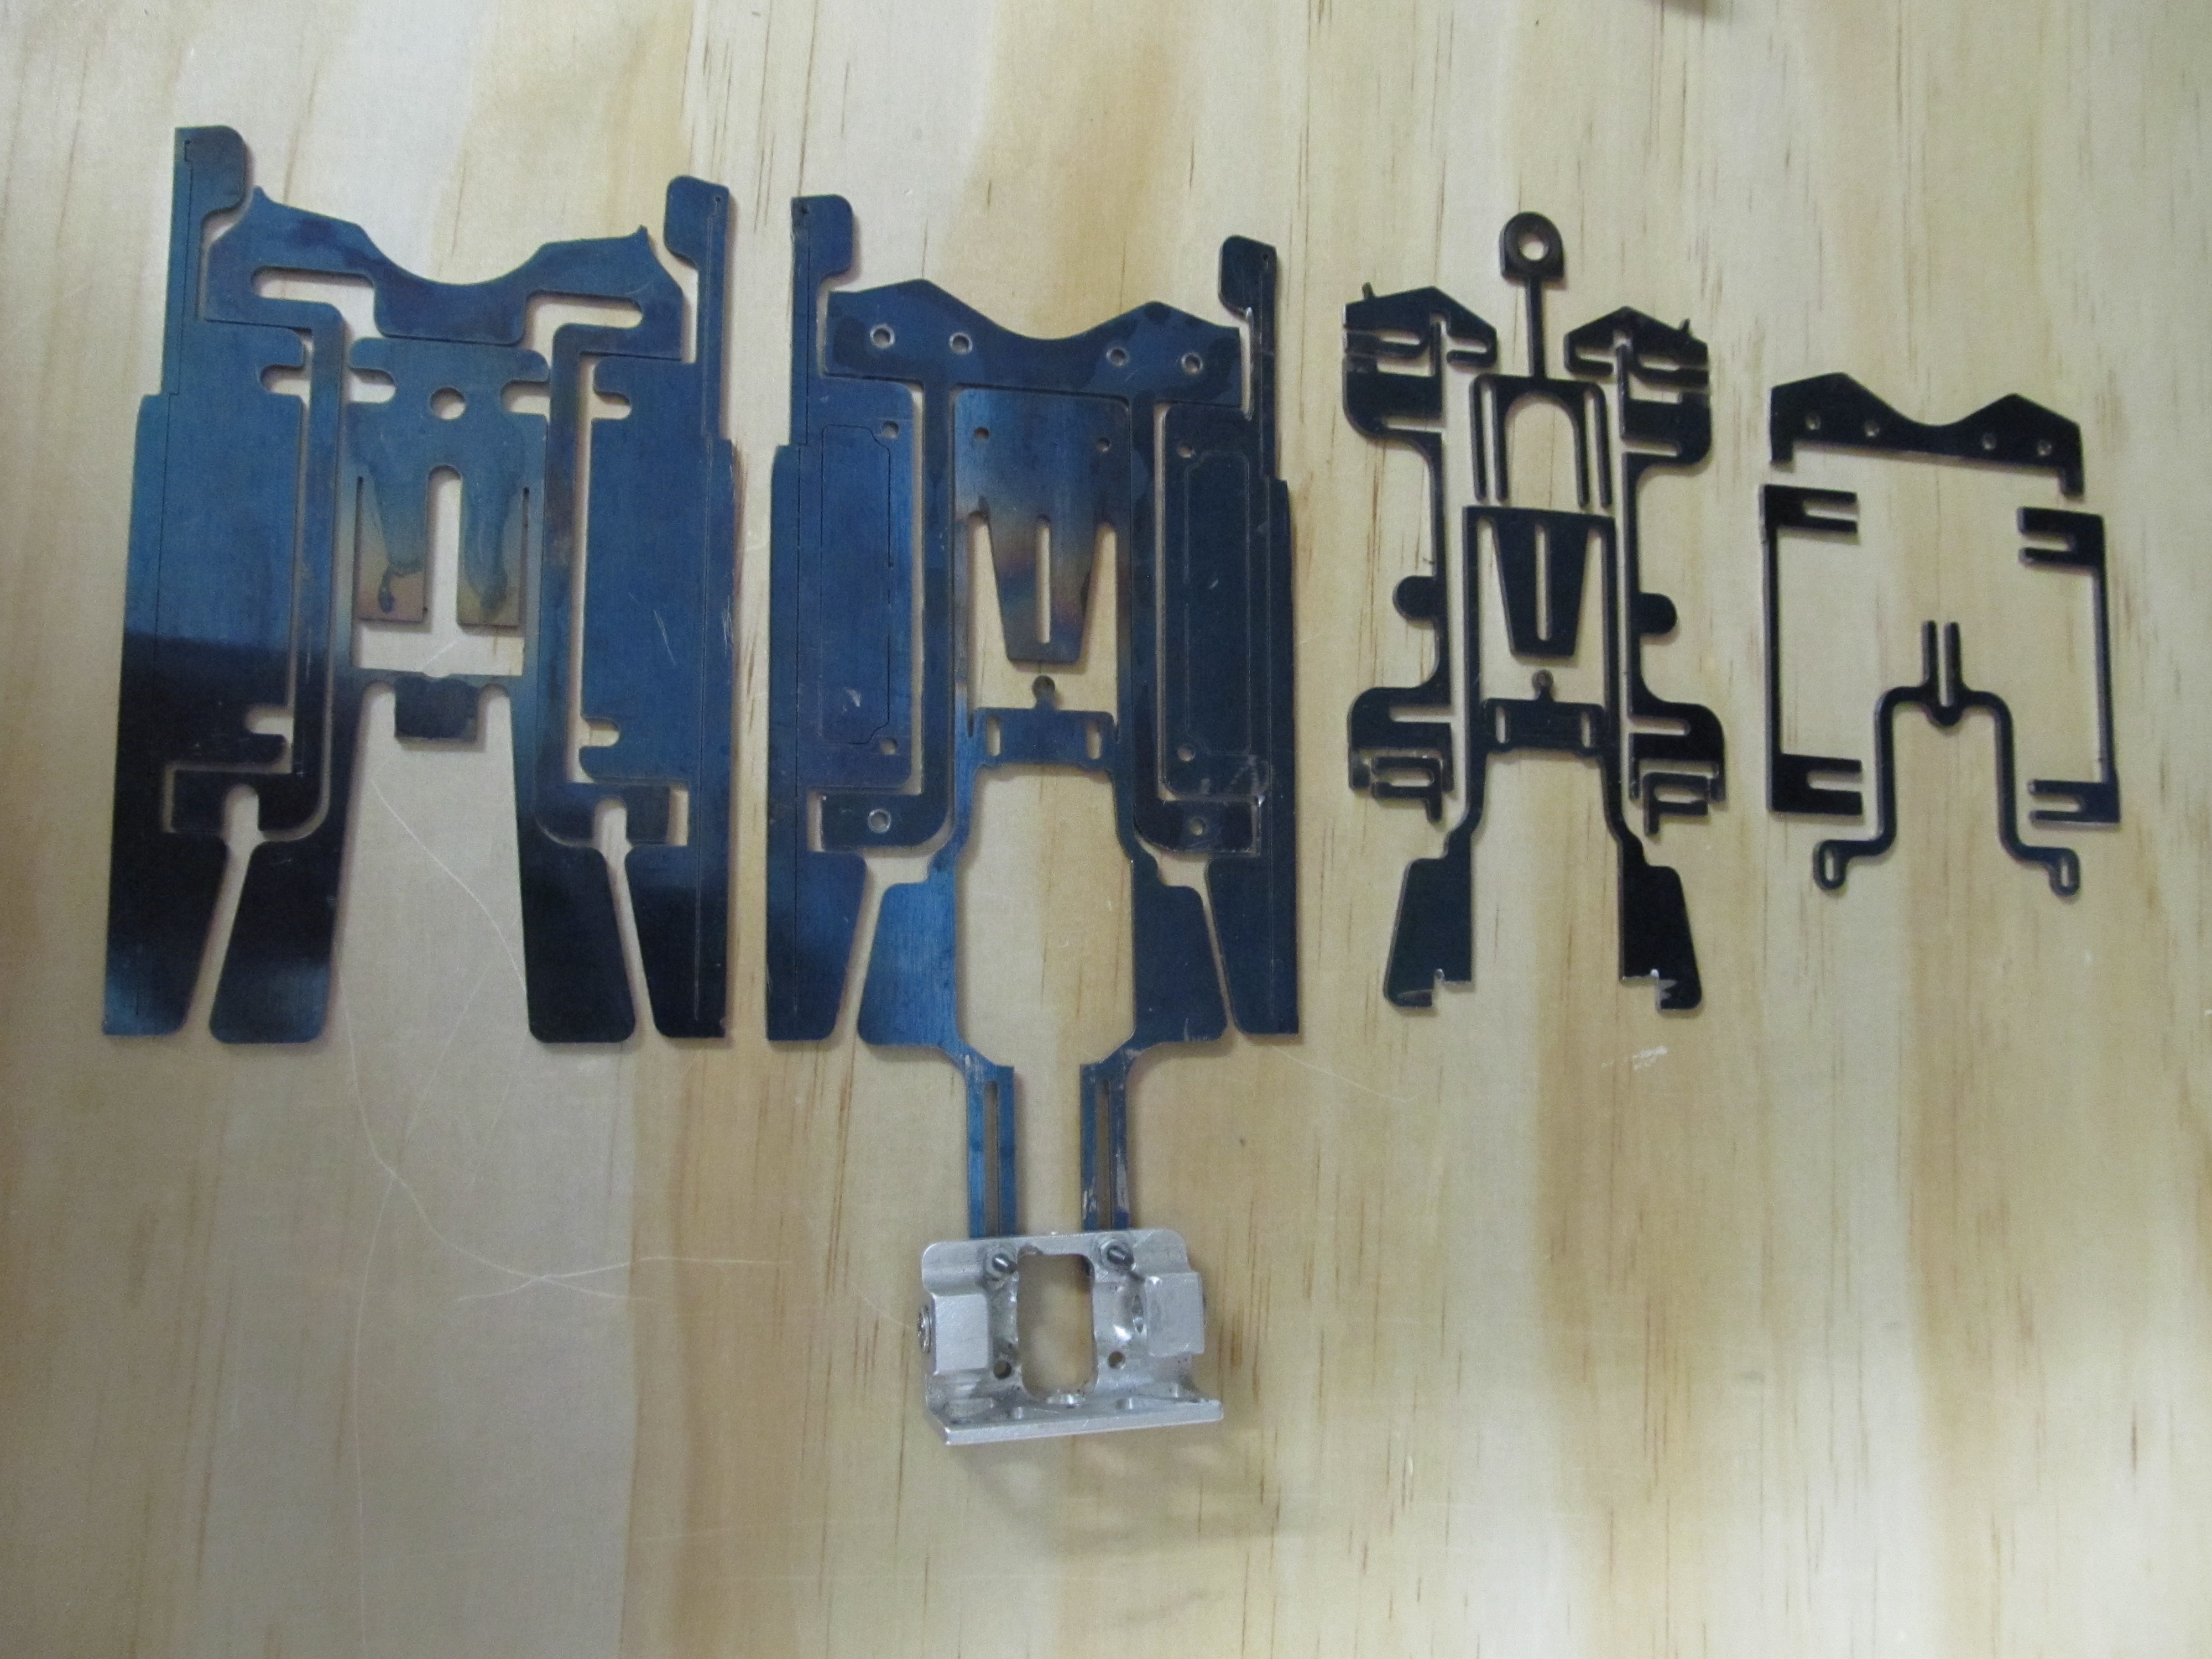
1,349 May 6, 2021 2:29 pm
Re: Tifosi Racing (18 replies, posted in Cars)
These are the pieces that make up the third layer. They are secured to the lower (second layer) using screw, washers, and nuts.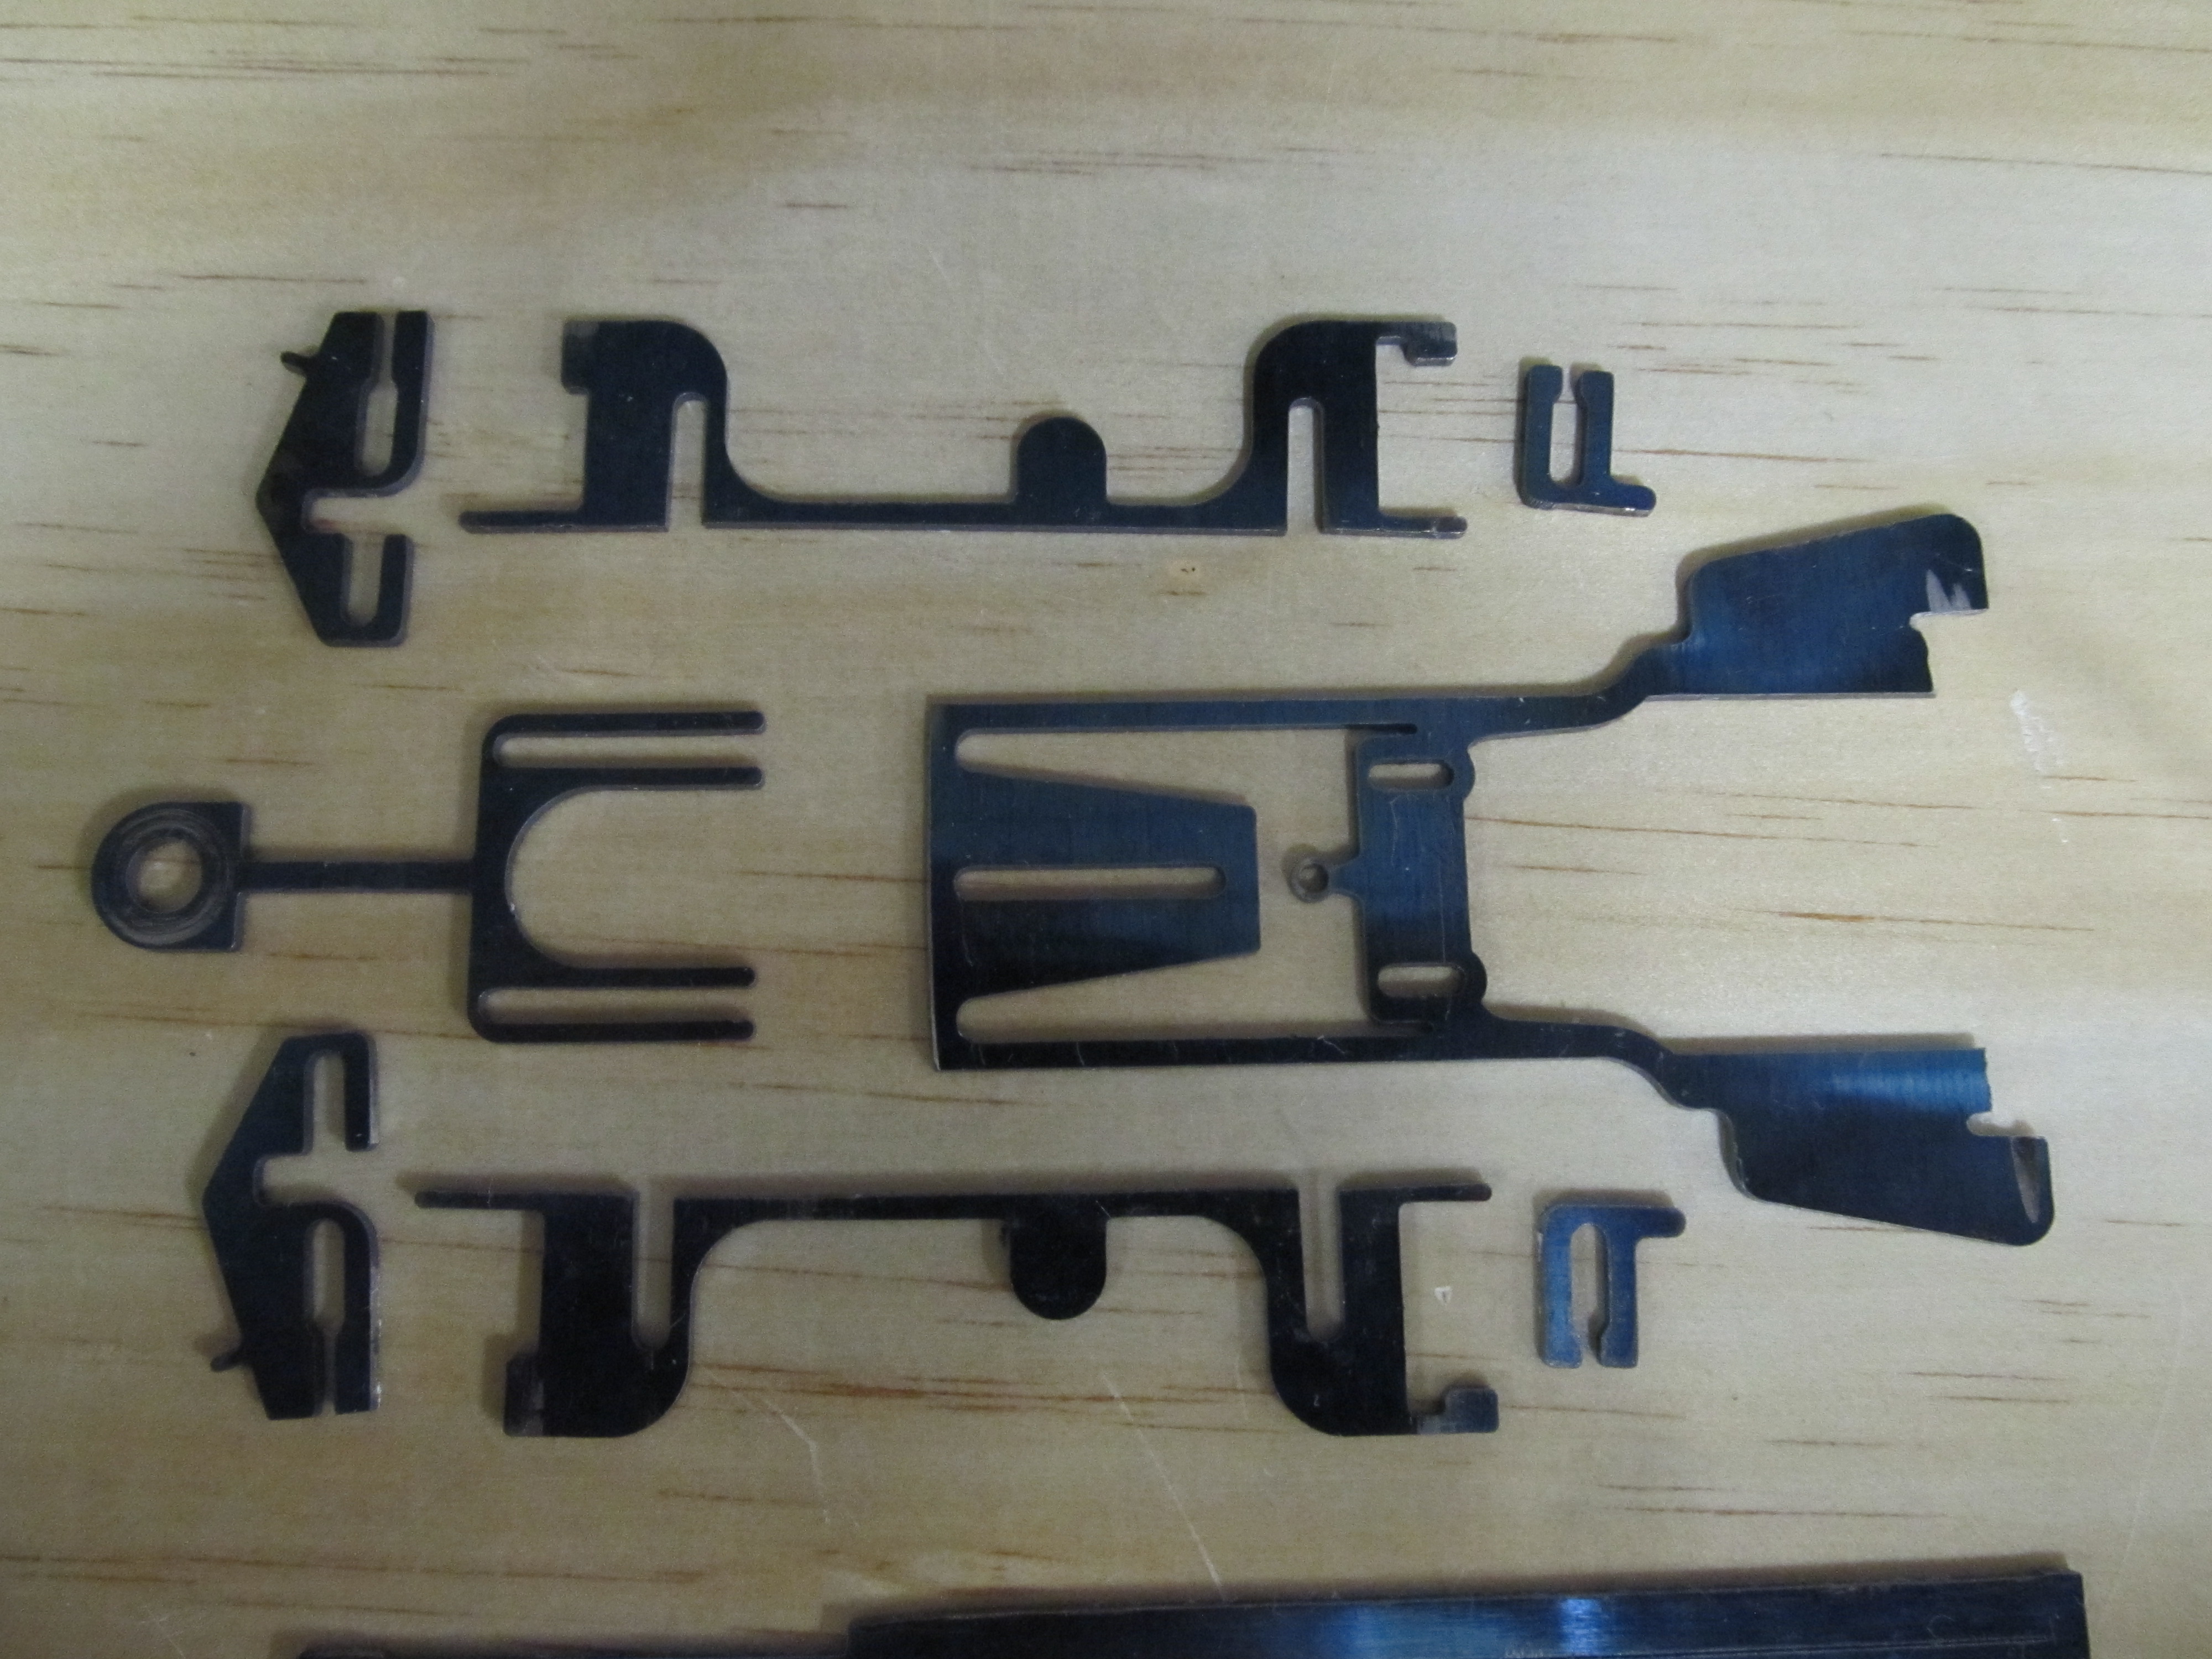
Some of the pieces are captured rather than screw tightened, which allows those pieces to free float to some degree. 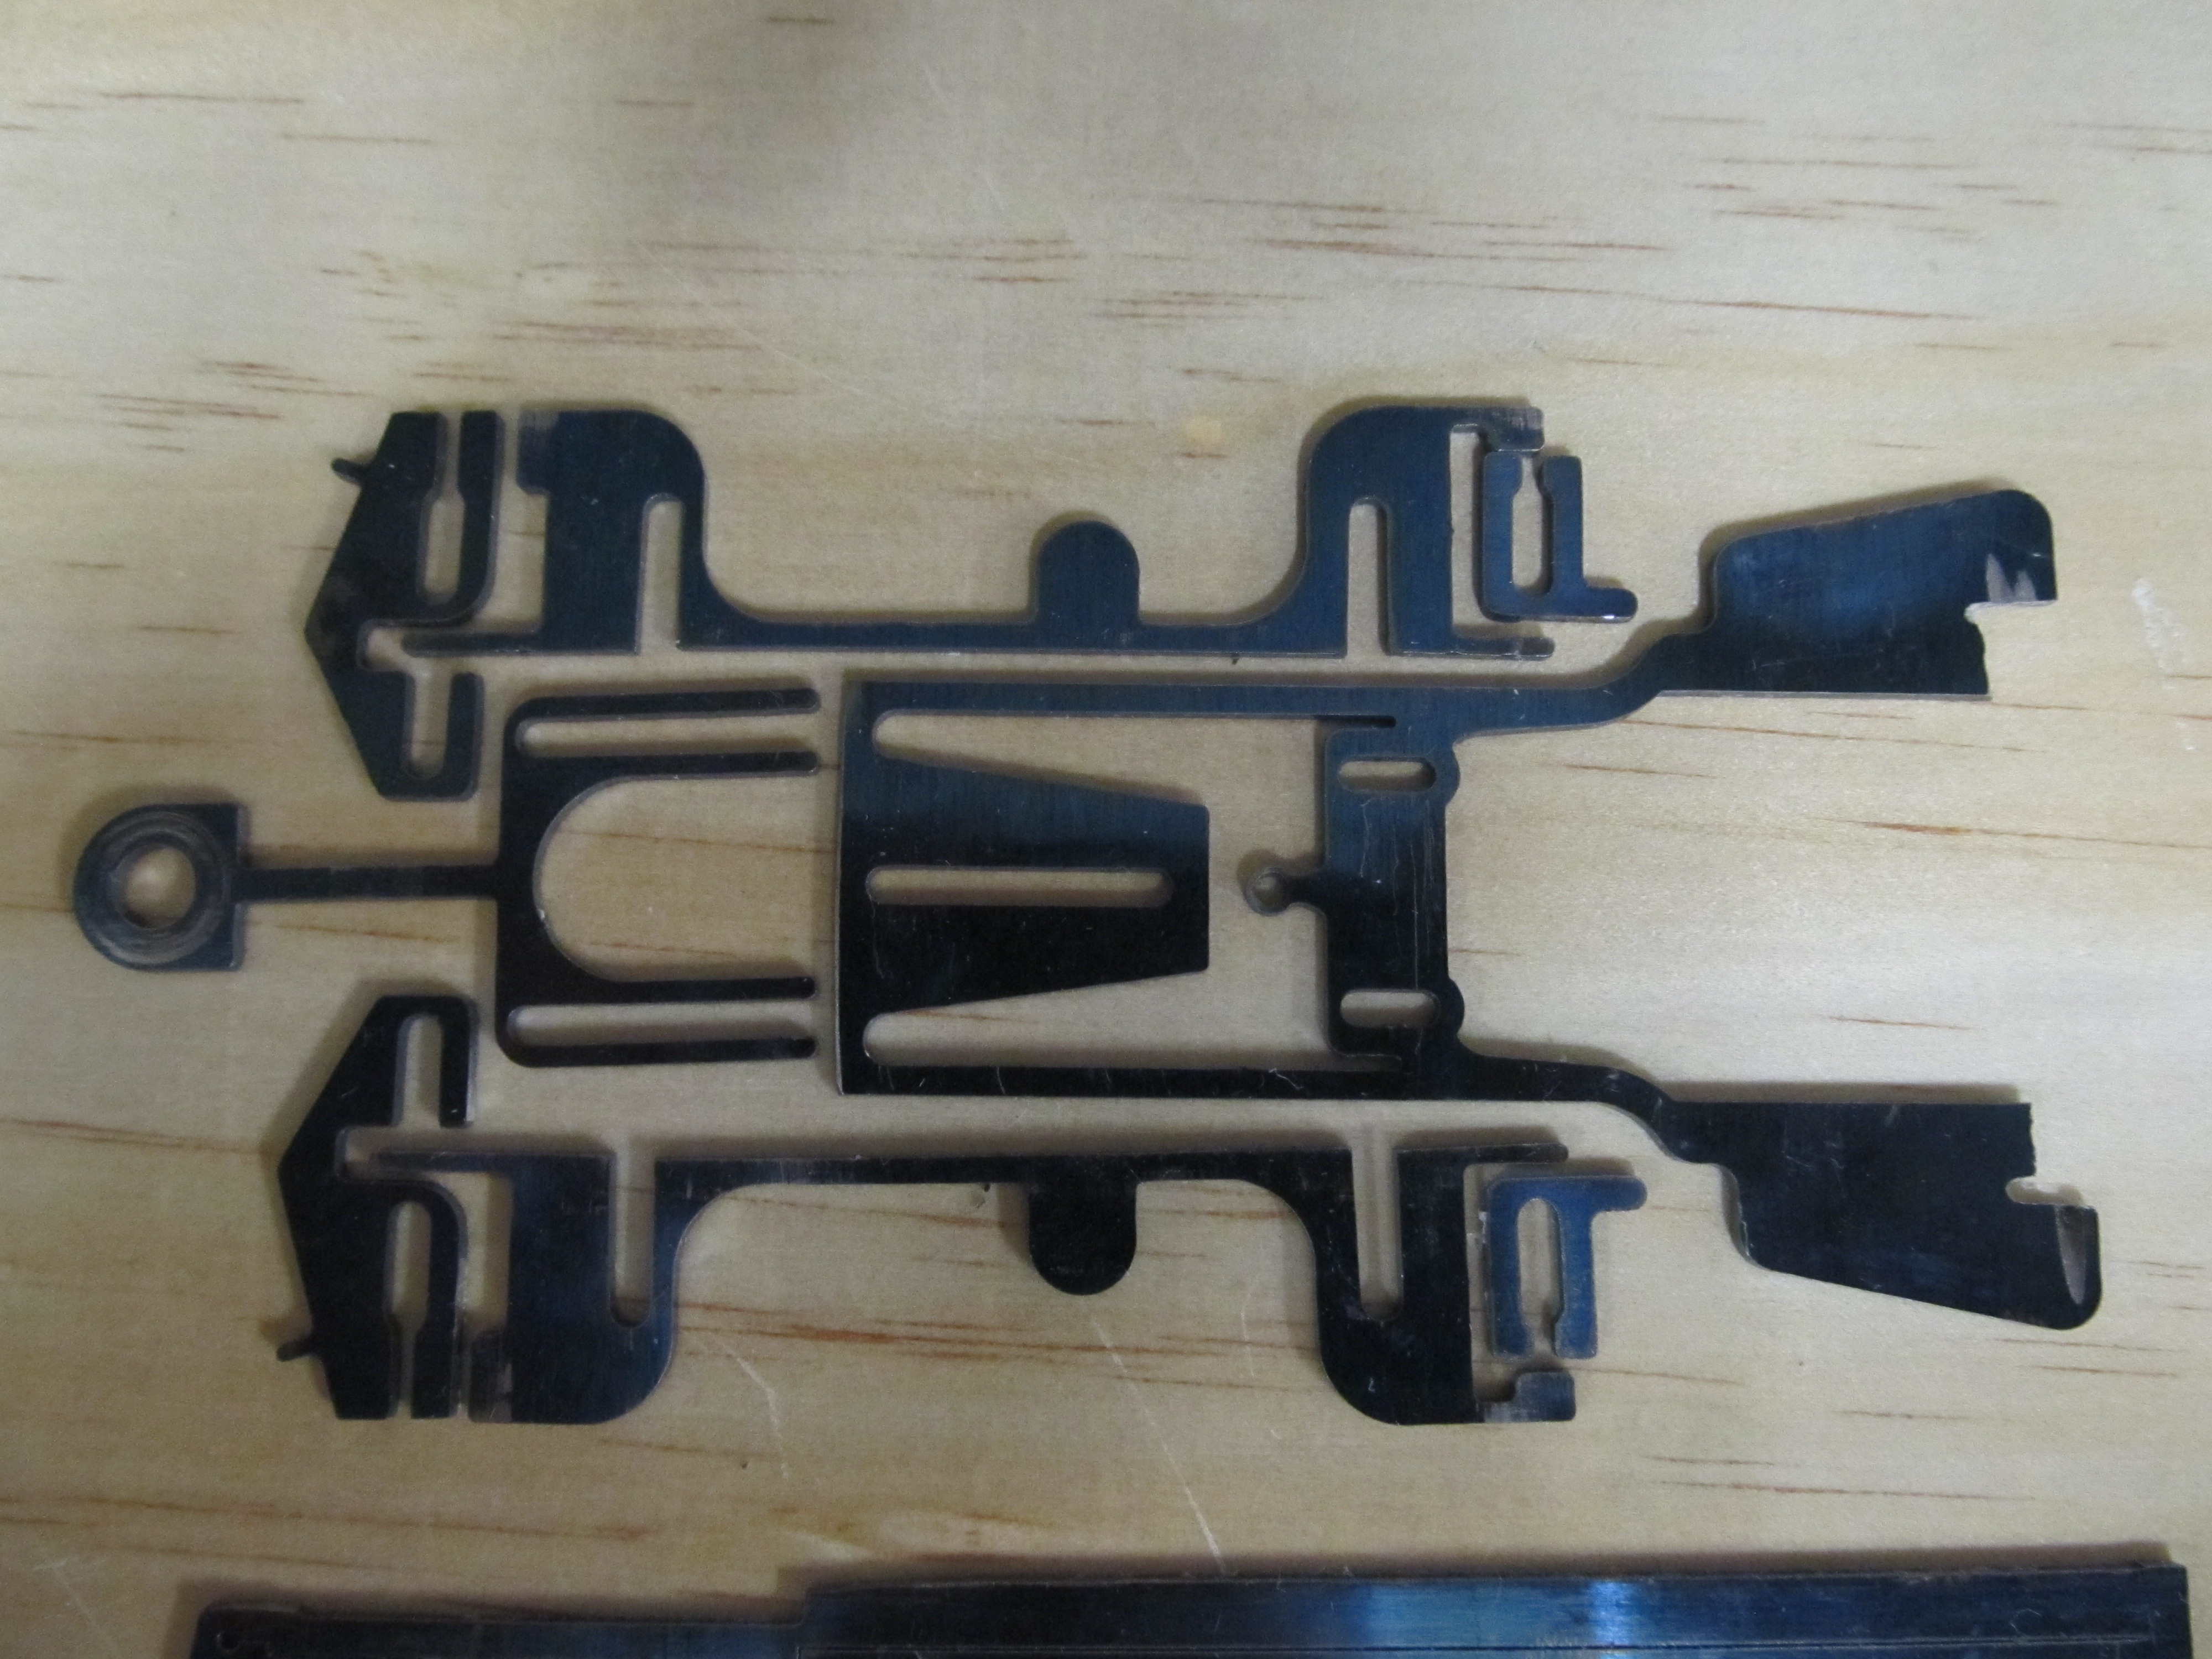
1,350 May 6, 2021 2:25 pm
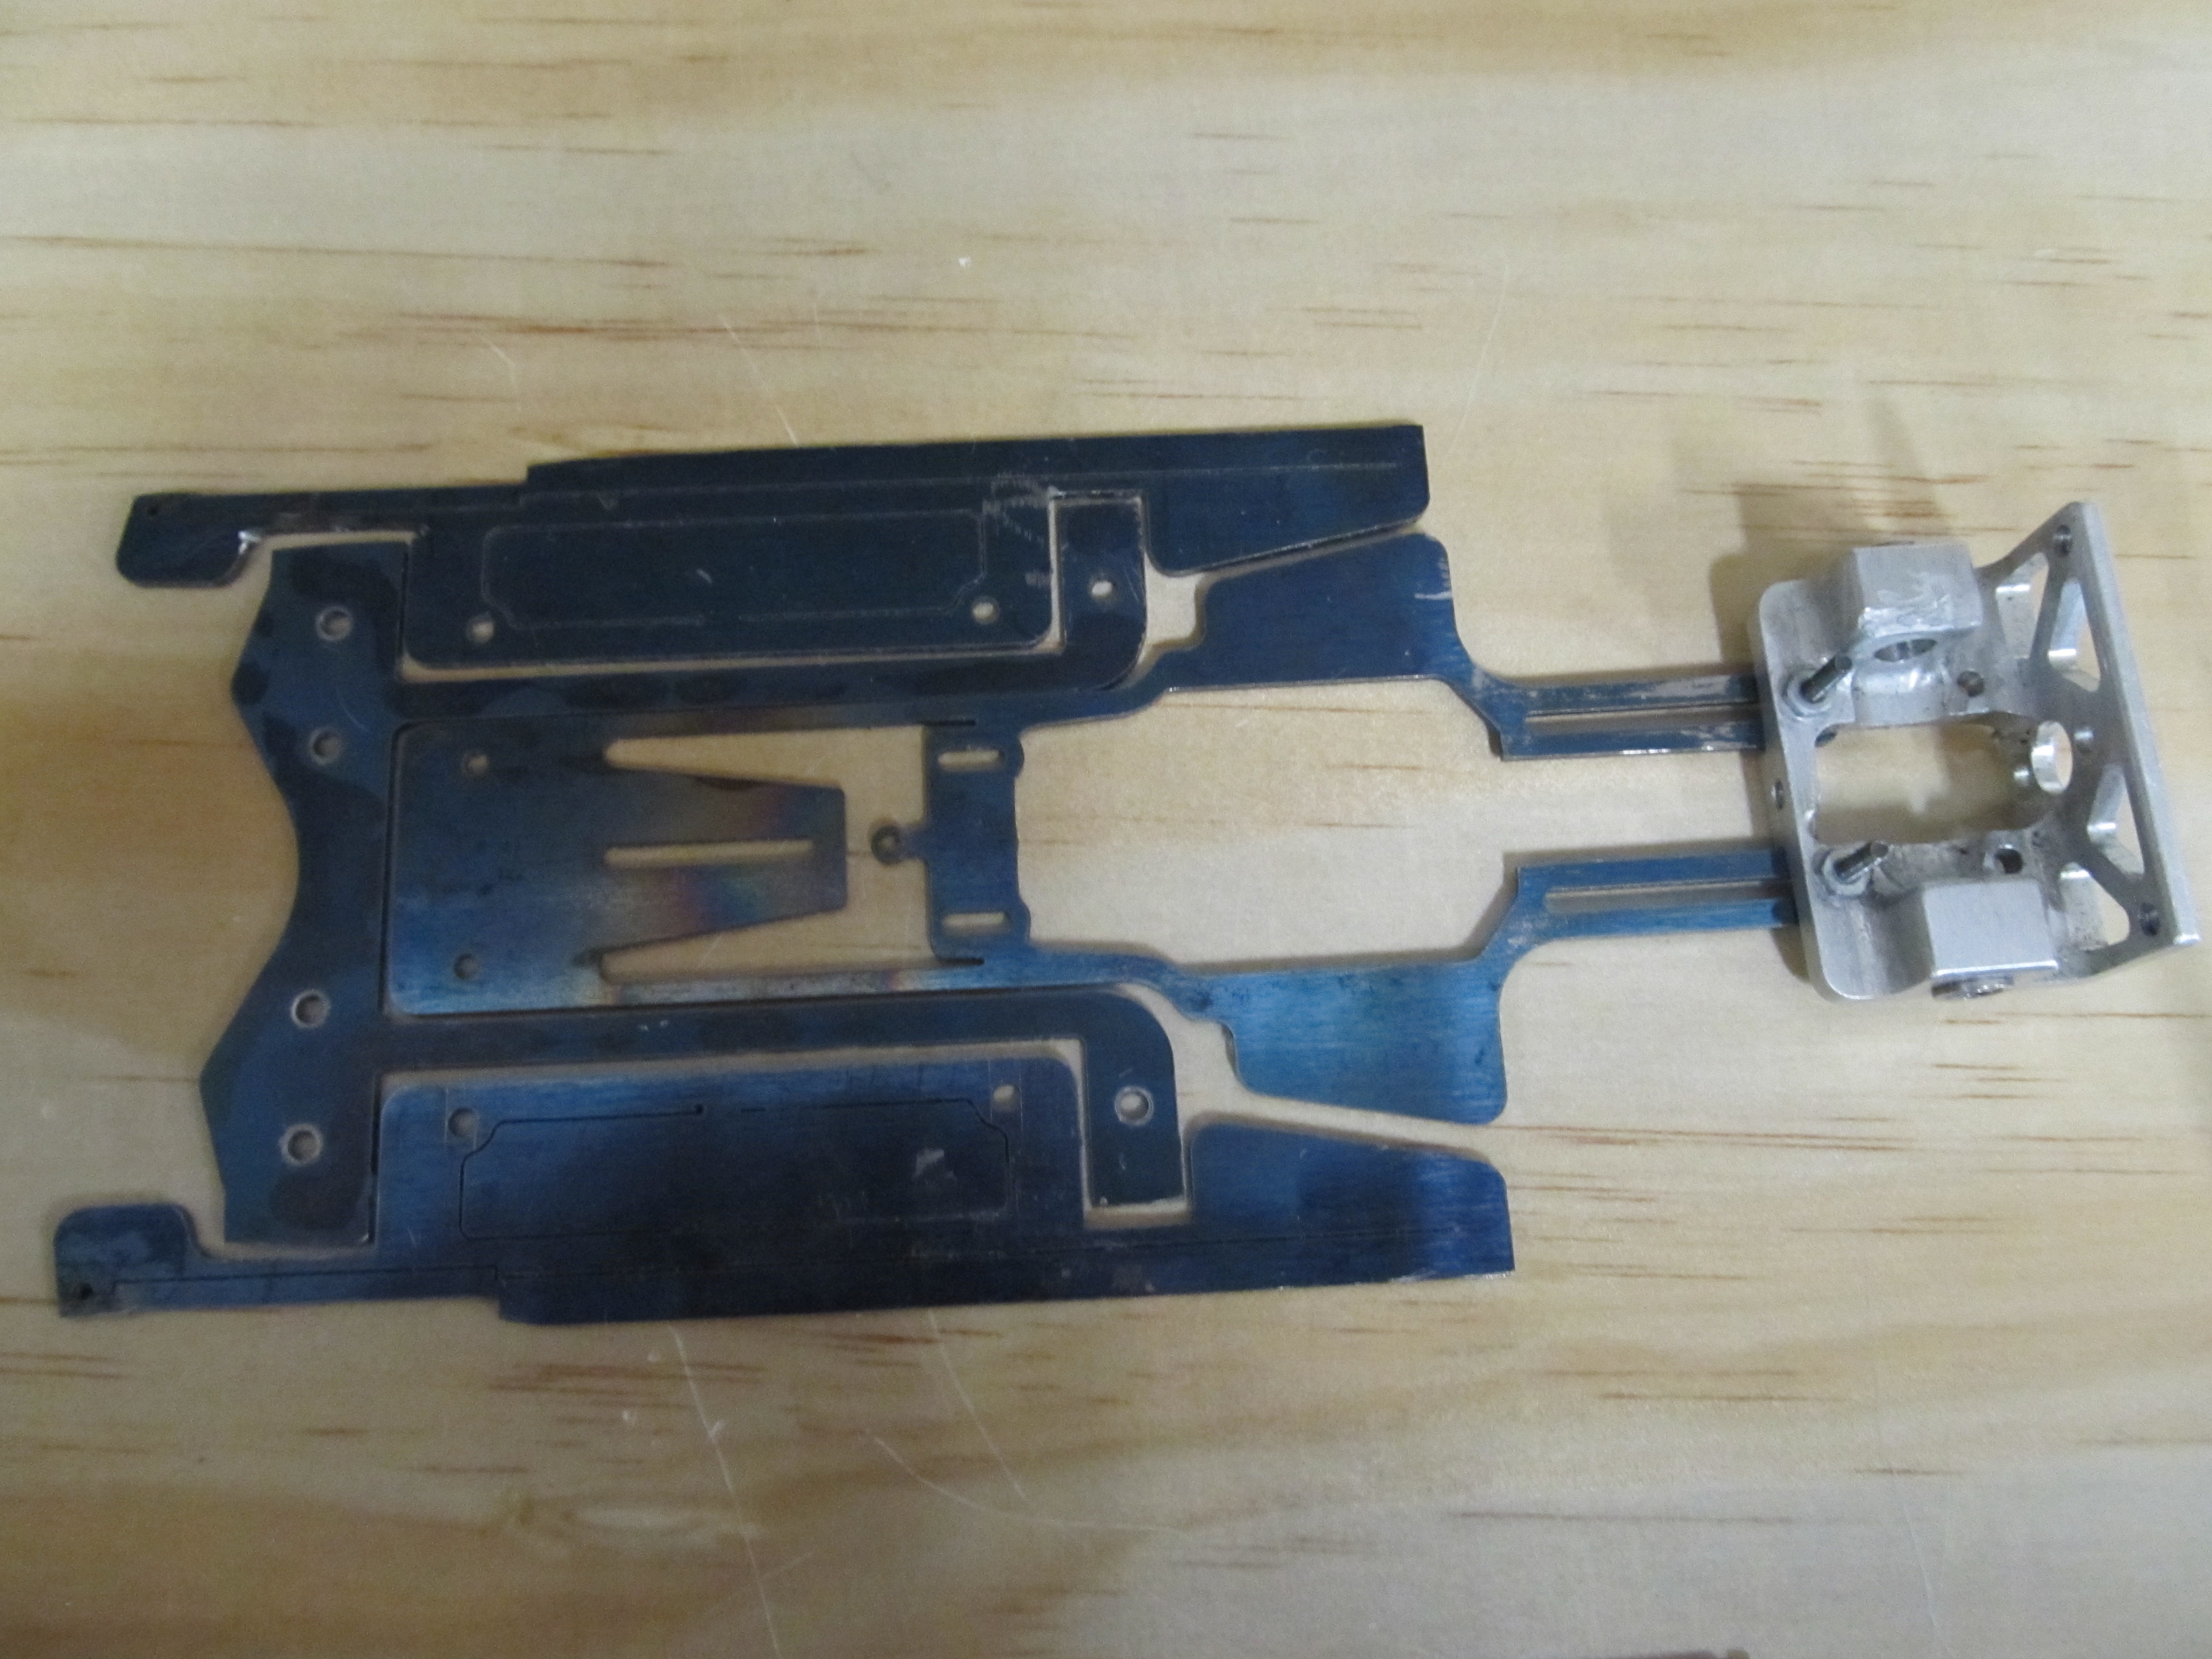
Re: Tifosi Racing (18 replies, posted in Cars)
This is the second layer which the motor bracket/mount attaches to (in this photo the motor bracket is install backwards). Again, this layer is secured to the lower or first layer with adhesive as a laminated joint.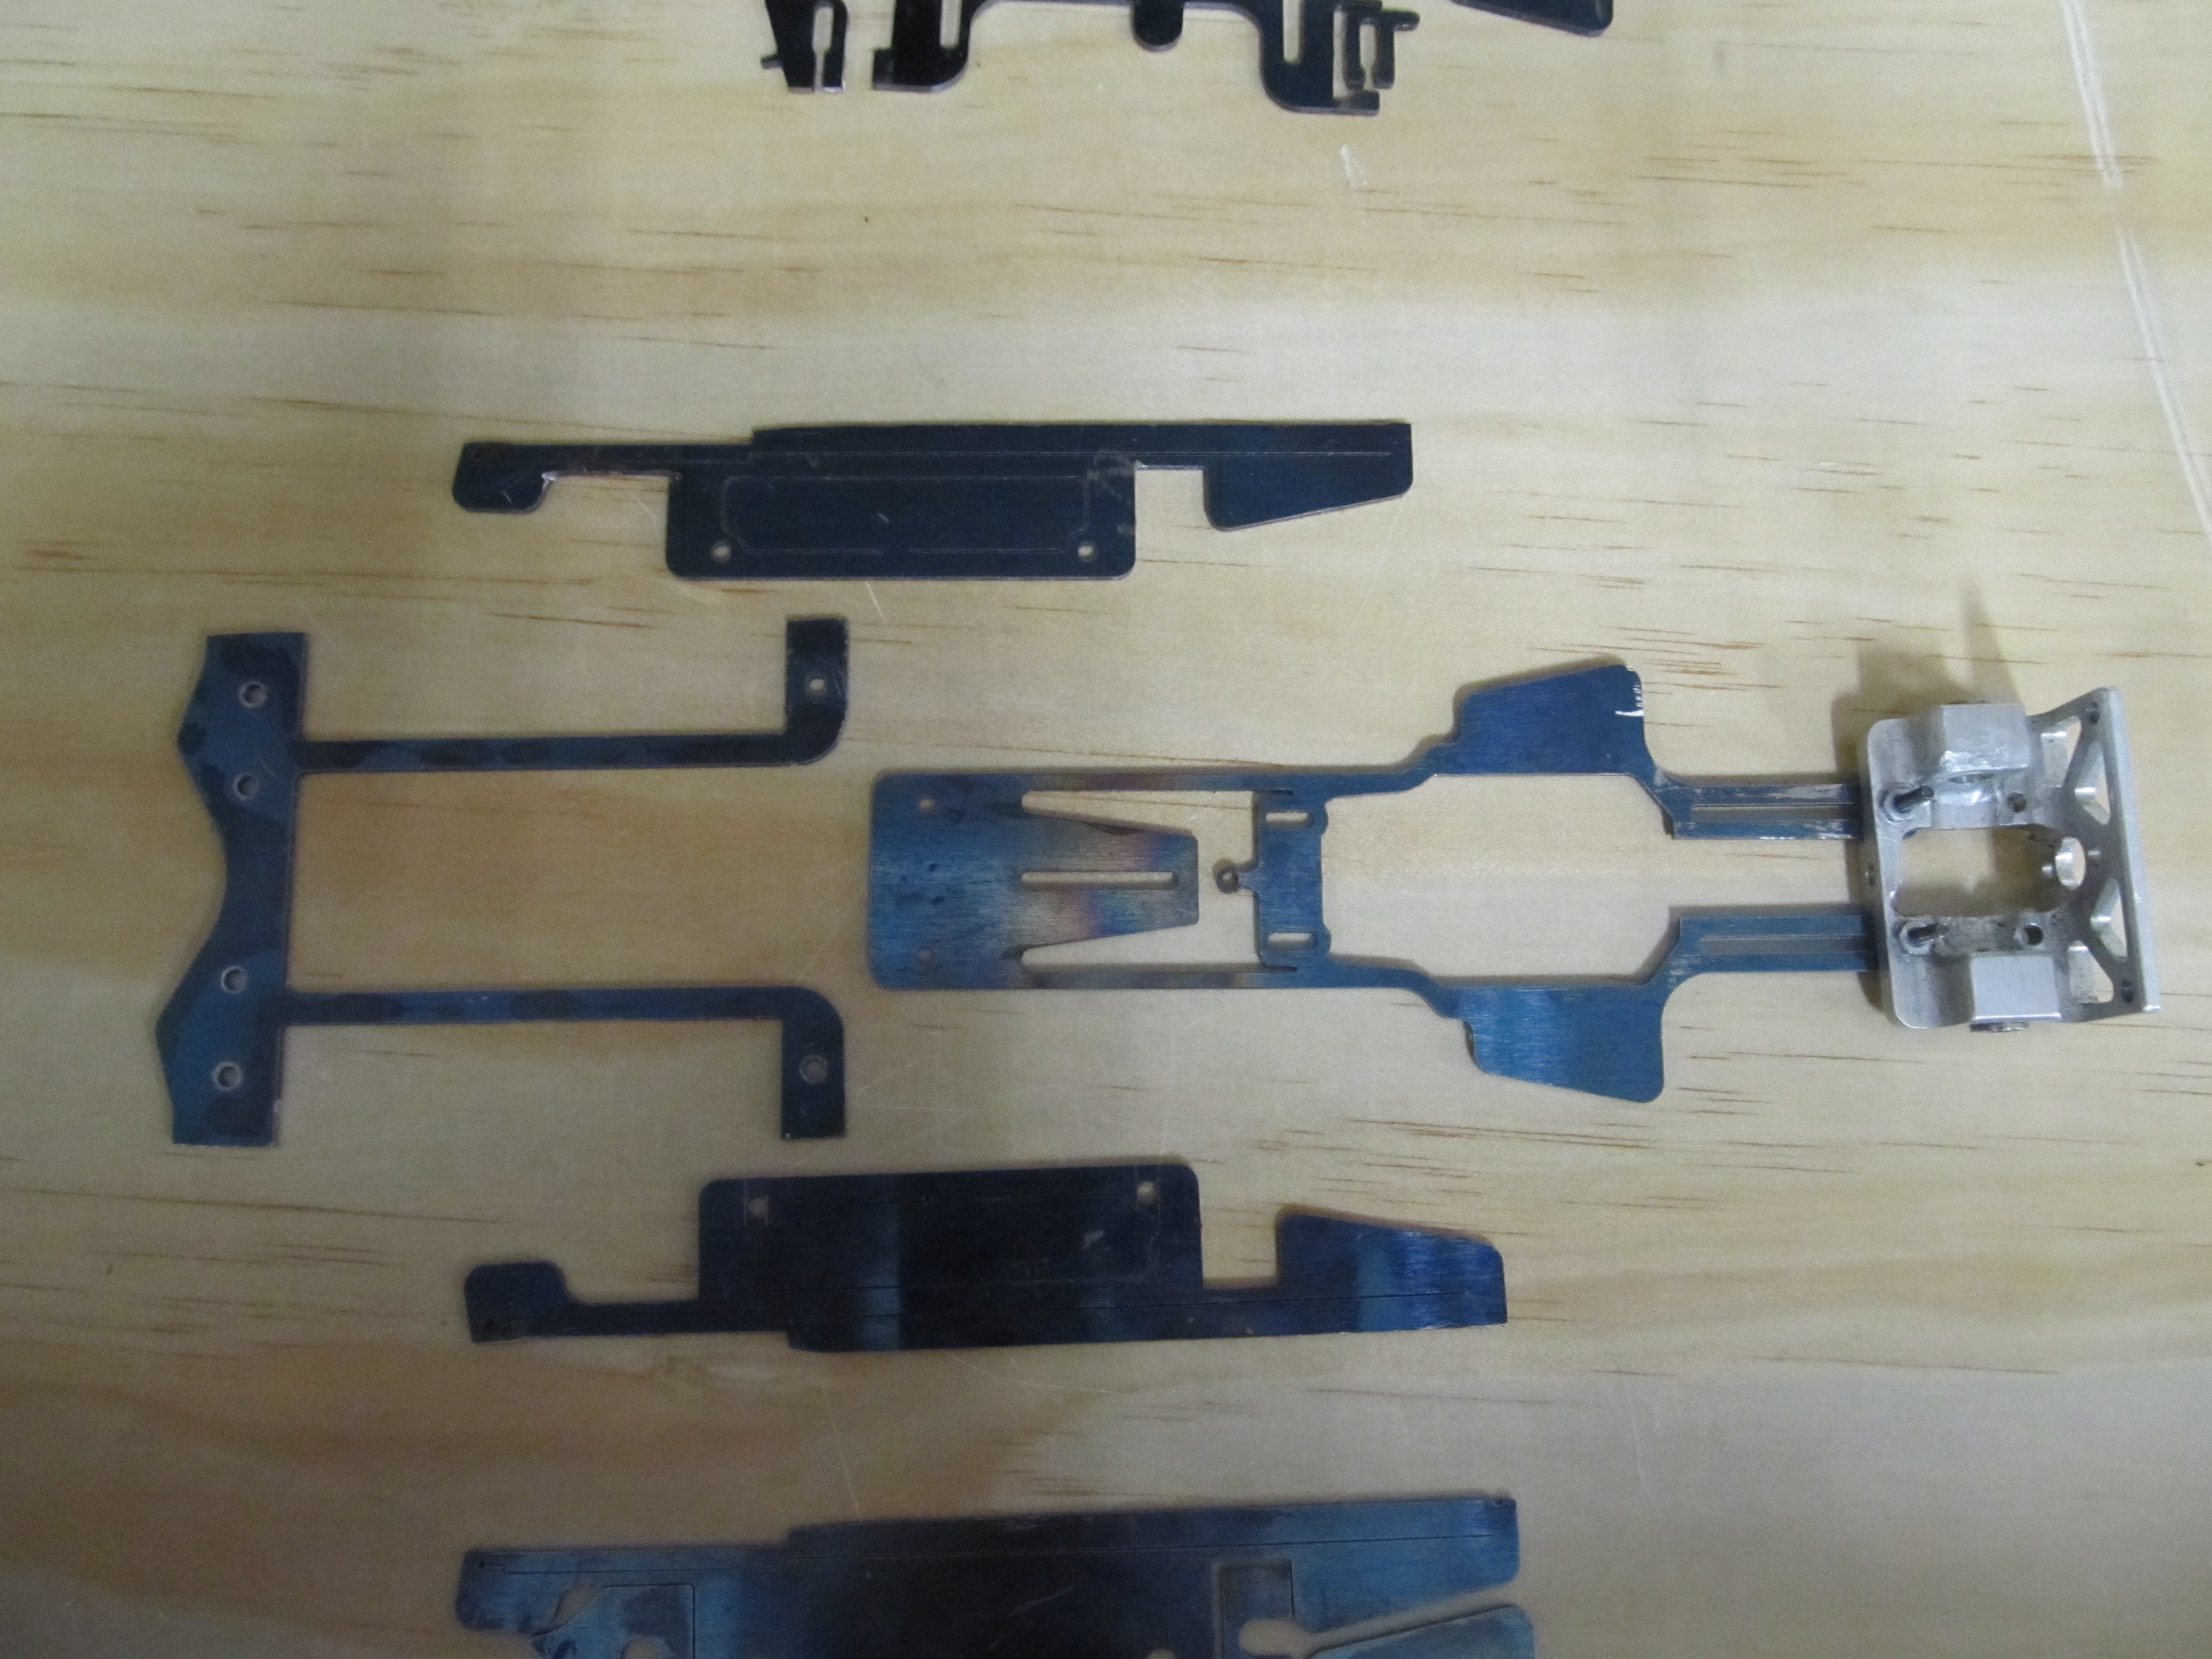
After gluing the first two layers together the rest of the chassis is bolt together.