The previous posts to this topic were copied over from the Northwest True Scale Racers site with Howie's permission. The NTSR site is scheduled to close down at the end of this year. I will be copying over as much of the great information posted there as possible in the next few months. =====Bill
3,101 January 9, 2017 6:33 pm
Re: N.A.S.T.E. Halloween race of 2015. (2 replies, posted in Rapid Raceway)
3,102 January 9, 2017 6:23 pm
Topic: N.A.S.T.E. Halloween race of 2015. (2 replies, posted in Rapid Raceway)
by howie » Sun Nov 01, 2015 10:09 am
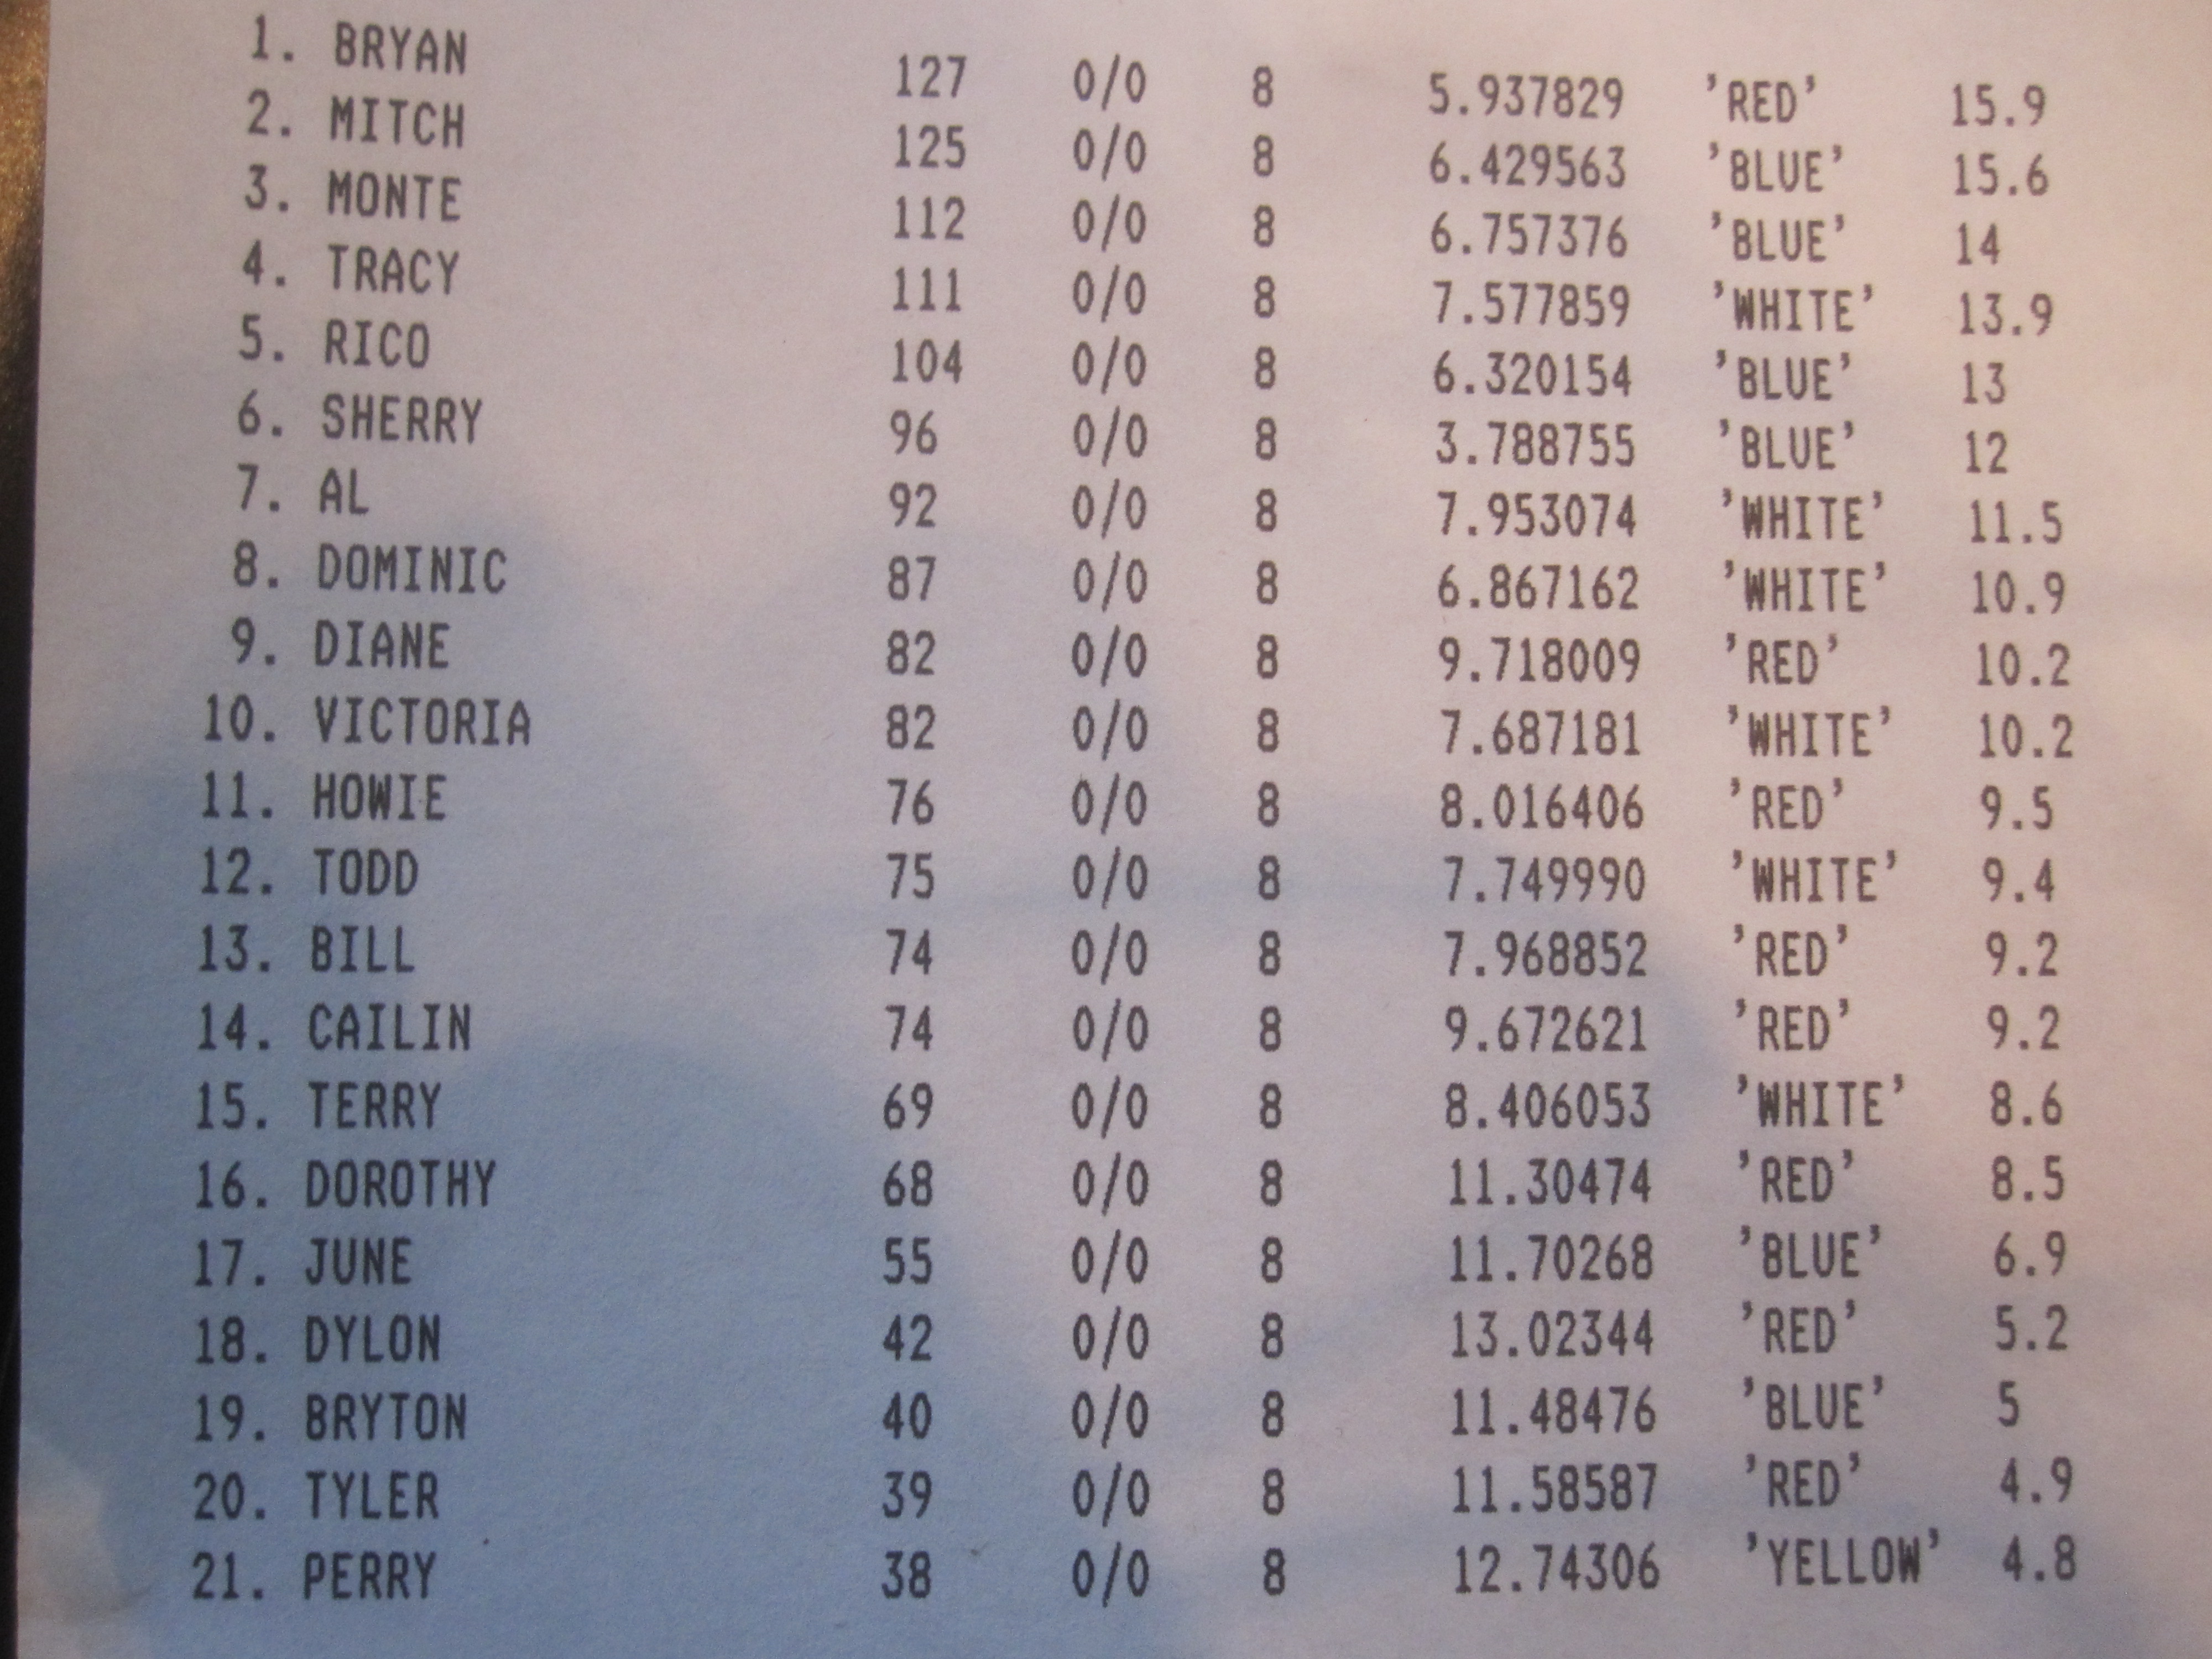
This is a fun and family friendly event. From what I witnessed every one had a good time and that is what this is all about. This "race" seems to be getting better every year! 21 racers entered this race, to me everyone was a winner, lots of fun. Click on the pictures for a full page viewing.
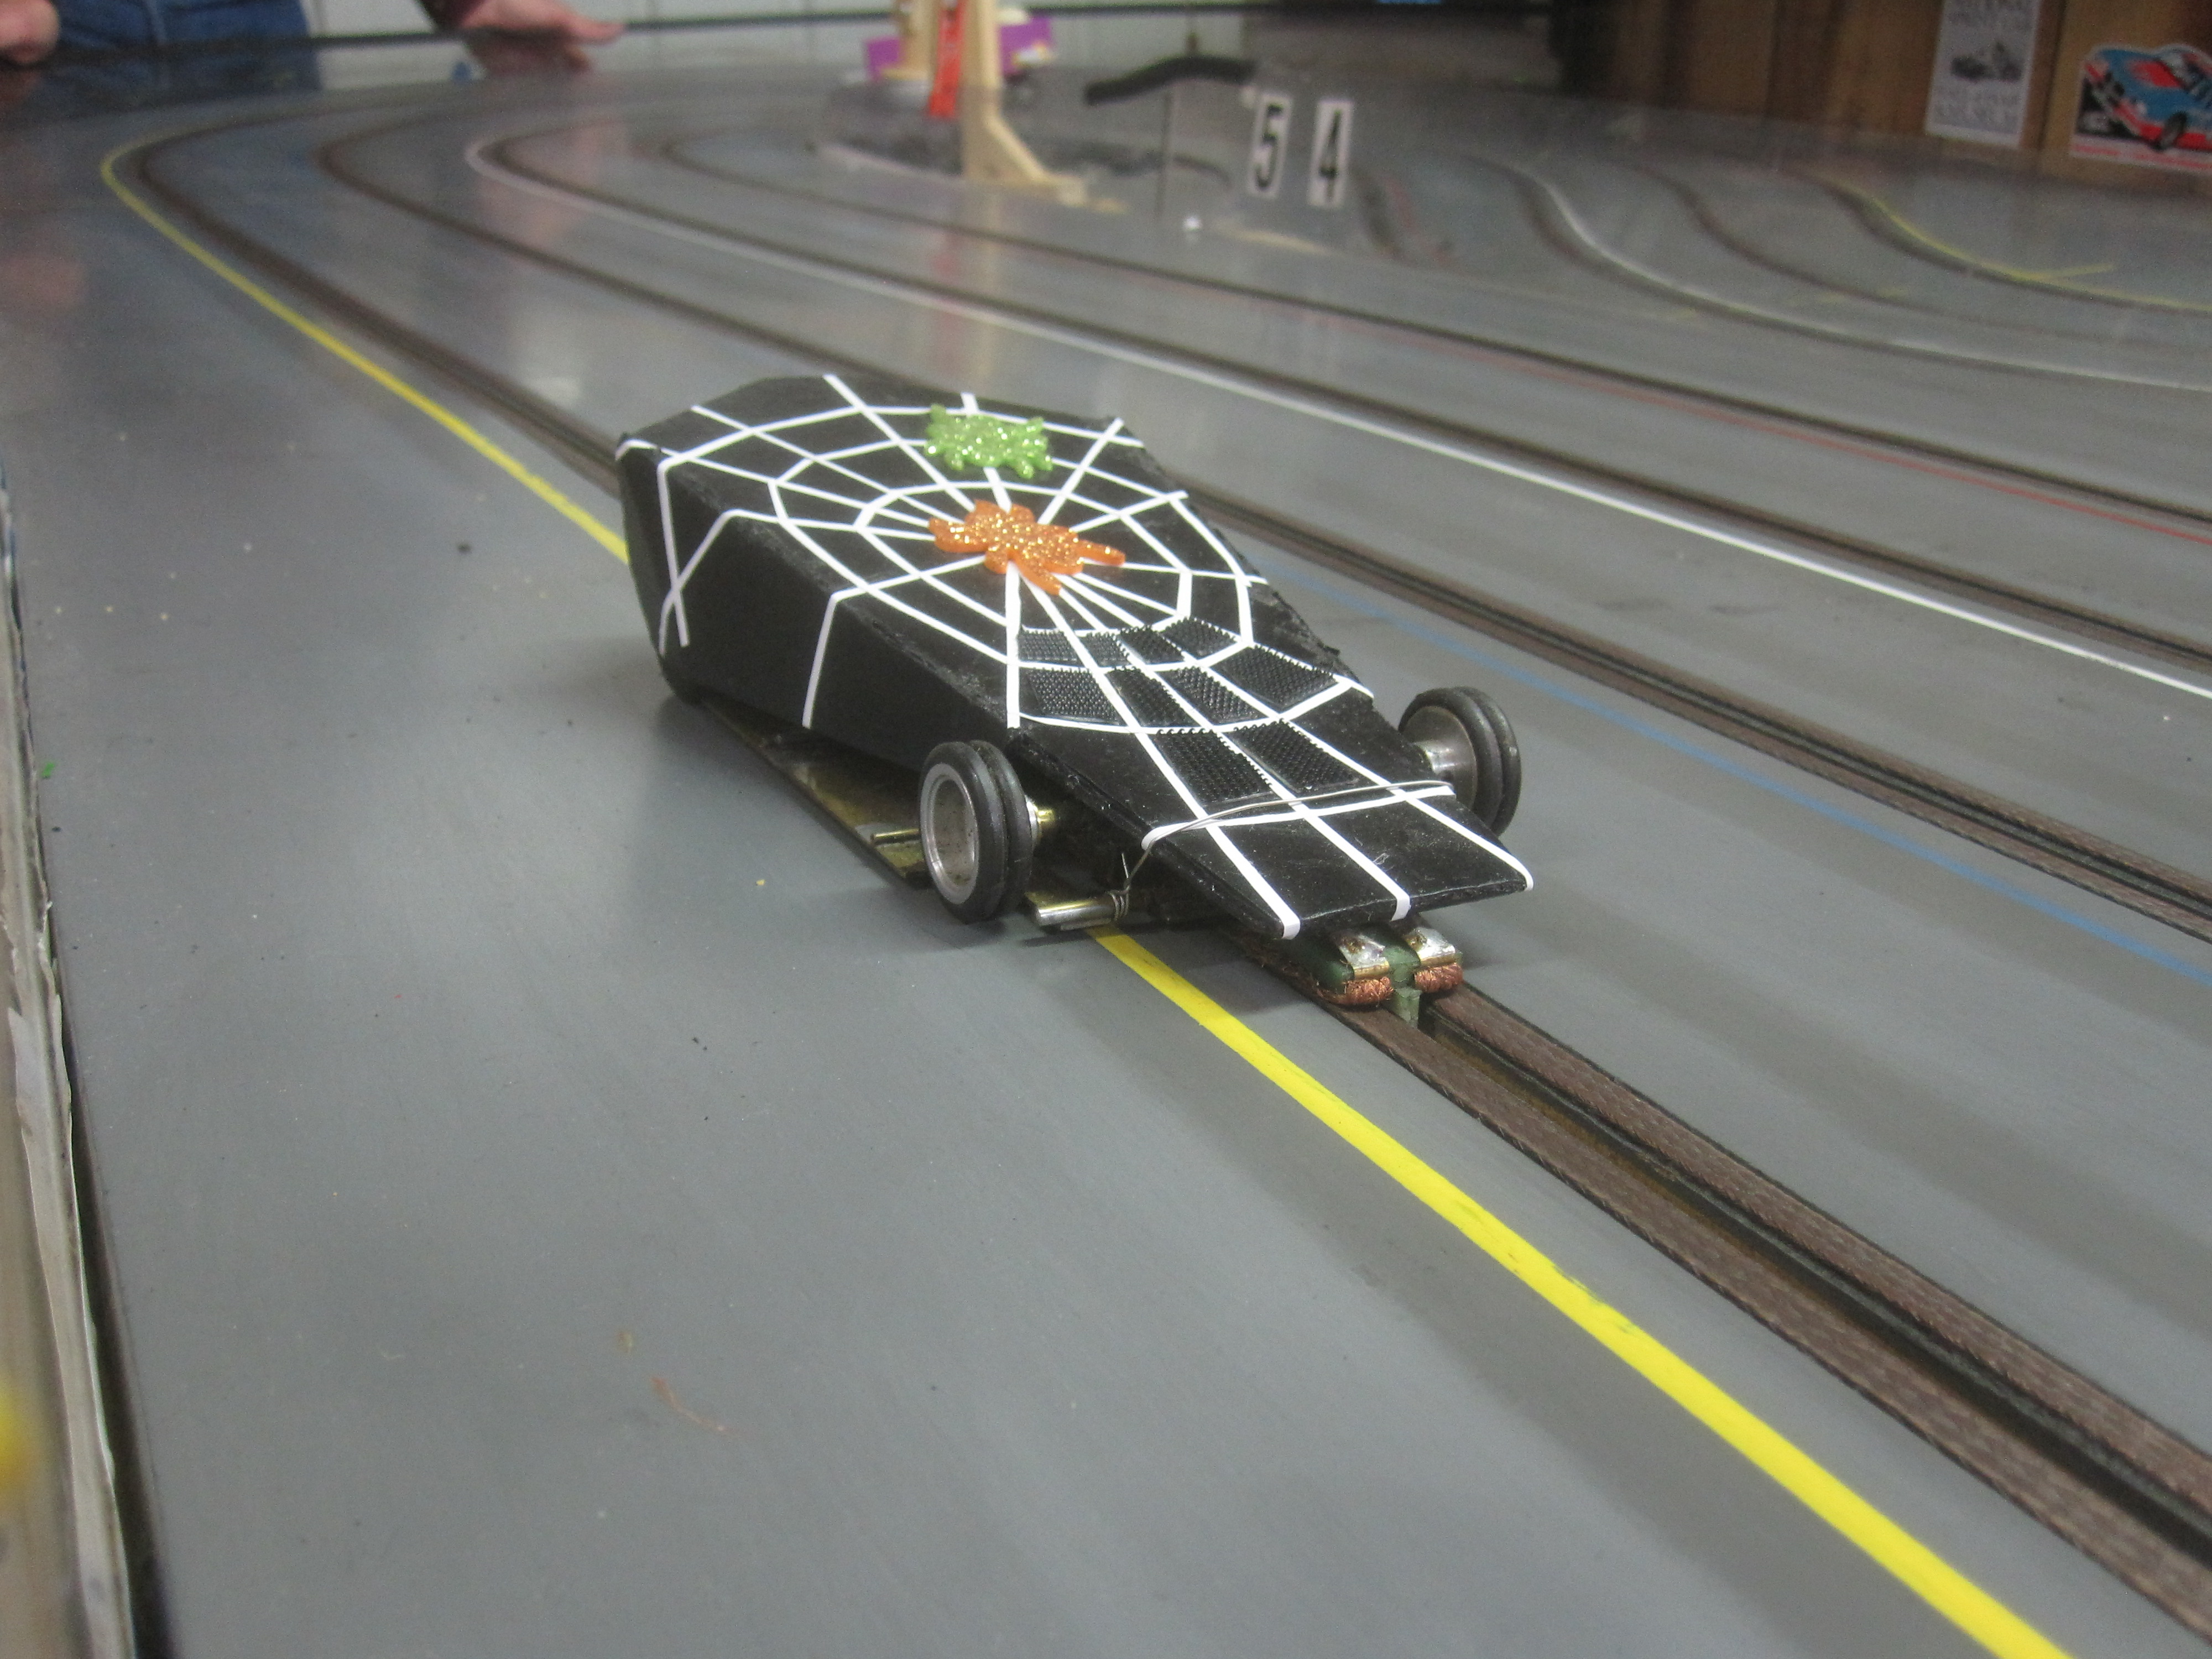
Bill entered and raced this car in memory of Hugh Ellsworth who built it.
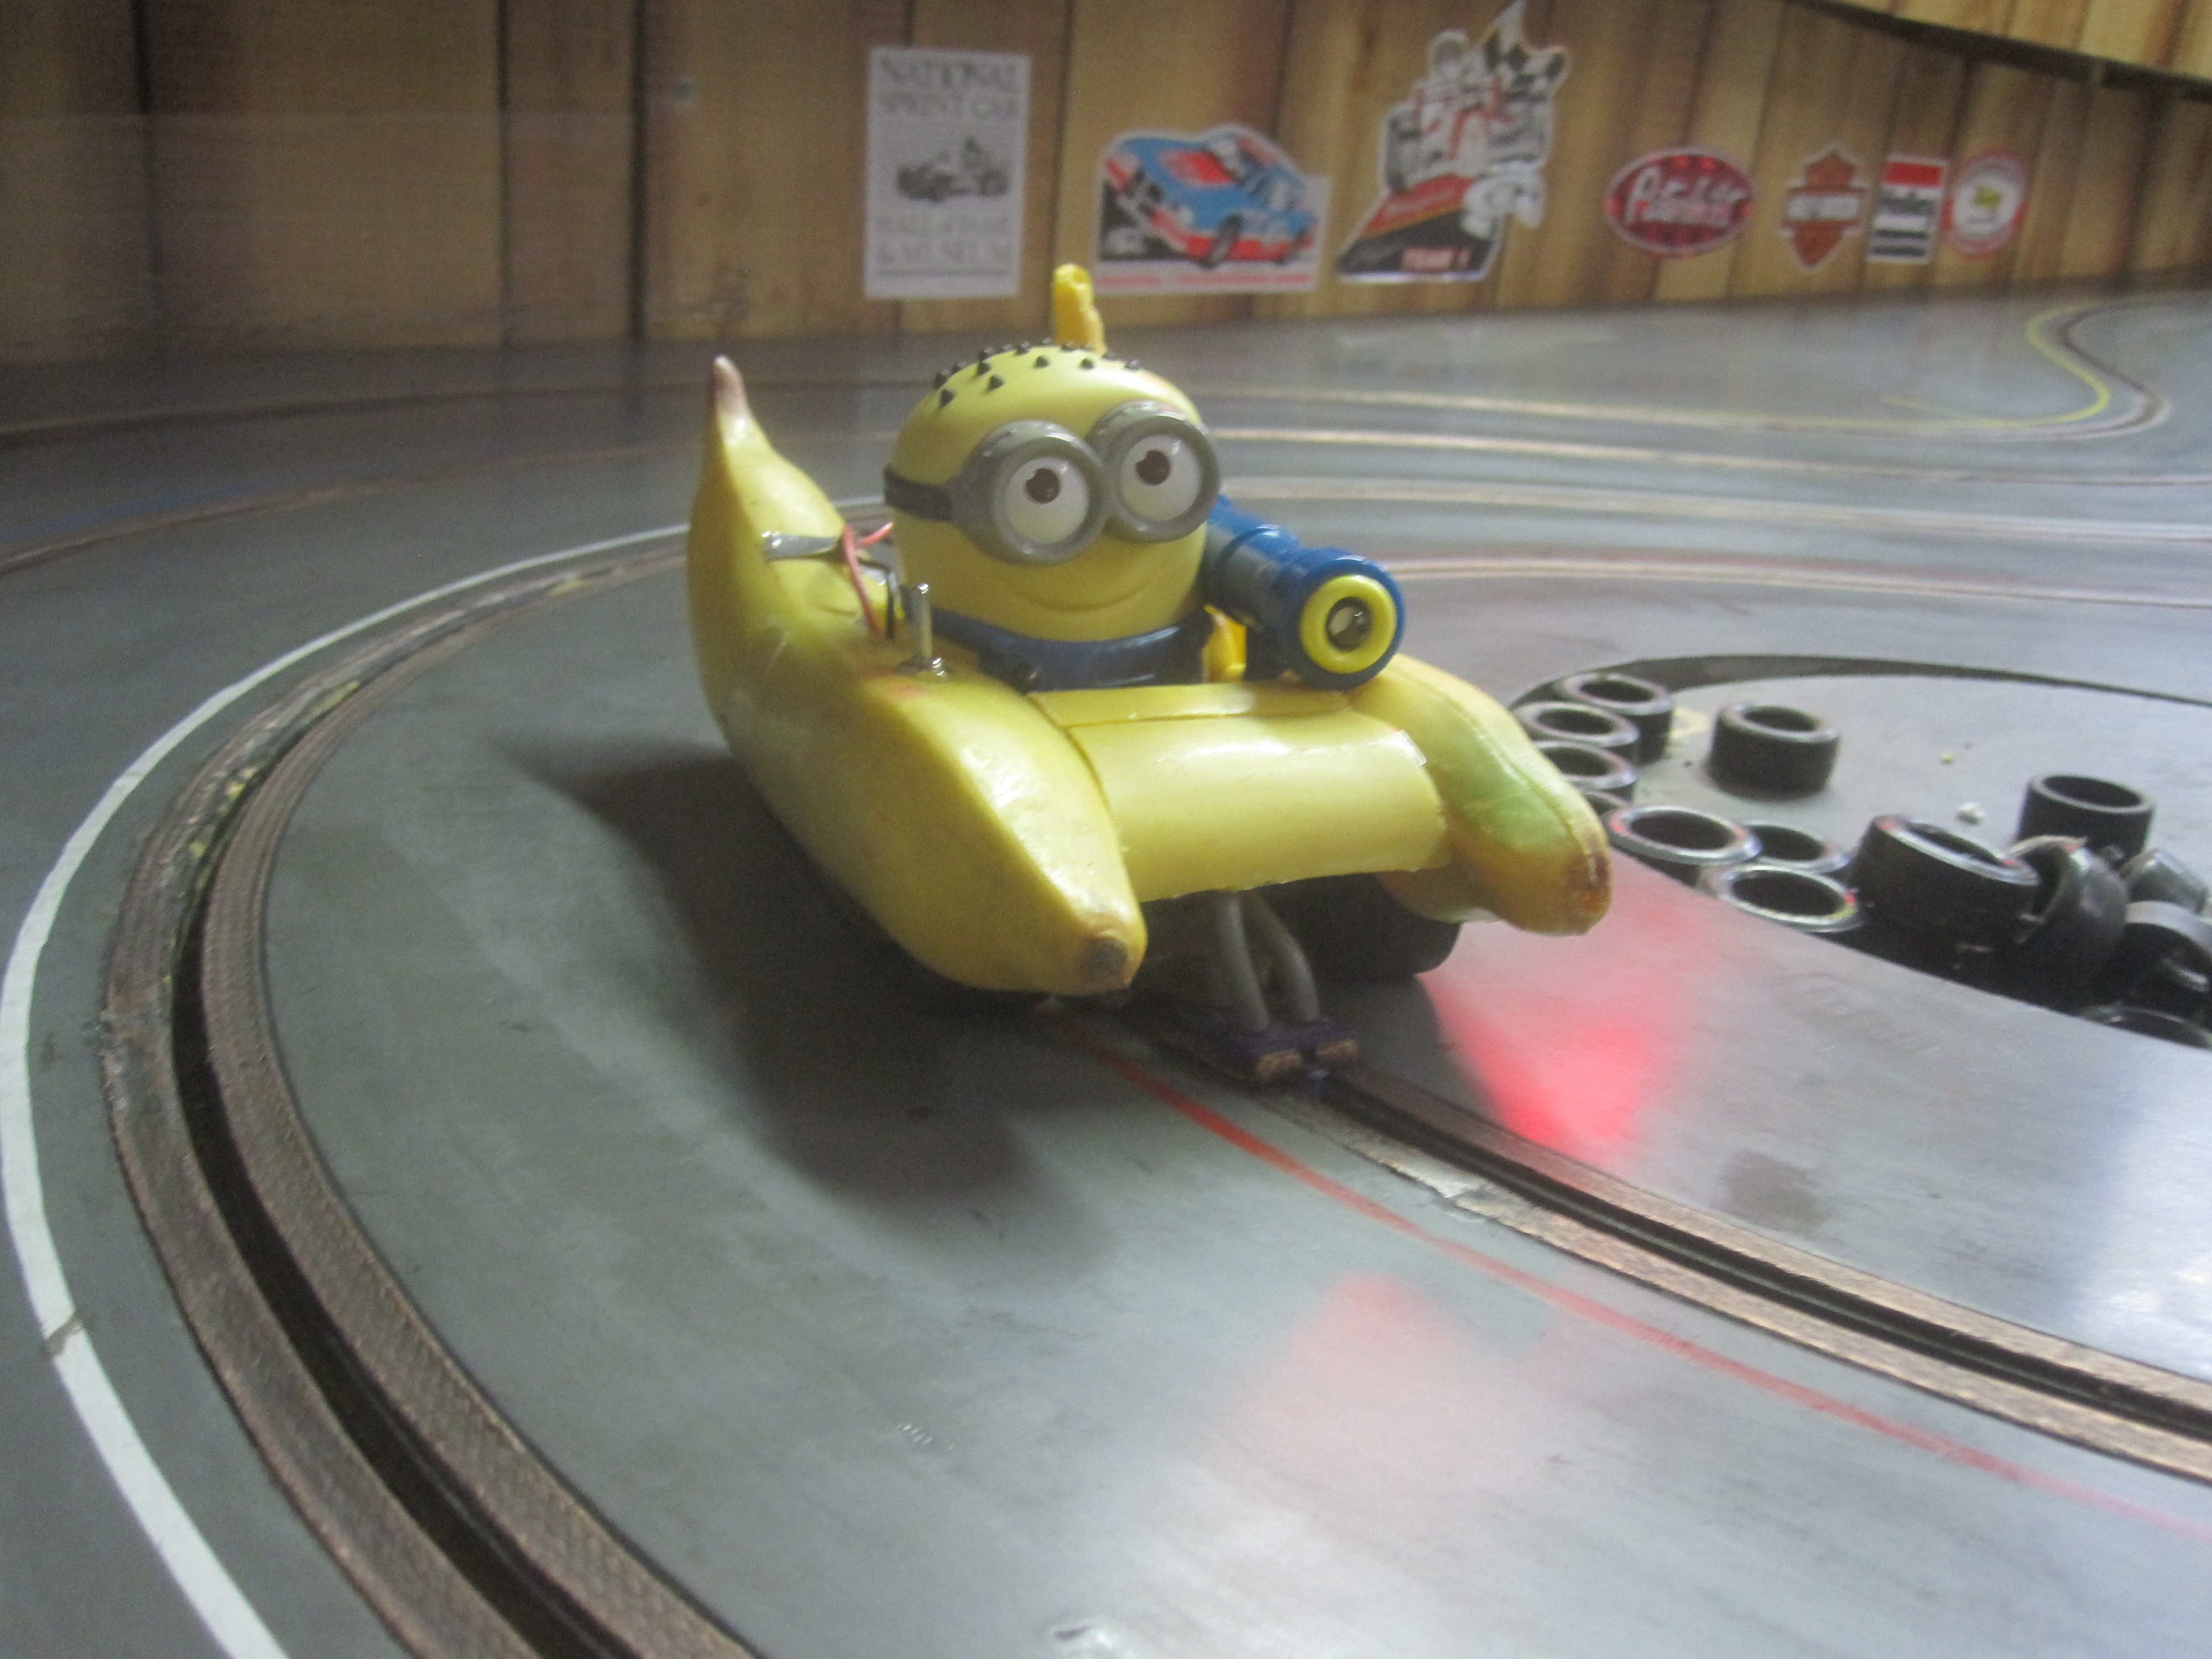
Cailin's banana car.
Dominic who won the 'hard luck" award as his car lost a wheel right off the start line! Cailin who won best of show by popular vote for her Banana car.
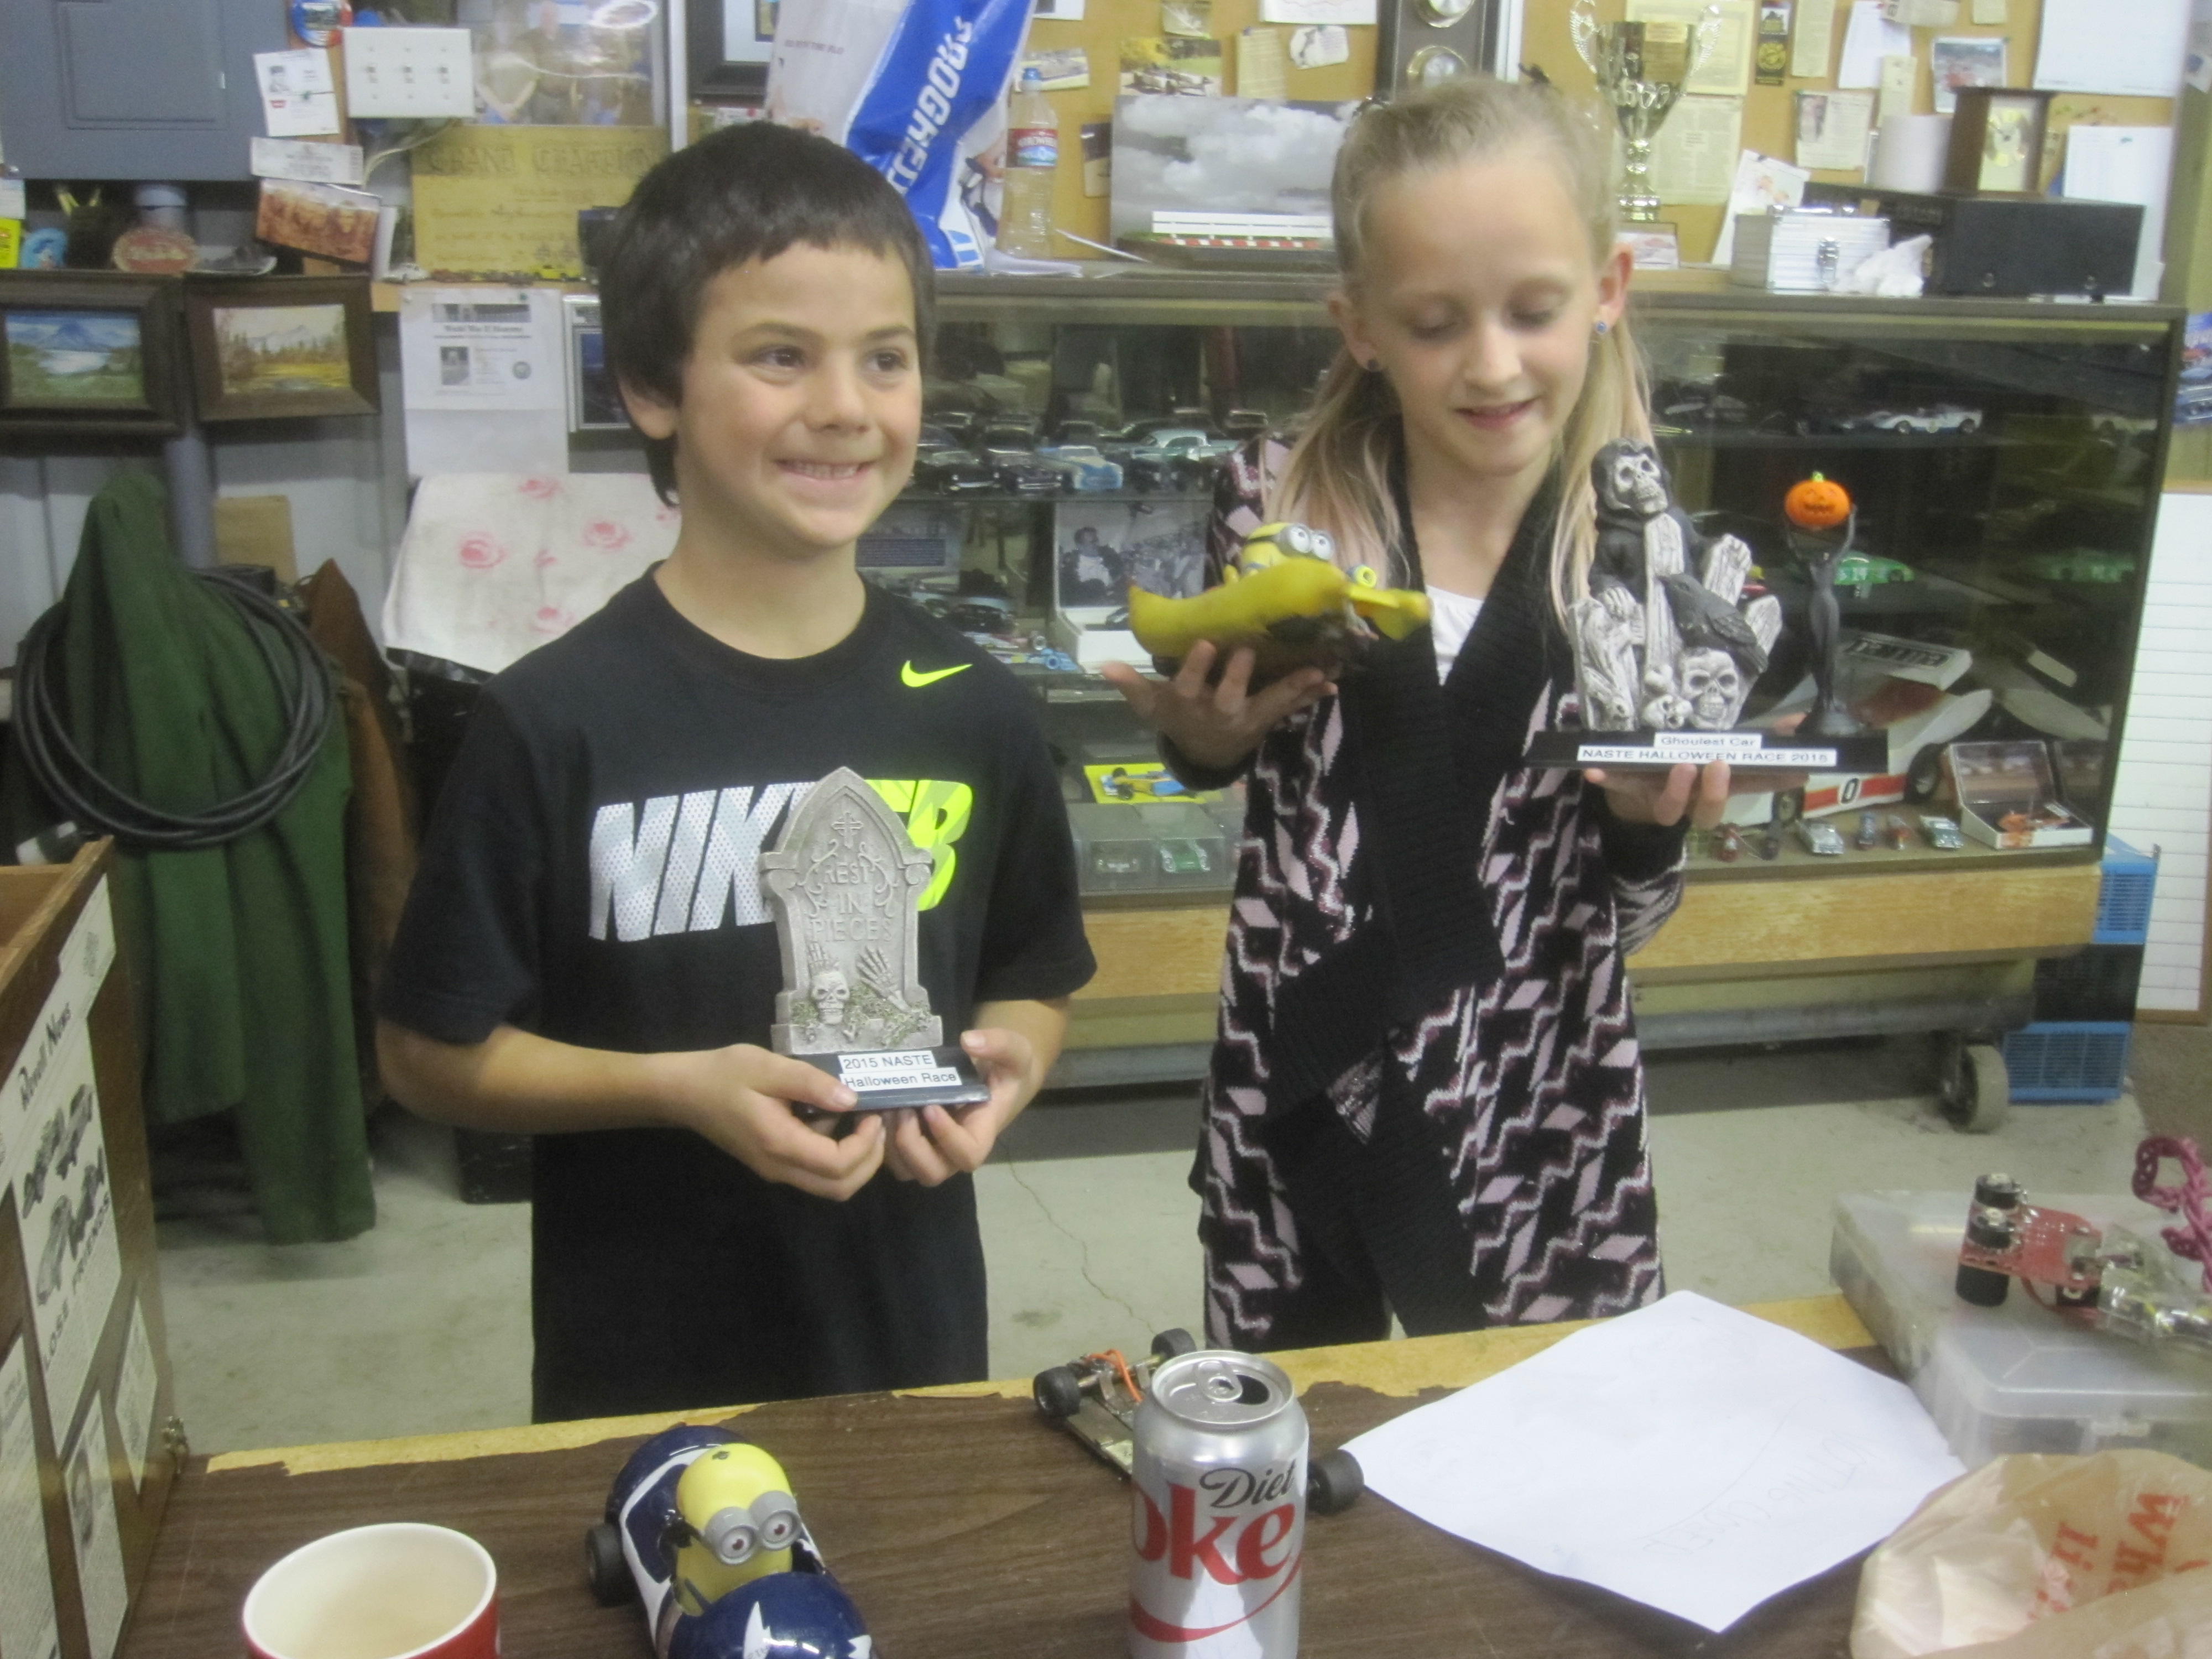
Trophy for car voted on as best of the show.

"Hard luck" award.

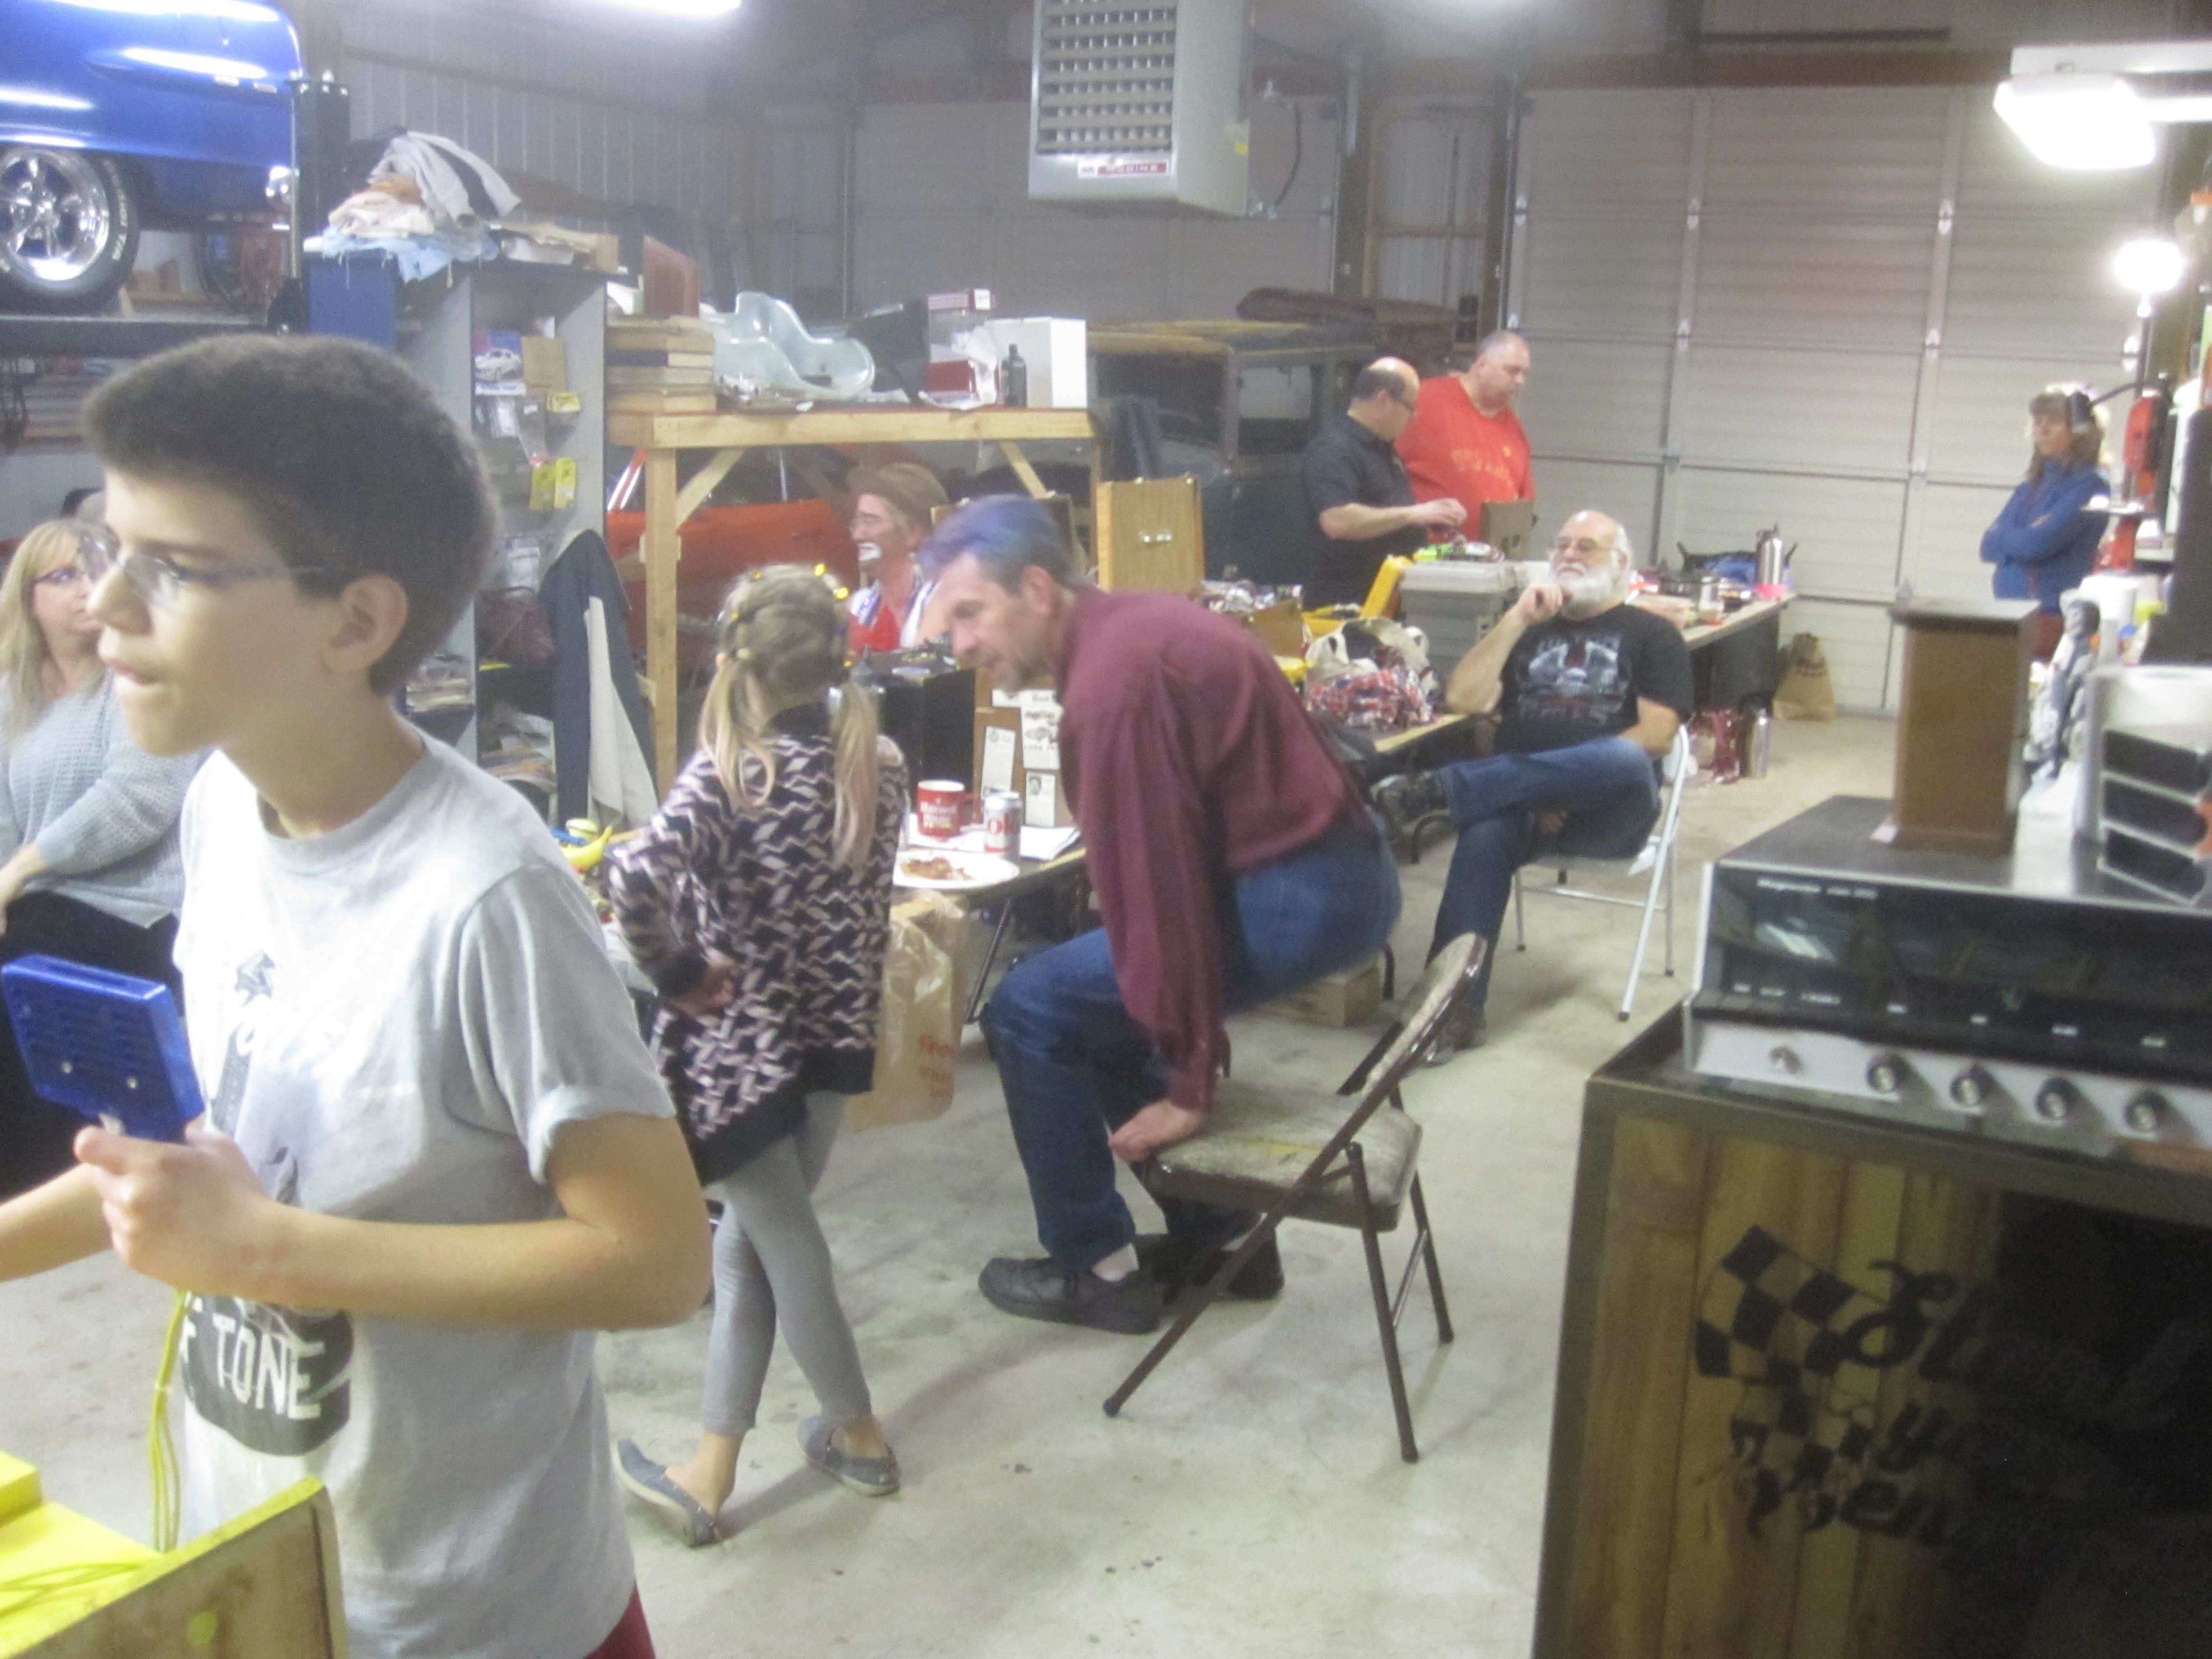
Some of the participants.
Some of the cars.

3,103 January 9, 2017 6:18 pm
Topic: Tip of the day (1 replies, posted in Rapid Raceway)
by howie » Tue Nov 17, 2015 10:12 am
Here is something I just discovered yesterday about removing rubber from the wheels: put your soldering gun against the back of the wheel and the heat will do the rest. The tires will be VERY easily removed!
3,104 January 9, 2017 5:33 pm
Re: What's up? (97 replies, posted in Rapid Raceway)
The previous posts to this topic were copied over from the Northwest True Scale Racers site with Howie's permission. The NTSR site is scheduled to close down at the end of this year. I will be copying over as much of the great information posted there as possible in the next few months. =====Bill
3,105 January 9, 2017 5:31 pm
Re: What's up? (97 replies, posted in Rapid Raceway)
by wb0s » Sat Jan 07, 2017 1:00 am
I'd like to echo what Beau said. Thanks Howie for all you do including your efforts with the Northwest True Scale Racers site! I will miss this site and all the great information that comes across the board here. Your "How To" and technical instructions are very helpful to me and I know to others as well. In an effort to save what has already be posted here I am attempting to copy as much of the information on this site onto the NASTE site for future referrence to anyone interested. The NASTE.org site has had a section in the Forum dedicated to Rapid Raceway for years. I will copy as much information as I can to that section for all to refer to. Howie you are welcome to update, change, or revise anything in there as you wish, and the Rapid Raceway regulars are welcome to use the forum for any information related to Rapid Raceway or Northwest True Scale Racers. =======Bill
3,106 January 9, 2017 5:30 pm
Re: What's up? (97 replies, posted in Rapid Raceway)
by beaufrazier » Tue Dec 27, 2016 6:55 am
Just wanted to give a formal, Thank You ,to Howie for all his work with the NWTSR site over the past several years. I have always enjoyed seeing what was new, the latest builds, and racer comments. Our racing program is still strong and I look forward to many more years of Howie's hospitality and the great facility he provides us all to gather and have some fun competition.
Slotblog and the ,long established, NASTE site will be used for staying up to date on the club's activities. Please post any comments or feelings you may have about the NWTSR site going away before JAN. 1, 2017
THANKS AGAIN TO HOWIE !!!
3,107 January 9, 2017 5:29 pm
Re: What's up? (97 replies, posted in Rapid Raceway)
by howie » Tue Nov 29, 2016 10:41 am
The wings that come with the Pattos gen. 6 NASCAR bodies leave a lot to be desired. So here is what Beau did: cut a slit in the back of the car and inserted a Lexan home made wing and glued it. Looks good to me, so I will follow suit. His wing is in the previous picture.
3,108 January 9, 2017 5:28 pm
Re: What's up? (97 replies, posted in Rapid Raceway)
by howie » Sun Nov 20, 2016 10:59 am
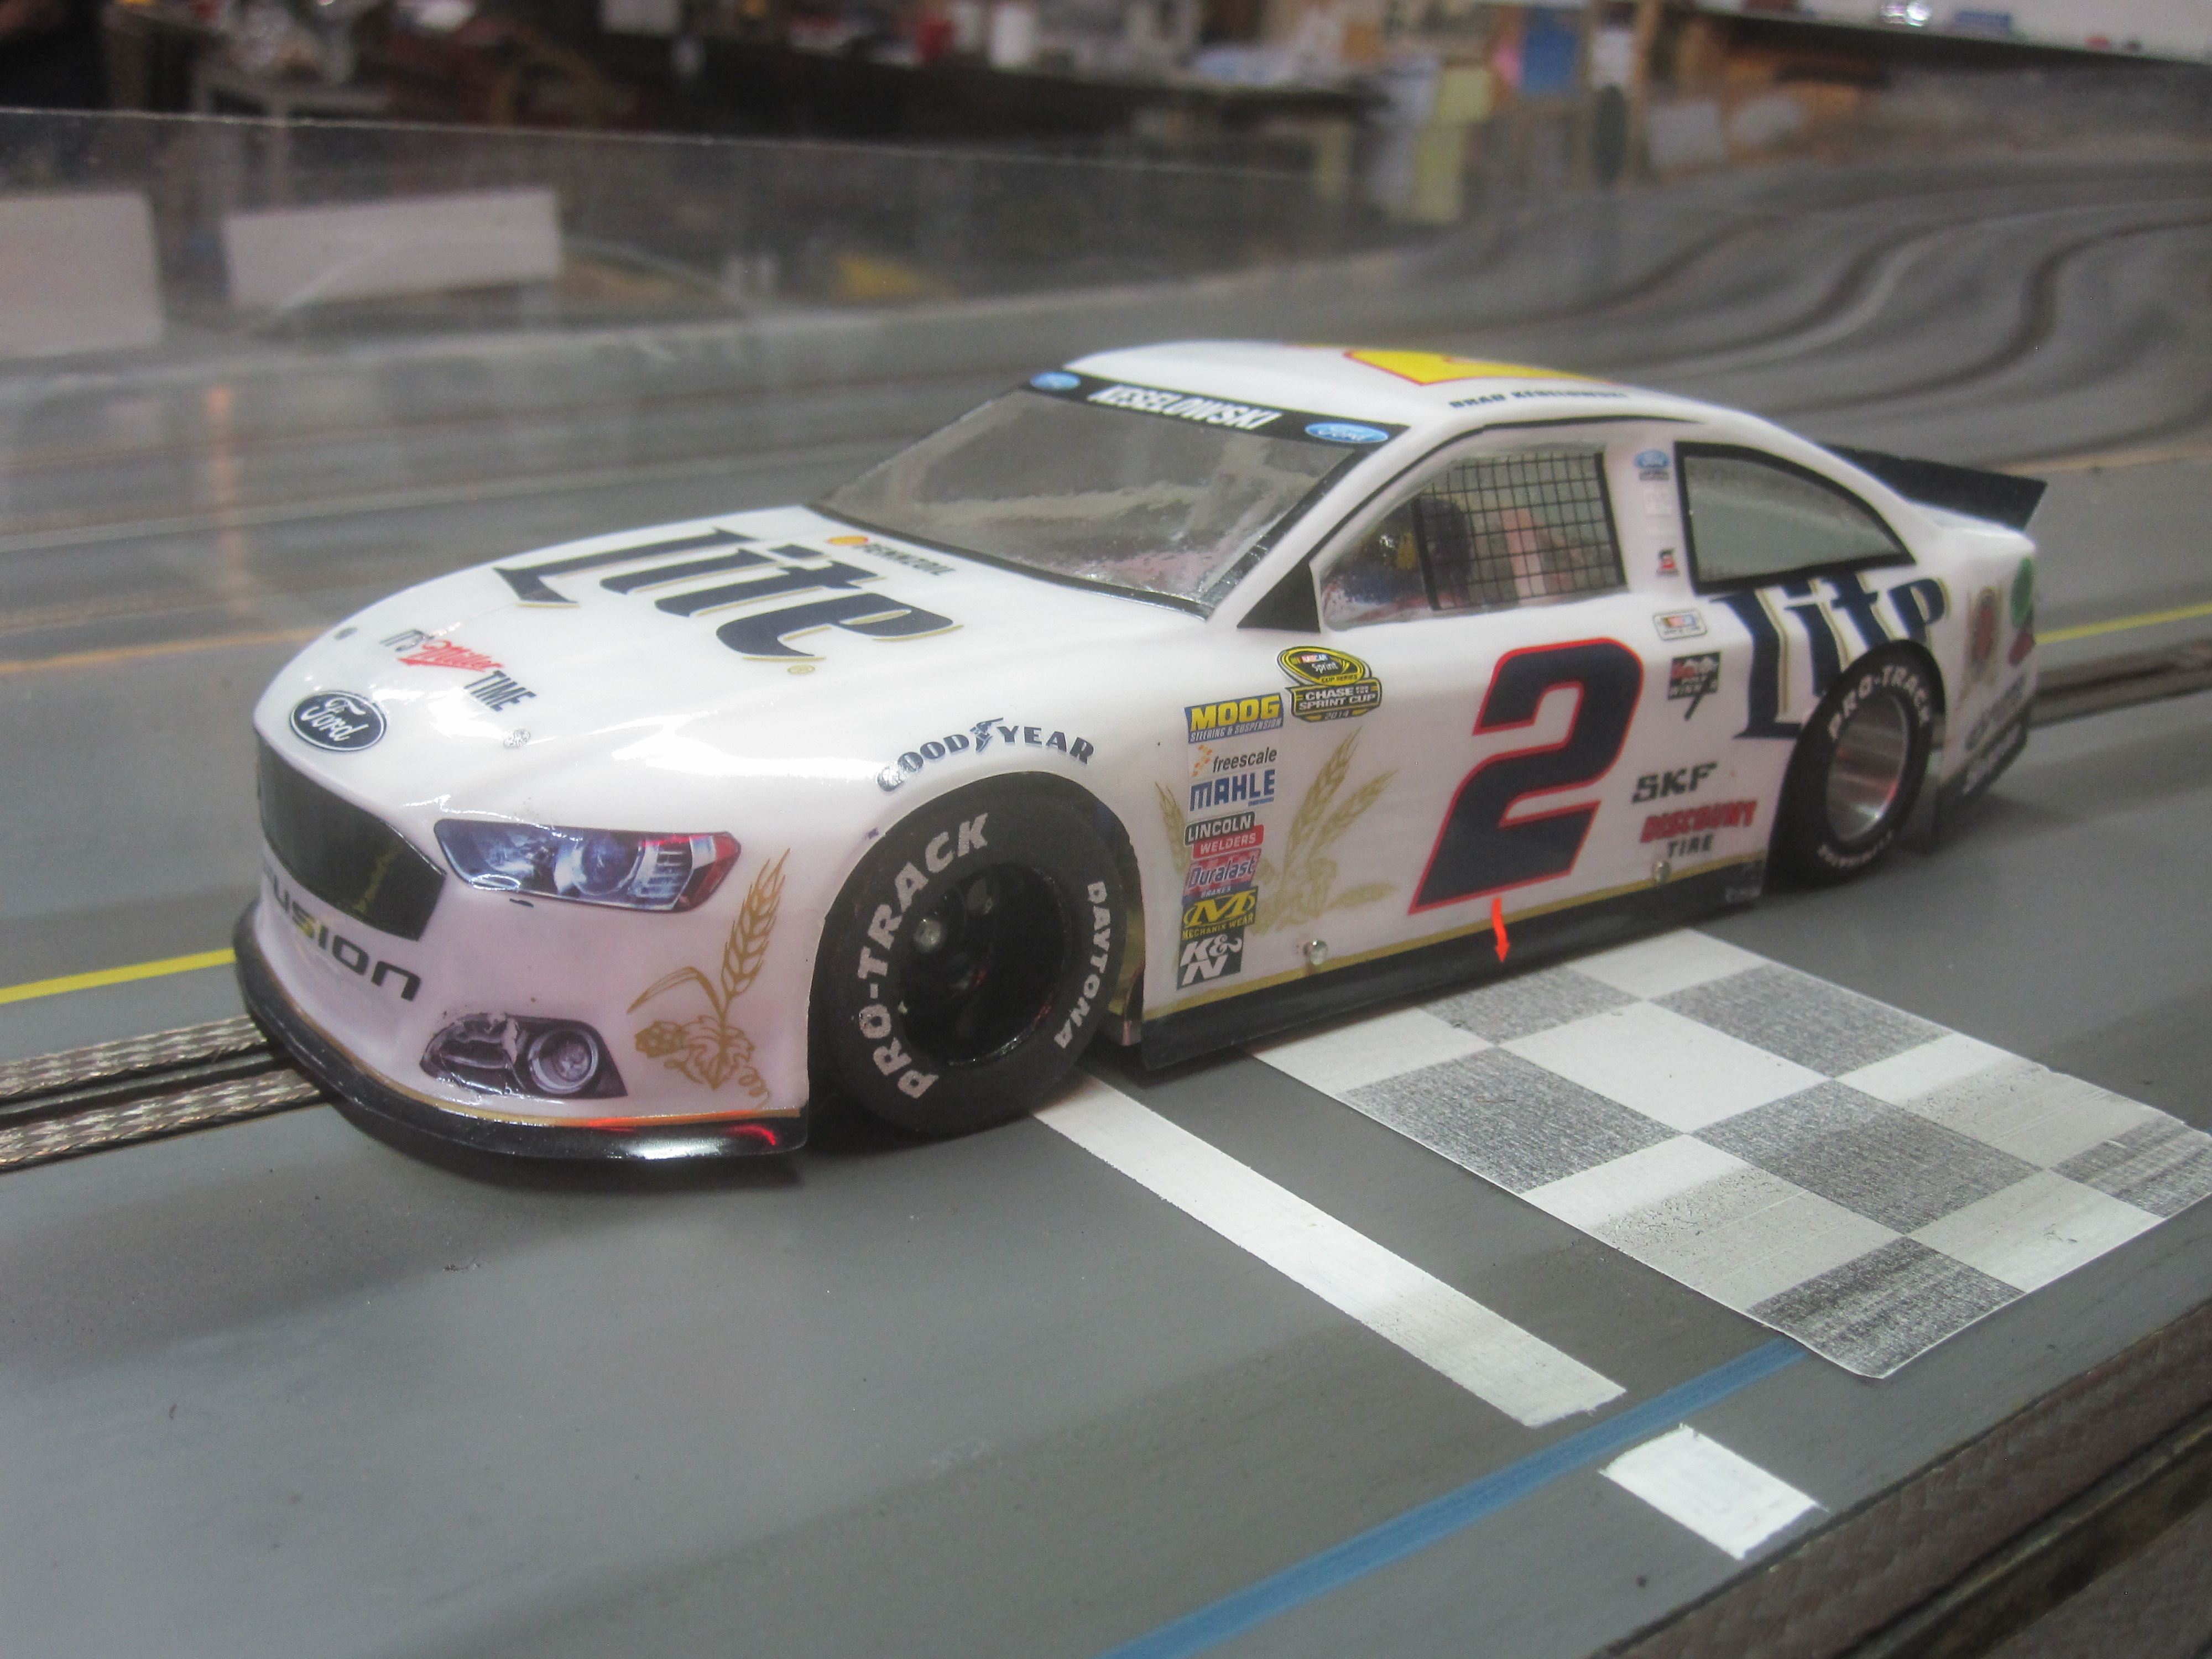
A new NASCAR by Beau. This is going to be the new NASCAR style car for the future starting this season ( 2017 ). This is a Lexan bodied car by Pattos. Looking forward to racing the up dated NASCAR.
Gen. 6, Ford Fusion. Nice job Beau.
3,109 January 9, 2017 5:25 pm
Re: What's up? (97 replies, posted in Rapid Raceway)
by howie » Mon Oct 03, 2016 9:16 pm
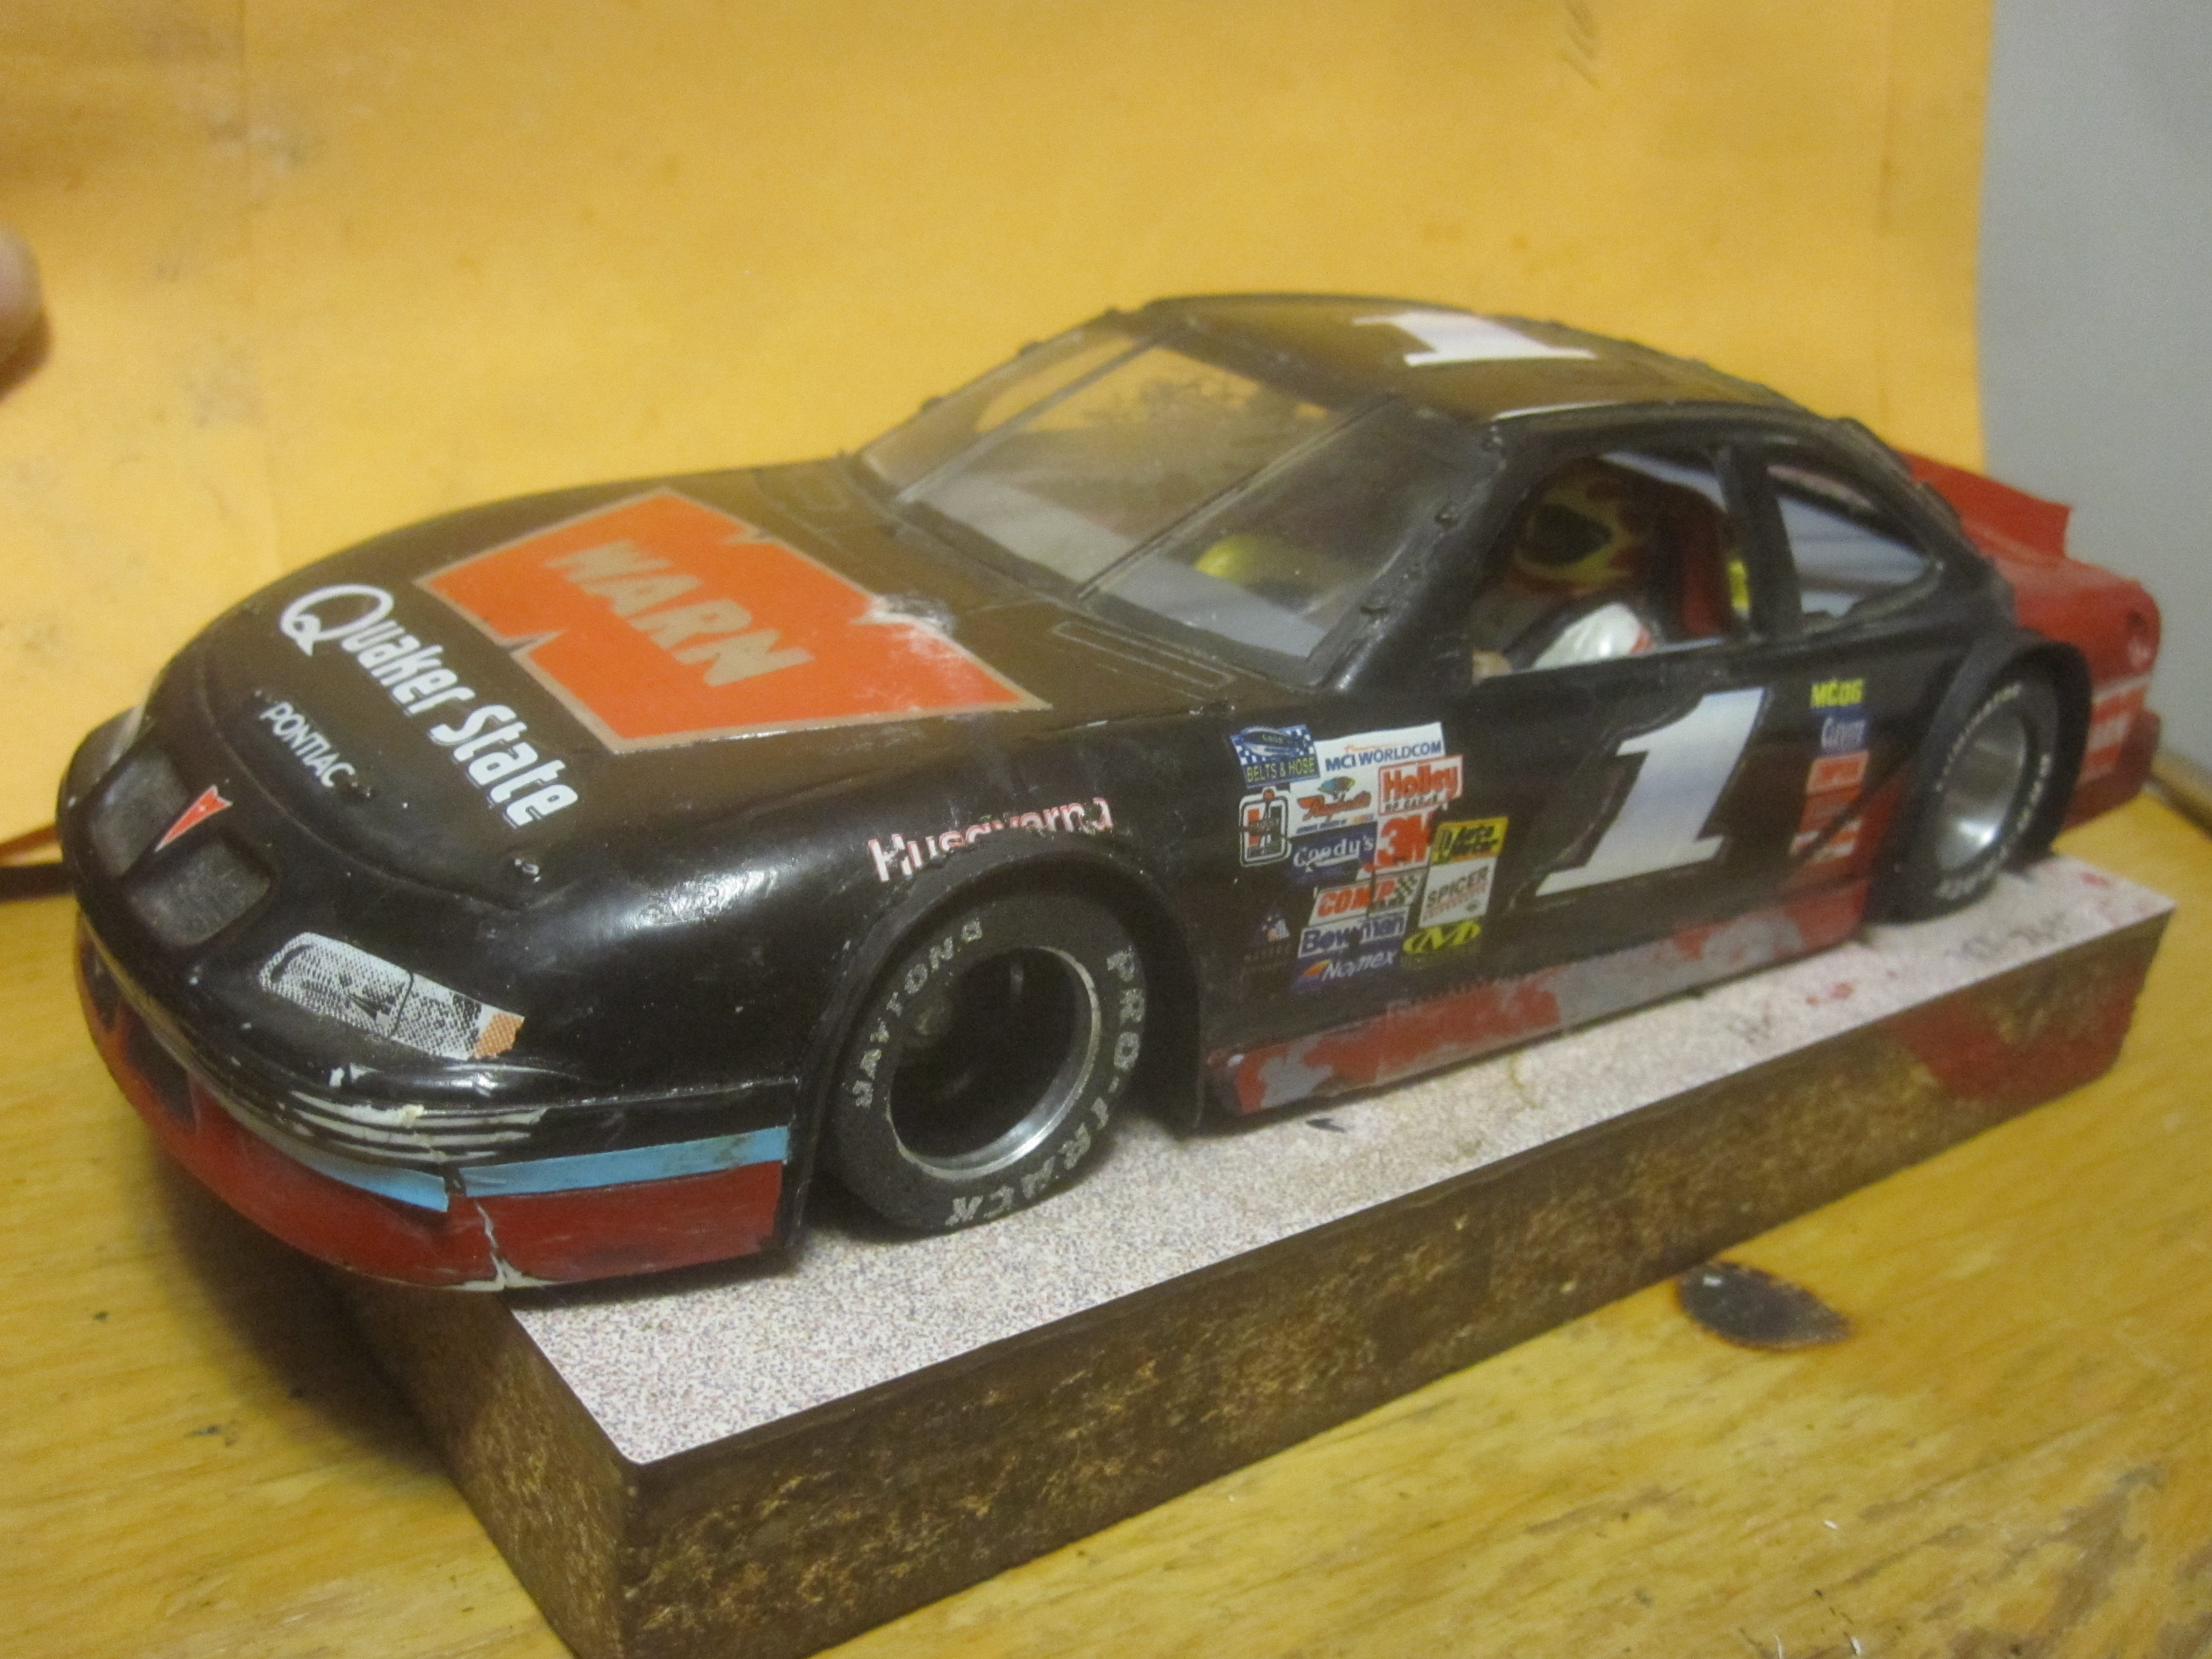
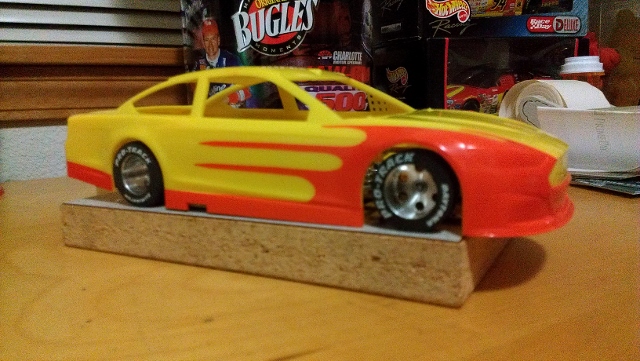
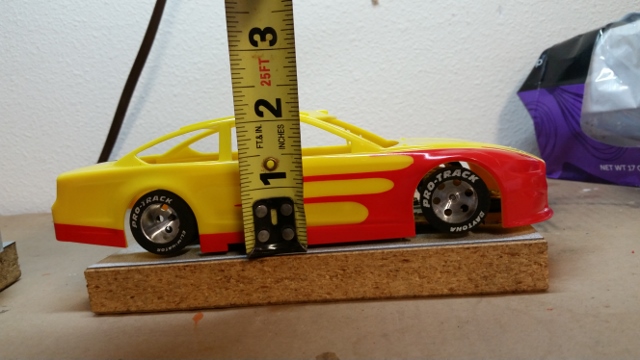
Pulled this NASCAR body out of the old body drawer, threw on some quick flares and will race it in the Rapid 500, then throw it away as we will be going to the late ( gen 6 ) Lexan bodies for the future.
3,110 January 9, 2017 5:25 pm
Re: What's up? (97 replies, posted in Rapid Raceway)
by howie » Fri Sep 16, 2016 2:10 pm
Ok; the 2017 racing schedule is on the Calendar page. Should be some fun races this season.
3,111 January 9, 2017 5:25 pm
Re: What's up? (97 replies, posted in Rapid Raceway)
by howie » Mon Sep 05, 2016 9:07 am
Due to the fact that some racers including myself either do not have or have ready a Lexan NASCAR body, we will race the hard bodies for the Rapid 500. I do not have the 2017 season schedule yet, but the Rapid 500 will once again kick off the season.
3,112 January 9, 2017 5:25 pm
Re: What's up? (97 replies, posted in Rapid Raceway)
by howie » Thu Jul 07, 2016 10:33 pm
For the 2017 NASCAR season we are going to run the 2013 Pattos Gen6 bodies. We need to get Bill paid back for the effort and money he spent. I thank Bill for what he has put into this effort and all is not lost as the 962 will be made in .030" Lexan. I took one of my legal NASCAR chassis and put on a Gen6 Charger, perfect wheel base and tracking situation, in fact the bodies are wider! Rules will be made as to what you can cut the body down to. It would be wise, beings these bodies are .010" to strengthen the front with strapping tape. I am personally looking forward to the new bodies. Sprint cup cars: Dodge Charger, Ford Fusion, Chevy SS and the Toyota Camry. The Xfinity: Camaro, Mustang, Challenger.
3,113 January 9, 2017 5:25 pm
Re: What's up? (97 replies, posted in Rapid Raceway)
by beaufrazier » Sat Jul 02, 2016 7:12 pm
Hi Bob, I like the look of the Revell kits. Almost no fussing with the bodies and they really look true to scale. MIKES DECALS is producing a TOYOTA .He said the resin is pretty strong and would make a good slot car body. If we go in that direction we are covered with all the brands. Plastic or PETG? Witch way to go? I'm sure Howie will provide a vote on witch to go.
3,114 January 9, 2017 5:21 pm
Re: What's up? (97 replies, posted in Rapid Raceway)
by racerbob9 » Sat Jul 02, 2016 3:48 pm
More Pics
3,115 January 9, 2017 5:17 pm
Re: What's up? (97 replies, posted in Rapid Raceway)
by racerbob9 » Sat Jul 02, 2016 3:45 pm
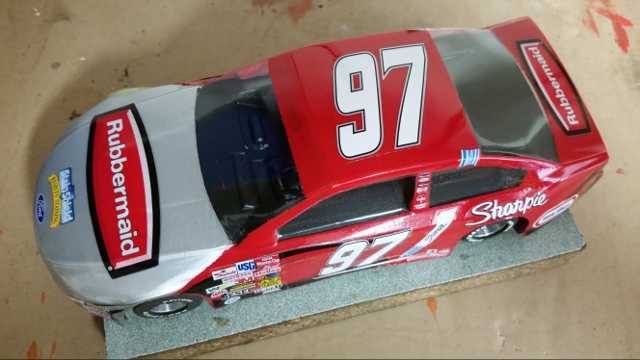
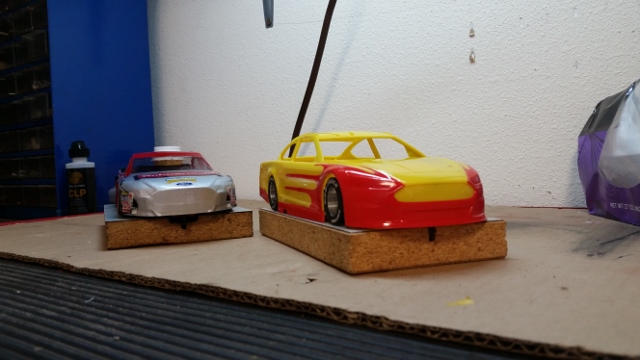
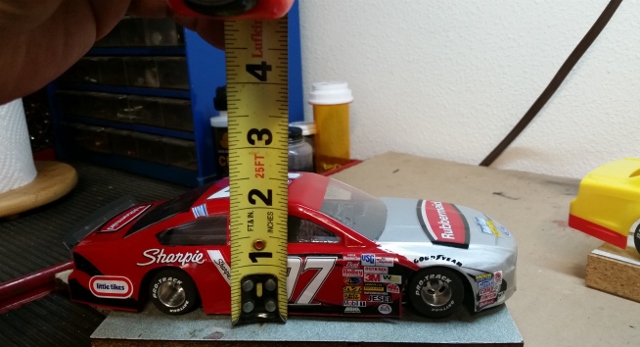
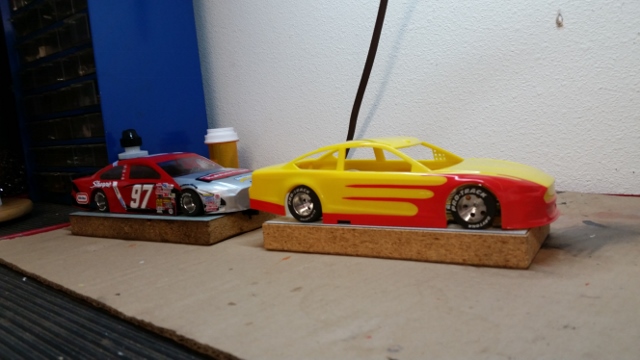
The news about the NASCAR bodies is not good. Revell has the Fusion and just released the Chevy SS. Just a thought to put in the mix is using this body as a option if the Pattos Place bodies do not pan out. I will make one of each that will work on the same chassis. Just for fun, the 97 Sharpie car is a Patto's Place body on a 4.5 inch flexi chassis.
3,116 January 9, 2017 5:17 pm
Re: What's up? (97 replies, posted in Rapid Raceway)
by howie » Thu Jun 30, 2016 1:11 pm
Bad news on the .030" NASCAR bodies: The bodies we purchased for transformation to .030" can't be done due to the inferior material of the donor bodies. As to what to do now, stay tuned
3,117 January 9, 2017 5:17 pm
Re: What's up? (97 replies, posted in Rapid Raceway)
by howie » Wed Jun 15, 2016 10:59 pm
The new bodies for NASCAR are on their way to the Bluegroove team to be done in .030" Lexan. These are all 2013 NASCAR bodies.
3,118 January 9, 2017 5:16 pm
Re: What's up? (97 replies, posted in Rapid Raceway)
by howie » Sun May 22, 2016 4:17 pm
I have added the body update on the NASCAR rules.
3,119 January 9, 2017 5:16 pm
Re: What's up? (97 replies, posted in Rapid Raceway)
by howie » Fri May 20, 2016 2:02 pm
It was voted on that we do away with the outdated hard body NASCAR starting in the 2017 season. We will be using .030" Lexan for both the Sprint Cup and the Xfinity cars. The Sprint cup will run the Ford Taurus, Chevy SS, Toyota Camry bodies. The Xfinity cars will run the Mustang, Camaro and the Challenger bodies. The rest of the rules for NASCAR will stay the same. This will bring our NASCAR pretty much up to date. I am really looking forward to the change.
This means we won't have to build such heavy chassis for the Sprint Cup, we can also dig into our old chassis drawer and use an old chassis, maybe a Parma, JK or some other chassis and give it a re-birth!
Click on the News Page for more info.
3,120 January 9, 2017 5:16 pm
Re: What's up? (97 replies, posted in Rapid Raceway)
by wb0s » Thu Apr 07, 2016 8:48 am
Yes, these new bodies by Team Bluegroove are very nice!
I only have a couple of each available at this introductory price of $6.00! Bodies at this price are limited to just a very few as a Team Bluegroove promotion!
All of the bodies are available from Team Bluegroove at their Ebay store here: http://stores.ebay.com/TEAM-BLUEGROOVE? ... 7675.l2563
3,121 January 9, 2017 5:15 pm
Re: What's up? (97 replies, posted in Rapid Raceway)
by howie » Thu Apr 07, 2016 8:28 am
Check out the new Lexan bodies on the News Page. These bodies are .030" thick and not a flaw in them! These bodies are supplied by Bill. I grabbed one and will post pictures on the Projects page when I get started. These bodies should be strong and able to last longer than a .010" or .020" body. He is currently charging $6.00 for them, a very good deal if you ask me!
3,122 January 9, 2017 5:15 pm
Re: What's up? (97 replies, posted in Rapid Raceway)
by wb0s » Fri Feb 26, 2016 2:15 pm
Lookin' good Howie!
3,123 January 9, 2017 5:15 pm
Re: What's up? (97 replies, posted in Rapid Raceway)
by howie » Fri Feb 26, 2016 8:42 am
The "News" page is now active. News items will be added and subtracted as news comes and goes.
3,124 January 9, 2017 5:14 pm
Re: What's up? (97 replies, posted in Rapid Raceway)
by howie » Sun Feb 07, 2016 2:11 pm
Marty, Beau and I had a discussion after the race last night. Talking about the Super Modified class and Indy or F1 class. We all three committed to building each. Stay tuned.
3,125 January 9, 2017 5:14 pm
Re: What's up? (97 replies, posted in Rapid Raceway)
by howie » Wed Feb 03, 2016 11:42 am
I am considering a change next season ( 2017 ). Here is what I have in mind: Still have the points races on Saturdays with the backup race to be a consistent class. So it would be a points race with whatever is voted in and then for the second race of the night, keep the same class all the way through the first half of the season. Then the next half of the season a points race for whatever is voted in with another consistent second race. I think that would make it easier on everybody. Then once a month have a race on a weeknight going through two times racing different classes each time. Perhaps have a different night of the week each month. That way we can get to some of our classes that are not on the Saturday schedule.